All is working fine now, thanks again! ![]()
I made this for MB - labs. Please critique.
I’m still cleaning up the script. I’ve been teaching myself python and blender api for the last 4 months. Please let me know if this is useful or a waste of your time.
3 Likes
It does look interesting but I am not sure if it would fit in. You mentioned in my discord chat it works in Object mode, not Pose mode. That is pretty cool.
I would not say a waste of time, IMO anything created is not a waste of time, I just don’t know if it would be usable in the code.
I could see it being useful at least the walking part, however it appears that the walk cycle needs to be improved, currently the knees don’t bend.
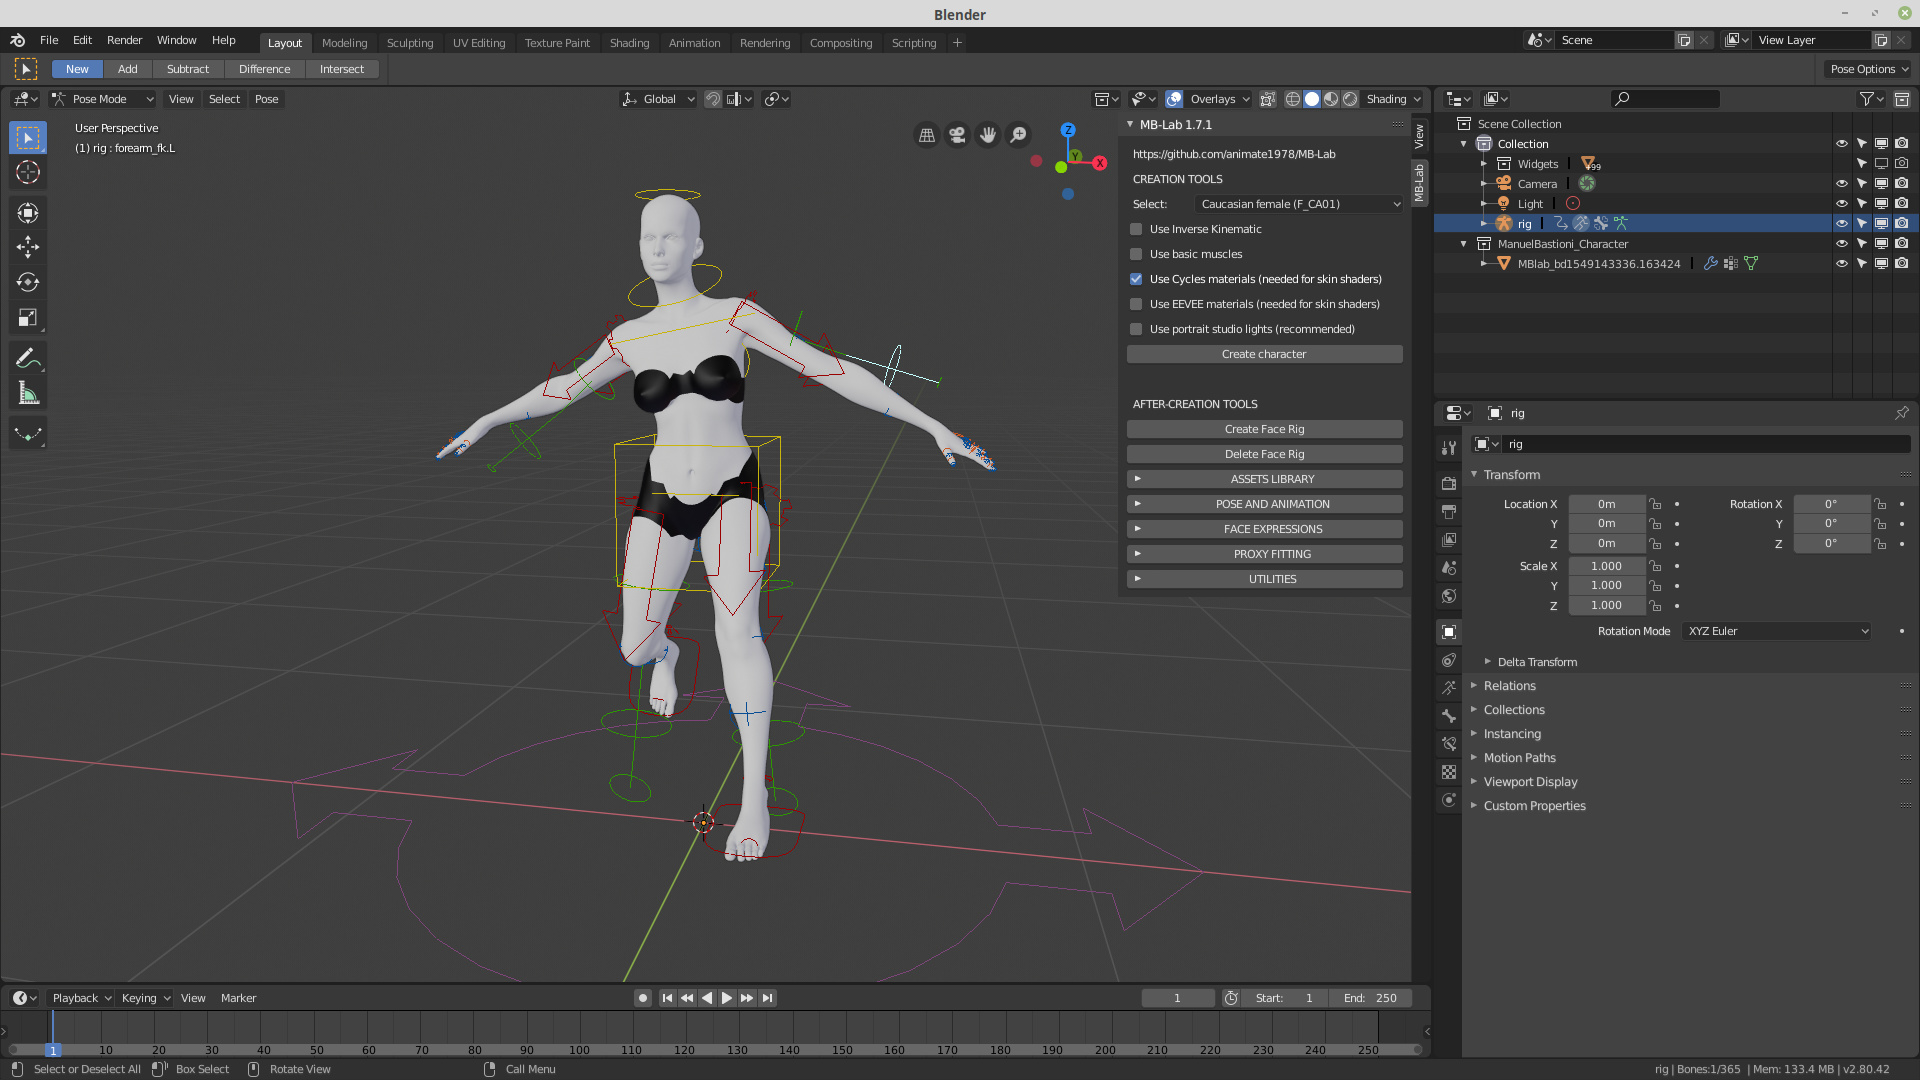
Following the request of 1pepe, I have done some tests on the MBlab (NOT the IK one) armature, to see how that could be modified to work with a posing system much like the one used in Daz Studio.
I have considered these three features in the tests, pinning of bones, IK, and rotation limits.
For the IK, auto IK function of Blender can be used.
In order to get the pinning working it is sufficient to use two constraints:
- Inverse Kinematics Constraint on the bone preceding the bone we want to pin (e.g. if the bone to be pinned is hand.L, a IK constraint should be assigned to forearm.L with target hand.L); this will lock the bone in place, but it will still be able to rotate around its center.
- Limit Rotation Constraint on the bone we want to be pinned to limit the rotation too.
It should be possible to add a button in the MBlab menu to automatically add or remove a constraint, similarly to Daz.
In order to get natural rotations for the limbs and other parts of the body when the auto IK is used, the Inverse Kinematics rotation limits under the bone tab (need to be in Pose mode) should be assigned as well; if we want the rotation limits to work with manual rotation (‘R’ key) as well, a Limit Rotation Constraint should be used. If fact it seems that this constraint will not be considered while using the IK. So, setting both the Inverse Kinematics limits under the bone tab and a Limit Rotation Constraint should do the trick and work for both IK and manual rotation.
From the tests I have done, I think that the armature should be modified in two ways:
- For some reason the editing of location in the Transform Locks under the bone tab is locked, this prevents the auto IK from working; so the editing should be allowed.
- The IK works to the last connected bone, so, for example, in order to have the whole body move when the hand is moved, other bones should be added in the shoulder and hip regions to connect all the bones together. For example, adding a bone to attach the spine03 bone to the clavicle_R bone, setting this new bone as NON-deform and its rotation limits to zero in order not to mess with the existing weights.
I’m sorry I can not help for the programming, but I can’t program at all.
Some of my conclusions may be wrong, but I hope that this is useful anyway. Let me know what you think.
1 Like
I will totally look into this, I agree that the IK is off and needs improvement.
Just so that this doesn’t get lost in the message archives you should go to the Github site and add a Feature Request, or even better yet if you know how to do this (because I am at best basic skill with rigging) fork the project and make some modifications.
Don’t worry about the programming, I am not the best at that either  This is a group effort now and all strengths are considered. Your input is valuable.
Has anyone tried to import Mixamo animations into the default rig? Mine get all funky, even after renaming bones by hand.
This is an article in russian about how the generation of a face mesh from one photo works in general.
What is curious is that the deformable (morphing) mesh is “tweaked” until it looks like a photo. That is exactly what is needed in our case.
The article is in russian, but the Google translator must cope.
I hope it will be useful. Sorry for my english.
Glad to see the addon isn’t dead. Thank you for this.
The biggest challenge right now is reverse engineering the JSON data that is associated with the entire project. Some of the JSON data is human readable, what I mean by that is that depending on the context, you can understand what the JSON data does, or what it is for.
For instance one of the expressions for a human (applies to all realistic models)
{
“metaproperties”: {},
“structural”: {
“Expressions_cheekSneerL”: 1.0,
“Expressions_mouthOpenAggr”: 0.22,
“Expressions_browSqueezeL”: 1.0,
“Expressions_cheekSneerR”: 1.0,
“Expressions_browSqueezeR”: 1.0,
“Expressions_browsMidVert”: 0.0
},
“manuellab_vers”: [1, 6, 0],
“materialproperties”: {}
}
This simply modifies the expressions shapes. In this case developers can add new expressions. As long as they know what they are doing of course ![]()
It’s the OTHER data that is confusing and needs some black magic (or someone skilled in this area). The data that contains the morphs, the vertice info, the polygon info…
For instance if you follow this URL
It’s JSON files like this that need to be decoded for any kind of work related to meshes, new base models, new morphs etc…
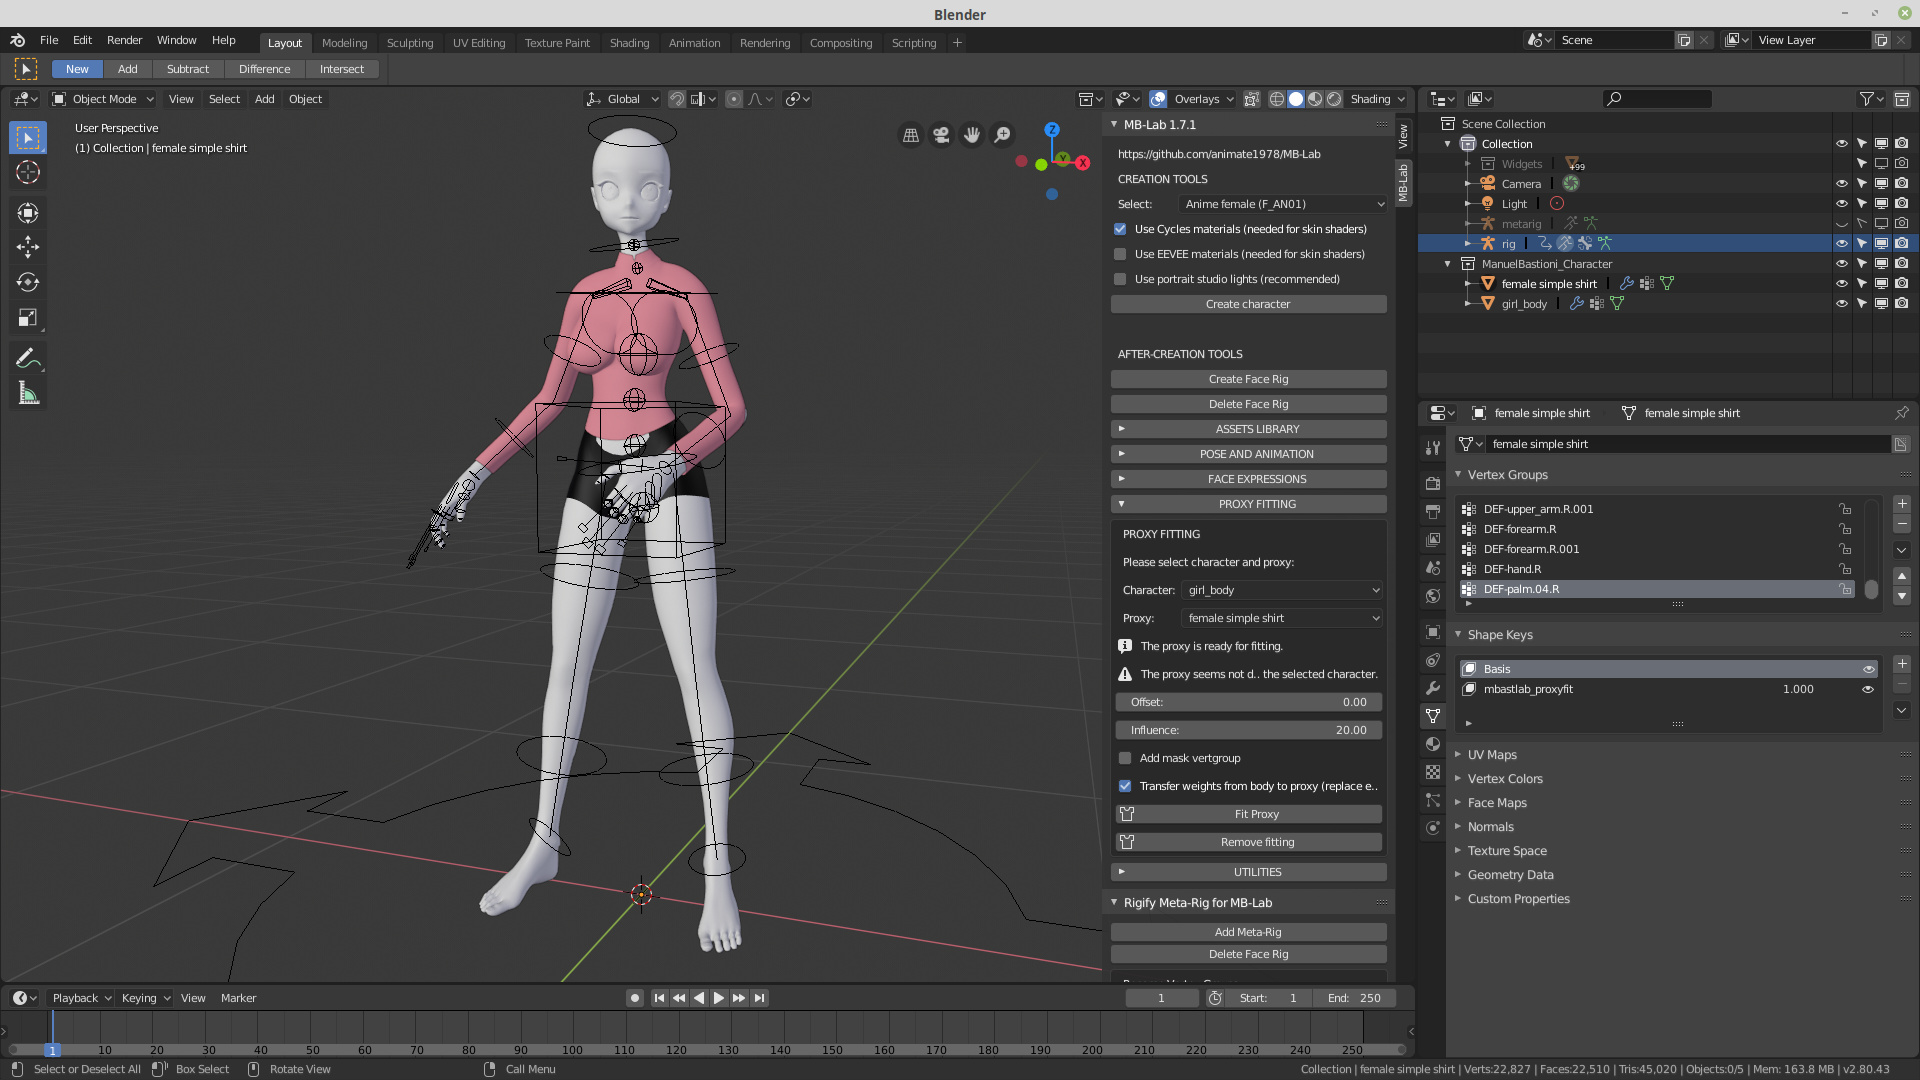
I also looked into the armature editing, it will require more than just adding bones to the humanoid_library.blend file, it will require some editing in the scripts as well as JSON files in order for that to happen, I have yet to change anything of course. Right now I am researching what it would take to get the armature to be a complete entity as opposed to what it is right now…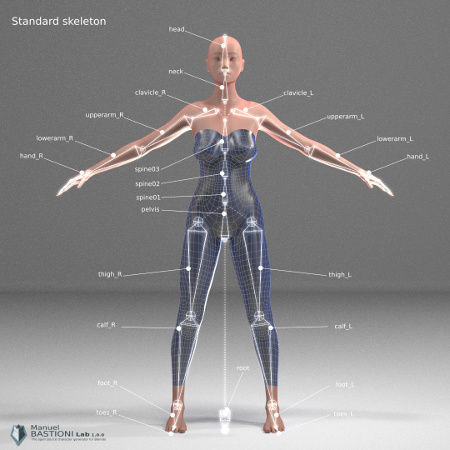
As you can see the legs and the arms are not actually attached, thus making IK not as realistic as it could be, as mentioned above by @pippinu. If you move the arm up in IK for instance, the resulting form of the rest of the body is inconsistent with reality… in reality your whole upper body moves if you raise your arm in the air.
So in a way the editing of the armature will be a big project, but not as big as reverse engineering the data. Ugh. lol. It is times like this that I marvel at Manuel’s programming, let alone the modeling. It’s also times like this that I am grateful for collab systems like Github where people more skilled in areas can contribute.
Anyway that’s all I have for the moment…
2 Likes
That looks like something that DAZ Studio would understand…?
I’m not so skilled at rigging either.
I have done more in depth tests and I think that this task is not as easy as it may seem, there are some issues with cycle dependencies and armature getting crazy in some cases, anyway once I have something working as expected I will update you.
I didn’t know there was already a forum topic for the community continuation of MB-Lab. Nice to have found this and thanks for doing this everyone, and especially @animate1978 !
Note that values above 0.5 are related to _max and below 0.5 to _min. E.g. under shape keys Expressions_browOutVertL_min/max.
For people interessed in FACS facial expressions, you can find the .json here: https://github.com/NumesSanguis/FACSvatar/tree/master/modules/process_facstoblend/au_json
How to get the sliders to appear in ManuelBastioniLAB (and probably MB-Lab too): https://facsvatar.readthedocs.io/en/latest/defaultsetup.html#enabling-facs-sliders-in-mblab-add-on
These data points are 3D coordinates, please see my comment at the issue on your GitHub page.
There is a Discord chat for this add-on now, that is not the Blender Discord channel under #blenderpython?
2 Likes
Ack I am getting my sites mixed up, I thought I posted the URL here but I guess I did not, sorry ![]()
I will look through your repo Numes and see what I can find
This is my Discord server ![]() I am always logged in but may not always be available (I do have to work everyday lol)
I am always logged in but may not always be available (I do have to work everyday lol)
1 Like
Just a quick update.
Changed the shaders a little bit and the texture maps, now instead of using the term “Diffuse” they are now named “Albedo”, this was brought to my attention that the terminology and usage was not correct.
The Roughness map was changed to a more accurate version.
A new small feature was added in the Body Measures panel, the addition of a Feet / Inches display! Now you can go by regular Imperial measurements. You need to open the Body Measures panel, click on the Body measures checkbox, click on the Inches checkbox and it will be displayed.

If anyone cloned the repository in the past few days, there was a bug that failed to Finalize the character when trying to export all images too, this was caused by a typo and was fixed this morning. It is recommended that you clone the repo again.
Have a nice weekend!
5 Likes
Thanks a bunch! As I am new to this where do I get to know these things…
This is awesome! And I really love the characters, but I am running into some problems - i don’t know if this is the right forum to ask?
I try to import these for UR4, and I followed some instructions for getting the Animations from www.mixamo.com - however Maximo seems to remove most of the original bone… when I import the Animations.
Is there a way to import the animations to Blender, and then match to the Original Blender file… or will it be better to find some animations that are already match the MB-Lab characters?
If I recall there were issues some people had regarding Mixamo animations and MB-Lab. I haven’t tested them myself so I can’t say first hand.
I shall give it a test and then see where the problem lays maybe try to find a solution. Don’t know when that will be though.
All sorts og problems can occure - when in hands of a novice like me!
However one single thing would be extremely helpful. When building the character, it would be nice if you could choose between various naming conventions for the skeleton bones (there are probably other parts where you could do the same?).
Mixamo uses one set of bone-names, where UR4 use another… but why not have the all, side by side to pick when you export?
In UR4 you can retarget skeletons and animations… the skeleton retargeting actually just links one name to the other… and that needs to be done over and over again.
I even see that as an real application for new versions of MB-Lab, at some point you would perhaps want to add bones/morphs to the base characters… What happens then to the older versions. Ideally you would build on the original character-variations and reimport them to get new functionality?
(For anyone interested this is how UR4 retarget skeletons and animations… https://www.youtube.com/watch?v=xy9aLbZLdeA&t=3s - would be nice if that could be automated… say by adding some general conventions )
And a few more to the Wishlist:
- When creating the character you can morph the body to say bodybuilder…. why can I not have the body morphs (or at least some of them) after the character have been generated… (my guy may workout and change over time…
- Once created I would want to be able to export/import the character/without having to generate one first … how can I do that? (in general the workflow is unclear, when to finalize and when to do other stuff… Not a HUGE problem, but it can get confusing! )
- For more morphs - it would be cool if you could “join” these to the expression-morphs … such that one general expression-morph could be exported. As could the different sound/speech-expressions.
- Related to the above, some would want to be able to import Miamo animations… that could probably be done, when the skeletion match?