Thanks Machin3, the workflow was confusing me. Very helpful. 
1 Like
Hi, i was wondering what happened to “offset cut” tool? I remember you were showing it a long time ago here
https://twitter.com/machin3io/status/1141776581276442625
Looks like it was doing better offsets than a simple “offset” tool and on both sides. But it never got into consumers build. I just saw it again in your video and was curious, maybe you just forgot about it. Thanks
3 Likes
I’m busy with DECALmachine is what happend and MESHmachine hasn’t gotten enough attention to release the next update yet.
DM is more of a workflow addon than MM is, and that workflow is currently incomplete, without atlassing/trimsheet support. Once DM 2.0 is out, my focus will be on MM again, which includes finishing the Offset Cut tool.
9 Likes
using most (all?) of these tools, I see that upon activation it toggles the display of sharp edges on the mesh to On. Perhaps it would be preferable to give the option to the user whether they want this or not as a checkbox in the plugin preferences?
In the meantime, would you happen to know which .py file(s) I could modify to turn off this behaviour? I don’t want my modeling tools to alter my edge display 
(reposting this from the machinetools thread - i originally intended to ask this for these tools. Sorry for the confusion! I’m a big dumbass)
Why would you not want to draw sharp edges?
If you don’t like how Unchamfer or Unbevel set sharps, just untoggle it. You can still leave the display of sharps enabled.
If you want the default states for Unchamfer and Unbevel to be to not set sharps, you can do that in operators/unchamfer.py and operators/unbevel.py accordingly.
Thanks for your reply Machine.
In case I wasn’t clear, obviously I want to preserve the setting sharp edges just as it is - I simply don’t want to be force-locked into visually displaying them with the thick-colored lines every time I use your tools. Just seeing a hard edge is enough to know it is there - if I wished for further visual information, then I would manually toggle that sharp edges display on myself.
So I understand it then, this is something I would need to modify in all individual operators’ py files, right?
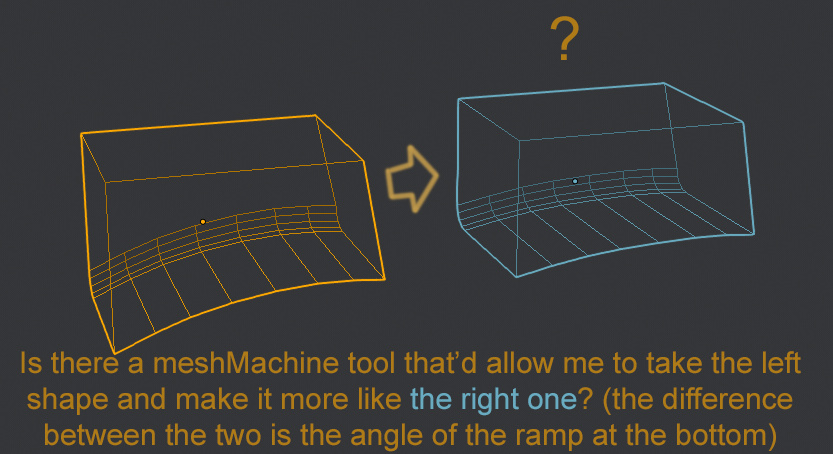
Trying to get more used to using these tools. Modeling today I came across this and couldn’t find an answer: is there a tool for these situations?
Between the unfuse/unbevels/refuse and their specific selection inputs, i couldn’t find a working solution.
Looks like something you could easily do with a lattice addon like EasyLattice in 3 clicks. Or yeah, unfuse unchamfer adjust and redo bevels.
hey real, thanks for answering. True, using a lattice would be faster, and it’s what I would normally use (or in other situations use proportional editing), but doing that would destroy the beveled edges’s equidistant spacing (the ones at the back of the box).
I think the fastest way, if I wanted a clean result, would be to unbevel the back edges, use a lattice on the ramp, and then re-bevel. If there is a faster way though, I’d love to know it.
Something I still don’t quite understand how to do - make specific bevels across edges with varying width? Wide on one side, and pinching close towards the other?
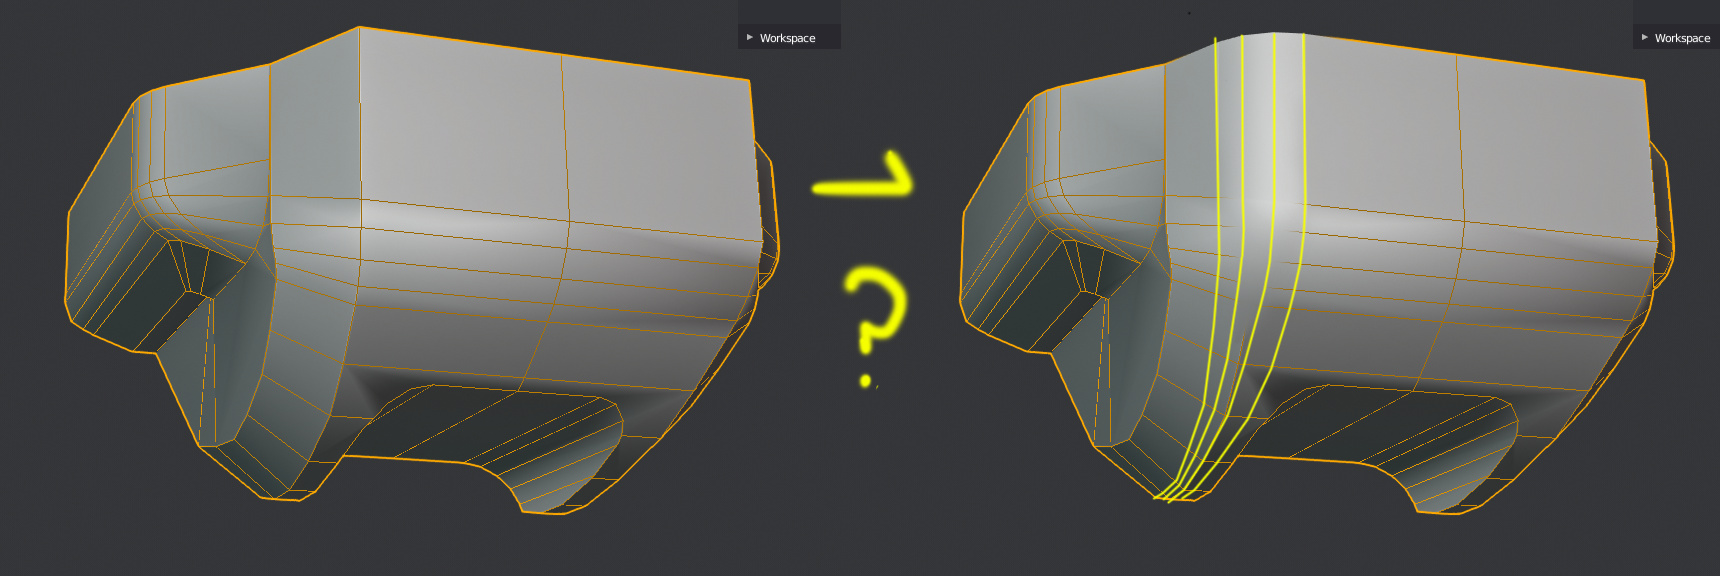
I’ve seen people use MeshMachine to do something similar, but afaik it wouldn’t quite work with this shape: they would first use the UnF*ck tool to set the different widths, and then Fuse the faces in between. This would destroy my object’s shape though.
It’s always the same process: first create the chamfer that describes the flow and width of your fillet, then fuse it.
You could use the change width tool with the taper option to create the variable width, or use unfuck, or you could do it manually by sliding or moving verts or a combination of these.
Why?
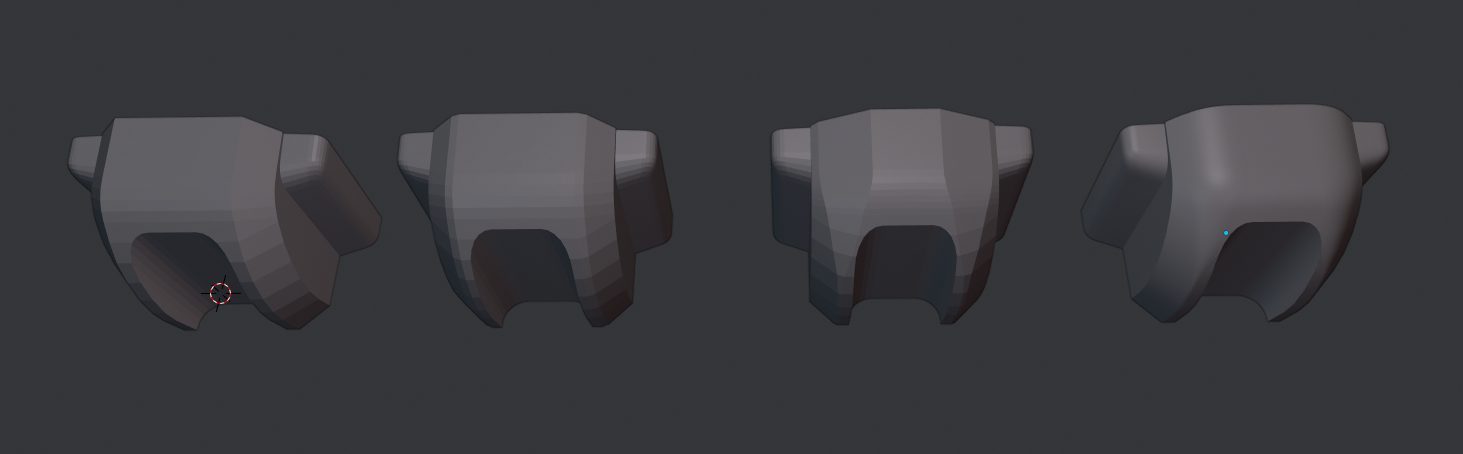
justo.blend (202.1 KB)
Tight.
4 Likes
I’m doing a late winter sale, kind of. 30% off for a limited time.
3 Likes
i hope to somday export a selection from a mesh as a stash but without going into object and splitting it.
1 Like
Easily done, will do.
Can you use the stash ui for turning a selection into a plane for shrinkwarp modif ? Eg i select 4 point (3 for planar and 1 for curvature) and this plane be used as a “projection” for my selection. This way i can work on semi organic forms and keep curvarture clean.
Dont know if it makes sense and hope it give some ideas .
Thx for the cool addons man!

I don’t quite understand what you are trying to do. Maybe post some images or video explaining it.
Stashes in MESHmachine are basically objects you have stored earlier. Normal Transfer and Conform tools use them to transfer normals and conform a selection to the stash object. Beyond that they can be uses as backups.
See https://machin3.io/MESHmachine/docs/create_stash/
hey mate,
how do i activate offset cut? i could really use it right now and have seen it in a few of your videos but the option is nowhere to be found for me.
1 Like
If i’m right offset cut is a preview feature. It’s not in MM yet. Machine is currently working on DecalMachine 2 at the moment, so you might have to wait a bit 
4 Likes
ah well …
that makes sense then - wasnt aware. thx for answering.
then i will have to find a workaround for now.
