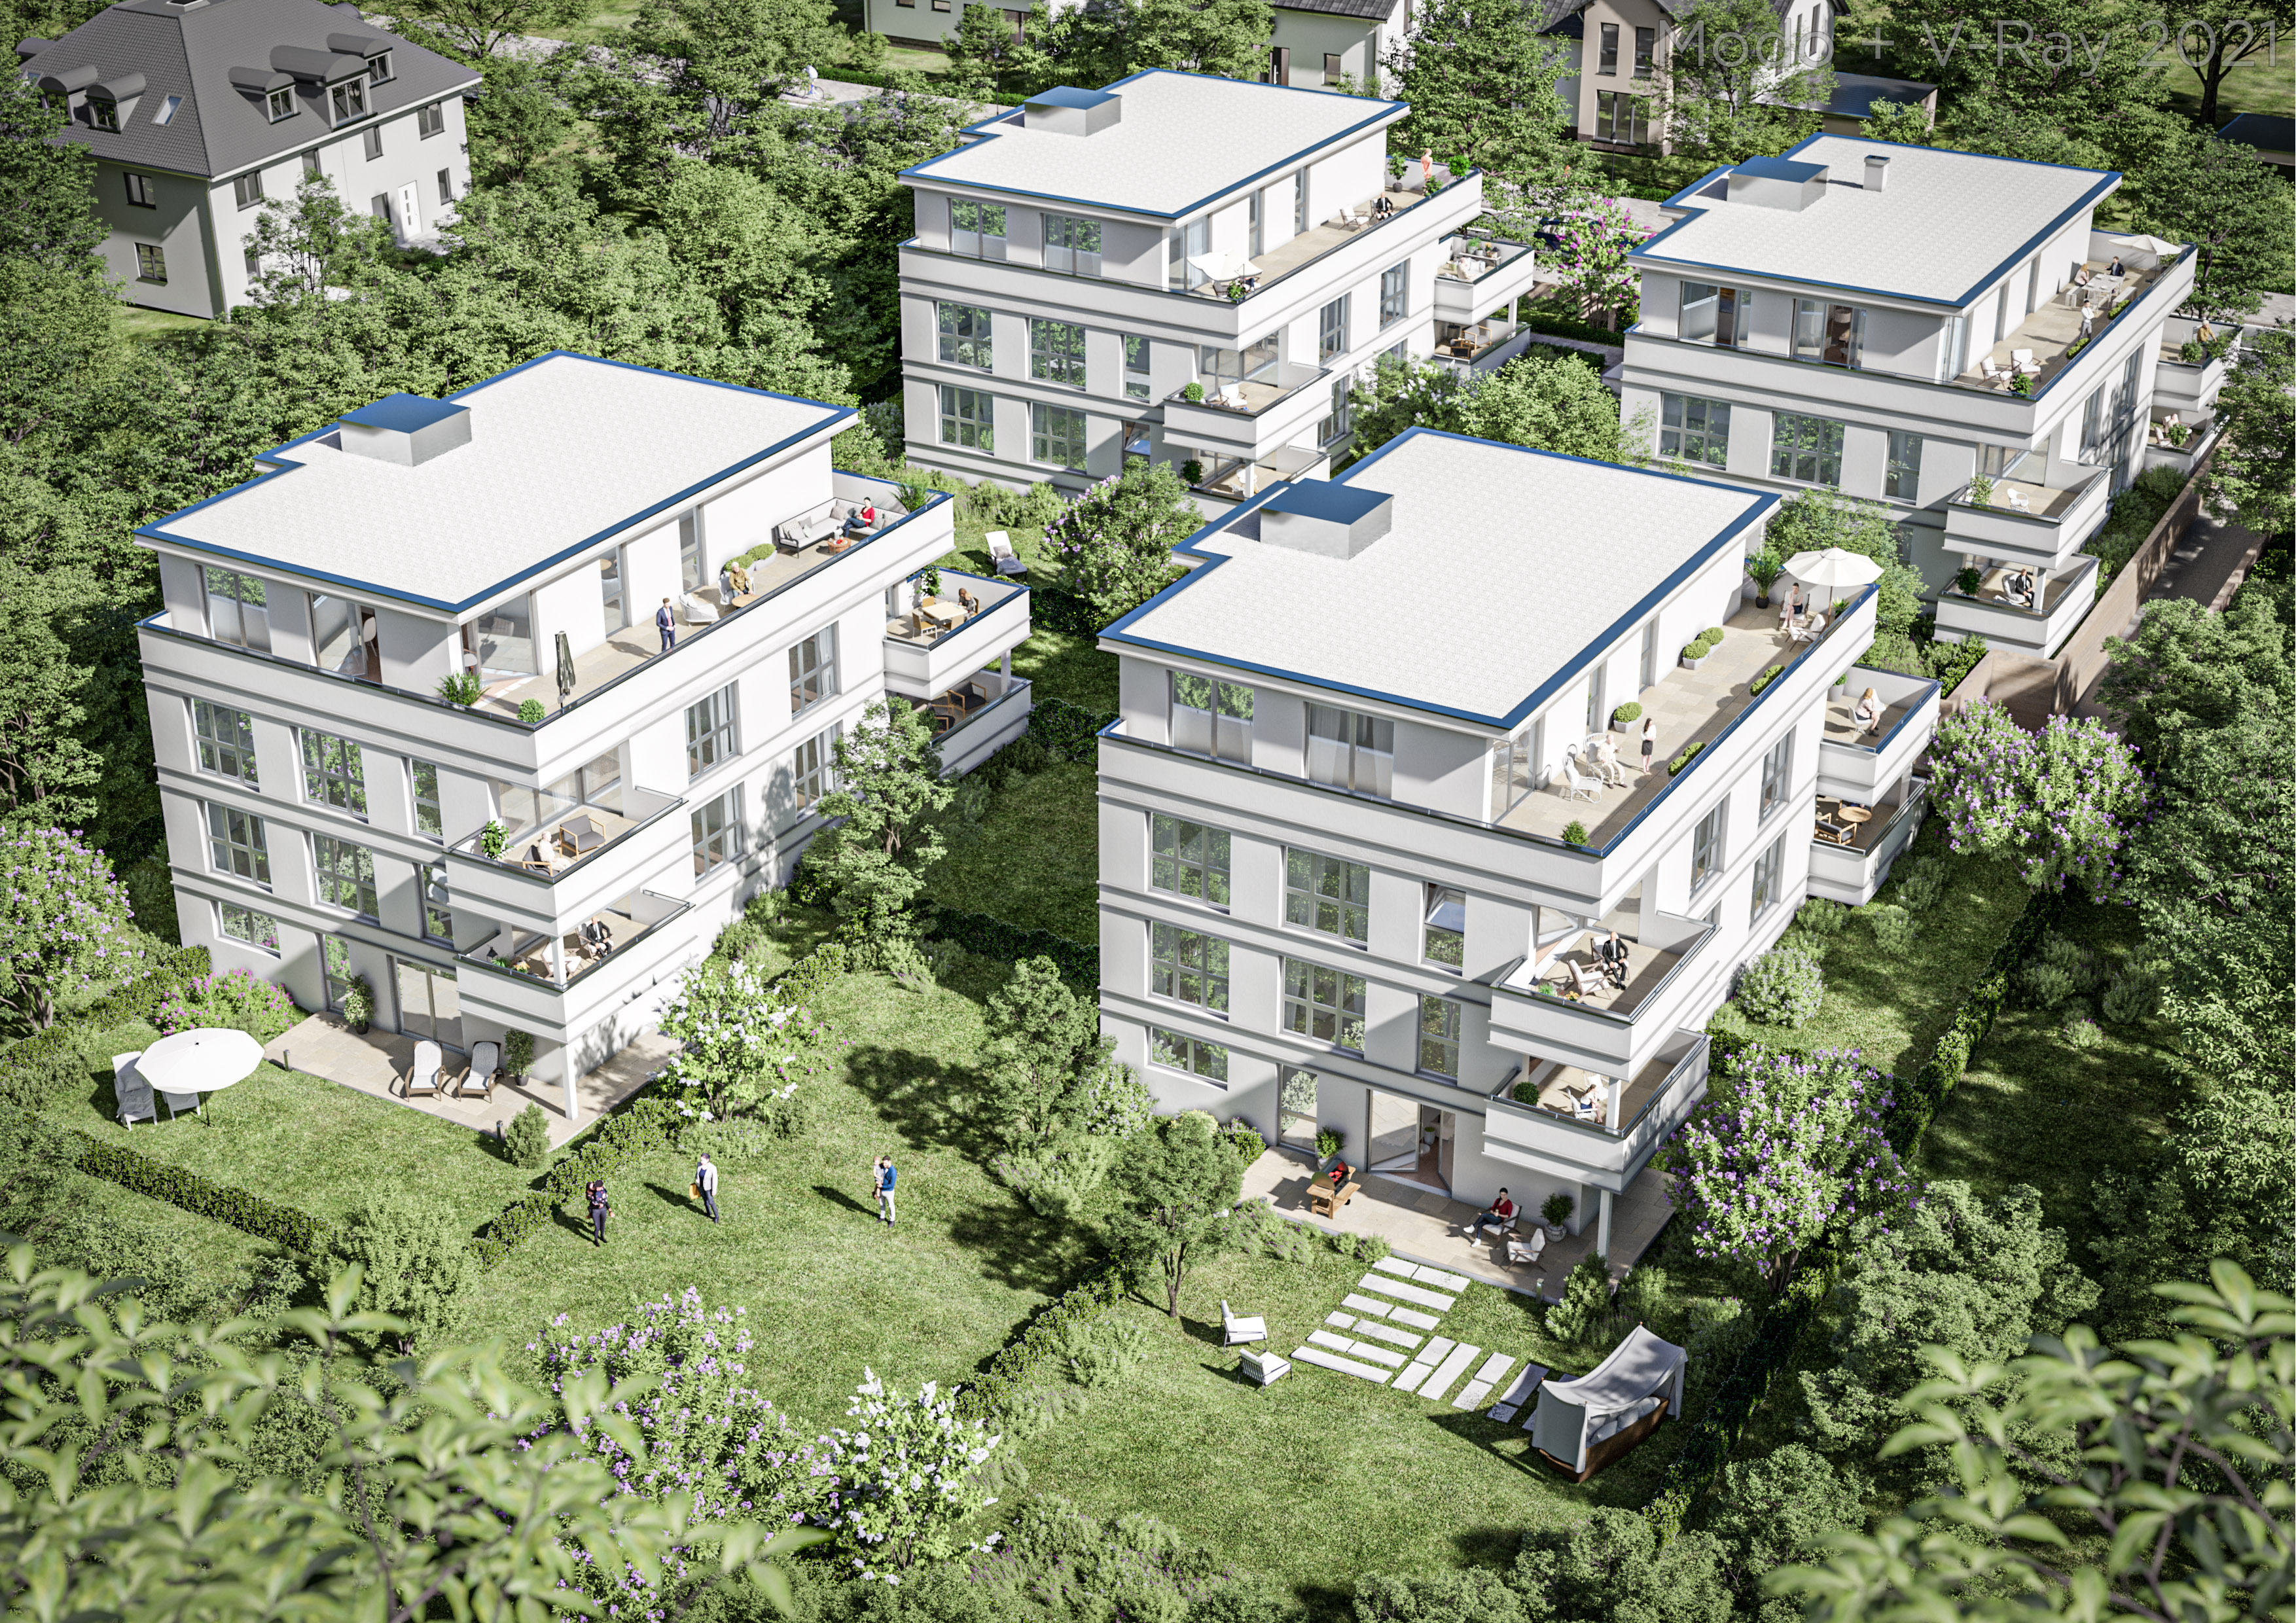
We used to work with Modo+VRay and have switched the entire studio gradually to Blender+Cycles now. One client recently approached us and asked for an additional image for a project we did in 2021. So we did a new exterior in Blender+Cycles now – I found it fascinating to have a side-by-side comparison in one project. Hope it’s interesting for you as well!
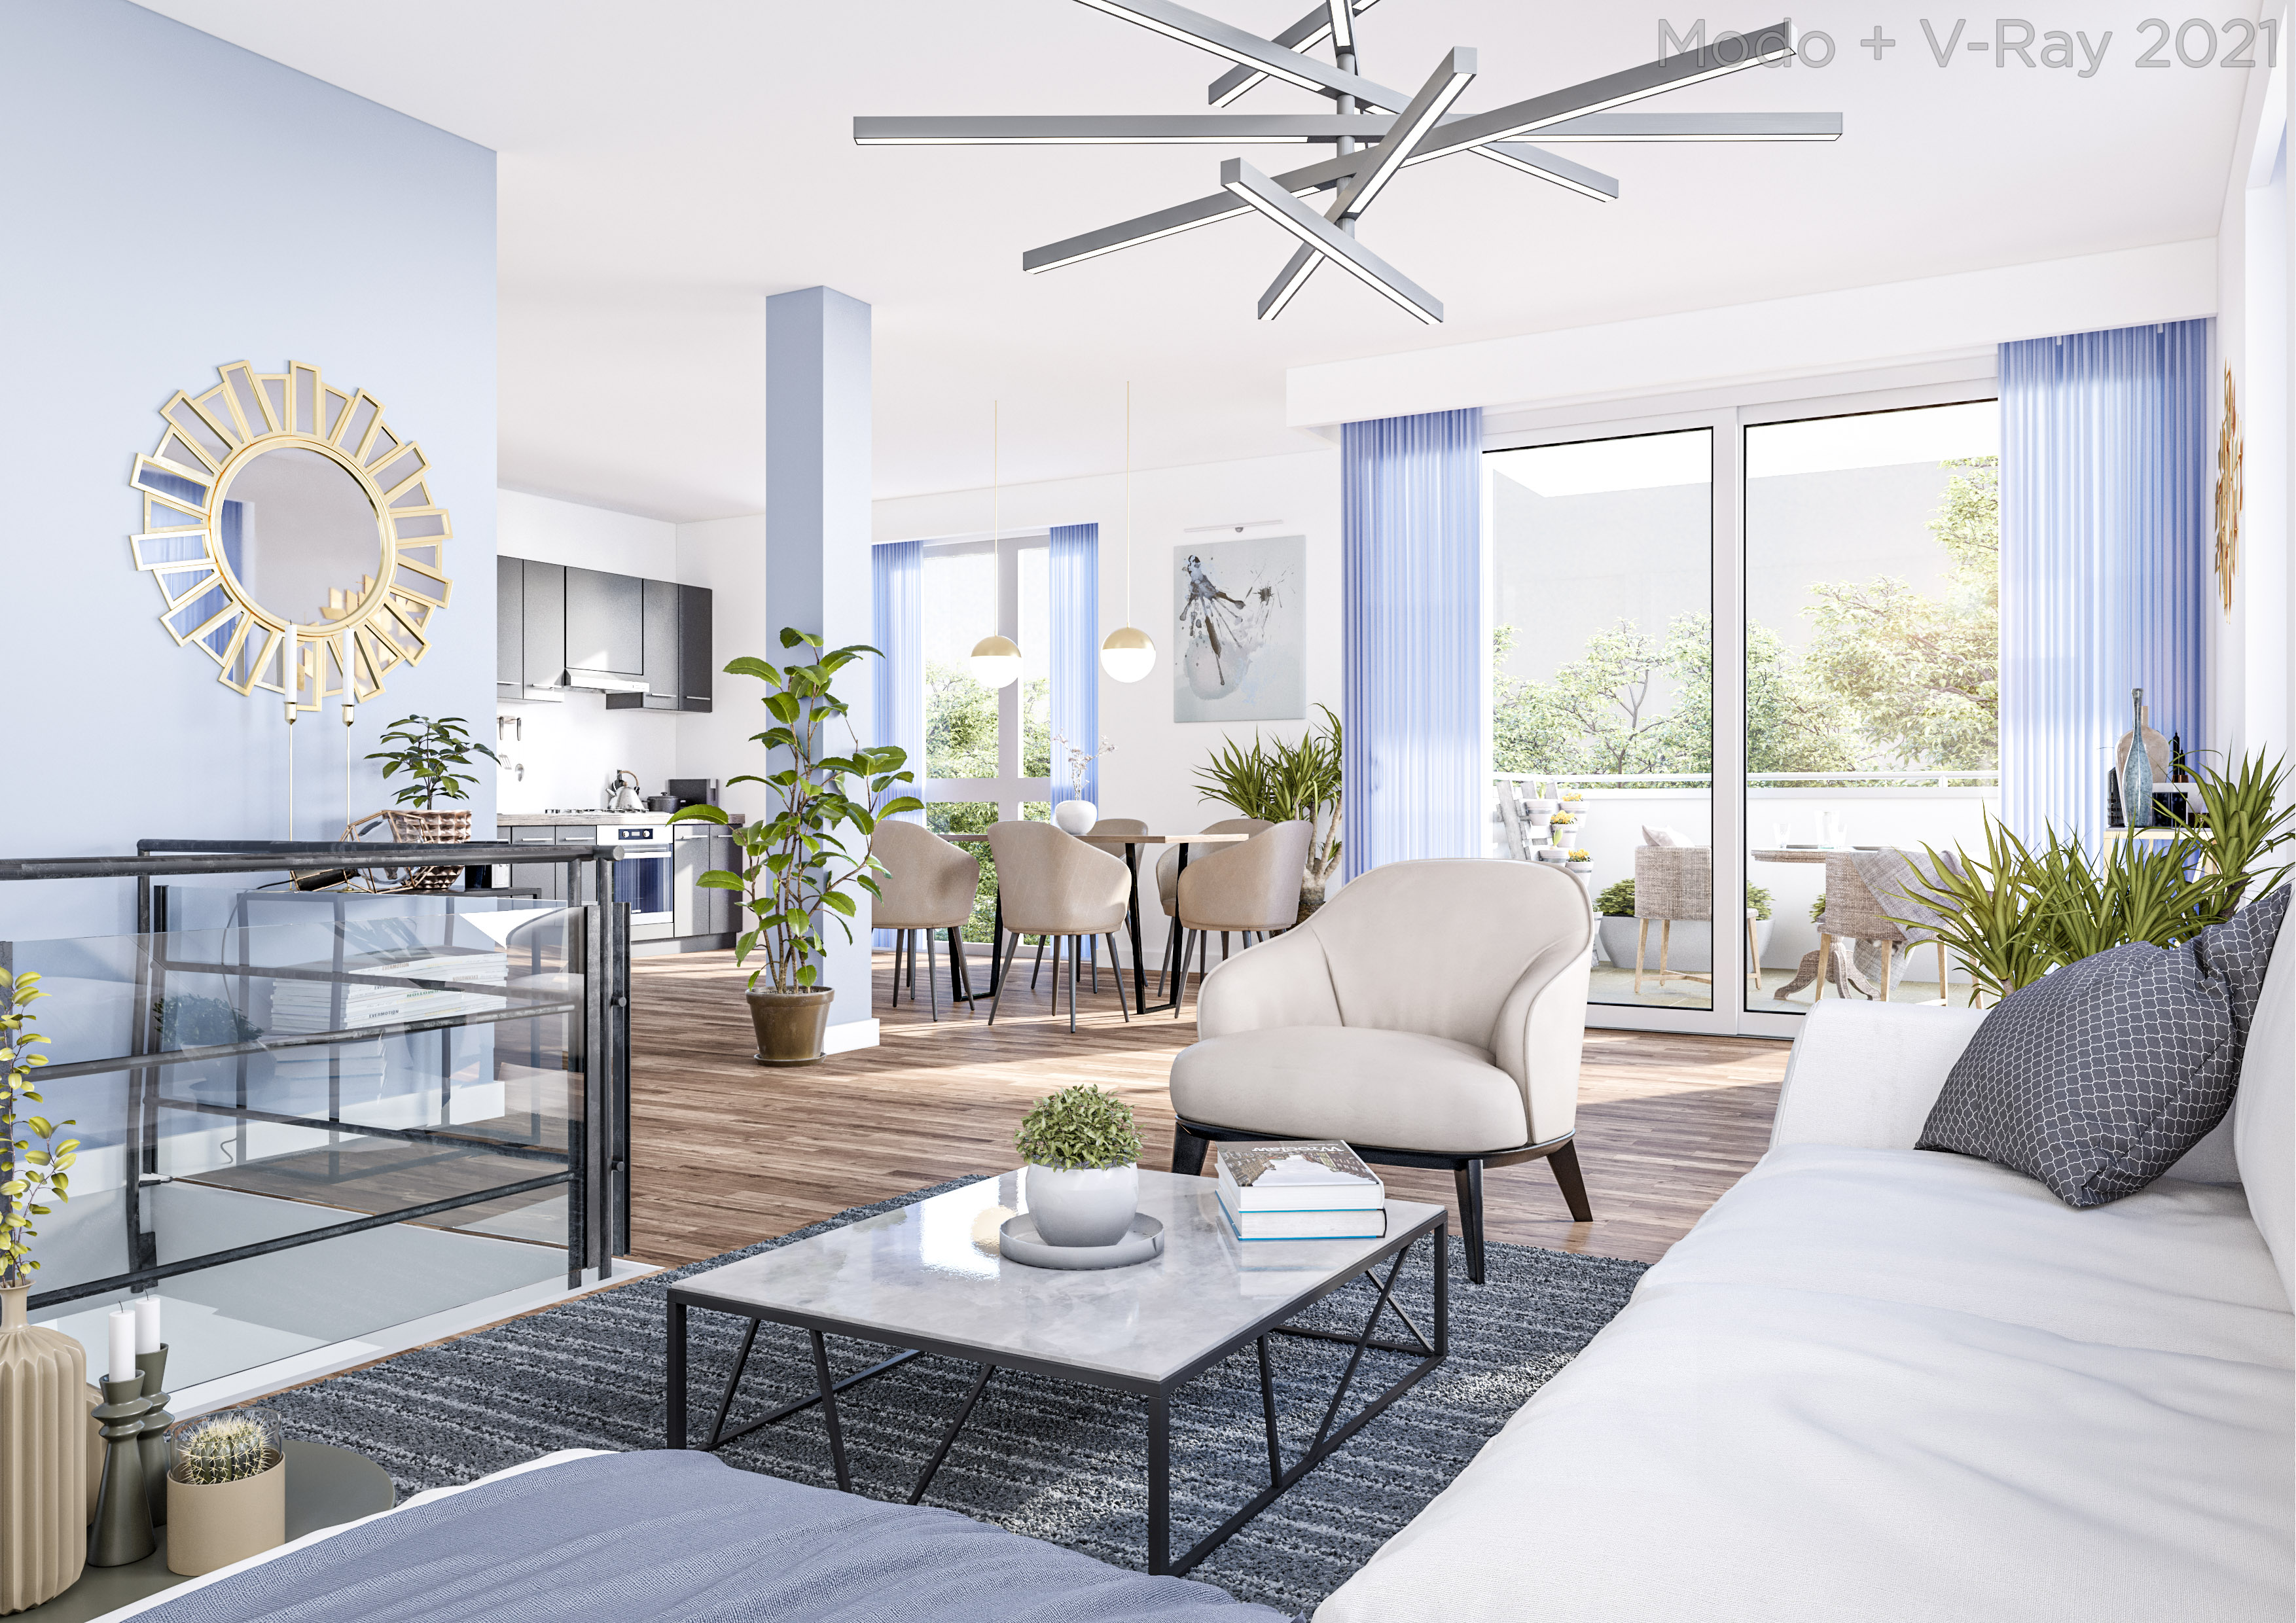
I have to say that I am so impressed with Blender+Cycles - it is really an amazing combination. For Exteriors I think it can easily stand up to VRay, Octane and Corona, on inteirors I think they sometimes have an edge - but considering that this is a free engine with so many amazing, resonably priced assets available, the quality is just awesome!
And the environment workflow is just SO MUCH BETTER in Blender.
The first image caught my attention! I like the colors there - the greenery and buildings look great. The image has a very nice feel and depth because of the shadows used. Regarding the aerial view, the greenery is blending a bit so compared to the 2021 render it is a huge step up! I am looking forward to seeing more!
I’d say the lighting looks much nicer, the older shots look a little overexposed and lack contrast but maybe that was intentional. Great work and nice to see a comparison.
Hey Jonathan, nice to see you there ! (I was in the V-Ray Modo skype group)
It must have been a hard decision since you were a Modo user for so long, but considering the fact that the V-Ray plugin was discontinued I guess it was easy in the end ?
Since you’re doing archivz projects, do you render on GPU or CPU ? How do you find the GI quality compared to V-Ray ? And how do you find Cycles in general ?
The first image caught my attention! I like the colors there - the greenery and buildings look great. The image has a very nice feel and depth because of the shadows used.
Thanks for your kind words! Yea we are also really happy with the overall render quality. I think a big factor for us is that it is so easy to use volumetric elements which give that little bit softer and more realisic look. Not just the fade to blue in depth but also just some cloud VDB Layers with hardly any opacity which just give a sense of depth in the air.
Hi @engart, thank you for your comment. We used to work with a very bright look. Using Photoshop’s cam raw pulling up the shadows a lot and adding a lot of the clarity feature. It is a bit of a painterly look which some of our clients really like - but we have recently started to use a more contrastly look. Also because we can modulate the crispness/softness of images with volumetrics directly in Blender.
We also recently changed our color tuning pipeline from Photoshop to Resolve and are really happy with it.
Yea, leaving modo was tough and a bit heartbreaking - but it just is at a dead end at this point. And with the subscription only model I would not even be able to go back if the brought back a competent render engine.
And Blender has been developing so amazing that I really had to take a call and I wanted to transition the studio in a relaxed fashion where we were not forced to do a hard switch but first do simpler projects without a tight deadline and build up competence step by step.
But I have to say that I have been pretty blow away by how competent blender is, how fast it develops (and has really useful updates, not fluff that sounds good for marketing but not so much real world application) and especially how rich the ecosystem is. So many awesome, resonably priced addons, libraries etc. - and a lovely communinty on top of it.
It has been the best decision we have made in a long time.
Cycles also is great, there are only two areas that are a pain in the butt for me. The fact that you can not use distributed rendering for stills is really tough for big print images with tough deadlines. And the other thing is that all non-uv mapping is really complicated compared to Modo.
But the overall quality - especially for exteriors shots - is pretty amazing. And even though it does not render super quickly, I find that you already get a good idea about color and light even after one sampling step with denoise - so it is really really nice to tweak materials.
This about sums up our initial experiences - would love to hear how you have found the transition.
thanks for your explanation about leaving Modo. I guess a lot of people would have left Modo even earlier if not suddenly Vray had arrived, as suddenly as it disappeared.
Aren’t there several batch rendering apps for Blender? And what do you mean with problems with non uv-mapping?
Dear @kkar - thanks for the link. And yes we are using Flamenco and it works amazingly well. Just finished more than 1000 frames of rendering over the weekend
So for Video rendering we are all sorted out - that is great. But what I am talking about is rendering a single image (lets say you have to deliver a 12000x8000px print image) using several machines. This is how it works in VRay
As far as I know there currently is no solution for this in cycles. There are a few options which will load the scene on several machines and essentially chop up the image in several small squeres and stitch them togehter afterwards - but that is not workable because there are lines on the corners because the GI sollution is not cached and shared and even more importantly there is no option for multilayered renders - especially cryptomattes etc.
Hope that clarifies this. And if you have a good solution I would love to hear it!
@Erik-nottheviking - thanks for your nice message. I really really love Modo. I still think it has the best UI of any app (even though it is a bit watered down by now and has become a bit cluttered)
Concerning Non-UV-Mapping:
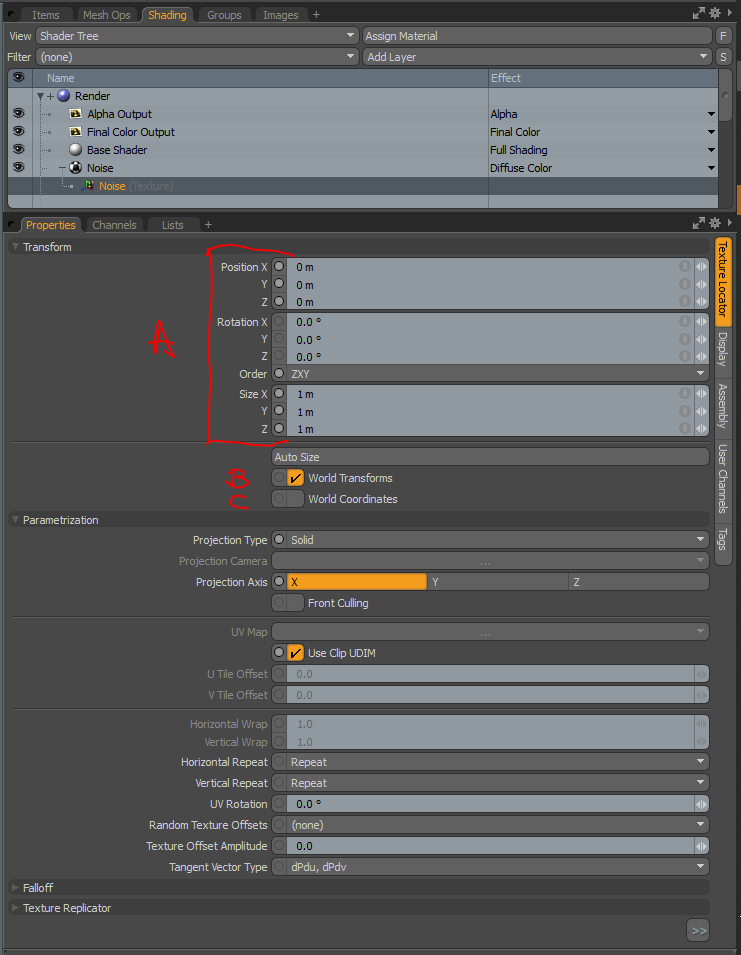
In Modo, whenever you create any texture (both image based and procedural) a texture locator is created - that is like Blenders option to choose an empty for placement.
A you can move, scale, rotate. So far so possible in Blender as well.
B you can enable/disable that you can move the texture relative to the object. So if you have a moving object that moves 4 units in x you can animate the texture to move 2 units in x over the same time and the texture will move 2 units on the surface of the object, but stick to the Object
C with World Coordinates the texture acts like a projector and you can just move your objects and the texture will be fixed in space and the objects will “slide” under the fixed texture
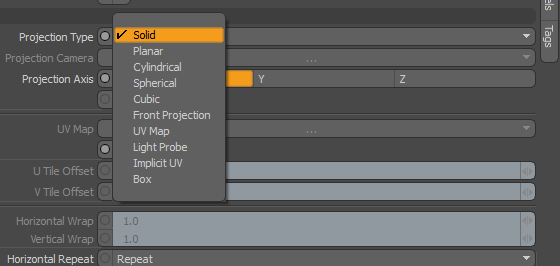
Then you can, with a single click, select all common projection types - and the ALL work for procedural textures as well.
And then you have all the controls for UV Based textures in a simple interface:
A Slide the the texture space in U/V direction
B Add Repetions to your UV texture space (Basically the Scale function, but a much neater Interface)
C Linke in Blender you can choose the repetition type
D Rotatet the UV space
E Have random offset per item, or mesh island - perfect for example for wooden flooring where you have individual meshes for each floorboard
Most of this (probably all of this) IS possible in Blender. And for image based textures there is a lot of functionality in the Image Texture node. But it is not as intuitive (to me) and this is not available for procedural textures.
And to have a simple switch for World/Local Transforms/Coordinates switch would be really useful.
Now I DO KNOW that a lot of these issues are also me just learning Blender and not knowing my way around, but I have also been working with 3D software for 25 years and despite watching lots of tutorials on the subject, still find the blender approach pretty unintuitive. Maybe just an ÜBER-Mapping node would be needed, but currently this is an area that requires a lot of trial, error and tutorial for us.
Thanks for your explanation, and yes, its an “issue” because we still have to learn Blender.
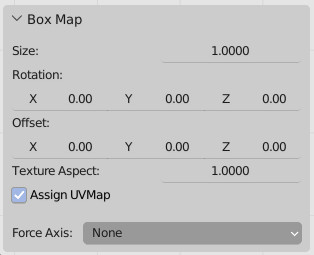
I must admit i take the easy route: whenever i import an object i just add a one meter box Uv map, thats all i need for my architectural stuff; of course after setting all transformations to zero. I rarely have to move the map around, maybe for curved walkways or when i have a texture map that is not endless repeating. I only miss Modos texture instancing, that would be great to have it in Blender.
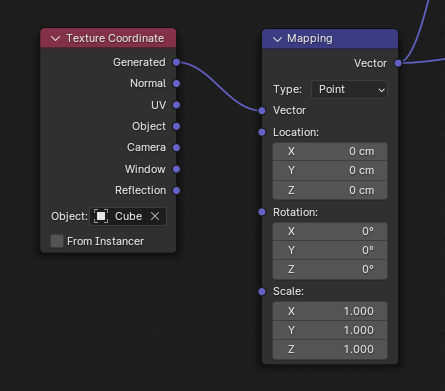
Hey Jonathan, quick tip regarding UV-less mapping, you can use the Generated socket of the Texture Coordinates node + box projection.
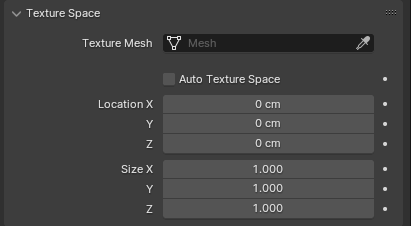
I guess you’ve already used this option in the past but the trick is to reset the mesh Texture Space settings : disable Auto Texture Space and reset Size (1.0) and Location ( 0.0 ) values.
Then you’ll always get the same mapping regardless of the object size or it’s UV coordinates, as long as you don’t forget to reset the object’s Texture Space. Works with procedural maps too.
You can batch-edit these settings on a bunch of objects by pressing Alt while editing the values ( Alt-LMB for checkbox, Alt-Enter for values / numbers) or using Copy To Selected in the RMB Context Menu.
Thats it. In the texture coordinate node choose UV, in the mapping node the easiest way is to choose texture and type in the the size that your texture map is in real world numbers.