Hello! I’ve been working like a madman on this for the past 2 weeks and wanted to post it here to make sure that I’ll actually finish it
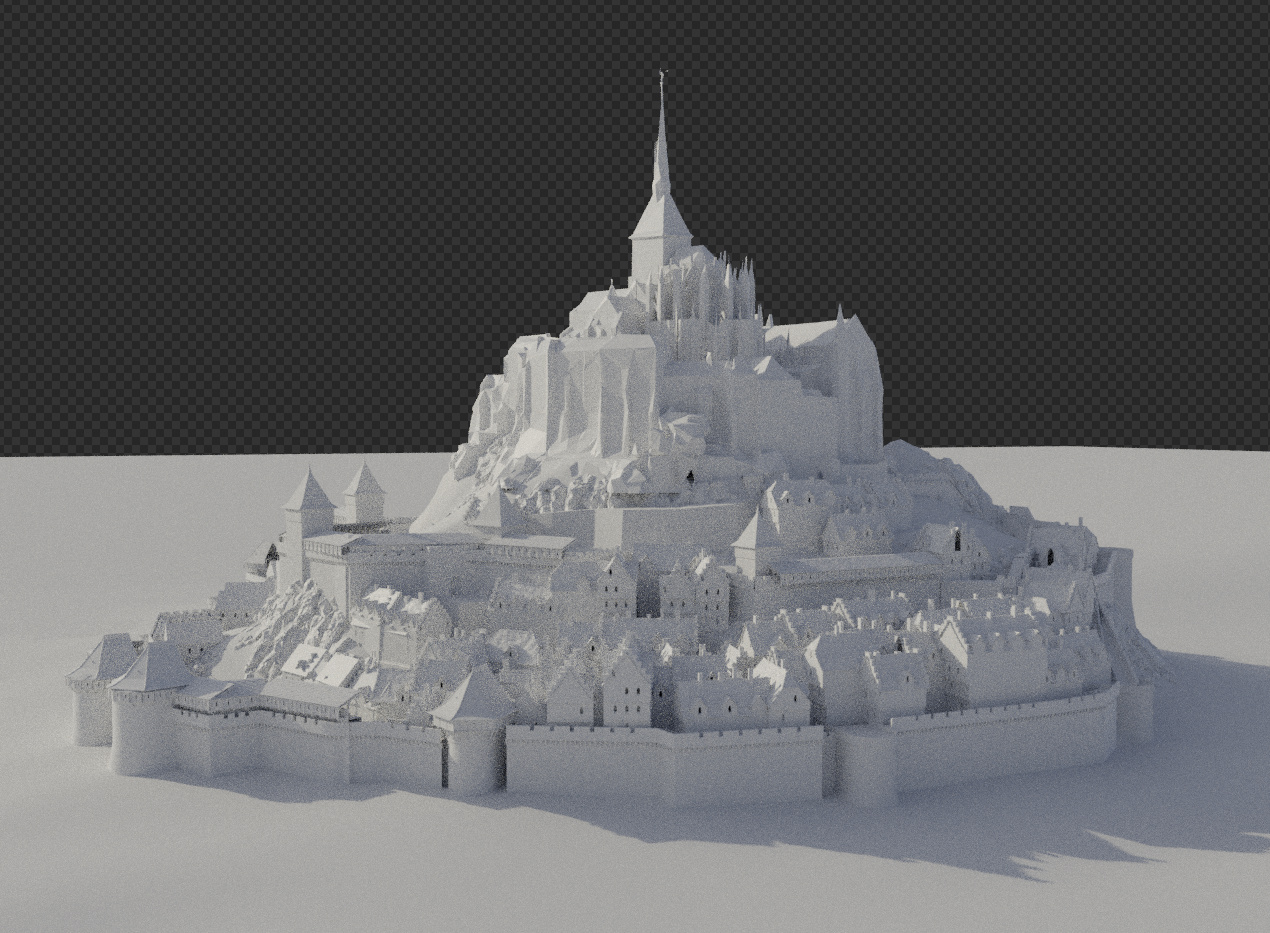
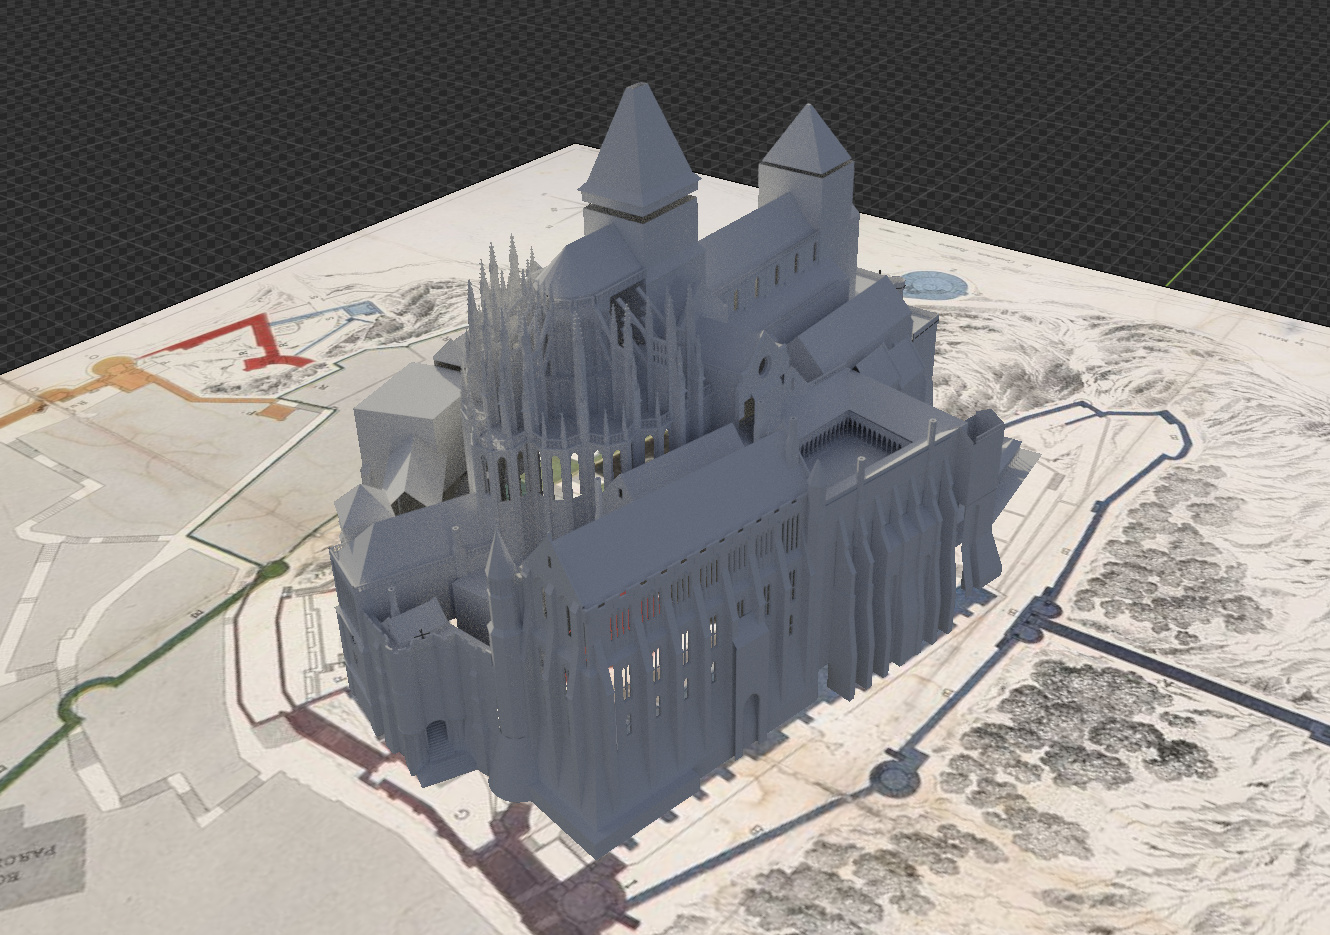
This is going to be a pretty complex reconstruction of the amazing Mont Saint Michel, although I’m changing the design and layout quite a bit in some places.
To make sure that this won’t take forever (and to keep enough flexibility for making adjustments along the way), I’m trying to figure out a fast and simple procedural workflow for these kinds of scenes. At this stage, most of the heavy lifting in terms of modeling is being done in Houdini. The detailed parts (like the abbey and other unique structures), as well as shading, rendering etc. will all be Blender.
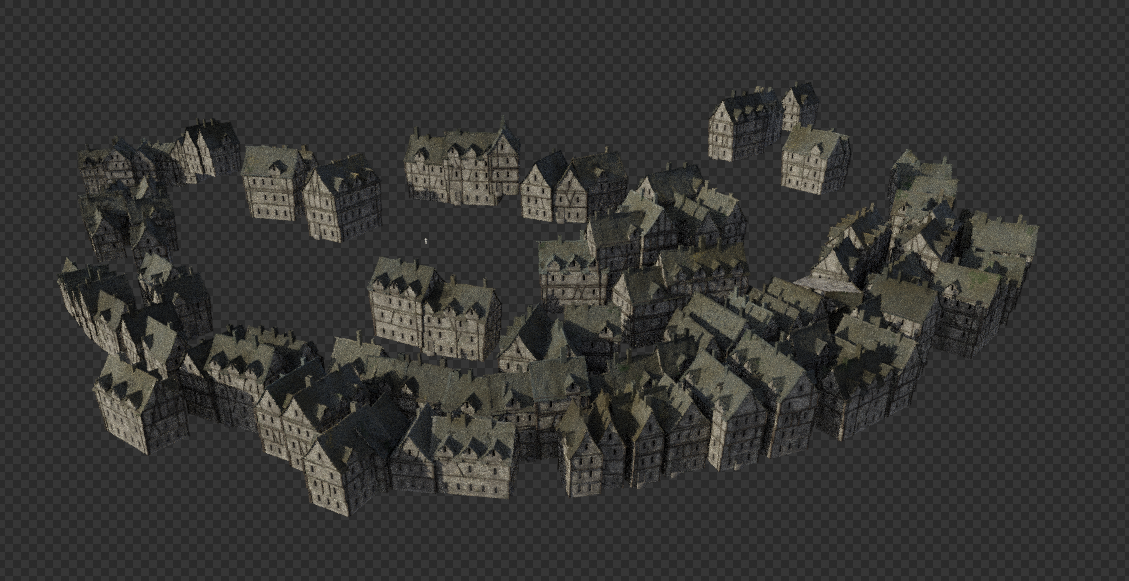
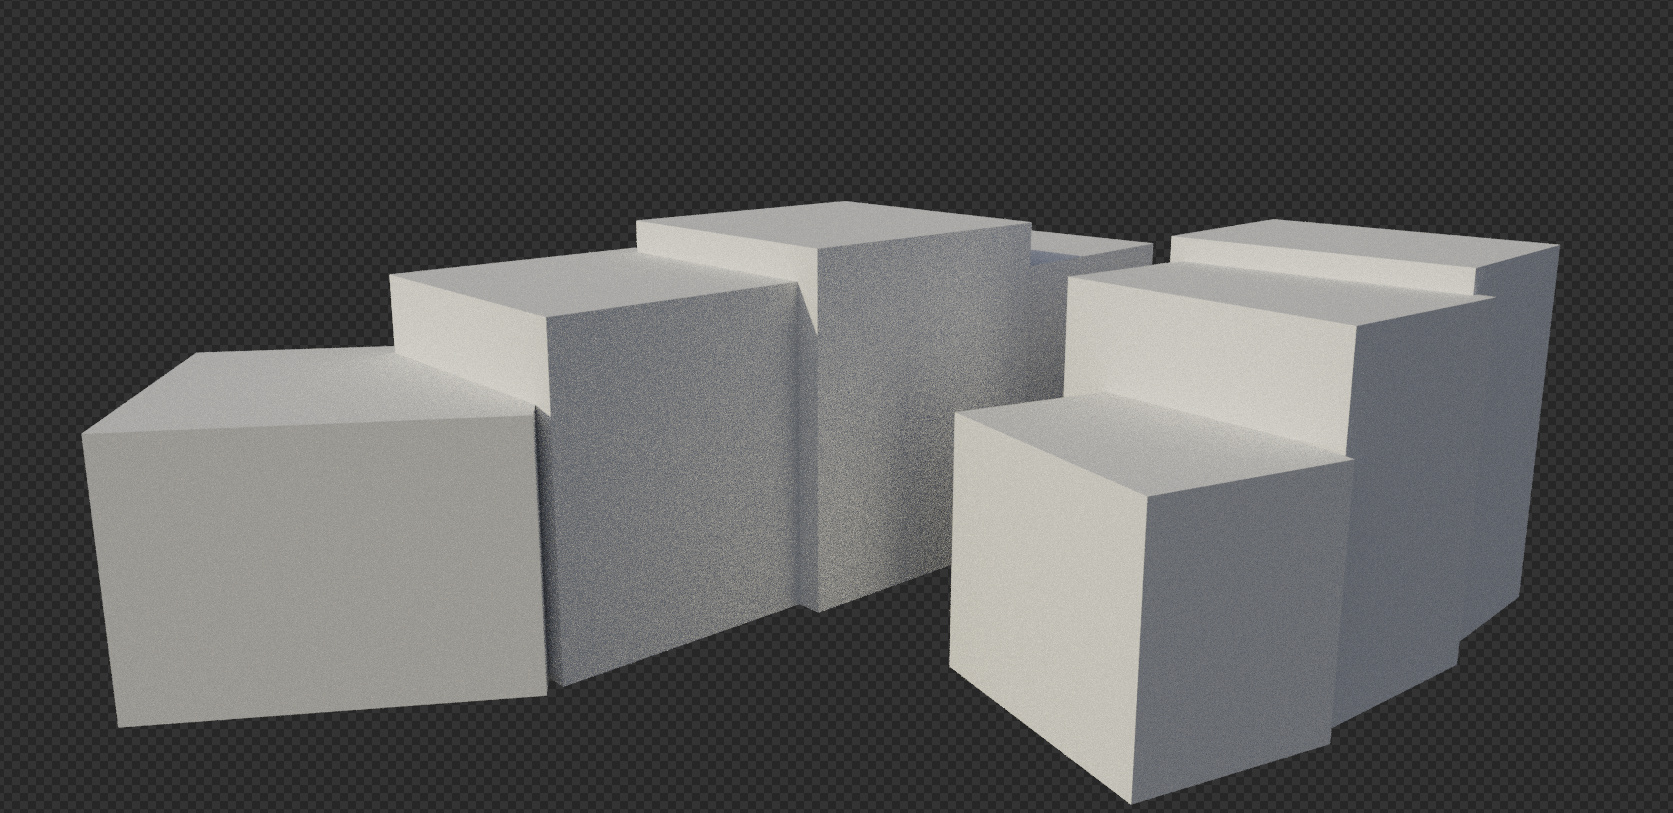
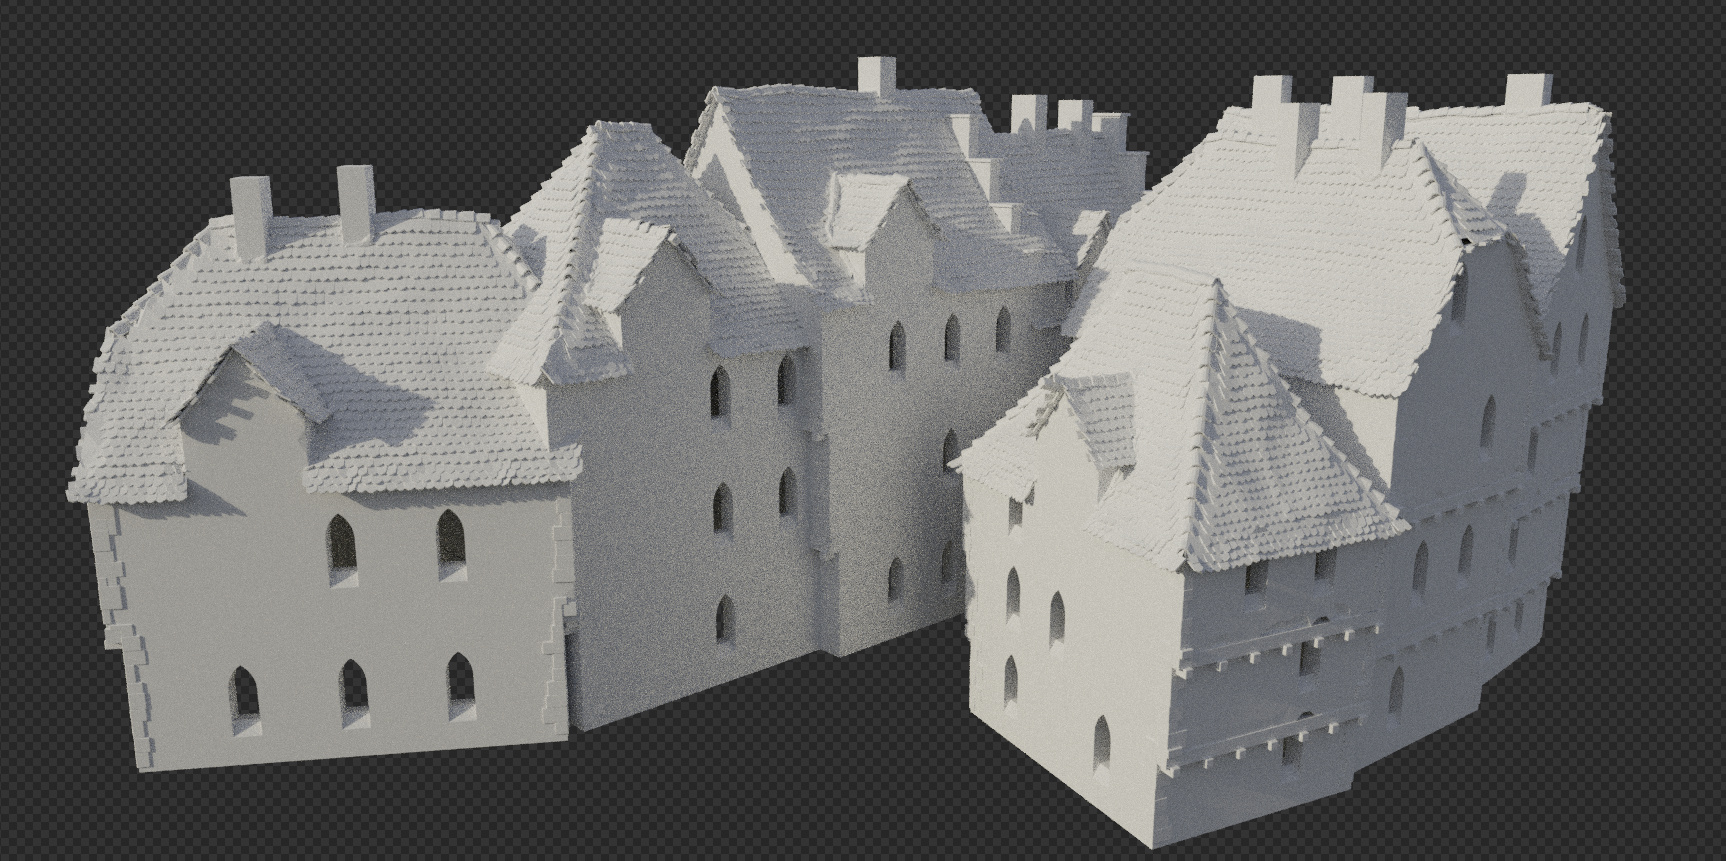
Testing house generation with a small part of the township. The asset I’m making in Houdini converts my simple blockout from Blender into more detailed models (which takes just 30 seconds in this case )
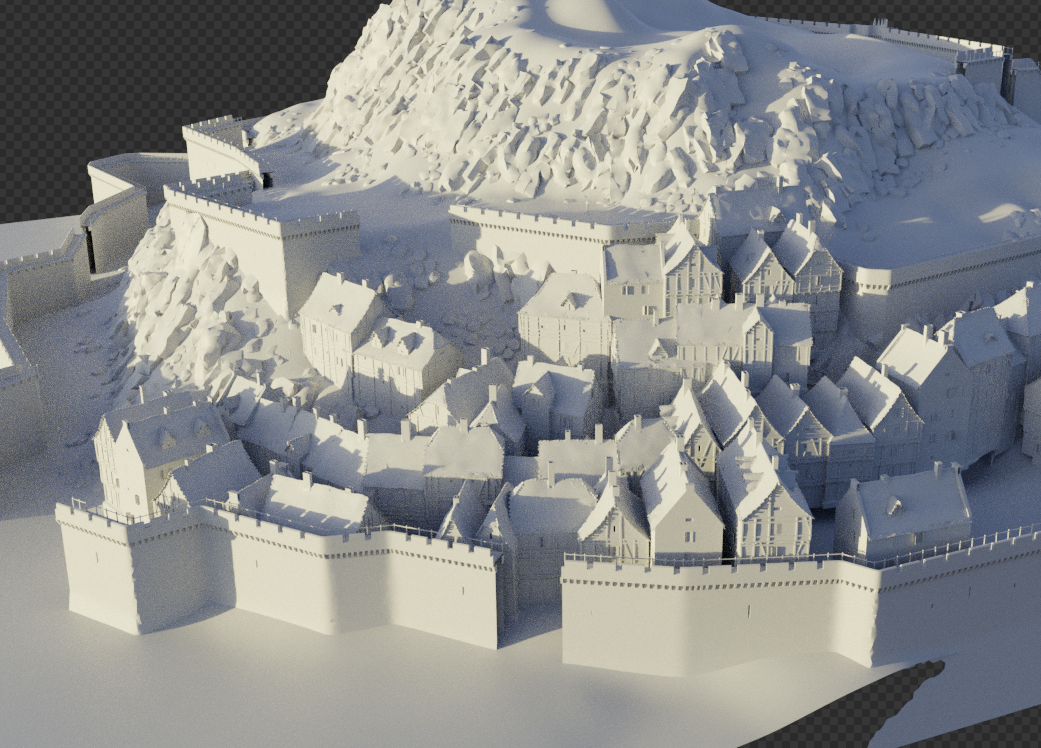
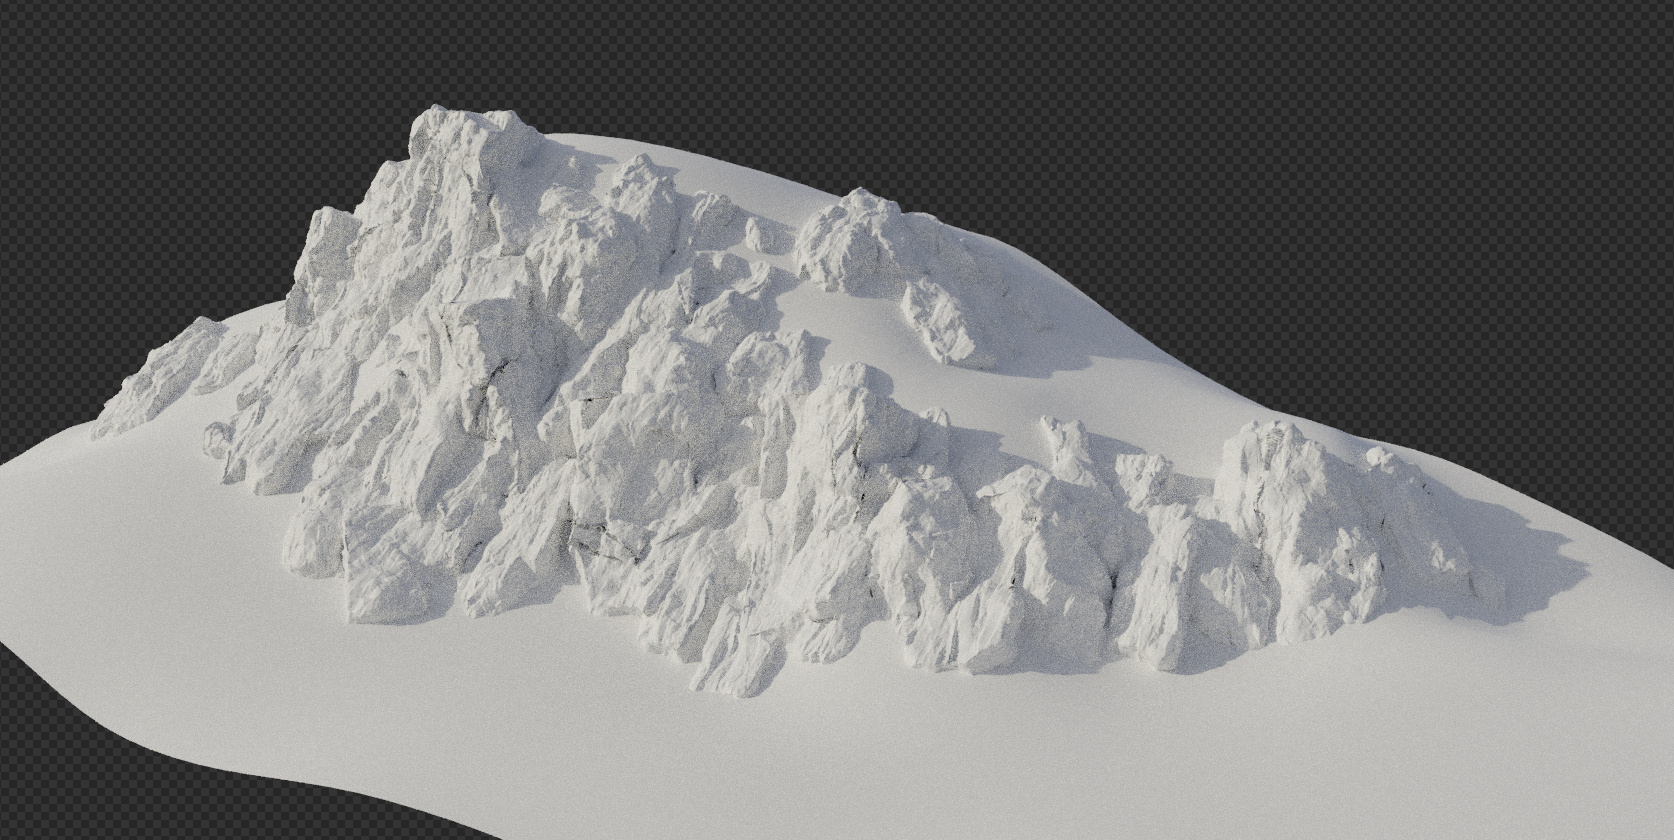
And here’s what I got for the cliffs so far. I’m bringing a simple sculpt of the terrain from Blender into Houdini, where the sloped parts are turned into a simple cliff mesh, and back in Blender I’m using micropolygon displacement to get more detail in there.
Looks great already. I’ve also been using Houdini to detail a rough sculpt for a terrain recently. I just had the problem to get some point attributes of the heightfield over into blender. Thus I had extended the ply importer to read them into vertex groups and vertex colors. Not sure whether you’ve seen it here. Or wether you would have the need to bring custom attributes into blender at all… Just wanted to let you know and say great work!
Thanks! Yeah I’m still kinda getting started with Houdini. Currently the asset only works with simple boxes, so OSM would be a bit too complex at this point but I’m probably going to make larger scenes as well in the future so that’s definitely going to be something to get into
I haven’t looked much into exporting attributes yet. I was hoping that once I buy the indie license I could just export vertex color (=3 masks) in an FBX, which should be enough for this project at least.
But certainly for scattering and instancing vegetation and stuff like that later I think this could come in super handy, thank you!
Is it an accurate model in wich you can immerse at 1st person like my Carcassonne mediecal city project ? or a model that is intended to be seen from fara away ?
It’s not completely accurate to the original in most places. And while I’m going to add as much detail as possible, I don’t think it will be enough for first person viewing distance, but still aiming to get as close as I can
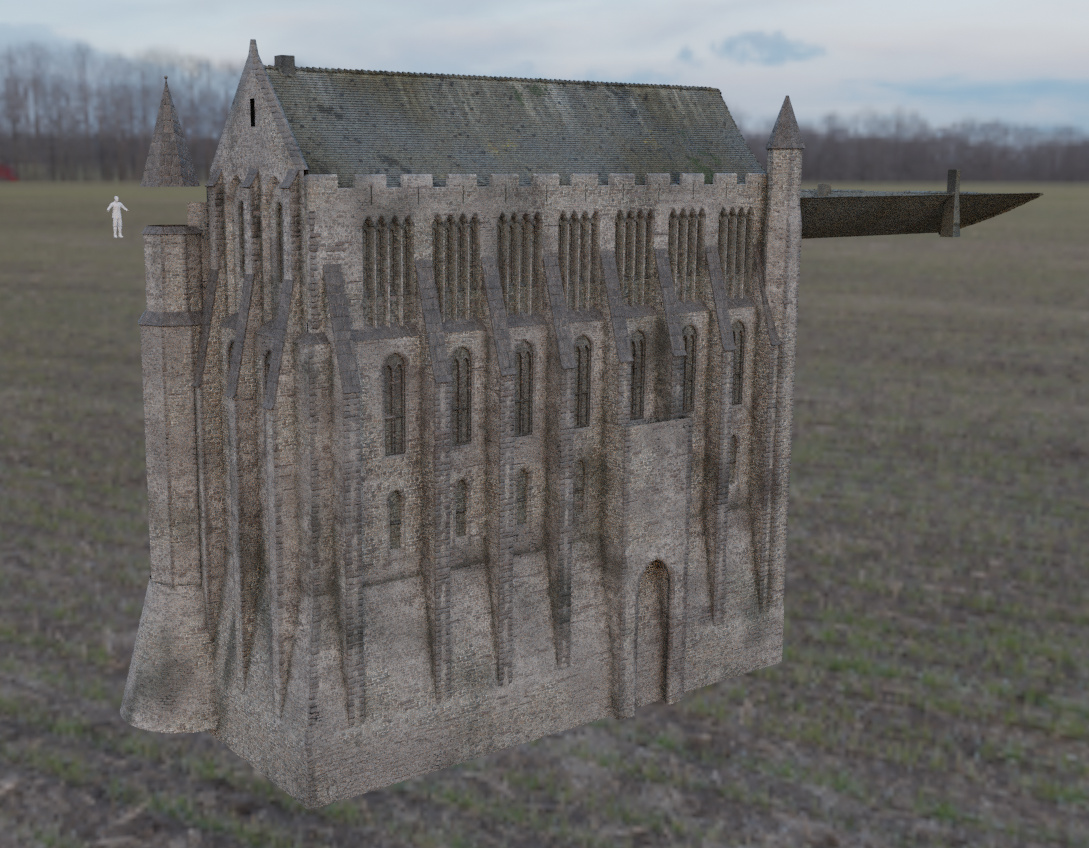
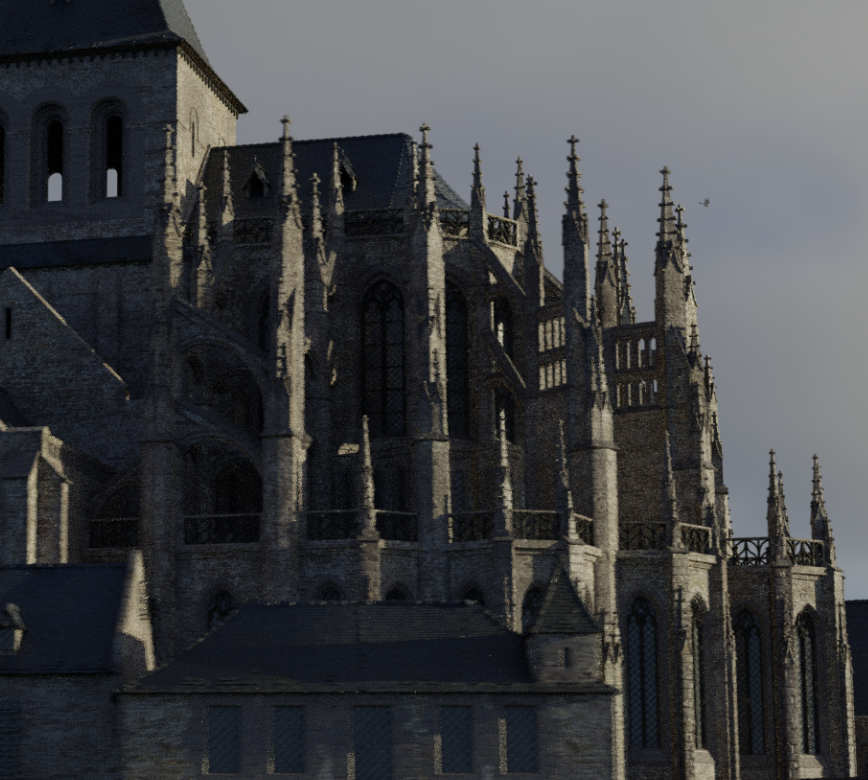
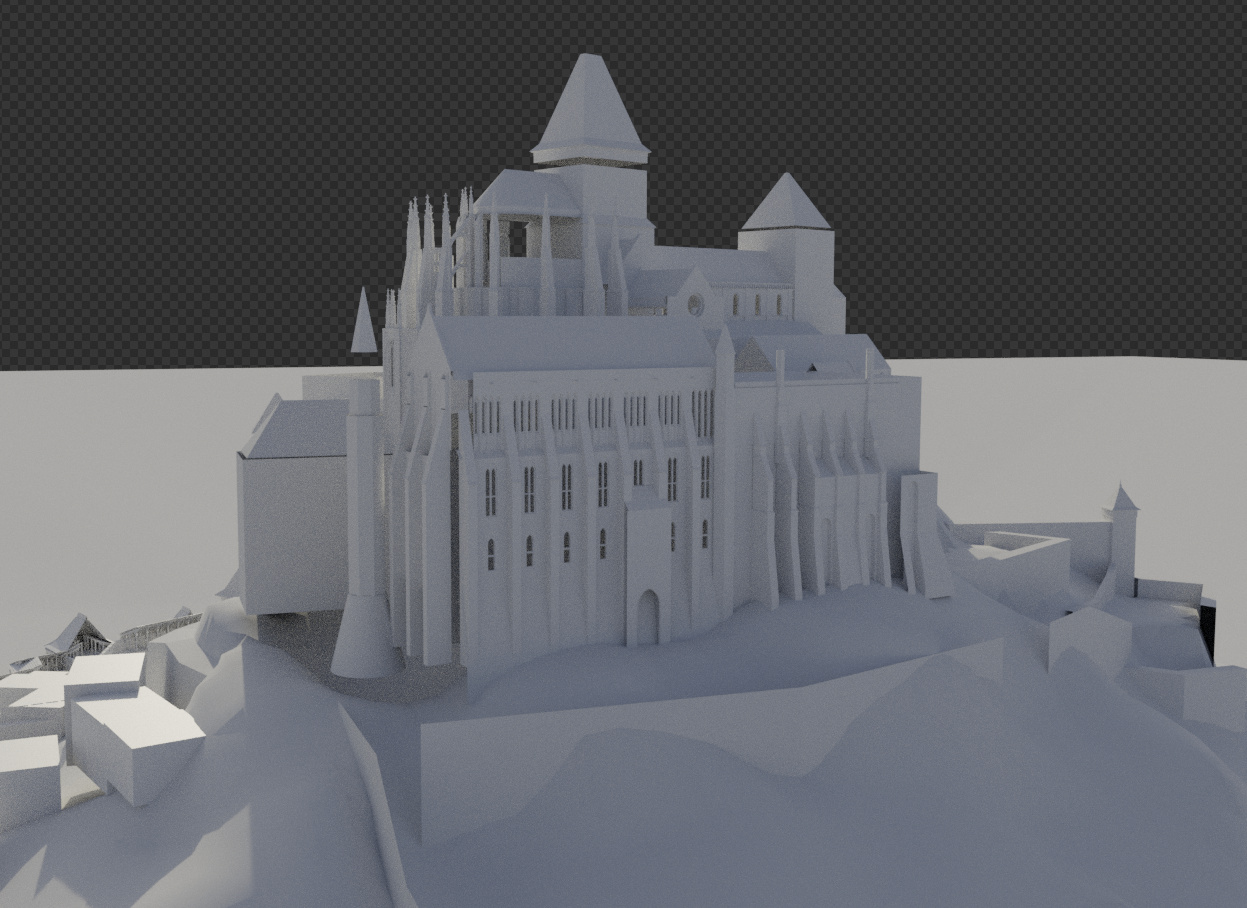
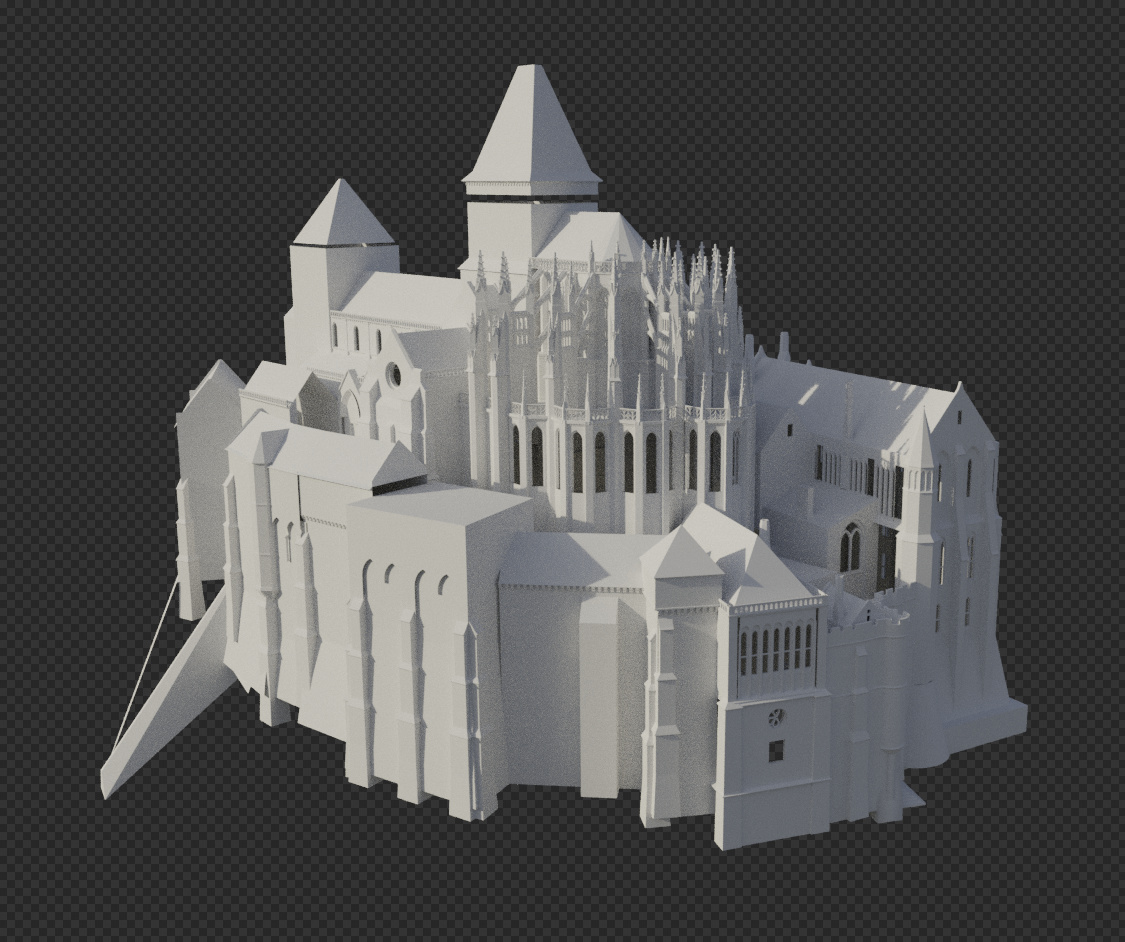
started modeling the abbey this week. It’s taking some time as perfectionism gets the best of me with these kinds of structures (the area with the flying buttresses is killing me), but for the more generic houses and walls surrounding the abbey I’m preparing a tool that should take care of placing windows and generating usable topology and UVs in no time.
This weekend I’ll hopefully be adding a lot of detail
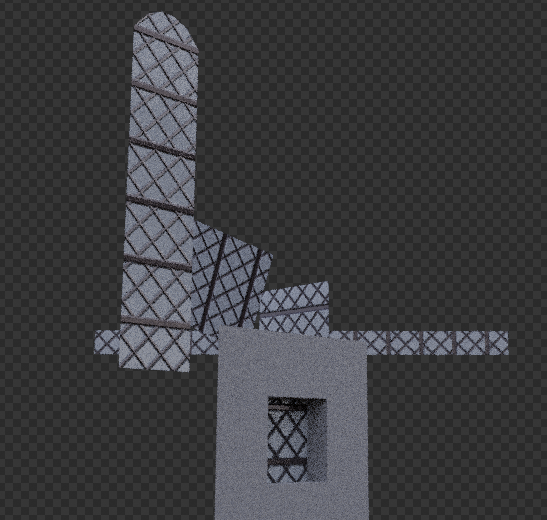
The main purpose of this was to figure out what masks I need to mix all the effects procedurally (currently using masks around windows, arcs, top/bottom of structures, convex/concave). I should be able to generate all these for my Houdini assets and I’m really hoping to find a way to automate them masks for the structures I modeled manually as well, because I definitely don’t want to paint it all myself.
Anyway I’m pretty happy with it so far.
Also, I just finished my last day of an internship, so I’m going to have more time for this project now
waw !
It appears you found a way to make me jealous !!!
This is beautifull !!!
I wish all this could be done in realtime on low-end smartphones and laptops ^^
I can catch the procedural part for the planar parts of the walls but…
for the arches, dressed with beautifull-properly-oriented-apparel…
how do you do this ?
you talk about masks… Is it simply a stone texture with alpha on a flat mesh ?
i mean… WHAT IS YOUR SECRET ? lol…
Would you mind please sharing your procedural nodes ?
This would be kind and… ( gâââââ !!! me wanna see this !!! )
Anyway, congratz and thanks for this !
It’s eye candy and i can’t wait for the next pics
The big “secret” is all about handling your masks. The most obvious one is procedural texture nodes. In the case of bricks you can also use the height map to edit the bricks and the grout independently. Sometimes you can use the pointiness of the geometry node to get all the convex parts, or maybe the AO node for concave (not very smooth, and sadly doesn’t work when you’re trying to use actual displacement).
And if you can’t get the masks inside the material, you can use vertex colors as masks too. Dynamic paint can be really useful here.
So with all this info you can specify WHERE to apply an effect, then you gotta check reference to see WHAT effects you want to put in all those places, i.e. layering different textures, changing the base color, intensity of normal maps etc.
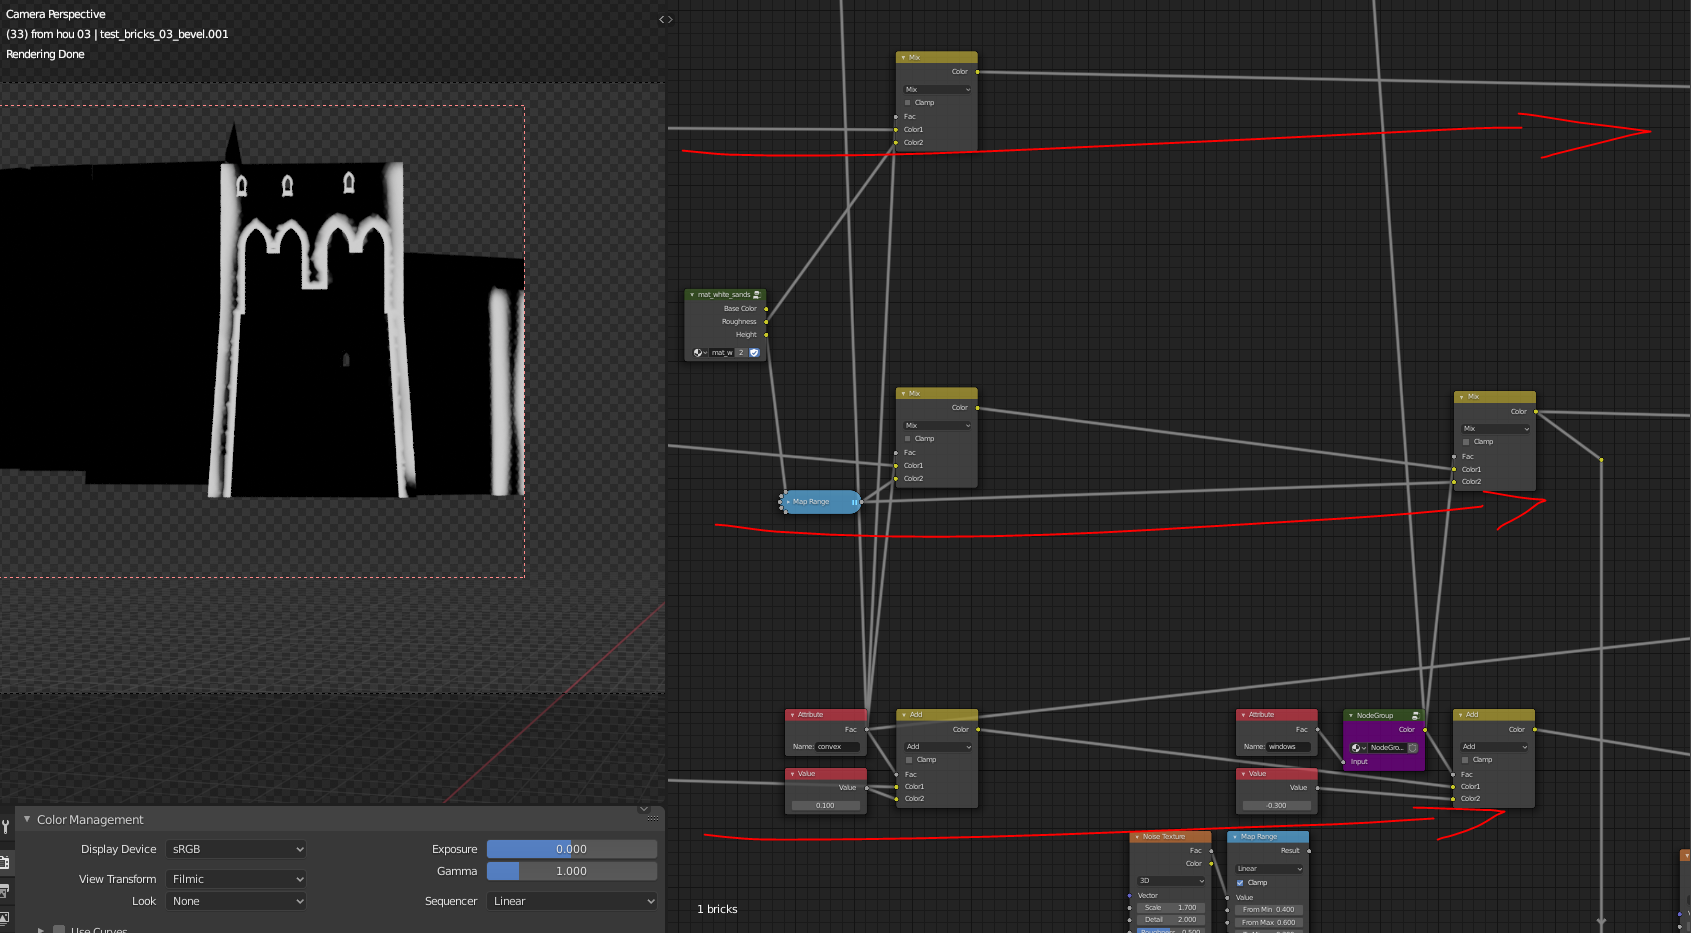
At this point the most difficult part is keeping a decent overview of your nodes to not get lost. (as you can see below I’m still struggling with this :D)
here’s a part of the nodes. At the bottom I’m bringing in the masks (most of it just vertex colors) and then those branch out as factor inputs for applying the effects in color, roughness, height (red lines)
I don’t think I’ve seen anyone do this stuff in blender, but the thought process is the same as in Substance Designer, if you want to learn a bit more in-depth
oh and for orienting the textures on the arches, I just have an extra loop in the mesh which I unwrap and straighten out with UV squares addon
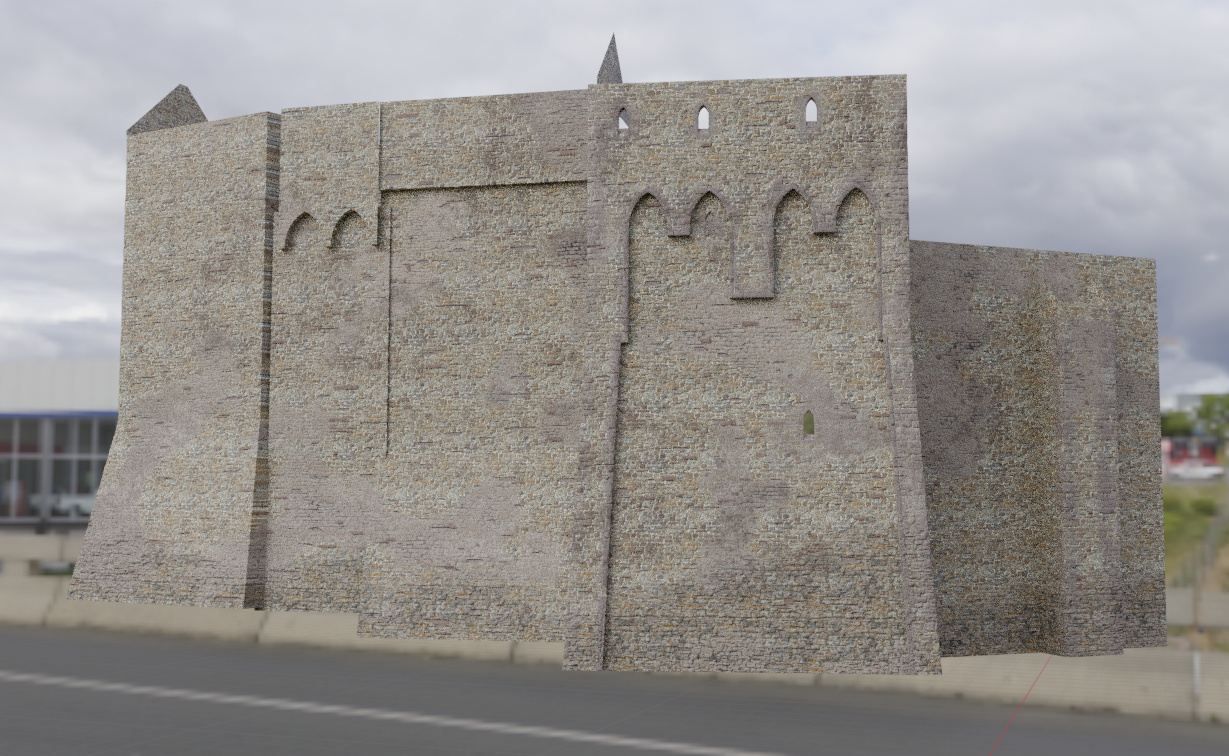
did some more shading
It feels a bit like cheating because I’ve done very similar stuff for my castle project last year, but these setups are much cleaner, more efficient, and way more procedural
more custom roofshapes. For some reason orienting UVs to simply align to the up axis seems to be really difficult but I got scaling and random offsets working.
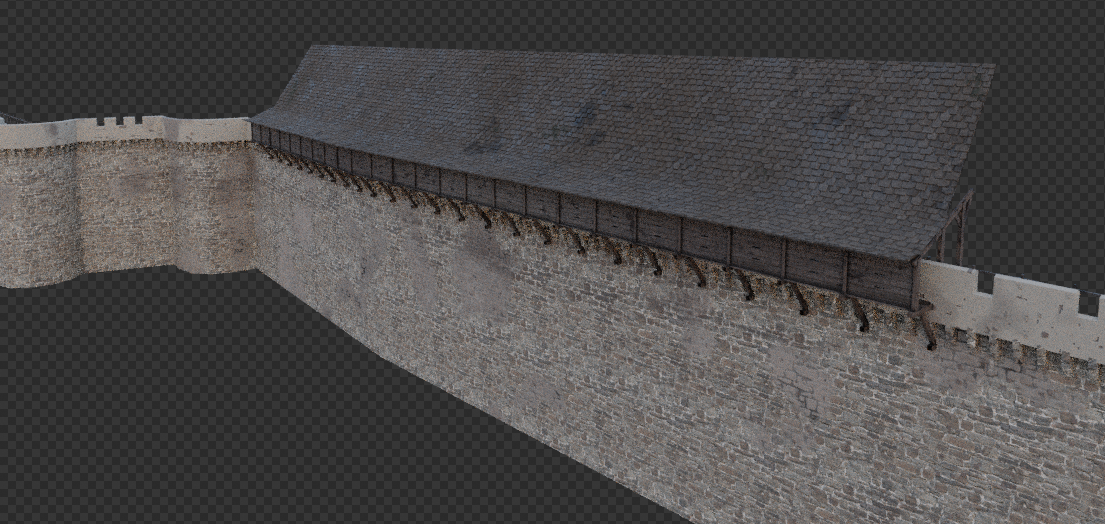
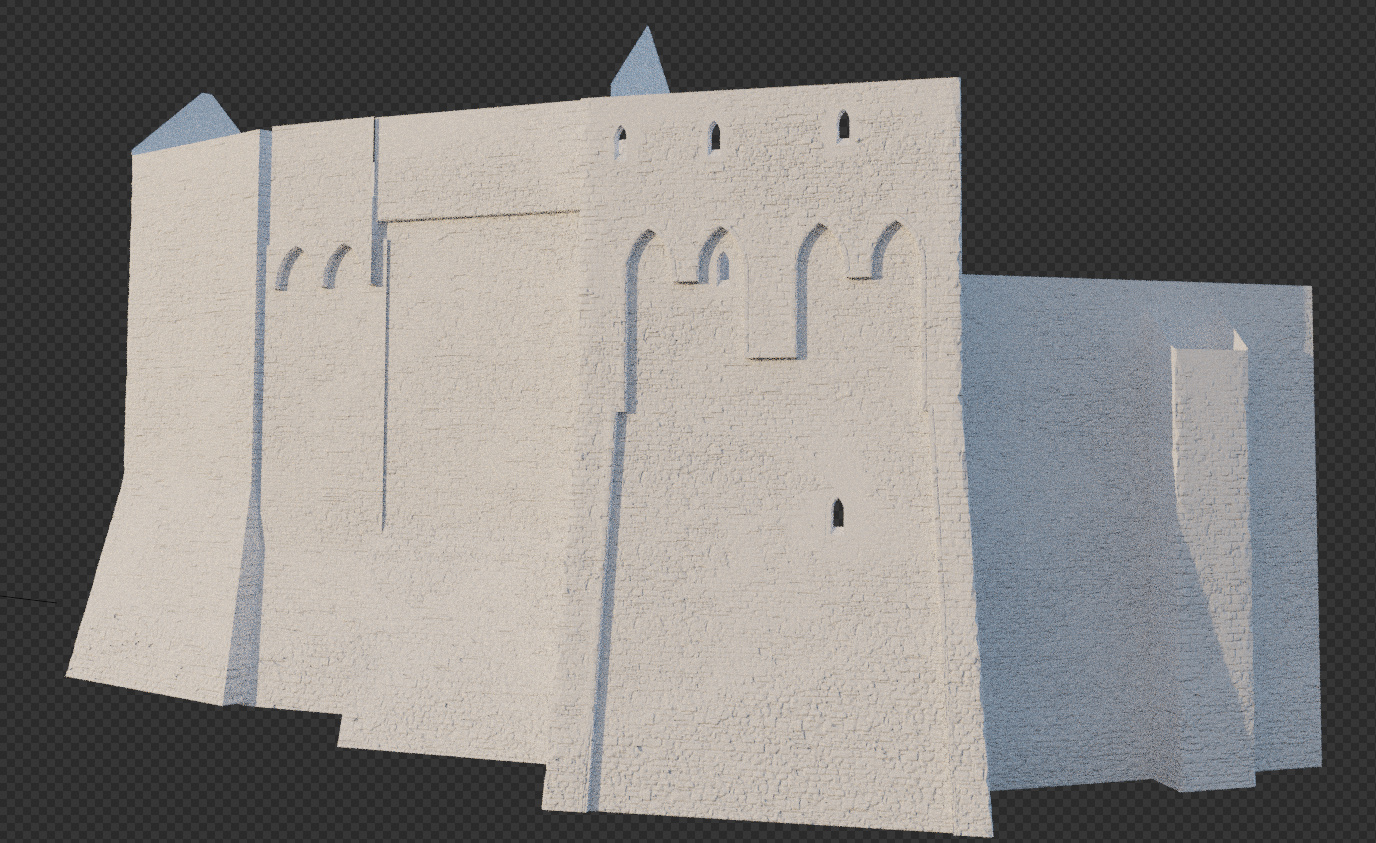
This is another example of what I’m getting back from Houdini. It automatically creates all the masks that I need for shading and then all I have to do is import to blender and press render to get this. (the colors are a bit off because I’m using a really bad monitor)
And here’s a test of the generic houses, currently all on the same preset. These are not instanced, so each house is generated individually, which is making the scene very slow and unstable (also takes quite some time to generate)
I’ll have to do a lot of optimization for these if I want to render on GPU^^
and then I’m going to bring more variation in there.
Within a week, I’m hoping to get a test render with a larger chunk of the scene shaded
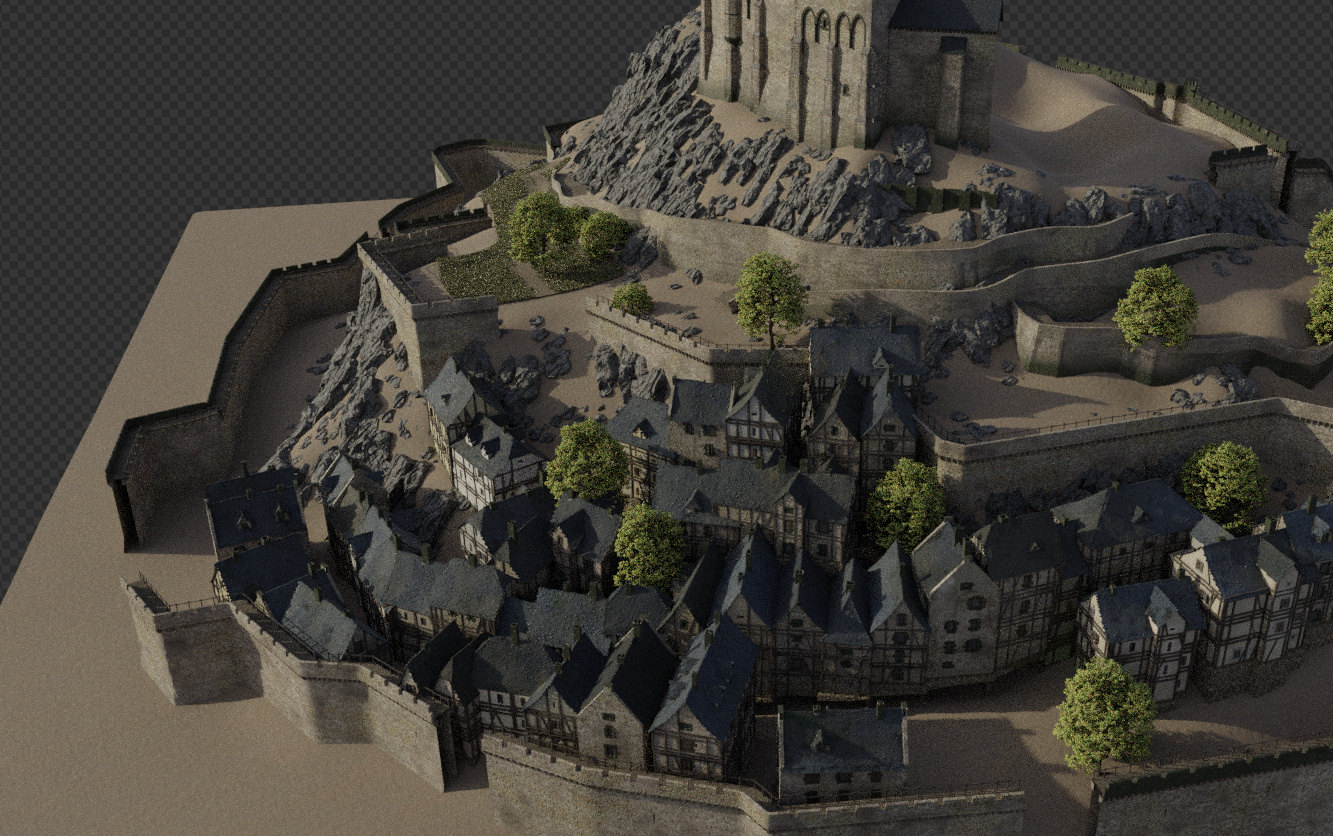
Here’s a little foliage test I did with a tree and some quixel plants. It looks a bit too wild at the moment but these are going to be very nice to have for the slopes and gardens. I think i can afford a couple 100k instances without much of an impact.
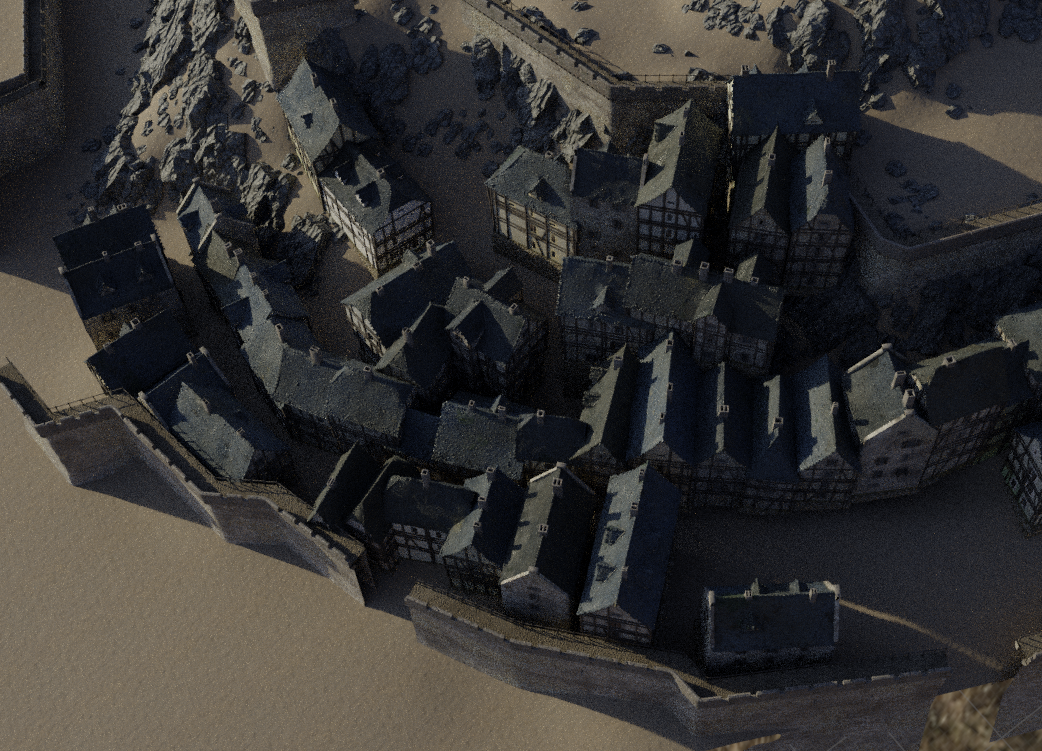
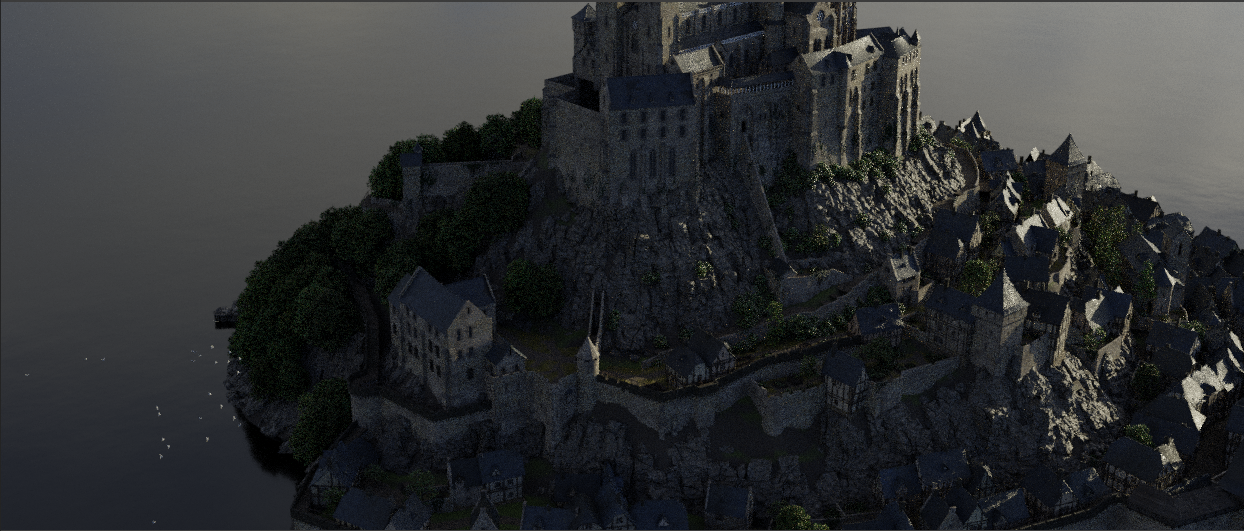
And this is a little bit of everything thrown together Still a lot to do but I’m quite happy with the procedurally modeled parts so far, although I see the shading needs a lot of work to avoid the boring coloring it has at the moment.
I’m about to move places, so I’ll probably only get a few hours in for adjusting the general layout and maybe finishing the model of the abbey.
Today i watched a really interresting documentary on ARTE TV about the Mont St Michel and its origins
( seems to be some kind of cave on wich was built a primitive roman cult place… )
I thought about you project as archaeologists worked on photogrammetry made with laser scanning for imaginating what was the monastery and its church along the centuries with all the changes…
If you’re interrested, mebe you can see it on replay ?


 lol…
lol… )
)