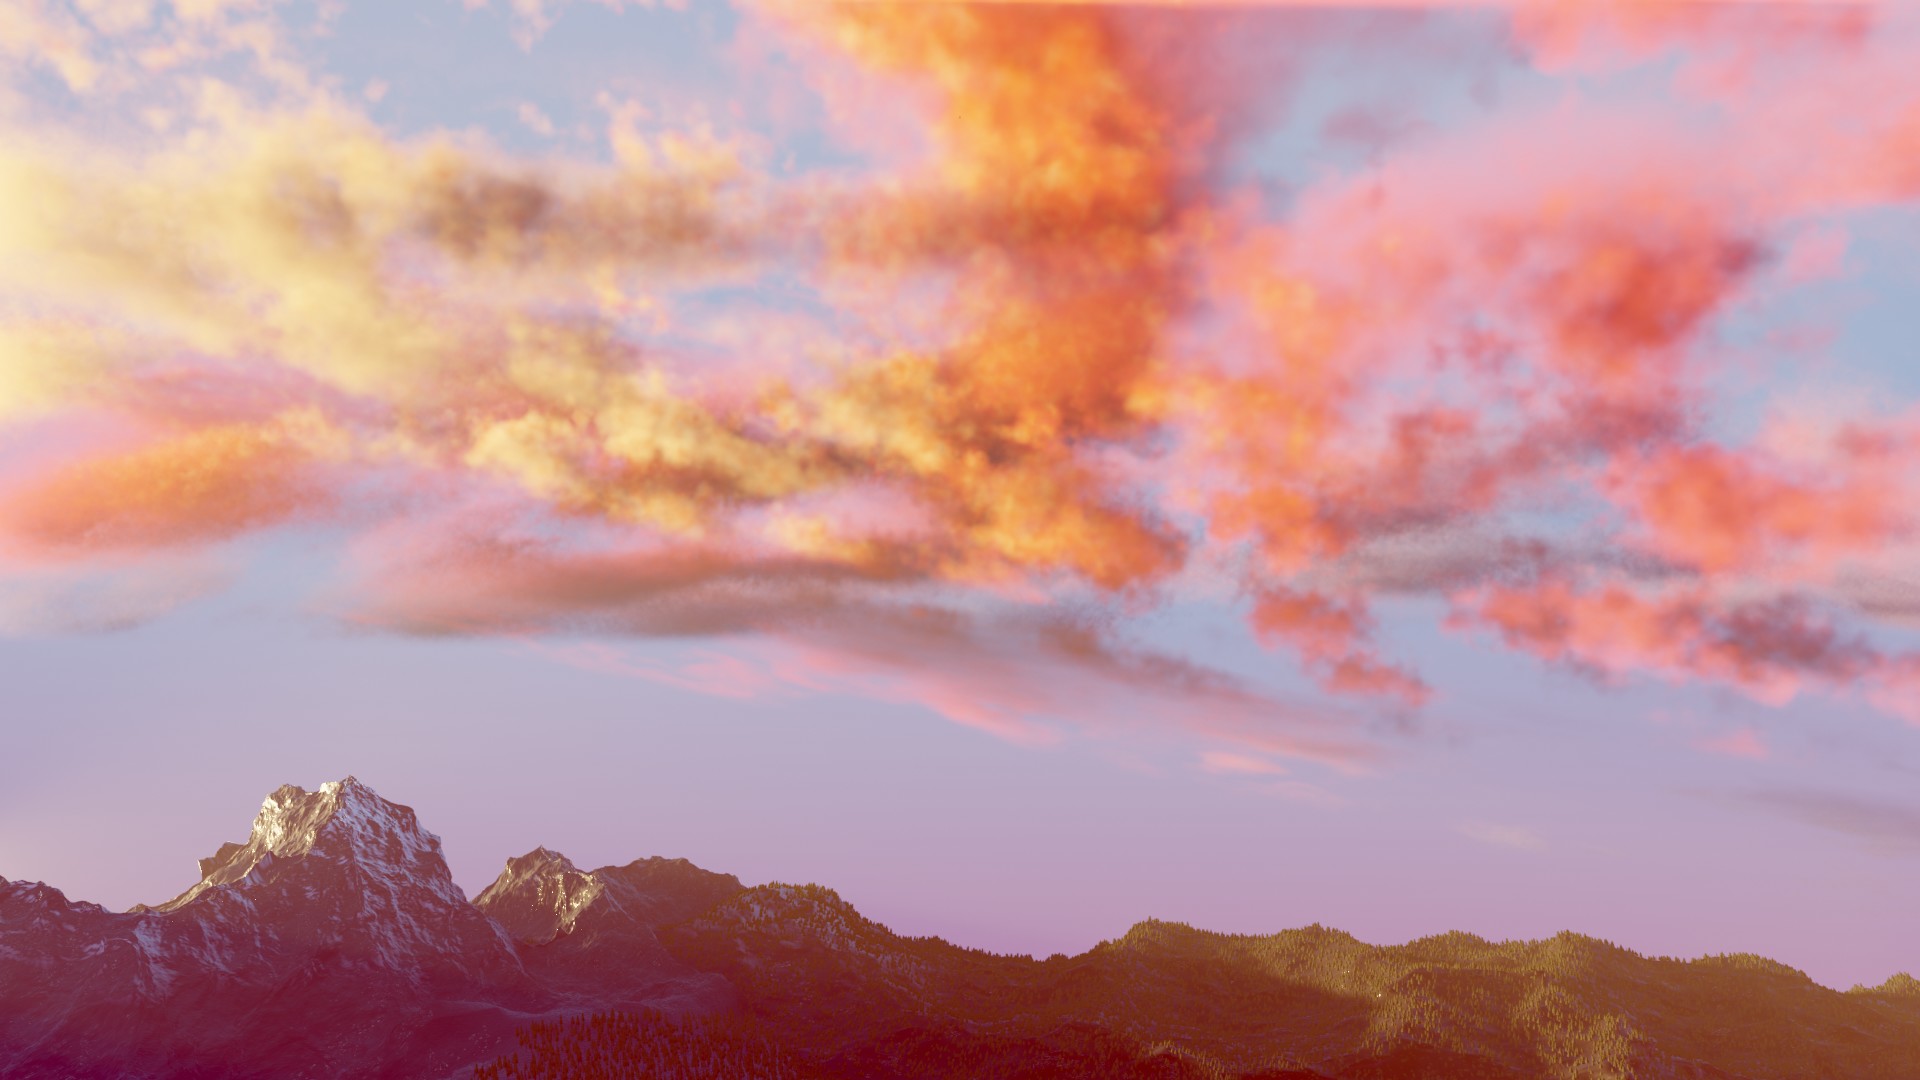
After making my previous scene, I wondered about the possibilities of creating a nice looking cloud-filled sky entirely in blender with EEVEE. I ended up finding this CG Cookie video about creating procedural volumetric clouds. Using the information provided, I tried to create a landscape sunrise scene along the lines of the reference image featured in the latter half of the video. I am happy with how it turned out.
Here is my result:
Solid View:
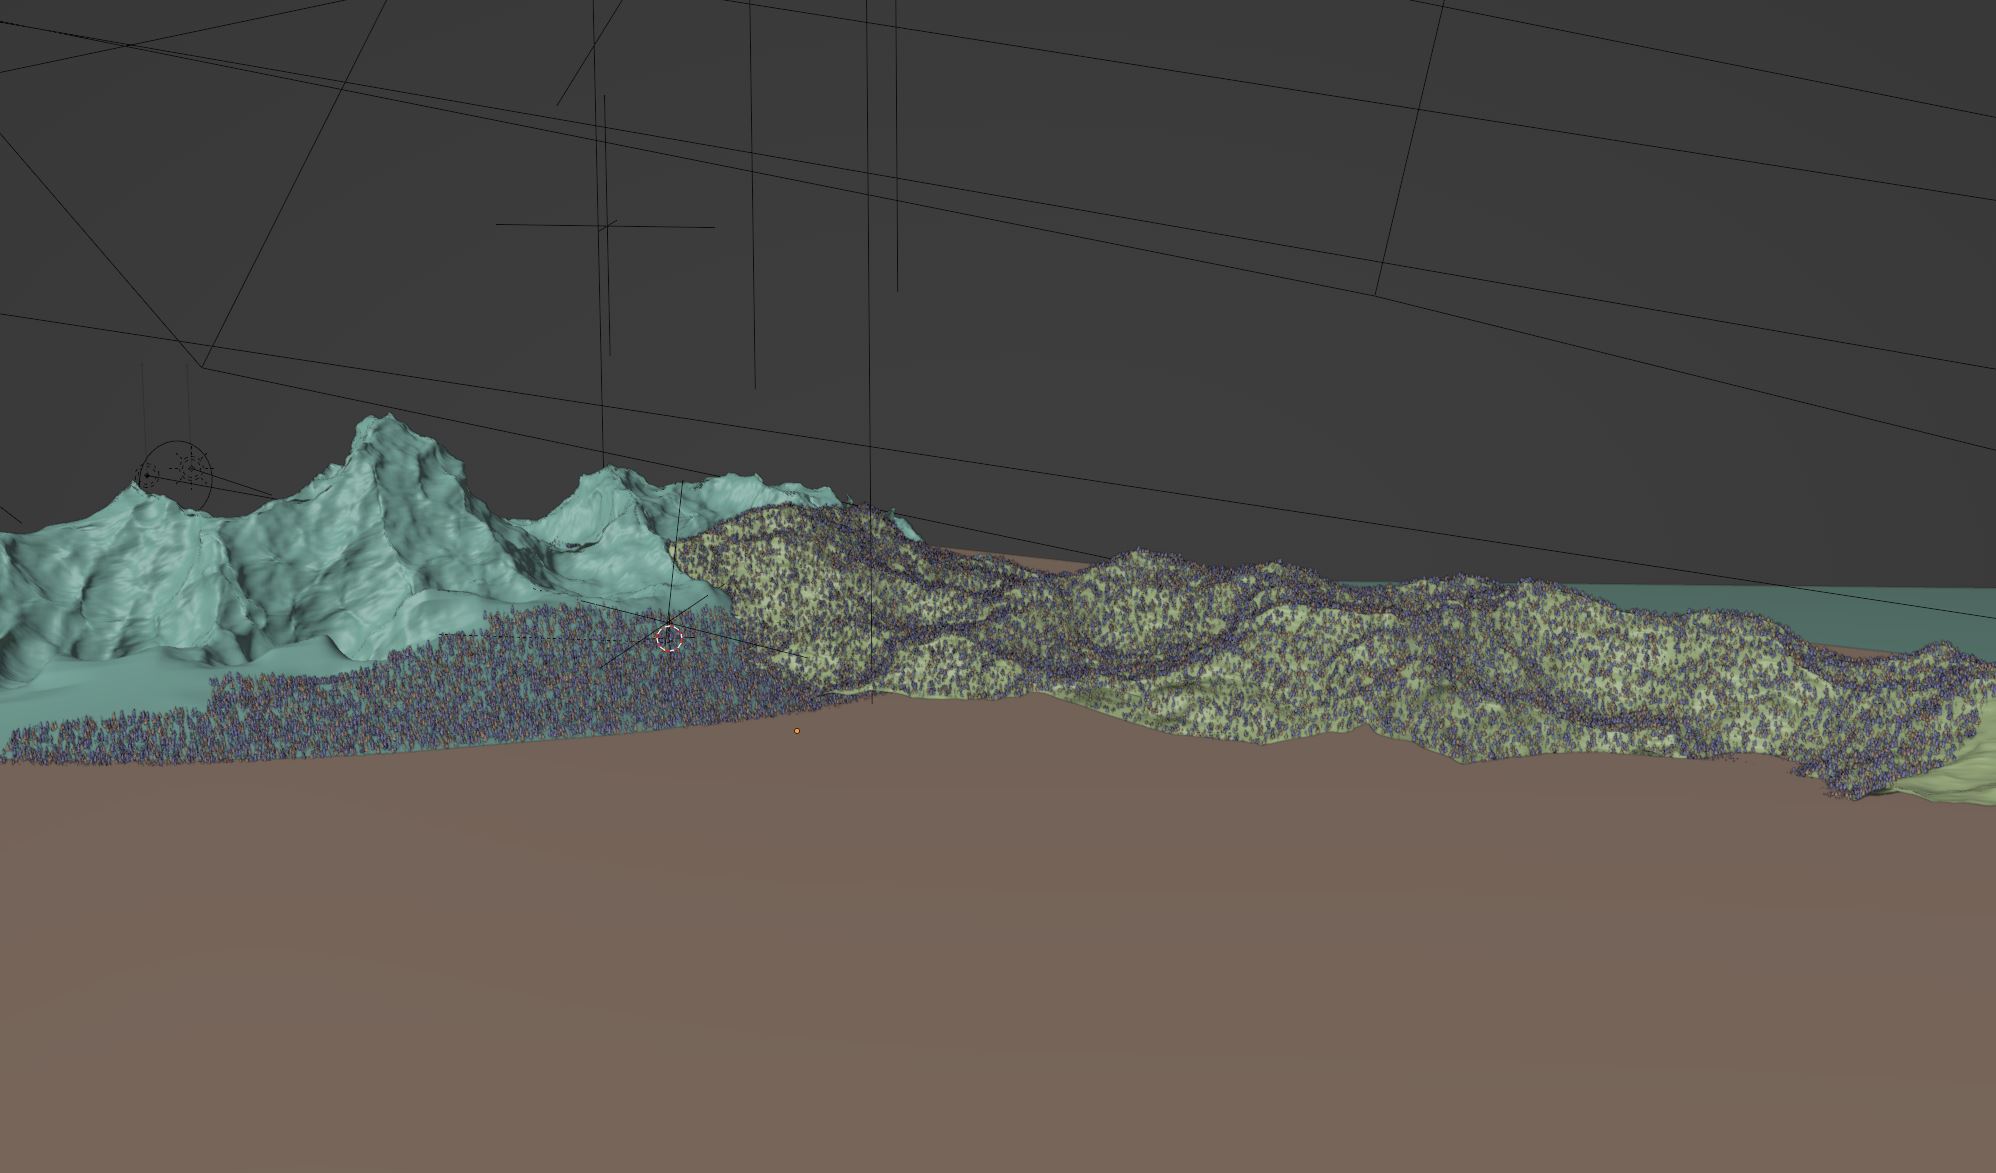
Scene Breakdown
The landscape is fairly simple, I used two highly subdivided meshes with displace modifiers to create the shape. The white cap on the peak is the result of combining the object space normals and a gradient texture. Afterwards, I discovered the dot product vector math snow method, but my method worked fine for my needs here.
Landscape Material:


I used the standard geometry nodes method to distribute instances on a mesh to scatter trees on the landscape. However, a vertex group as well as a multiplier were used as inputs to the geo-node group to control the tree distribution density.

I created several variations of cloud materials for this image. They are all based on what is covered in the CG Cookie video. You can see the basic single cloud material covered in the first half of the video here or have a look at the below image. The quick explanation of how it works is to use mixRGB nodes to combine texture function nodes (voronoi, noise, musgrave, gradient) to manipulate the density of a principled volume shader, either directly or via the mapping coordinates of other texture function nodes.

A few pitfalls I encountered when creating this that lead to some head scratching moments were related to the misuse of the mixRGB node. This is not fully explained in the video, so I’ll try to clarify things here. The blend modes (see the math for those here) were devised to work mainly within the 0 to 1 value range, and some unexpected – but not unuseful – things can happen when feeding it values outside of that, namely with overlay, soft light, and linear light. Now this isn’t true for all blend modes. The values may be within expectation, however depending on your use case for the output, those values outside of the 0 to 1 range may be clamped and ignored. For example, the color ramp node clamps its input values, and the sphere gradient texture ignores vector input values outside of -1 to 1 – however that can be desirable in some cases. Some ways to influence this are to use vector math to bring things into range or use a vector curve node to remap the negative values to positive values.
Thanks for looking!