It looks like a real toy!!
it is really good, but it does look a liitle like plastic, other wise, very nicly done
Well Im back, and this is looking great! do you use the toy as a reference?
Yes I am using a real toy as a reference. As soon as I get some other minor things done, I will start texturing. There I will re-do all the materials. The ones you see here are temporary.
Thanks for the replies. 
Nice, cant wait to see the end, as well as another Zoid perhaps (zoid war animation O_O).
Keep it up dude!
BTW! have you done a Yoshi model? just out of curiousity.
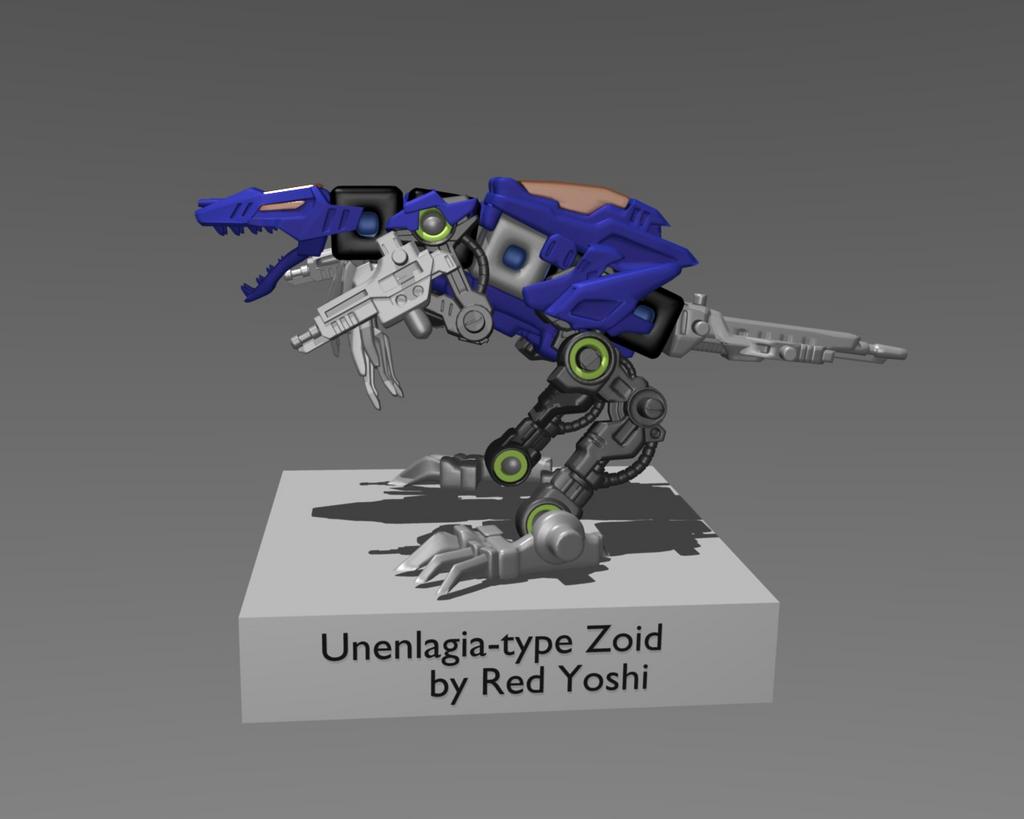
Whew! The bulk of the modding is now done!
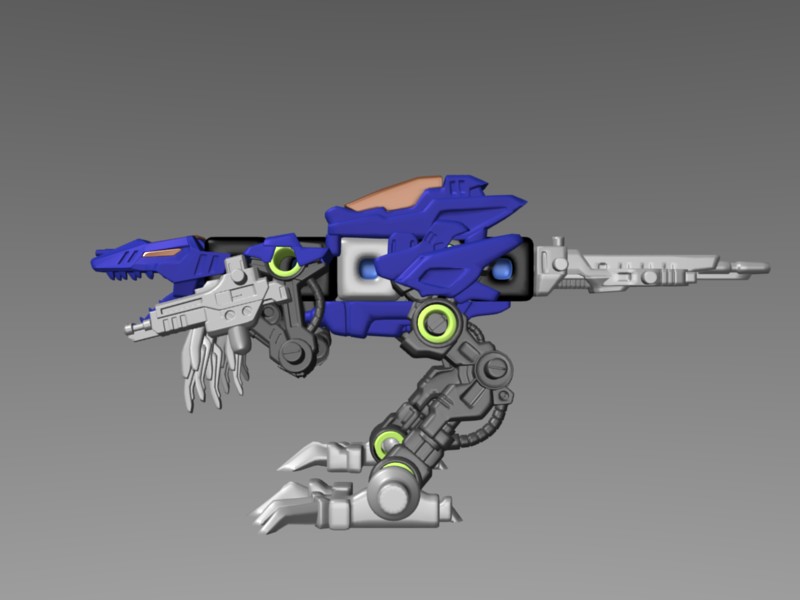
Today I finished the leg covers:
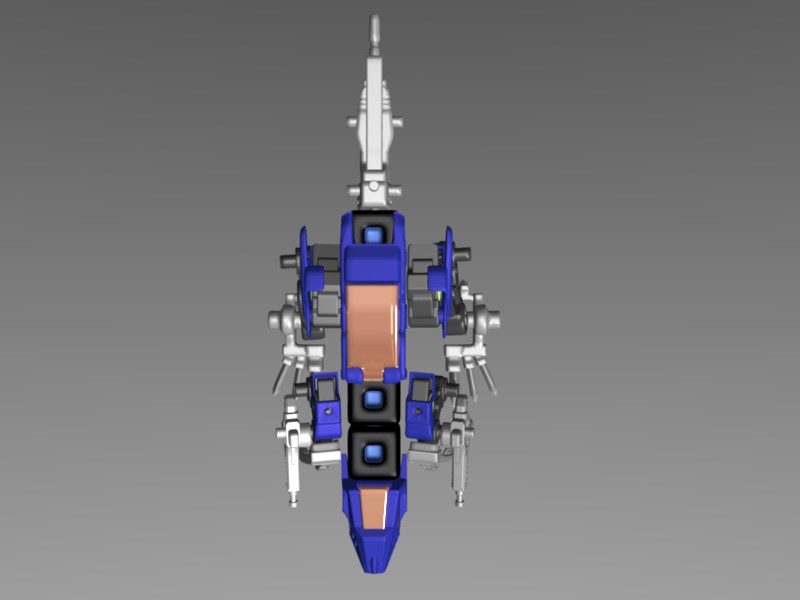
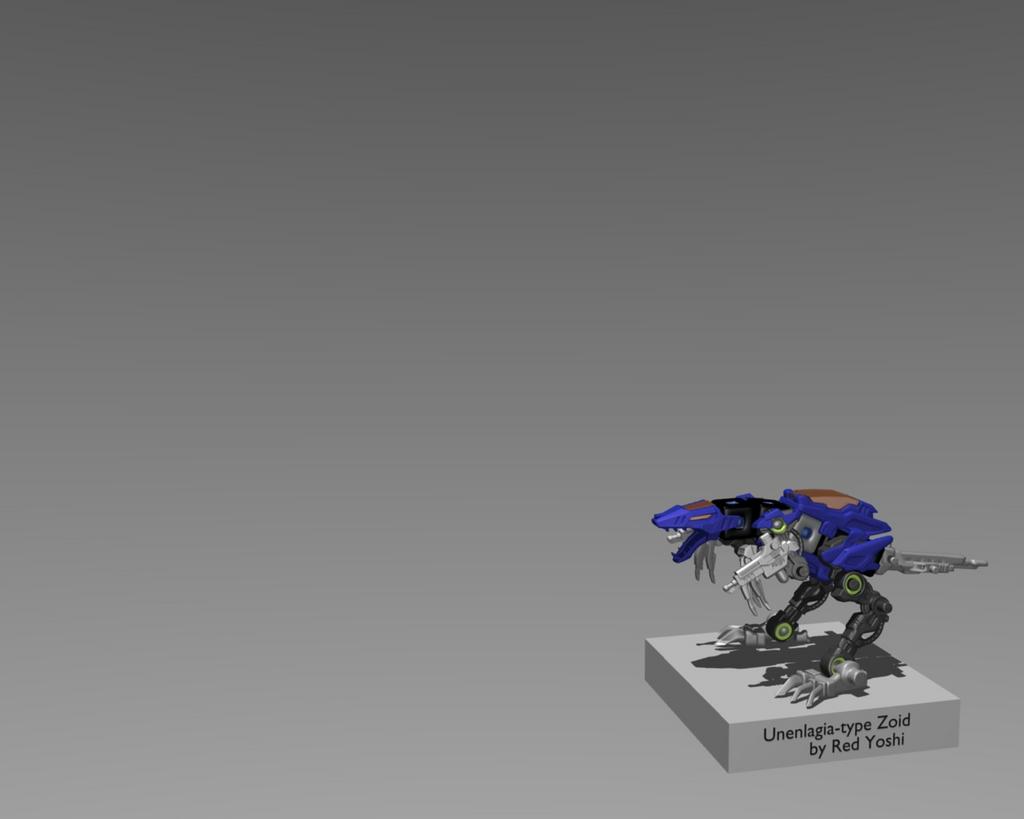
And (since my current desktop was getting kinda boring) some walpapers:
LtOBien: I have made a Yoshi model, but it’s quite crappy. I was going for low-poly. Never really got around to making a real one. Red Yoshi is not so much an exhibition of love I have for Yoshis (though I do have one), as it is my name. I’m not quite sure where I got it though.:spin:
Also, regarding future plans with this project, I am planning on making a second zoid. (I’m going to have him fight a liger-type zoid. Called Leoblaze) I’m going to try out some motion-tracking or something. My aim is to get a photo-realistic fight scene in my room. (or something) I wanted to film some shots from my room and then add the zoids. I’ve never done something like this before, so it’s bound to be exciting! If there are any tutorials you’d recommend it would be really helpful.
Should I go for texturing in the stickers? It seems good the way it is right now…
Thanks for the comments/cits!
I always kept away fromt he stickers on teh toys, they looked cheap, on the model Id prolly do the same.
As for tuts, I wouldnt know, im just starting rigging and animation.
The zoid looks good, kudos, props, and woots for youz.
(and I believe I heard the name LeoBlaze from the series, that was the White lion one that the main character used correct?)
Edit: Upon closer inspection I realized the middles of the blocks come out slightly blurred, I dont know if thats fro rendering or from the image save, but it seems like something to fix.
Why you want motion tracking? Those things have a rather simple rig since there is no blending involved. Just tried out some animations with my half-baked thing and simple forward kinematic with some occasional inverse kinematic is enough. They have anyways rather restricted joints so you can’t track true motions anyways ( you have to cheat all the time due to the limits ).
To be honest, I have no idea what motion-tracking is. It was just something that I noticed was mentioned whenever someone incorporated 3d with a pre-filmed sequence. All I’m going to try and do is pre-film some video shots in my room, and then add the zoid to those shots. I do not know the technical term for this, since I’m new to the entire business.
LtOBien: I have never watched the series, but leoblaze is a red blox liger (if that helps at all). Also, I’m going to re-make a higher-poly version of the blox tomorrow, so it doesn’t really matter what the current ones looks like. It will be the last piece of modding I’m going to do on the zoid. Then it’s on to rigging!
Motion-Tracking simply means trying to capture the motion the camera does and carrying it over to the scene you render. With other words yo always want your camera in the 3D world to be placed ( and looking into the same direction ) as the camera that has been used to create the video sequence you try to match. If you create the sequence yourself you can record to some degree the motion your camera does. In this case the most easy thing is to choose a static location and orientation for the camera. This way you have to only match the camera once and no motion-tracking is required. As soon as your camera though moves you have to adjust your 3D camera. This process though is tedious. In some situations you can get away using a few key frames for the camera ( like corner points or important points your camera goes through ). Since you have though toys it is not that much of a problem if the 3D camera is not 100% correct. Simple keyframing for the camera should be enough if you insist on a moving camera. You can though also use multiple static camera locations, that’s easy enough too.
Thank you, that’s what I thought it meant. And that’s what I’m planning on doing. Not in every shot though. There will be plenty static locations. Thanks for the explanation. It really helped.
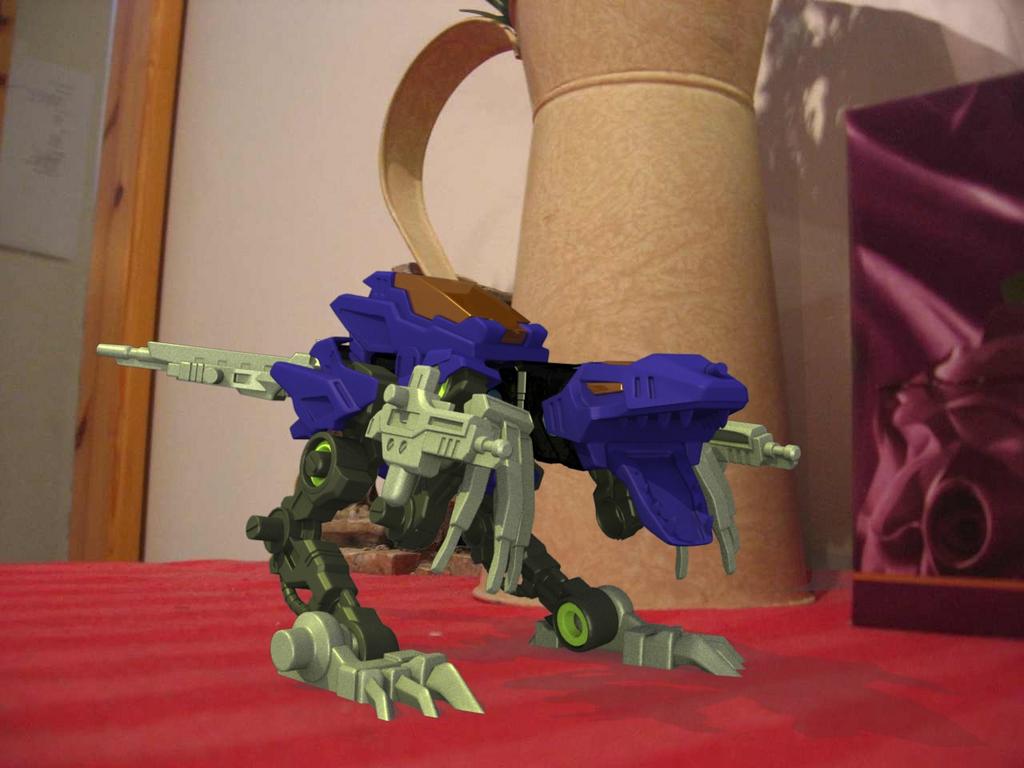
Yay! I’m finally finished with the modding!:RocknRoll:
This is the same image as before with revise blox:
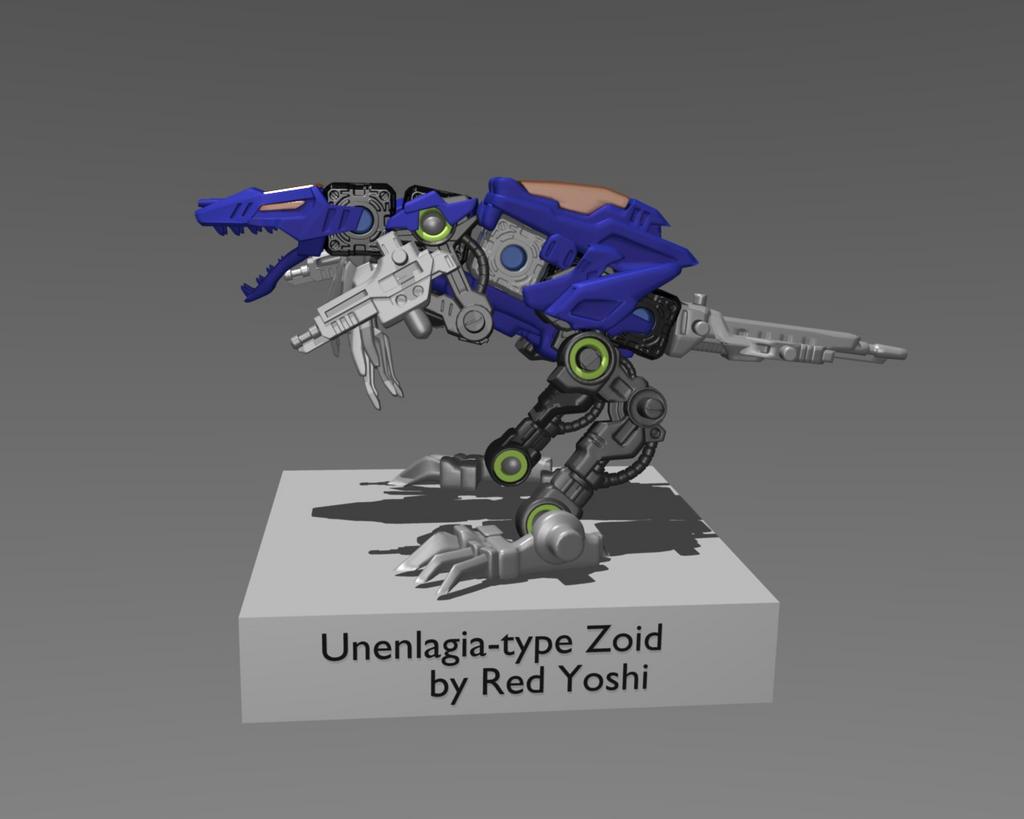
Better huh? Next it on to rigging! WOOT!
 (I can’t believe I’m actually this far1 I’m so excited!)
Unless you guys see some flaw I don’t see that is…
Any C or C appreciated!
Something is strange. You said the cockpit is the one in the middle not the head… but if so… the pilot is gazing into the stars. How is he supposed to see shit like that?
It is the one in the back, but the mech isnt meant to rear like that, unless to show off. other than that all cockpits had vid screens in the series so, they thought of that. (the dino mechs were always meant for forward speed/long range shooting, lions for melee attacks/speed and i think there was a flying type as well.)
Also the blocks look perfect now, not blurry anymore and much more detailed. Looking great I think im adding this to my comp when its done.
Yeah, the cockpit is on the back. I only put the zoid into that pose 'cause I thought the pose looked cool. Rigging is more or less finished now…but I’ve got a headache, and don’t want to open blender again to get screenies. I’ll make a walk animation tomorrow. Also, I tested around with the materials a bit and added some AO:
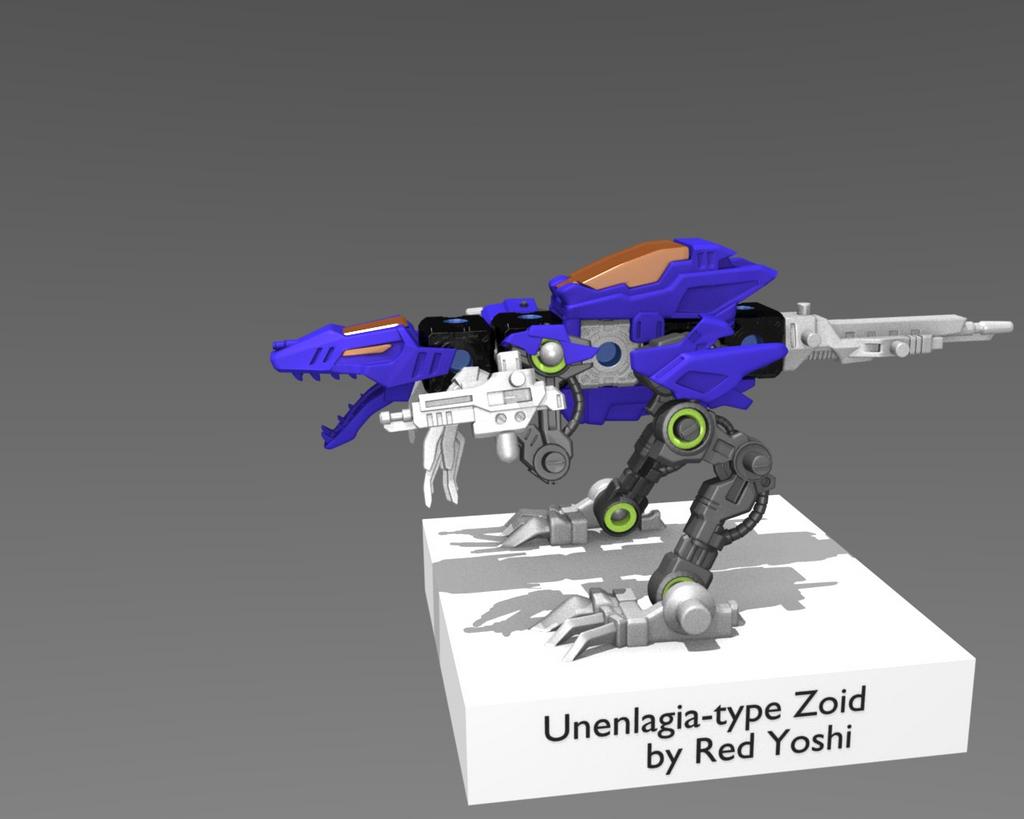
Looks cool huh? I like it.:yes: Should I re-work the orange glass texture a bit as well?

Thanks for the comments:)
Walk Cycle as promised: http://www.mediafire.com/?7jdahnx5l4n
Also, here is my first attempt at CG on photo:
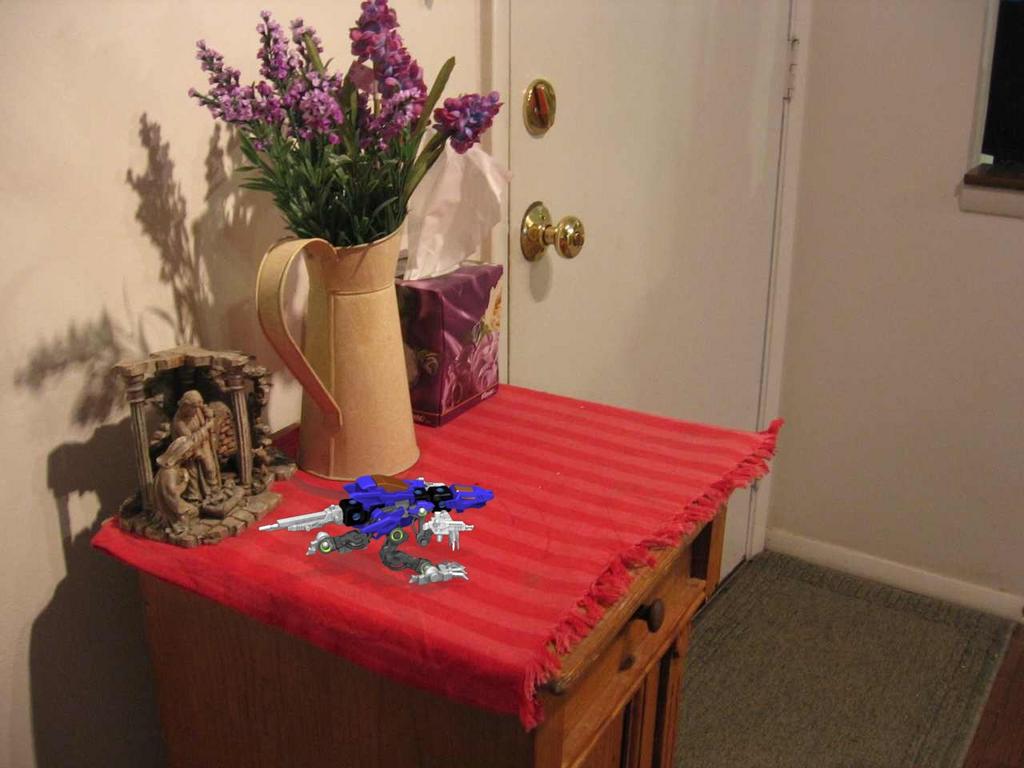
It doesn’t look right. Anything could to to increase the believability of the image?
It doesn’t looks very good…Should I try changing the lighting? Change the AO? I’m not sure what it is…But something has to change. Any advice would be appreciated.
[edit:]Took an entirely new pic, adjusted the render cam, re-did the lighting, and rendered:
Better?[/edit:]
Look at the lighting level of the original image. For example the shadows are rather dark hence the ambient lighting is rather small. Make sure the shadow is of the same darkness as the shadows in the image. Reduce the ambient term to get the shadow matching in darkness. Then look for very bright spots. Your light should not make your model lighter than that spot. There had been a tutorial about this around somewhere once but this simple trick would be a start.
woot finally i can put out my experties on this
u need an hdr image of that room in fish eye view(REALLY wide angle to capture as much data on lighting as you can). Then wrap it into a sphere around the scene, and calculate the lighting from it(dunno how to do that in blender though, but in 3ds max you can use a skylight and it will do everything for you)
IN any case right after that you basically throw a plain right below the zoid, and make it invisible(it should represent the table) but make it also receive shadows. Then slap some nice raytracing and REALLY high ao(i dunno still playing with that, whichever ao gives you less grains is what u want, id suggest playing around with blendigo on low iso and high exposure)
That pretty much sums up what you need to do to make that scene look realistic and nice
Oh btw the .hdr on a sphere is just to calculate light, dont use that to actually render anything. use the back ground u are using right now.
Wow! Thanks for the replies.
Nick Meister: How do I get an hdr fish eye image? All I really have is an outdated digital cam. Also, maybe there is a python script around that can calculate lighting from a fish eye view? Or is it in the interface somewhere?
Odjin: Thanks for the pointers, I’ll try those and upload the results later today.
Thanks so much for the replies. I would be soooo lost otherwise.:spin:
A HDR image is just an image with higher dynamic range otherwise nothing special. Usually obtained by taking three or four shots of the same scene with different exposures ( over exposed, normally exposed, under exposed ) and combining them in a 2D app like GIMP with a HDR plugin to get a full image. Using the zoning system is though a lot easier than trying to get a full HDR image done. Not worth the trouble for a project of this small scale.
well if you really want to experiment with hdr there are tons of free .hdr images out there
so you can try those out if you want.
But like i said i dunno how to calculate lighting from hdr in blender. Im a max person myself still lol And i havent done anything with hdr since i came to blender
So i would ask someone who knows 