I posted this in the WIP but didn’t get any response.
I thought this might be better for a process question.
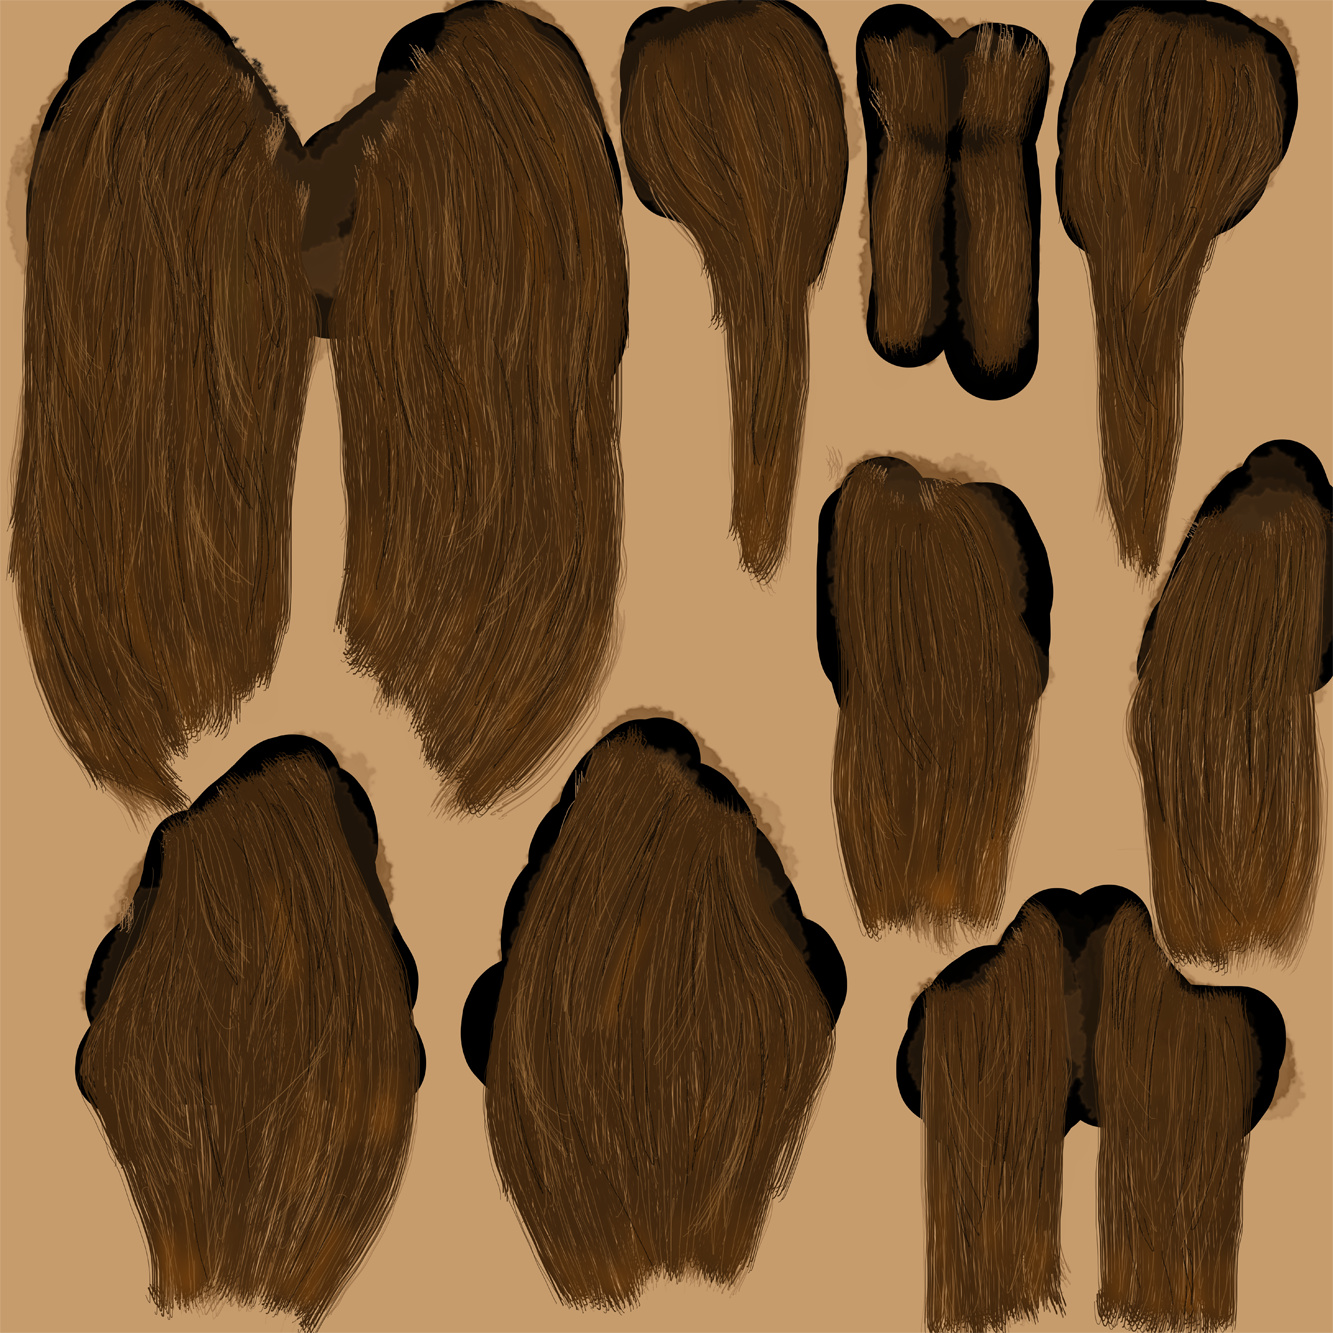
I have made this model to go with my troll.
I like the polygon hair to keep it cartoony but the mapping is not good.
I’ve not done much with polygon hair and hoped someone could get me going in the right direction. I don’t know what kind of maps I need to apply to get something that works with the style of the character.
What maps should I use?
Should I need a node setup?
If you can point me to any good tutorials or setups I would appreciate it.
Any critiques will be very appreciated.
Here is the character and the diffuse map. This is all that is applied right now.
Poly-hair can be a pain to set up right but can also look very good on a character like this. Very appelaing, btw!
Some tips:
– Getting the UV mapping and the texture painting to flow together properly so the painted strands run the length of the hair mass is critical. If the strands appear to cross the flow of the mass it can look odd & break the illusion.
– Using the texture of the strands converted to greyscale, apply a bump map to keep the hair masses from looking too plastic. An alternative that usually works better is to convert the bump (height) map to a tangent normal map.
– In similar fashion to the bump/normal map, create a specular map that allows for variations across the surface like glints on strands. This can be supplemented with separately-painted specular boosts as well.
– In lieu of translucency that generally doesn’t work well on poly-hair, try a small amount of SSS to help relieve the “hard” look. SSS tends to mush out texture details, though, so go easy on the Scale factor.
– Use some kind of physics to produce reaction to motion in the hair, otherwise it ends up looking like a weird helmet. Soft Body can work well; I haven’t tried Cloth for poly hair. This can be combined with armature control as well if you want to keyframe the motion as well.
Is there a way to paint/create guide lines on the hair mesh that I can export to Photoshop so I have some basic curves to follow for the direction of the strands? The mesh wires are close but just not close enough.
In texture paint, create a dummy texture on which you will paint your guideline directly on the mesh, like in this quick concept :
Save that dummy texture.
Then in Edit Mode, in the Uv/Image Editor, click on UV -> Export the UV layout.
In your prefered image editor (gimp/photoshop/etc…) open both image in a single layered new one and use one as the overlay, that should give you the desired direction guideline to paint over the uv layout
Chipmasque,
I have redrawn the hair about three times now trying to get something that looks like hair. I think I finally found a good PS brush for hair. I’ll try to finish up the maps tonight and see if I did any better. I have never made a normal map so that may take a few tries to figure out also.
Sanctuary,
Thanks for the tip. It works good although I find the texture paint a bit cumbersome. Probably just need practice.
Look around for a utility called X-normal (sp?) – you can use it to bake normal maps from models, but also to convert greyscale bump maps to tangent normal maps. The normal maps just work better at all viewing angles in Blender.
Something I tried for poly-hair texturing that was complicated but effective was to build a particle-hair wig that resembles the poly hair, then make ortho renders of it from many angles. I cut & patched these onto the UV mapped texture, displayed them in Texture Paint mode, did some clean-up and seam coverage, then flipped it all into Photoshop for a final touchup. Saved a lot of painting headaches, even though I’m a pretty good digital painter. This is akin to using photo-sourced imagery for skin and the like.
And Blender takes bump maps into account when baking normals. So unless I’m missing something, converting within Blender by just baking from a bumped plane to an unbumped plane shouldn’t be any problem. But I’m not a qualified judge of good normal maps, maybe X-normal does something smarter.
And hmm. Using Blender’s hair system to render material for image plane hair… I really like that idea. Nice excuse to experiment with ridiculous settings that wouldn’t be animation feasible…
@encn – Yep, Blender can bake a tangent normal map from an applied bump map, but the setup is not trivial, and subject to some of Blender’s less endearing “features” when baking (no need to specify, but hey, shite happens). Xnormal does the conversion in a simple step and is less a bake than a 2D translation, doesn’t even involve the model at all. But either way will produce something usable, I’m sure.
I tried the particle-hair as image source because 1) I already had the hair system built though not finally styled, 2) didn’t have any friends handy who could pose for photo-source images, and 3) wanted to see if it’d work. And as you say, you could go wild with the hair look, but not have to animate it as strands/particles. The current Hair Dynamics system seems severely bent if not broken, btw, so it can maybe save many forehead-to-keyboard experiences as well.
I took a look at an X-normal tutorial. It looks good. Did I understand that I need to have a hi-density mesh to get good results? I could really use a little basic explanation of what to do and what is needed please. Right now I just have a general mesh with a sub-surf set to (2) and not applied. What is critical to doing this right?
EDIT: Did some more hunting. Is the hi-res only needed if you are making a sculpted surface to then bake a normal map from? If I’m right then the normal map from an image will work on a lower res mesh. Someone please tell me if I got that right.
Correct, you only need hi and lo res models if you are baking detail from one to the other. For example, if you sculpted some surface details into a hi-res version of the hair, you could then bake that to a normal map and apply it to the lower-res, non-sculpted mesh. You can do that in Blender as well.
But xNormal (got the spelling right this time) also lets you input a greyscale (bump) map and it will convert it to a tangent space normal map, which will work better in Blender for keeping the surface detail visible at all angles. The utility to use in xNormal is under the Tools option, Height Map to Normal Map. There are a number of odd settings like “Swizzle” but start with the defaults, which I think will work OK for Blender.
This utility will convert full RGB images to normal maps as well, but I find greyscale (fully desaturated RGB) works fine, no worries about how a particular color value may convert, since in greyscale R=G=B. I’m not sure if an 8-bit greyscale is acceptable, but it’s worth trying.
Thanks for the explanations chipmasque and dukejib. It’s much clearer now.
I finished the diffuse map last nite.
I have xNormal and will work to create a normal map tonight.
I’ll also see if I can add some SSS to soften the edges and remove the plastic look.
I’ll try to post my results tonight for further comments and suggestions.
My major annoyance with Blender AO baking is that it does not deliver antialiased texture as a result, leading then in some very ugly aliased “stairs” parts :
Only workaround i found was to bake on a 4 time larger texture than i need, then rescale the texture in GIMP to get something that could look like being antialiased.
Annoying because it wastes time that could be used at doing more work in Blender and may not look as nice as a truly antialiased “stair” .
So here’s my question as i never used xnormal, is xnormal able to bake AO while delivering an antialiased texture ?
@Sanctuary
There is an option to use anti alias in xNormals. I’ve used it for some hard surface meshes, and it came out pretty good.
Options for nomral, bump, cavity and other maps can be found in a button marked with “…” just next to map name.
By the way, just saw your WIP thread. your models/sclupts are very good.
I’ve never used cavity map , but they are used for fine details, which are not possible with normal maps. like lines of face, space under earlobes, nostrils etc.
After giving a try to xnormals i did a little comparison with the AO baking
making a 1024x1024 baking in xnormal with its antialiasing set to 4x
making a 4096x4096 baking in blender and rescaled to 1024x1024 in GIMP to emulate 4x antialiasing
Result : xnormals took easily more than 10x the time it took me to get the Blender 4096x4096 then rescale to 1024x1024 , and display a different result.
Here’s my low poly model i used (the AO baked was from the higher poly sculpt) , in which on the left i applied the Blender+Gimp obtained AO baking, and on the right the AO directly coming from xnormal
You can already see that the AO obtained with xnormal has actually more details than the AO from Blender+Gimp, very strong point for xnormal (disregard the color “banding” in each following screenshot, they’re there only because i compressed the pictures for easier upload, the original texture have no banding).
Now the textures themselves, the one from Blender+GIMP :
The one from xnormal in which you can indeed see there are more details (wrinkles by example on the faces are much more visible):
And if i didn’t use the 4096x then rescale trick, here’s the horribly aliased Blender 1024x1024 direct result :
(disregard the size of the textured bleed, i completely forget to increase it on the Blender baking)
Conclusion : if you want quality use xnormal there’s no contest, if you want speed use the Blender+Image rescale trick.
thanks,
so maybe I should give a cavity map a try for the hair details also to bring out the strands better.
I’ll see what I can do when I get home this evening.
I think I would still need the normal map since it gives real height from all angles where the cavity is more like the fake of a bump map.
I think I’m getting the theory of this.