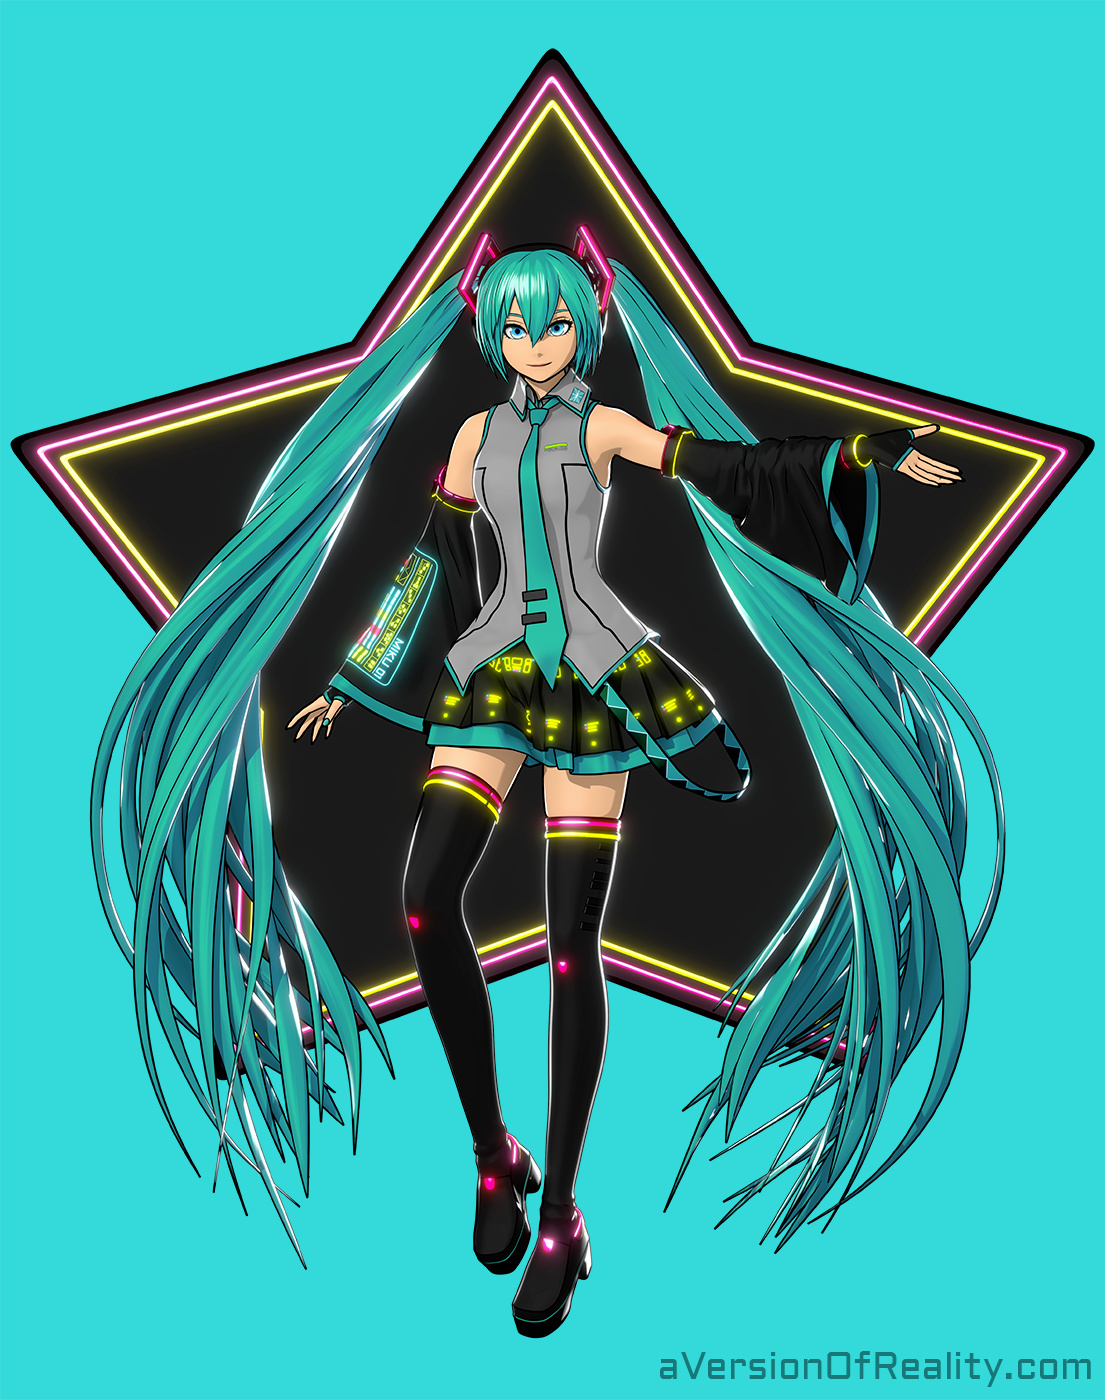
My latest attempt at a high quality toon workflow, made for the ForFansByFans.com MikuExpo2019 FanArt merchandise contest. If it gets enough ratings, it’ll be available on shirts and stuff. You can go rate it here if you want.
Here’s an overview of the setup/workflow:
The Shader is Cycles ToonKit OSL nodes. Using ToonKit 1.3 in Blender 2.8 nightly. Had to render at 4500x5700 since this needs to be print sized, but even that wasn’t too bad thanks to ToonKit. About an hour on a 3.4ghz quad core. 32 samples.
The Line Art is Freestyle. It needed a bunch of cleanup in post, which was done by hand in Krita.
The body was originally made with ManuelLab addon using the Realistic Anime base, but has a loooot of custom sculpting, and almost a complete rework of the face.
The clothing was originally made in Marvelous Designer, then brought into Blender, re-topologized, and then simulated using the new 2.8 cloth sim and some wind. The new cloth works great! 30 frames to get into pose and then 30 to rest. Takes about a second per frame per item, so only a few minutes total. (UPDATE: Lots of cloth details a couple posts down.)
The body is rigged with the Auto Rig Pro addon, although I’m not really using most of the ‘pro’ features. Rigify would have worked too. I added a lot of corrective bones based on DanPro’s excellent tutorials, especially this one and this other one.
The twin tails are modeled as vertical cylinders, then spread out and twisted with an armature and Simple Deform - Twist modifiers (driven by bones on the armature via drivers.) Then its attached to a curve via Curve modifier for actual posing. This setup keeps it easy to avoid terrible intersections by keeping everything mostly parallel. And it’s a lot easier to build than a full armature setup that would produce similar results.
The hair uses a lot of Bevel node to avoid bad shading.
The rimlight is artificially boosted by using a very glossy specular gated based on facing to only effect edges, and then added to the rest of the shader. You can do this in regular Cycles GPU nodes too.
The glow is just compositor glow. There was some other post cleanup work done on the bangs and face lineart. I did it in Krita because I was in a hurry to meet the contest deadline, but i think it could just be done with Grease Pencil now in 2.8. Will try that on the next project.
I guess that’s a good info dump. If anyone has questions about any of this, just ask!
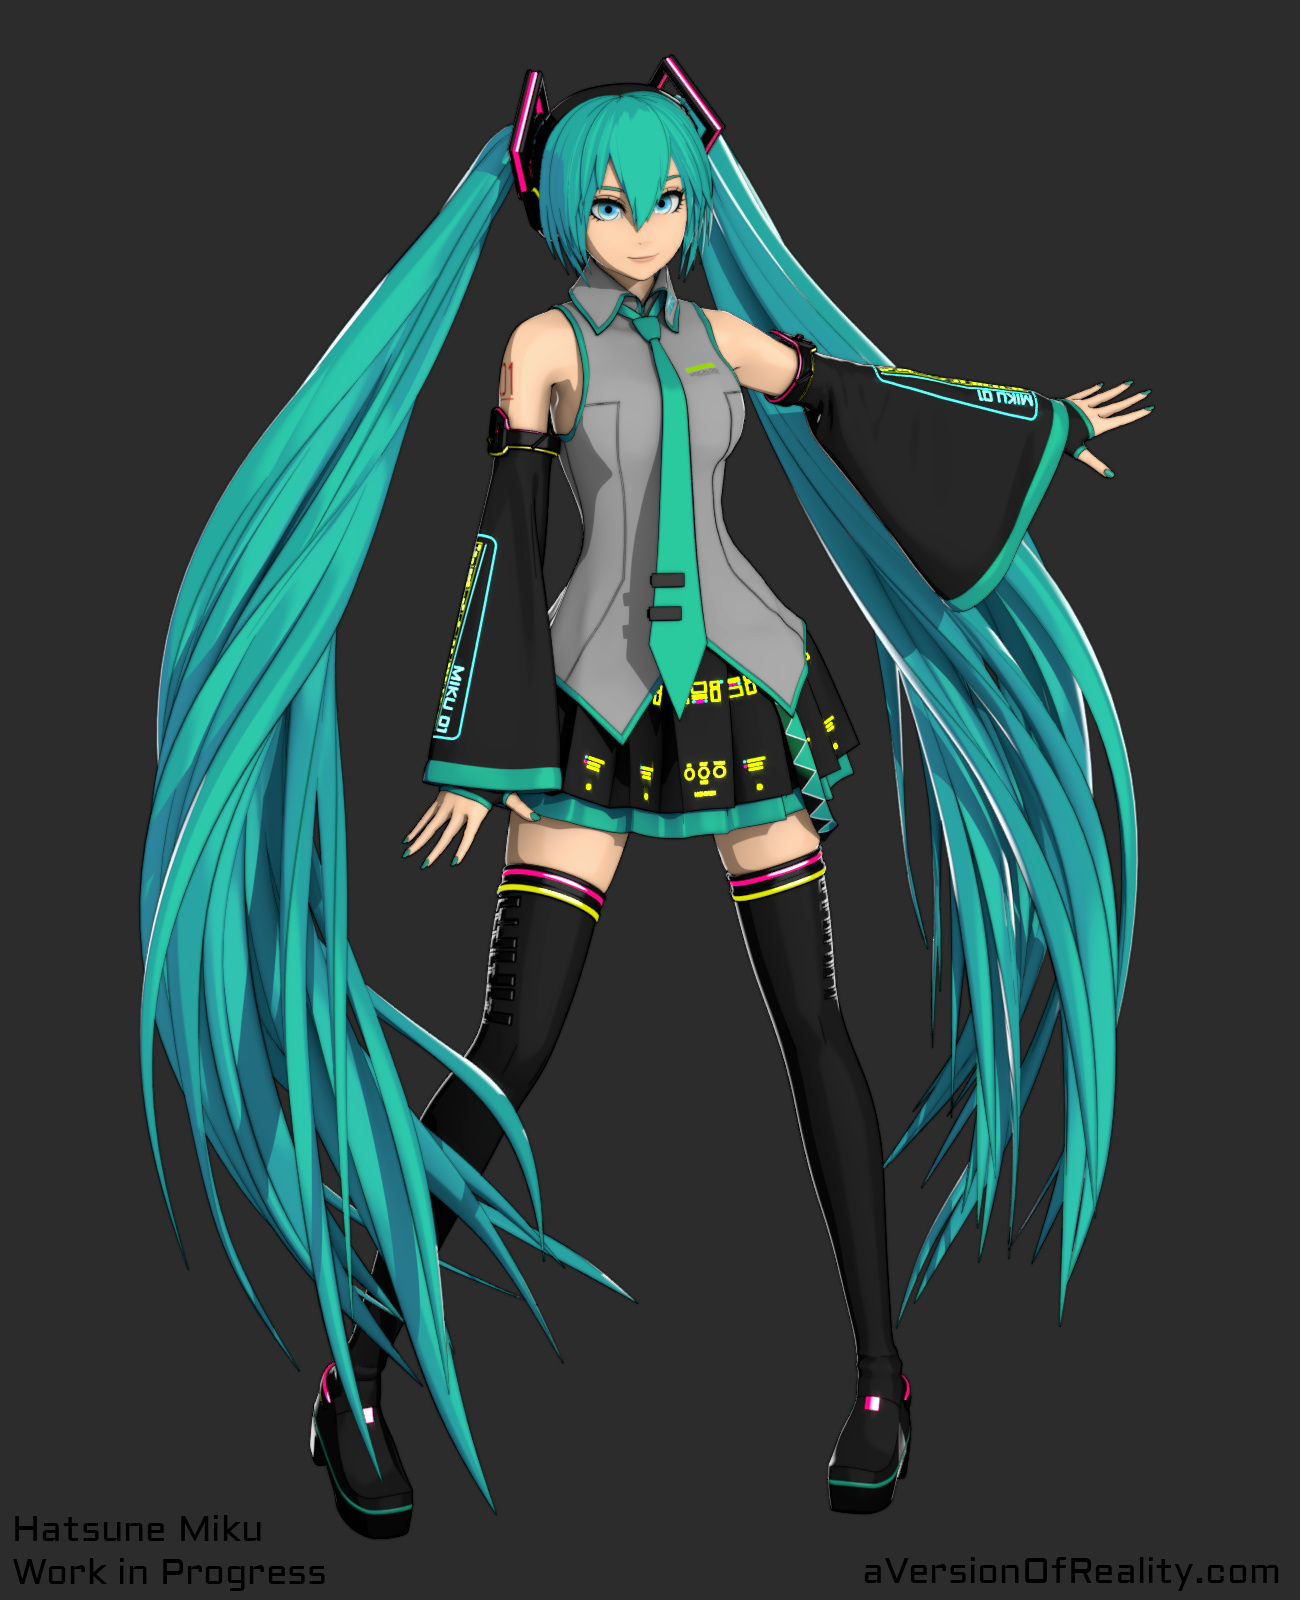
Here’s a couple earlier test poses I went through (not complete of course, but fun for the cloth sim). Not the final shader/effects on these.
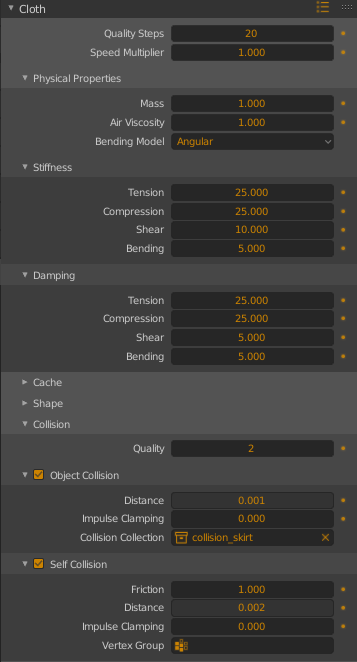
Make sure that none of the cloth starts out intersecting with the body, or within the collision distance. I have the body set to .001 (the minimum) distance and same with the cloth. Some objects like the wrist bands have slightly higher of .002 since they are lower poly with a bunch of subsurf. Also make sure you’ve got Scale applied. I have my seen with 1 blender unit = 1 meter. If you are using a larger scale, you may need a larger collision distance. If you are using a smaller scale, you’ll need to scale up to at least that.
For quality, I used 20 steps which is about the minimum. Collision quality at 2 steps. And of course you need dense enough topology. I’ll post a picture of the mesh later.,
There is some clipping visible here on sharp edges, but that gets smoothed over with Subsurf on.
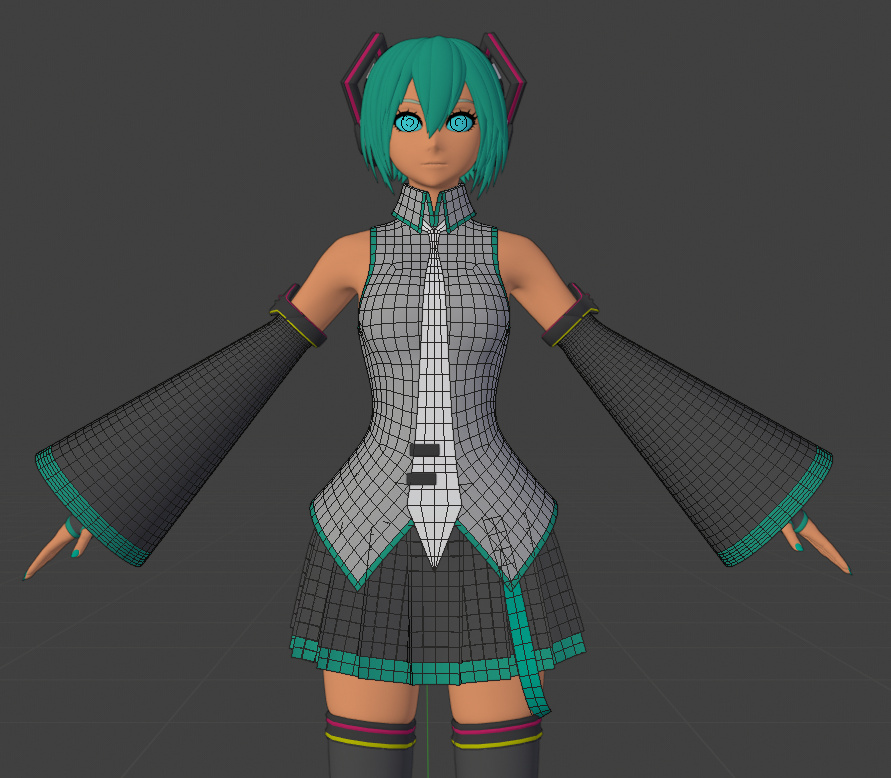
The topology came from Marvelous Designer, so it started out with strange loop flow, but has consistent vertex density. I retopologized some of it, but didn’t bother with all of it because it’s not necessary.
Pictured are the sim meshes for the shirt and tie. They have more detailed meshes bound to them with the Surface Deform modifier. The sleeves, skirt, and belt didn’t need this because they have no surface geometry detail. They also have solidify and subsurf modifiers after the cloth sim, but those are disabled to show the mesh.
The cloth all has roughly the same settings. It varies a bit in the amount of Stiffness and Damping, but that’s about it.
What’s important is the collision setup. I wanted to avoid any unnecessary problems, so I used some collision groups, and a hidden collision mesh for the collar. Here’s the setup:
The Skirt is a collision object, and is in a collision group with the Body and Boots. So it ignores the shirt, tie, belt, etc.
The Belt will collide with the objects in the Skirt’s collision group. So it will collide with the skirt, but the skirt won’t collide with it. The belt itself is a collision object too.
The Shirt is a collision object, and is not restricted to a collision group. So it will collide off the belt, but the belt doesn’t collide with it.
The Tie and Sleeves are not restricted, but also are not collision objects. So they’ll collide off any of the other objects, but nothing can be influenced by them.
There’s also 2 wind forcefields. One effects the Tie and sleeves, the other the shirt and skirt. They are at slightly different angles. This was because the angle that gave me the amount of billow I wanted on the skirt would plaster the tie against the shirt, and blow the sleeves back too much. It’s not realistic but it worked for this shot.
Under the collar is a hidden duplicate of the part of the tie that goes around the neck. On the tie sim mesh, this area is pinned. The collider is there just to stop the collar from collapsing. High stiffness alone is not enough. The pinned section of the tie and collider is on an armature. None of the actual shirt is. It was necessary to do it this way to avoid the main part of the tie being a collider and influencing the shirt.
Here’s a GIF of it simming into the pose. It was necessary to have the raised arm bend and then straighten out to pull the sleeve back from the bracelet. (This isn’t the exact bake I used in the final image. I had that saved to as a shapekey. Not sure why I’m not getting exactly the same result from the tie. It has something to do with the Wind.)