NITROX3D: A new hard surface workflow for designers

UPDATE: 11/2019
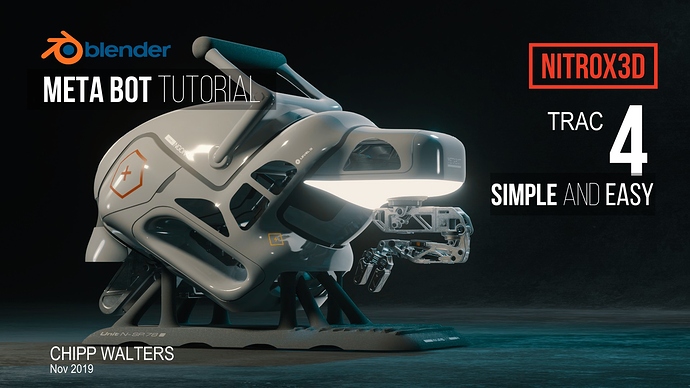
Metabot NON-DESTRUCTIVE modeling with METABALLS and META ELEMENTS.

10 NEW videos! Free Update!

Check the video out NOW.

UPDATE:

Hey guys, I just finished 5 new videos: NITROX3D Track 3. See below for details.
Available at https://gum.co/NITROX3D-TRACK-3 for $11
or
You can grab the entire course on Blender Market for $22 (10 videos)
https://blendermarket.com/products/nitrox3d-non-destructive-modeling-course

TRACK-1

is free, is just the YouTube videos I’ve already shared available for download. https://gum.co/NITROX3D-TRACK-1


TRACK-2

Get it at:
Gumroad
Blender Market

for $11 includes all the source files from the “Electronics Box” from the TRACK-1 video, and includes:

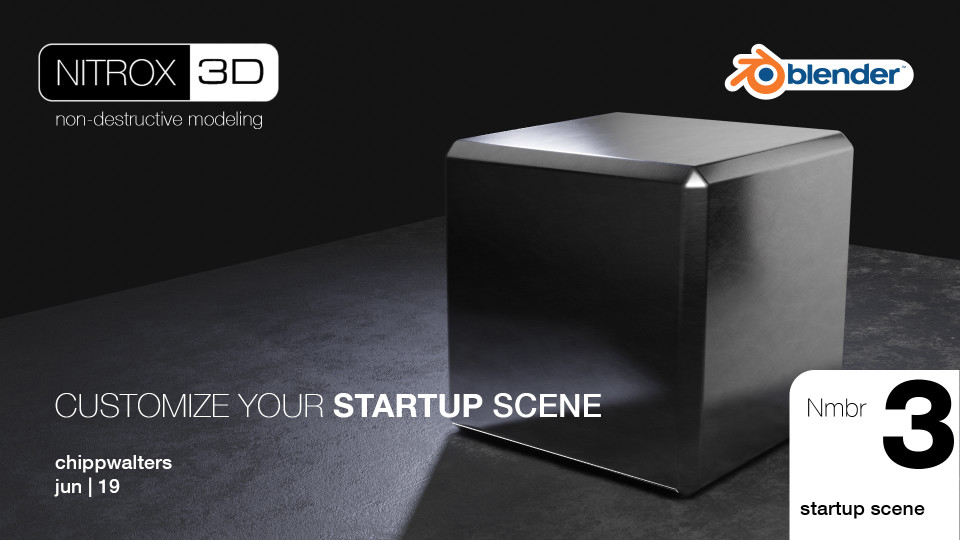
  • NITROX3D-03 (20 min) | CUSTOMIZE YOUR STARTUP SCENE | is a detailed explanation of the startup scene I work with, and includes the startup scene plus some textures from my Definitely EEVEE Materials System.

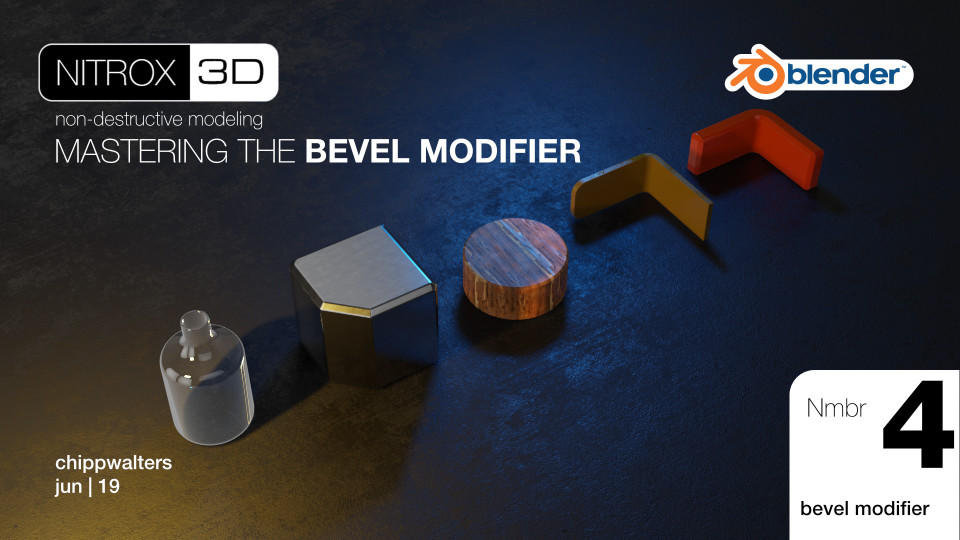
NITROX3D-04 (18 min) | MASTERING THE BEVEL MODIFIER | is an explanation of many of the tricks you can use with Blender’s bevel modifier to create the shapes and objects which make up your non-destructive product. All source files included.

NITROX3D-05 (15 min) | SONY HEADPHONE AMP BREAKDOWN | is a detailed walkthrough of the Sony headphone preamp model constructed entirely (including KIT OPS connectors) using the NITROX3D workflow.

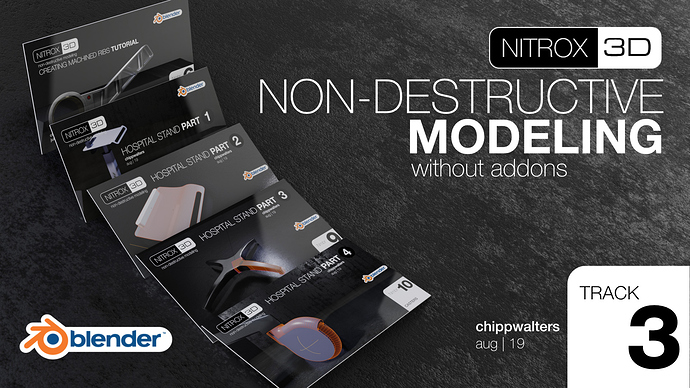
TRACK-3

See https://gum.co/NITROX3D-TRACK-3 for purchase details.

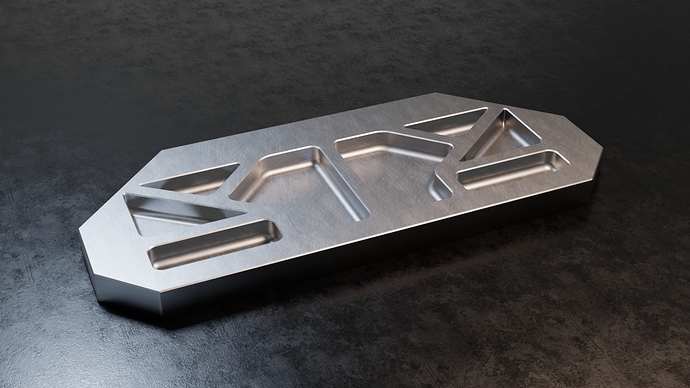
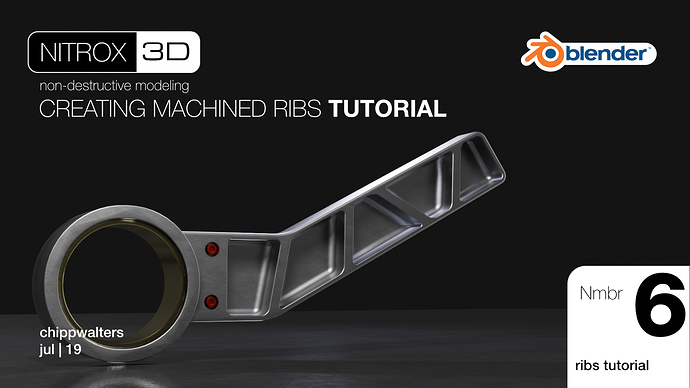
Nmbr 6: Creating Machined Ribs Tutorial | 12:04

This video goes over how to create a non-destructive rib pattern for die-cast, machined and injection molded parts.

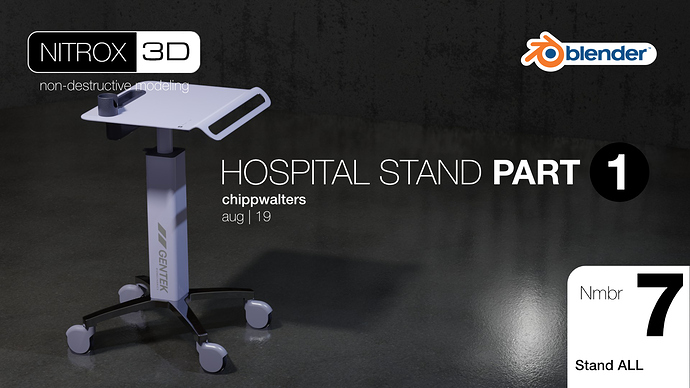
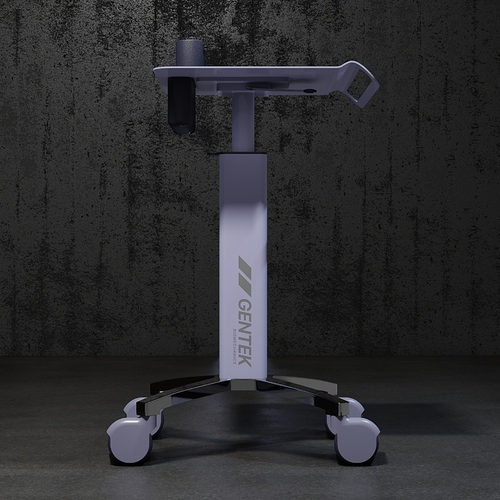
Nmbr 7: Hospital Stand Part 1 | 6:56

This video goes over the basic stand and dissects the parts which are the “low-hanging fruit” of object creation using modifiers.

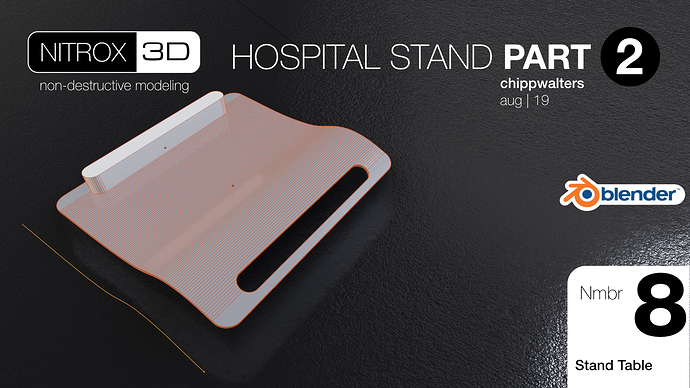
Nmbr 8: Hospital Stand Part 2 | 12:18

This video explains two different approaches to creating the curved stamped and punched metal tray top for the stand. It uses a variety of unique modifier approaches which are sure to get you thinking!

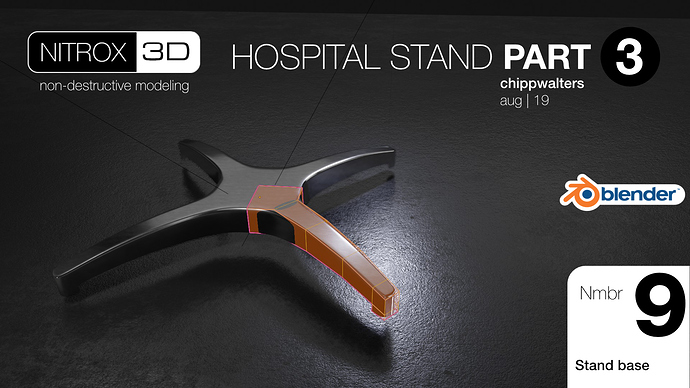
Nmbr 9: Hospital Stand Part 3 | 6:40

A most unique approach on creating the base for the Hospital Stand. It uses the subdivision modifier plus a couple new wrinkles on how to quickly knock out a complex form with only a couple modifiers-- while keeping it fully editable!

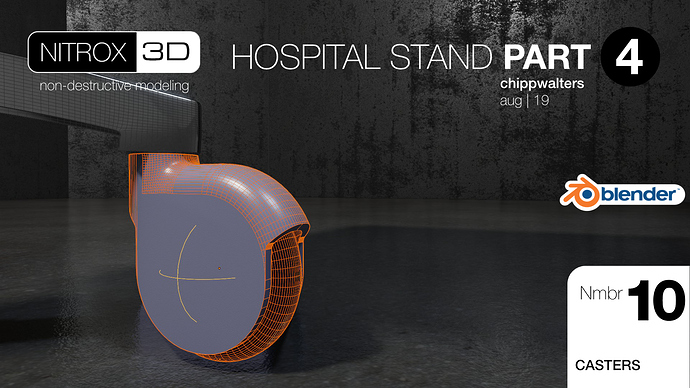
Nmbr 10: Hospital Stand Part 4 | 7:42

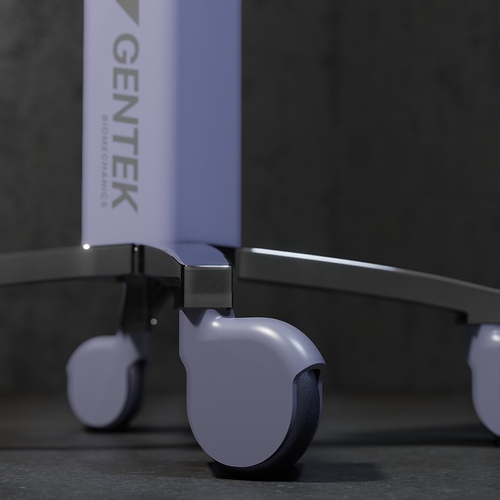
How to create the casters and caster housing. This tutorial walks you through the most complex part of the model while sharing with you a number of new ways to think about your model.

(OLDER)
Hey everyone, Chipp here with something I believe is VERY exciting.

Context

As many of you may know, I’m an Industrial Designer who does concept work as well. I want to talk about the modifier based non-destructive workflow, but I’m adding a different spin on it.

I’m in the process of creating some free videos which will show more, but I’d like to start the conversation here first. I might mention the concept of non-destructive hard surface modeling isn’t new. In fact, there are several wonderful videos by folks like @pitiwazou and @masterxeon1001 and many others.

I sure am not intending to try and co-op the whole ND (Non-Destructive) movement, and tons of credit go to those guys. I in fact was shown ND by @masterxeon1001 back in Sept of 2018 while I was working on an underwater robot (can’t show b/c NDA). Jerry showed me how to build it so I could iterate the many clients changes, and it was a godsend.

Mostly that was because in the past I’d use Moi3D to create these models, and changes were horrendously difficult. I pretty much fell in love with ND and needed to learn more.

Unfortunately, guys like Jerry and Cédric Lepiller and others, each had their own tools and workflows. What I wanted is to drill down and understand exactly what was going on. I’m not as interested in speed as I am in trying to figure out all that is possible in Blender-- without ND addons for the time being-- I may look into them later.

So what is NITROX3D?

NITROX3D is the short name I will use to refer to a collection of non-destructive techniques and strategies for creating HD (Hard Surface) models in Blender. The acronym stands for:

Non-destructive Iterative Techniques for Rapid Object eXploration in 3D.

It is not intended to supplant or replace the unique workflows which Hard Ops, Boxcutter, Fluent, Speedflow, and other optimized addons use for quickly creating hyperdetailed designs. It is more focused on real world products created by Industrial Designers and concept artists (not to say those products don’t comport to create real world products too).

Electronics Box

Perhaps a simple and best explanation for NITROX3D is this set of pictures. Here’s a product design created by Teenage Engineering (cool company-- look them up).


I use it because it shows a very simple (and typical) Industrial Design box. Here is a wireframe of the box.

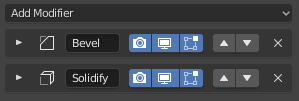
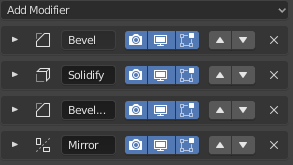
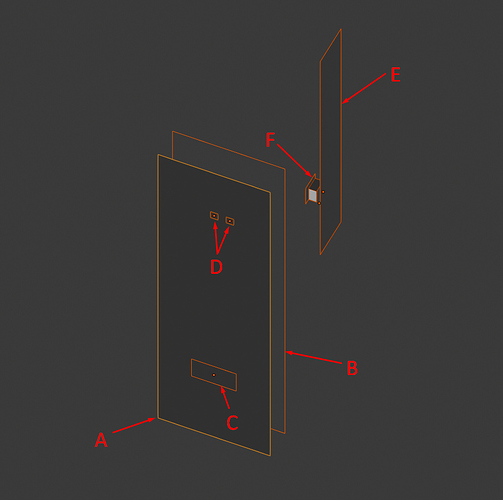
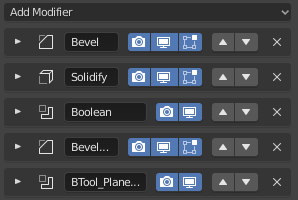
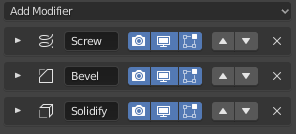
To create this box, I used only the below 8 faces. So, to better understand, it will take a video, but the short of it is here are the modifiers used to convert these 8 polygons to the fully realized product:

A. The main BOX
image

B. The parting line between the front bezel and the back part of the BOX.
image

C. The audio port opening.
image

D. The LEDs
image

E. The WiFi “EARS”
image

F. The connector between the EARS and the BOX.
image

Vitaly Bulgarov Example

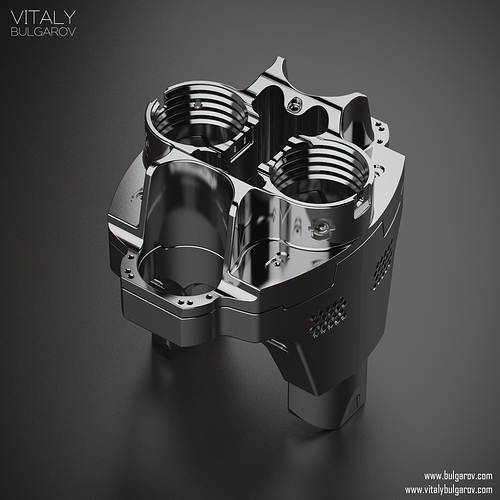
So, I’d like to show another example to demonstrate how powerful this workflow can be. Many of you know how insanely fabulous Vitaly Bulgarov is at creating unique and incredible Hard Surface Widgets. One of my favorites, and one I’ve tried and failed at multiple times in poly modelers is this wonderful multi-hose clamp he created in the easy to use CAD NURBS modeler, MoI3D.

So, I set down with the goal of creating this using NITROX3D. And here’s where I ended after a couple of hours:

There’s no way I could do it with traditional poly modeling techniques, as there were so many tweaks to a vertex position or bevel weighting that I could see the result in realtime-- just like parametric modeling in CAD (more on that later). And as I roughed out the shape, I would later come back and refine it by placing a few new vertices in the right place with the correct settings and it magically came to life.

The kit bash details aren’t yet added, and will be added using KIT OPS or DECAL MACHINE later, but the overall form was what I was trying to achieve. And I think I did a pretty good job, not to mention the resulting wireframe is much more useable than what comes out of MoI3D (which is NURBS based and as such has a difficult time creating an organize poly mesh).

Only 29 faces and 5 edges were used to construct this. The trick is to create a strategy and then know what modifiers to add and in what order.

Again, this is best explained in a video.

And More

Lastly, let me present another couple of models that use this technique.

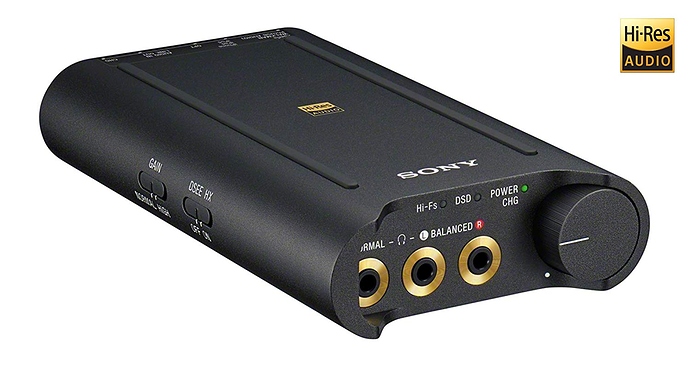
Here’s an example of an existing Sony headphones preamp:

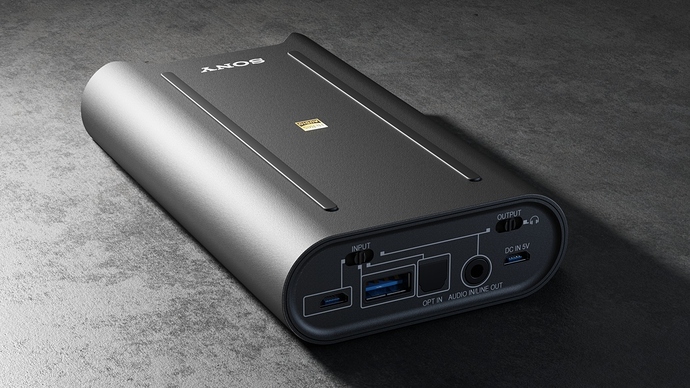
And I used NITROX3D to create:

and addedKIT OPS INSERTS for all connectors and graphics and used Definitely EEVEE: Materials System for the materials and textures:

And here’s a portable adjustable tech stand created with NITROX3D:

Again, both designs are only a few polygons. The strategy is the key-- and all without addons-- unless you count the decal and connectors added with KIT OPS. And factually, they could of been added as objects as well, just for me, as one of the creators of KIT OPS, it was an easy thing to just create them as exercises in using NITROX3D to create KIT OPS INSERTS.

Oh, and the graphics are courtesy of @SirCharlesHurst who is just about to release one of the most amazing decal packs for both KIT OPS and DECAL MACHINE. You can learn more about it at:

Finally

So, to be clear, I’m not saying I’m the expert here, but I am working hard to understand just how far we can push the modifier stack for ND HS models. Please chime in if you have any better ideas or if you see I’m doing something wrong.

As I previously mentioned, I’m currently working on a FREE set of a couple of NITROX3D intro videos to help explain all of this. Stay tuned :slight_smile:

*Of course, all EEVEE renders!
54 Likes

NITROX3D Manifesto

An Introduction to Non-Destructive Techniques in Blender for Industrial Designers

by Chipp Walters

WHAT IS NITROX3D ?

NITROX3D is the short name I will use to refer to a collection of non-destructive techniques and strategies for creating HD (Hard Surface) models in Blender. The acronym stands for:

N on-destructive I terative T echniques for R apid O bject e X ploration in 3D .

It’s basically a Non-Destructive Hard Surface Modeling. workflow which helps create product and concept designs quickly. The techniques work with the Open Source 3D software Blender and uses Blender’s non-destructive modifiers, which in CAD terms is often referred to as parametric tools.

The point of parametric CAD software is to allow designers and engineers to go back and change parts of an object’s design, including wall thicknesses, fillets, and boolean operations. These industry CAD systems are expensive, difficult to learn, and have many drawbacks including very high pricing, lack of realtime photoreal renders along with an inherent inability to quickly and easily adjust for proportion. It also focuses on the complete documentation of an object, including draft angles, bosses, rib structures and molding requirements, which are typically not necessary for concept design models.

All of this complexity makes CAD systems poor choices for designers when they want to quickly ideate on a few concept or product designs for review.

NITROX3D combines the power of CAD based parametric modeling with the ease of editing found in polygon based modeling. It excels at providing many of the above features but focuses on quick iterative changes for proportion and detail studies. Because NITROX3D works with Blender’s EEVEE rendering subsystem, it provides instantaneos photoreal feedback-- which is most helpful for designers in both reviewing their work and presenting it to others.

The NITROX3D workflow creates simple polygon geometry which when combined with the power of Blender’s modifier stack, provides fast and iterative parametric modeling-- and has the added advantage of being able to easily change the level of detail (number of polygons) for any object created. This is especially helpful if you’re looking to create Virtual or Augmented Reality experiences for design reviews. Because EEVEE is so fast, 5 minute animations of a product design can be rendered over a lunch break at HD resolutions.

While not required, NITROX3D can use a Blender only kit bashing system called KIT OPS to drag and drop onto models familiar components such as connectors, displays, screws and bolts, vents and other details with just a few clicks of the mouse. This again expedites the overall concept to finished product design as these objects are already modeled and part of different libraries called KPACKS. More info on KIT OPS can be found at kit-ops.com.

WHAT IS IT NOT?

NITROX3D is not a set of Blender addons. In fact it uses ZERO addons and instead focuses on the breadth and depth of the native Blender modifiers.

NITROX3D is not CAD (solid modeling) and it is not meant to take the place of CAD for final design drawings. While NITROX3D can be very accurate, polygon modelers are not typically used in industry to create documentation files. Because Blender and other modelers like 3D Max, Modo, Maya, Cinema 4D, and SketchUp are polygon based, they are called surface modelers. Surface modelers can be used to create manifold or “watertight” models for 3D printing, but not with the ease and accuracy of CAD based solid modeling software used in production environments.

While basic subdivision surface modeling can be used, it’s important to stress NITROX3D is not a workflow for creating organic objects, like cars. characters, vegetation and the like. It is more tuned to working with geometric hard surface forms.

While there are certainly some objects which may struggle within the confines of the NITROX3D workflow, it is truly surprising the number of complex objects which do work and can in fact be simplified to only a handful of polygons.

WHO IS IT FOR?

This introduction video series targets Industrial and Concept Designers. Designers understand a good part of the time creating a design is the continued refining of scale and proportions after the first pass. NITROX3D allows for multiple iterations of tweaking a design, with the added benefit of being able to use libraries of existing components, including decals and materials, to add the finishing touch to a concept design.

Being able to actually work in a realtime photoreal environment, allows the designer to visualize exactly how light and reflections will affect surfaces. This critical design phase is called CMF (Color, Material, Finish) and can actually take as much design time as form creation.

WHO IS IT NOT FOR?

This first video series is not a comprehensive “HOW TO” for NITROX3D. It is also not a beginner modeling course for new Blender users.

It’s goal is to explain the NITROX3D workflow and theory, and show many examples. It does not use any of the non-destructive workflow addons (of which there are many), and instead tries to provide a basic foundation and understanding of how the modifiers work with simple geometry to create complex forms.

WHY THIS VIDEO SERIES?

I’m a big believer in the 80/20 rule which states “get 80% there with 20% the time and effort.” My hope is many designers think similarly. This new workflow does exactly that, and cuts down on time spent doing customer tweaks.

Professional designers know iteration is the key to a successful design. Years ago in graduate design school we would create 50 different sketches for a simple radial symmetric 12 ounce shampoo bottle, then choose two favorites and create 50 refinements for them as well. Somewhere between 40-50 you actually find the one that “works.” As designers gather more experience, much of this iterative workflow becomes second nature, but it’s still important to be able to adjust and quickly review new refinements to an existing design.

Scale and proportion are two of the hallmarks of a great design-- and NITROX3D workflow simplifies both in a huge way. I’ve personally used this workflow on a number of client based projects in the past year, and wanted to continue to pursue it and share my findings by trying to model some existing designs to see just how well it works and how far it can go.

So, let’s push a few polys around, add some modifiers, and see what we end up with!

13 Likes

Very interested to see this in action. :nerd_face:

1 Like

Interesting. Looking forward to the videos. Have you tried Fusion 360? It has an ND timeline feature for this very workflow.

3 Likes

Yes, I have tried Fusion360, and for me it’s tedious for quick concepts, and it’s difficult to ‘stretch’ or change proportions even though it has a parametric operation stack.

Most of all I hate having to login to Autocad every time I want to use it. And it’s terribly slow. And it creates crappy polygon meshes, so if you intend to use it for games or AR or VR, you sometimes have to retopo it. Plus you can’t LOD it either.

All in all, it’s CAD. Great for engineering documention and 3D printing. Not so great for concept design.

I really like to edit in Blender EEVEE and see how the reflections caress the surface, with textures and graphics applied. Then I change the shape-- not so easy with CAD.

1 Like

Yes, I went through my CAD phase - pertaining to game dev production asset workflows - about 2 years ago. After exhaustive workflow tests I found it to have no benefit as I can model in Max just as quick and not have to deal with retop of a polysoup CAD .STL.

You’re absolutely correct in that F360 has terrible mesh conversion tools. MOI3D does it much better, but again, CAD hardsurface models as the basis for production assets are more trouble than they’re worth, imo.

2 Likes

For AR . That’s exact what I suppose to do.

Make a AR app or in AR Glass with Unity3D for demonstrating animate , Physical simulation and interact with the hand , eyes for electric products, interior model, customer goods ,foods and cloths . Right now I’m on the modeling stage , very beginning stage. :joy:

2 Likes

I followed your same path, but mostly with MoI. I ended up using Onshape when Moi wouldn’t bevel correctly. And I did get some good mesh translations for KeyShot renders. I know KeyShot renders NURBS directly, but they can’t add a tiny render bevel unless it’s polys. And we all know how valuable those bevels are!

5 Likes

I’ve been using this exact bevel bake workflow for hard surface game assets. I will then export the mesh and normal map to Substance Painter for final detailing. Fantastic results and a workflow changer for me.
This workflow alone will catch on soon in game dev and be a big draw for Blender.

1 Like

If you liked that one, you might also like:

3 Likes

Up and at em Chipp!

2 Likes

Wazou, please check out the NITROX3D manifesto. I’m trying to do this without your addon, or others addons.

One of the points I’d like to make is that Jerry and Rudy Michau and YOU @pitiwazou ALREADY** have DEEP, DEEP knowledge of much of this. And you’ve used that knowledge to build your very fancy addons, with custom pie menus, and new vernacular. And of course you know exactly how to use it and what order and what works all the time and what may not, and how to fix render artifacts-- all because of your DEEP understanding.

People who learn NITROX3D will gain that same DEEP knowledge, and that will make them eager to use all the tools out there, as they will much better understand not just the HOW but also the WHY. That was my goal all along for myself-- to understand the exact WHY.

6 Likes

You are definitely a master when it comes to non-destructive modeling. You have some beautiful and inspirational tutorials. I always vote them thumbs up and give you kudos. Thanks for understanding :slight_smile:

1 Like

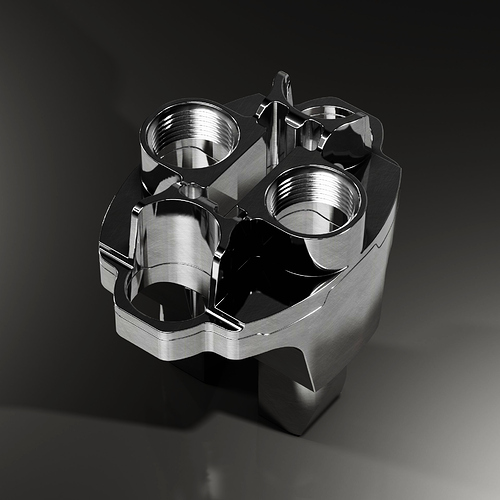
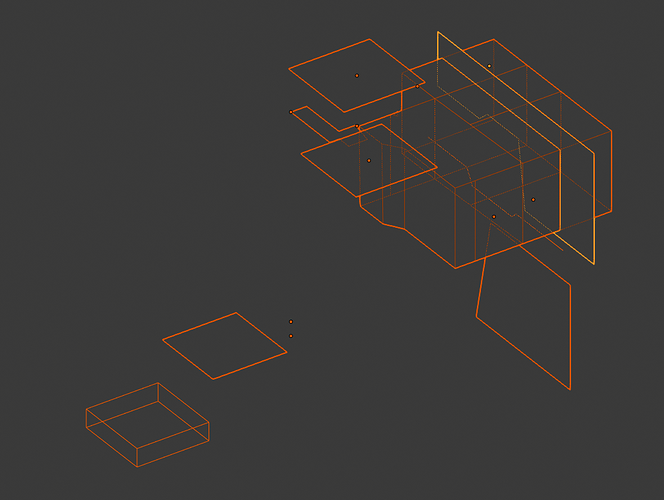
A way to add die-cast cuts using NITROX3D

9 faces, 2 objects

The cool shortcut is how to create the die pattern. Will go over this in video 2.

4 Likes

Yup, looks absolutely exciting, can’t wait for it!

This looks good. You’re getting some really good results with this workflow.
I tried applying the modifiers to a plane (to replicate the Wifi “ears”) but i couldn’t get the corners beveled (assuming the first Bevel is to Bevel the corners and the second to bevel all “sharp” edges?)

Looking forward to seeing the videos.

HTH

5 Likes

Missed the “Only vertices” check box.

Doh!

Thanks

chippwalters, when will you be releasing your video series on NITROX3D? Thanks

I will have the first two lessons out by the end of this week.

4 Likes