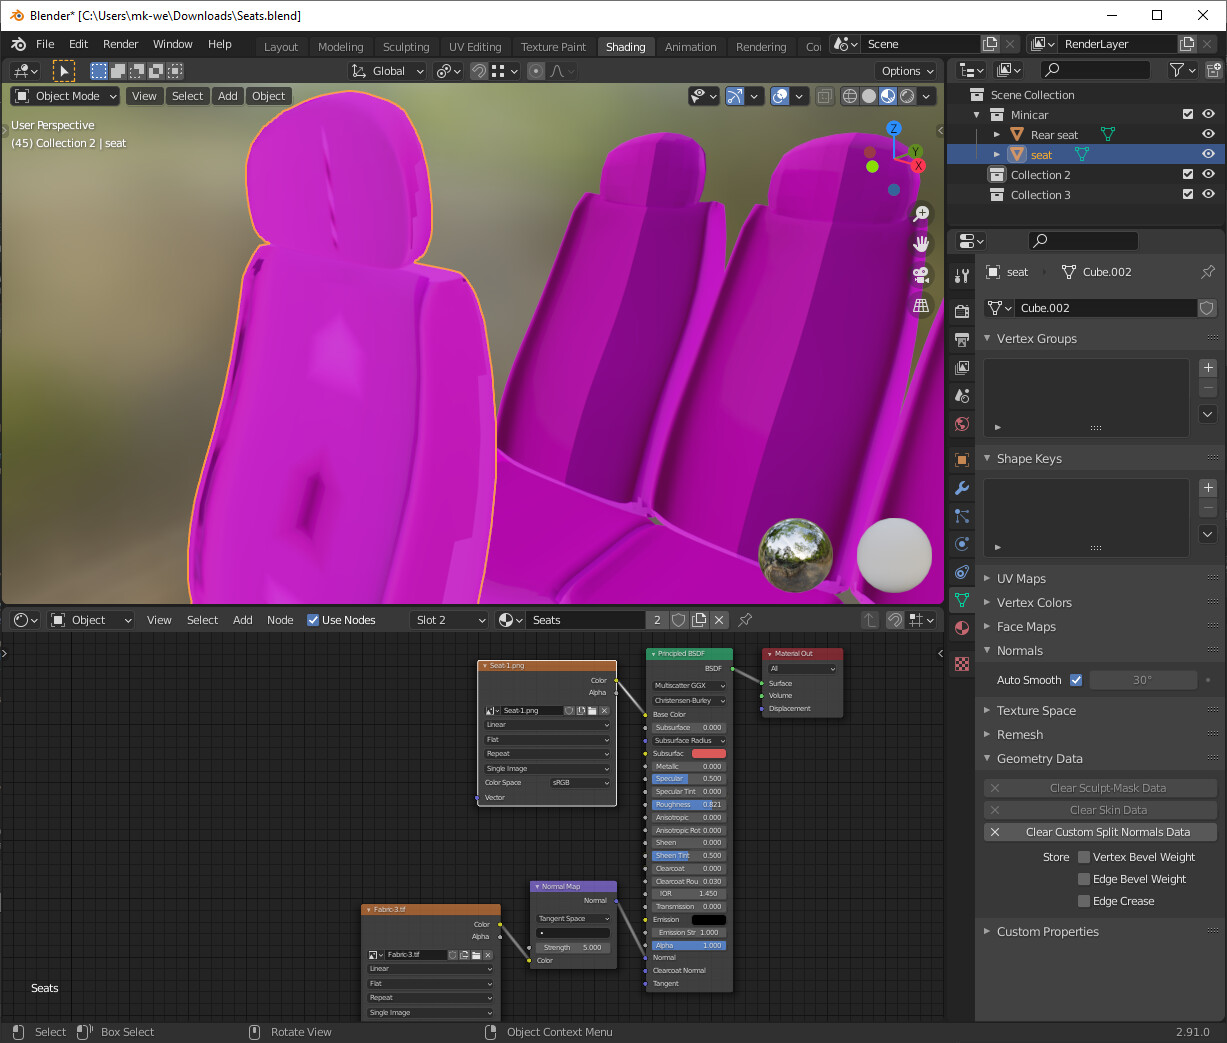
Normally I’d describe what’s happening, but I’d figure I’d just upload the Blend file, as it’s set in Material render in the viewport. Seats.blend (4.8 MB)
I’ve tried pretty much everything with these seats (working on that one car model I had rigging issues with those years ago and updating it). I’ve even tried re-unwrapping the seats and it still looks wrong, which is where I’m at now.
Did that, and it’s still having issues trying to right all the normals. Only half of them end up correct, and when I try to flip or recalculate so that they all look correct, It only does it for half the faces and unsets the other half.
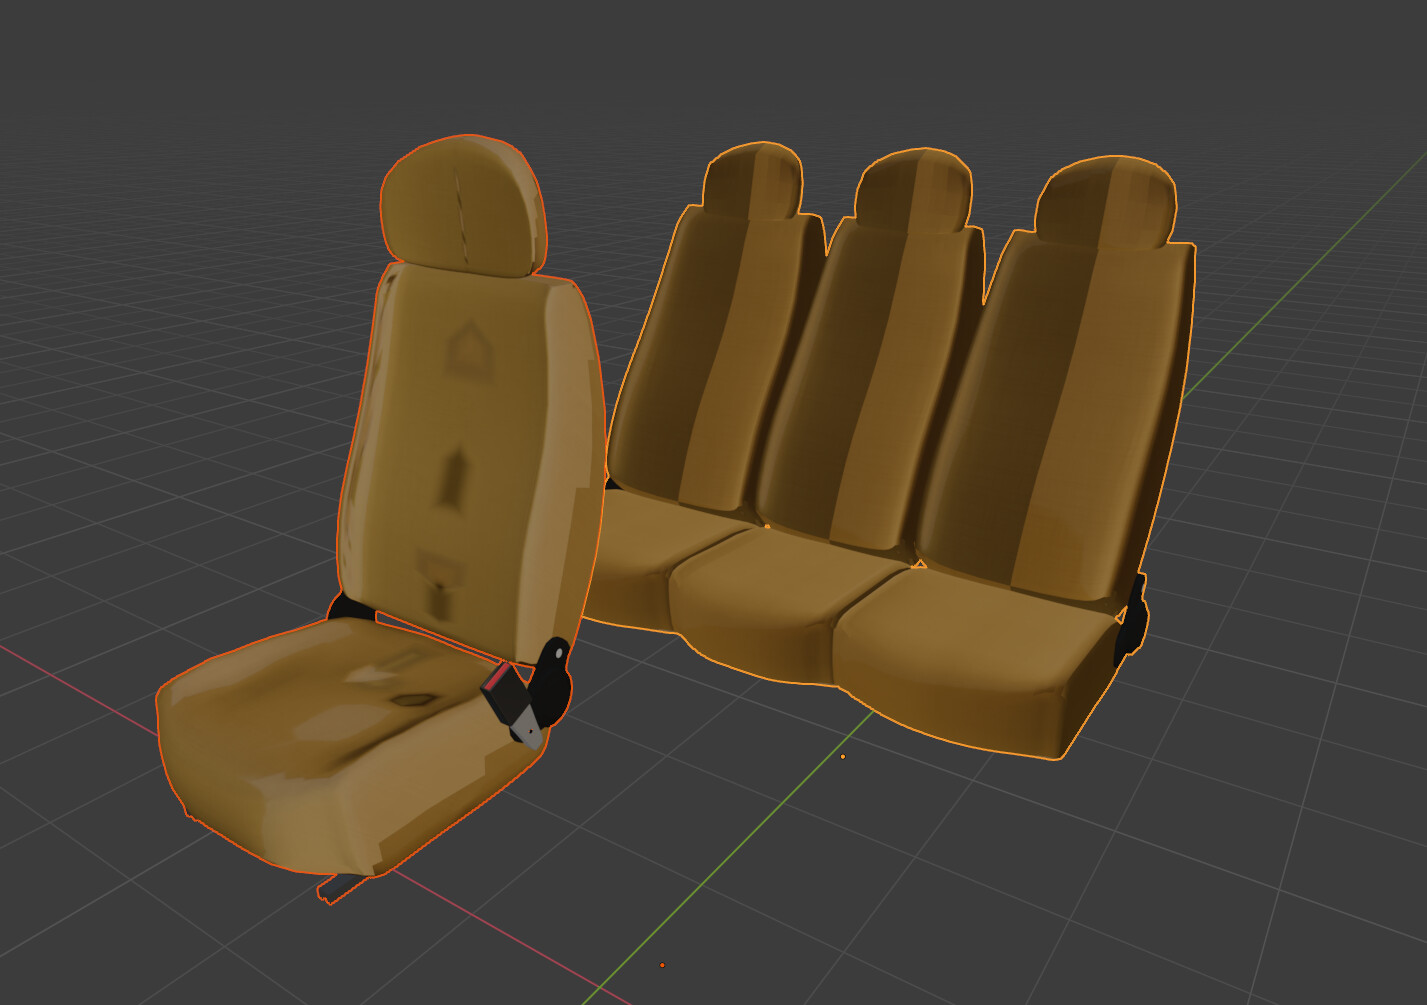
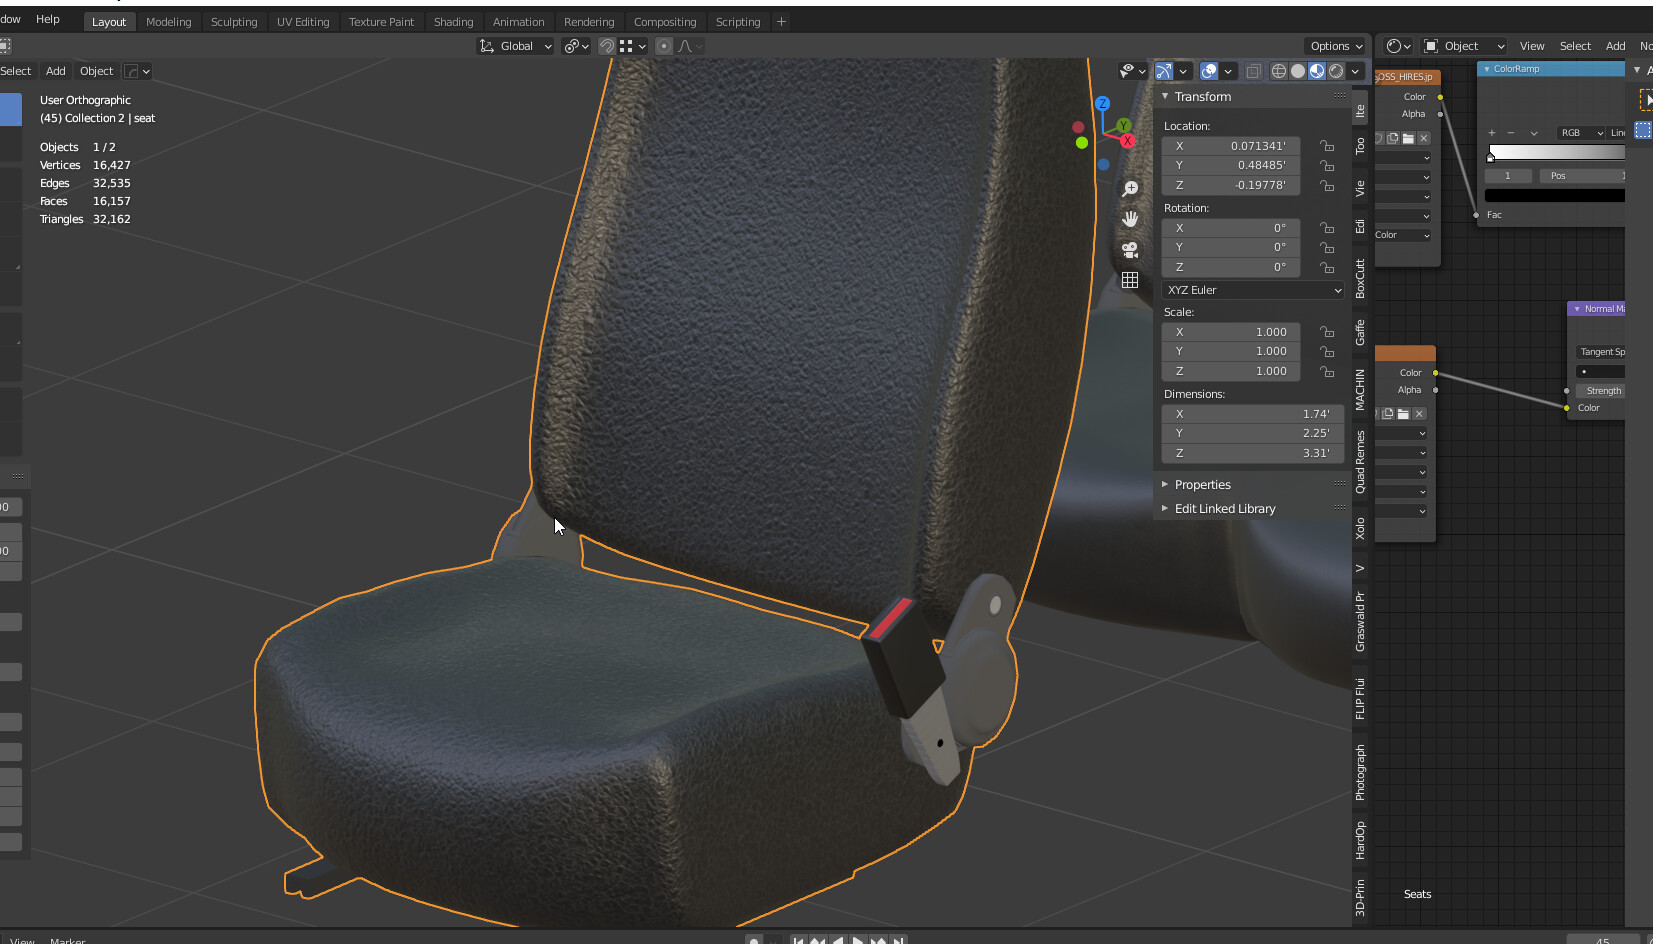
I’m not sure what you mean. If you turn on Face Orientation overlay you can see that all your normals are facing in the right direction apart from an area where the seatbelt clips into.
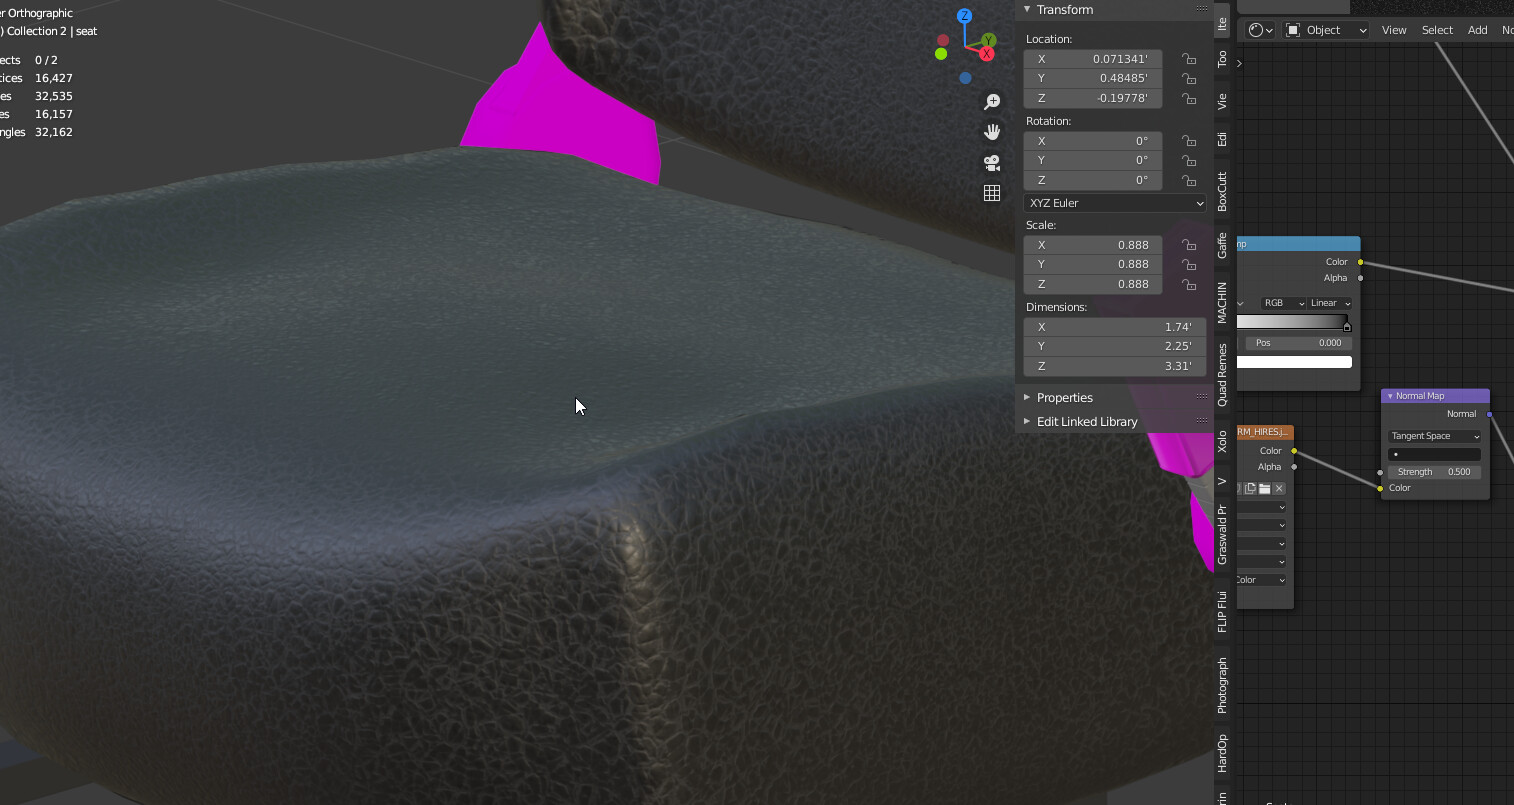
Viewed in Viewport shading mode everything looks fine. You didn’t pack your textures into your Blend, but that seems to be where your issue lies. Unplugging the image going into the Normal input on the Principled shader fixes things. The image going in there should be set to non-color instead of sRGB anyway. Is it even a normal map image? Images meant for using as normal maps are usually named accordingly. Yours is just called “Fabric-3.tif”
I tested it out with some random PBR textures I have handy and it looks fine, although the UV unwrapping seemed a little off. I unwrapped it again and this is what I see (with my normal, colour and roughness images)
I’m not looking at your file, so I’m not really sure, but I’ve seen similar issues from time to time.
Is one of your normal or displacement nodes set to RGB data instead of Non-color data?
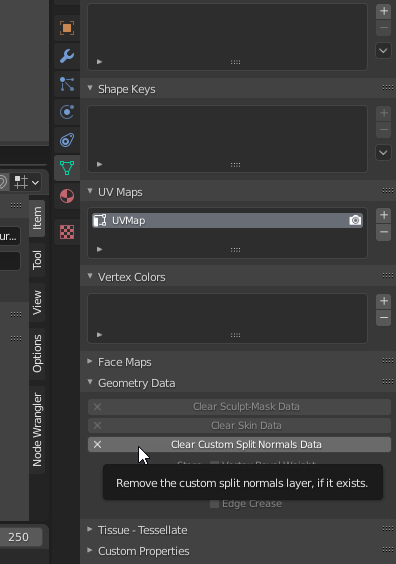
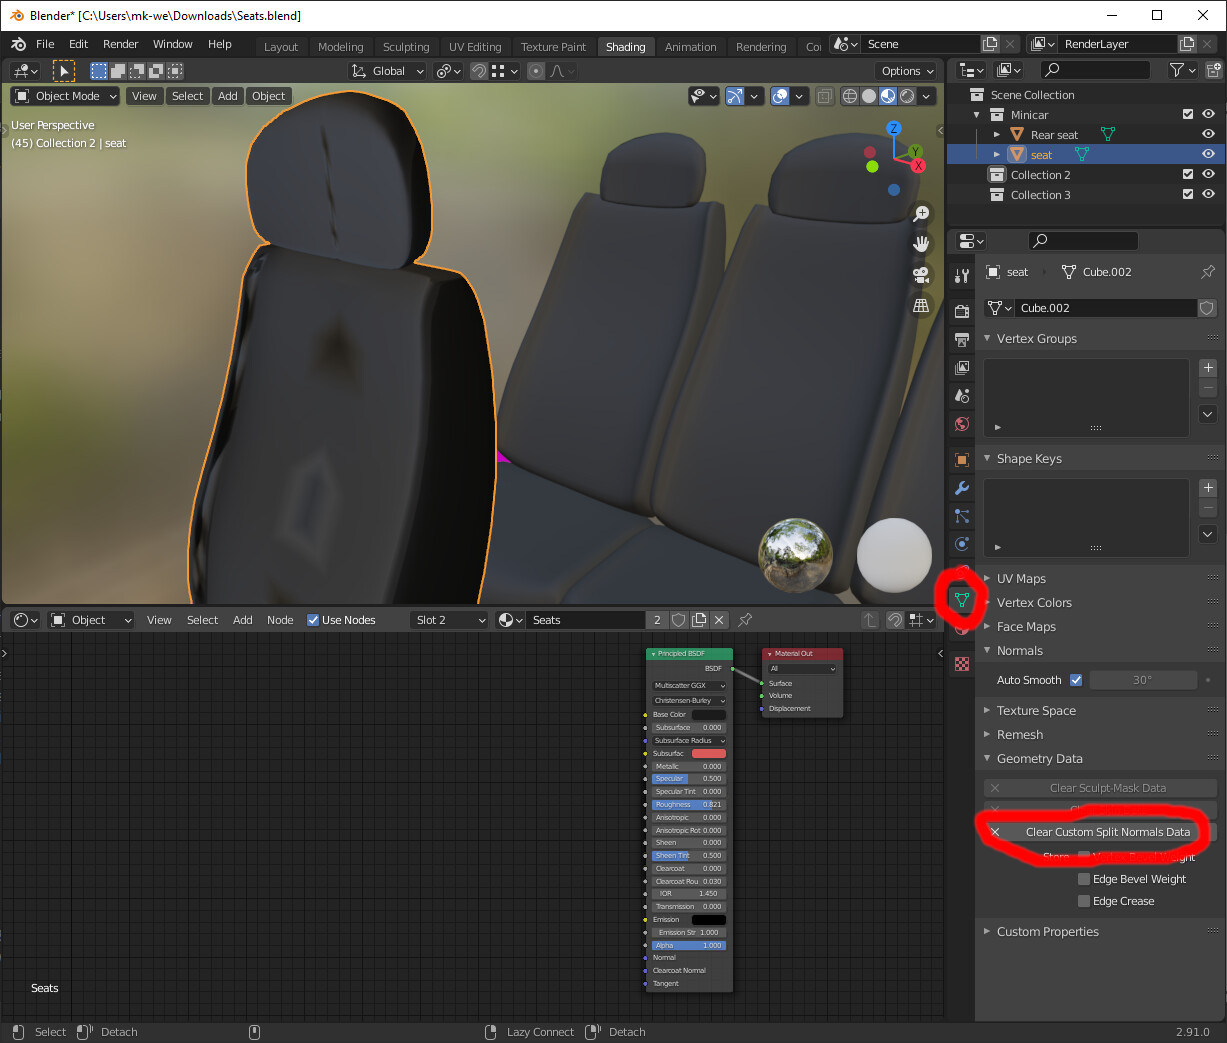
When you clear the custom split normals, all looks fine, except you get sharp lines where the angle between faces is larger then 30 degrees. (Setting Auto Smooth in the right panel)
When you set this value to 180 degrees, all edges are smooth. This is my prefered way to do this. It looks like you messed with the normals to get edges round looking where auto smooth at 30 degrees won’t make them smooth. If you want to have certain edges sharp, you can mark them sharp or put extra geometry around them.
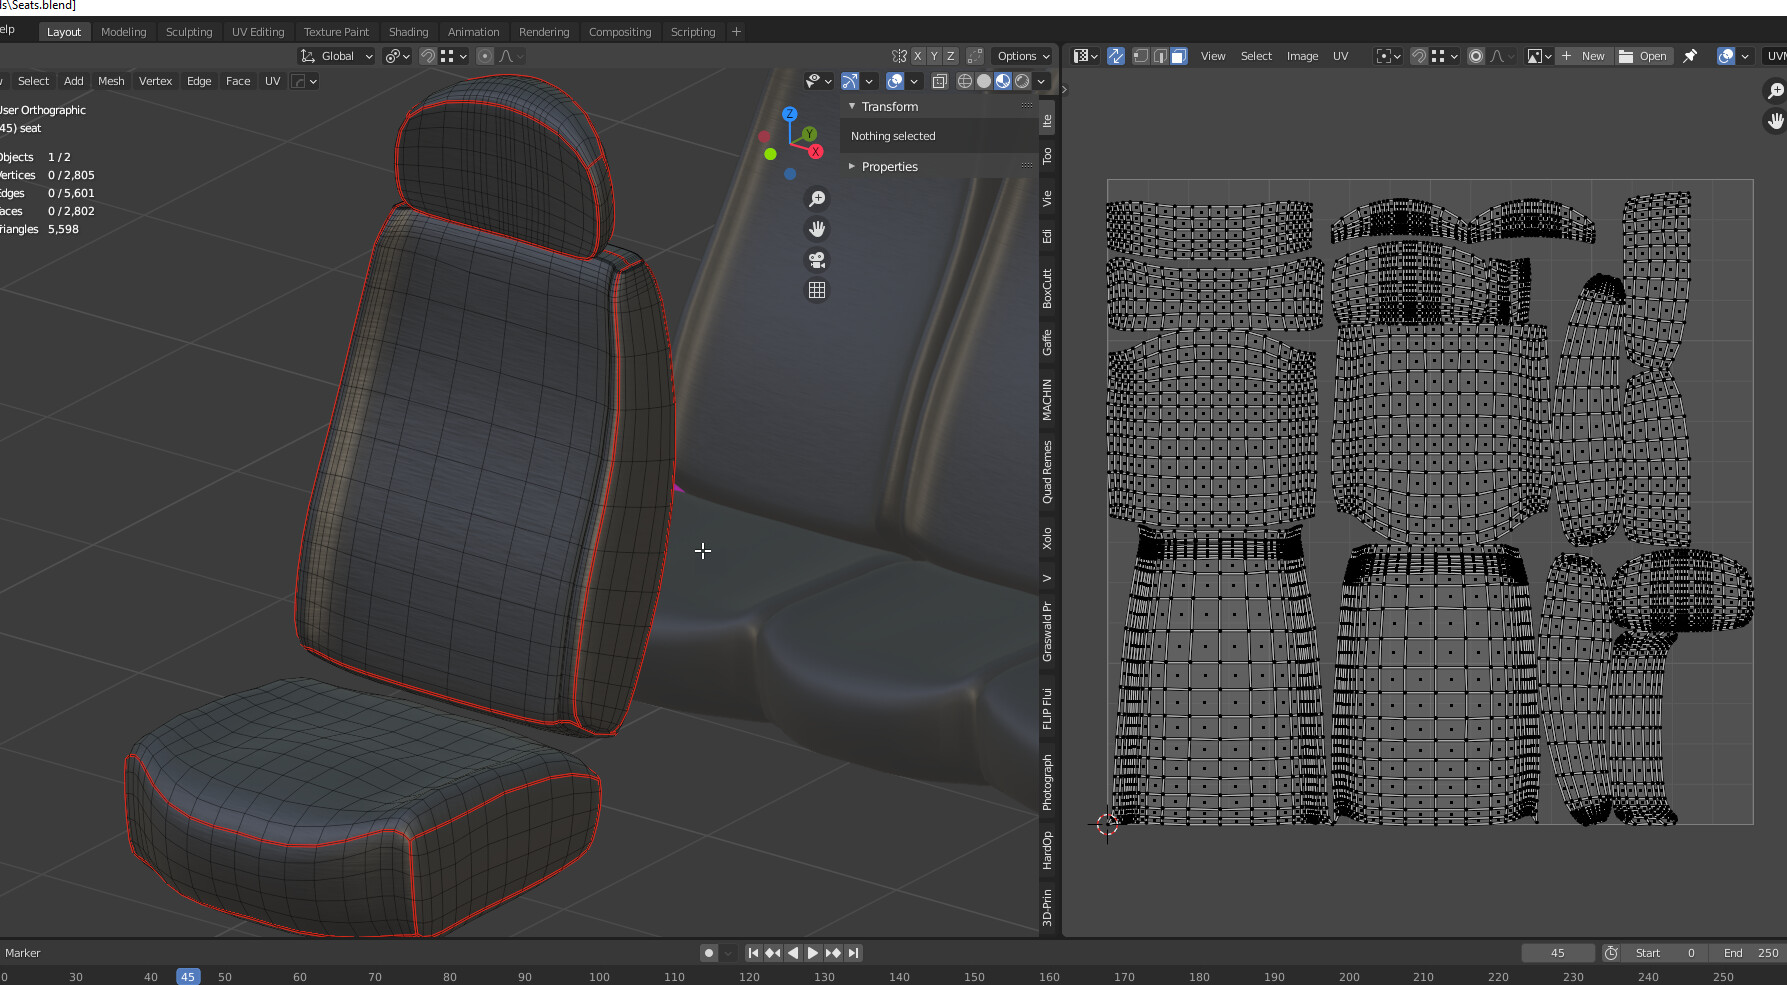
And, sorry to say that, UV unwrap of the front seat is a mess. The back seats are way better. On the front seat the UVs are overlapping. So you should use Smart UV unwrap to get nicer UVs.
To me it looks like a colour palette issue within the texture image itself.
try converting your normal map texture to 8bit PNG, and then reload it as your normal map
I think the main issue is that it isn’t a normal map at all, yet it’s still being plugged into a Normal Map node. Setting it to non-color and plugging it into a Bump node would no doubt fix most issues… only leaving the custom split normals issue and the UV unwrapping issues to be fixed.
There is something wrong with your normal map. As I said above, if I replace your images (which are missing in the Blend file anyway) with known working colour, roughness and normal maps I get the results I’d expect
Oh… just a suggestion on UV unwrapping something like this: Why not place the seams on the seat where the actual seams on the real world object would be? It would make things much easier.
Well that’s the problem there too. I got rid of the normal maps and it still looks like that. And I also don’t know where the seems would be on something like this. Mind showing me how you unwrapped them and not simply tell me so I can get a better idea of what you’re talking about?
Also, why do Normal Maps behave like that anyway? Improper UV unwrapping or just something wrong with Blender?
That’s a quick and dirty way to get something working quickly.
When you have more time, look at some reference images of car seats and their upholstery. Where you see stitching, that’s where you want to place your seams for UV unwrapping. Clothes and furniture (including things like car seats) are some of the easiest things to UV unwrap correctly. They are literally made from the nearest real world equivalent… a pattern drawn onto something flat which is cut out and stitched together.
I’m not sure what is going on exactly with your model/file. Did you make the seats yourself? Where is the normal map actually from?
All sorts of things seem to be exacerbating the issue.
To fix it, I’d separate out the parts of the seat which are hard-edged (like the hardware) and then delete the custom split normals on the seat, turn off or adjust autosmooth on the seat. Try a different normal map you know is good, making sure to set it to non-color instead of sRGB.
Normal map was just me using some of Photoshop’s filters to try and make a cloth texture. Seats themselves are self made as well. I don’t know where I should put the seams at though.
I would start with something like the below. If your textures have any sort of directionality to them you can rotate each UV island once unwrapped to have things running the right way.
I just tested creating a normal map in Photoshop and used it on the image below. It worked without issue. I’m assuming you used the Filter>3D>Generate Normal Map feature? Did you begin building your image with a 50% grey background? That’s best practice for creating a usable normal map. 50% grey for areas of the image which will stay where they are, slightly darker for details with some depth and slightly lighter for raised areas (although you can reverse this effect while running the filter). If you started on the other hand with a black or a white background and added black or white (or very dark or light grey) details before generating the normal map you would get something unpleasant.
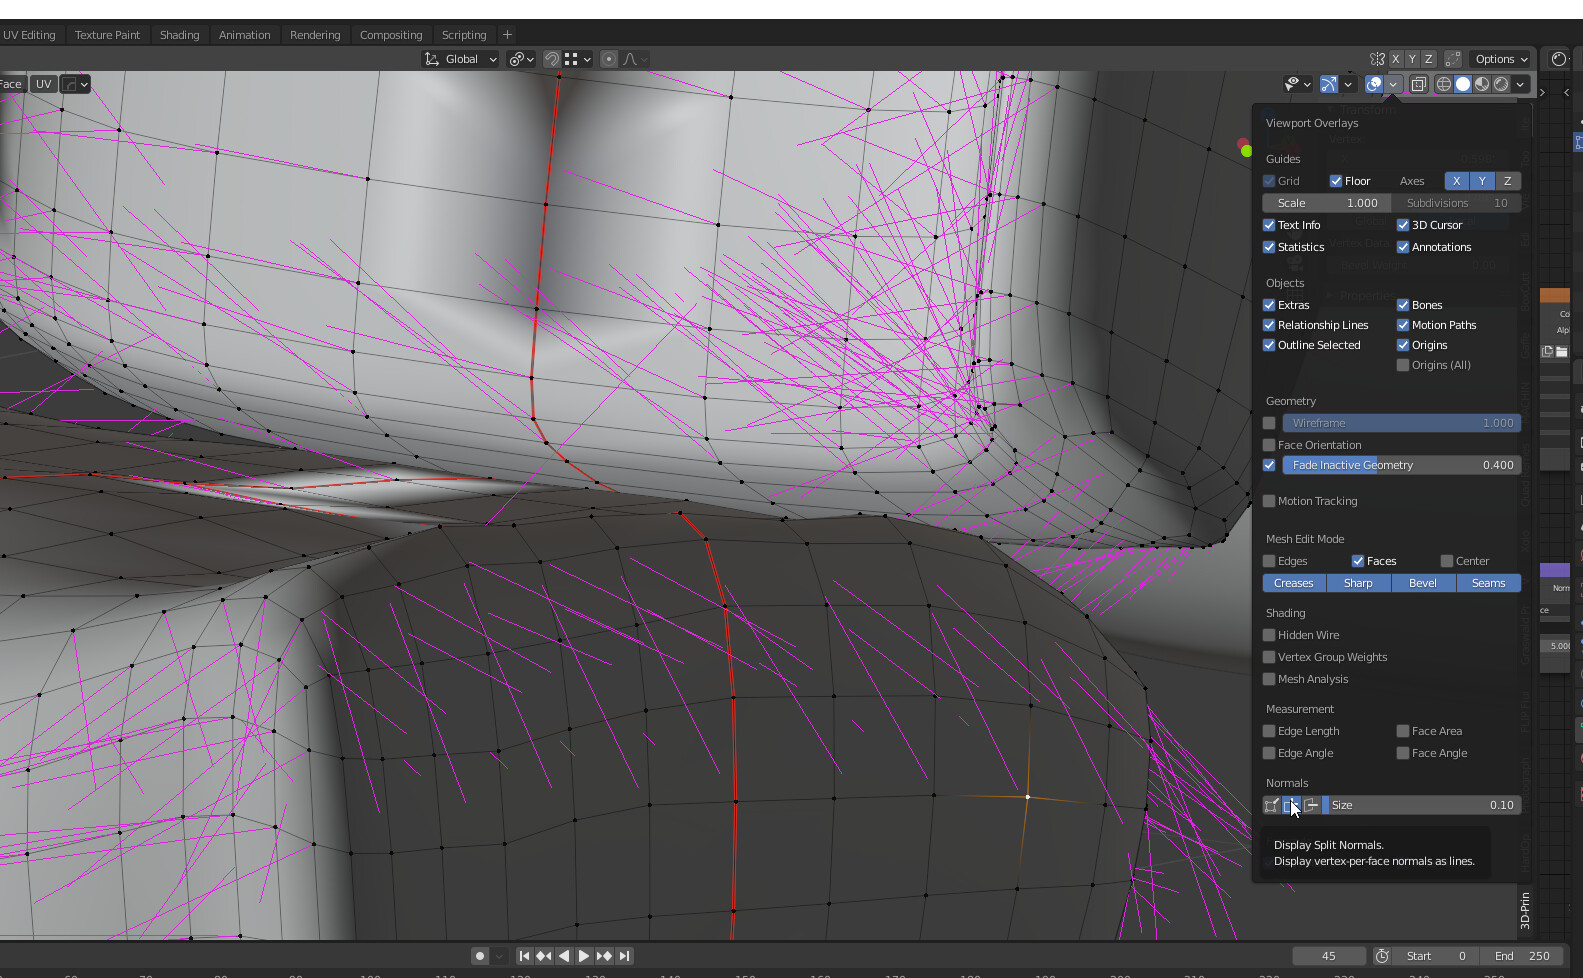
How and why did you add the custom split normals to the seat? If you turn on Display Split Normals on the Overlays panel you can see how messed up they are.