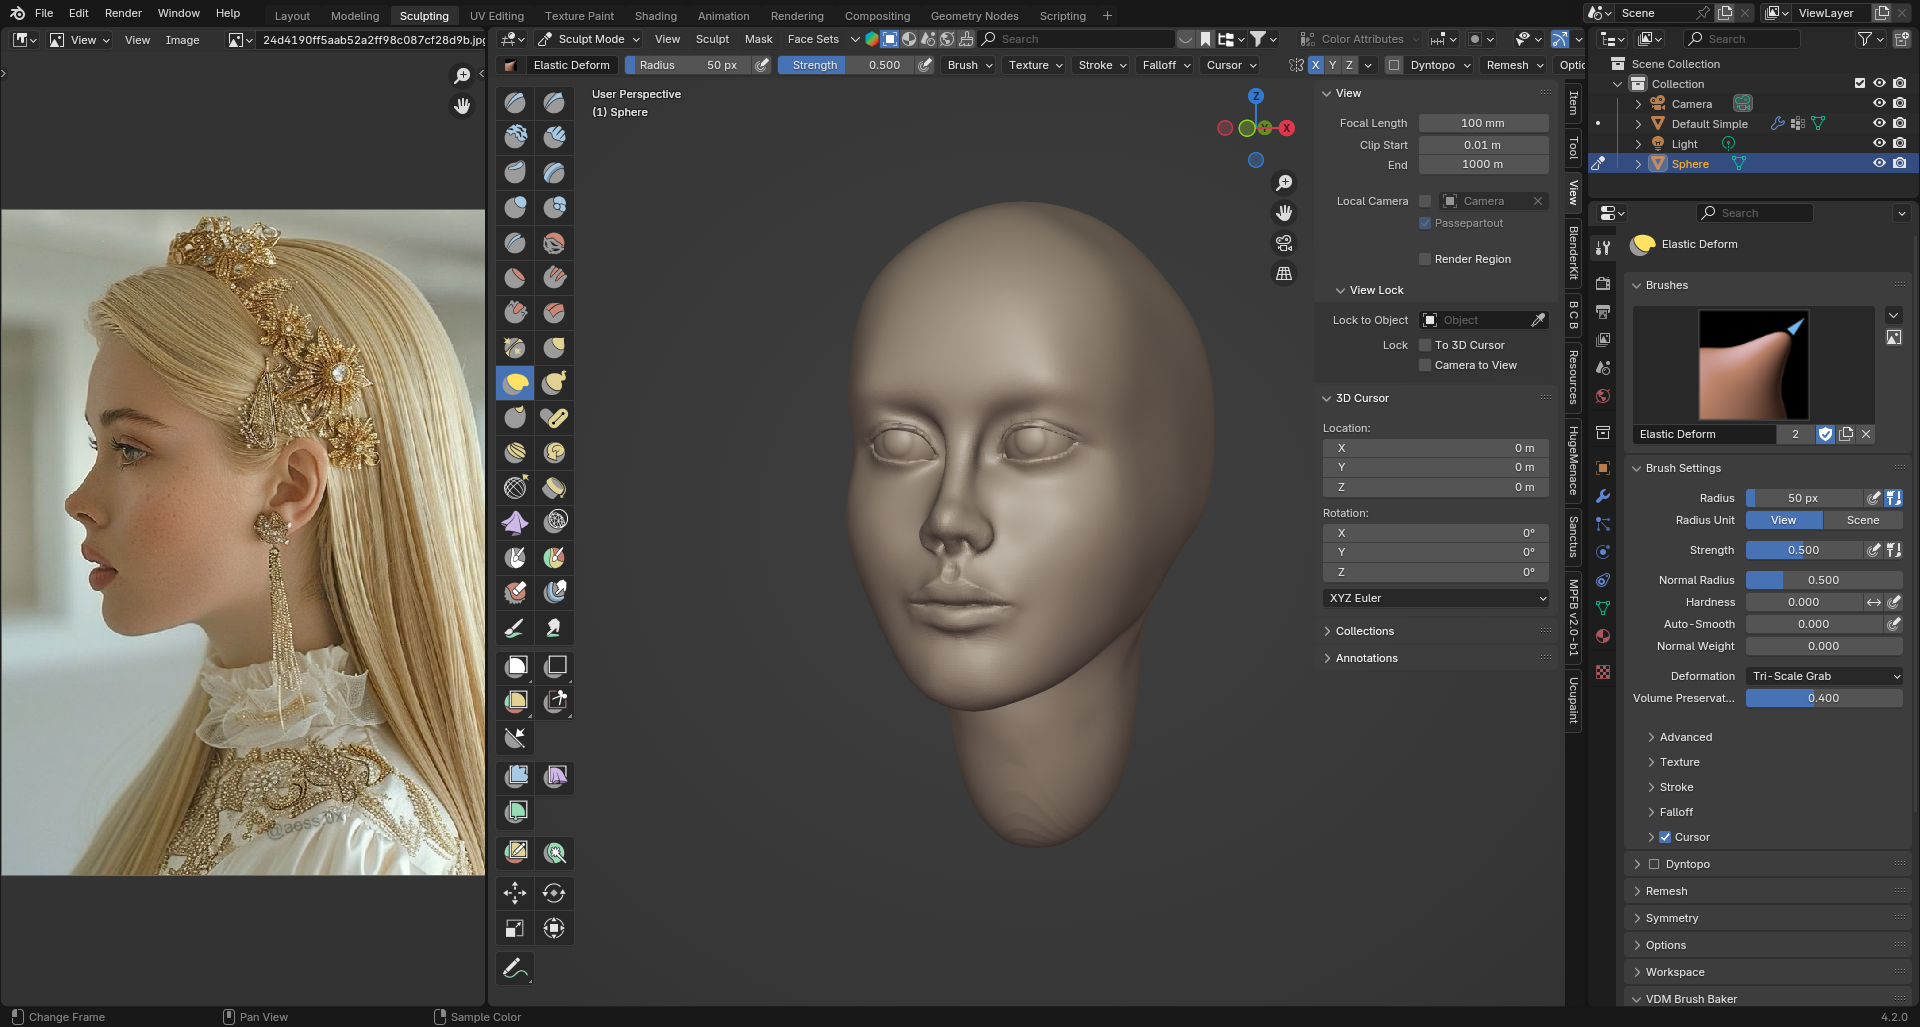
Another tricky single view only sculpt.
I also found a couple of free geonodes eyesbrow and lash generators and a mesh to hair node. might work well on this image
Would be great if there was a ‘draw curve on face and it turns into eyebrow’ setup…
Another tricky single view only sculpt.
I also found a couple of free geonodes eyesbrow and lash generators and a mesh to hair node. might work well on this image
Would be great if there was a ‘draw curve on face and it turns into eyebrow’ setup…
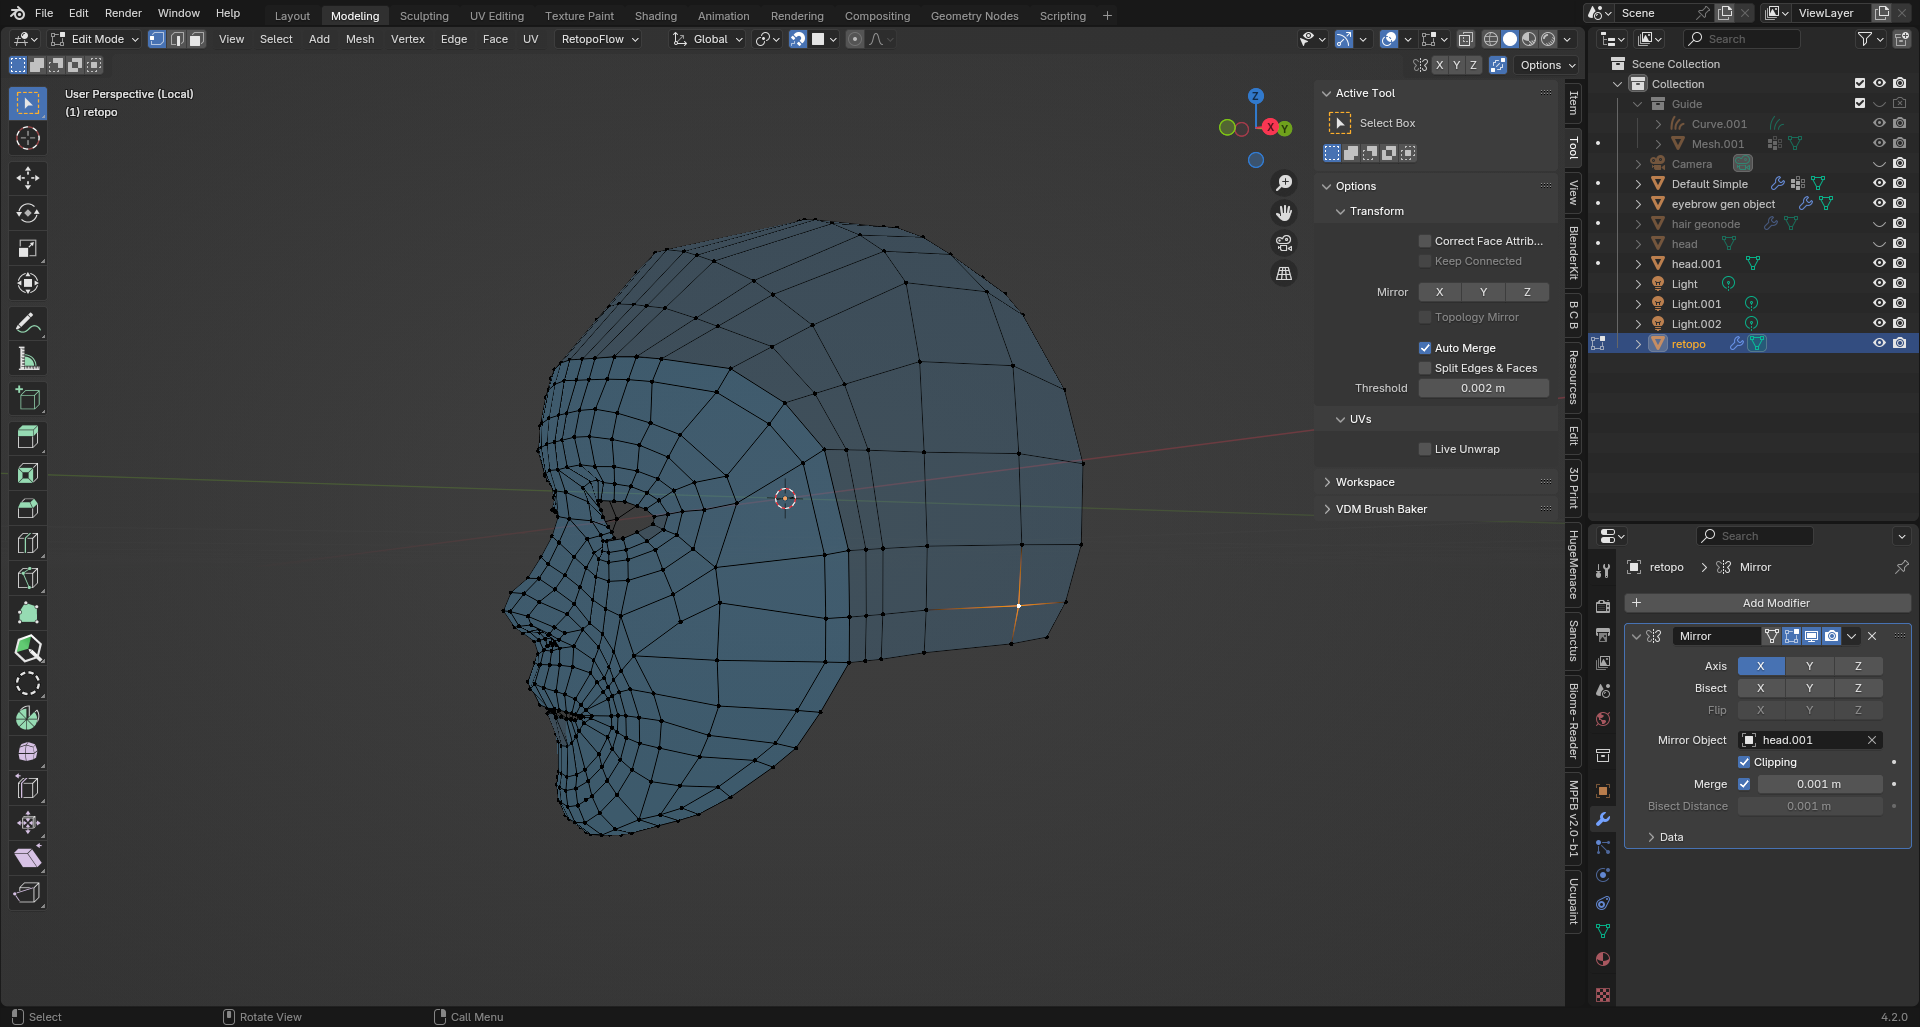
My first attempt at retopology. I’ve done something wrong on the cheek and i think automerge did something I didn’t want at some point.
Blender’s tools don’t seem well configured for this. extruding sometimes doesnt snap to surface and polybuild sometimes does sometimes doesn’t. I’ll have to try that retopoflow addon
Something has gone weird. recalculating normals doesnt help… why are some shaded darker?
I know its a mess but its my first time and i’m trying to get to the finish line with this one
Often, that can be fixed by applying the shrinkwrap modifier and re-creating it. The shrinkwrap changes the position of vertices, which means that their true position can actually be way off from where you see them. That makes it difficult to snap them accurately on the surface. Re-creating the shrinkwrap will reset their position to what you are seeing and solve that problem, so it’s a good idea to do it once in a while.
Are those faces duplicated? Are those sections already mirrored and the mirror modifier causes them to be doubled by mirroring the faces a second time onto themselves?
I think that’s it. i’m gonna use retopoflow now but thanks anyway
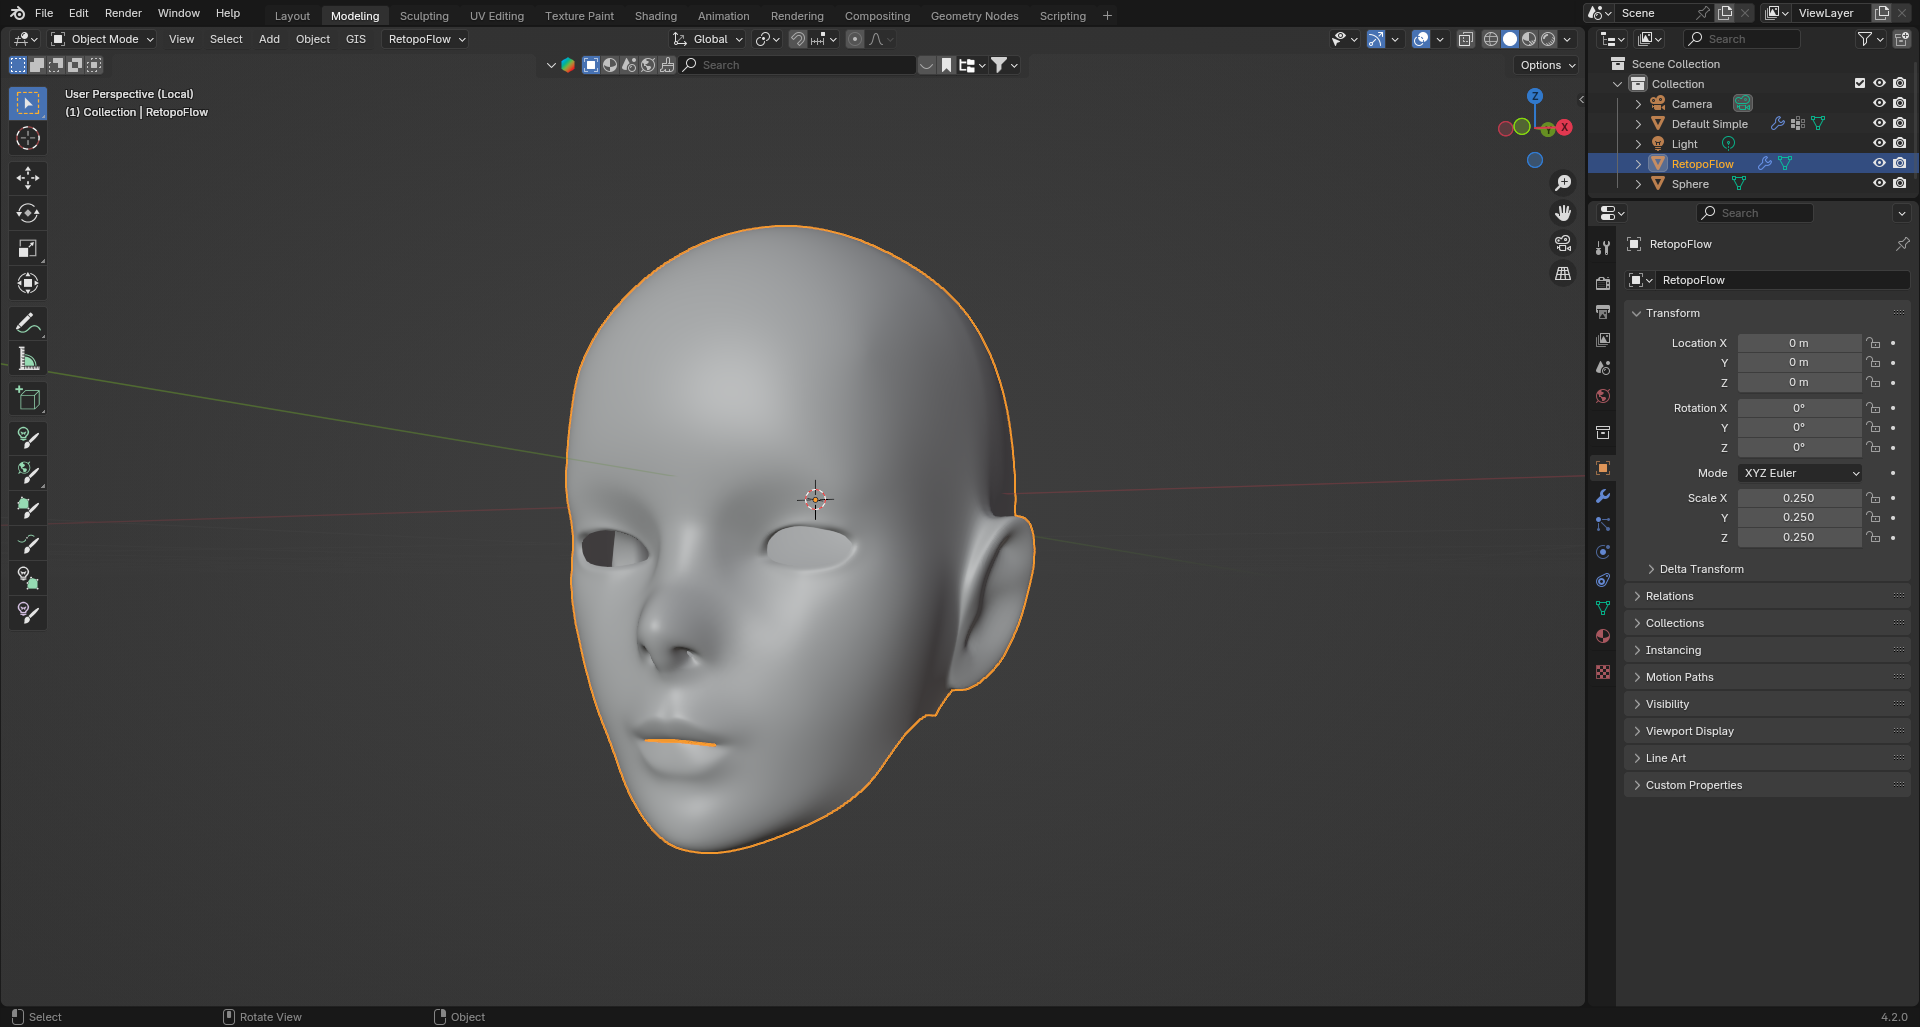
revisiting sculpt 26 and trying retopoflow. better than my last attempt but i still lost control partway.
i wonder if using some free statue photoscans to practice retopo would be a good idea.
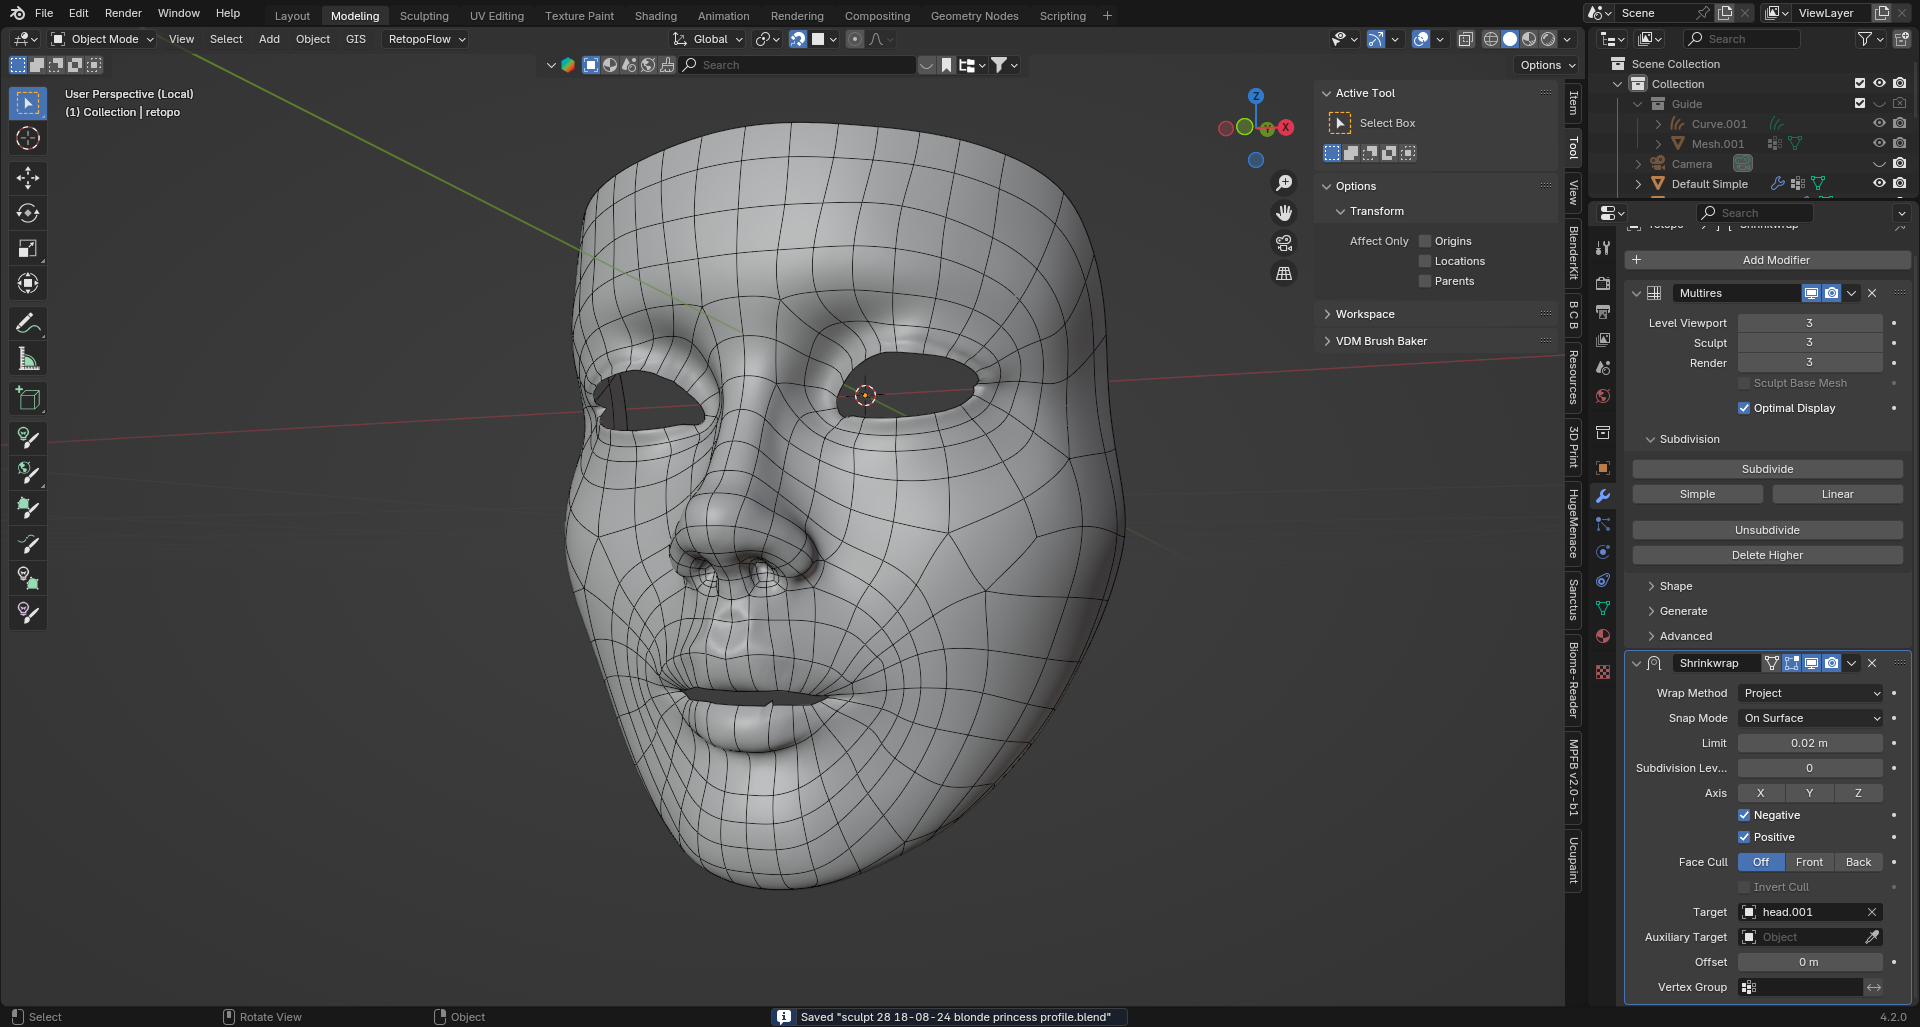
I think this is the right setup. I retopoflow’d the sculpt, added a multires and a shrinkwrap for 3 levels, applied the shrinkwrap and then finished with a subd
Looks smooth and follows the sculpt well. Should I be trying to use control loops with my low topology instead of the shrinkwrap trick?
It’s not one or the other. The shrinkwrap is used only as a help for the time of the retopology process, to get the shape correct. But once you are done, you apply the shrinkrap and get get a retopologized mesh that can be used on its own. The ultimate goal is to get rid of the sculpt, as its too heavy to use as a character model.
For this reason, you should be careful to have enough polygon density and to place the edges in the correct spots so the shape of the sculpt is captured accurately and the retopologized version will look fine and subdivide cleanly by itself.
In other words, you shouldn’t rely on the shrinkwrap for the final shape to be correct, but it’s a useful temporary tool for snapping the vertices on the surface.
Also, I would say the retopo process should be done relatively early in the sculpting process, before you do fine details that would get lost when remaking the model. As soon as you have the structure of the character correct, you can retopo it. Then, you can do further sculpting on the retopologized version to do fine details, and you will be able to bake those fine details to textures immediately, as the model was already cleaned.
Trying to make a manly man by eye. Unfortunately it looks more like a man pretending to be a woman. or with too much botox…
Found a much better source of references - ACTUAL 3D SCANNED HEADS!!!
not sure if i’m better doing retopo or trying to sculpt a base mesh to fit.
Is there a fast way to fit a base mesh to a scan?
Wow. it’s a whole other level to just using an image reference. I’ve already learnt that i’d been making my foreheads too curved. its the areas that a front and side reference can’t judge the distance of - the cheeks and the brow - that have been so tricky.
Ready for painting and hair I think… but how to do it?
I’m not one for ears… when will blender get vdm brush asset management???
vertex painted a mask for the lips and mixed who shaders together.
I’m thinking that maybe I should retopologise this instead of sticking with the sculpt. its making my pc quite laggy
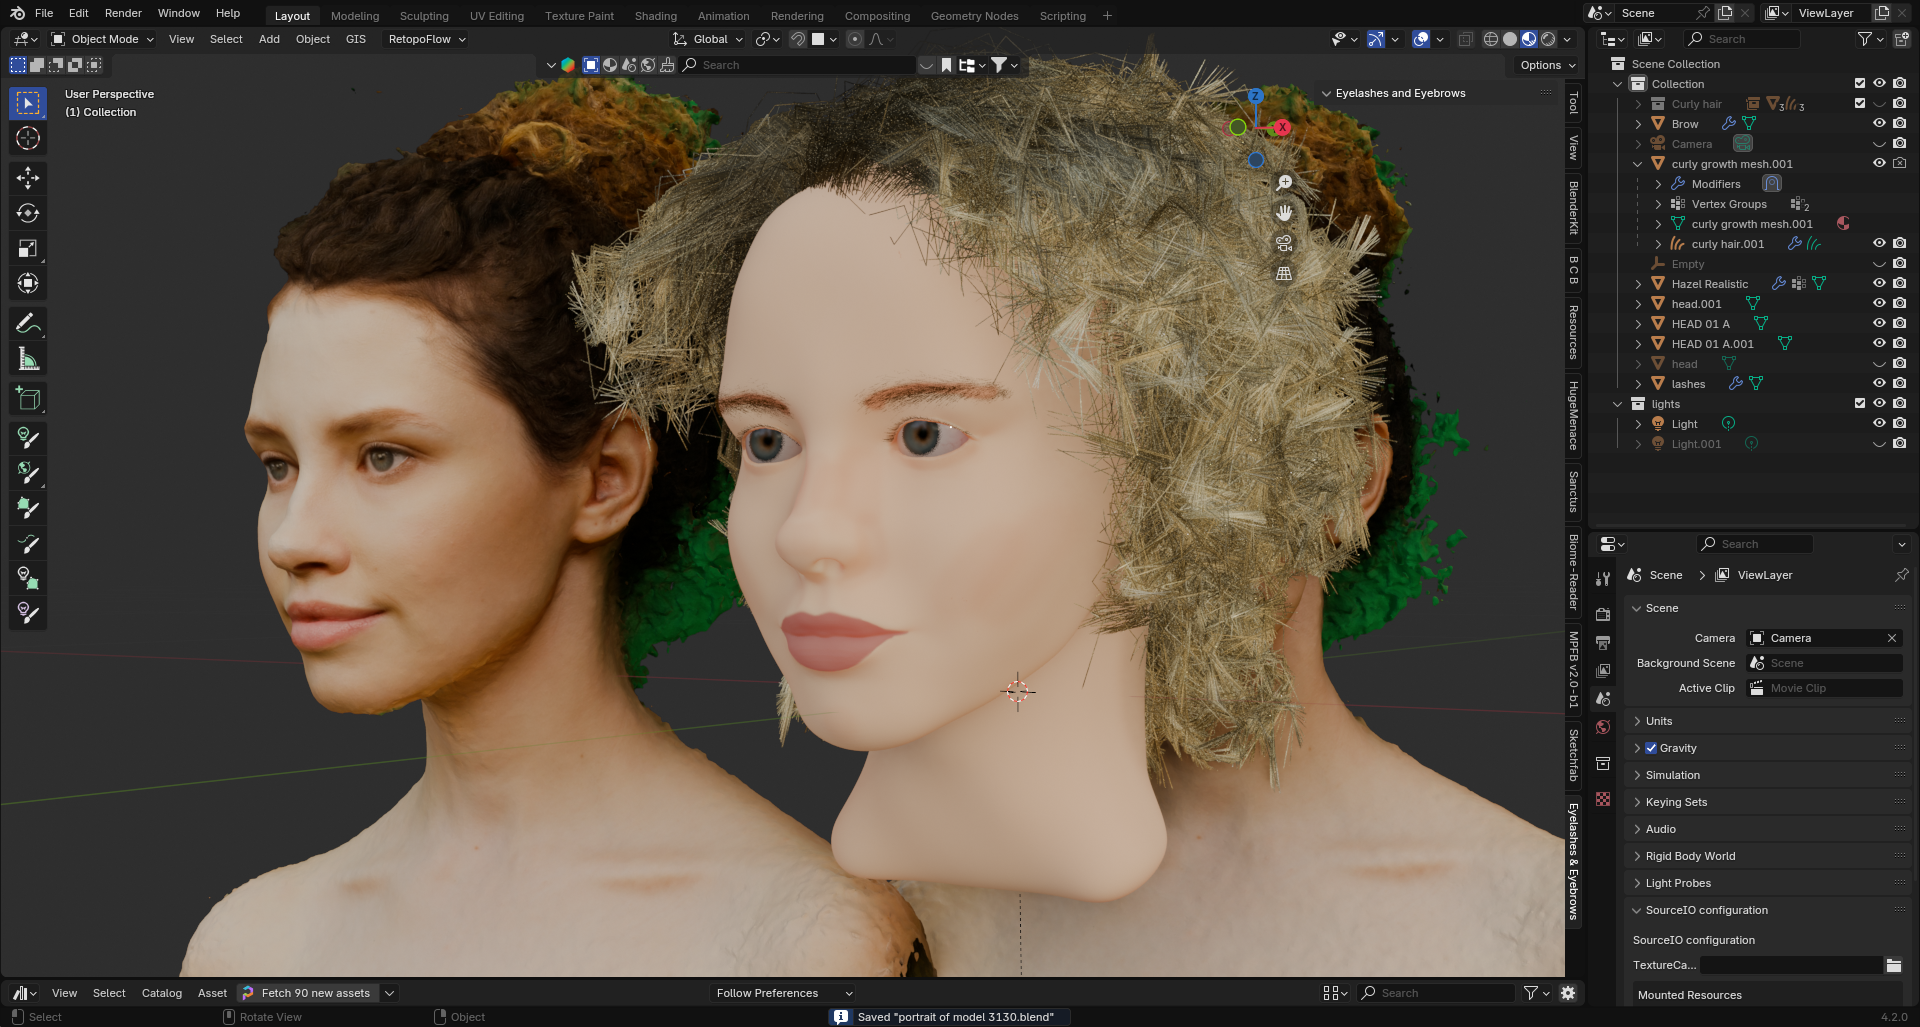
Ended up buying Dean’s eyebrow/lash generator. If i’m going to make lots of characters i will need to do this quickly.
it would be awesome if there was some geonode to just draw a curve where the brow is and for it to make one. Dean’s generator is quite extensive but laggy.
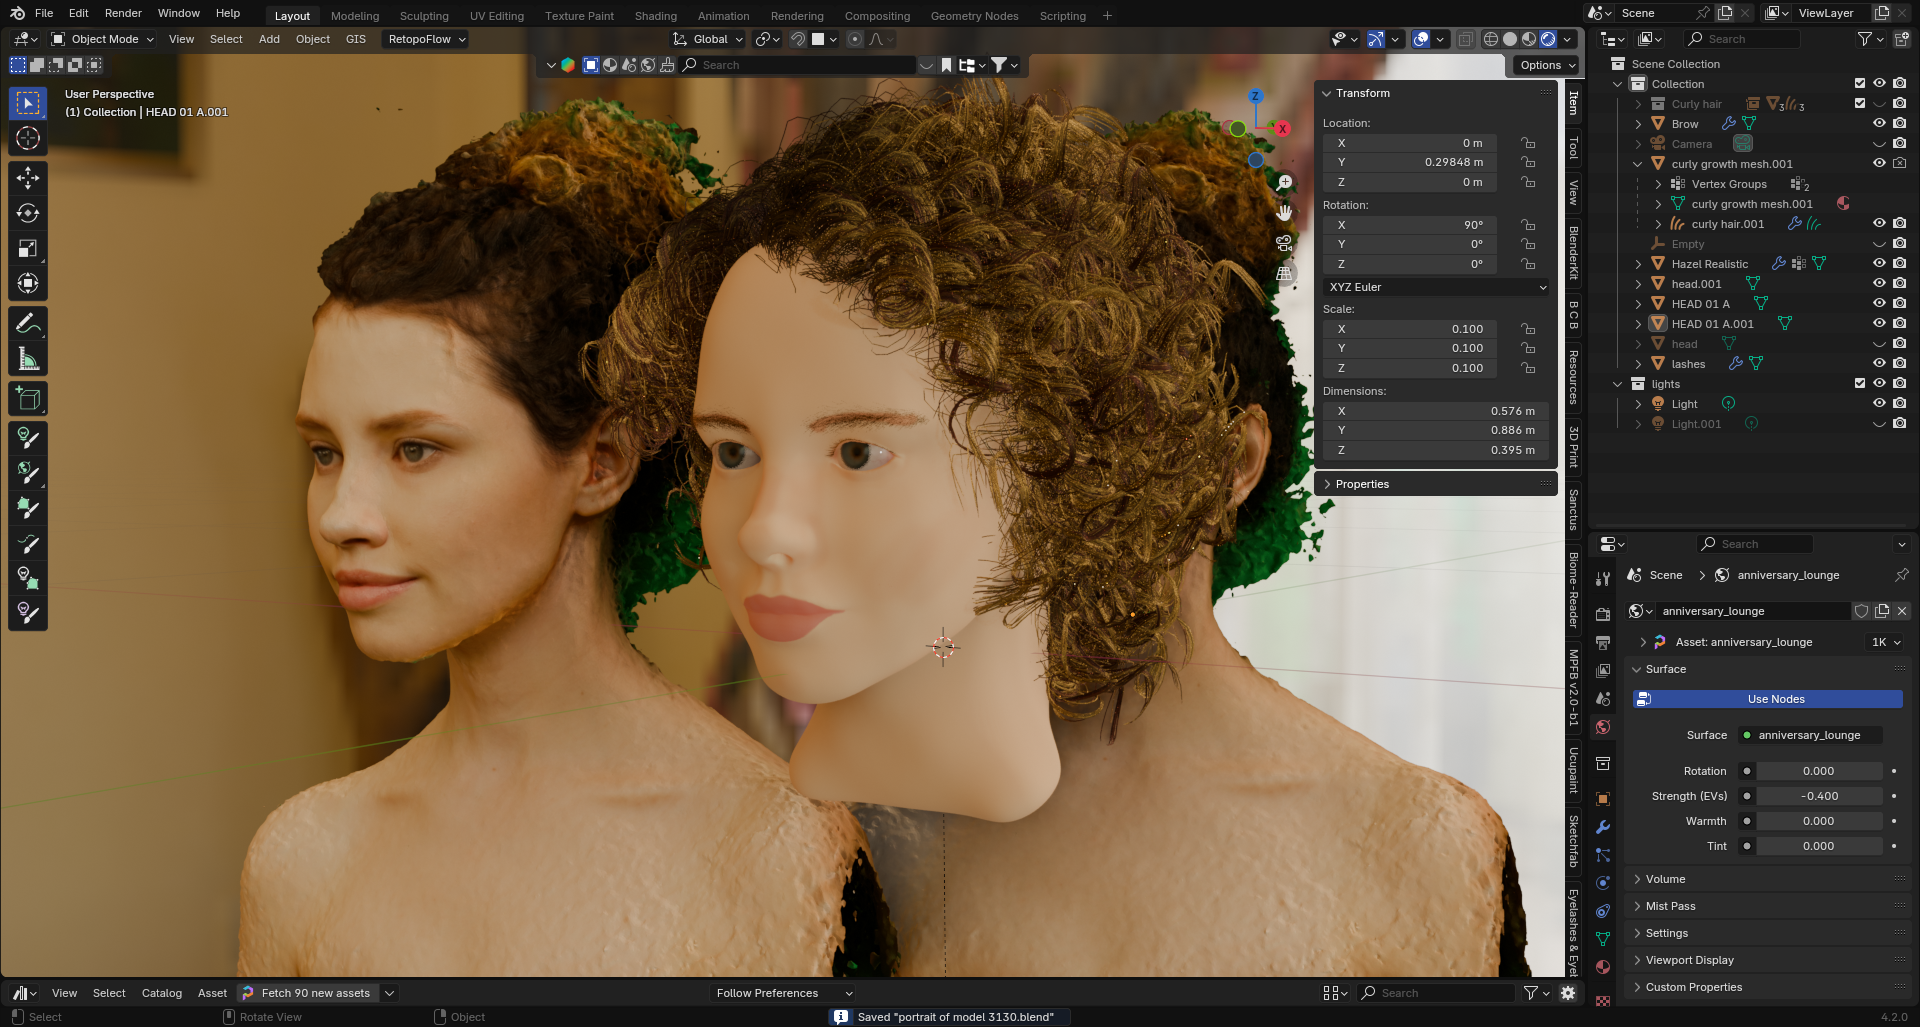
i think I’ll copy one of the hair node examples for the hair
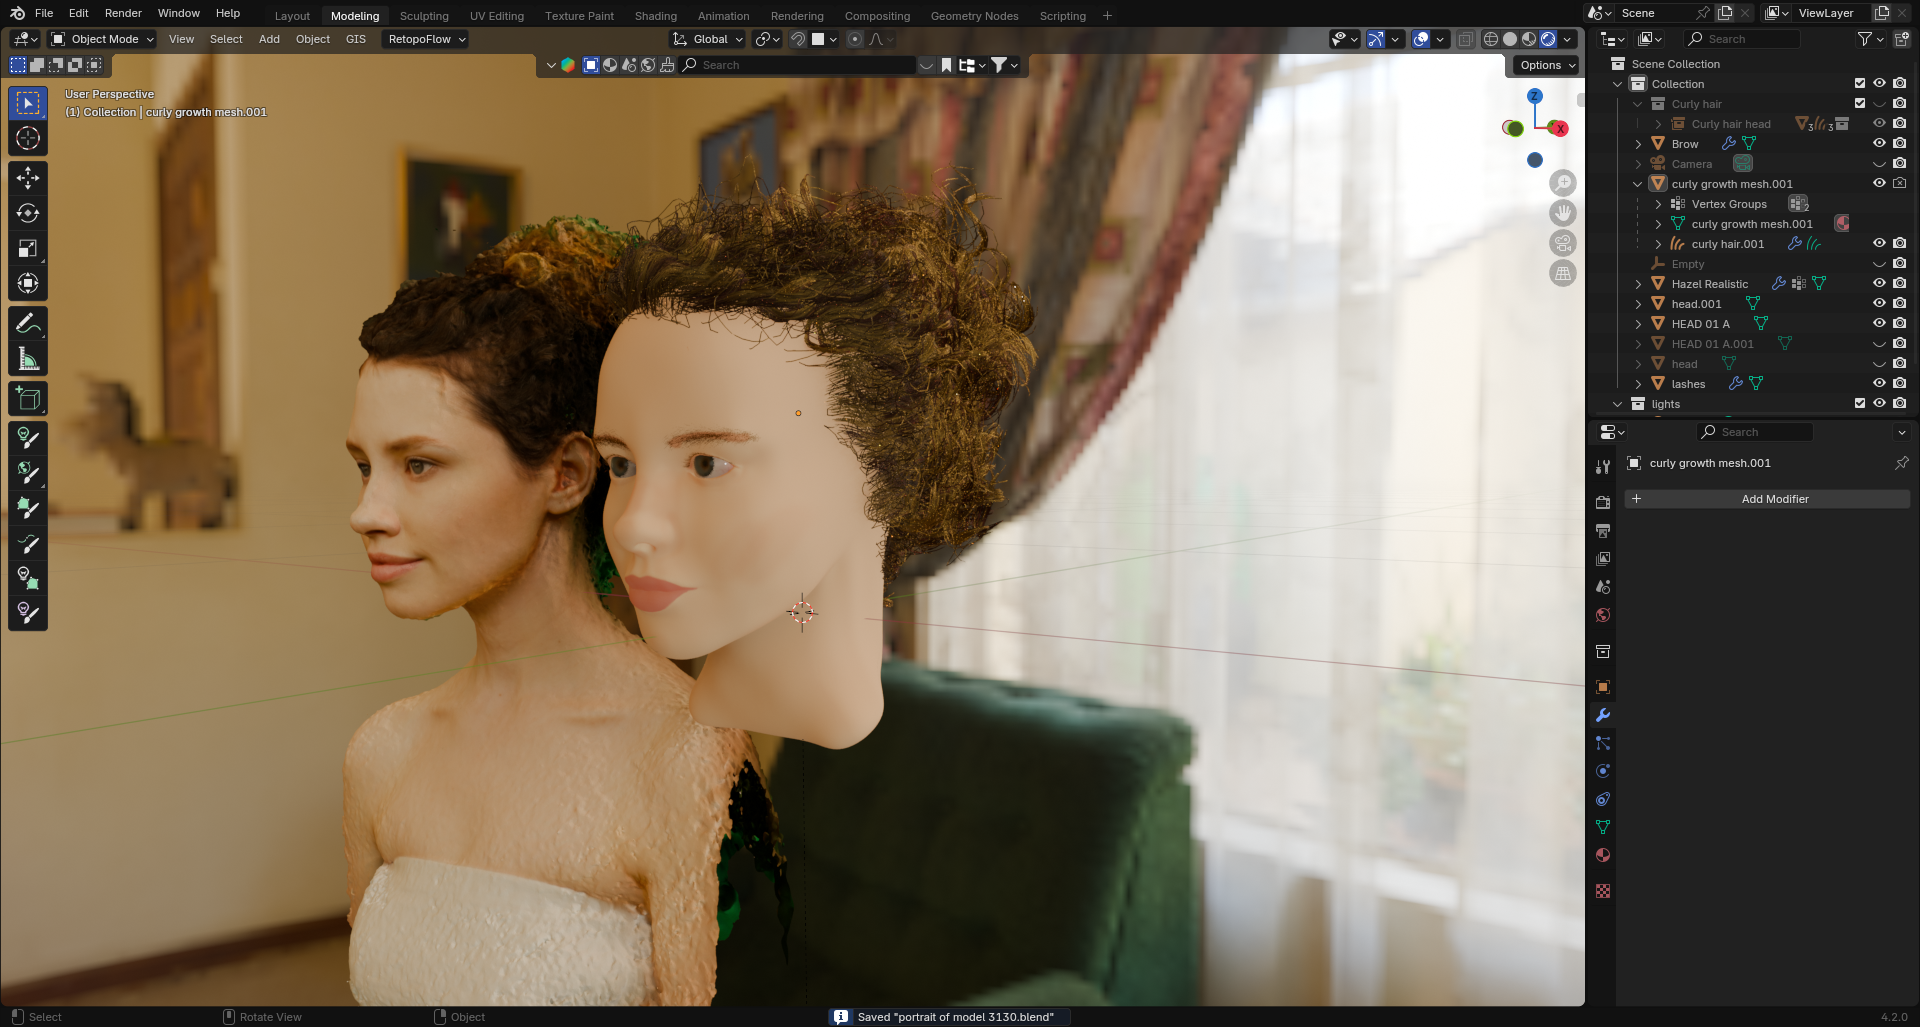
Slapping the curly hair geonodes demo on it. I could call it a day but it doesnt feel finished. Diving in to change the hair geonodes is really complex. I think i should focus on a simplified stylized character next