Hello!
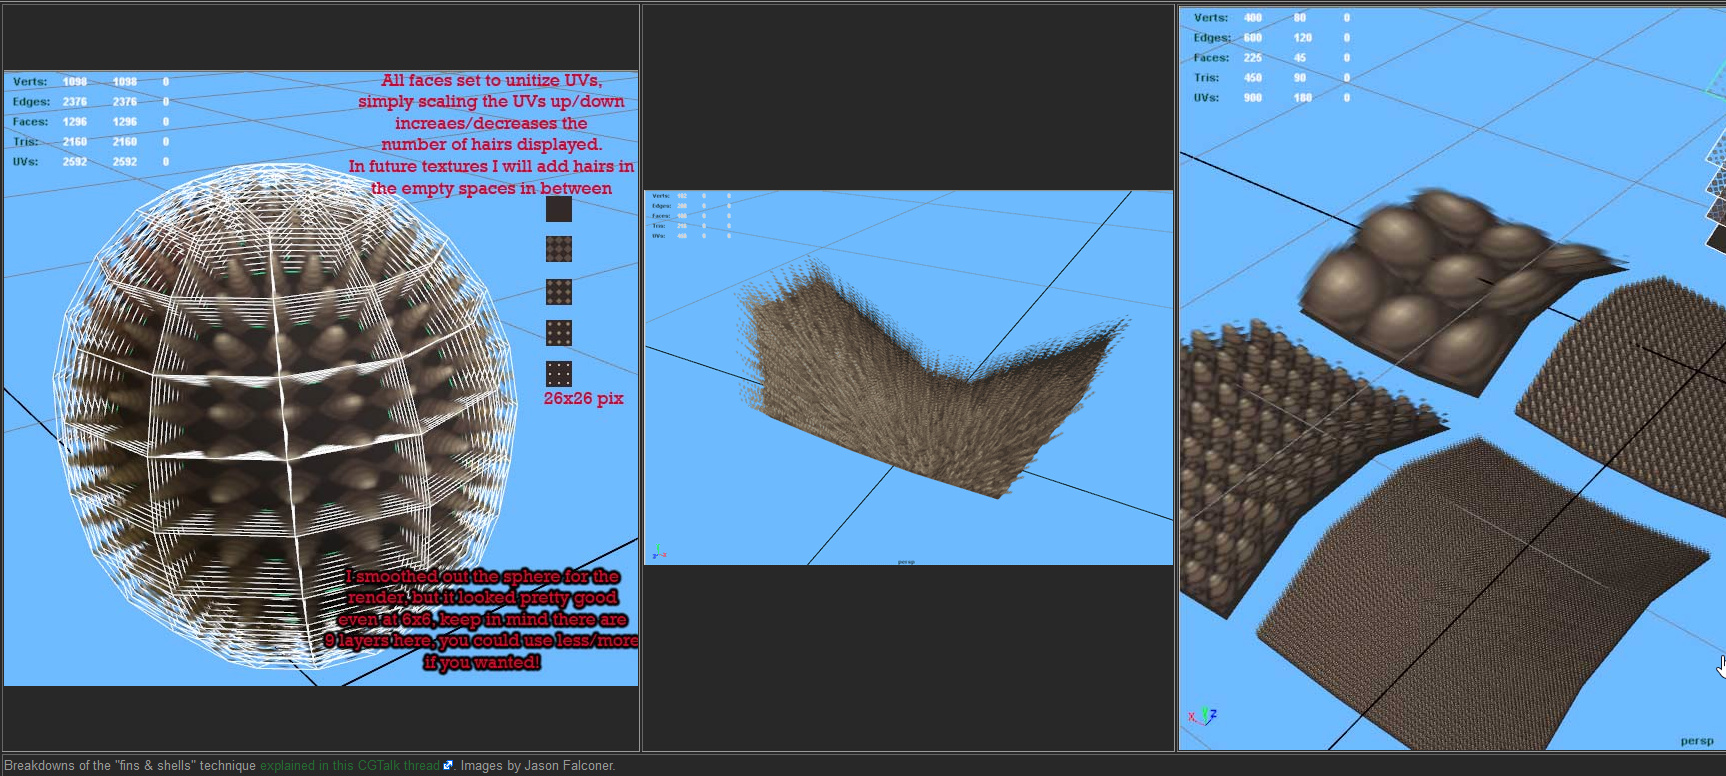
This is based on the work of Blenderartists user Binary for Cycles (2013), which
was itself based on Blenderclan user Zelouille original version for Blender Internal (2009).
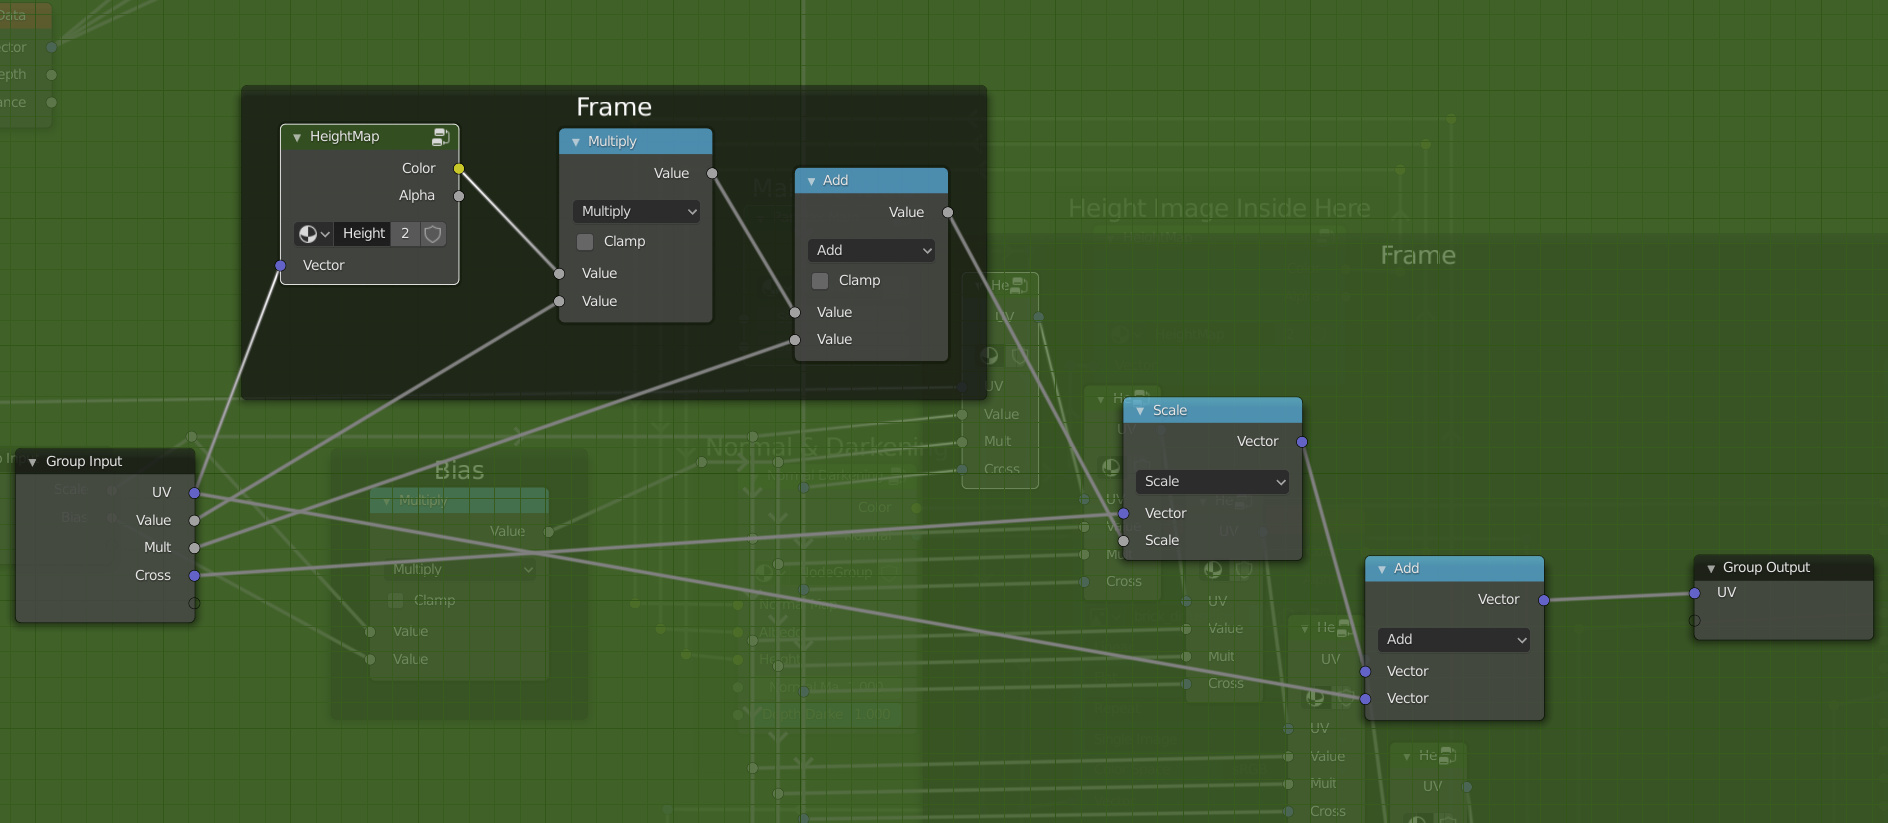
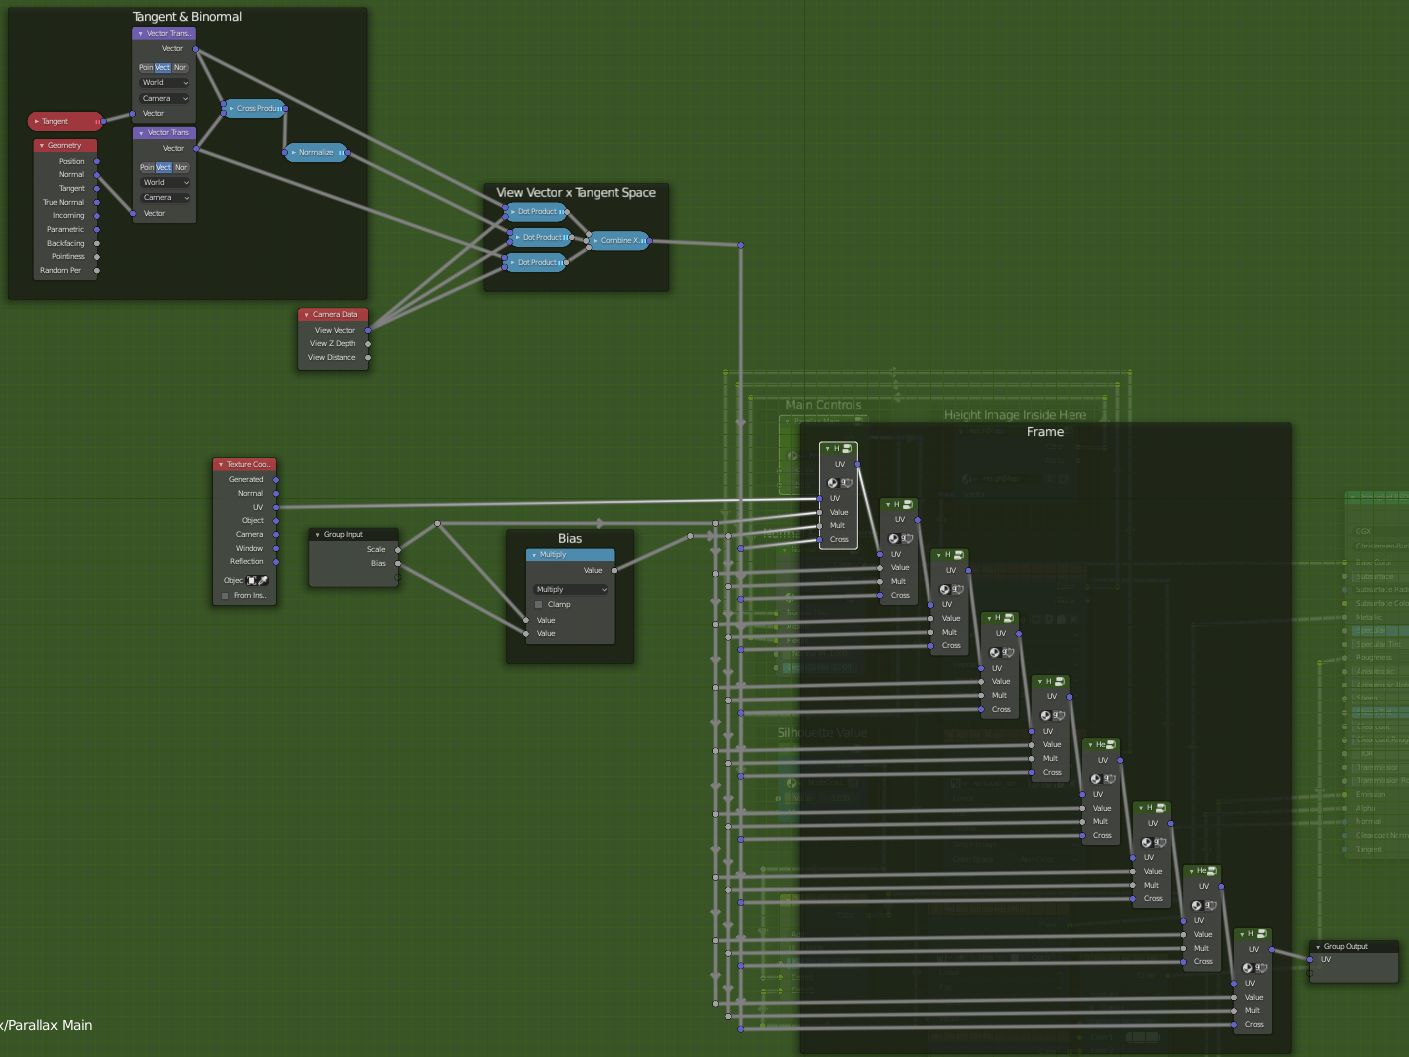
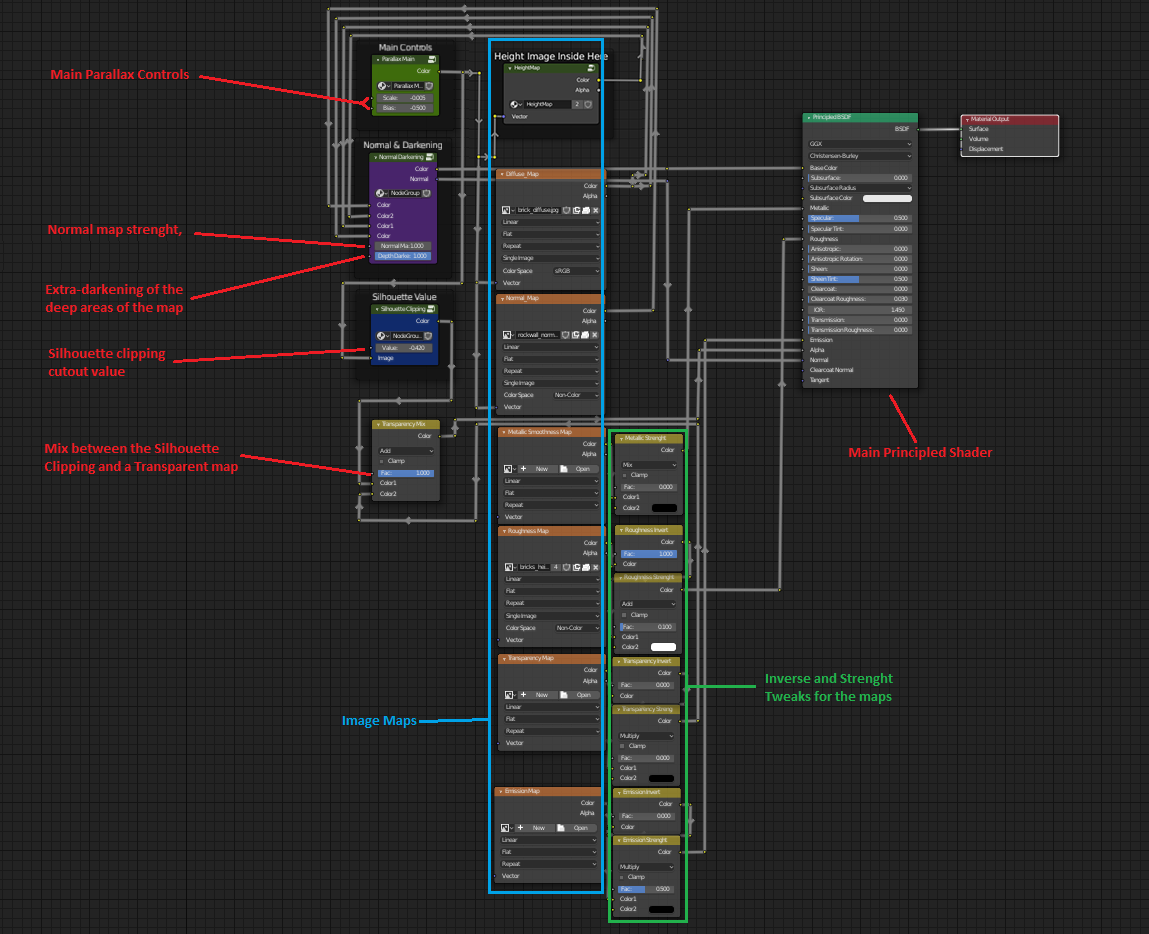
I organized the nodes in a more user-friendly manner, and implemented the extra image map
nodes (for Metalness/Roughness/Transparency/Emission) as well as some tweak nodes (Inverse/Strenght)
which all connect to the Principled Shader node.
All you have to do to use it is remove the built-in images from the Image nodes and replace them
with your own. Also, remember to change the Height and Normal maps to Non-Color instead of sRGB.
The Image nodes that you are not using (e.g: Emission) can be left empty… but you can freely
mess with the Invert node Factor as well as the Strenght node Factor and Color fields directly.
The Material is set up to use the “Alpha Clip” option inside the Settings Tab of the material.
This means that transparent areas on the viewport are either completely opaque or 100% transparent
and is something required for the Silhouette Clipping feature of the shader to work correctly.
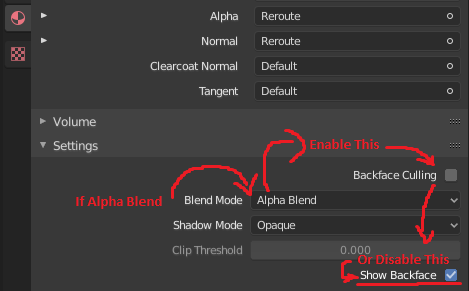
If you wish to use the Alpha Blend option instead (to allow for partially transparent areas or image maps), go to the “Settings” tab of the Material and enable the “Backface Culling” option, or alternatively disable the “Show Backface” option that appears after you select “Alpha Blend”.
Apparently the shader (or Blender itself) has trouble trying to show semi-transparency AND the backfaces of the models at the same time. If you wish to use the Parallax shader and at the same time MUST see the backfaces, I’d recommend duplicating the mesh, flipping the normals and ajusting it’s scale/positions. (Solidify doesn’t help here)
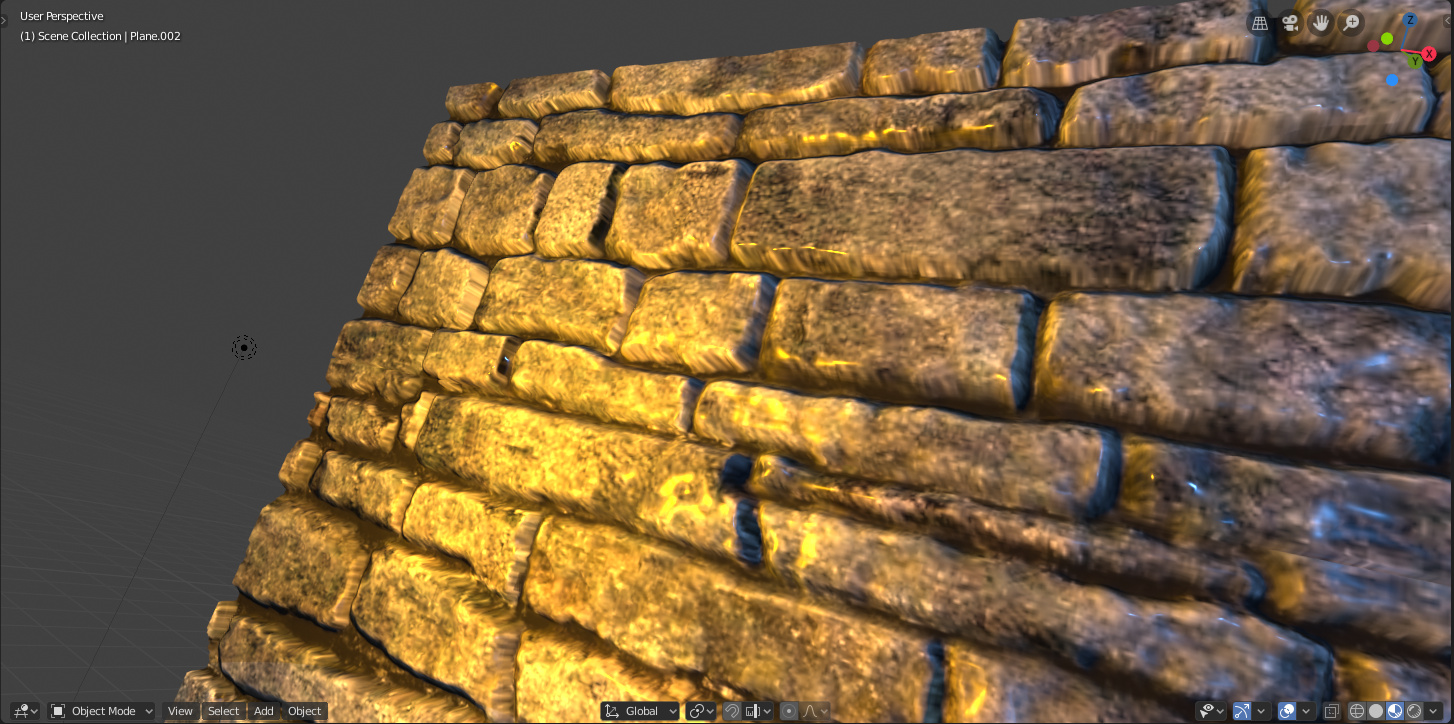
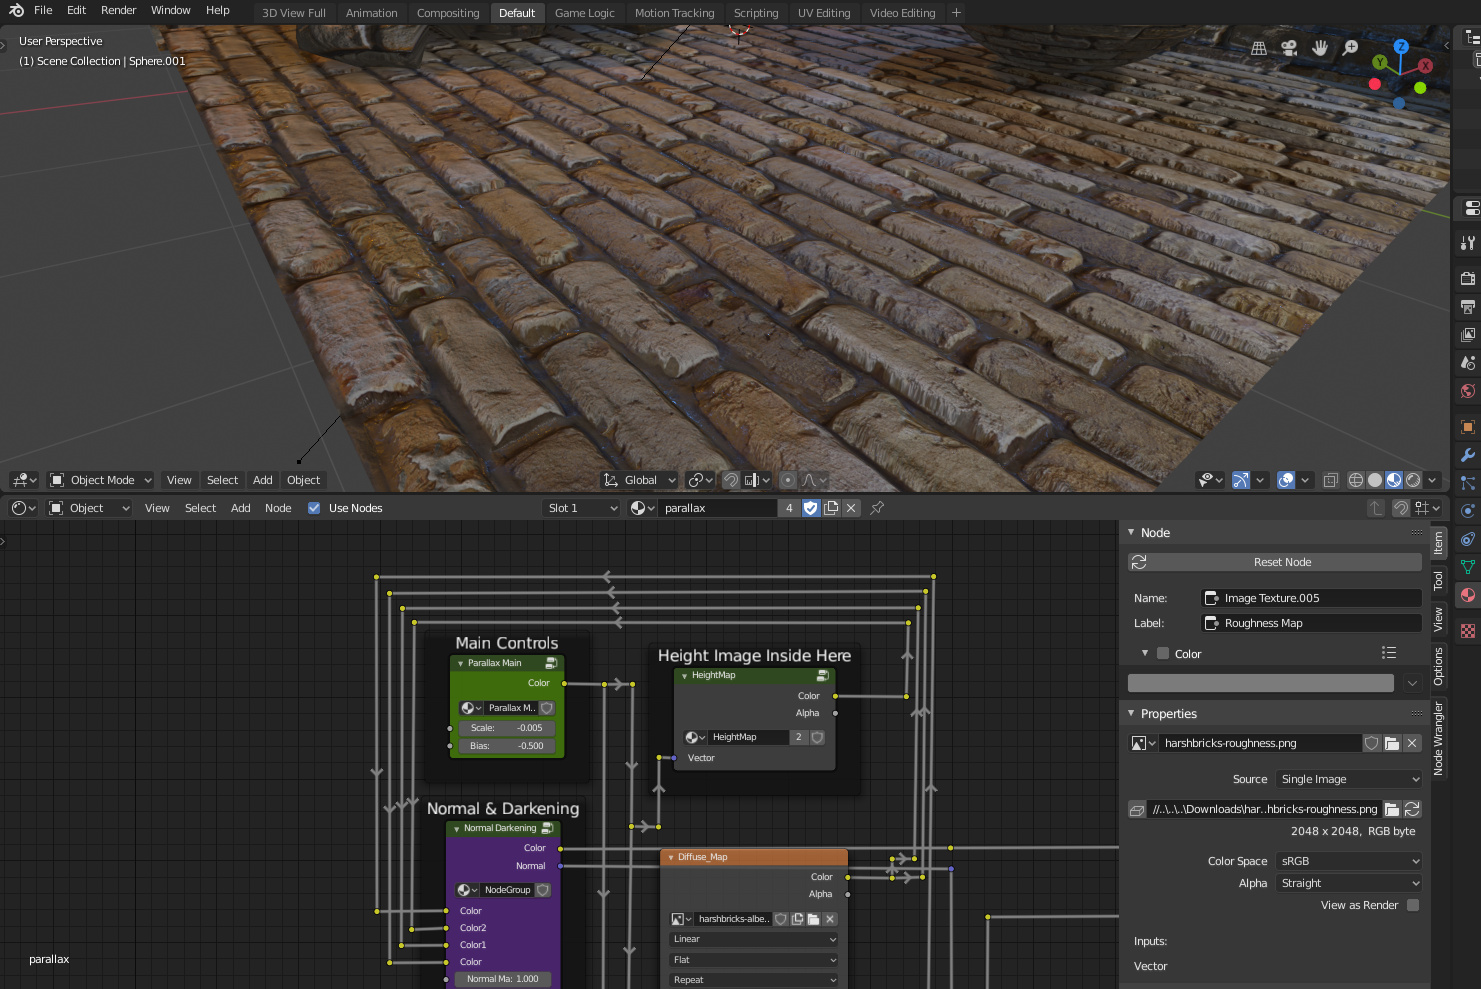
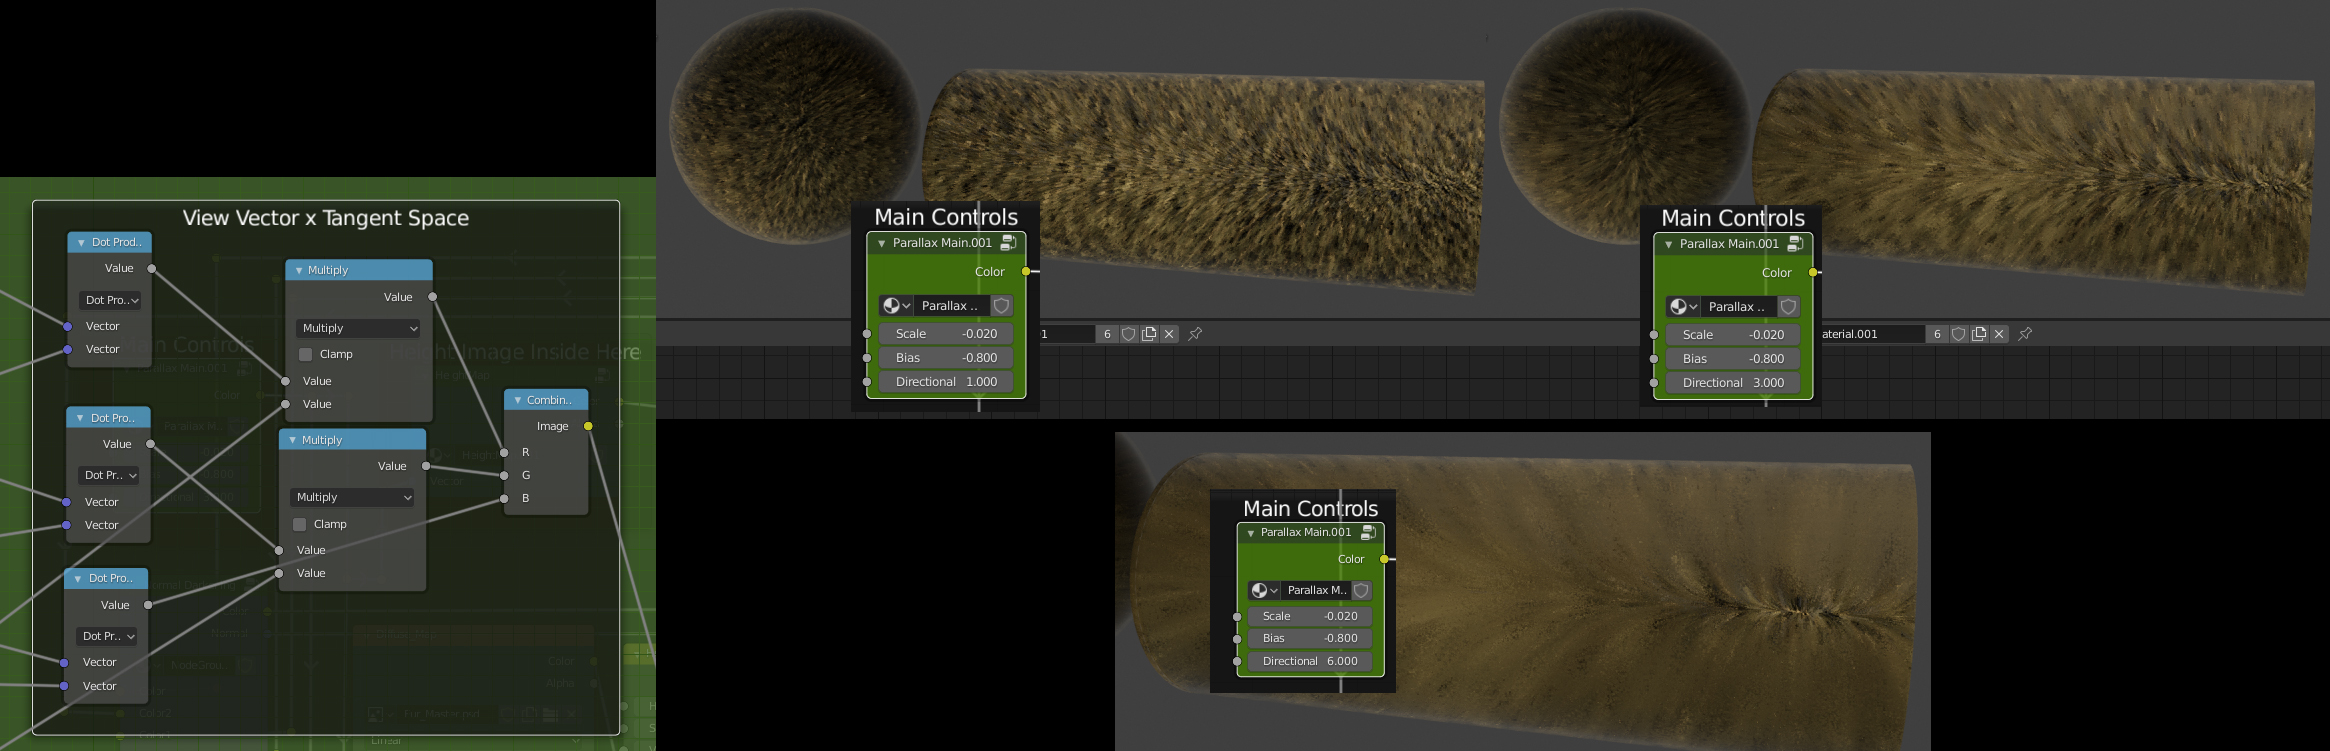
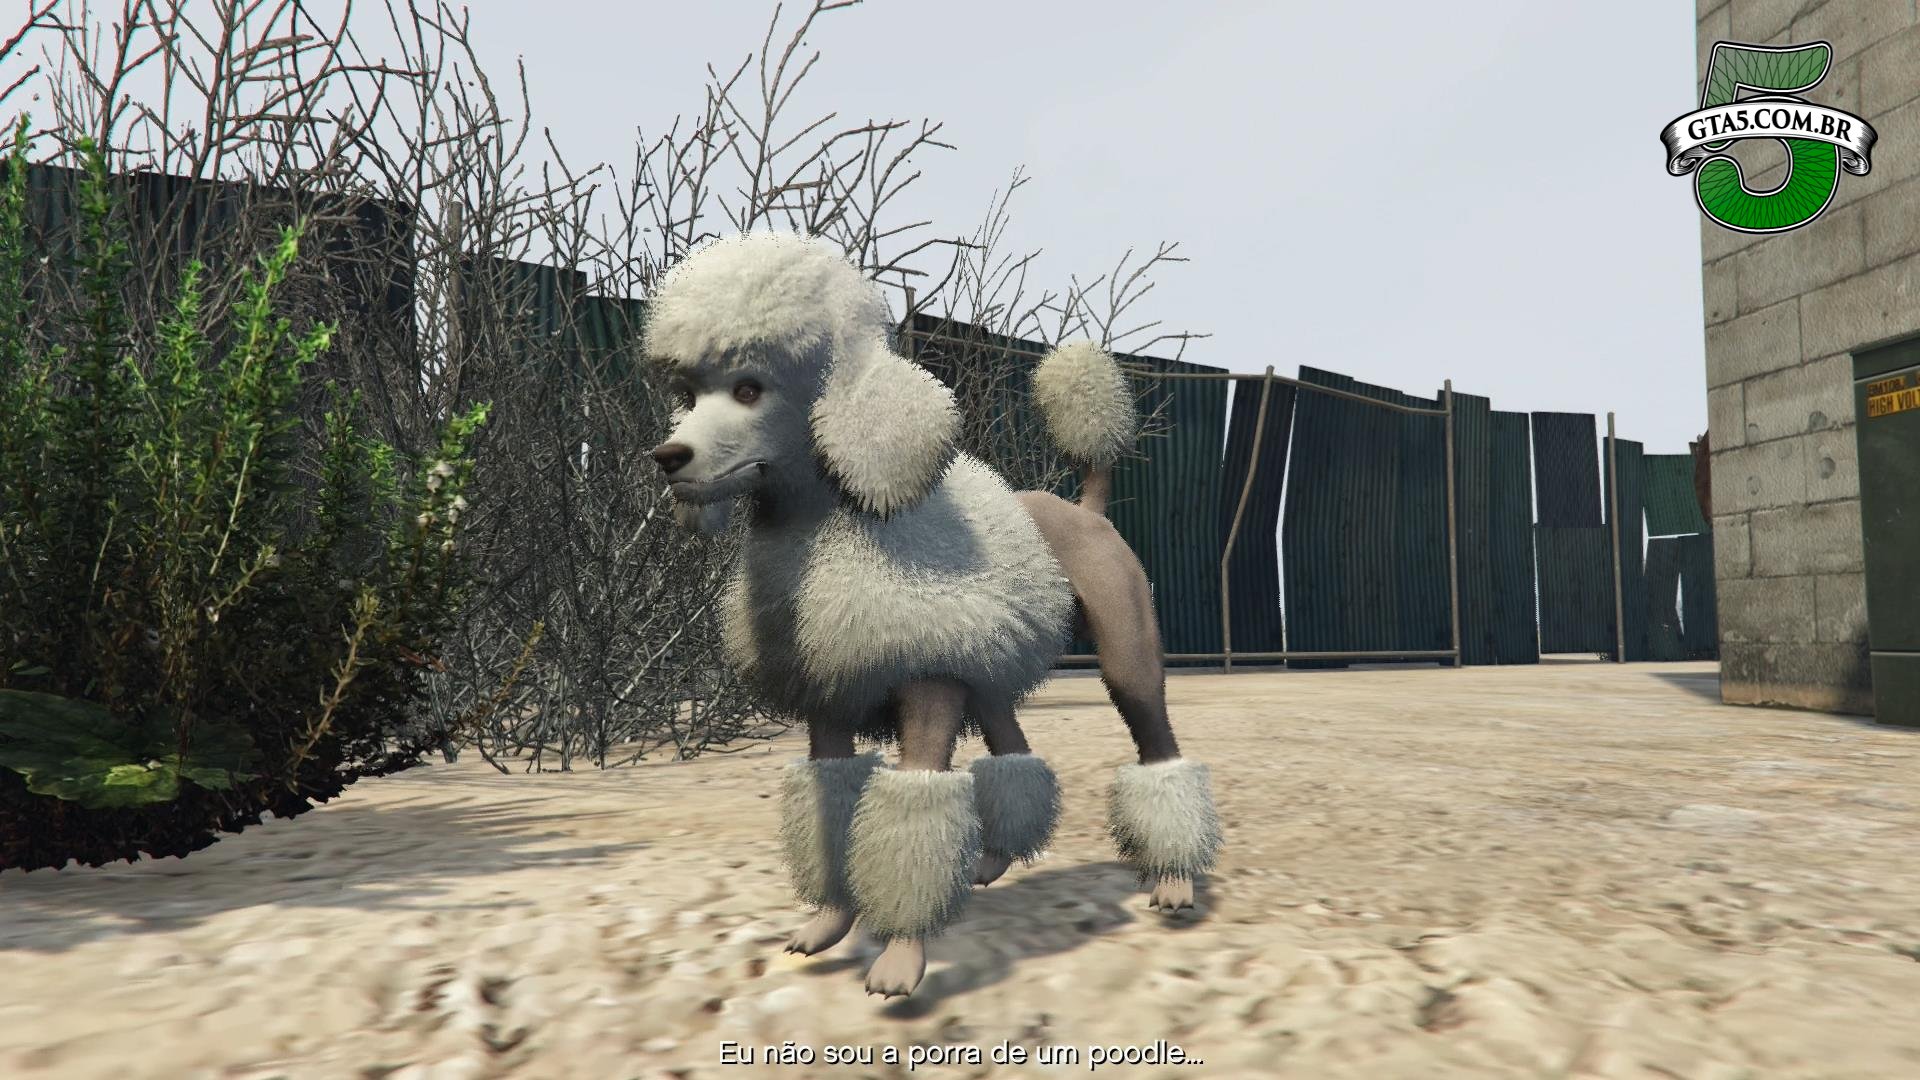
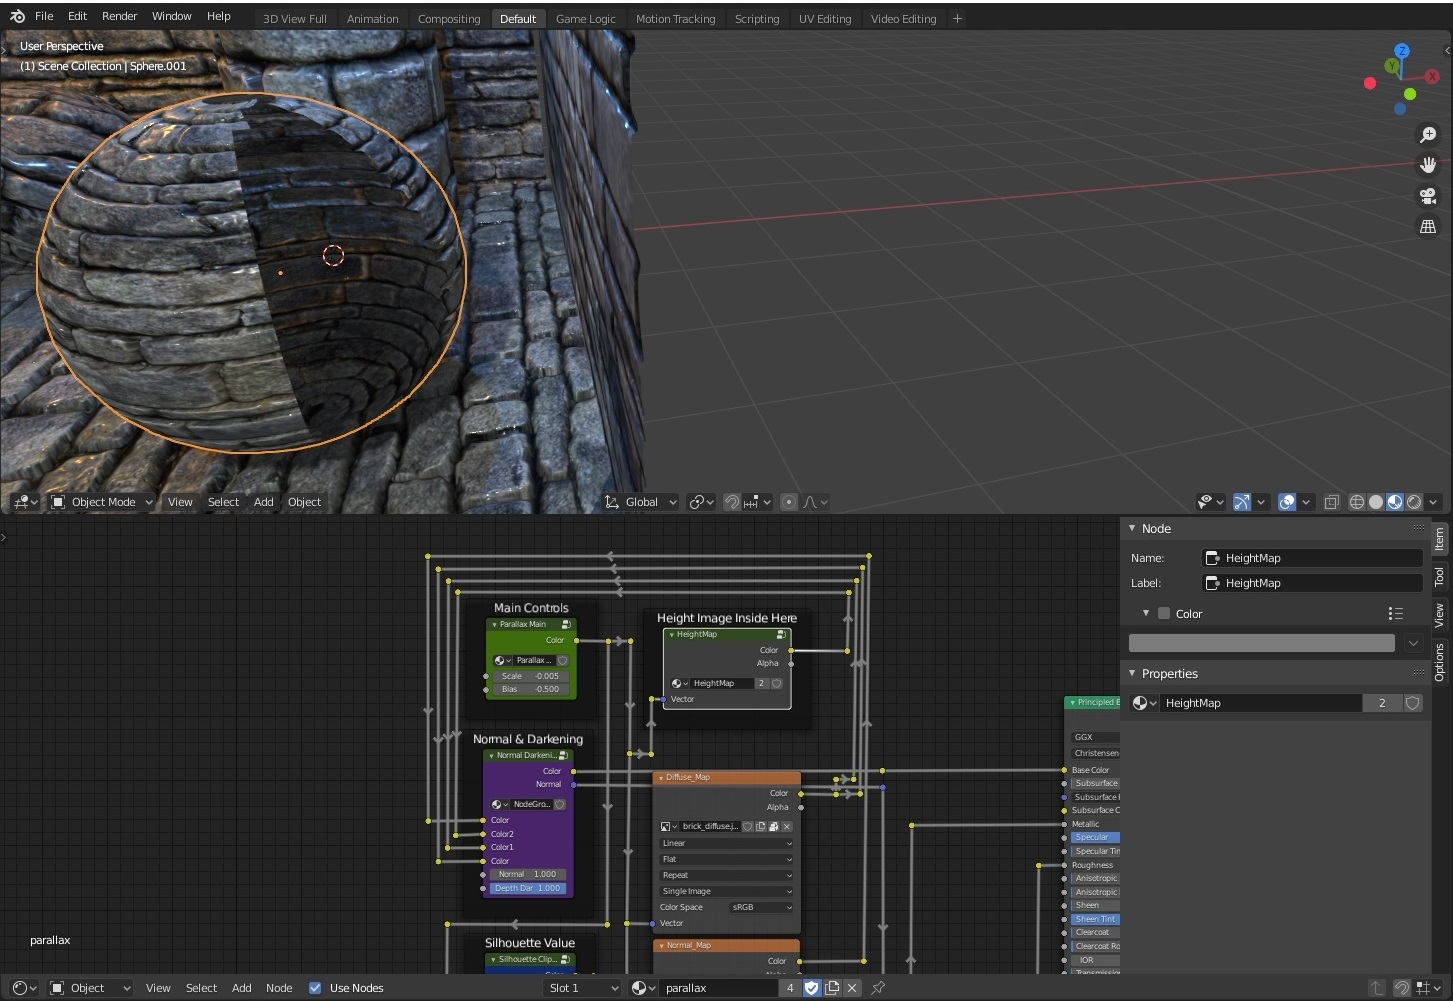
Some screenshots:
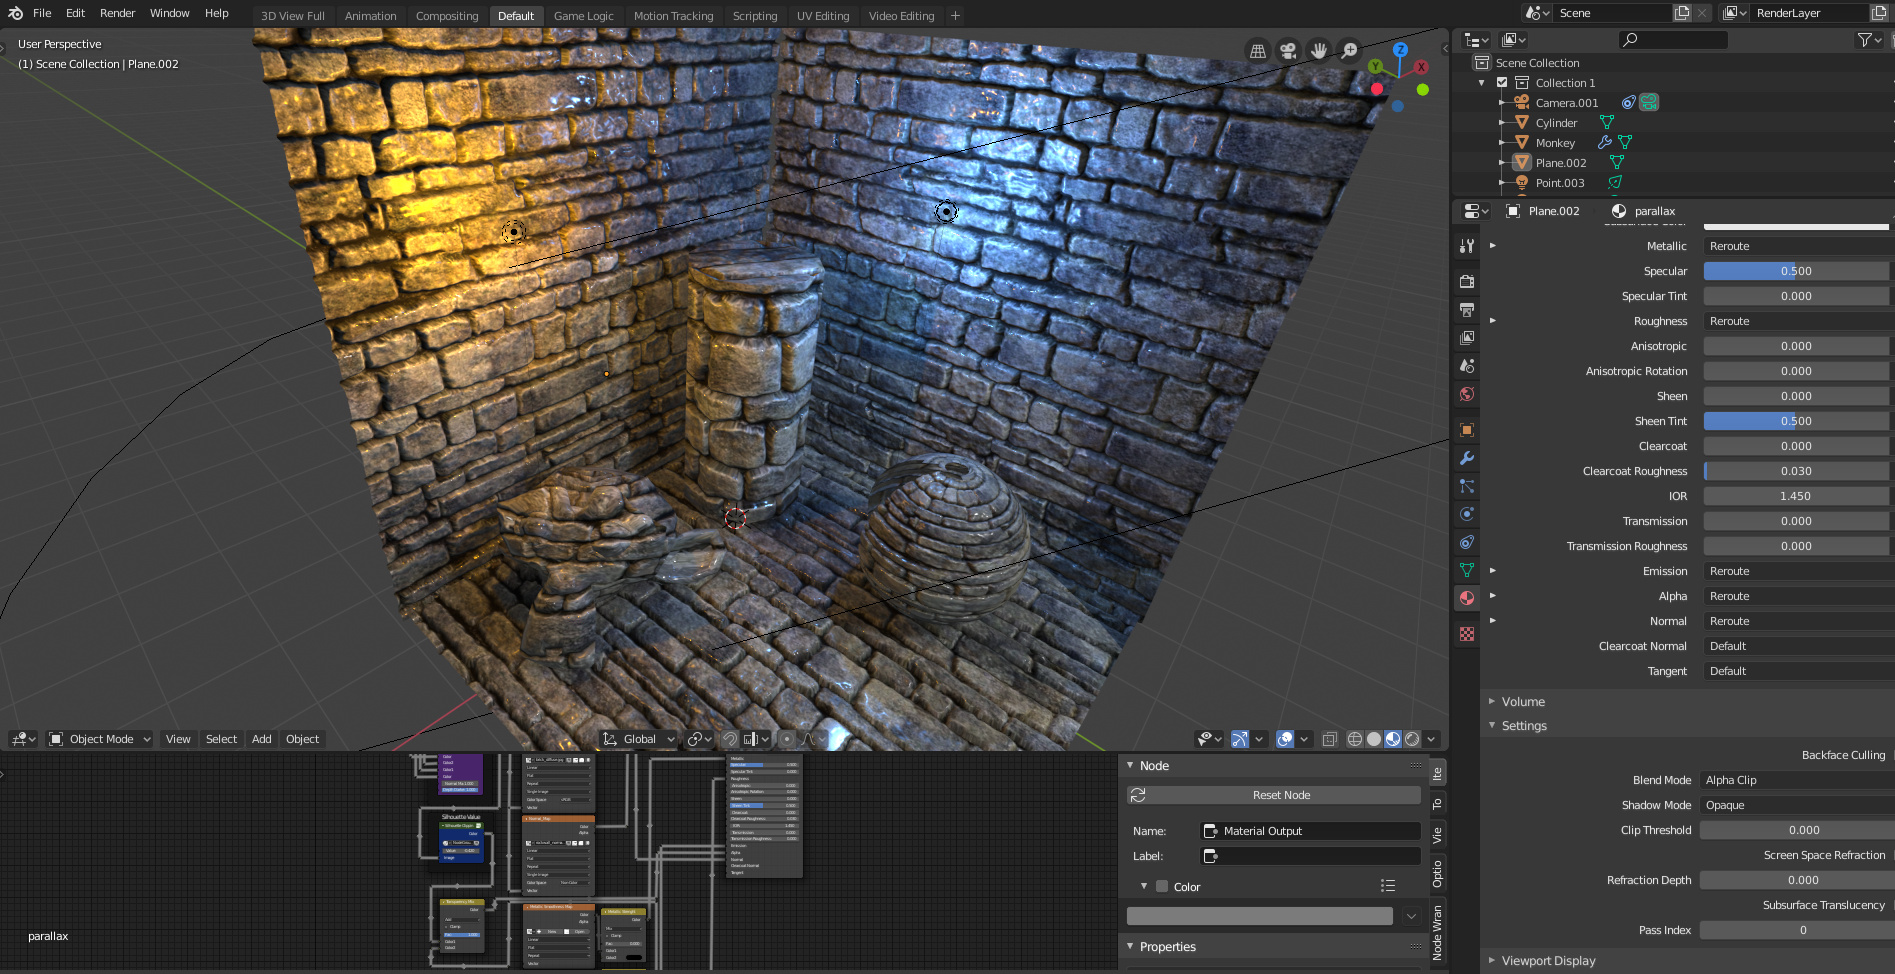
The Silhouette Clipping, as well as some shininess/roughness on the bricks:
Have fun!
Evandro Costa
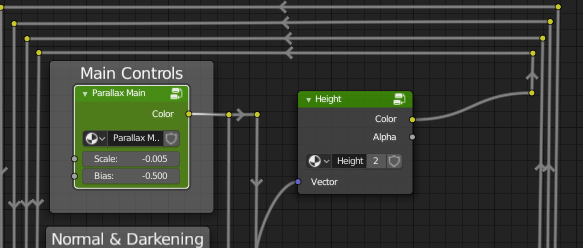
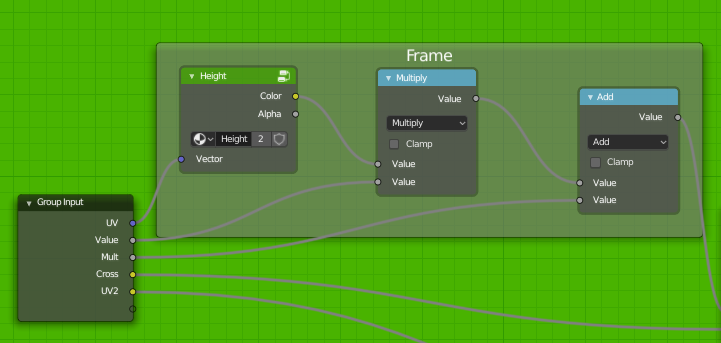
EDIT1: Reorganized the Height Map to be inside of a group, because it’s referenced elsewhere in the node tree. (Thanks @filibis!)
Zip File:
Parallax_eevee_cycles_silhouette_clipping.zip (897.2 KB)

 this is something I was looking for a long long time ago