You need to use the node editor for that.
Thank you, good additions!
I have a question about procedural textures. I’m used to working with image textures, and I’m a little lost without using Unwrap and UV texture coordinate when work with procedural textures. For example, suppose you have a plane with Cloth procedural texture. Then you want to apply cloth simulation and deform the mesh. How do you do to get the mesh looks good with a procedural texture when the mesh is deformed?
Edit:
Mmm, it seems that the only way is baking before being deformed and creating an image texture anyway?
YAFU, I have used my own procedural textures with UV mapping for cloth simulation. This picture (https://goo.gl/vRyHbA) was created with a UV unwrapped plane, then I did the cloth simulation. All of the textures are procedural. It should work. 
Hi Zachman.
Let me see if I understand you correctly. You say that it is possible to use UV mapping with procedural textures?
You assume this:

In ‘1’ you have the plane with the procedural texture. Then in ‘2’ you run the cloth simulation. You can see that the result is not good. How do you make so that it looks like in ‘3’?. In ‘3’ I used the baked texture to an image, and using the image texture node.
YAFU,
Procedural textures are typically mapped with either Generated or Object texture coordinates. These are 3-dimensional color gradients, R, G, and B. Depending on the type of coordinates, the texture will be mapped differently.
If the object is deformed with modifiers (lattice, cloth, simple deform, etc) then the coordinates will also be changed.
But you can also use the UV coordinates for procedural texturing. Instead of a 3D texture, it is a 2D texture, but the principle is the same.
For macio’s node groups, you will have to manually edit them to change from object/generated to UV coordinates, like this GIF shows

Cool! that’s exactly what I was needing
Thanks.
Does webpage work?
Awesome! Thanks!
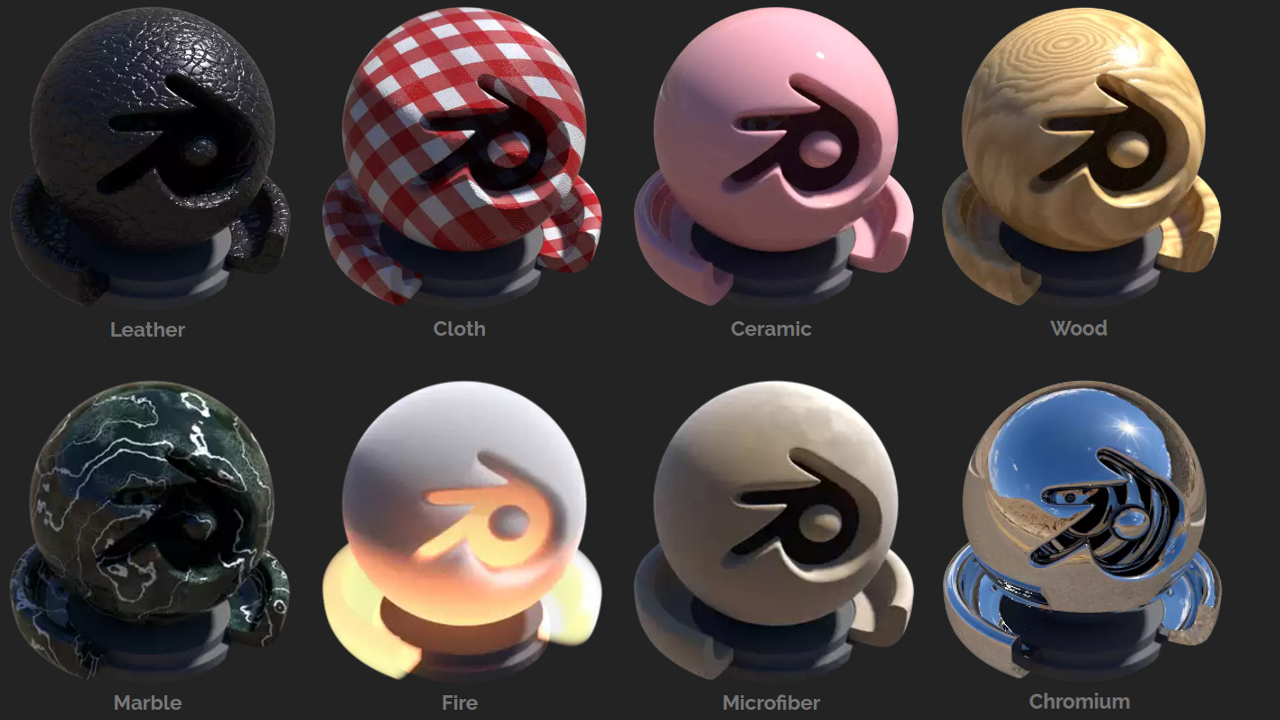
PBR Materials Addon 1.2
http://3dwolf.weebly.com/materials.html
- New: Fabric
- Fix: Metal Colors, Speed, Car Paint, Cloth

Very cool. It should save me a lot of time
I’m having a problem with the transparent shader, I keep getting colored noise like this:

Is there a workaround to this?
Disable the Refractive Caustics in the Light Paths Panel
I tried (I unchecked booth, reflective and refractive caustics), but I’m still getting colored noise for some reason.

The noise in the Object is ok, but the shadow…
don’t use an AMD GPU to render the caustics because it doesn’t work in AMD GPUs
Don’t have one, this was rendered with the CPU setting.
@Philmister978, I had also found weird that there still exist colors when Dispersion=0. Anyway I’ve found that if you use the default value of IOR (or something like), Dispersion=0 and a small Rough value like 0.05, colors practically disappear and you get a very nice glass materials, especially if you are using HDRi for ligthing.
I’ll make sure to try it for next time. Thanks for the tip.
Also, I’m having a problem with the scratches texture- I can’t seem to find the “Bump” node on it.

You must have edited that Scratches group and accidentally removed “bump” output in N panel of the Node Editor. When this happens, every time you add that edited material or texture from the addon, it will add the modified version. This will happen in your saved project, not in a new project.
To recover the original group you open your project, select the Scratches group and from Node Editor N panel, and from ‘Properties’ rename the Scratches group to something like Scratches_old. Then add a new Scratches texture from the addon.