Hello all,
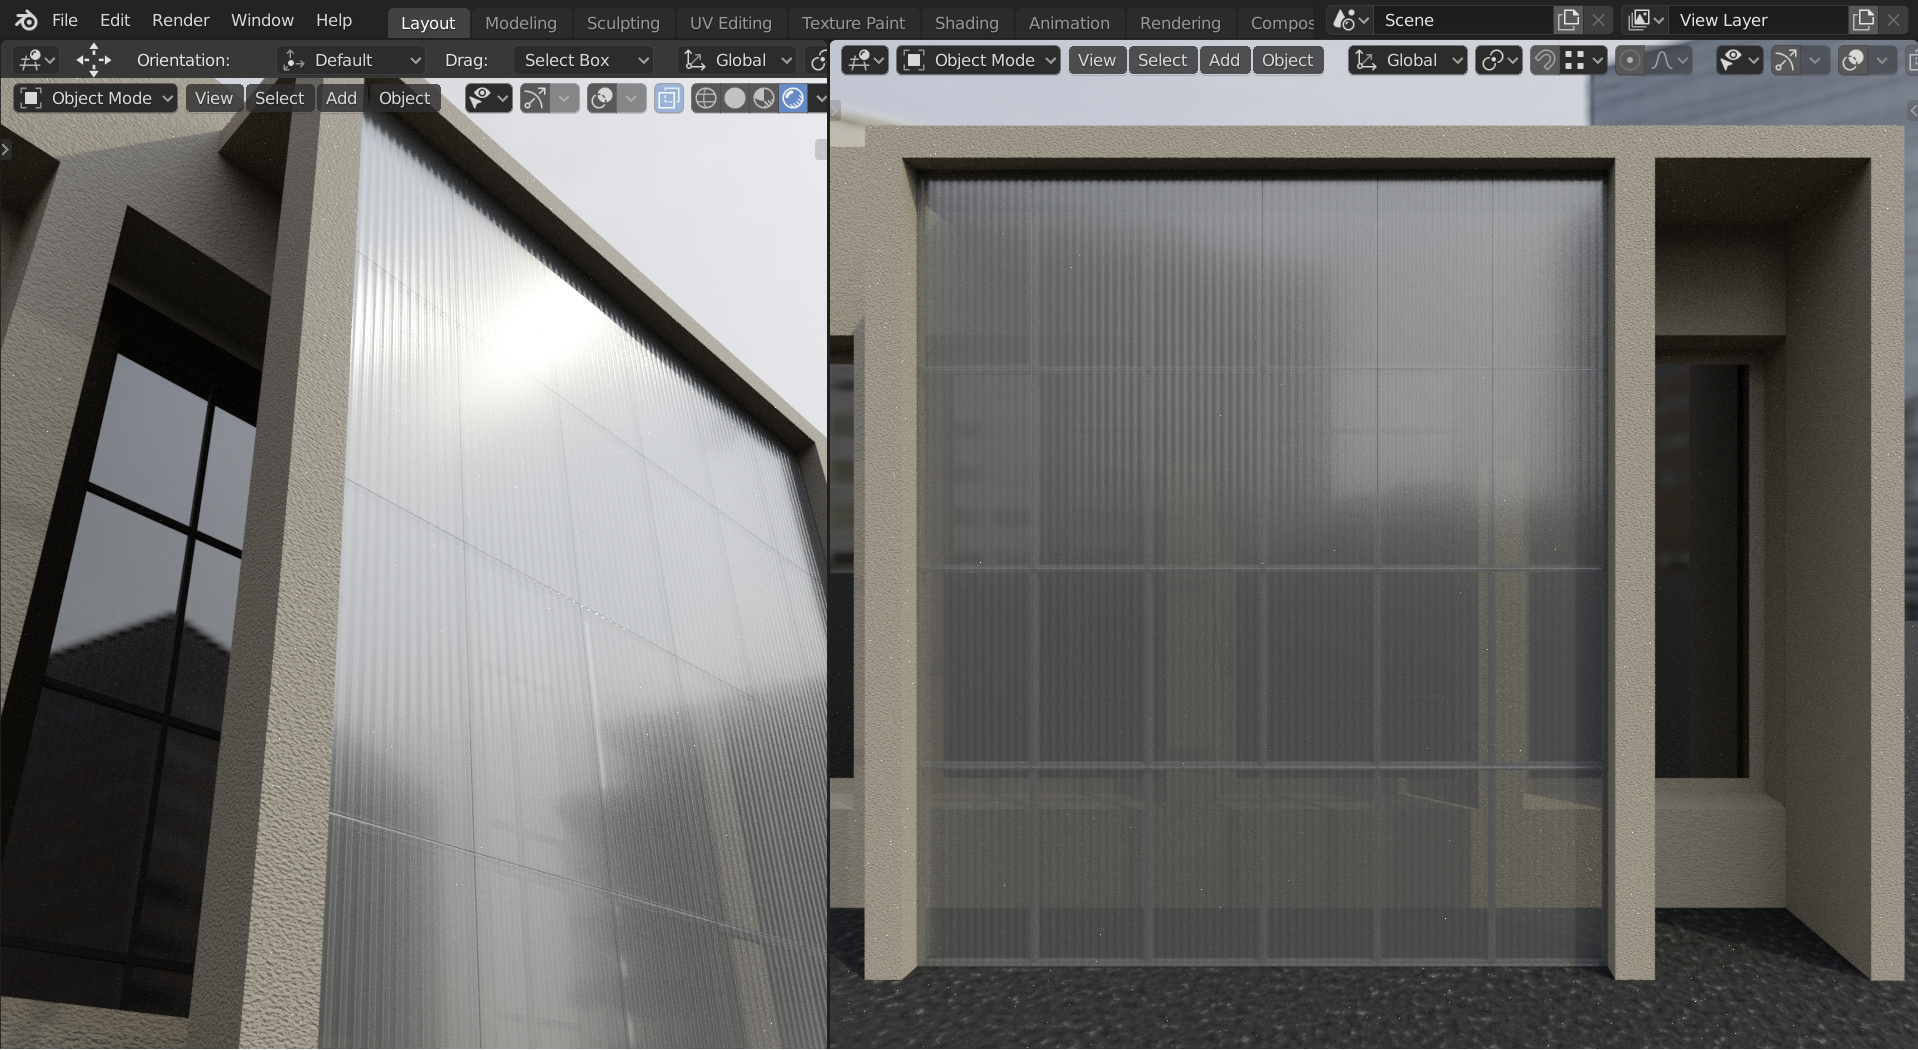
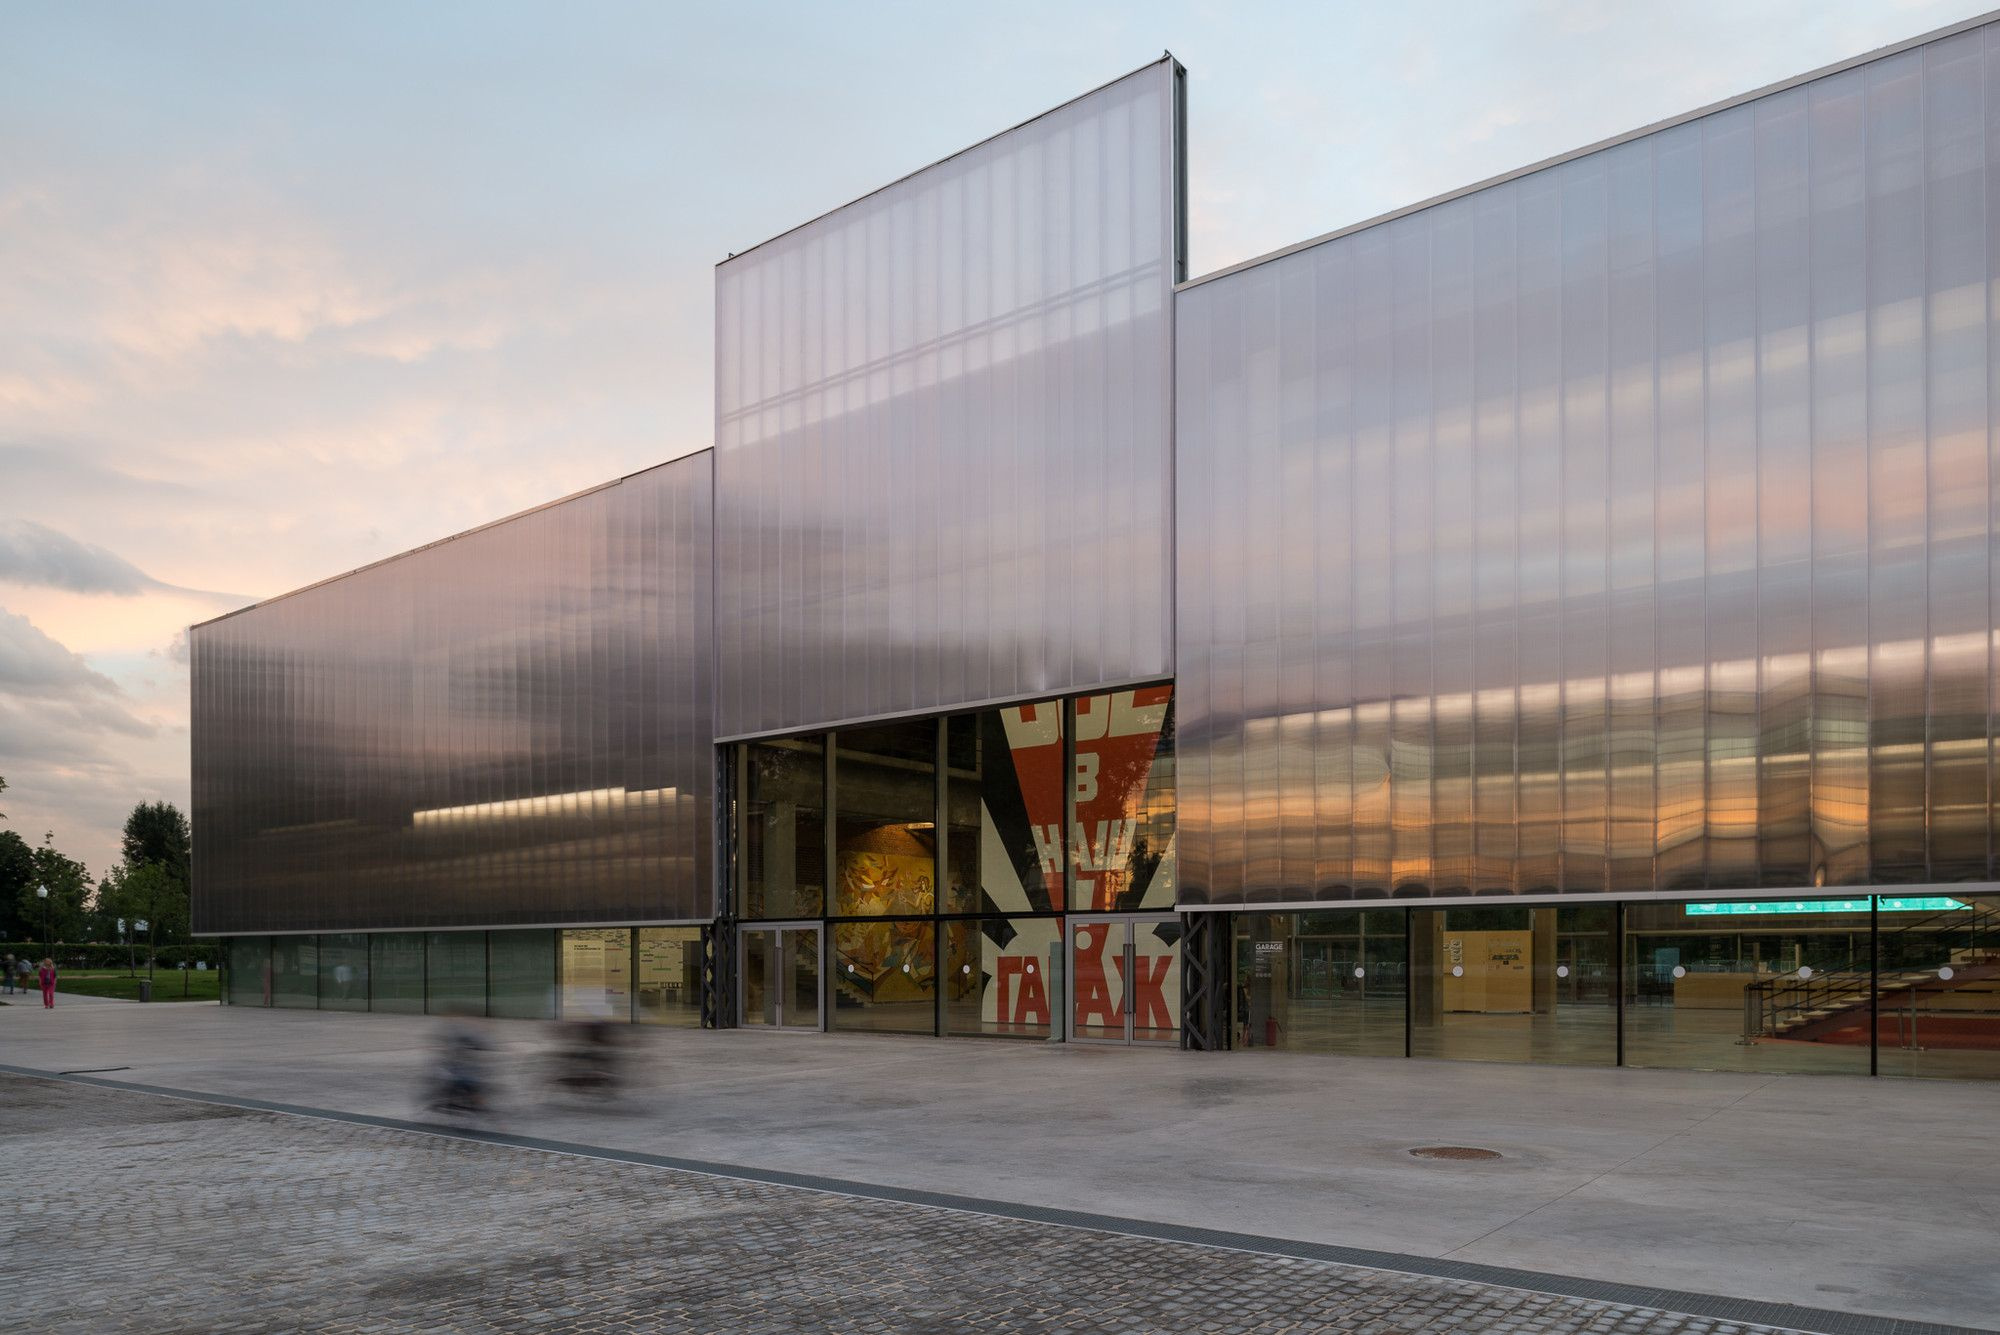
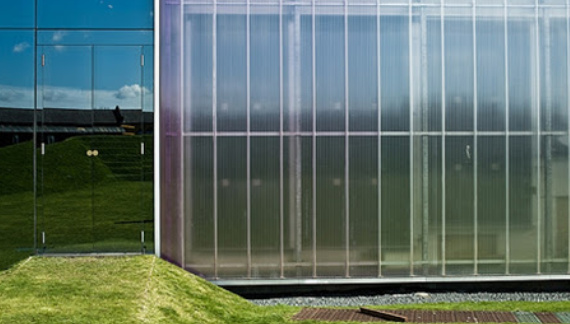
I’m trying to achieve this look as seen above. However, I can’t seem to get the settings right. It just looks so dead to me and not reflective at all.
Hello all,
I’m trying to achieve this look as seen above. However, I can’t seem to get the settings right. It just looks so dead to me and not reflective at all.
Looks like you have the view-port in orthographic mode (hit numpad 5 to get perspective and some reflections) and also make sure there is something in your scene to reflect (like an hdri world or other objects and lights.
Thank you for your reply… I figured that might be the case. The camera is actually set to 200 mm focal length to establish a certain frontal shot while including most of the surrounding context…Also how are you getting your striations? Do you have a texture for it?
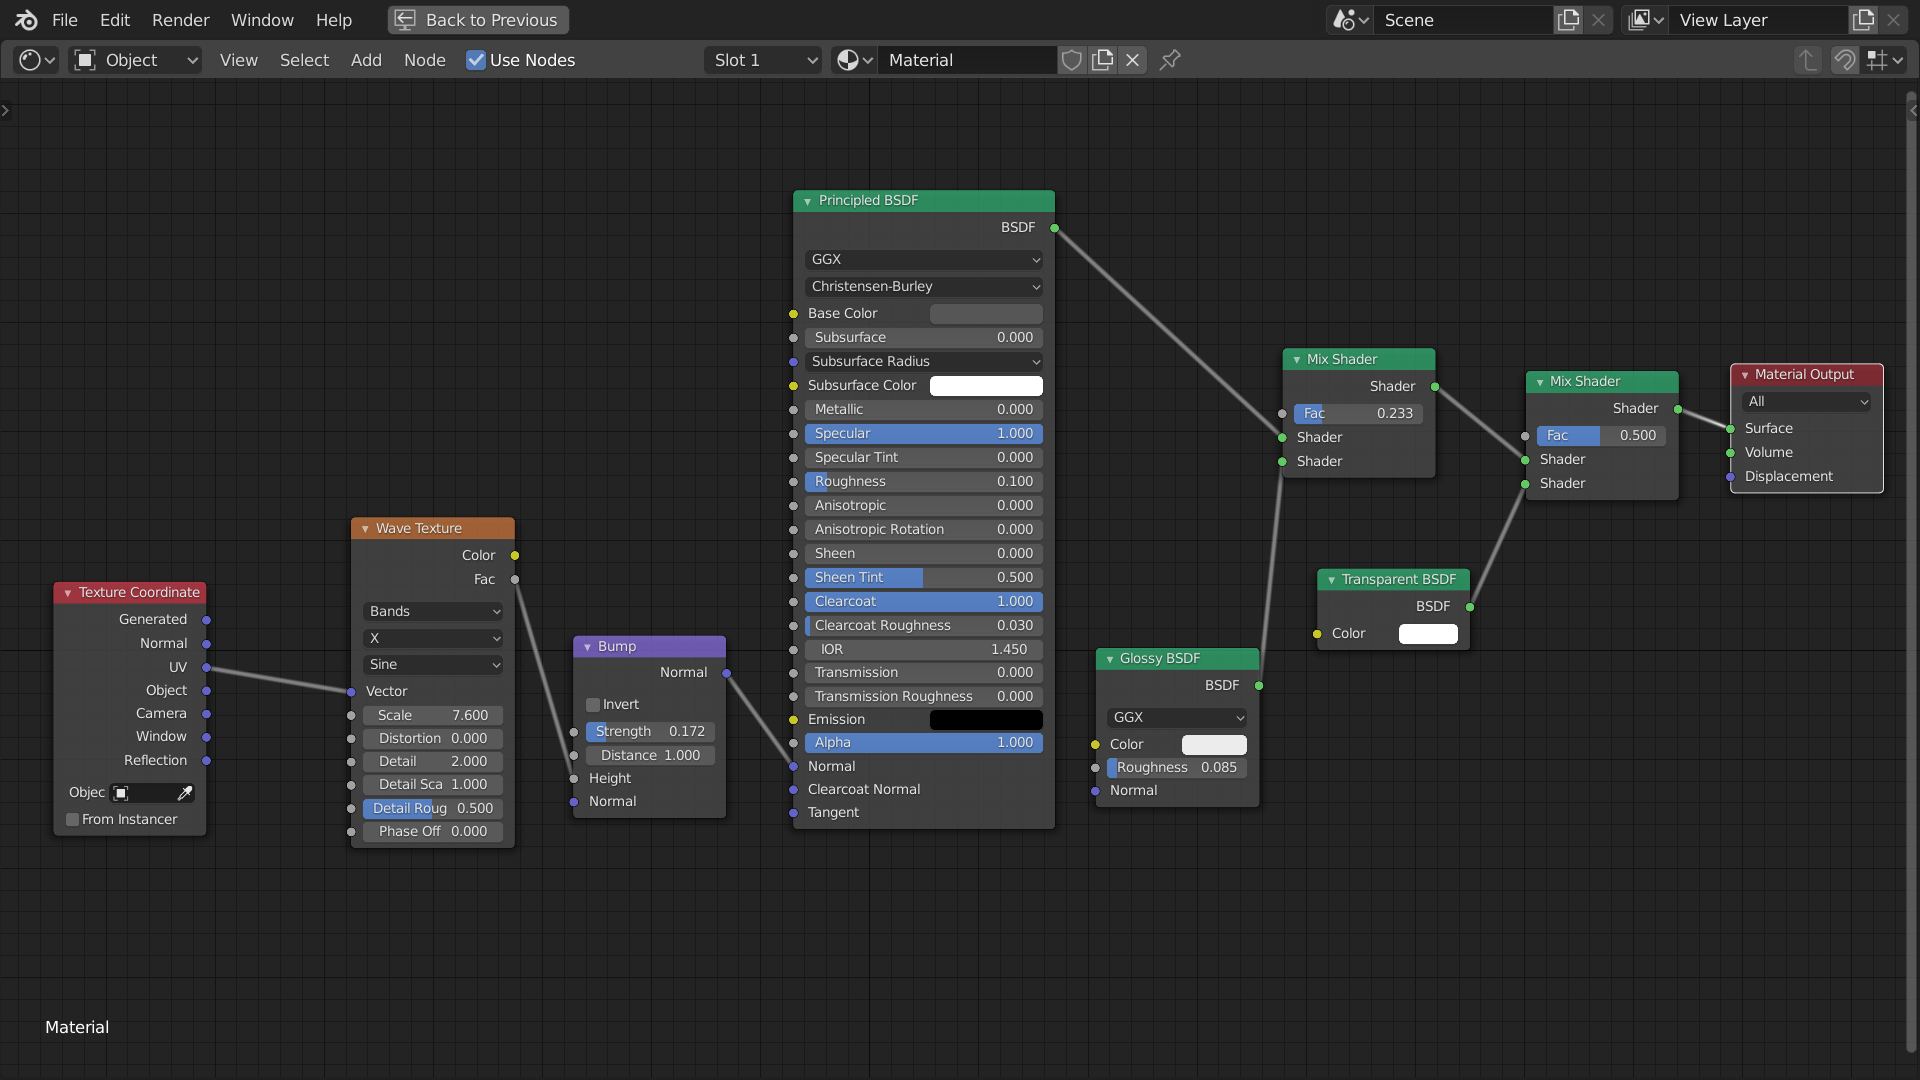
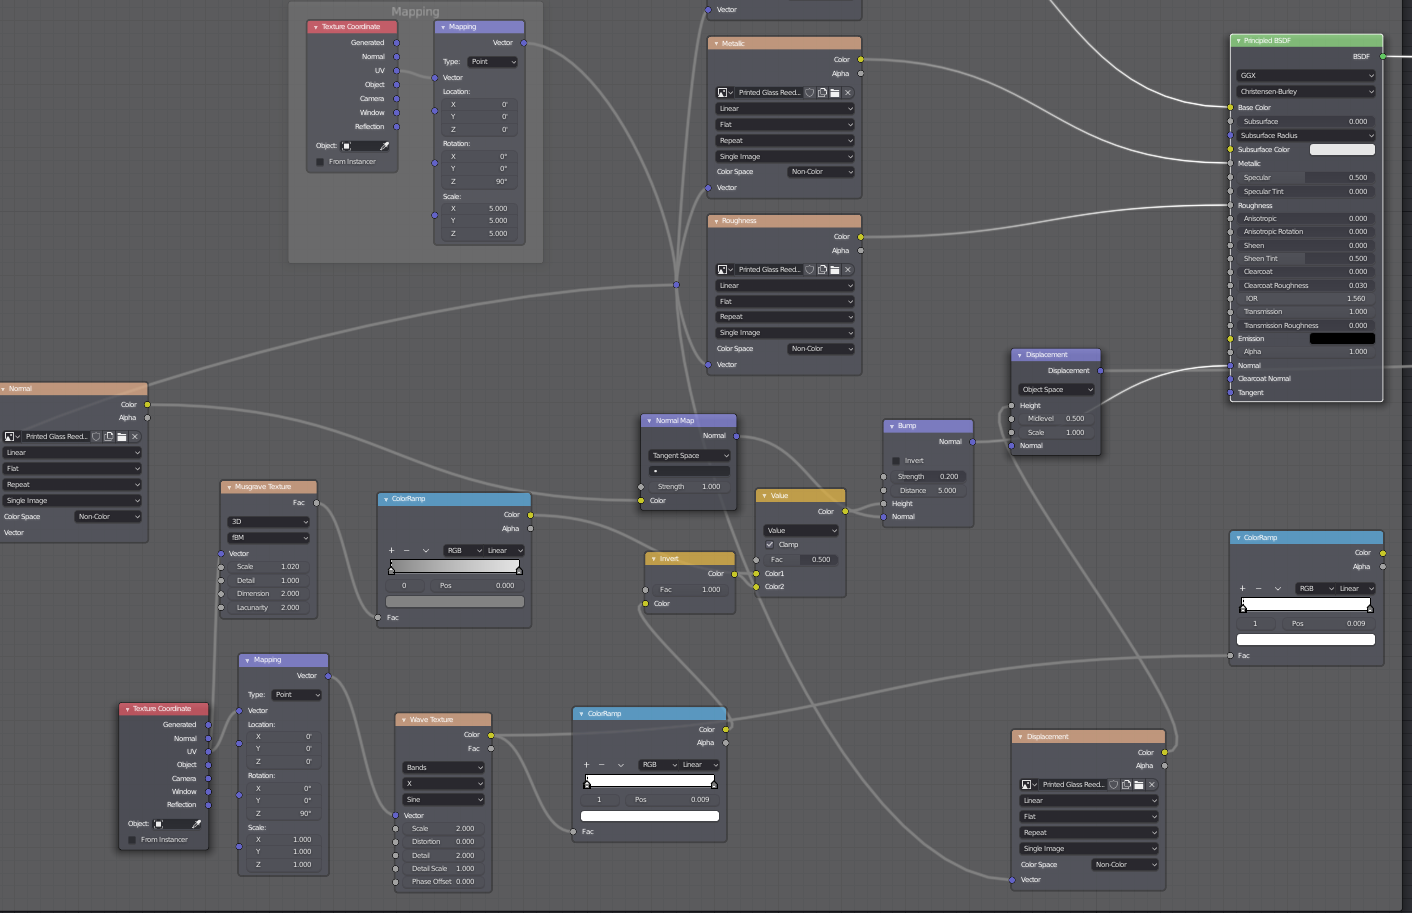
To get the material I mixed a transparent shader with the principled shader, in the principled shader I used a wave texture node to make a bump map with a very slight height value to get the striations, I used the roughness an specular sliders to control the reflectivity with a darkish grey base colour. Sorry I did not save the file so I can not send a screenshot of the nodes but it was pretty simple.
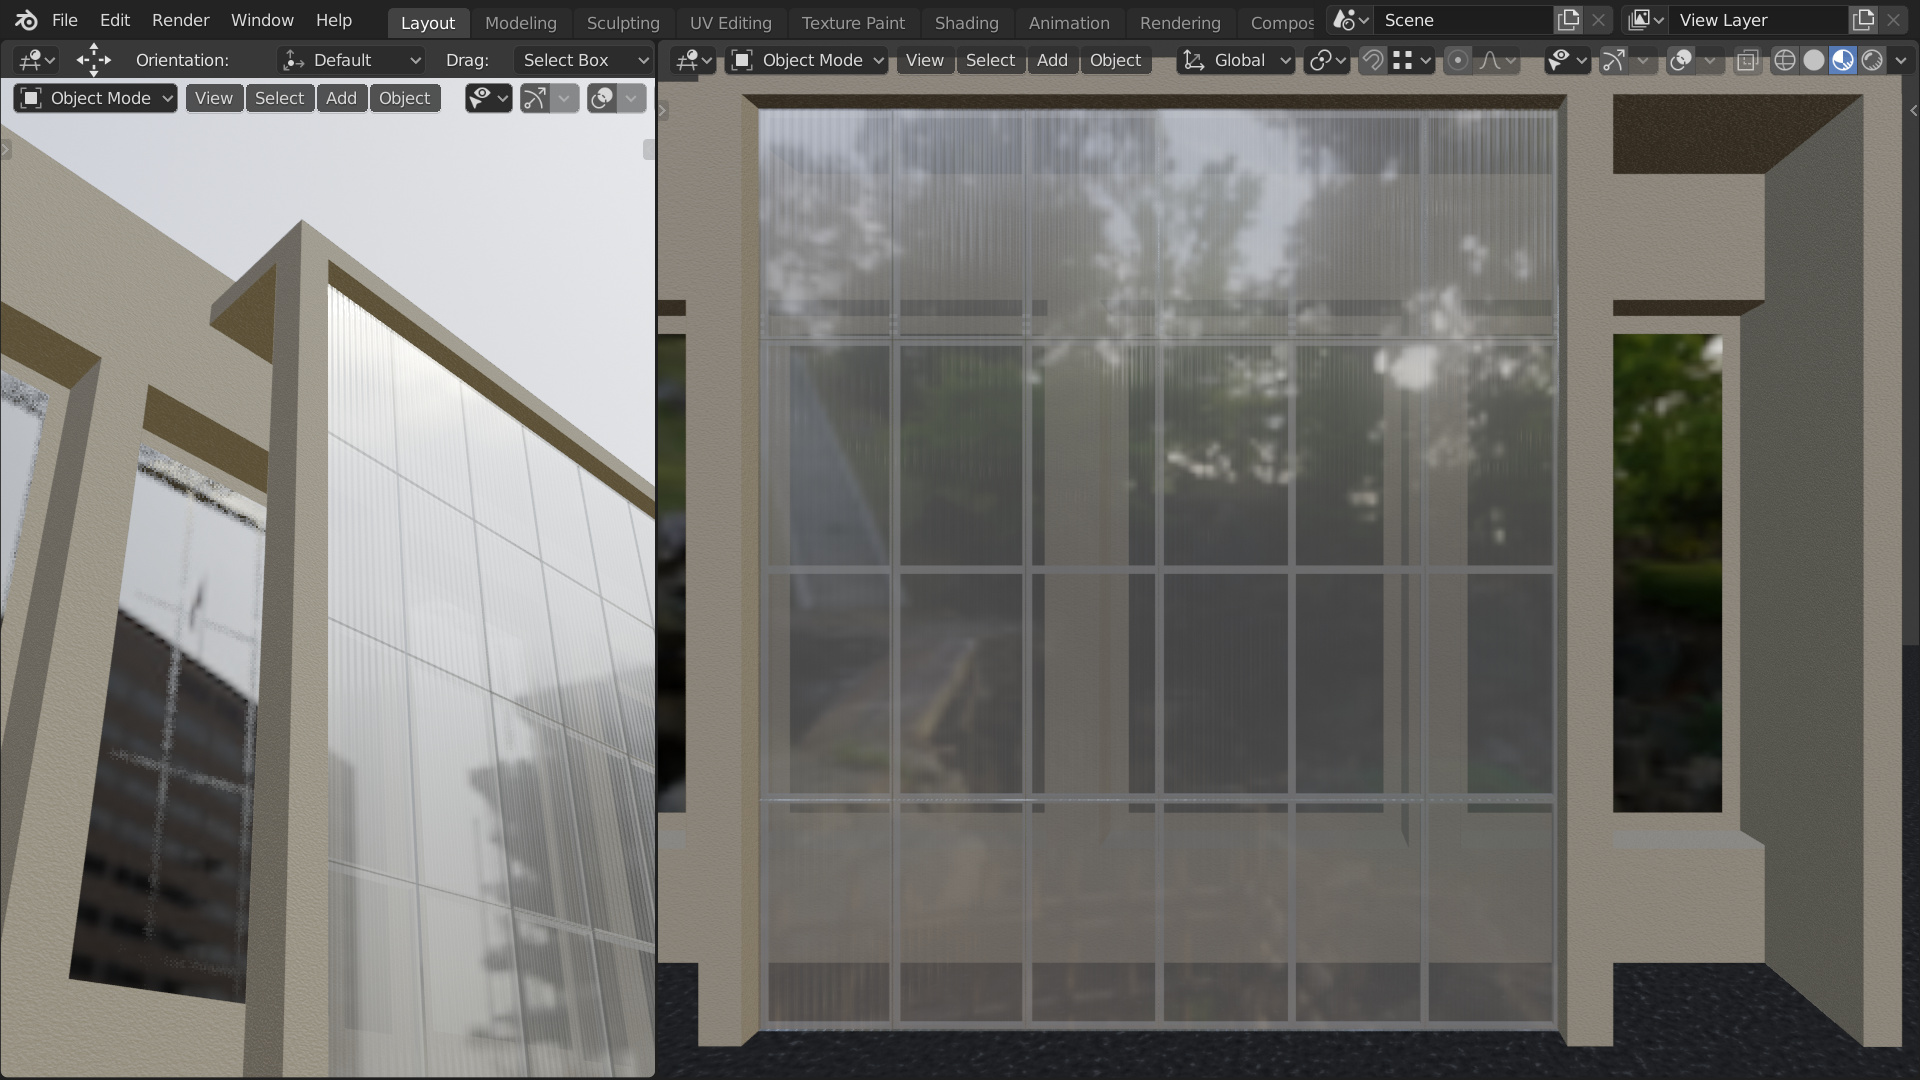
After a few more experiments I came up with this material. it is applied to an extruded plane that gives it dimension when you look from the sides.
The extra glossy node helps control total roughness, maybe it is not necessary.
I’m always setting up stuff like this in the follow way.
This is the material (same as above) rendered in cycles. I think it looks pretty good.
To get a real close up of the sheets the best idea would probable be to actually model them as they are constructed and apply a simpler material, with the downside of adding a lot more vertices! I’ll give that a go as well - something to do in lock-down! But I think that for normal cases that will be going “over the top”
Thank you both for the feedback and discussion.
I would also be interested to know how to go about making these? These appear noticeably different from the example I showed - a bit more glossy or higher ior? Also, it has variable bending artifacts from the way it was built. I tried to recreate this using musgrave and wave texture, but it’s not quite right.
I tried to play with the Fresnel but it did not work for me (nasty reflections).
I too was trying (with no luck) to distort the reflections on my material.
Lovely new photos, they do seem to be a different concept altogether, lovely distortions. one big difference is that they are viewed from much further away, the striations are no longer relevant and the distortions take over. I’ll have a go tomorrow - no promises I am not a node expert!
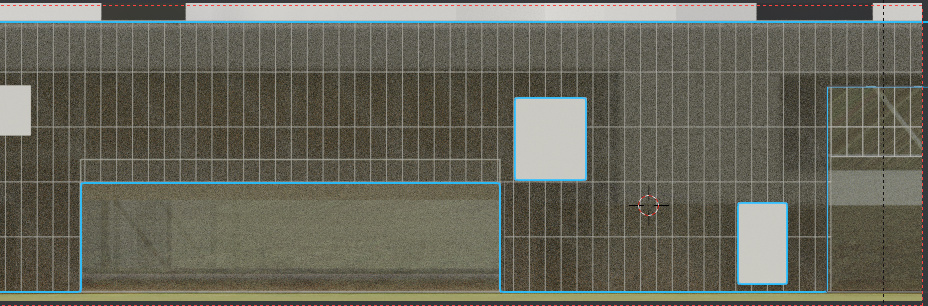
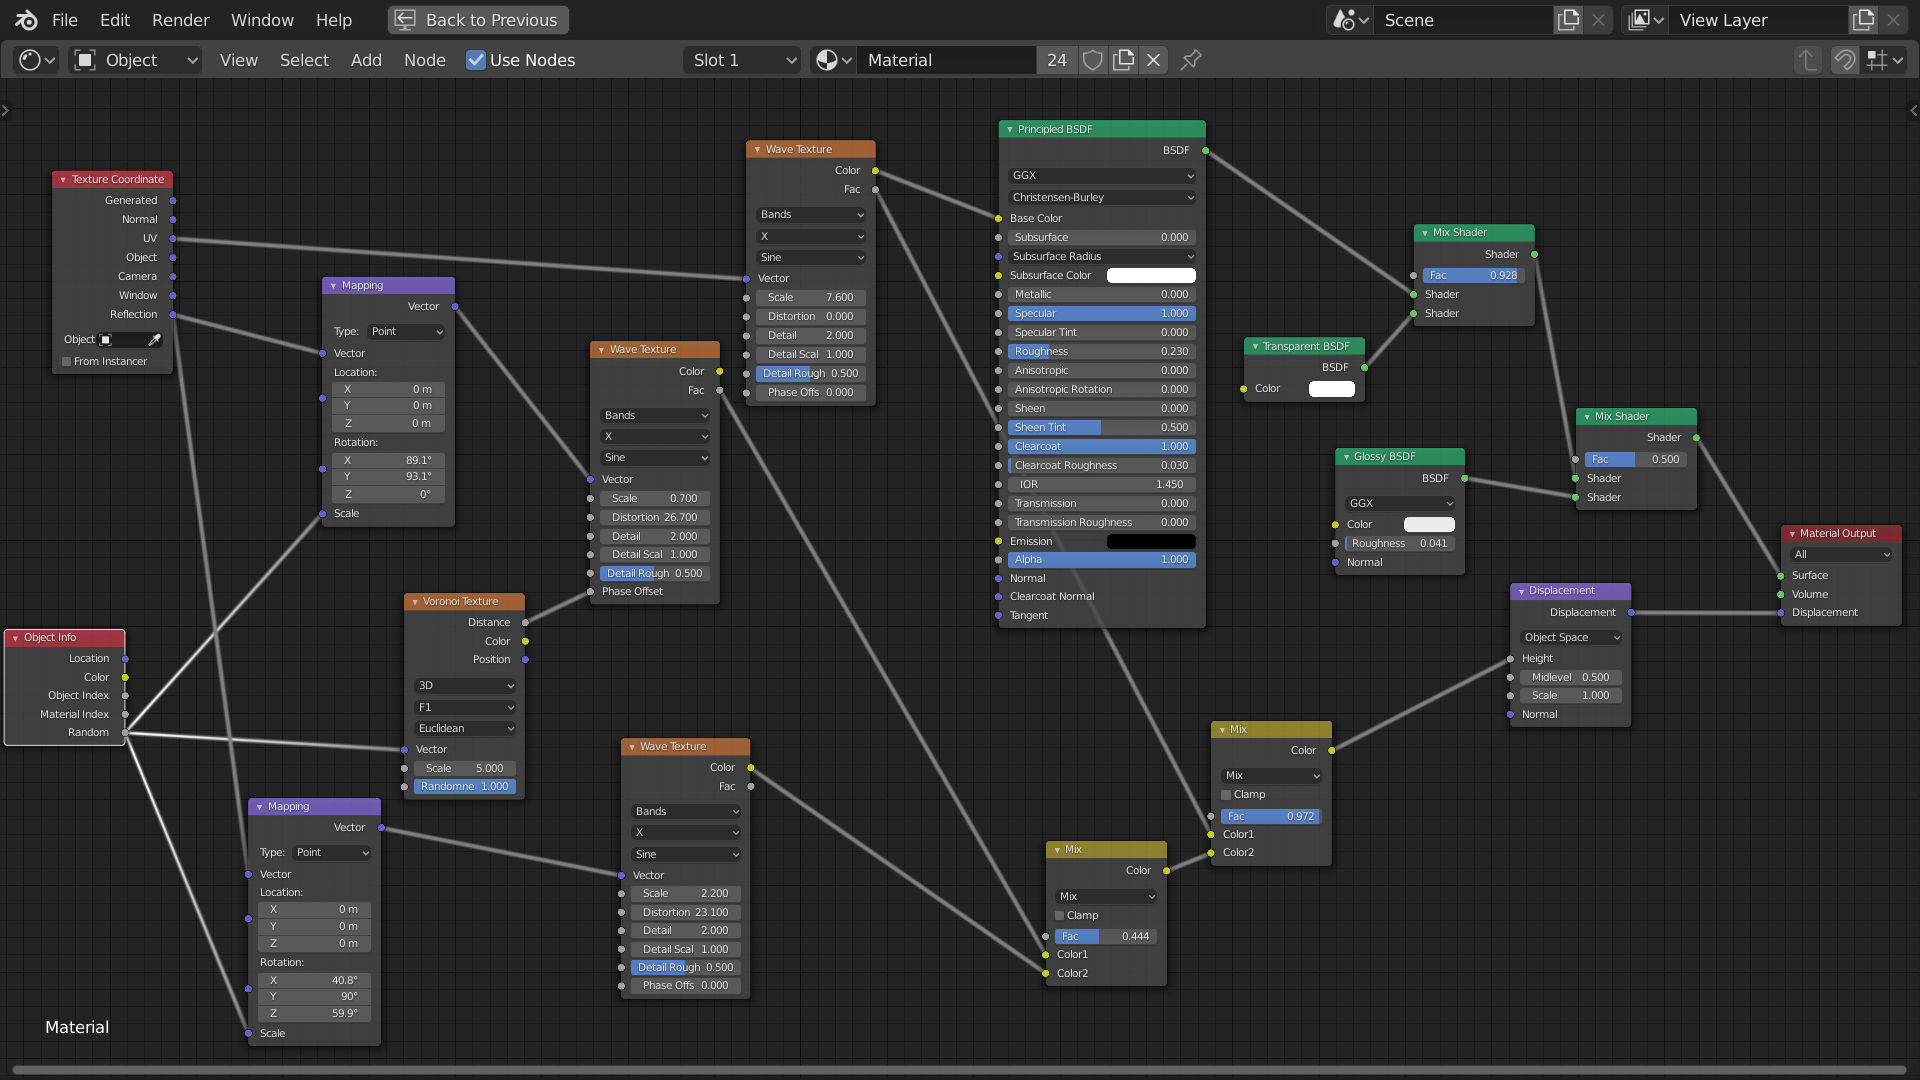
Ok this is getting really interesting. I have managed to get something similar in eevey. Basically I changed the bump map for displacement and mixed my original striations with a couple of distorted wave textures I added a little variation with the object info random output and fiddled around with values. I had to apply the arrays and separate each sheet to get the random values. The sheets are 4 vertex each with a solidify modifier.
It looks like I’ll have to model a modern building! (Which had never appealed to me till now!)
So the surface isn’t a single face? Did you subdivide that wall into the panels?
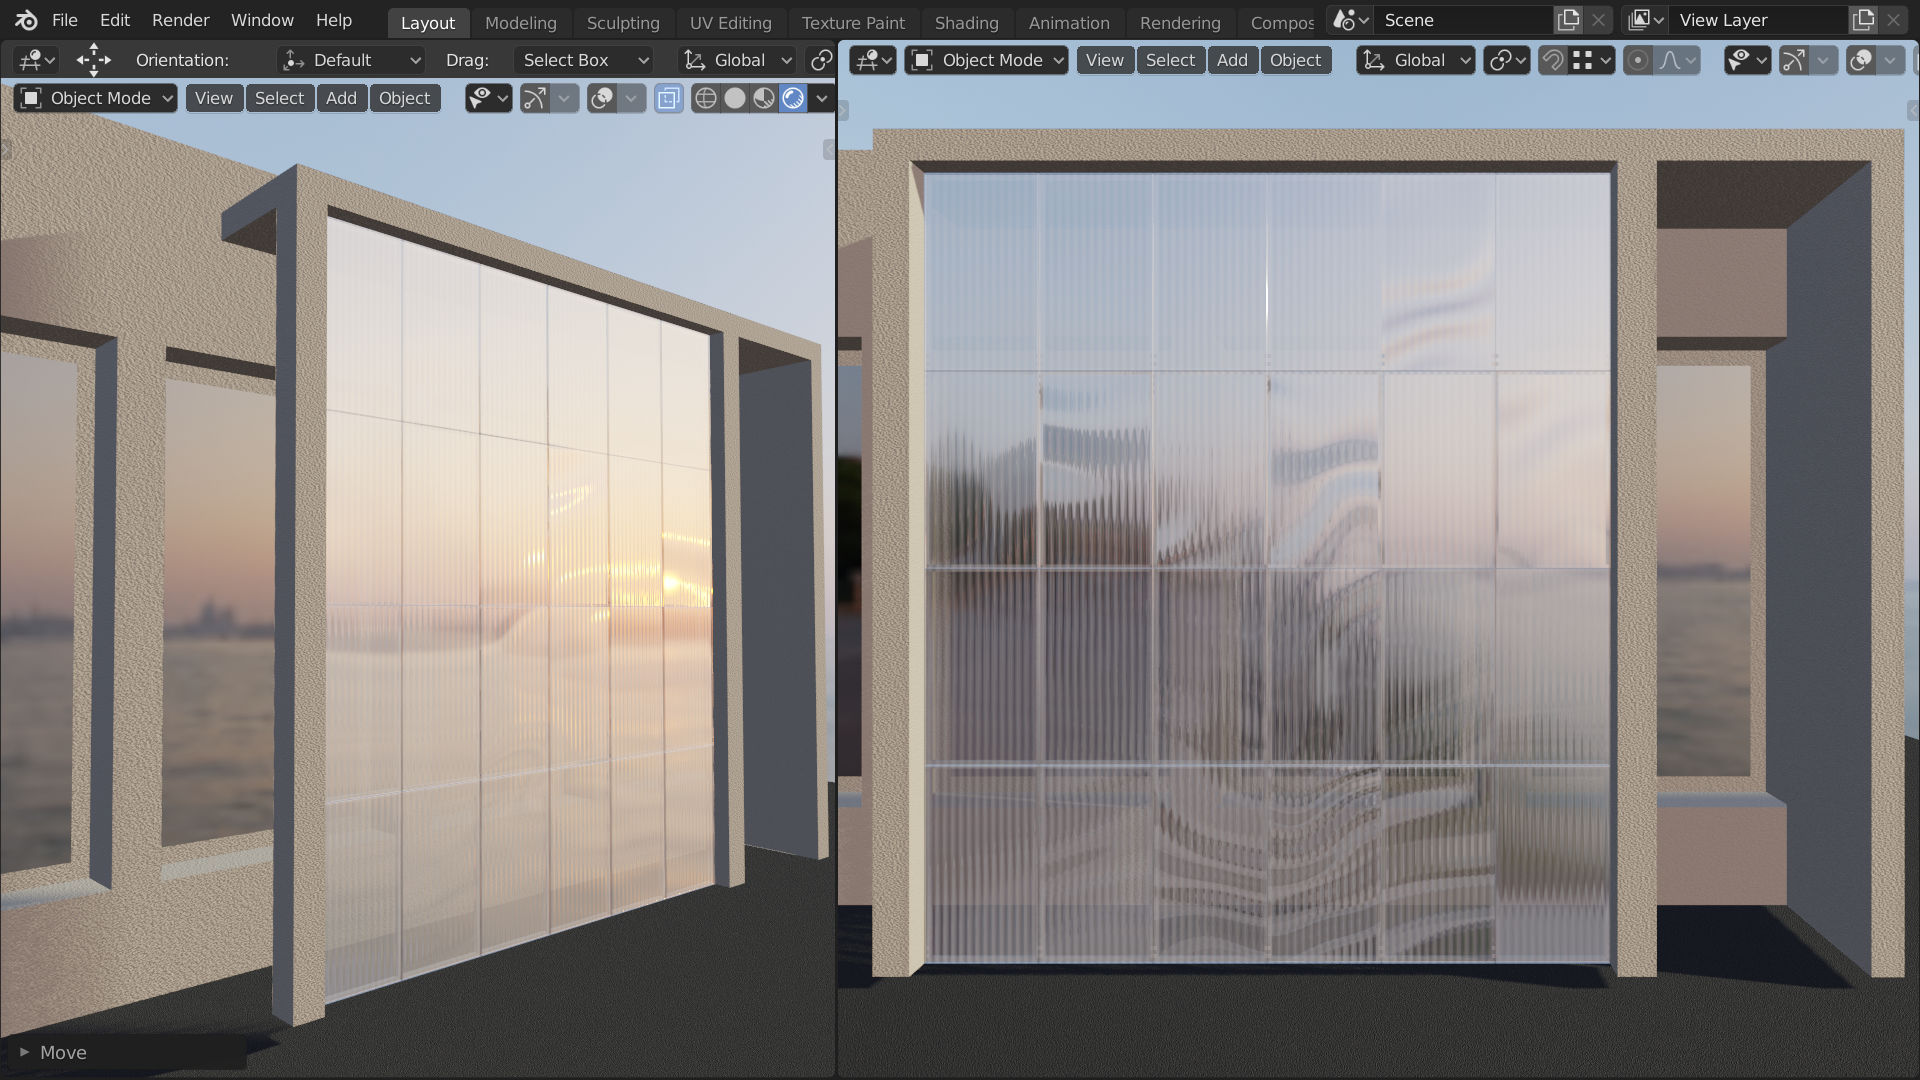
I tried the same setup in cycles but something is failing with the large distortions. But WOW I did get the vertical distortions for the striations which is what I was trying to do yesterday!
I will investigate why the large distortions are not showing.
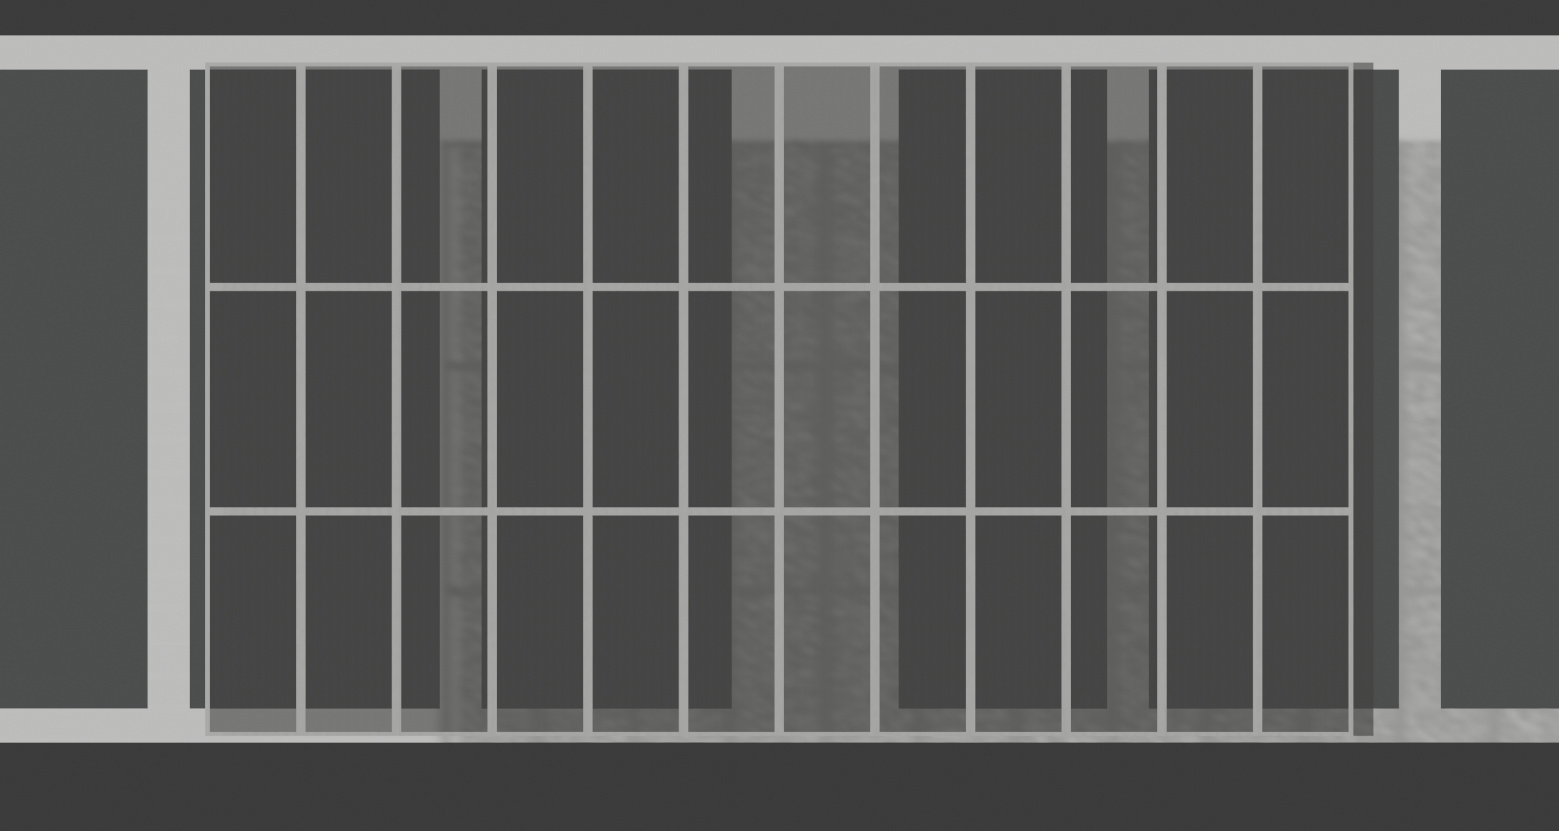
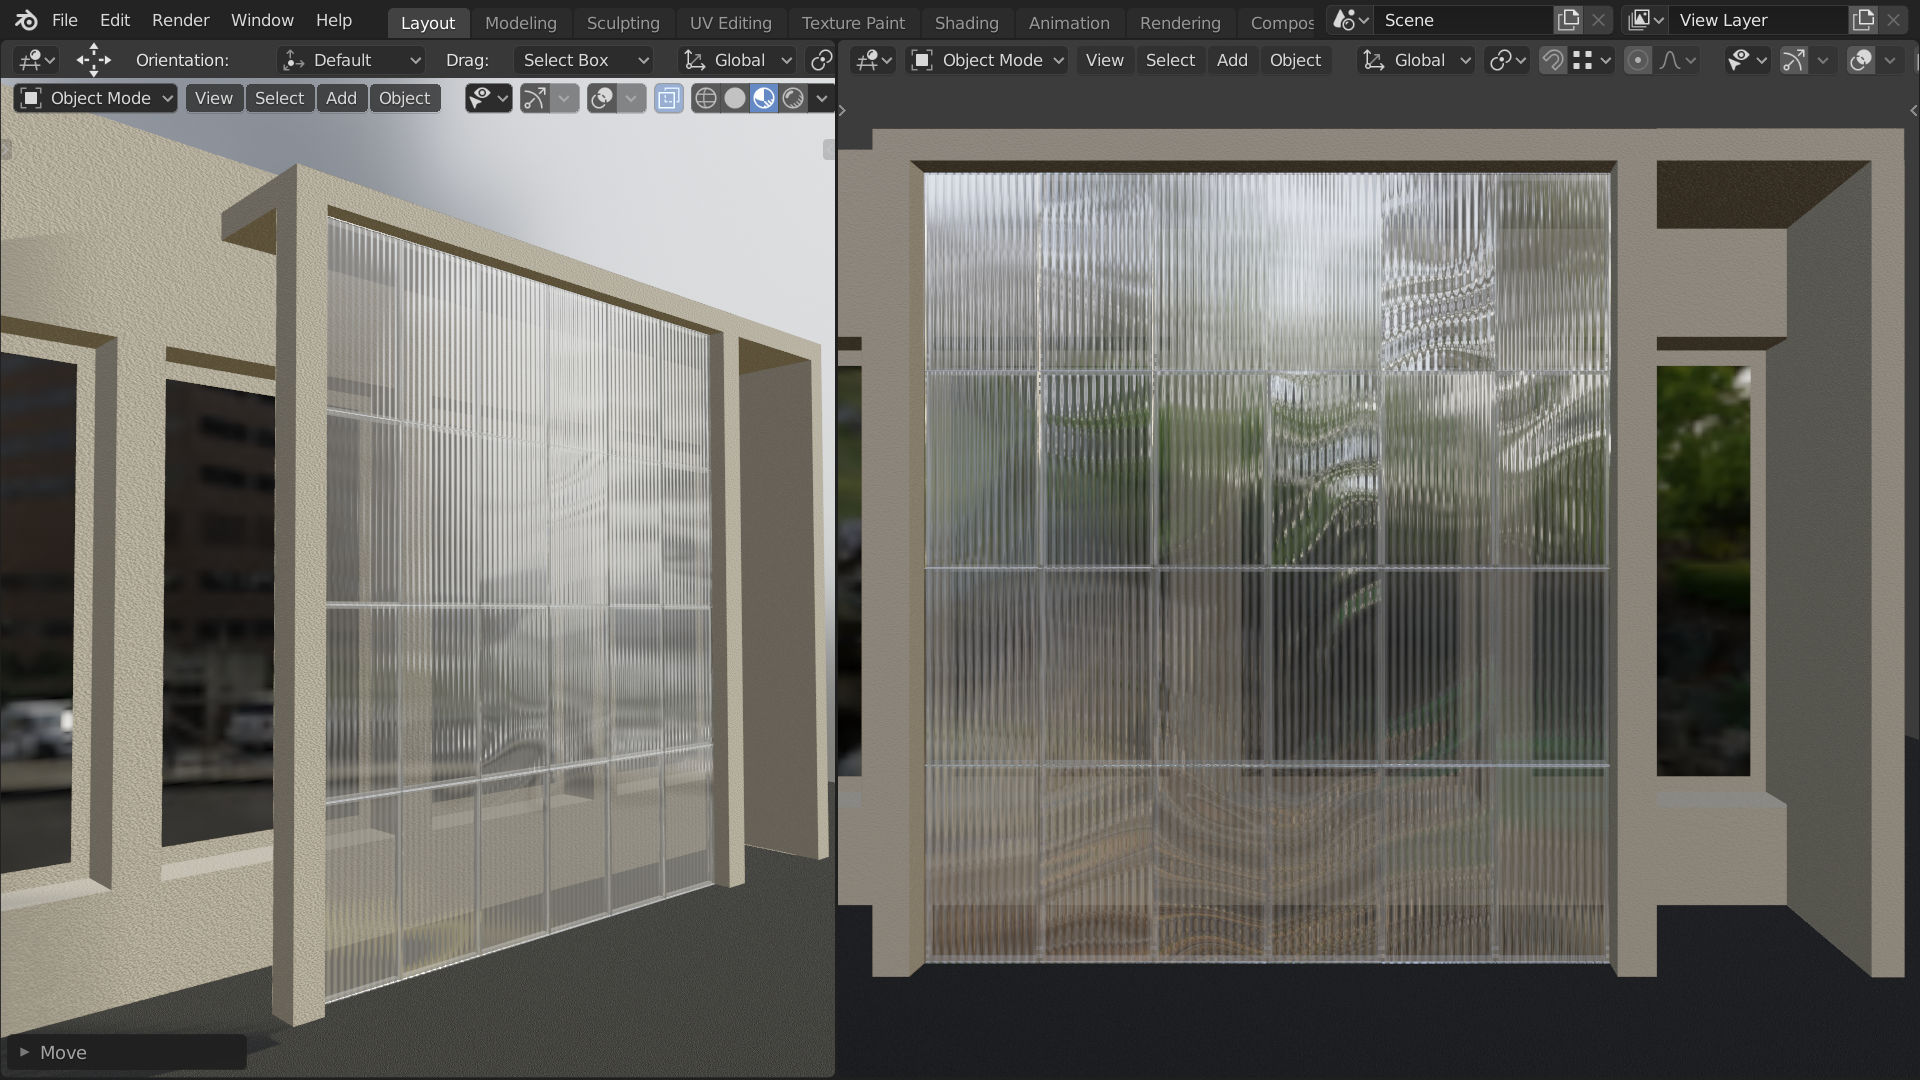
Here is the result in cycles.
A dumb question, but have you checked to see if there is a modifier that’s been checked off on render?
No the surface was originally a face with an array and a bevel modifier to get a little separation between the separate sheets. I have now applied the arrays and made each sheet a separate object so the object info node gives them random numbers. There is no subdivision (just a bevel modifier to get the crease between sheets.)
No I applied the modifiers, if I go to lookdev view it looks exactly like the eeveey screenshots, I think it has to do with the displacement, I do actually like the results of the cycles render although it is more like the original concept before trying the large distortions.
I like it a lot as well…I should’ve just come here for help sooner! I spent embarrassing amount of time trying to figure it out.
I know the feeling! But when it works out it becomes fun! 
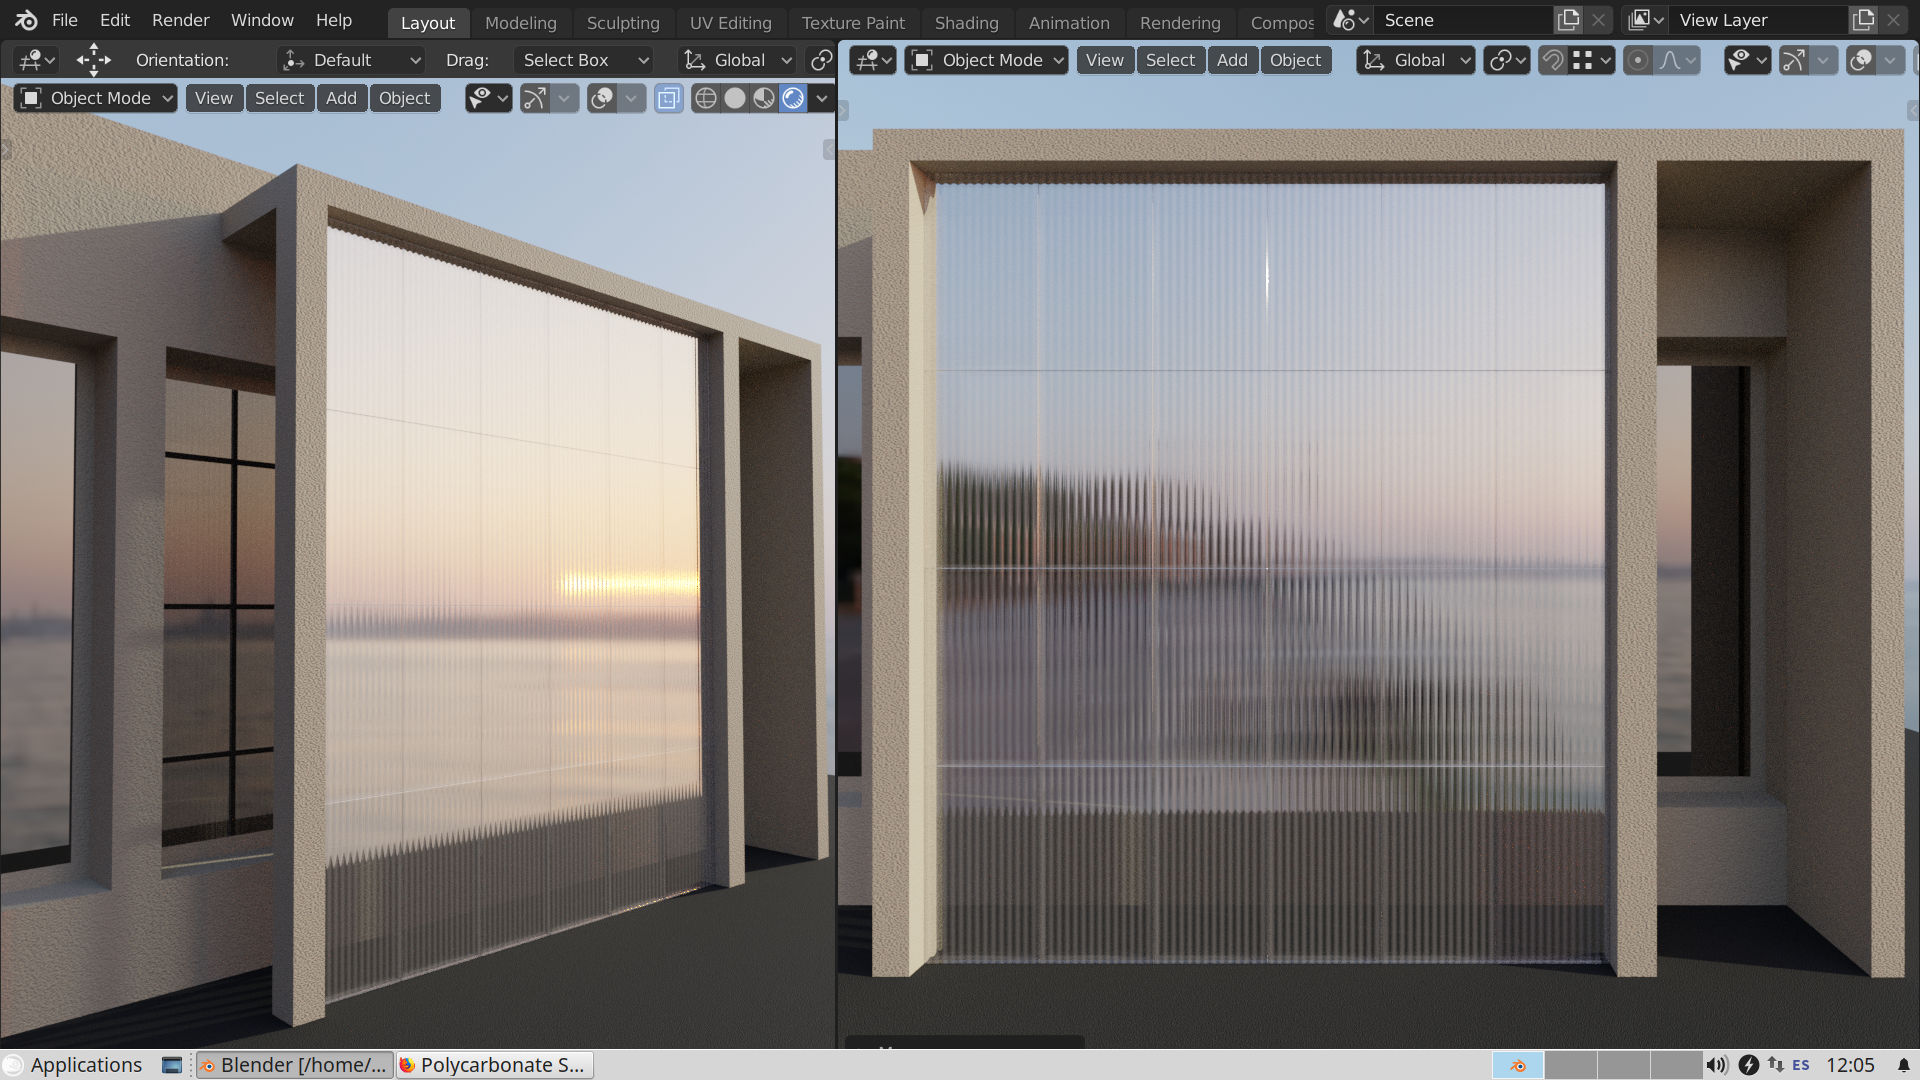
Eureka! I have no idea why but there was a mix node that was not working in cycles, I had to change from mix to overlay (multiply also worked but mix did not) I can not understand why it works in eeveey but not in cycles. Anyway now we have the best of both worlds lovely vertical striations distortion and general panel distortions. I think you could play for weeks tweaking them and trying different types of distortion. Do post the results of your endevour!
Amazing! I will update you soon!