here you go maybe that will explain it
Hey …thanks Craig… glad you posted that… I would have never figured, without seeing that … how big the thing is.
Wega, you should think about putting a character inside that thing when you are done with it.
I’m getting very close to two months of work on this project, and for the first time I’m starting to loose some of the motivation around it. That might also be because of this render:
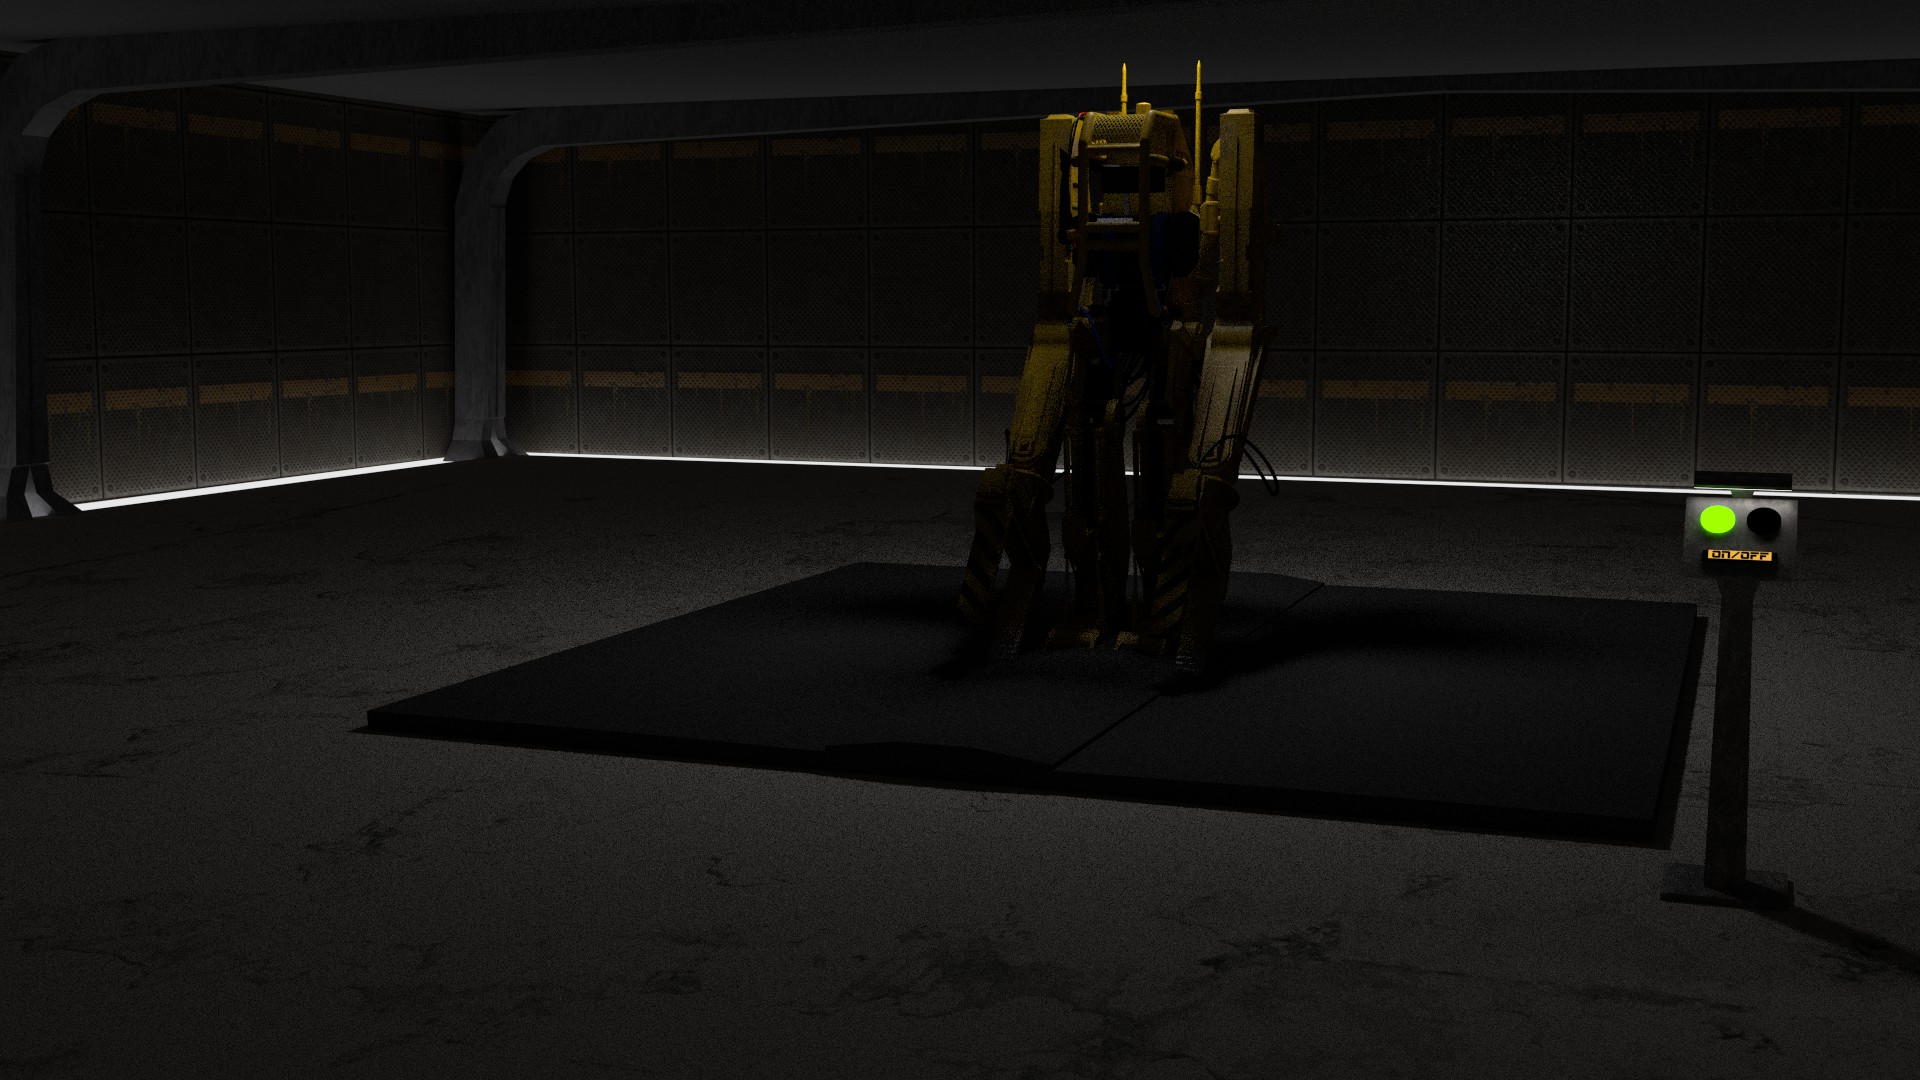
1080p @ 1500 samples. 6½ hours of rendering on my GPU! It’s still very noisy and when done with the room the loader is standing in, I wont be able to use my GPU for rendering. I was hoping to do an animation of some sort, but thats clearly out of the picture now

I might just drop the room again, and make it just standing on a platform and then do a short rotation animation though, as I would really like to try out animating just a bit.
The good thing about this is that I’m learning the hard way of the consequences of not being careful with the amount of polys and texture sizes. And I’m already quite excited about my next project thats going to be about learning to to low poly things with good detail

@Craig: Thanks for the tips, I will try half size textures and see what happens
@Minoribus: Yes of course, dont know why i couldnt figure that out myself, I guess I was just frustrated at that point
@Harleynut97: I’ve thought about that, but decided not to do that from the very beginning though. Something to show it’s size was planned, through putting stuff in the room so that the size of the Loader would show.
Is it the low light that makes the render so noisy?
How did you set up your lights, Wega. Small light sources (including small glossy areas because of the reflections) likely produce noise. I’m very astonished that 1500 samples took so long on a GPU. What GPU is that, if I may ask? 1500 samples aren’t that much under certain conditions.
There is a plane with emission above the loader, and then I got the light coming up from the edge of the floor all the way around the edge. Then I god the small control panel-thingy with 2 colored emitters and one acting as light. Thats all. 765K faces.
I’m rendering on a GTX480, which I’ve been quite impressed by up until now.
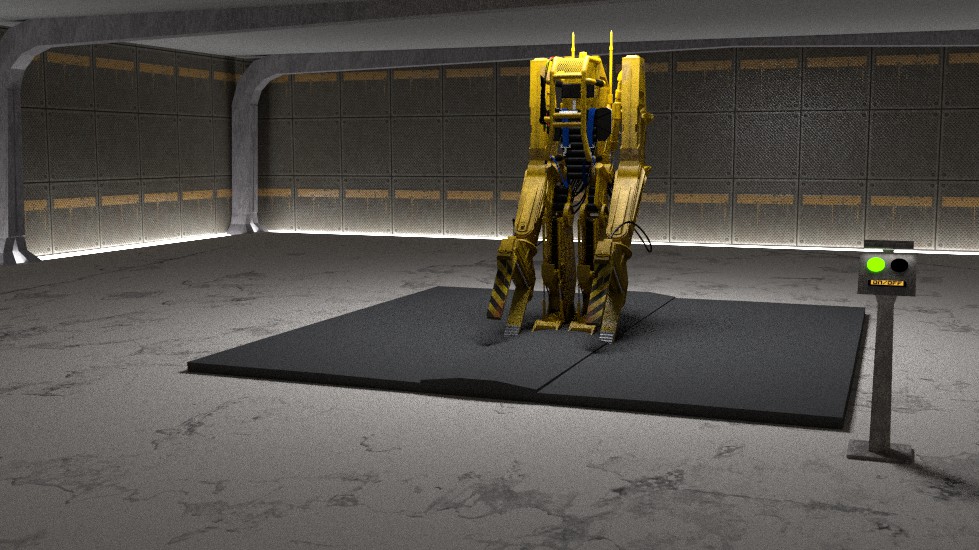
Here I cranked up the lights and did a 500 sample render, so to answer my own question: Yes the low light also affects noise levels…
Maybe you can try this option for getting rid of noise using the render passes and bilateral blur on the different passes that have the noise. If you need help figuring out the settings, I could walk you through it. For a scene that is more like 500 or more samples, I would turn down the value of the blur. To see what kind of noise you are getting, you can attach a viewer to each of the passes one at a time after having rendered at a lower sample range (like 100) and that way get the hang of where to have the blur work and how much.
This is mainly for the idea of doing an animation, but in a still for beauty reasons you might want to use as many samples as possible, and also use some camera dof to cause focus to go where you want it.
Or bring that beast into an outdoor scene… use an HDRI and you probably will be able to animate it the way you want.
I was thinking about what harleynut97 suggested, and it dawned on me that once you have all your background modeled, you could make a panorama of just the background and use it in your world as an hdri, and just use the floor and the power loader in your animation. If you wanted to, you coul even make a simpler version of your floor and render an orthographic image to use as a texture for that new floor, reducing poly count there. I would leave the power loader and the hatches, etc alone to work with in the animation.
kind of like using a matte painting to carry the extra weight so that you can just worry about the render of the power loader and extra objects.
Finally I’ve got an update for you guys. I’ve been busy with work and family visits lately, so I havent been working much with Blender.
Craig and harleynyt: Very good suggestions, that I might try for a later project. But I want to finish this one soon, motivation is starting to drop as I’ve been working on this for quite some time now. I’ve learned so much though, and this thread is forever bookmarked so I can go back a and read all the great info again and again.
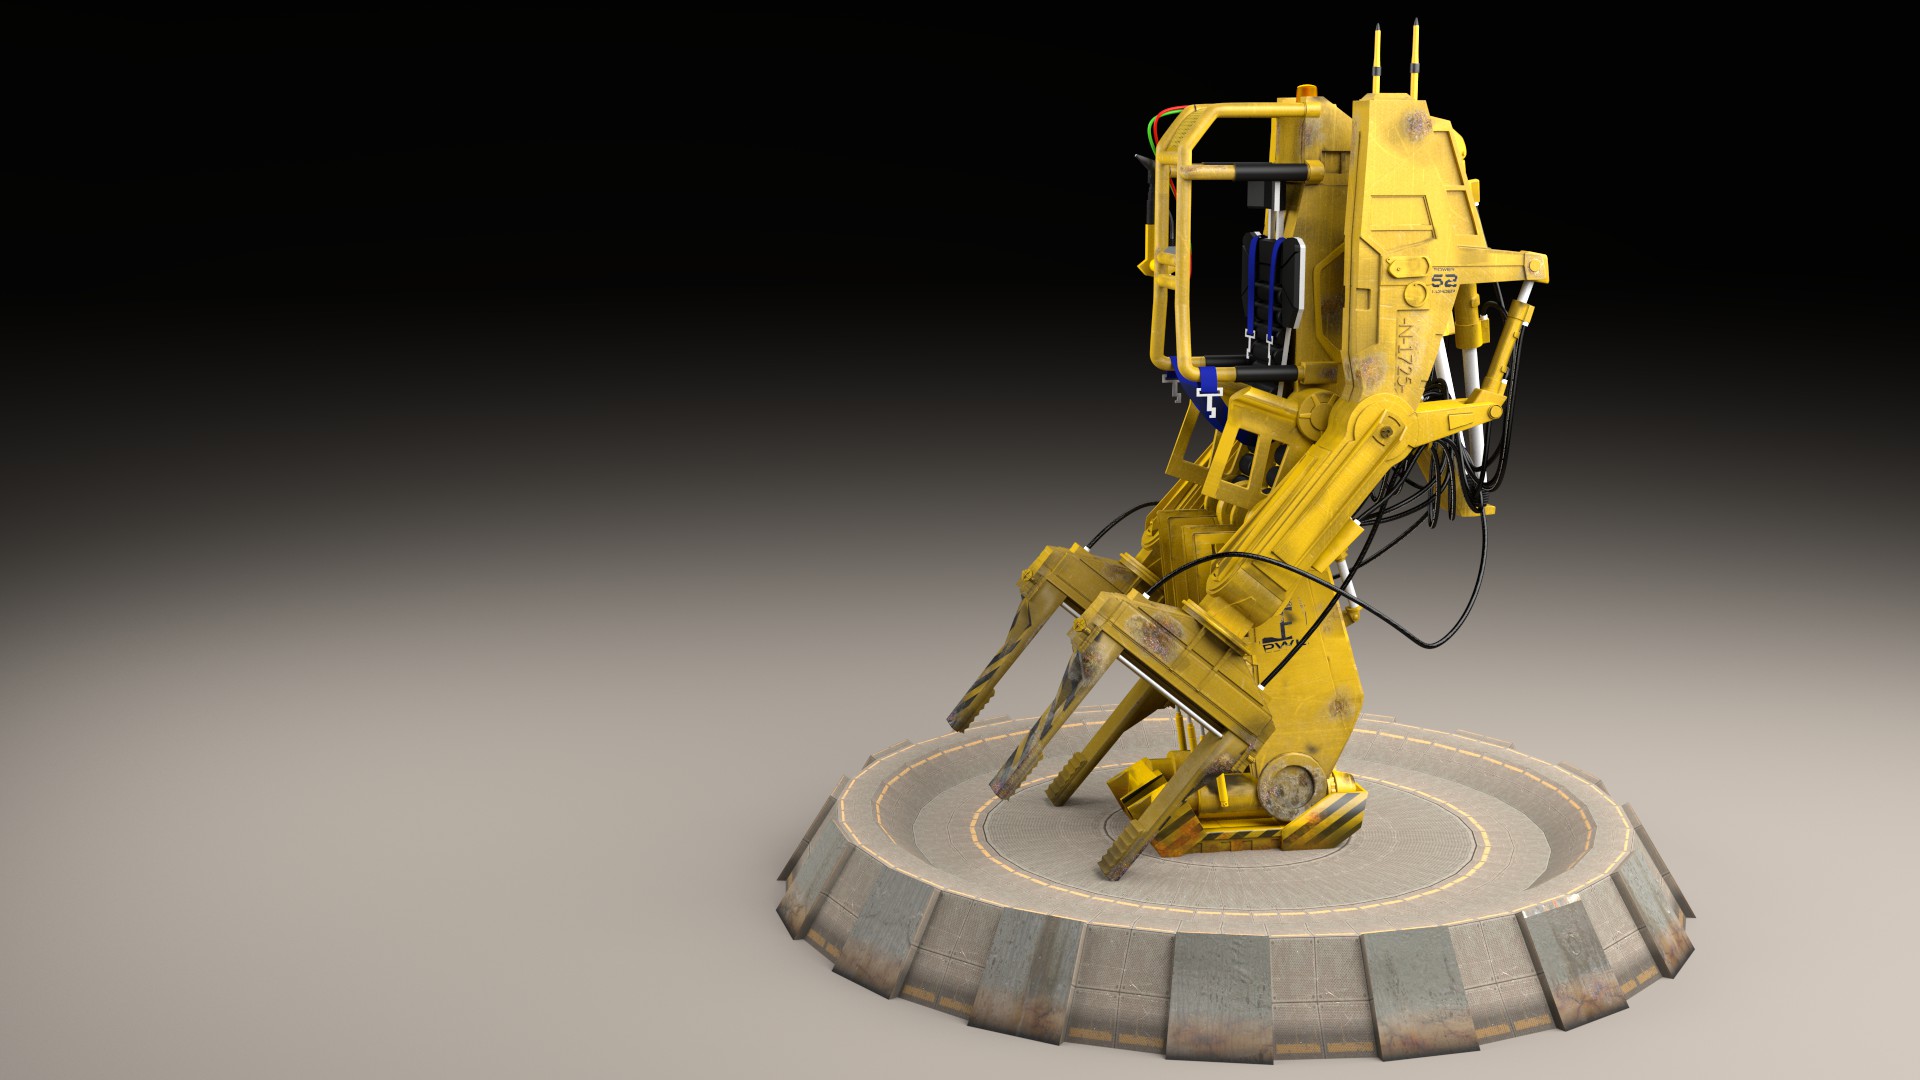
So for now I’ve just made this quick platform for it to stand on, but I’m very open to suggestion how to make it better. (I just noticed the UV error on the platform, so thats going to be worked on)
I’ve started to finalize some of the materials and finished added dirt and rust (I think). A lot of mats still need work, and the seat looks totally unused compared to the rest of the Loader. Any tips on making wrinkles on the leather? 
Things I know that I need to work on:
- Seat material.
- Leather.
- The blank metal material for all the hydraulic cylinder.
- The belt buckle
- Make the red and green hose dirty/used
But can you guys think of anything else that needs work? I would also like to hear suggestions for nice camera angles, and hear comments about the light in the render.
1000 samples / 1 hour render / CPU i2500k
Any tips on making wrinkles on the leather
You may want to just model some wrinkles using proportional editing. Probably to get fine wrinkles you would need to do some sculpting.
I’m a little confused… is this going to now be your background? I kind of hope not ![]() Because of the realism you have put into this, I really think it needs a scene of some kind (even just an image background with a ground shadow. I would definitely suggest giving it something in the scene to define it’s scale. Right now it almost appears toy like.
Because of the realism you have put into this, I really think it needs a scene of some kind (even just an image background with a ground shadow. I would definitely suggest giving it something in the scene to define it’s scale. Right now it almost appears toy like.
I’ll hold off on camera angle suggestions until I have a better idea of where your going from a background standpoint.
the metal parts can be made with a mix shader combining two glossy nodes of different color and value factored with a layer weight node , and combine that with a diffuse node via another mix shader factored by a layer weight node possibly blended with an image texture to get the dirt. Or instead you can use vertex dirt to get the values for the diffuse.
Leather, I would use a tileable image mapped to generated and set to box mapping affecting factor on two diffuse colors and also the bump.
use a tileable image mapped to generated and set to box mapping
Craig, can you explain in a way a designer (not a coder) would understand, in what situations would I use this box mapping. I often use generated (tileable) image textures… But what type of objects that use image textures would this box mapping make sense to try out… does it have more to do with the geometry of the object you are texturing?
Maybe this will explain better - I use an image into each of the two diffuse shaders, and I set them to Box mapping and blend them so that they wrap nicely when set to generated coordinate.
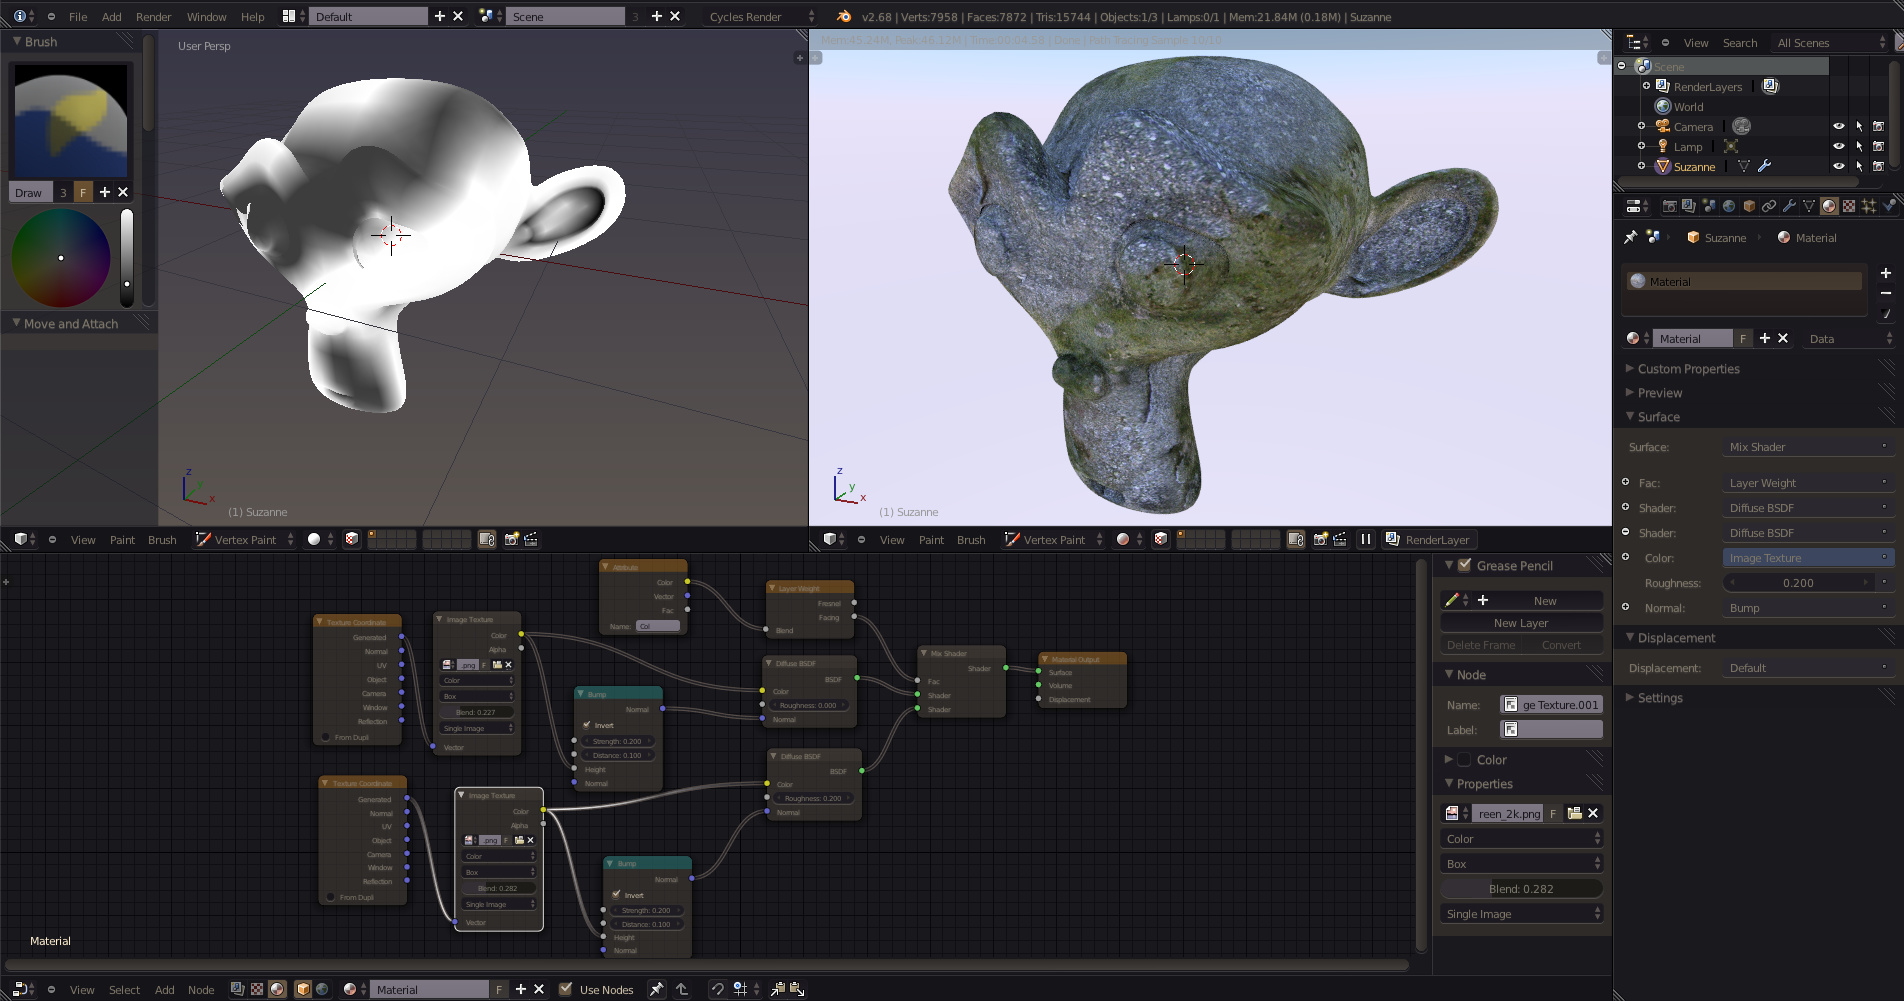
I mix them based on the stencil of the Attribute node which names Col as the attribute I want to use, the default name of the vertex paint layer. You can see in the window that I have painted definite dark and light areas to show what happens there as far as stencil works. The layer weight node is what I normally use in case I am not using a stencil.
blend
Maybe my post I made will help - but as far as why - the box mapping allows a more organic flow that is less likely to show seams on not so tileable textures, they used this on Tears of Steel a lot according to the stuff I read and watched of Ni:Zu’s youtube videos
Thanks Craig, I’m going to study it a bit more and take a look at your blend file… thanks for taking the time to post
You are very welcome - hope it helps some
edit: and for those reading later, know that you can leave it in vertex paint mode and paint in the window and see the cycles render preview update almost in realtime 
@Harleynut97: Yeah I was thinking about just leaving the background as it is, but you are right it’s a bit boring. And now that you guys have mentioned the HDRi background, I think I’ll give that a try later.
Do you have any suggestions to what I could put in the scene to scale the Loader? I cant really think of much besides a human, and I’m not gonna try that
Craig:
I followed your tips regarding the metal and leather, and ended up with a good result for the leather. Havent tried to add wrinkles via sculpting yet, but I might give a try. I did add some discreet wear on the leather though.
The seams arent done good enough for close-ups like this, but otherwise I’m happy about it.
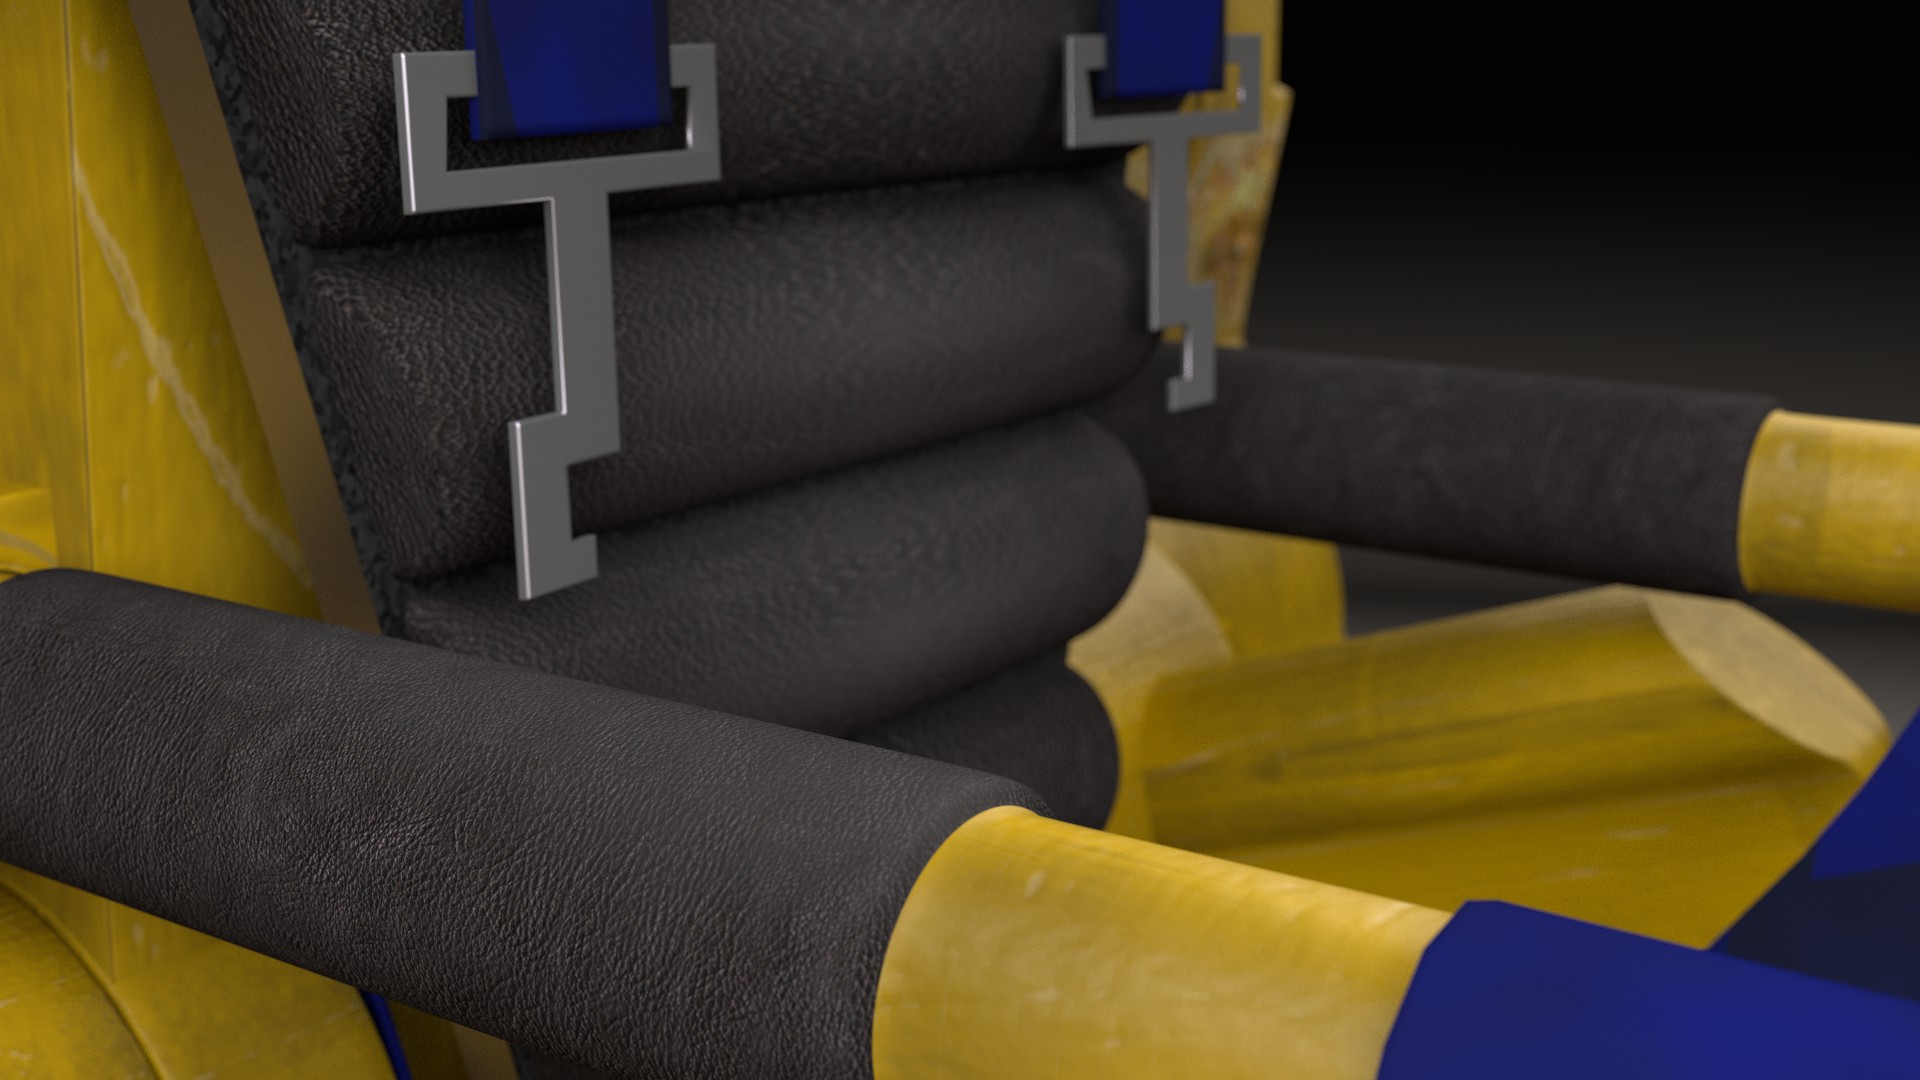
I’ve added some small details to the rest of the loader as well, and I think the detail level is almost at what I want it to be…
I think I got it - add a fire extinguisher, that is an object that has a standard size and should read well for scale.
The leather looks good, seems like your using DOF in this shot. Just curious, how did you approach modeling the seams. I was just doing a chair last night, but kind of gave up on the idea of seams, but curious on how people model them.
A fire extinquisher would be a good thing to help with scale. I do hope you can find some kind of appropriate image for the scene. It’s too nice of a model, to just shove it in a studio type render.