Precision Drawing Tools (PDT) Add-on for 2.8x

After an enormous amount of work over four and a half months and an enormous amount of help on DevTalk from so many people, we now have an Add-on that ships with Blender 2.82.

Precision Drawing Tools Explained

Artists tend to start with a primitive 3D form, then cut/extend/modify/etc. it into a final mesh. Dimensional accuracy is not necessarily the end goal of the artist.

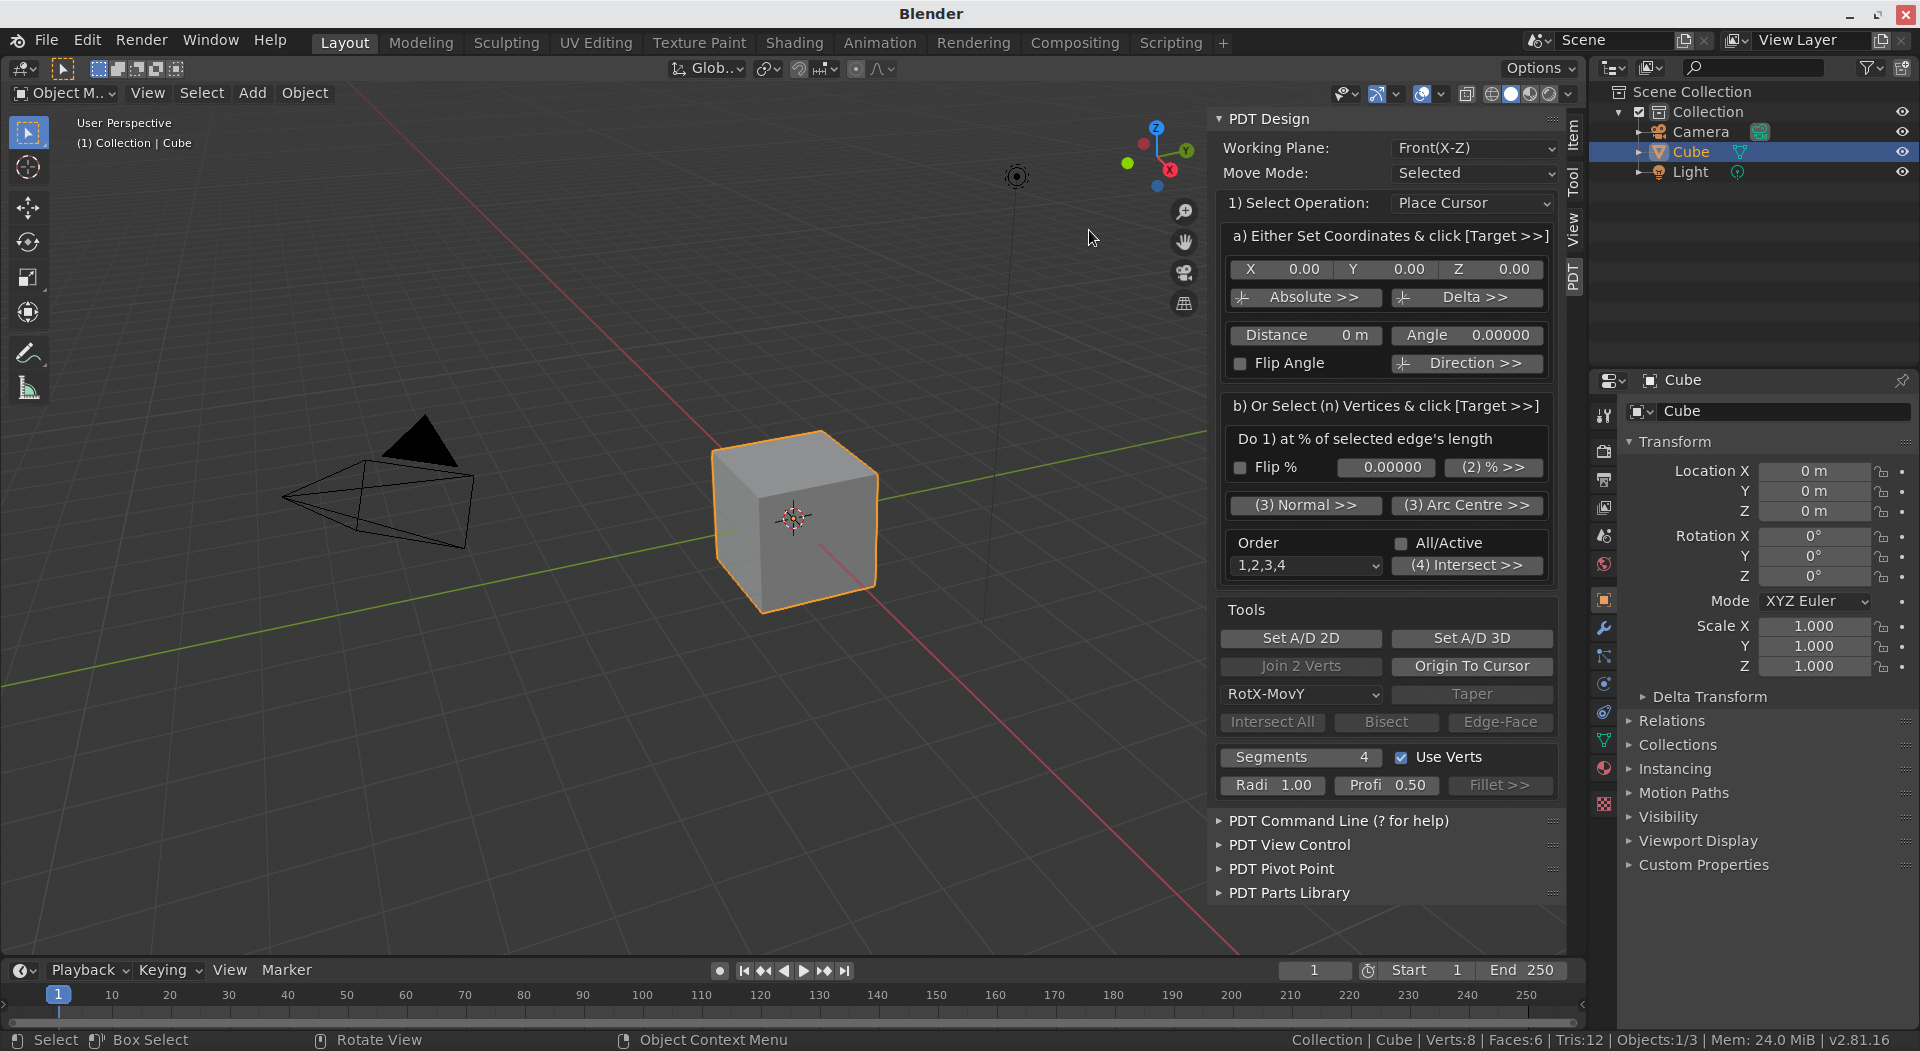
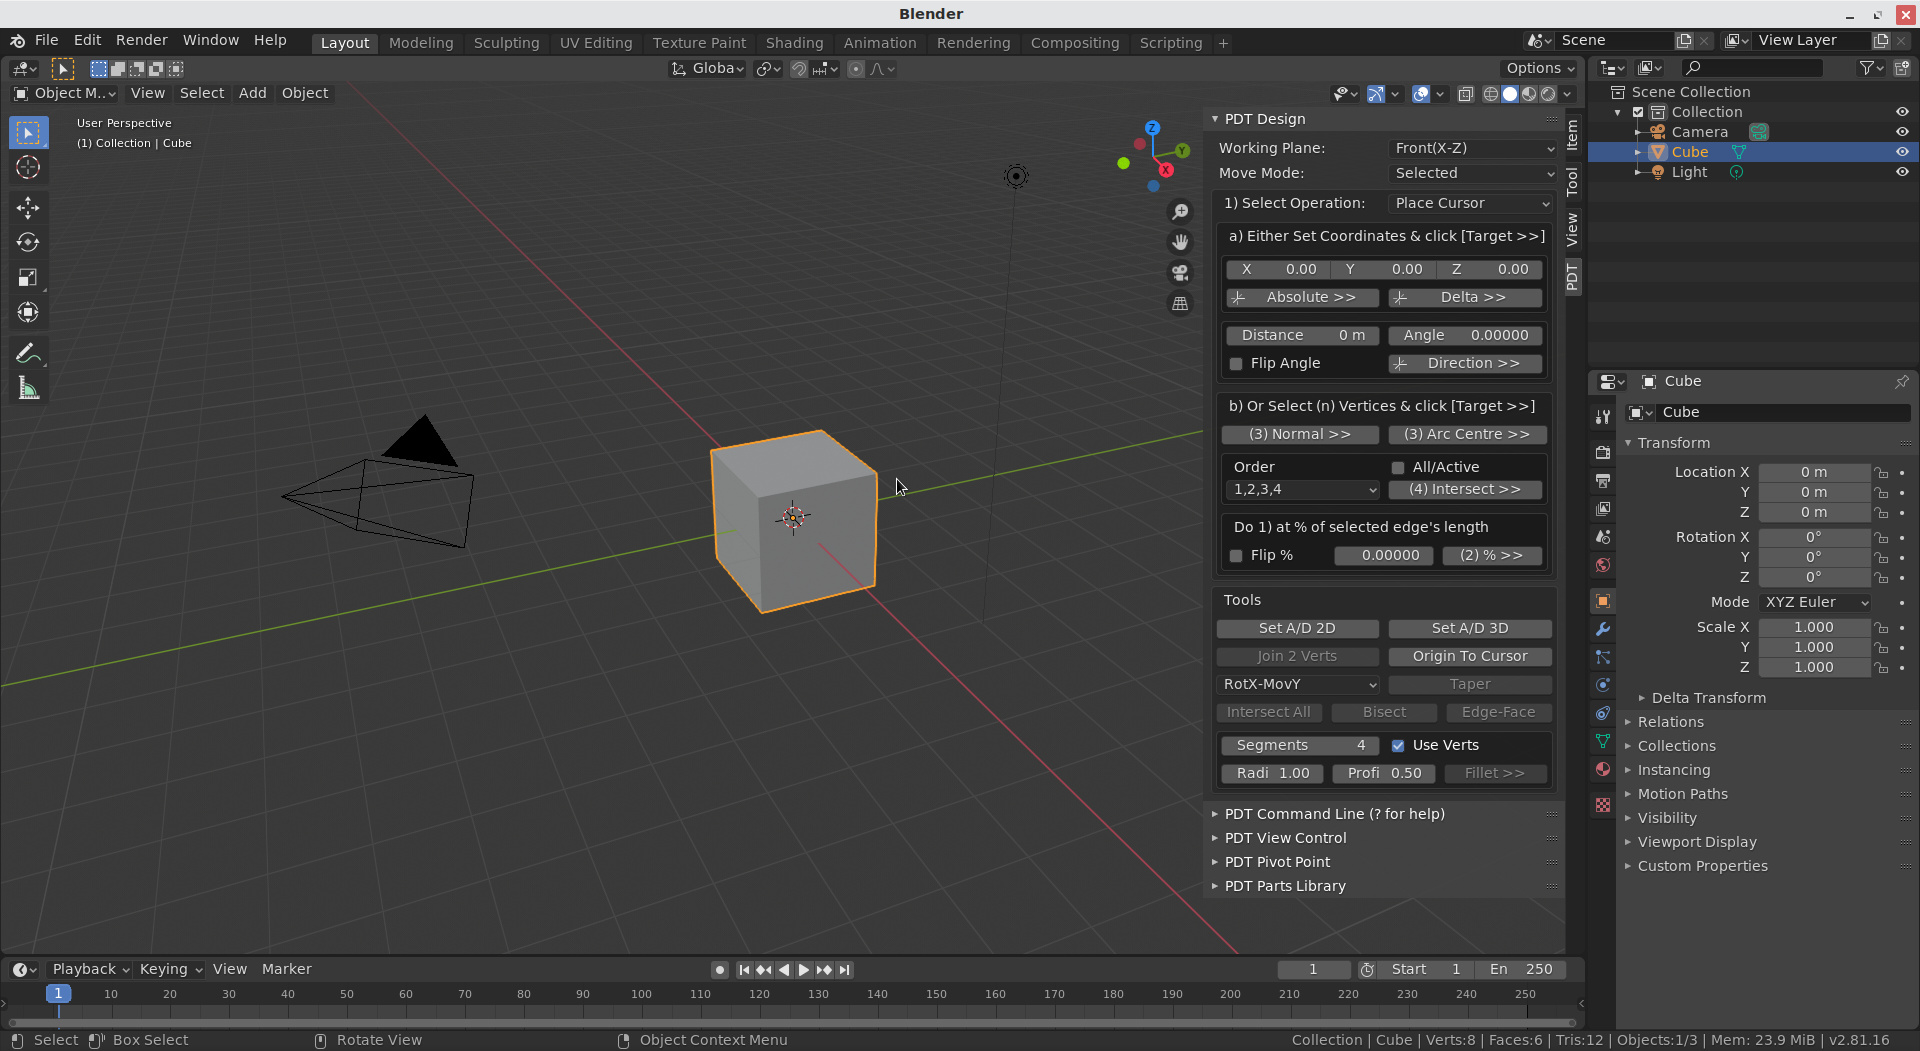
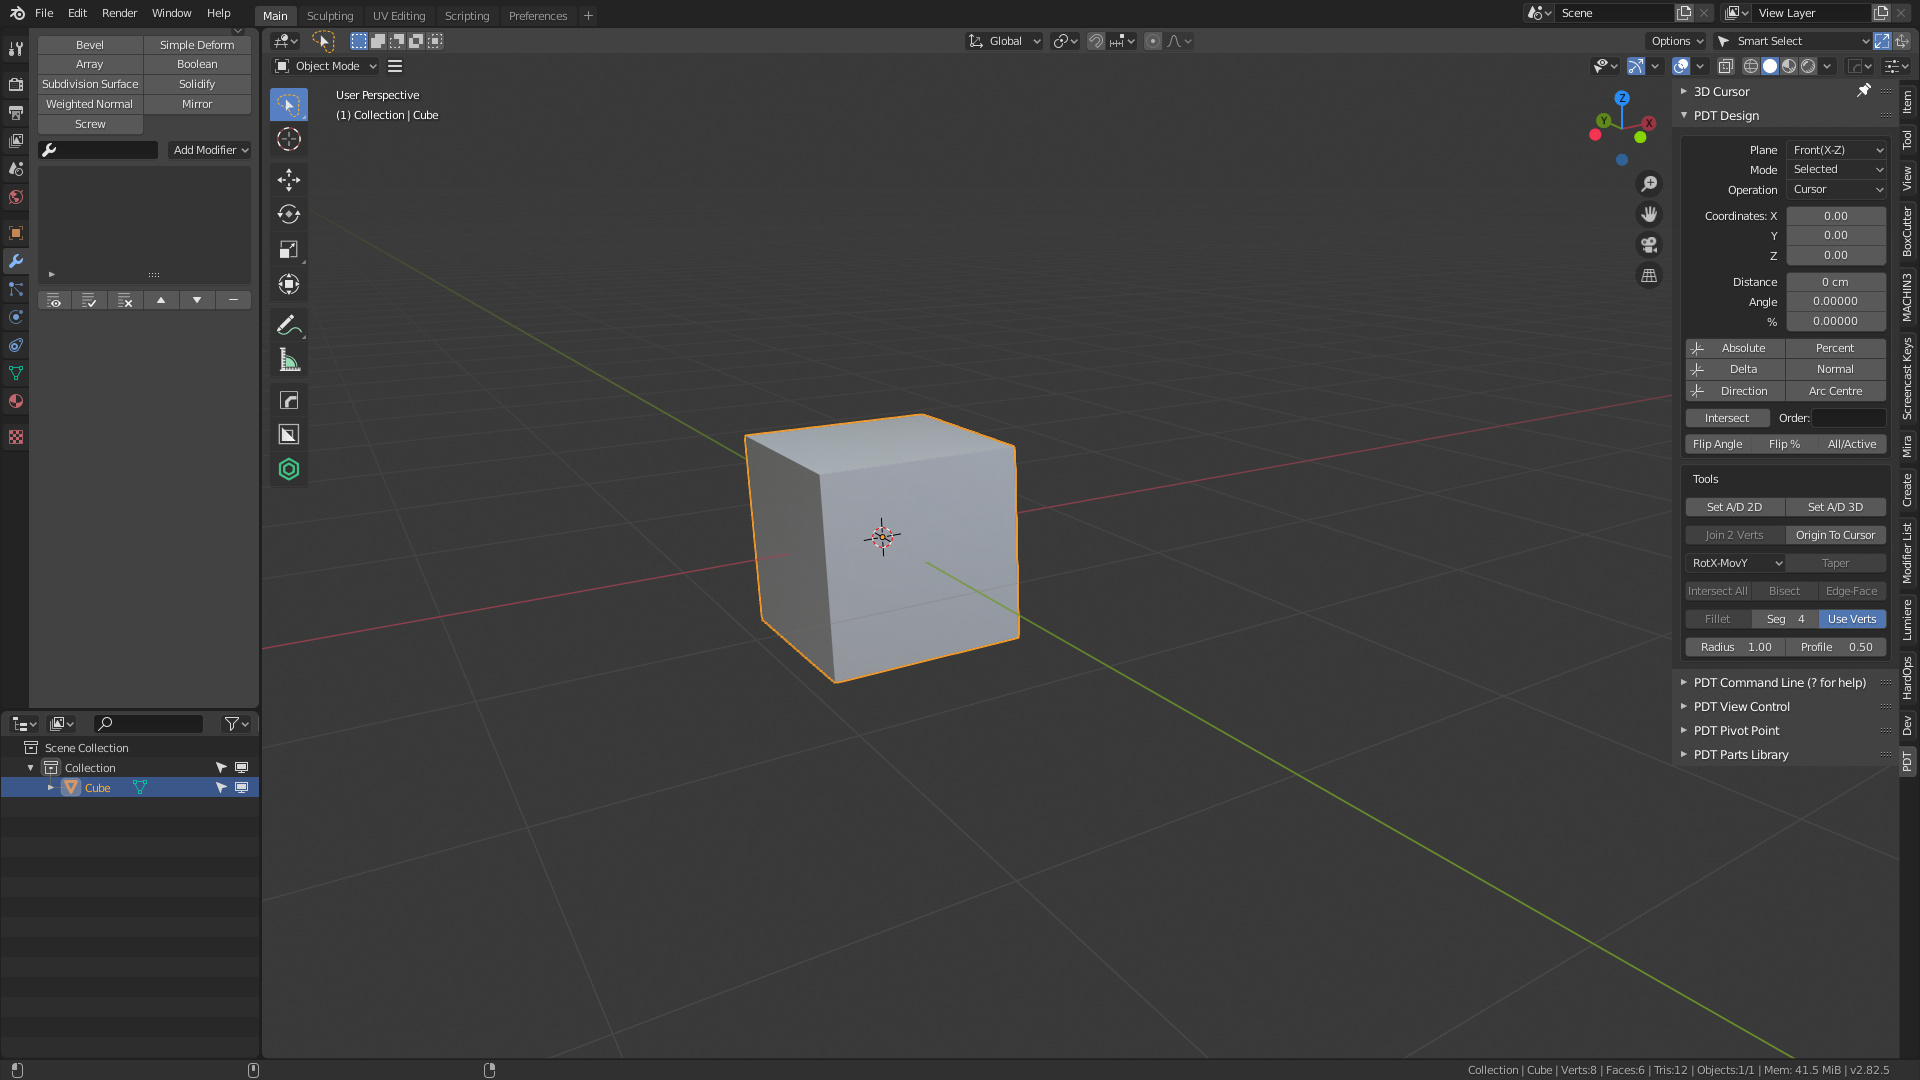
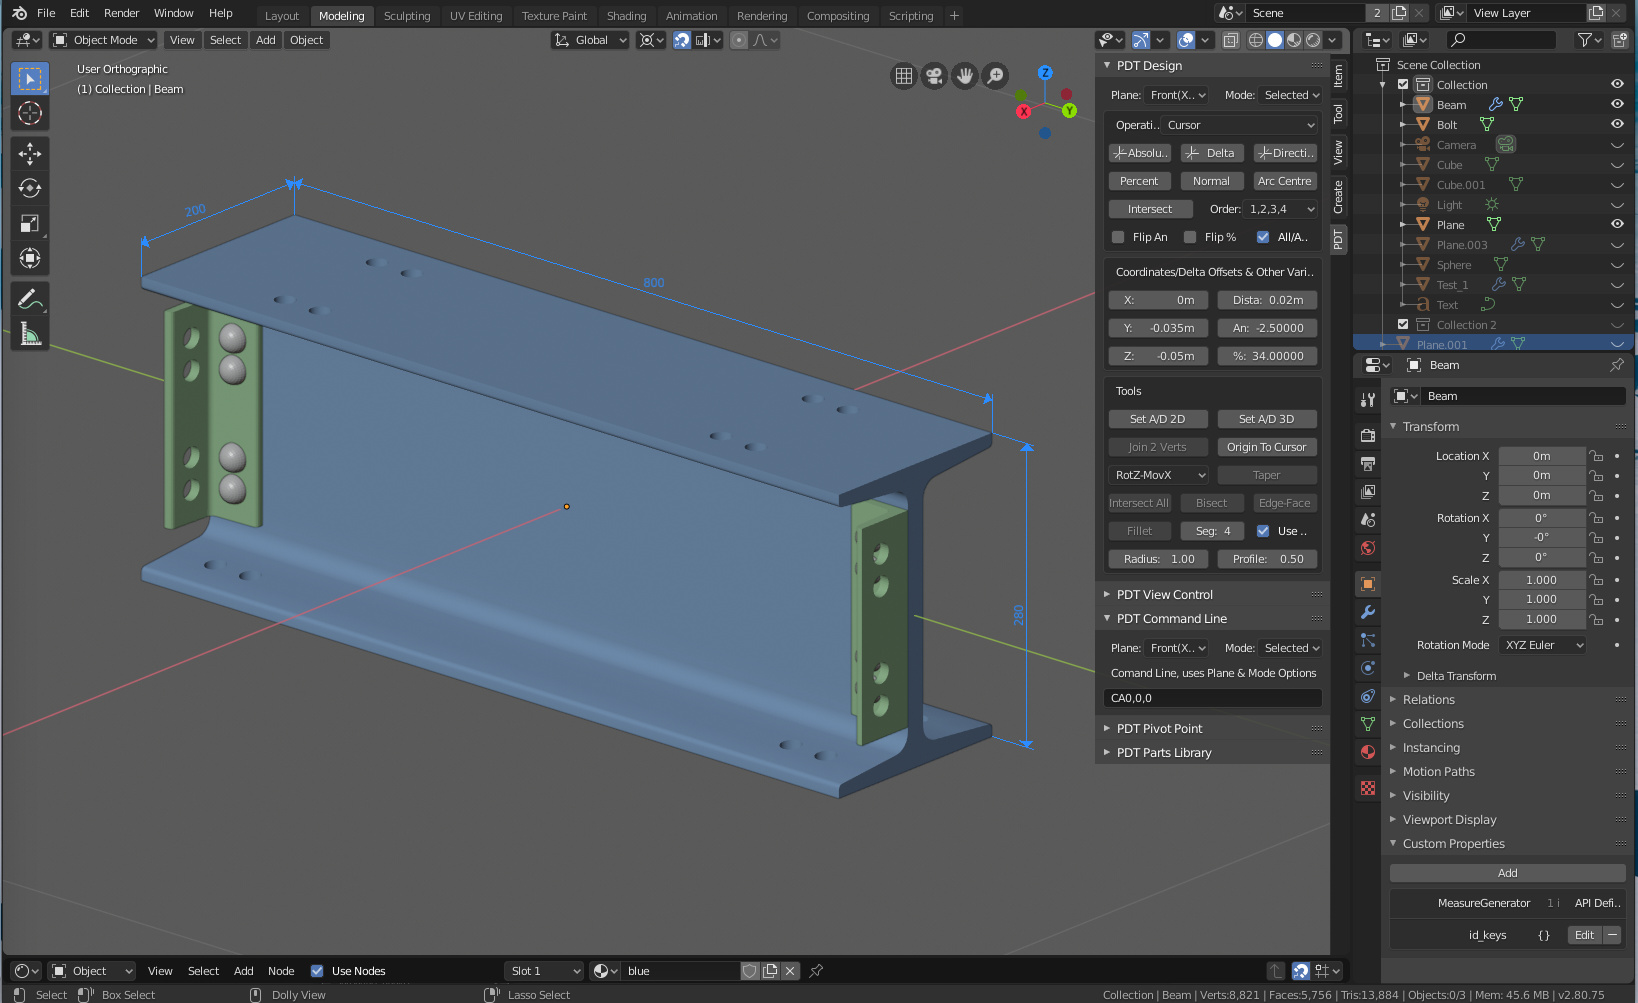
PDT is aimed primarily at CAD Designers of all genres, to help them draw and model in a precise fashion.

CAD models are typically created by starting with a 2D plane (2D mesh) where faces (polygons) and sections are carefully drawn to dimensions and then extruded to produce a 3D model (3D mesh) with the least possible complexity and number of faces.

So unlike Artists, polygons and circular arcs are a Designer’s best friend, Sub-Division Modifiers are not!

Status

We know we still have work to do on documentation (See the Wiki linked below), especially looking at CAD workflow and modelling techniques, this is being addressed, but will take some time. We are also aware that there will be tuning and refinements to the system, these will be addressed as they arise.

We have plans to expand PDT to produce dimensioned Technical Drawings in the next major release, this is some time away still and requires more development from our initial experimental systems.

PDT Links

PDT GitHub Latest Release.
PDT GitHub Master Branch.
PDT GitHub Wiki.
PDT Issues.
PDT Blender Repository.
PDT DevTalk Thread
PDT On My Website.

Please try to use the Issues link above for any issues relating to PDT, that way they can be addressed in a professional, ordered & traceable manner. We will, of course, respond to comments here, but please use the Issues link for suggestions, enhancements, “Papercuts”, etc.

Credit Where Credit Is Due

I should like to thank all those who have helped me, including Blender Developers and @Meta-Androcto, who guided the process into the Blender repository and all those involved in the review process.

With an especial thanks to @ermo for all his help and guidance in getting the code up to expected standards, he is now a very important part of the team.

Cheers, Clock. :grin:

38 Likes

This looks amazing!! I have been waiting for this in blender for a long time. Thanks so much for this addon. I have no idea how to start using this addon so I will be busy reading the documentation. Thanks again

2 Likes

Hi, I am intrigued by what this addon could do. I have taken a lot of tutorials for other cad software, but i am still very much a beginner at using cad. All I can do so far with this addon is look at all the buttons. Could you do a little video on what this addon actually does? I went over some of the documentation but I need help. I read something about how this addon would be obvious to someone that uses cad. So maybe this is out of my league.

That’s on the Todo list, but will take some time, Xmas and family is getting in the way of playing with Blender all day… I will do what I can, but the Add-on was built to address the problems in modelling precisely with Blender, so there are a lot of tools for placing the cursor exactly where you want it, etc. etc. Leave the videos with us, we are going tot do them soon. The problem I have is that I am not good at making them!

Cheers, Clock.

Thank you for taking the time. I look forward to the videos when you manage to do them. Enjoy your family and the Xmas season.

1 Like

@clockmender:

Perhaps we need to re-order the input boxes and buttons in the PDT Design UI so they follow a top-down flow so as to make it less opague?

1./ Select operation (dropdown) – e.g. ‘place cursor’ (yes, change the names to be as intuitive as possible)

2./ Set the coordinate type (dropdown).
Input boxes not relevant to the selected coordinate type are greyed out while the active ones are highlighted via a poll method.

3./ Execute button
Press this button once you’re happy with your selections. For uniform relative and directional operations, you can just keep pressing the Execute button.

4./ Bonus: Add the most recently executed operation as a string in PDT Command to help illustrate how to use the command line.

Thoughts?

2 Likes

Just spent a good while fiddling with the PDT Design UI panel. It’s very much “programmer art” and squarely focused on functionality.

Constructive criticism very welcome.

Can you spot the difference? Which do you like more?

And how about this one?

2 Likes

I think I like the third example the best. Though I am not sure why. I flipped between them and that was the one my aging eyes seemed to feel most comfortable viewing.

2 Likes

here we go :grin:

2 Likes

There are a few tweaks you can make that’ll speed up your UI adjustments.

When you want to put three buttons in a row, instead of doing this:

row = box.row()
col = row.column()
col.operator("pdt.absolute", icon="EMPTY_AXIS", text=PDT_LAB_ABS)
col = row.column()
col.operator("pdt.delta", icon="EMPTY_AXIS", text=PDT_LAB_DEL)
col = row.column()
col.operator("pdt.distance", icon="EMPTY_AXIS", text=PDT_LAB_DIR)

Do this:

row = box.row()
row.operator("pdt.absolute", icon="EMPTY_AXIS", text=PDT_LAB_ABS)
row.operator("pdt.delta", icon="EMPTY_AXIS", text=PDT_LAB_DEL)
row.operator("pdt.distance", icon="EMPTY_AXIS", text=PDT_LAB_DIR)

The final layout is the same, and it makes iterating through new designs a lot easier.

I’d love to see PDT end up with a layout that works with narrower panels. This is a bit of a hack job design-wise, but it’s a serviceable example of how it could work:

4 Likes

When you say it’s a bit of a hack job, what do you mean? Is it not possible to make the UI look like in your picture?

FWIW, I like how tidy it looks. What I’m aiming for is an obvious downwards flow which is more or less self-explanatory for new users in the sense that they’ll at least have an idea on how to get started…

1 Like

It’s all python, so there’s nothing unachievable in the screenshot; I just didn’t do any fit-and-finish adjustments. The row with the intersect operator has a misaligned column, the line spacing below the “Tools” label is off, some of the groupings aren’t optimal, I didn’t add breakpoints, etc.

1 Like

@ThatAsherGuy nice work and sensibility.

2 Likes

I don’t agree with this as you might want to re-use the last command line input in addition to the functions. A “re-execute last function” might be nice so it can also be repeated, but where will you show what the last one was?

I agree, but it then makes it deeper in height, this needs some thought too. Some of my earlier layouts where narrower, but I was not sure that they got too deep… We should also look at the other panels as making this one narrower will cause us to also make the others narrower.

Thanks to everyone who has offered suggestions here, despite my comments above will largely stay out of this as I think others will be more objective than me! Keep the ideas coming! Perhaps you all could publish here any layout suggestions as python code?

Cheers, Clock.

1 Like

Breakpoints can help you manage the panel height. Here’s a function I’ve used in a few panels that returns the current panel width in UI units and a set of column counts for grid_flow() sub-layouts:

def get_breakpoints(region, thresholds, values):
    area = bpy.context.area
    resolution = bpy.context.preferences.system.ui_scale

    for reg in area.regions:
        if reg.type == region:
            region_width_raw = reg.width

    region_width = region_width_raw - 40
    region_width_int = round(region_width / (20 * resolution))

    count = [0, 1]
    count[0] = 0
    count[1] = region_width_int

    for i, val in enumerate(thresholds):
        if region_width_int >= thresholds[i]:
            count[0] = values[i]

    return count

You can use the same principles to setup dicts of auto-shortening labels, or to create toggles for layout.prop()'s expand property. It isn’t Bootstrap, but it gets the job done.

3 Likes

Thank You!

2 Likes

I’m anxious to see some tutorials.

For now there are written ones in the Examples pages on the Wiki and my Website linked above. I think it will be after Xmas before we have Videos and only once I can make them without getting tongue tied, then swearing!

Cheers, Clock.

2 Likes

OK I see it now. Thanks

Latest PDT Design UI abomination from the lab:

The “Only Active Object (Off: All)” option is turning out to be difficult to group, so for now it’s placed right at the top.

I’ve persuaded @clockmender to update our Software Design Documentation to hopefully help spot whether we can improve the PDT Design workflow somehow.

3 Likes