Project 2020: Half-million dollar concept designed in Blender


This is the first official post of our project code-named “Project 2020”. This is a half million dollar prototype.

Published. Today marks the first official behind the scenes international article on the half million dollar Tauro 2030. Blender Nation asked me to talk about what we have building behind the scenes with the Tauro 2030 prototype and how this all began.

Long story short…I am lead designing and aiding in the build of a half-million-dollar concept and as the sole designer, I will be using only Blender throughout the entire process. From sketch to 3d printing. Why? Because it’s never been done before and because so far, it’s been actually working for us.

Of course, many things will be done by hand, but Blender will be the only design software used on this project on purpose. I am trained in other CAD software (AutoCAD, Inventor, Solidworks, Catia), but something about working in Blender allows me to be fast and much more creative in this type of situation.

This is the first shop picture of the rear axle and differential assembly that arrived last week. The wheels are placed just to give us an idea of the scope of this monster before moving into building the rolling chassis.


Towards the end of 2019, I was approached by 20-year veteran custom fabricator and private car builder Scott Dallaire about building one of my concept designs. After months of conversation and technical planning, we agreed to give it the green light. Scott approached me because my design inspired him to make an impression and create a statement. The sole purpose was to build not a car, but a statement. A testament to dreamers with endless vision and unaffected by constraint. And like I told him, I don’t want to design average cars for the average person. I’m in the business of dreaming up extraordinary movements for extraordinary people. Those that can afford to go beyond the limits of everyday life.

2020 and beyond:

As the parts come in, we are getting an idea of the magnitude of what this project will become. The V12 Mercedes/Pagani engine is being rebuilt on the east coast and will come shortly after. The chassis will begin to take shape from there. My custom and trademark “TR3” light rims will be developed and custom-built from there using a combination of building techniques from fiberglass molding, 3D printing, and traditional welding. We are still in early development, so this is just a taste of what’s to come. Once the car is built, we will have a targeted plan of seeking specialized investors for redevelopment and interested buyers.

This car is only designed to become a wild and drivable showcar to kick start later stages of designs for more practical use. This will be strictly a statement car.

I’ll update this post as the construction develops.


150 Likes

That’s a pretty sick design, and nice renders. Great job!

2 Likes

Thanks Cire!

I featured you on BlenderNation. Stay safe, and have a great week!

1 Like

Thanks Bart. Same to you!

1 Like

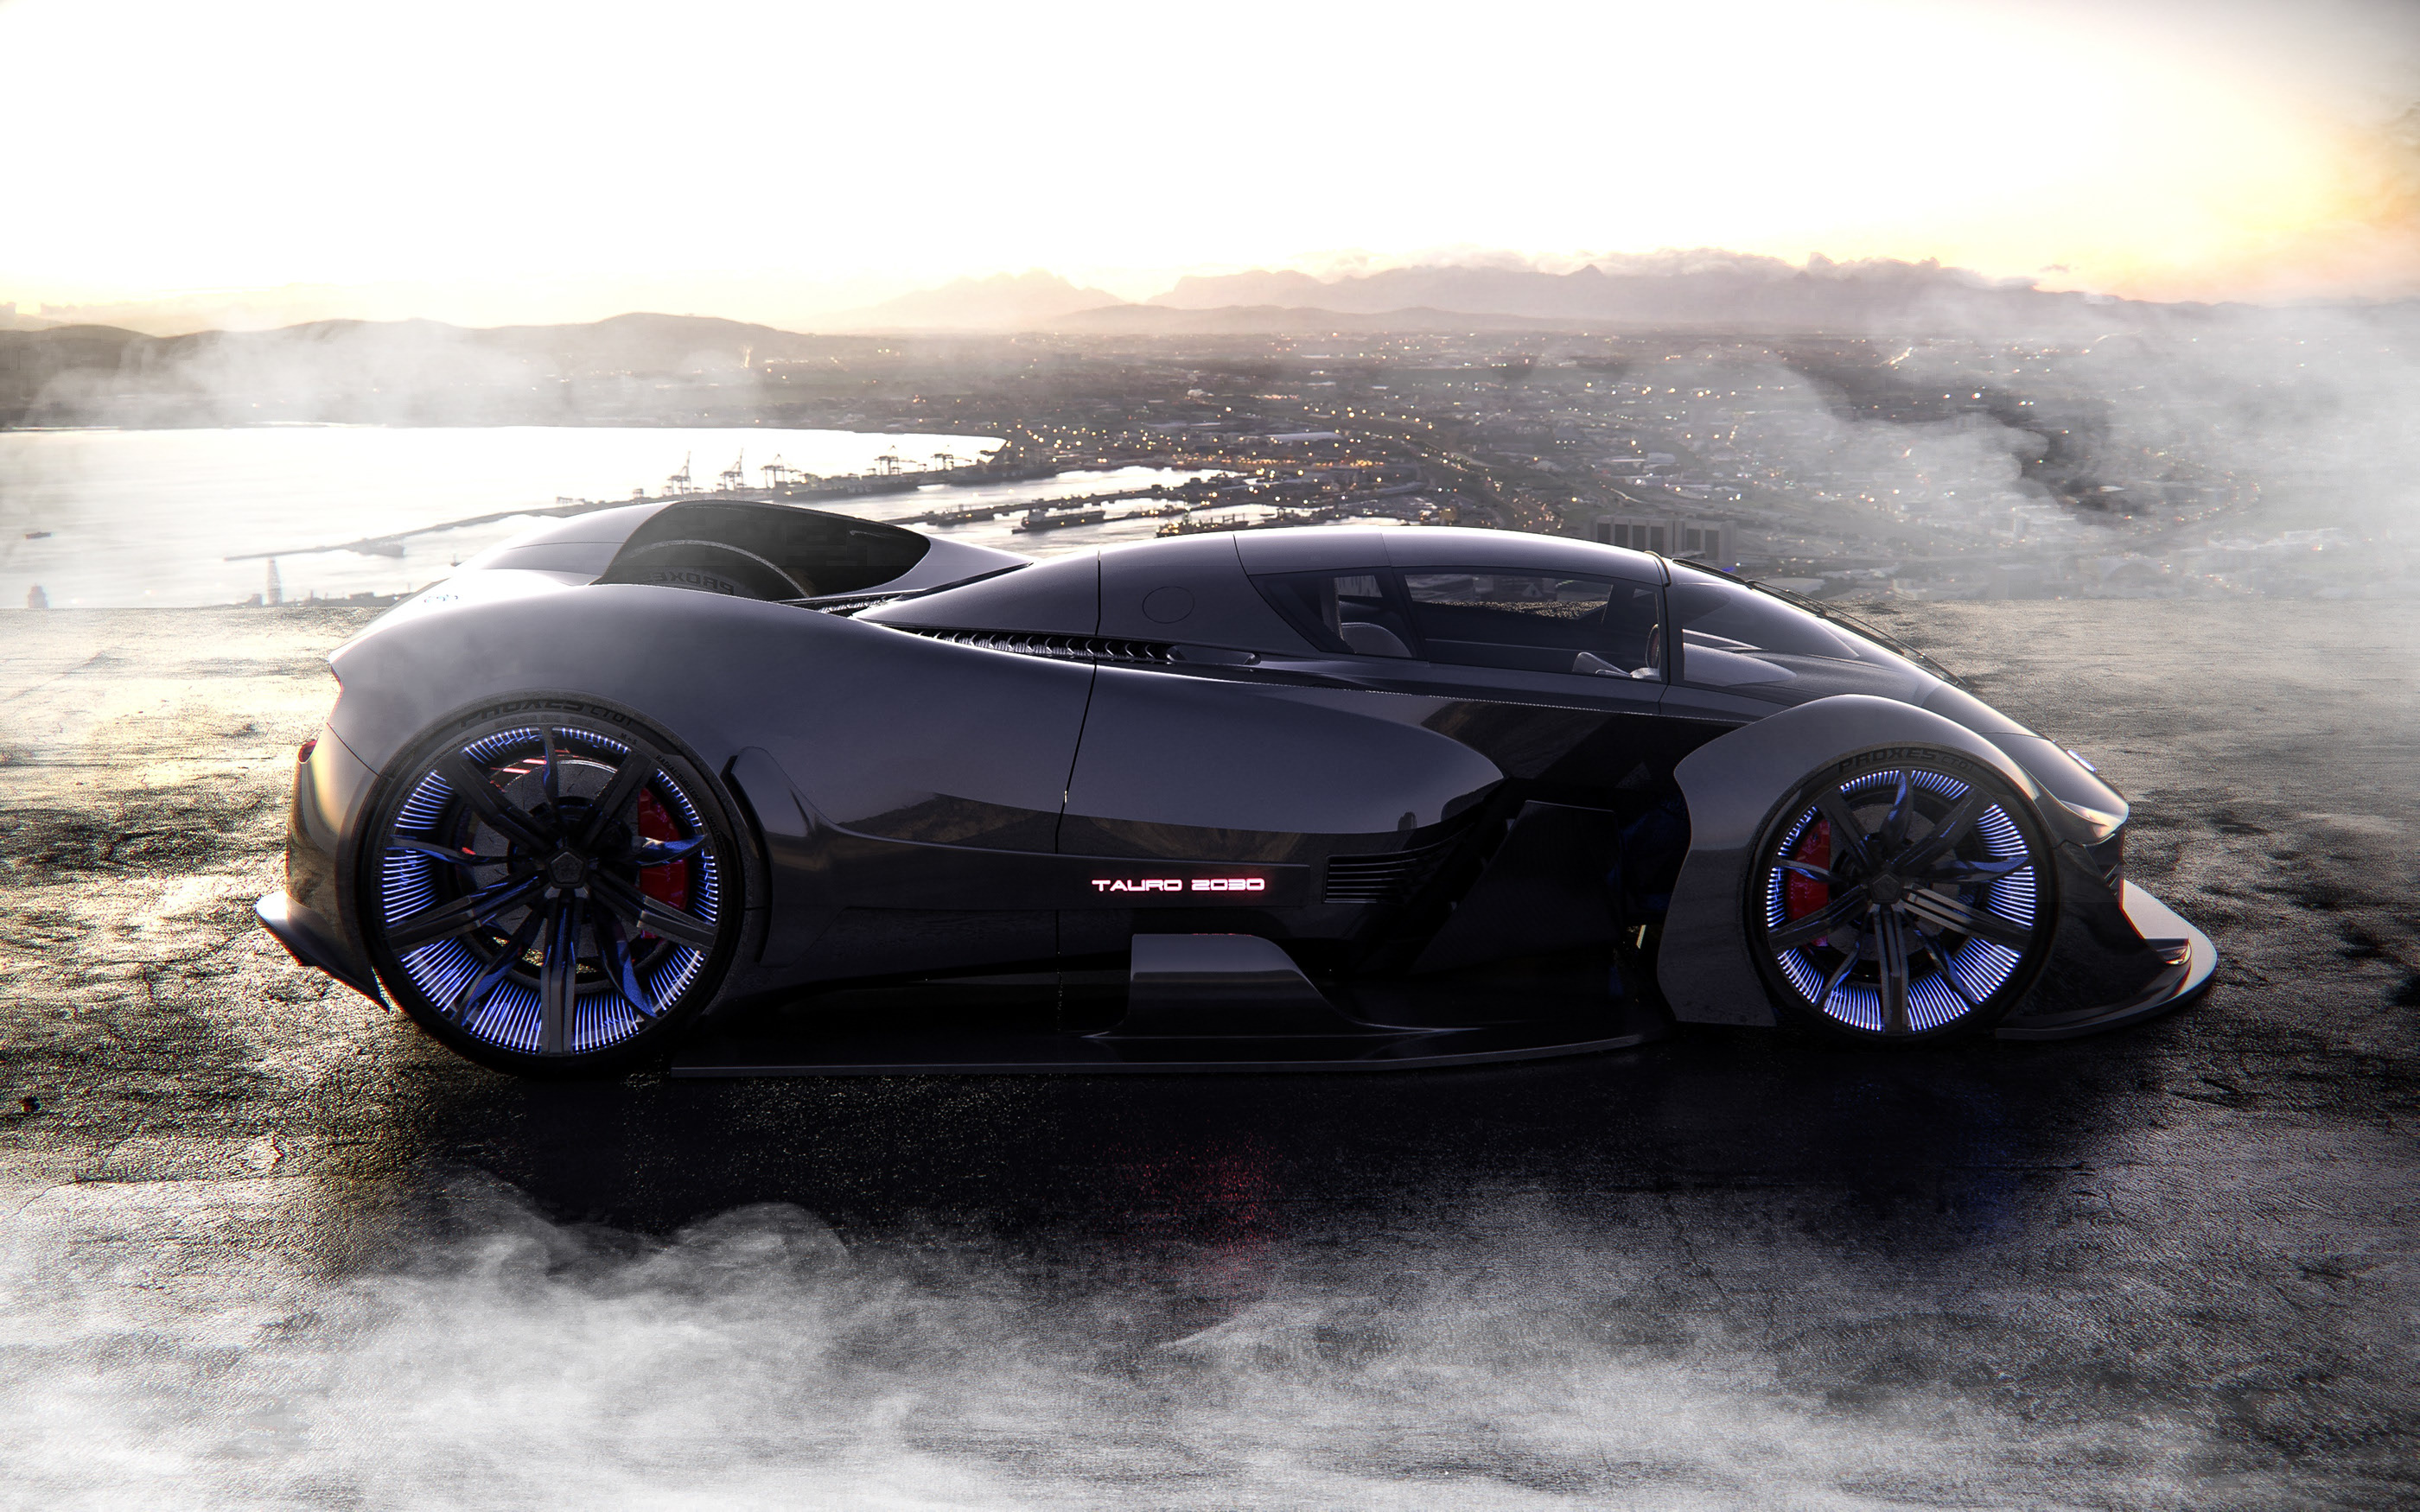
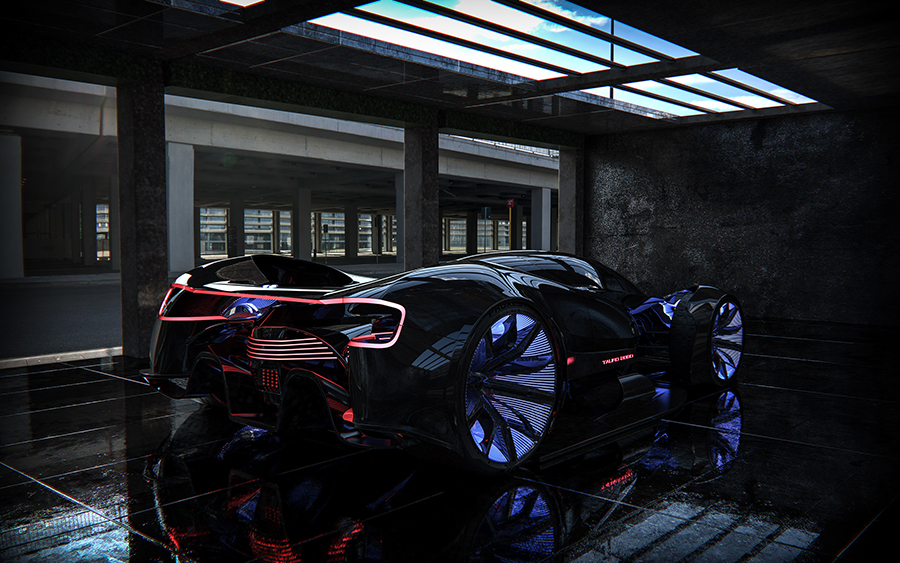
For those that are interested, I will elaborate more about what it has been like to develop and fabricate a car such as this one using Blender.

Introduction

First things first, this is a very unorthodox way to take a one-off car into production. Usually, this is a task reserved for industrial design software such as Catia, Autodesk Alias, Solidworks…programs like that. The challenge here was to produce a car with complex surfacing that can translate from a digital medium, into a 3D printer and finally into fabrication. There are no rules that say it can’t be done, but the challenges are many.

In this project, this is the 3D printer we bought to test out smaller parts, prototype other sections, and get a visual look at some components of the car.

3D printing an entire car is not really the way to go because costs are prohibitive and run into many problems. Instead, the production of the car will be a combination of techniques from 3D printing, hand fabrication, fiberglass body molding, welding, and modifying existing mechanical assemblies. Even if you 3d print most of the car, the better way would be to do it in pieces. It’s easier to recover if only a small part of the assembly fails printing rather than one big chunk.

I go a little bit into how I start my design process in this Blender article here with another project of mine: https://www.blendernation.com/2019/10/07/behind-the-scenes-nasa-rovo/

I apply the same surface shaping principles on this project as I do in the article.


Basically the biggest challenge is correctly conveying information to the shop that will build the car, creating parts that will realistically transfer to real life, keeping a realistic sense of measurement within blender, being ready to produce any level of 3D parts and fixes and giving all the possible support that is needed to accomplish this task. For example, my life on these projects has entailed things like:

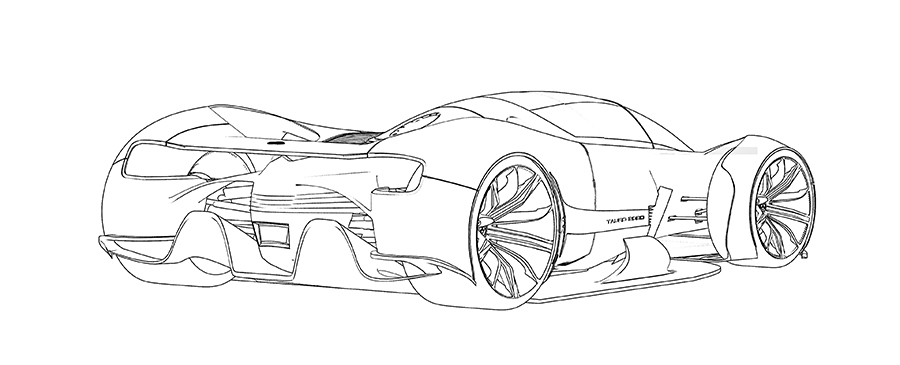
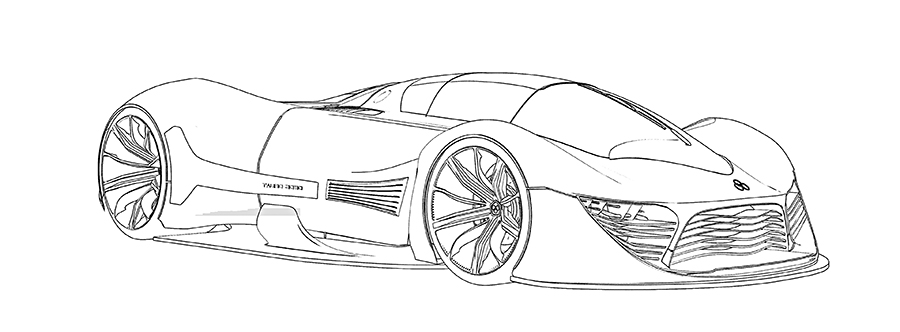
1)Producing concept sketches against some basic real-life measurements to ensure certain parts can be bought and fit (like standard wheel rim sizes). Sketches help convey ideas at a basic level, quickly and cheaply.
2)Extensive talks about machine shop terminology and what can and can’t be done
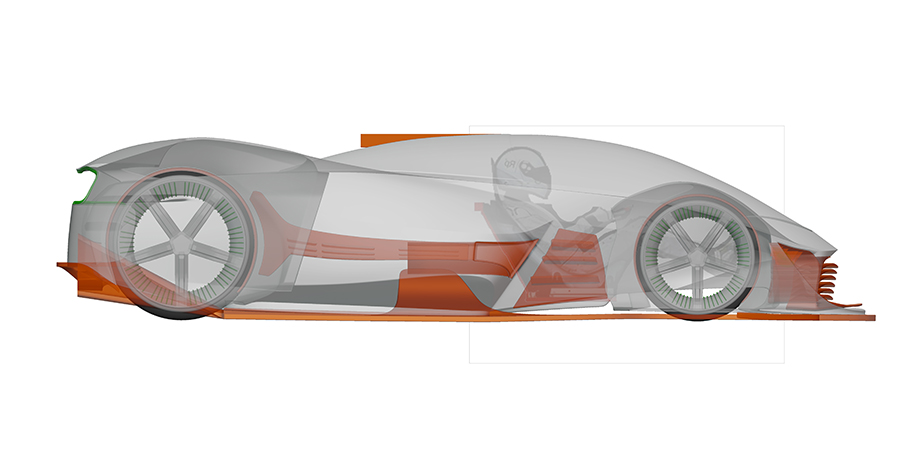
3)How to design to fit a human driver of roughly 6ft in height
4) Road legality and final intent (this will be a show car mostly)
5)Reworking a certain way of doing a process. For example, originally we were focusing on a giant “foam plug” to shape the body of the car, but now that process will be done building a sectional airframe of the car, and then laying out the skin to mold on top of that.

3D Printing

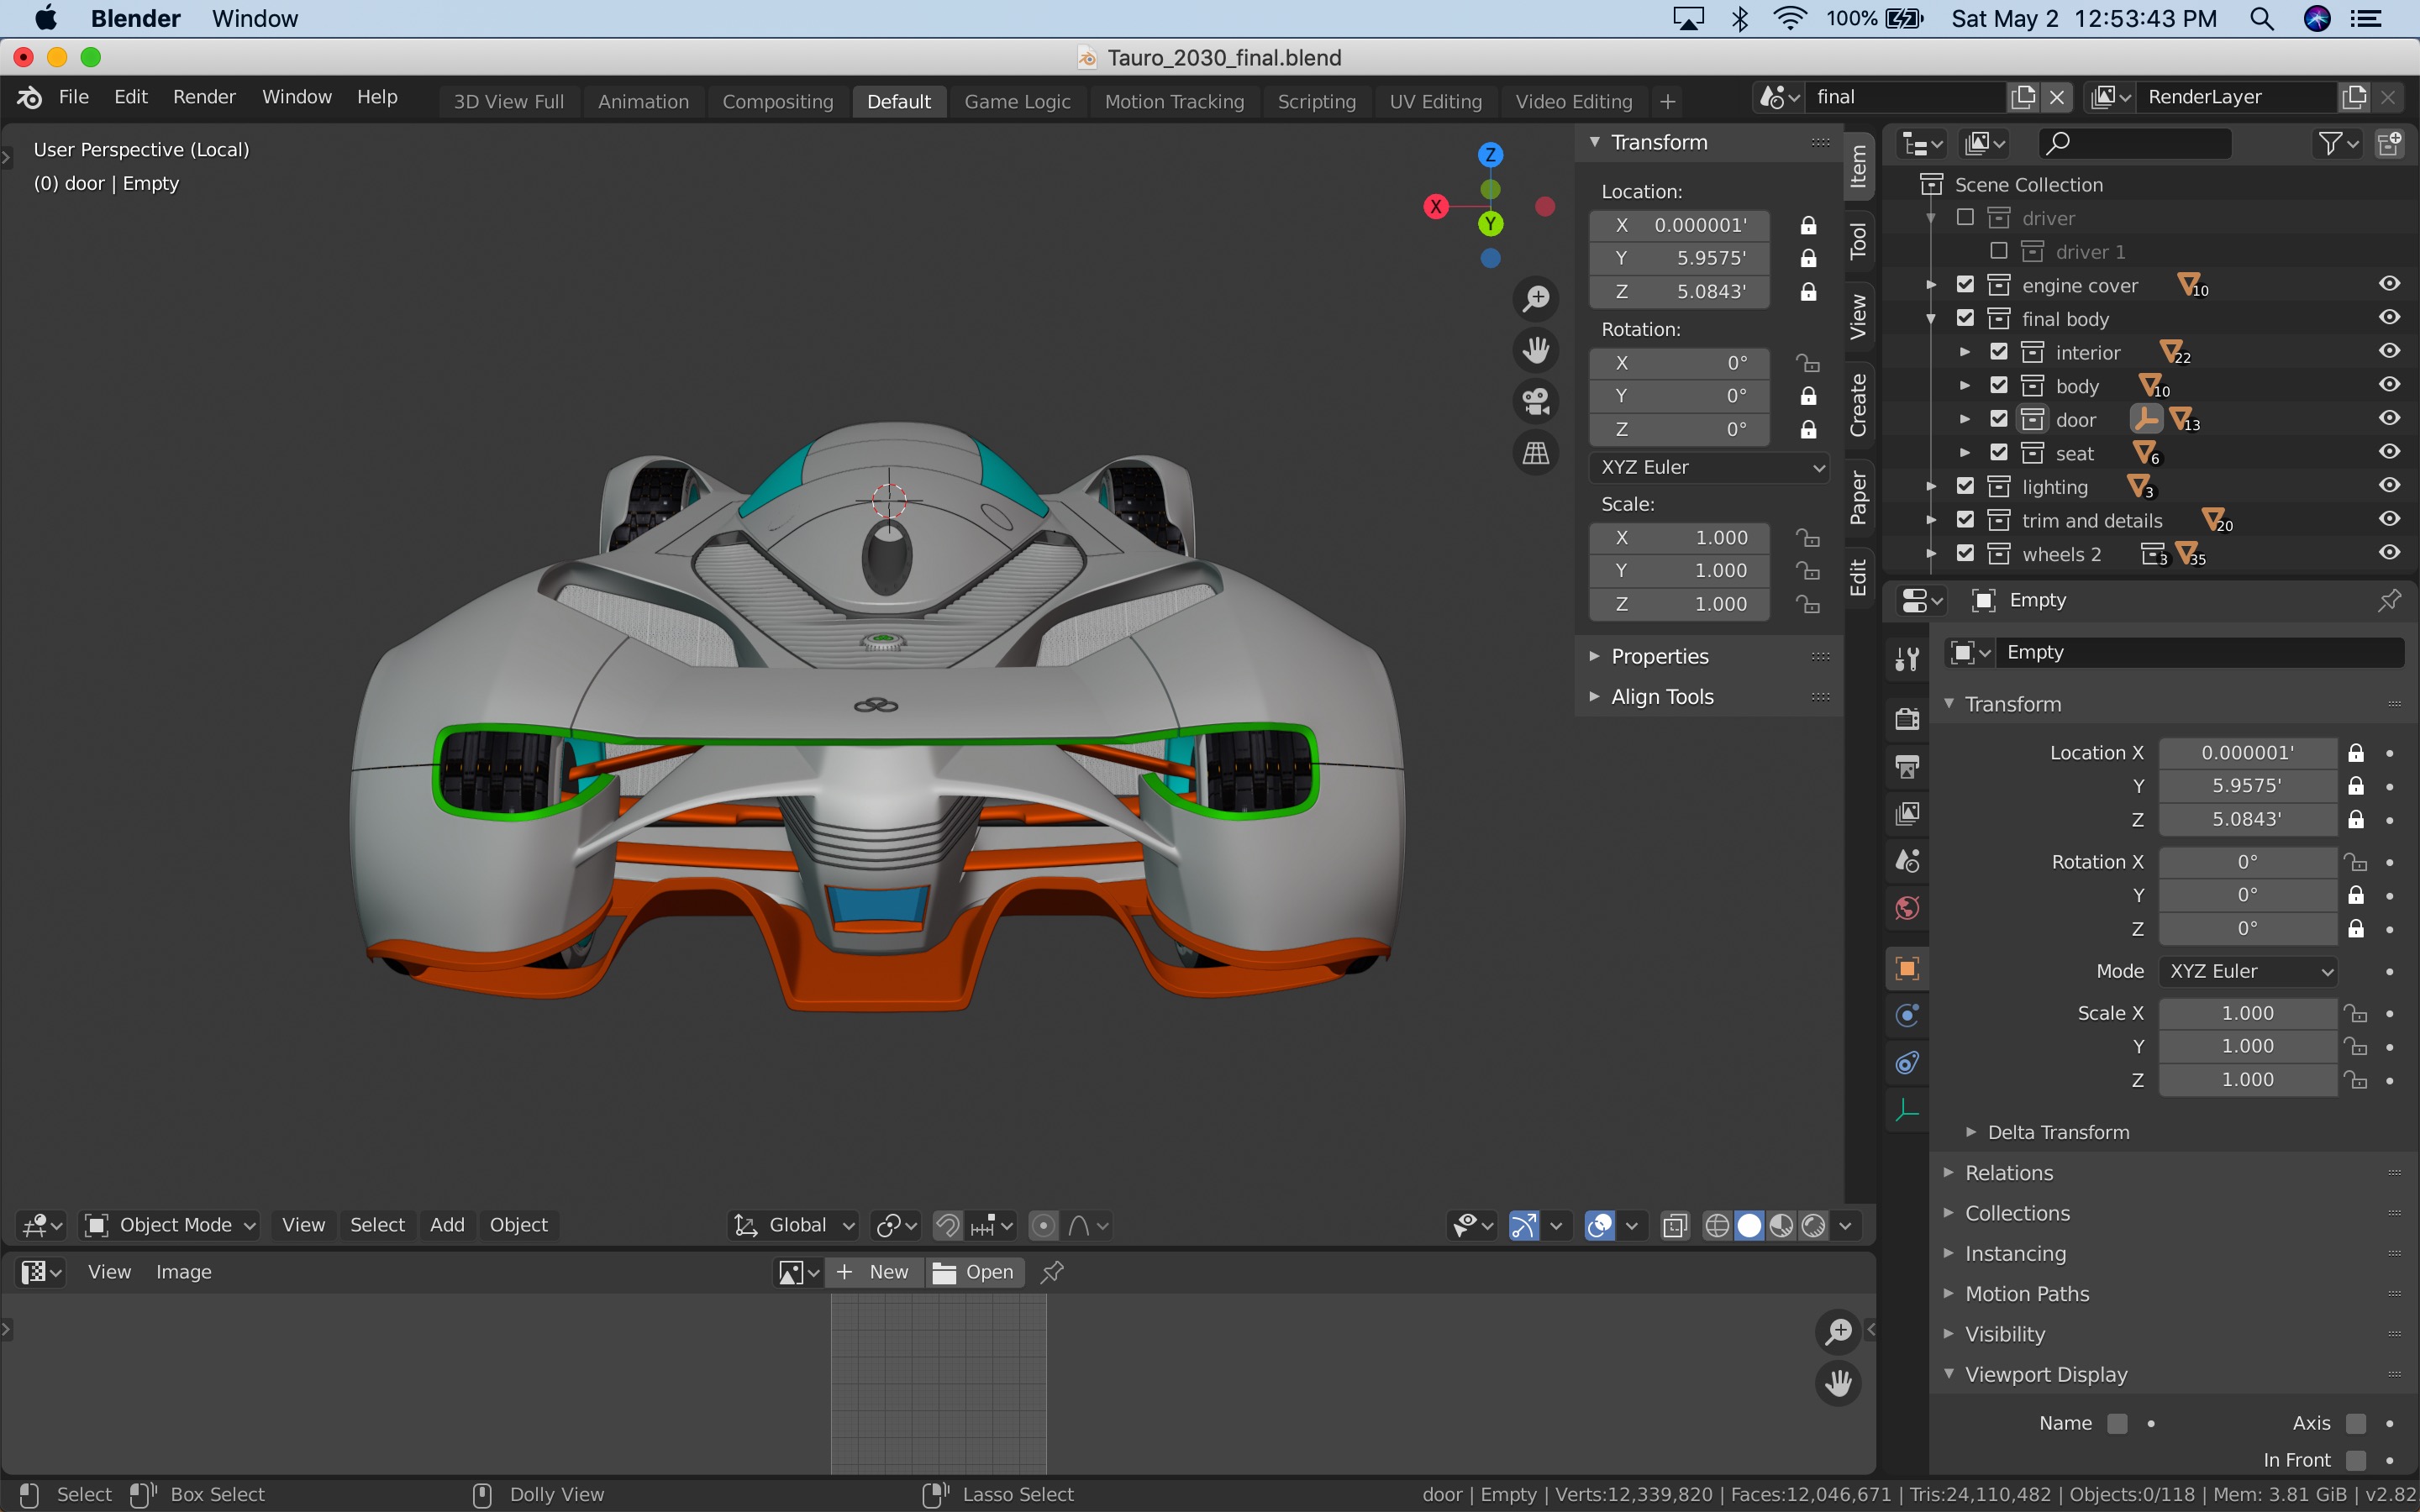
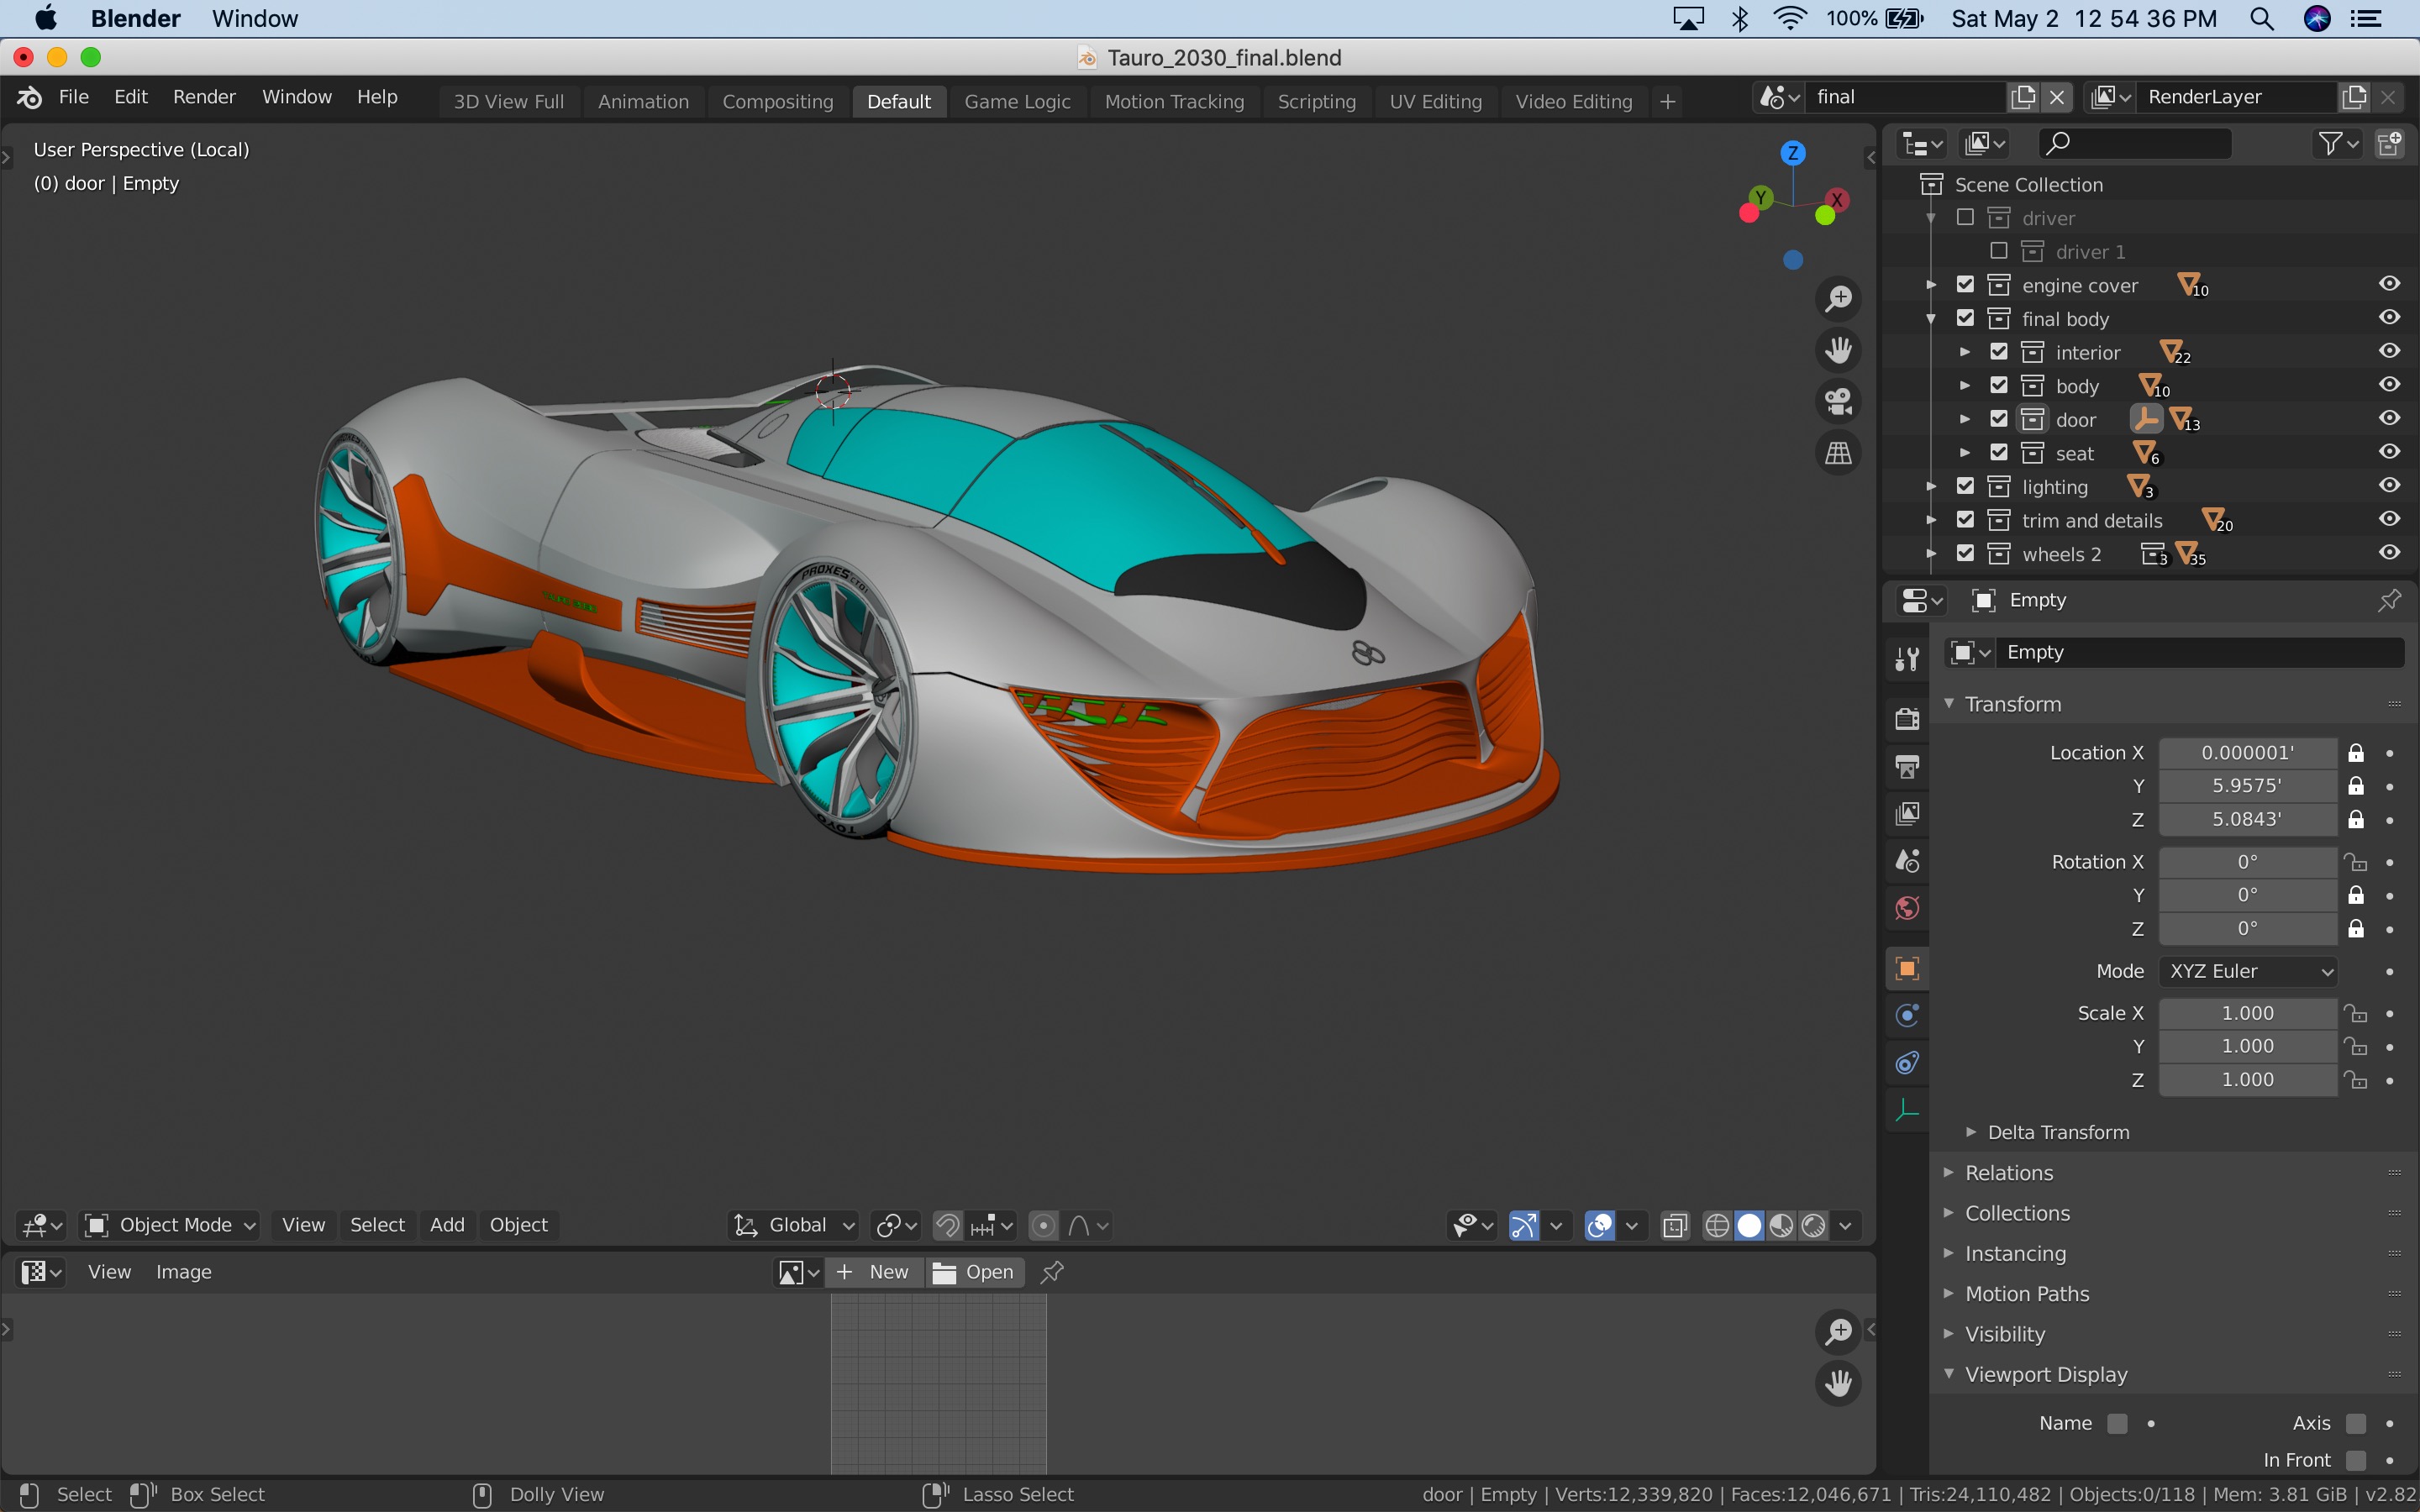
As we know, Blender is capable of producing files for 3D printing applications. Although I mostly see it for small scale objects, I’ve learned this can apply to large scale objects. As long as you adhere to the same standard principles of designing objects for 3D printing. In software like Solidworks, this process is much more controlled by the software, and is easier to produce cleaner results.

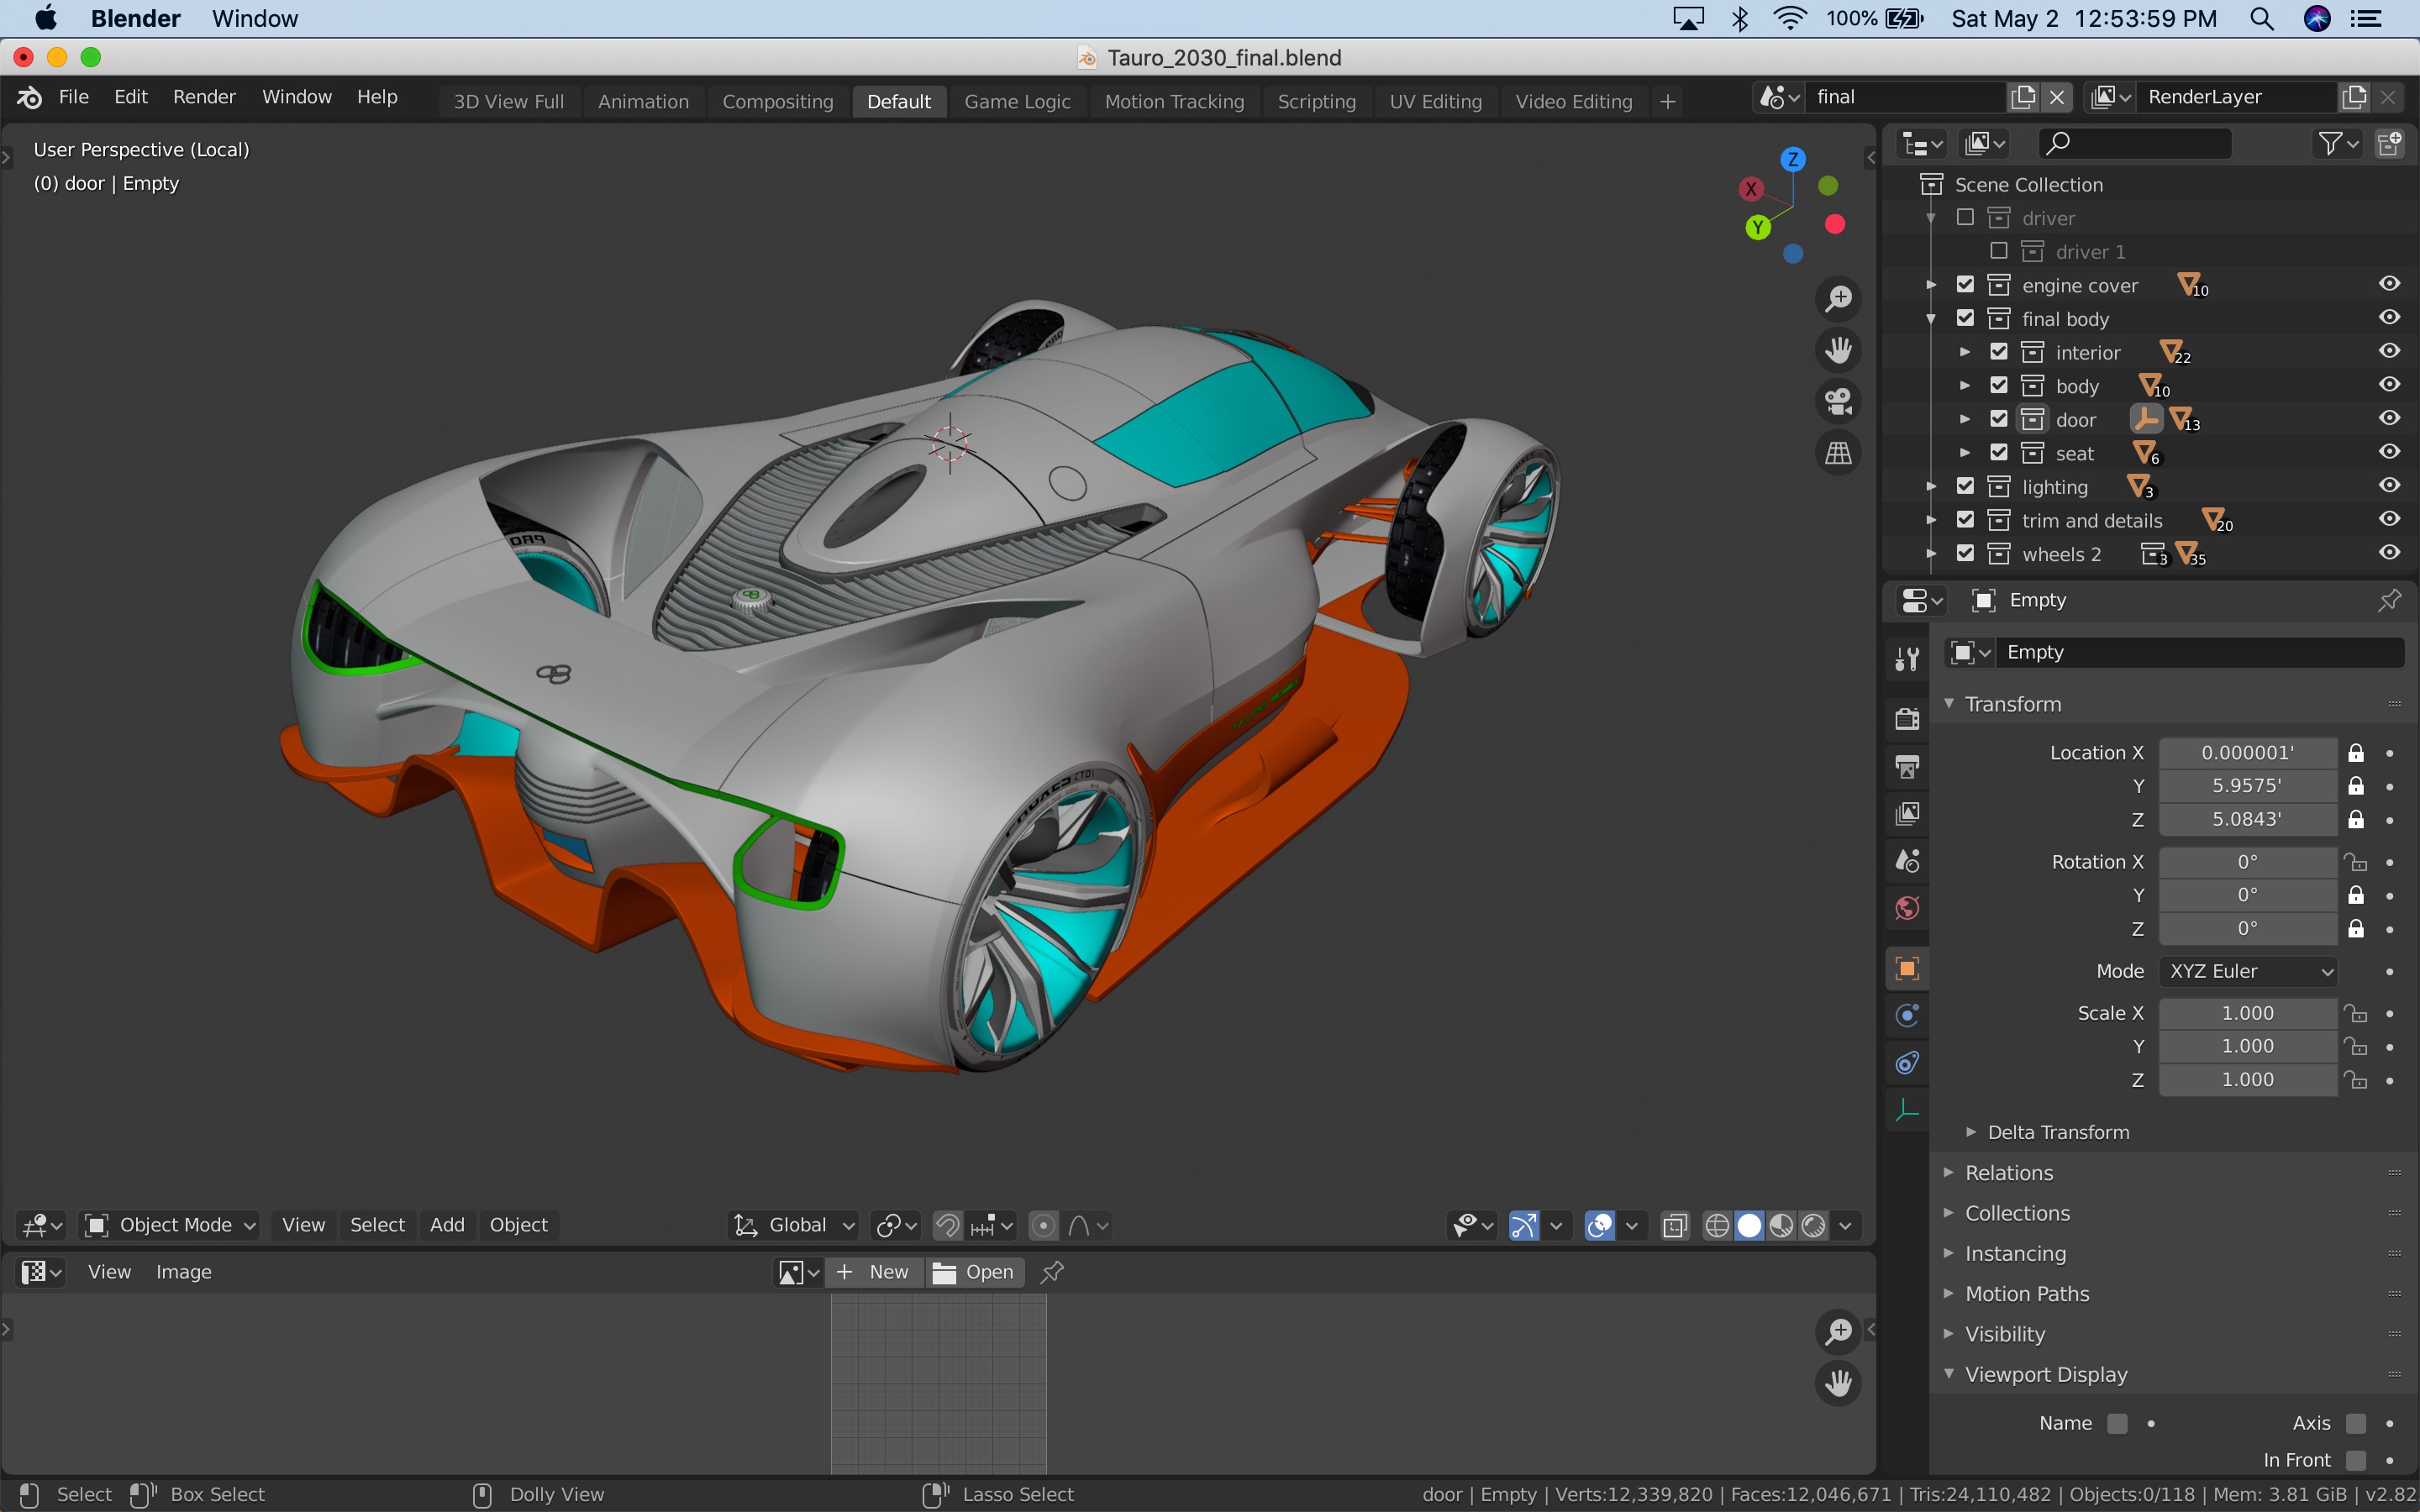
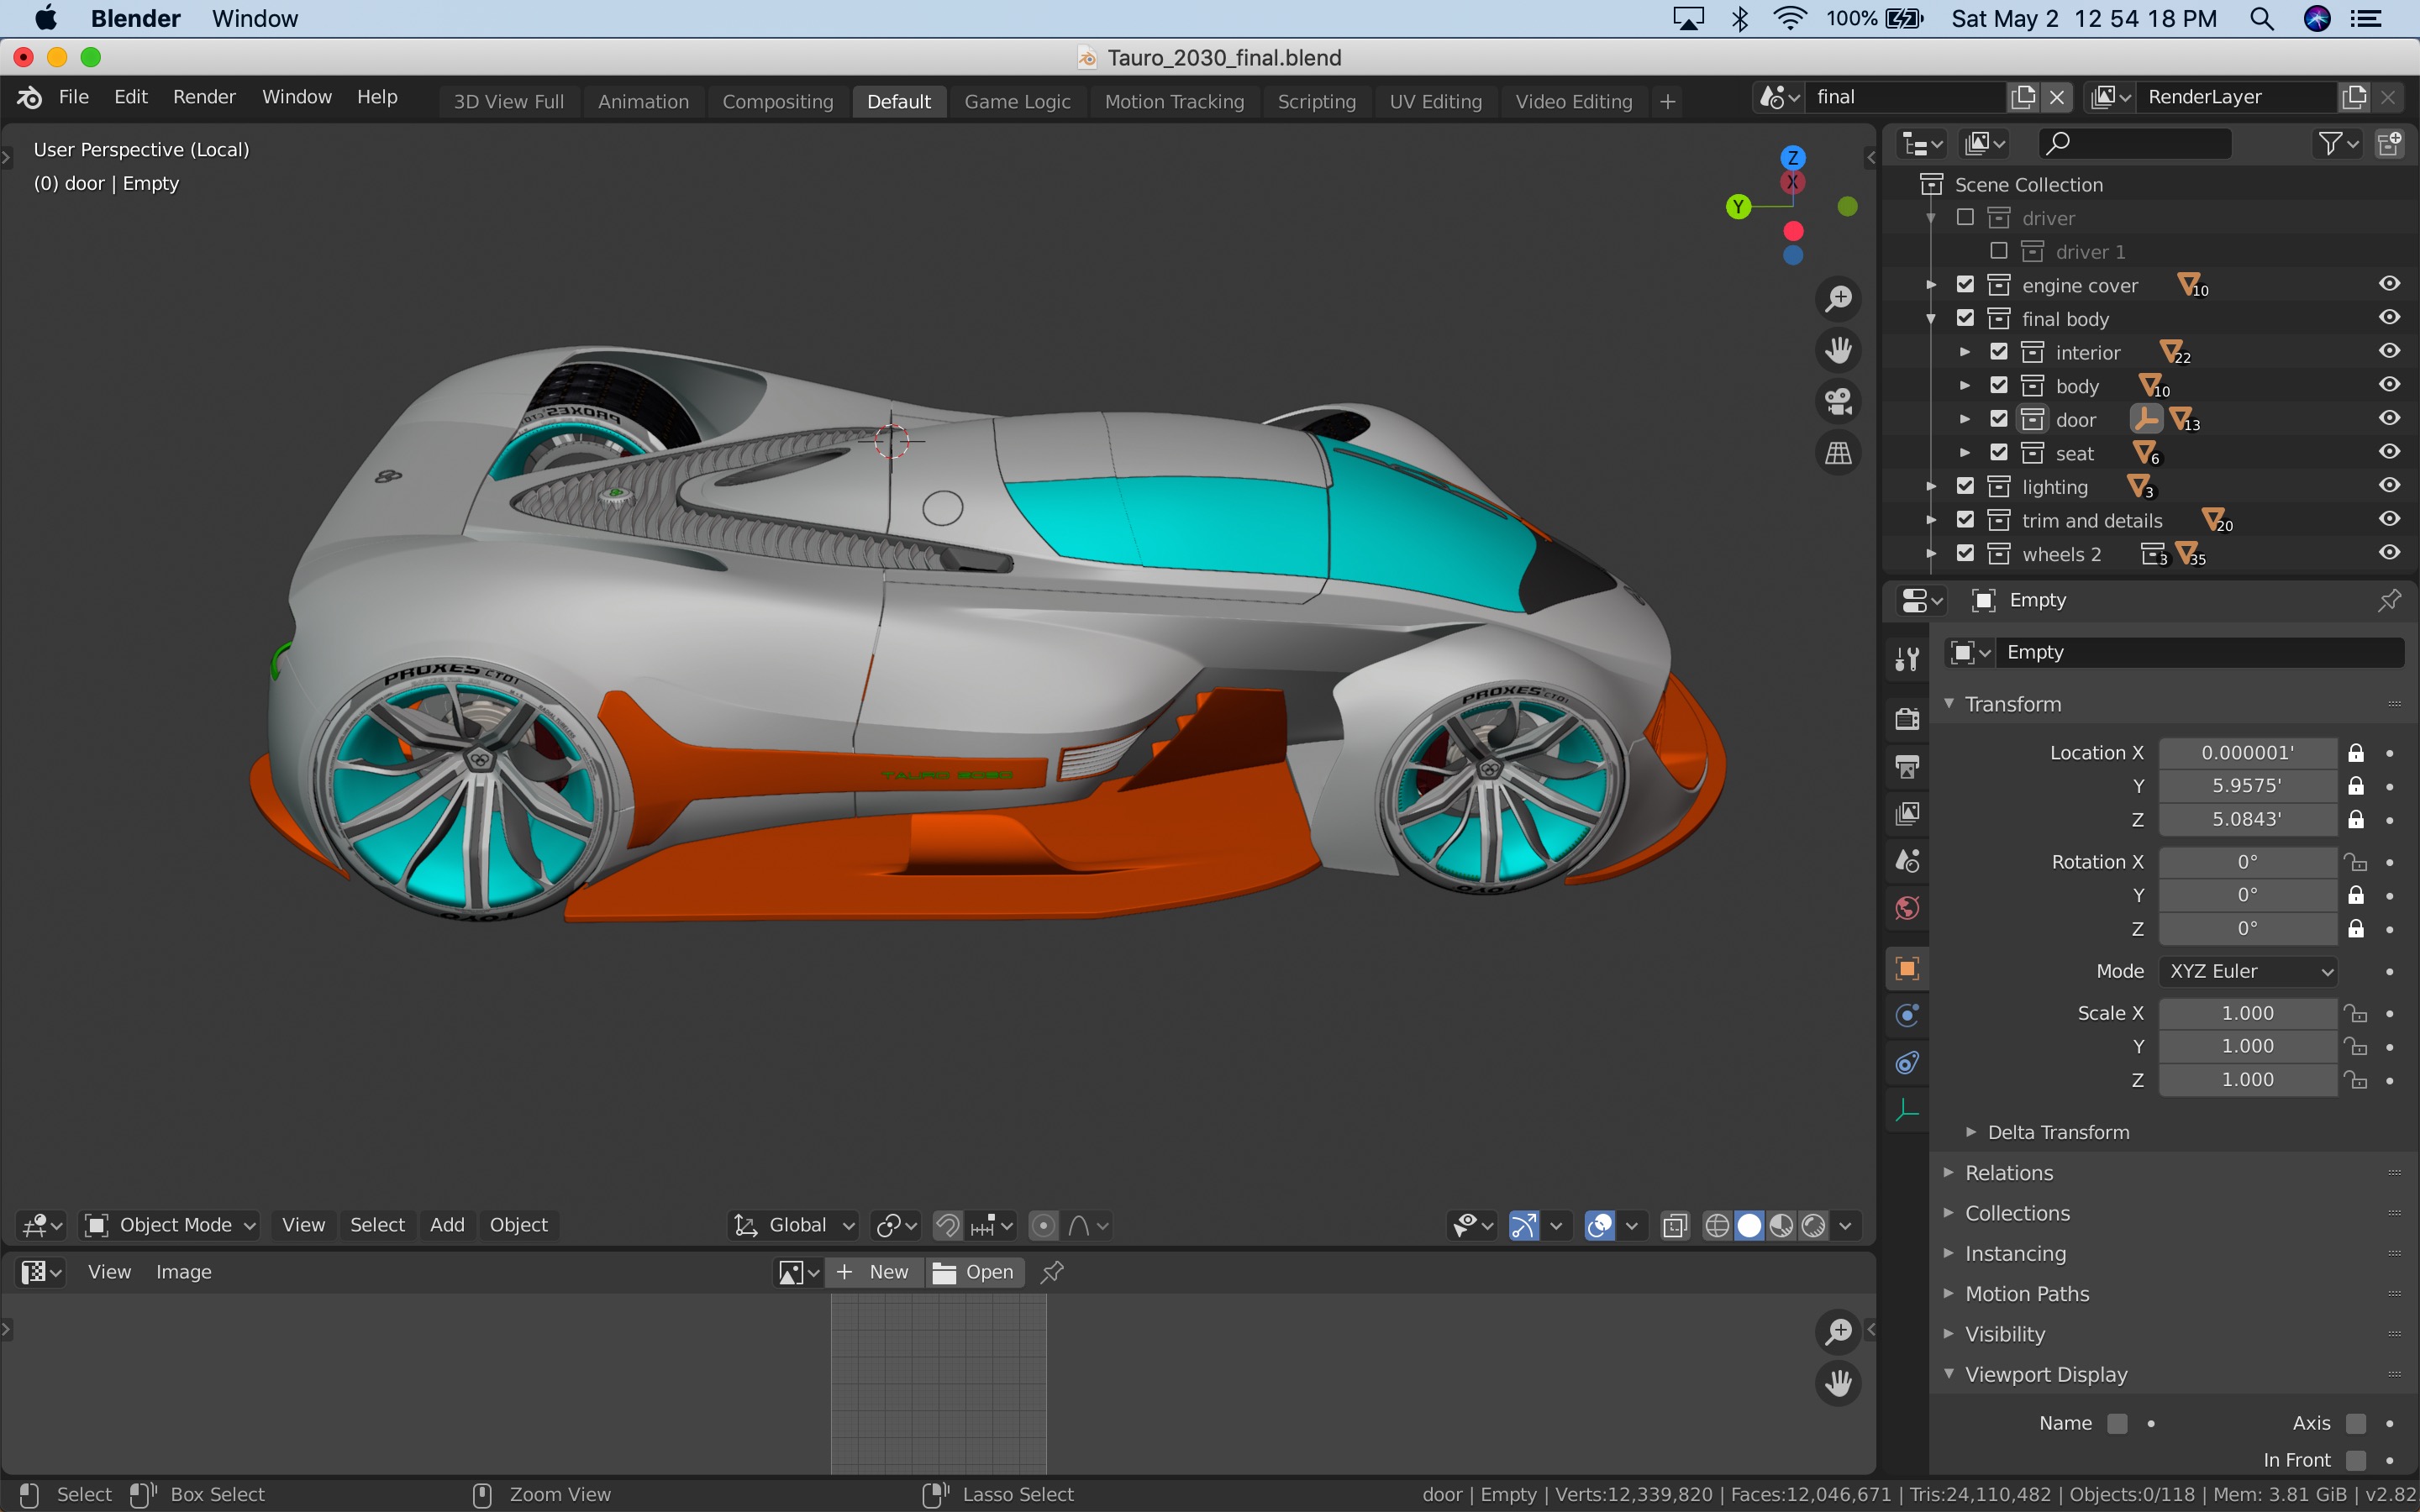
In Blender, you are constantly keeping watch on your mesh, studying every angle, and keeping enough thickness and surface continuity to allow the printer to do its job. This, of course, means all objects on the car must be solid objects in nature. There are no “open” shapes. With the level of surface complexity normally associated with a car, it becomes a time-consuming job that has to be carefully planned out from the beginning and carefully watched throughout the whole design process. Early in the project, we did run into problems where the STL files I was giving the fabricator was producing holes in my design that did not exist before. It took me a couple of weeks of scratch my head to figure out what was causing the issue.

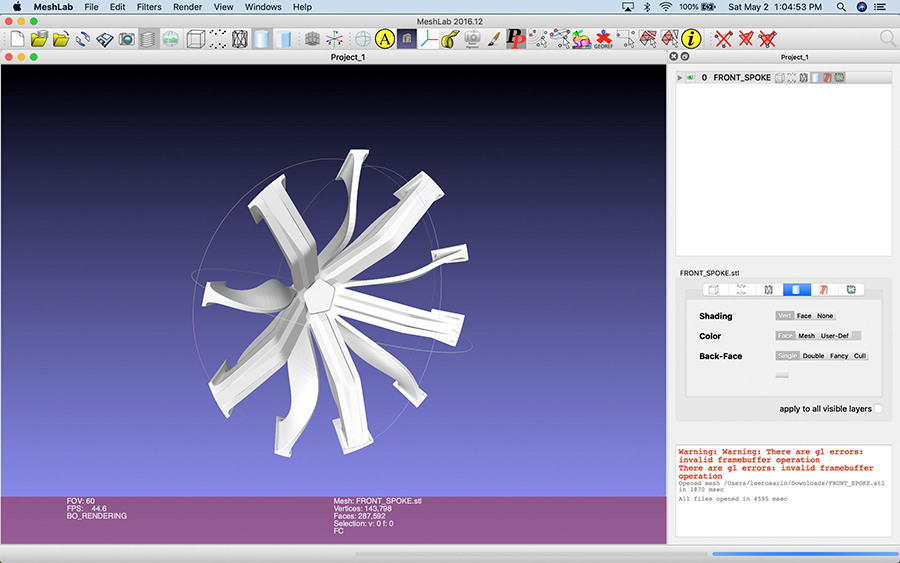
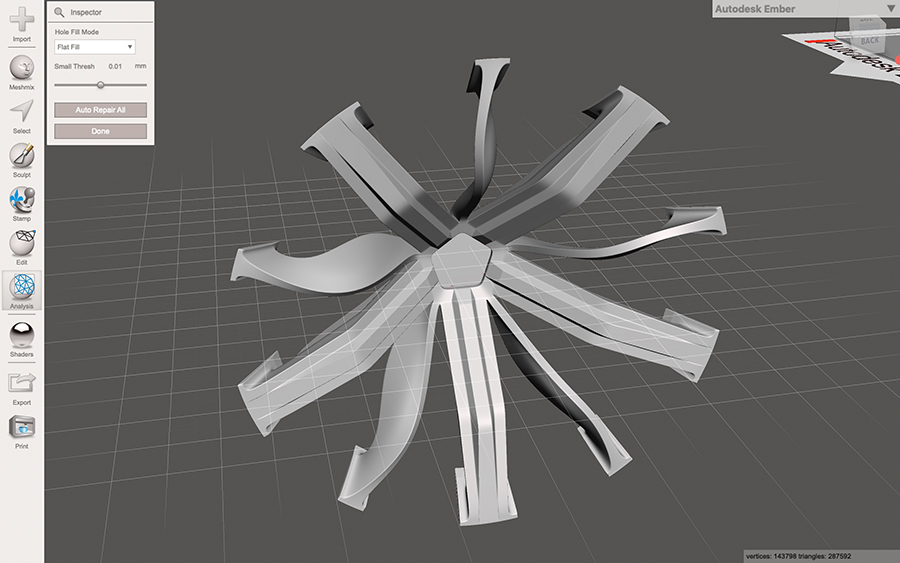
We used software like Meshlab, Meshmixer, and MatterControl to produce test files to troubleshoot the issue. Finally, I remembered reading an article where someone had increased the size of the object to allow the slicer software to process the details more easily. So I scaled up all objects times 100. This worked and we cleared that hurdle. In that process, I continued using Meshmixer to analyze and fix any minor errors in my meshes and meshlab as a powerful tool to further analyze and fix issues with the STL file before sending to printing.

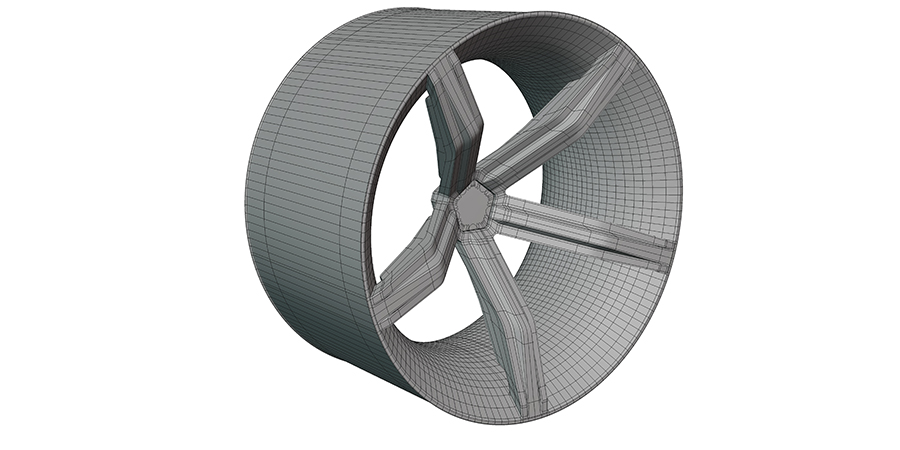
As a designer, sometime you might get weird requests such as cutting parts into separate pieces for the printer to work with easier. For example, in the picture below, I had to cut the spokes off of my XR1 rim design away from the wheel dish for the printer to look at easier in prototyping. I had to remember to seal off the ends of the spokes to keep it as a solid shape. In a more expensive setup, this could be handled as one solid aluminum block piece with a 5 axis router. However, the cost of each wheel could jump up to 80 grand a wheel and would become too heavy at that point.

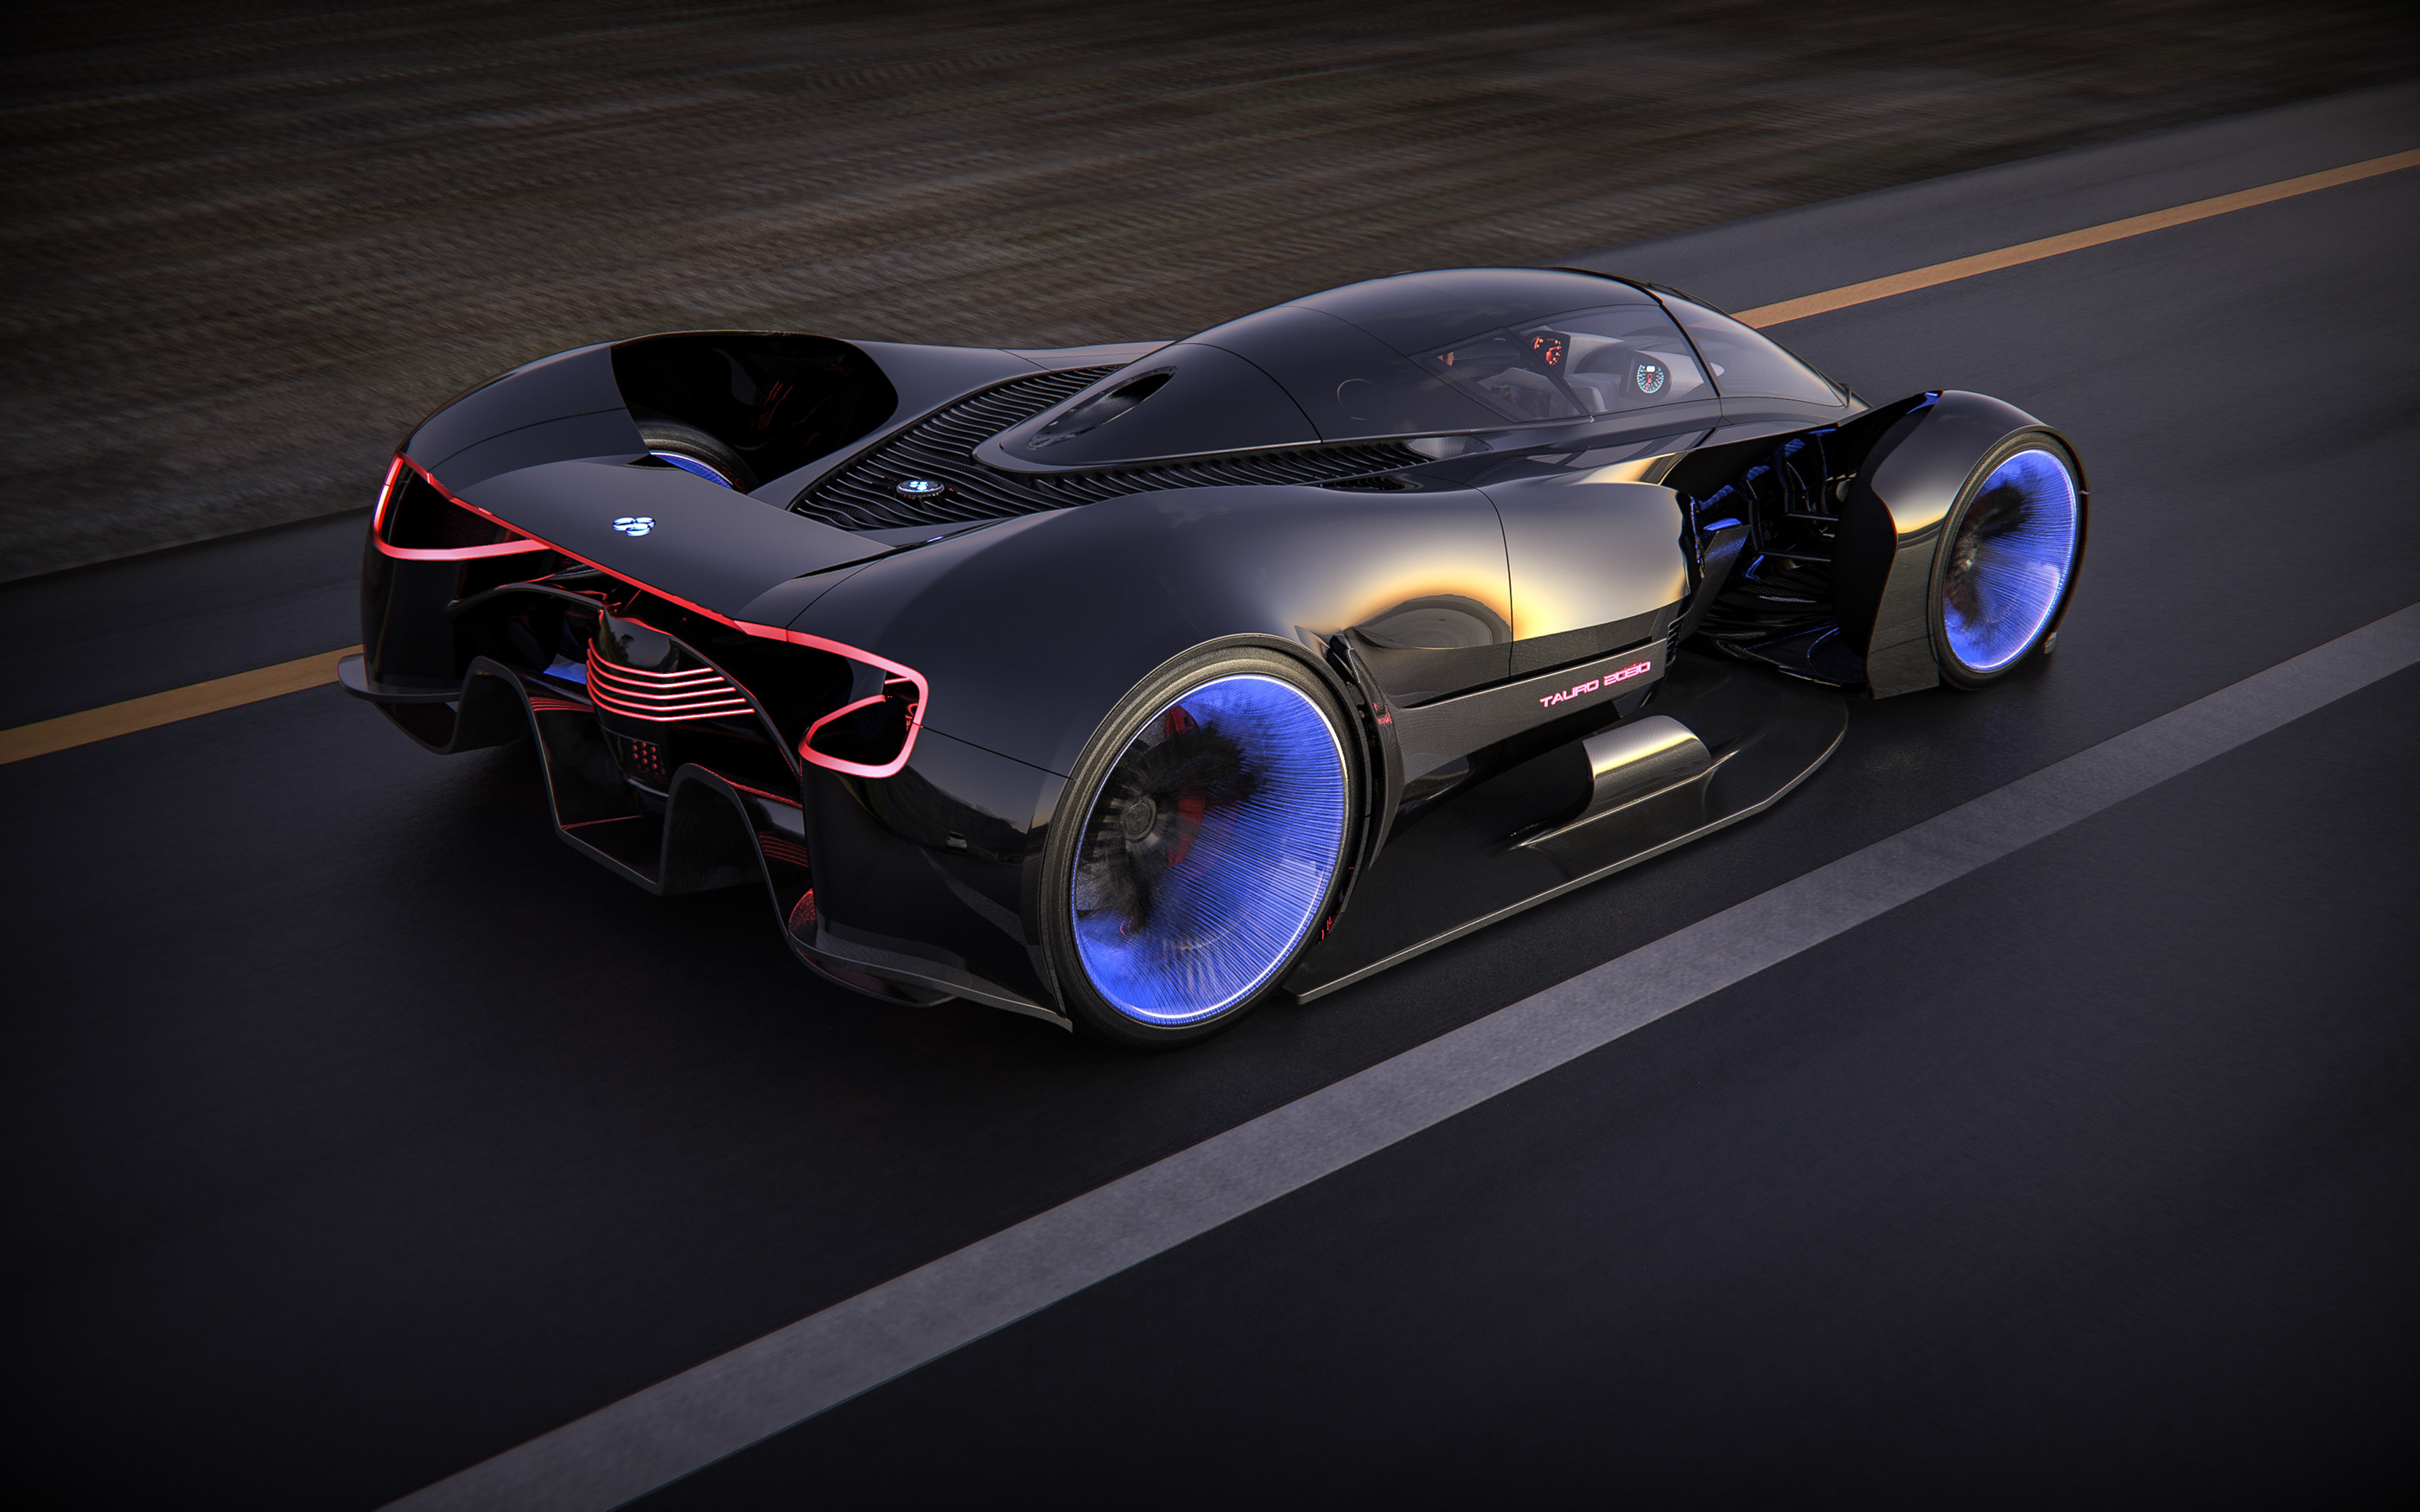
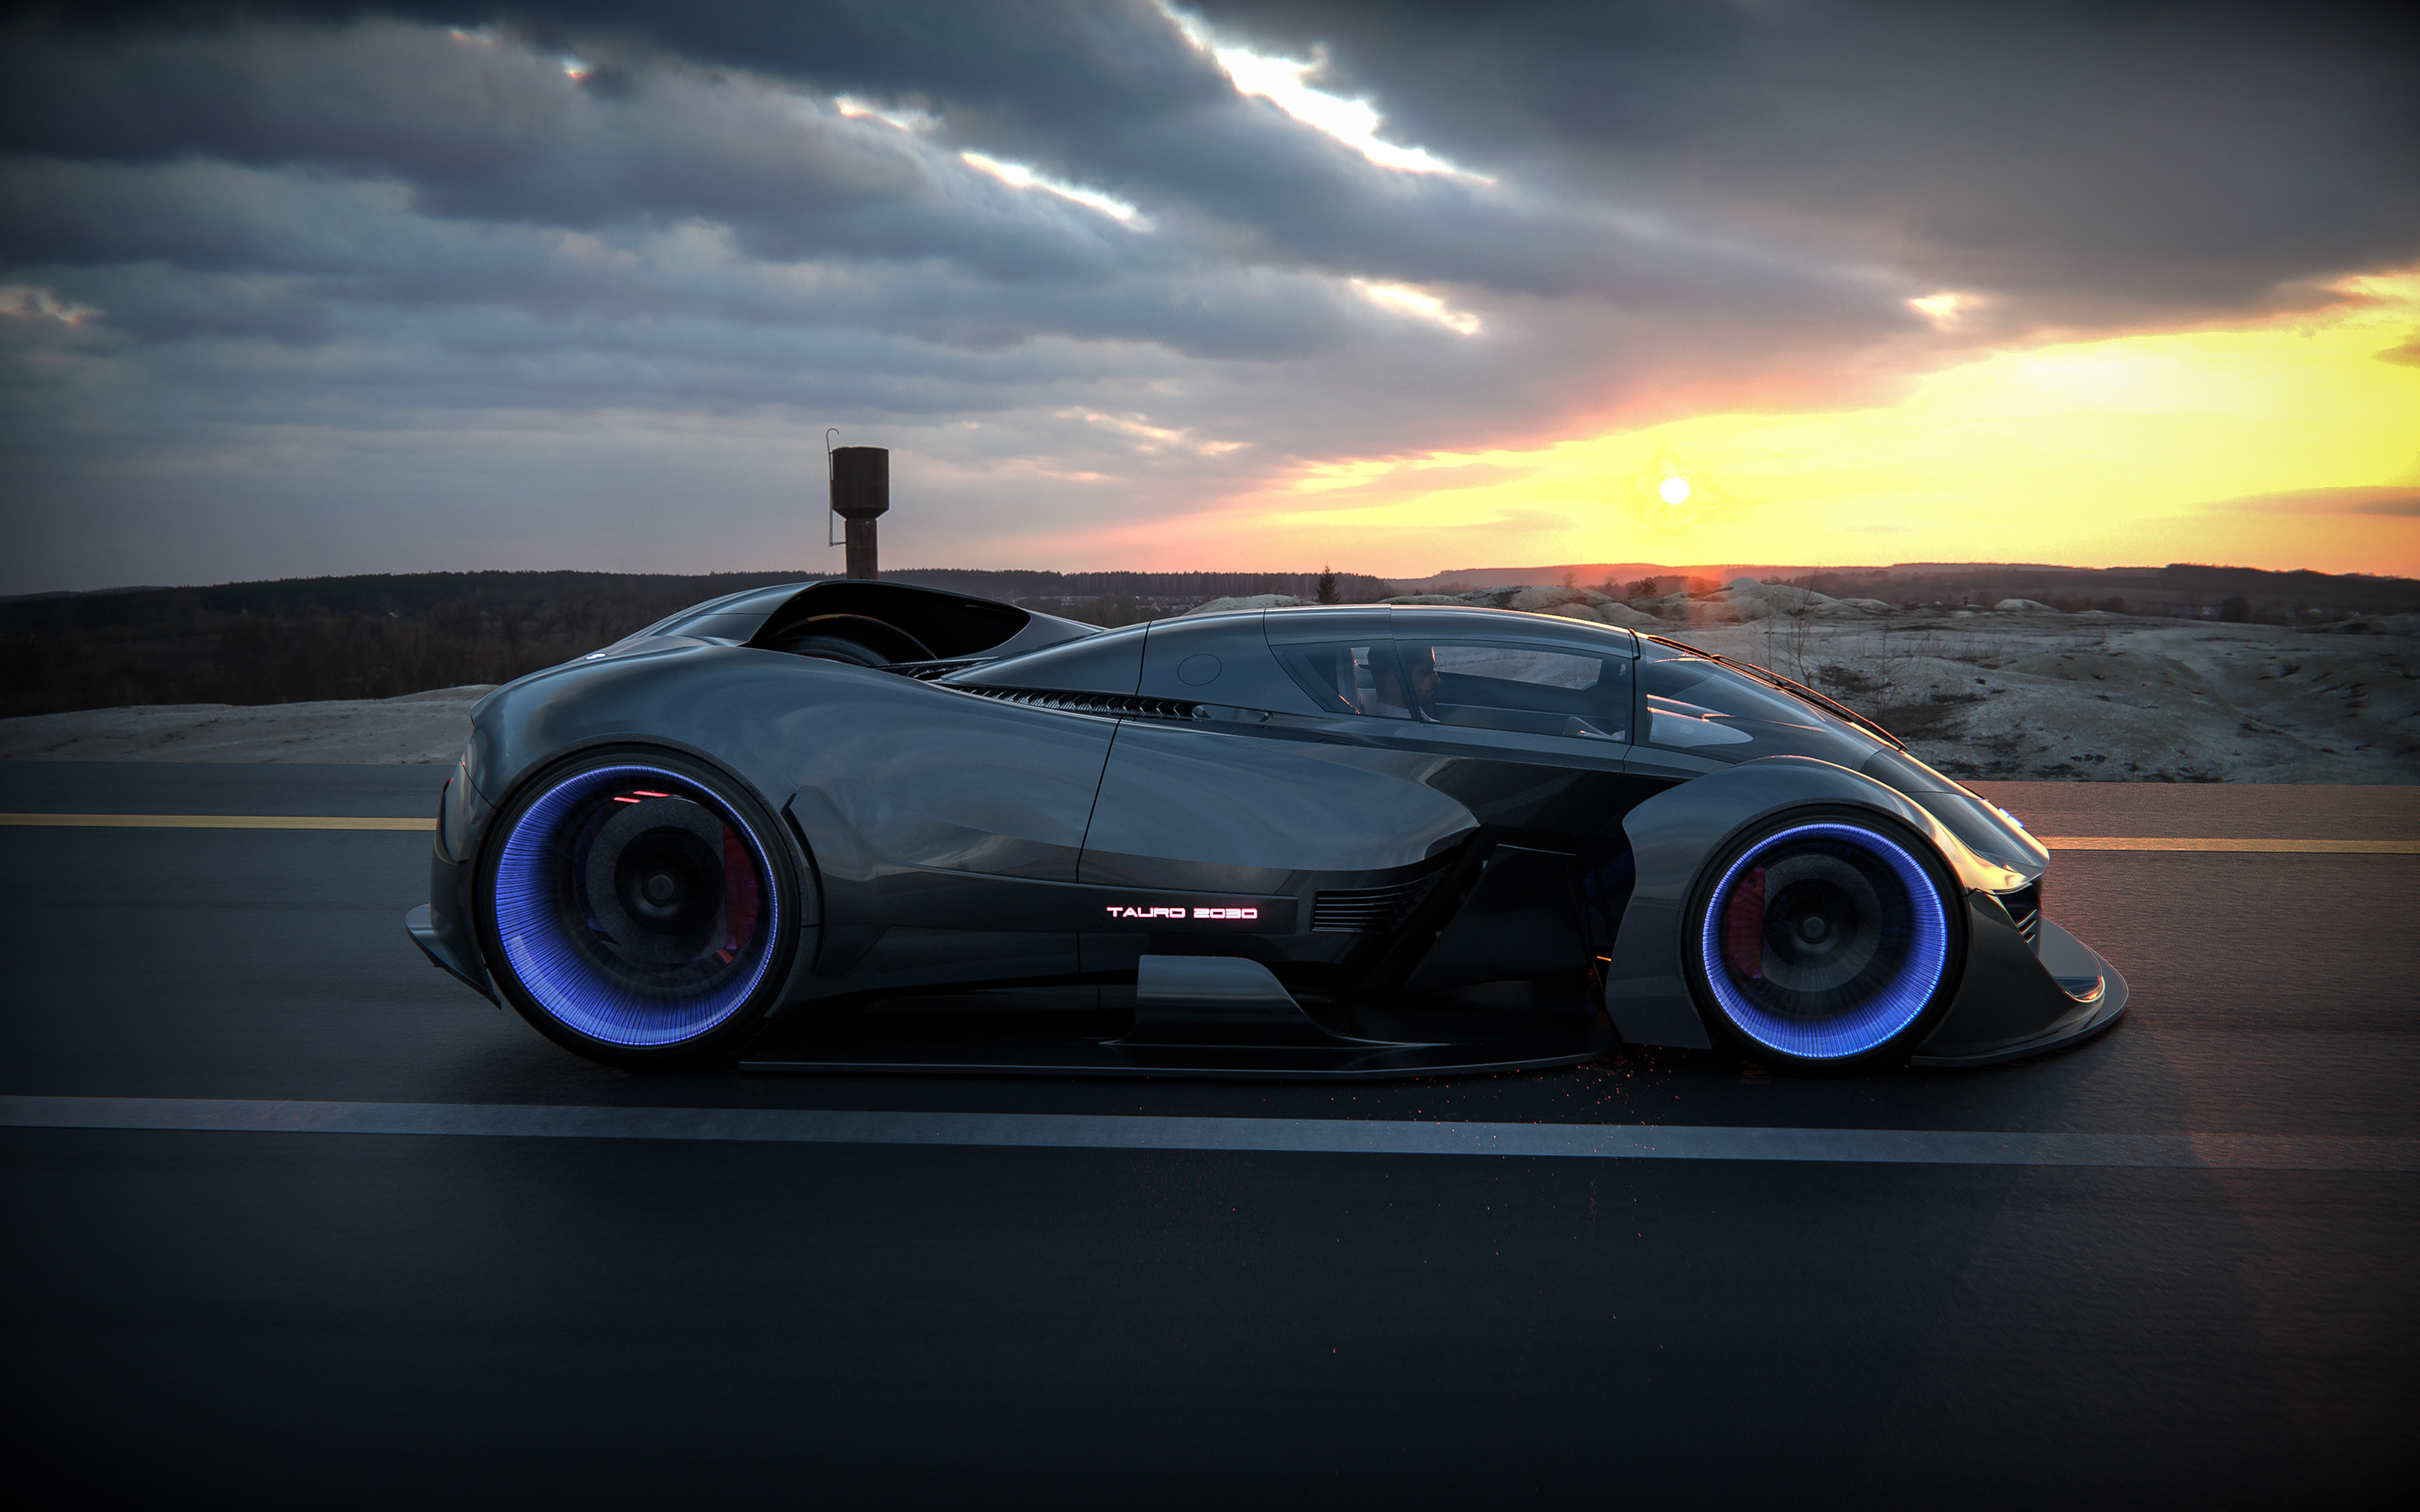
The light wheels you see can be done. They will be created by a combination of welding existing rims to create a new rim, acrylics and contact based “plasma strip” lighting to produce the effect seen. They will be powered via contacts at the base of the wheel connecting to charges at the main frame of the car. Very easy to do apparently.

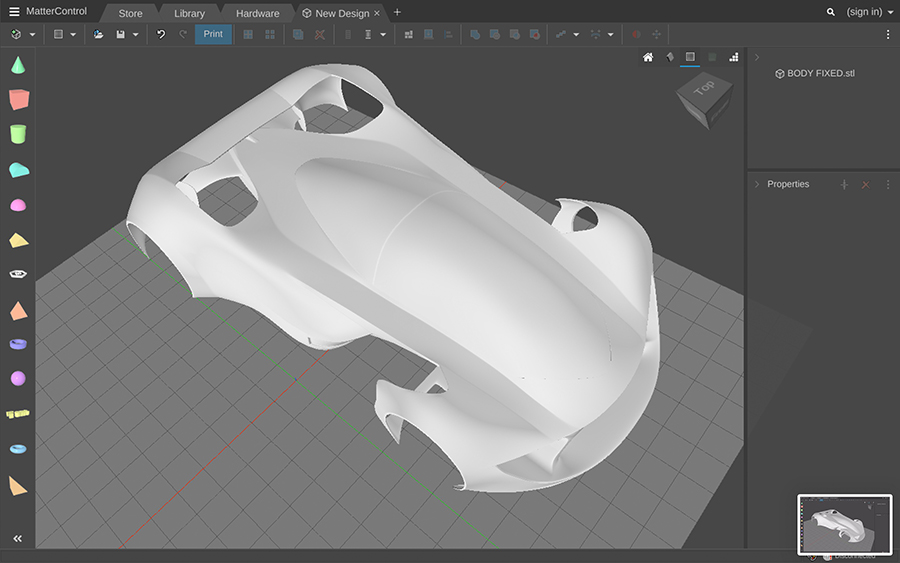
Producing the STL file for the main body of the car was the same process. Except with the added complexity that it contains much more complex surfacing.

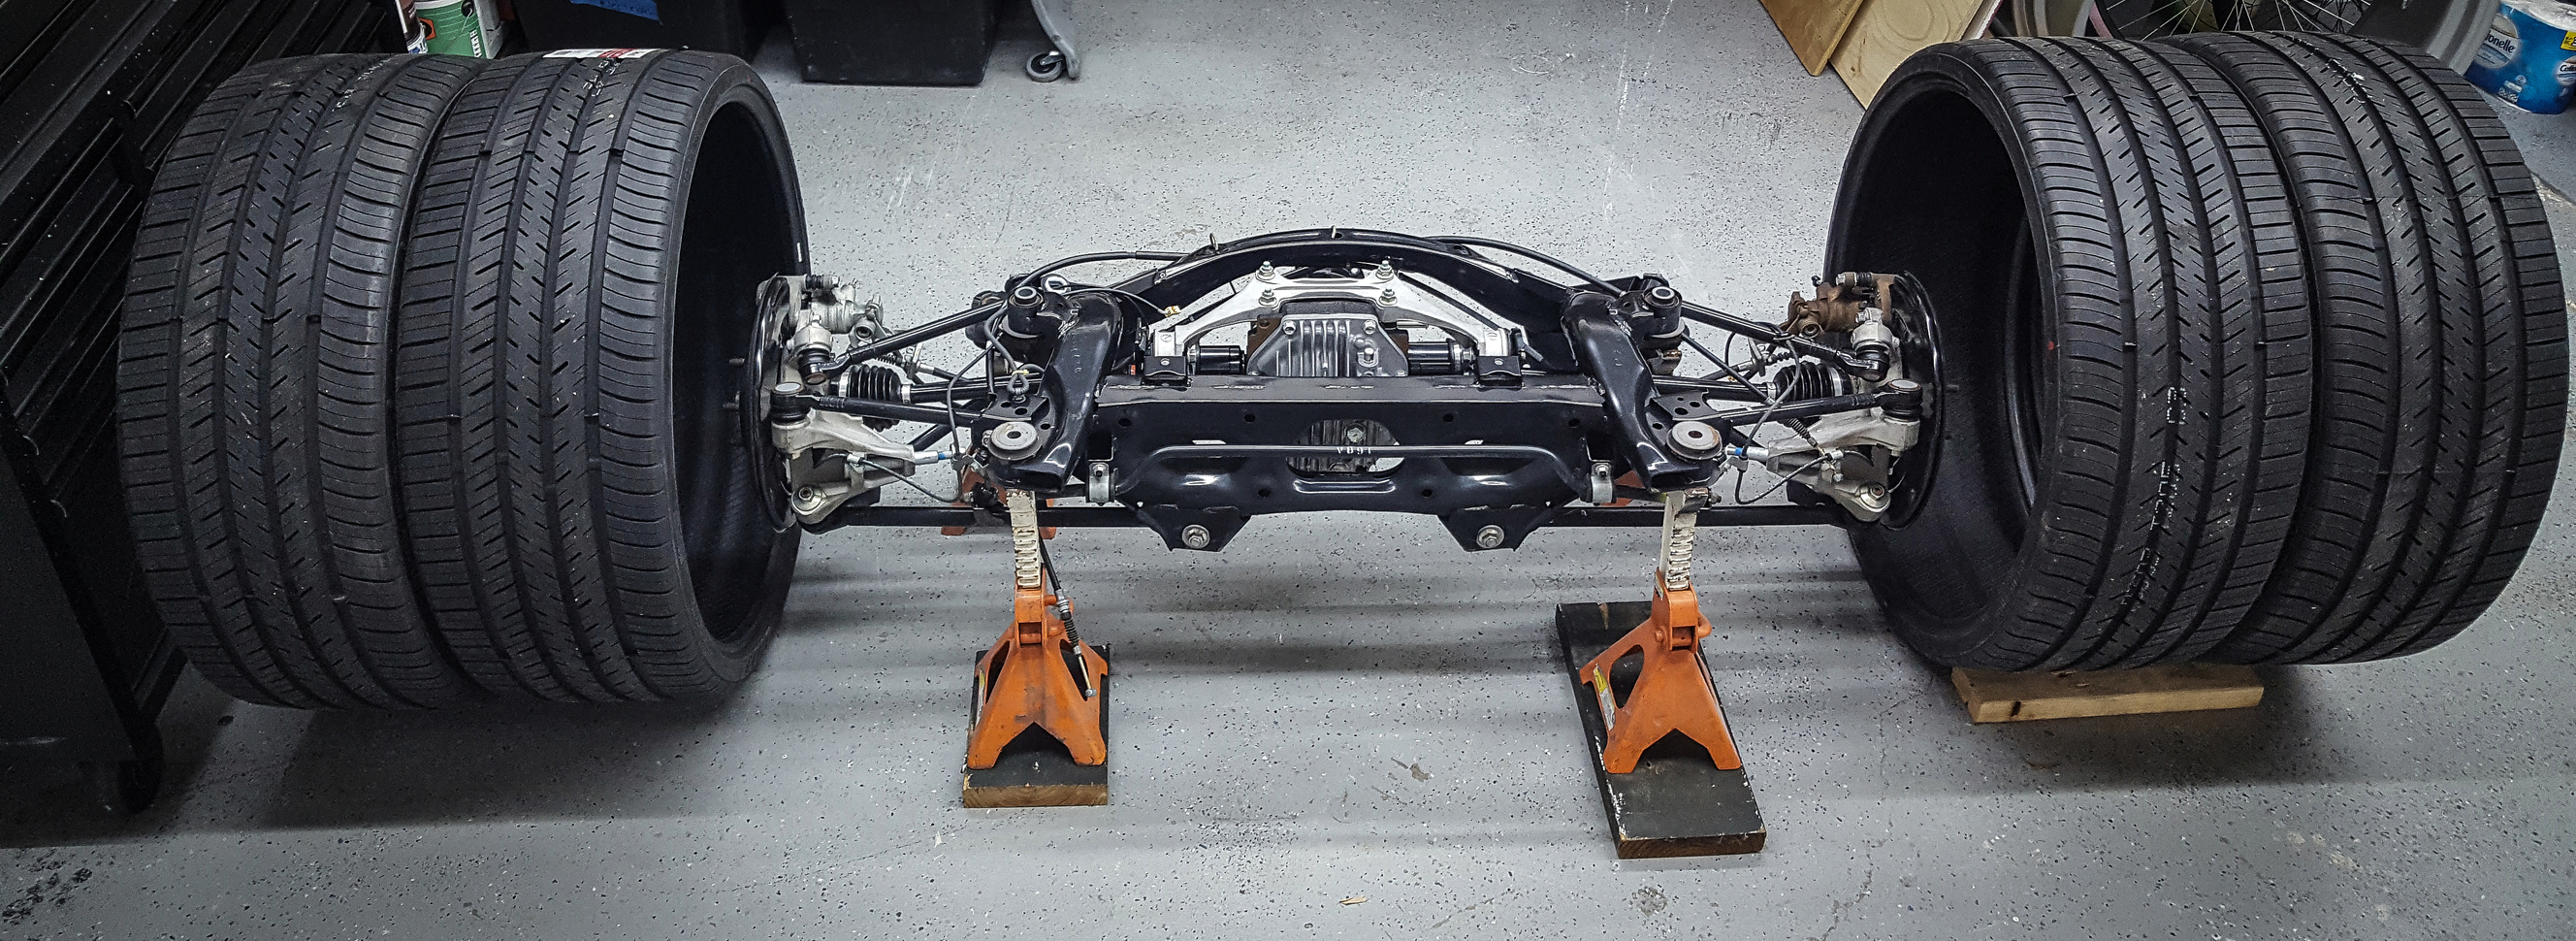
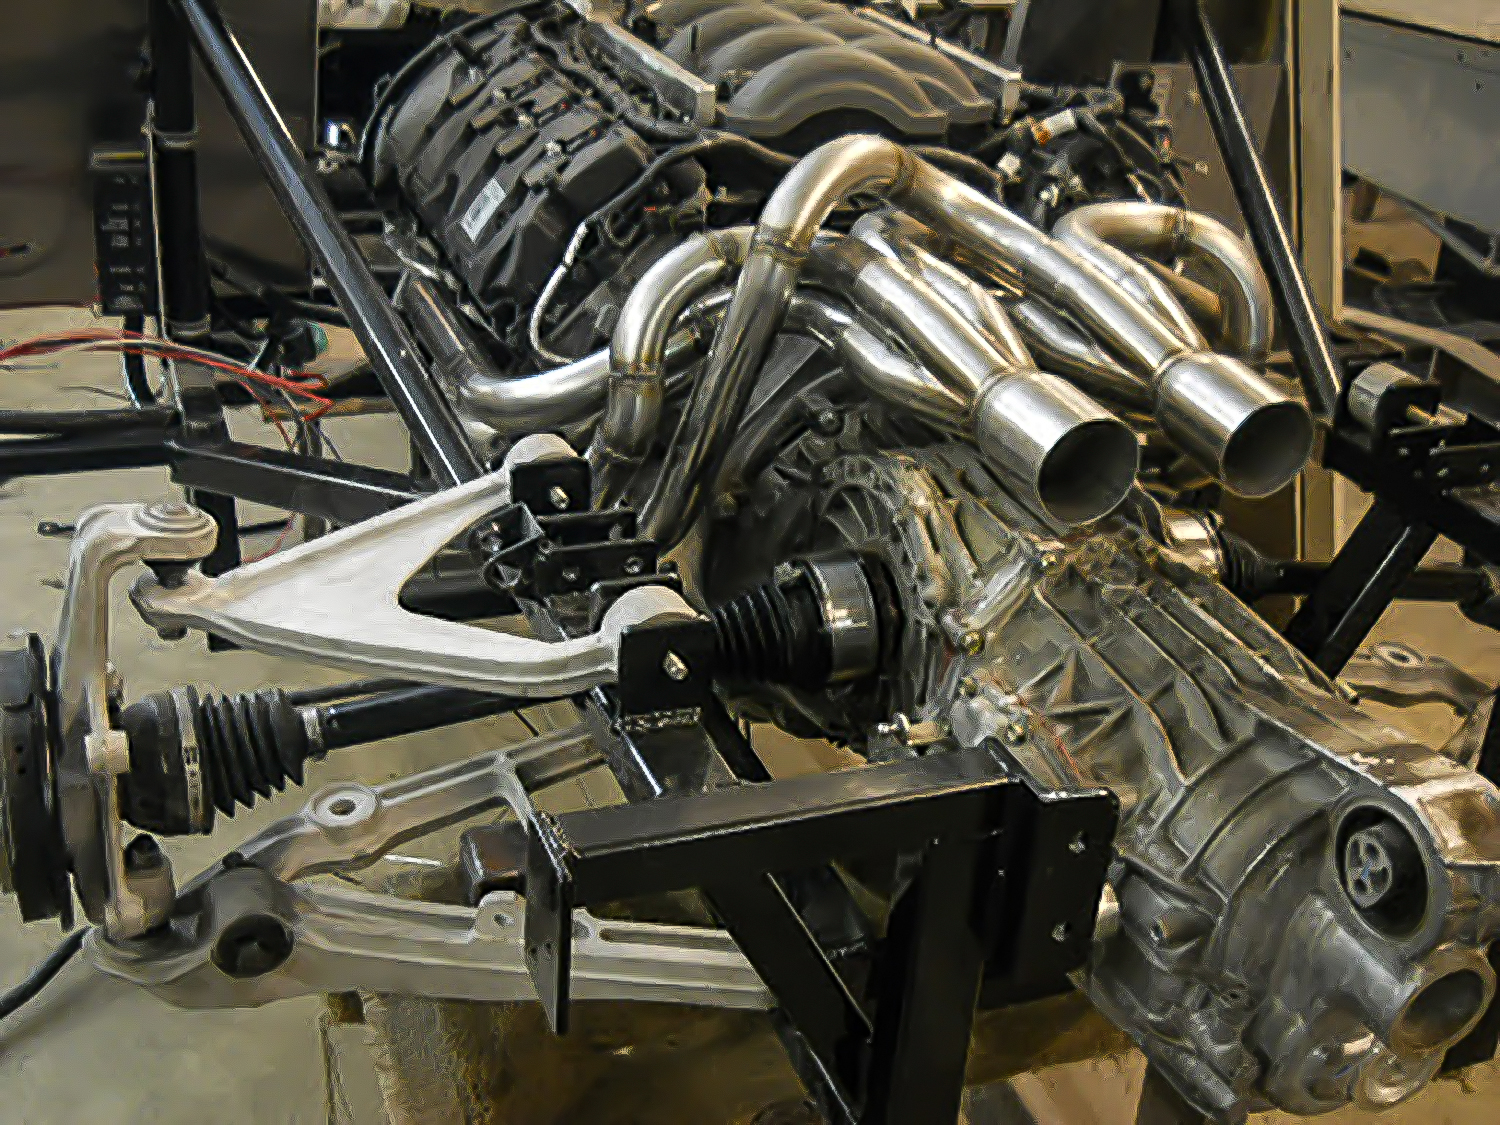
So we are currently at this stage. Certain parts are being built (like the engine and transmission) while we work. But still a ways to go. The chassis is being planned and fabricated underneath the “shell” of my principle body design to produce what is called a “rolling chassis”. Or basically just the metal framework with the wheels attached. The progress doesn’t always look pretty, but the idea is that you will only see (and care about) the final product. You can keep track of the project here:

To be continued…

10 Likes

Here’s a fun simple interactive 360 video to go along with this project. Designed entirely in Blender.

5 Likes

That is quite an ambitious project. Good luck.

1 Like

it looks awesome! so it will be a real car in the future? I was expected those car company will not show the design until they make the real thing or have the official announcement. I hope i can drive it in the future… in GTA or another car game :no_mouth:

1 Like

Thanks. You’re right about revealing cars. However it’s not always the case. On this project, since this is a small team, I’m given permission to talk about it being that these are just concept renders. Plus this isn’t a true marketing advertisement. Just an internal preview with the blender community. Like a “soft launch”.

Our goal and purpose is very different than a major company with higher expectations and longer reputations.

1 Like

Those are some nice renders. The design looks cool.

I would recommend putting a suspension system that can raise the car off the ground a little more if one needs to for things like driving on any road that is not perfectly flat. Any little curvature in the road or tiny bump with that thing and you will be scraping the bottom.

1 Like

Thanks watercycles.

It’s funny you say that, we’ve already addressed that with the fabrication team. So the stance will be extremely low at resting position. For example, Lamborghini’s Terzo Millenio concept has the same stance.

When in transport, the suspension will hydraulically lift up to clear basic obstacles. From the renders, We are working on revisions to the fenders to allow for suspension travel and turning radius to clear certain minimum road standards. It will mostly be transported via truck flat bed to events to protect the undercarriage, but in cases where it will drive, it’ll look a bit different than my renders to protect the car from damage on the roads.

That’s how the shop has explained it to me. Basically they can figure out any issue on the spot like that. Good observation

The idea is that as technology evolves, what looks “futuristic” are things like extra clean lines, pushing tolerances to even smaller clearances and getting things to look and fit tighter than they have been ever before. So to see a car with almost no wheel cap or extremely low ground clearance, ultra clean lines and panel gaps, etc…the immediate impression is “oh that must be what the future will be like”. I’m some ways it is, because manufacturing is becoming so tight and controlled. You look at concept cars in the 80s and 90s, they look bloated and sloppier than the cars of today.

just added a 360 turntable for a more interactive look

2 Likes

You’re on the #featured row! :+1:

1 Like

Wow im so curious how that body shape will turn out. making it look like one piece and as smooth as the renders… dang thats tough i guess.

this sound like you got quite some confidence. Are you experienced with real road-ready car designing and manufacturing, really forces, is that all gonna be measure with MeshLab?

I don’t want to design average cars for the average person. I’m in the business of dreaming up extraordinary movements for extraordinary people.

But that logo with the 3 circles, dont you think audi is gonna dislike this? feels kinda simular. I like it, but it looks a lot alike

3 Likes

LRosario, I seriously admire your technical skills and love your creative vision.
Thanks for sharing this adventure, it’s quite inspirational for a newbie to the 3D CG world.

Is there a reason you chose a combustion engine rather than go full electric?

Electric drive systems can open opportunities for new exterior design ideas, not only visual appearance but potentially improving aerodynamics, air friction coefficients, mechanical construction complexity and performance, as there is no need for complex air intake and exhaust designs and drive-train systems.
Plus, the acceleration of electric cars are insane, electric motors have a square torque curve, generating maximum torque from zero RPM.

Although, I have no idea of the weight difference or cost difference between your chosen engine-gearbox-diff-fuel storage and that of a battery pack-electronics-electric motor on each wheel.

Going full electric drive on version 2.0 would raise this concept to the next level :nerd_face:

1 Like

Danhg those rims looks sexy AF!!!

Someone has a shitload of money :slight_smile: the car reminds me of some other concept car… pffff cant remember the name. The form and shape feel familiar. Sweet renders

1 Like

“This will be a statement car” - It certainly will be. Great work! Beautiful lines.

1 Like

The design looks sexy as hell, great job! But like Rombout above, I cringed a little when I saw the logo. That may cause you trouble with Audi.

1 Like

We also faced such situation. Blender is nice for organic modeling
and we constantly trying to expand its mulipurpose abilities.
Here are some interesting topics about NURBS, by the way.

1 Like