With all the sculpting and stuff you have going on, probably a number of Multirez levels, I would not edit the topology of the base mesh, it can have very unfortunate effects. Plus, if your base mesh is the emitter for your hair systems, editing it’s topology will ruin all your Particle editing, and I mean RUIN! I’ve had that happen too often, which is why I use “wigs” and facial hair “masks”, separate emitters I can reshape but do not edit the topology on.
Changing the topology can have both minor and major effects on the UV maps, but I usually find it possible to correct the effects. It’s tedious, though. You’ll want to avoid Unwrap again if possible as this can significantly change the fit of any painted textures you have in place, even with UV pinning in place.
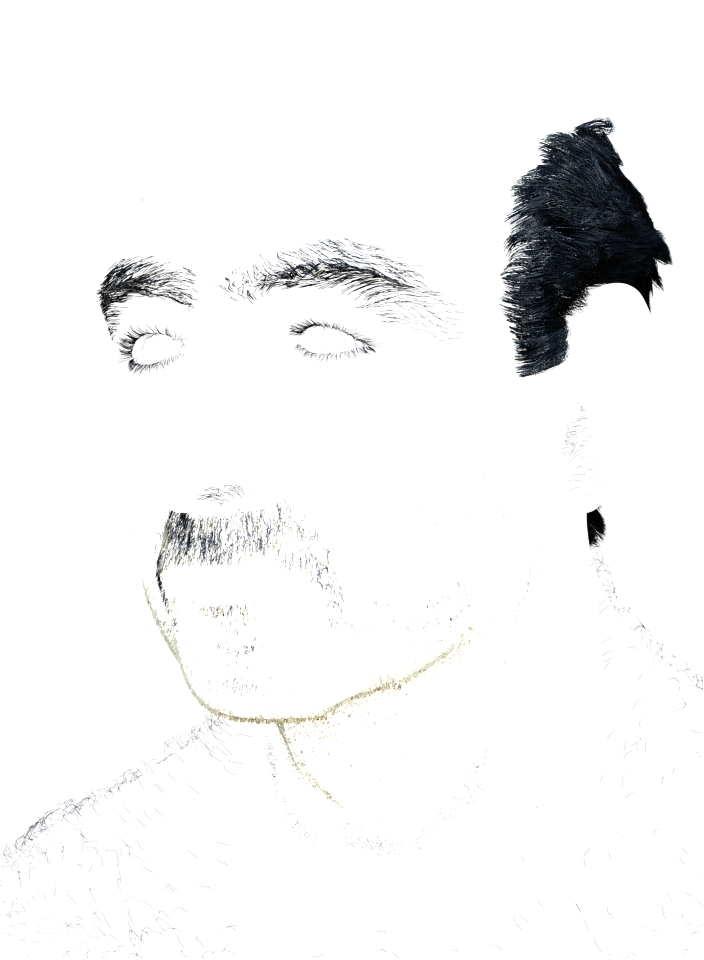
Yes… that is what I thought, but I thought to that maybe there is a way, probably not. Lesson learned, I have to be really sure first of the mesh, but since I’m learning, later on a realize I could have done better topology under the multires and the displacement… but it is too late. I fixed the eyelids with hard edges, moving around vertices and some sculpting. Thanks anyway! next time I’ll try to make flat eyelids from the start.
Do you think it is better hard edges or doble edges?
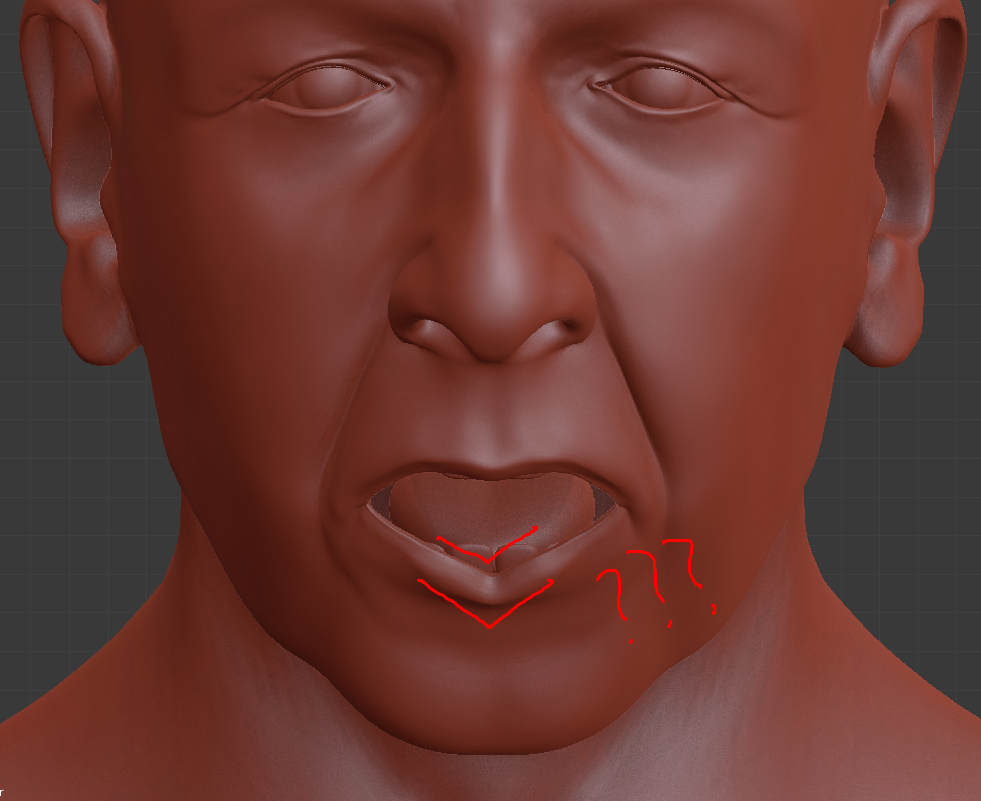
My rule is that there are NO hard edges (such as that you would get with Edge Split) in the human form. At one scale or another everything has some roundness to it. Eyelids are no exception – they can curve sharply but should not be true hard edges. Studying refs will give you a good idea of the contours involved.
BTW when I wrote to form a kind of shelf of the eyelids I wasn’t meaning the sharpness of the edge but their thickness, which in your earlier images seemed too thin. They should be somewhat rounded even at the edges.
Mistakes or poor choices in topology? Don’t fret that, it’s one of the most common problems in this kind of work, and sometimes we have to live with it because it shows up so late in the process that it isn’t worth undoing so much to fix it. Learn, and don’t repeat the mistake.
@chipmasque!!! Thanks!!! I sometimes feel like my neurons are going to explode! to many possibilitys, to many things that I get wrong… Yes I hear you! no hard edges, so some times I have to put more topology right? I always trying to use as little as possible.
Today almost all the day went in to take out the hair particles out of the multiresh mesh (renders start to get really slow just to start), so I duplicated it, I remove the multires, and made a subdivision-surface modifier, and a shrink modifier, all good on the view-port until… I render! o my god!!! I put the mesh in transparency, but I get a ugly shadow all over, then I made a material with a no show shader or something like that, but then it renders the images I have for the places of the hair… at last I remove any material from the base mesh and turn of in the settings of every particle system “emitter” and then… 7 hours later I breath hahaha. So, now I can have to render layers, from the flesh and for the hair! really really nice!
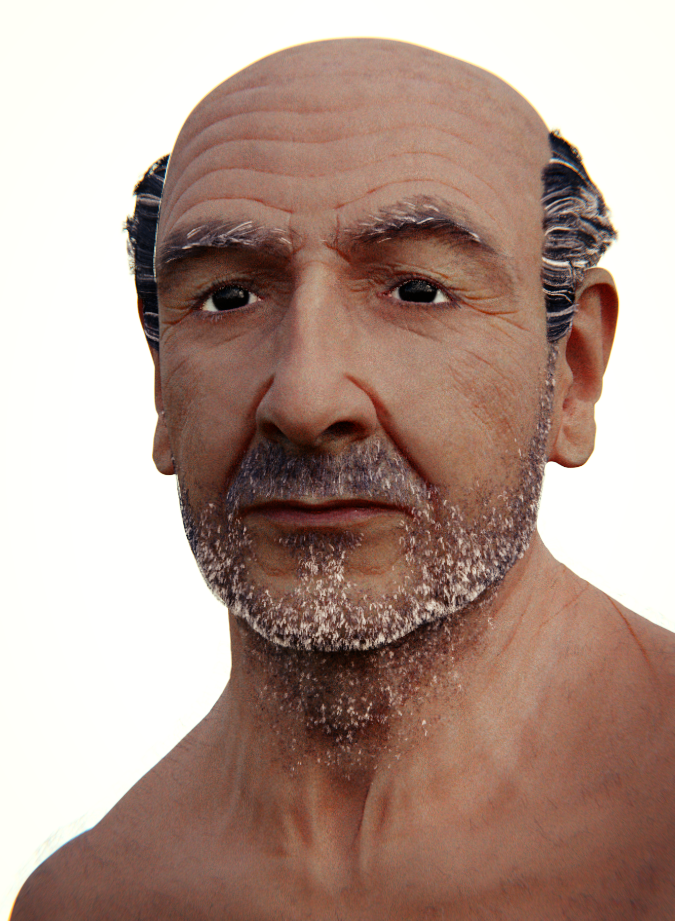
Playing with the camera settings, and the ambient light.
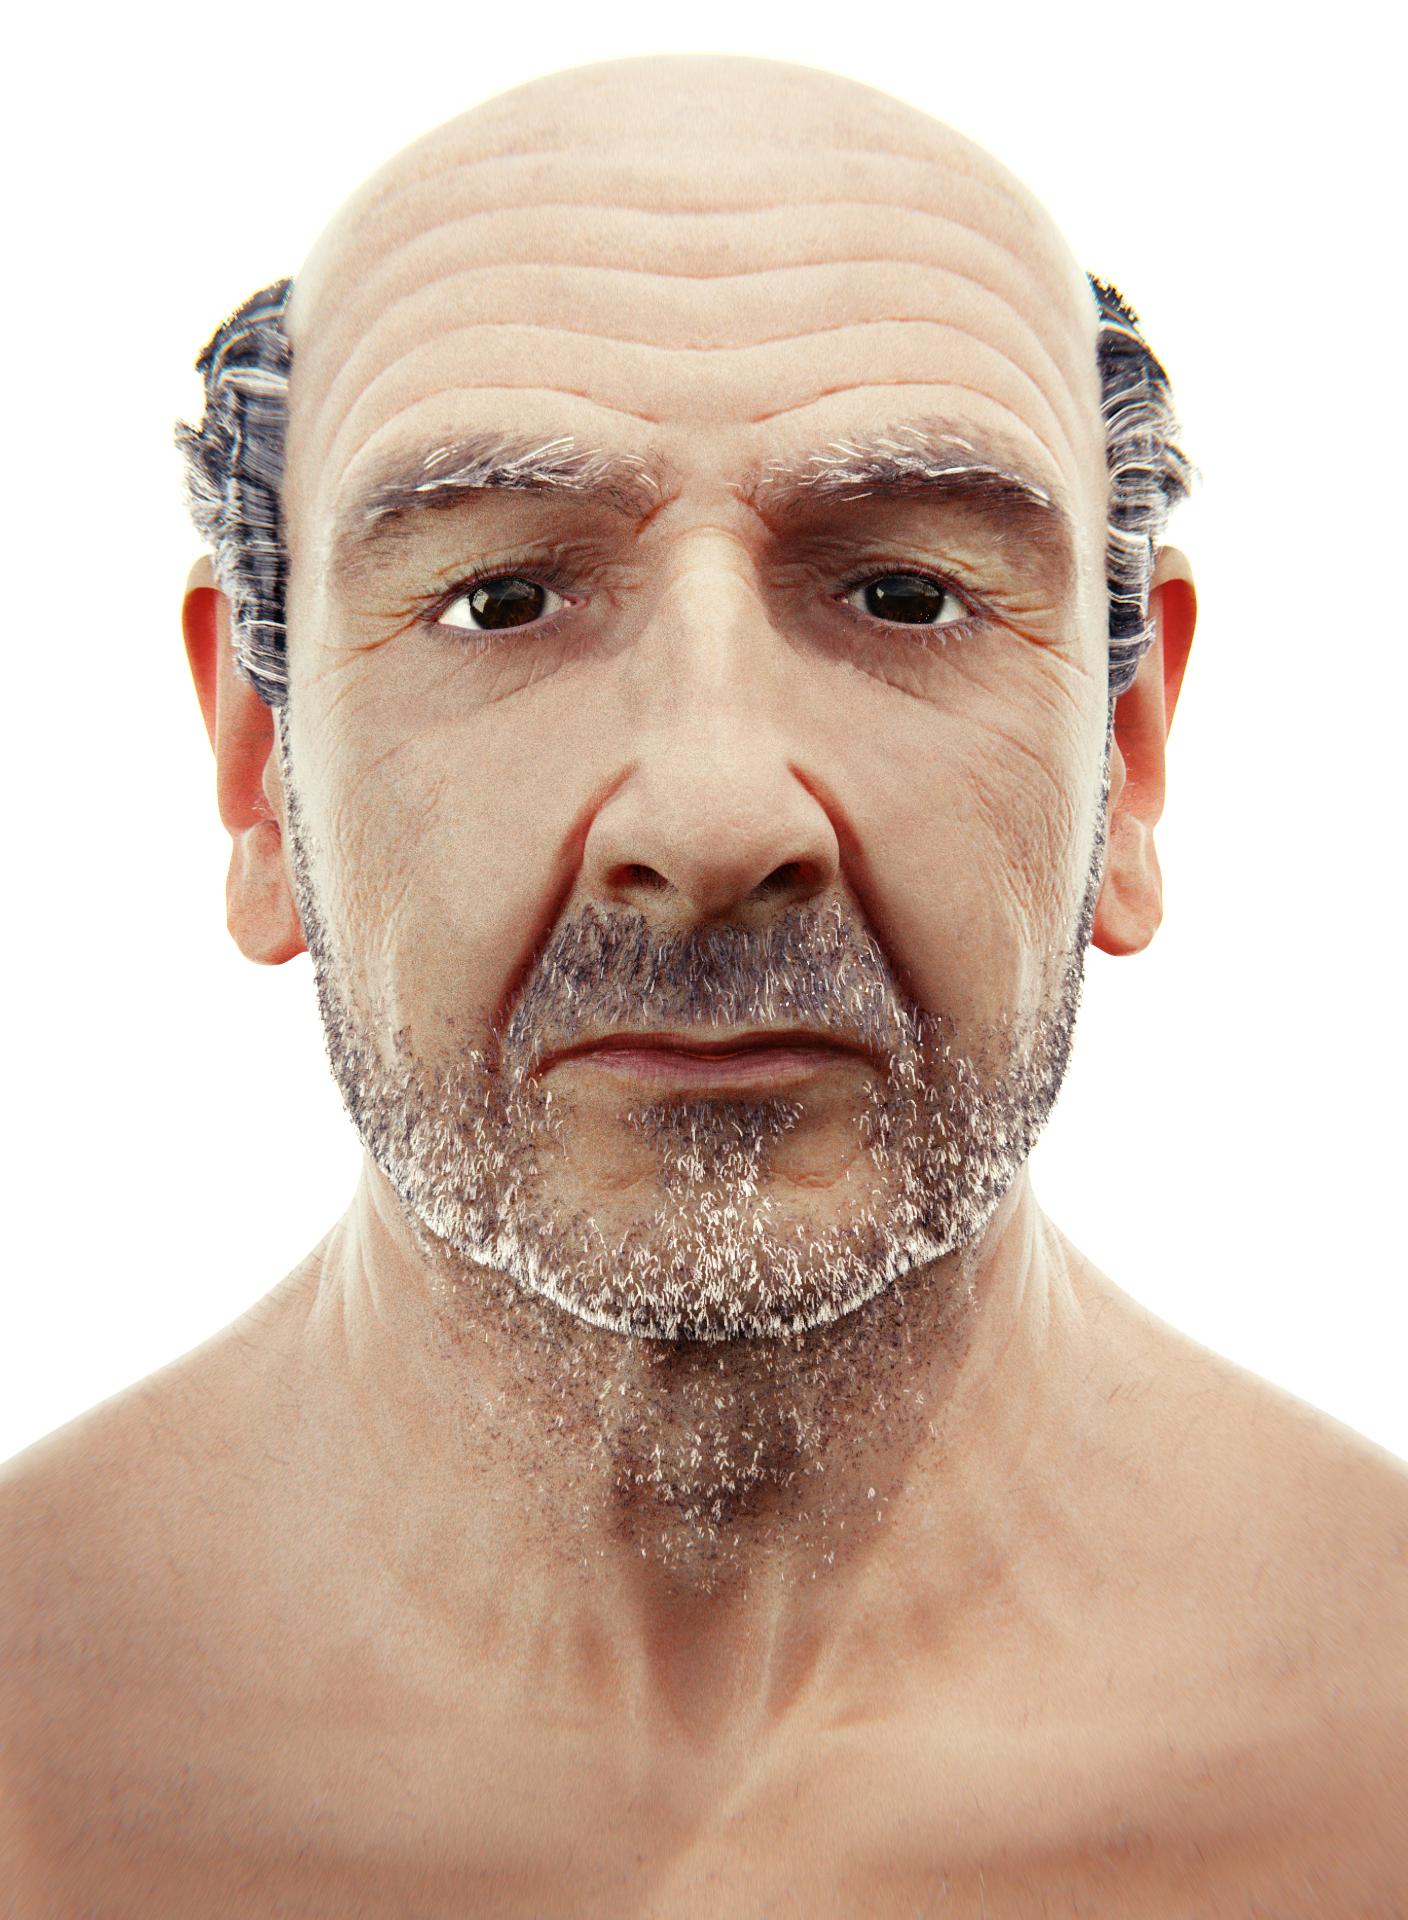
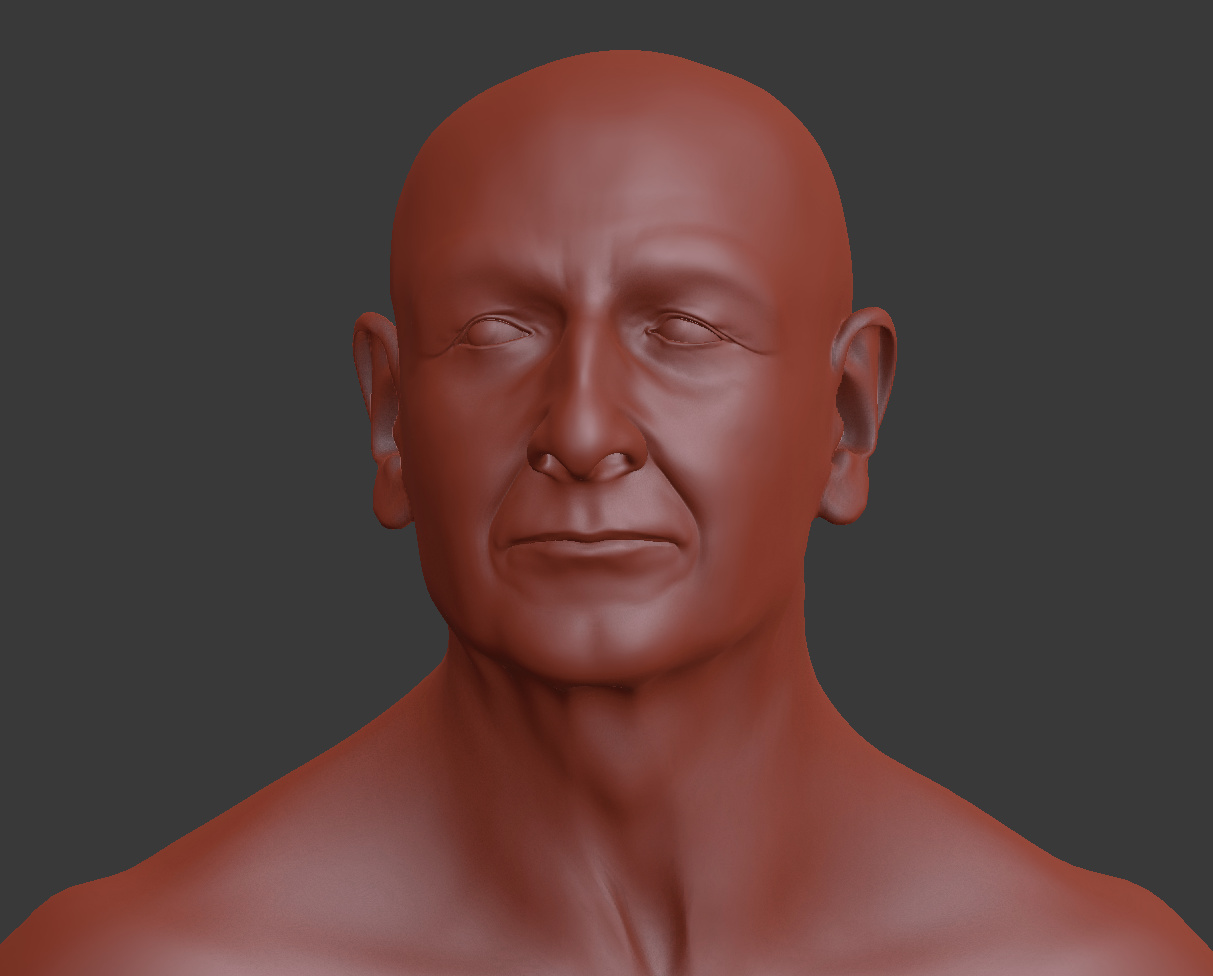
Hair is almost finish. I know that the skin paint have to improve that an the hair are I think the last remaining things before the rig.
But now thinking in it, maybe is better to have the rig first? so I can see if the deformation brake down the textures?
I’m so afraid of starting the rig… I don’t know were to start, but youtube may be the place jaja.
And yes, it’s generally a good idea to get the face rigged and weighted before all the detail because the deformations can affect the results of the detailing pretty strongly. But retrofitting is possible, just not ideal.
@Tonatiuh. Looks very nice! I really recommend Chip’s rig. You can bust out a bunch of poses easily. Just remember rigging is what you want it for. Like if all I need is a smile then I will shape key poses to be driven for that smile. For all expression poses you will need quite a few shapekeys. It is doable but can be time consuming. PS: Thank you again for helping me on my dog portrait
Thanks for the reco of the Othello rig, RodDavis, happy to hear it’s useful for others. One thing that I thought of (not sure I mentioned this in other threads, it was a long time ago) is that the rig is also a decent tool for generating shape keys if you prefer that route. Once posed to get the general shape of an expression, the Armature modifier can be applied as a Shape Key for further refinement. Best of both worlds!
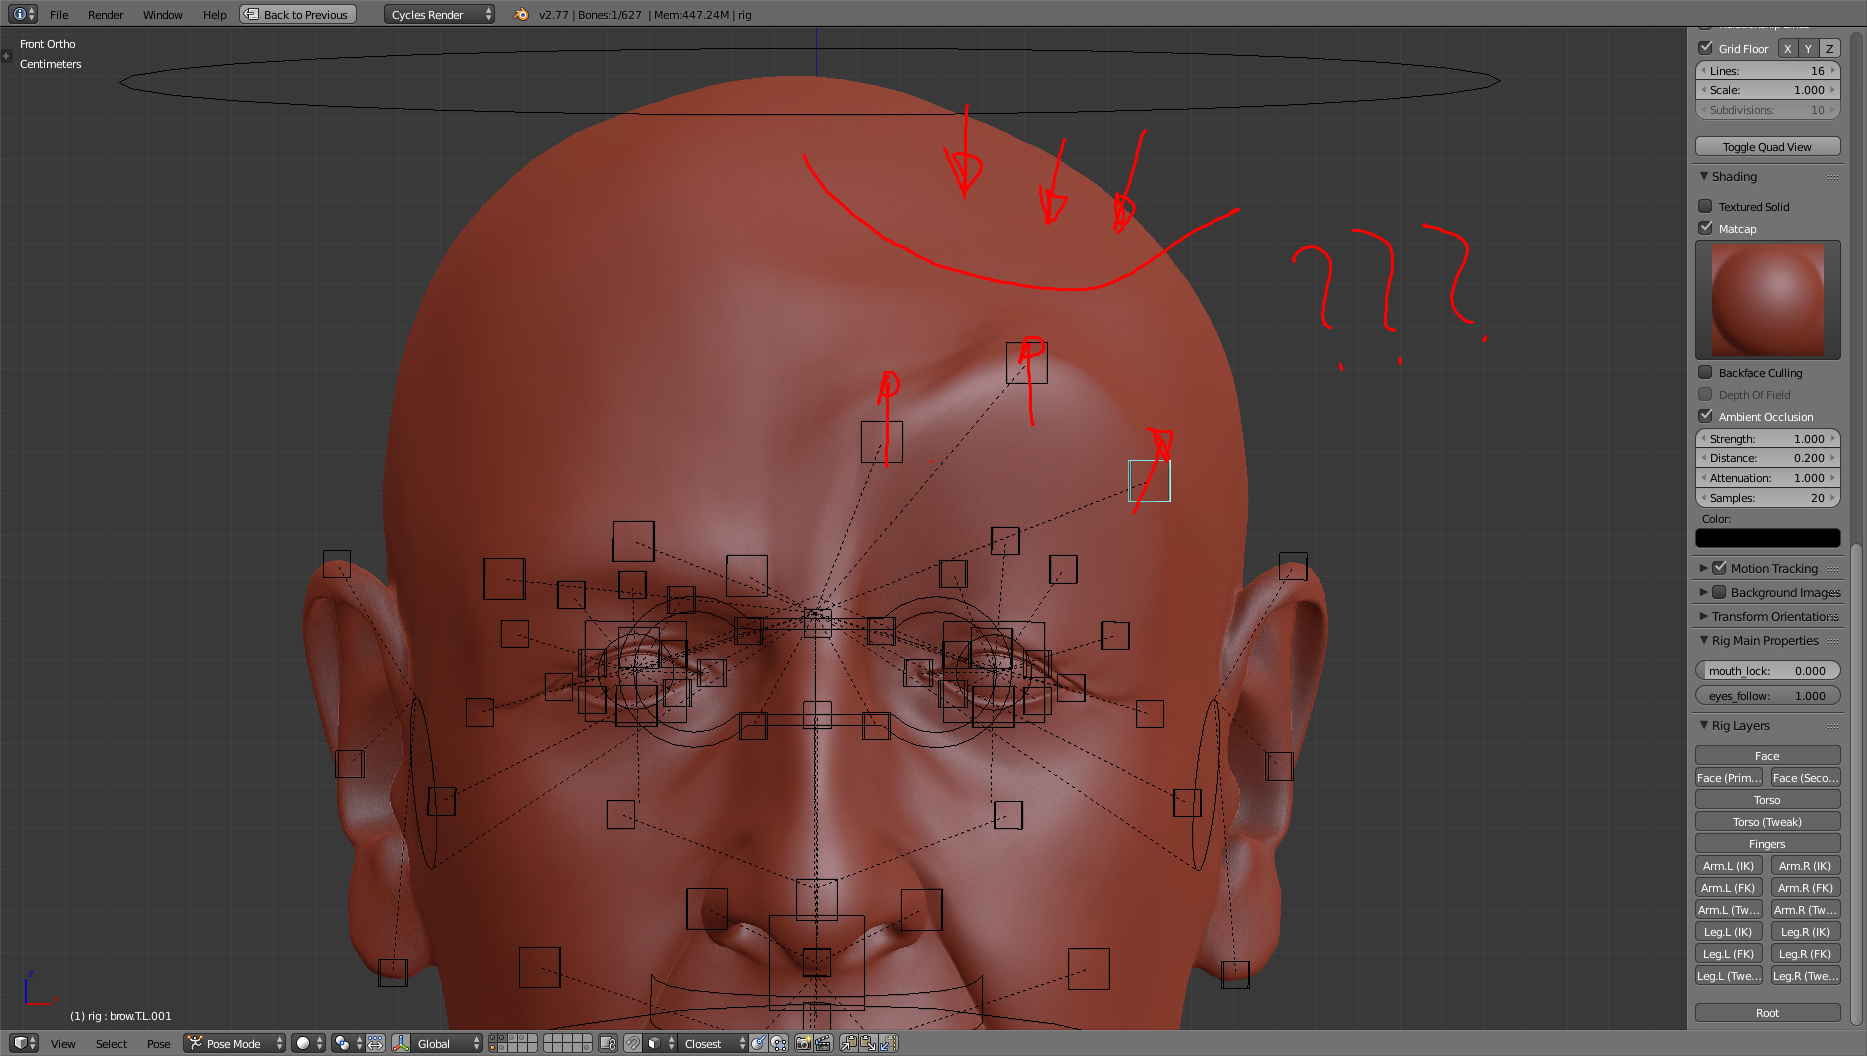
@RodDavis You are more than welcome! I hope I can help more, but really my knowledge is a bit limited right now. (and my English is worst) @Chipmasque! I definitely going to look at your rig, thank you very much!!! I’m right now testing the rigify of blender for the face, I’ll test that, and then I’ll try yours, I think I have to use as much rigs as possible to see what I like and what I don’t because right now I’m rely lost hehe.
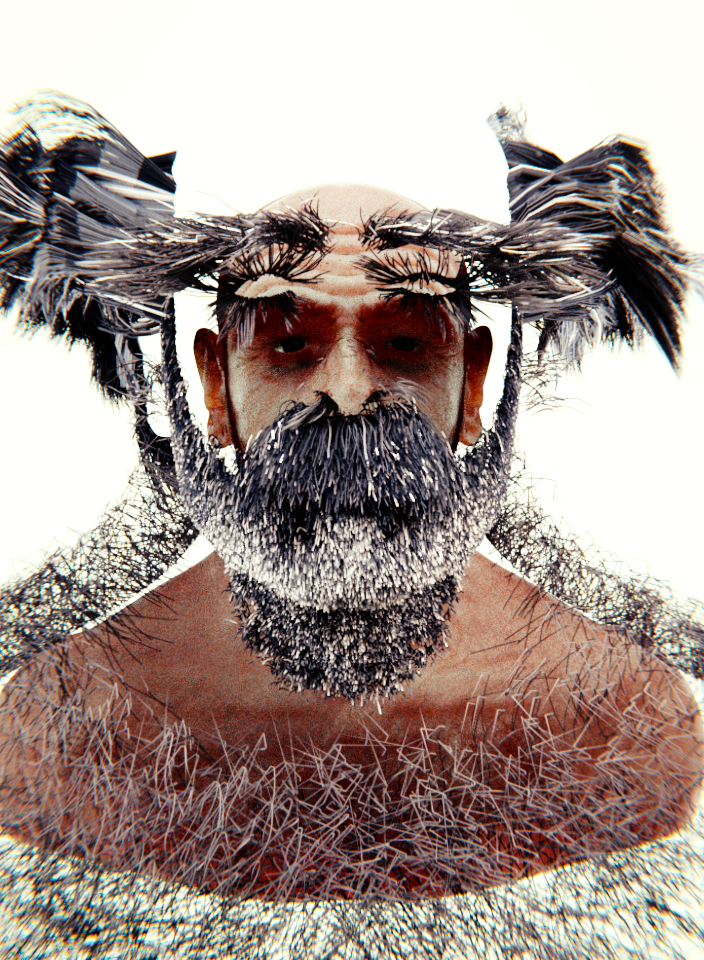
Just for you to have fun, when I import the rig I realize that my model, only the head was 3 m tall! haha, so I think well lest put my mesh in a actual human sice, and then this happen: Very artistic haha.
You are totally right! It is because of the light, and the camera settings, I overexpose a lot, it was an experiment.
Well… I don’t think I’m terribly perfectionist, but I can keep going some times if I have a goal.
I find out that if I scale the meta rig, and then apply the location, rotation and scale, it generates the rig of the same size! So I don’t have to rizice my model! Thinks looks interesting! Maybe today I can get it right!
Well I have something working, many things wrong… eyes goes the other way, and I don’t know why… I see a lot of things that move not right, but for the first functional rig, is not bad at all, I’ll keep trying!
I’m still working with the rigging… I think I just get it right this time, but at last I have to scale down my mesh, so all materials and hair systems are ruing, so I have to redo a lot. Next project will be rigged as soon as possible, and then all the rest.