Did you jsut change your avatar, like 10 minutes ago?
Anywho, the camera position is good on a small scale, it has a feeling that someone took a photograph and didn’t really attempt to get a good angle, thats not a crit against you, its actually quite clever. Its just that enlarged you spend a few seconds checking all the corners of the picture to get everything in perspective, but then a gain the resolution of this monitor is small.
Orinoco: Oh yes, I have a better method. I’ll explain it simply, and if you want more detail about a specific step, I’ll tell you.
TUTORIAL
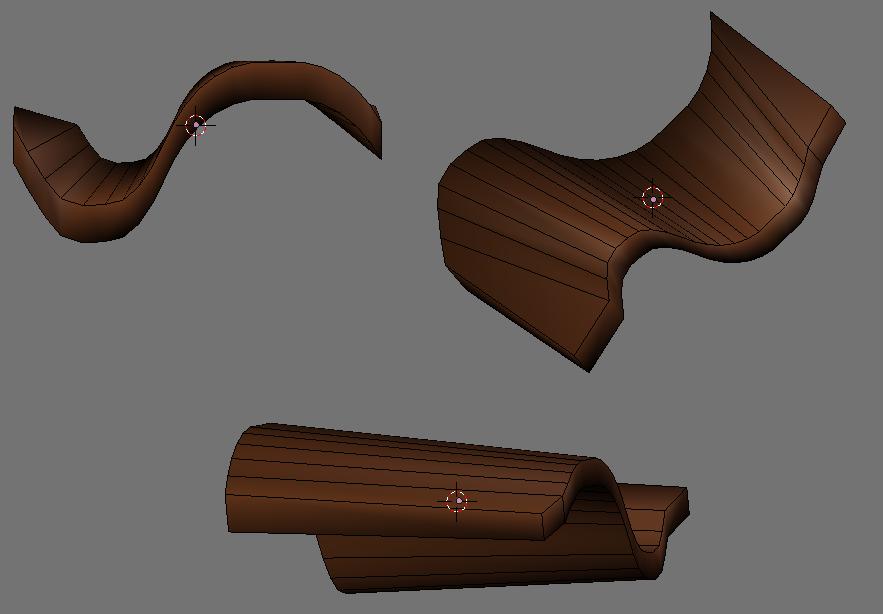
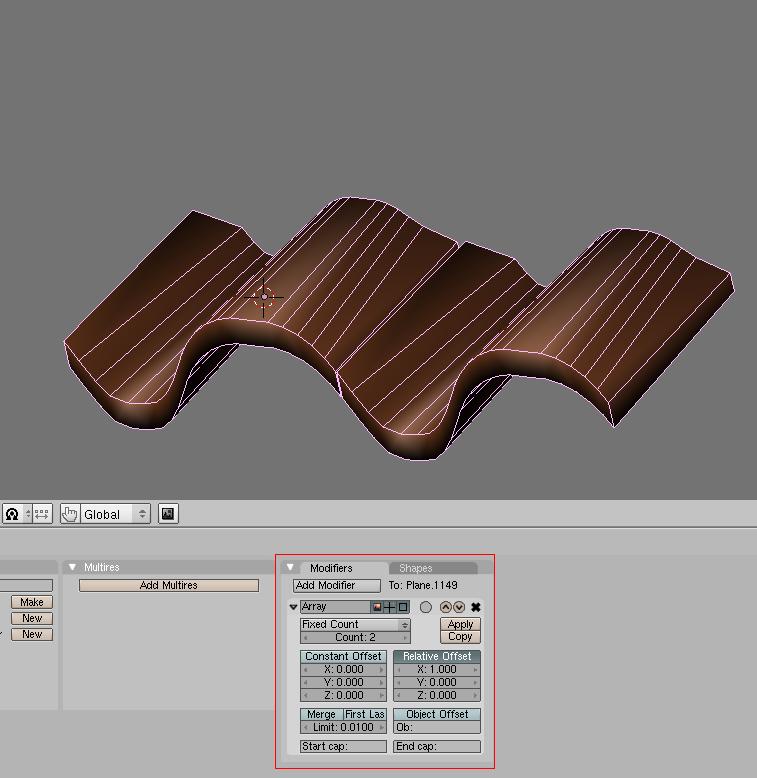
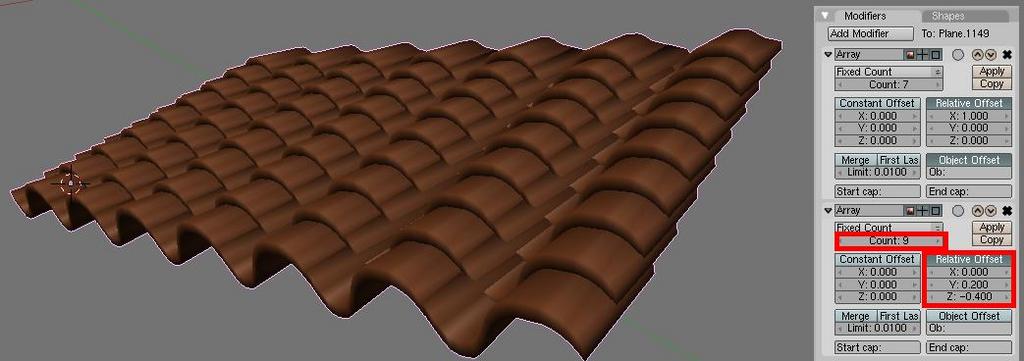
First, model a shape like this. Try to make it look like it will"tile" (no pun intended), so that if you put them side by side they’d look like one long wavy piece. It’s ok if it’s not perfect; you can fix that later.
Orinoco: No problem, and nice creation:)Adding moss makes them look really nice.
EDIT: I see you used a better method than me (tiles on top, tiles on bottom). Makes for better jumbling
The interlocking combination tiles I think are a Chinese or Japanese invention, at least you see a lot of them in the orient. The type I made are the kind you see on roofs in South and Central America, Mexico and US Southwest. I think they originated in Spain, so you’d probably see them in Spain and Portugal, too. They do jumble well. In Japan, you might see a broken roof tile, but it’s rare to see one out of place.
If I may give one or two crits. It looks like someone took a broom swept the roof and building clean. Some more dirt or debris on the roof and walls would add just that bit of extra that I think this piece needs and the windows are a bit to reflective, but either way it looks good.
What I was hoping for was more a tutorial on the way you did the various colors on each of the tiles. Did you apply the array modifier, and then UV map each one?


 Thanks for the tutorial, blenditall
