LOL, thanks
From a print out perspective you could thing otherwise.
They have a very nice flow with the loops on the form and design of both of the last two pieces,
very well executed my friend :RocknRoll:
Cheers,
~Tung
@michalis: you’re right.  The thing from post #1011, that you postet also in the Brechts easter egg thread with SSS is also fabulous. (post #12544) Is this only SSS with glossy, or are you using a diffuse node as well?
Thanks Tung, JoHal
SSS + diffuse always. ~70%SSS. Mixed with some glossy in the output.
How to control the SSS BSDF is another question. I tend to believe that I need two SSS nodes. A fast falloff one and a second much more scaled. I can combine two passes in compositor or Ps but I don’t like such solutions very much.
Thanks. I hope i find a few SSS tutorials to dig into, 'cause it’s all Greek to me  i mean, i only understand parts
@JoHal, you won’t find anything simple. Most blender users tend to think very complicate when we come into SSS. Lot of obsessions.
Well, maybe i can figure it out by myself someday.
But you should definitively make a material tutorial, michalis.
You’re node setups are among the best i’ve ever seen.
Thanks filou
it is bloom or glow or halo or whatever is called under various image editors.
Well, it is a zbrush BPR renderer though. Just for fun. Why not using blender for modeling and Zb for rendering? LOL
Zbrush has an interesting shading engine, far away from ray or path tracers. Good for illustrations only. And a very easy to use NPR system. It is also easier to subdivide to a lot of millions and apply displacements there. It lacks of a full UV editor though. So, it is possible to have something like follow active quads, to play with different groups-UV sets, but it is very complicated and always a distractive technique, no way back. Nothing to compare with the excellent and fully controllable blender UVs. However, Z friends asked for a tutorial. So, I’m trying to figure out how I’ll do it. Just advise people to learn a bit of blender and you lose them. Indeed so. LOL I don’t blame them, not much.
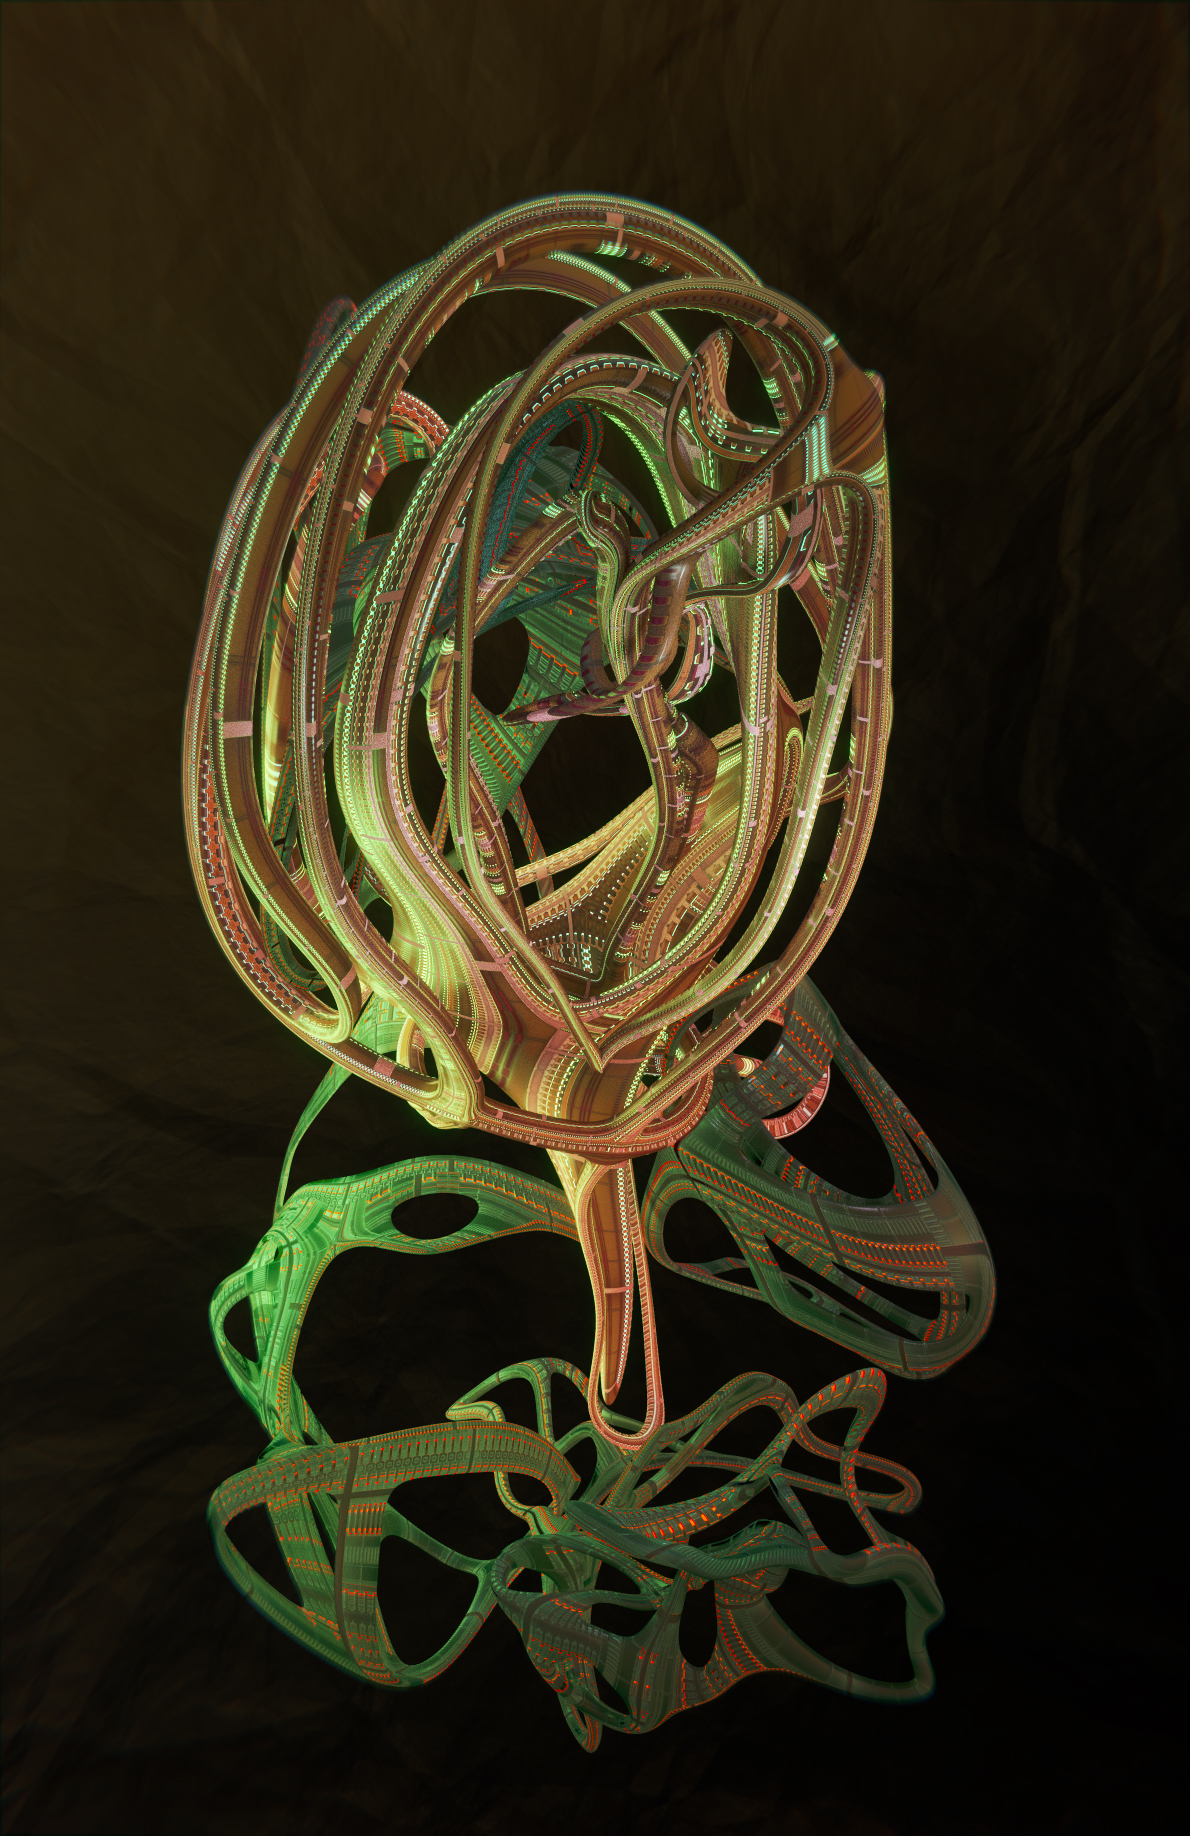
Here are three planes, one on top of the other. Just horizontal and vertical patterns, loops.

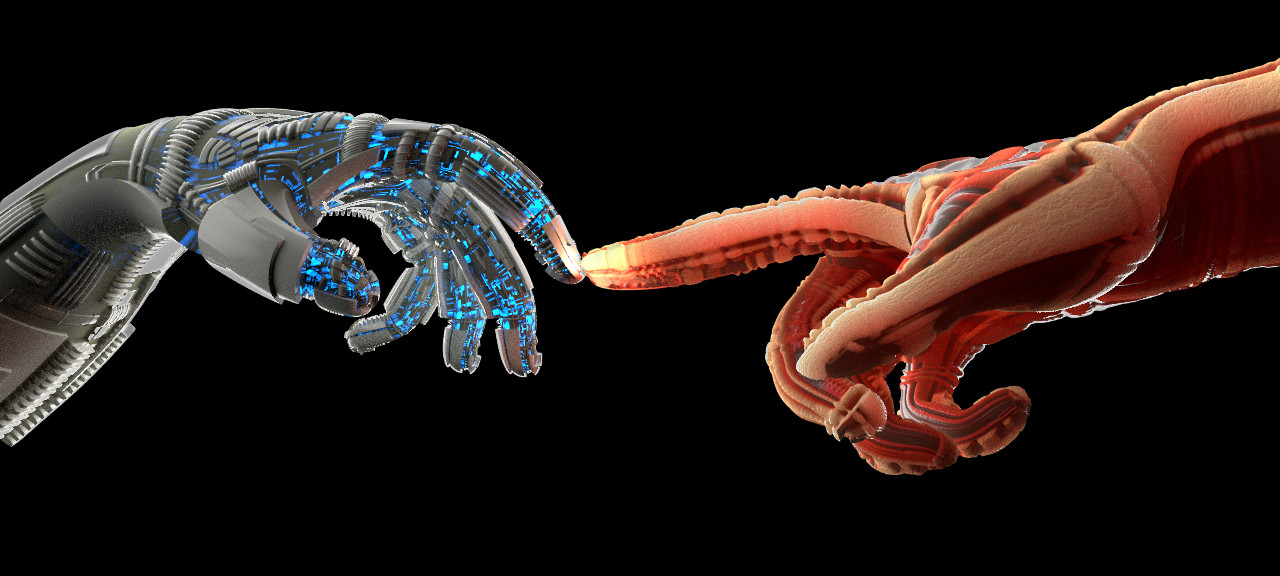
Still learning how to model humans.
This is my first hand model. Bad shape and topology for realistic models, but fun for this kind of stuff.
Attachments
fun citation 
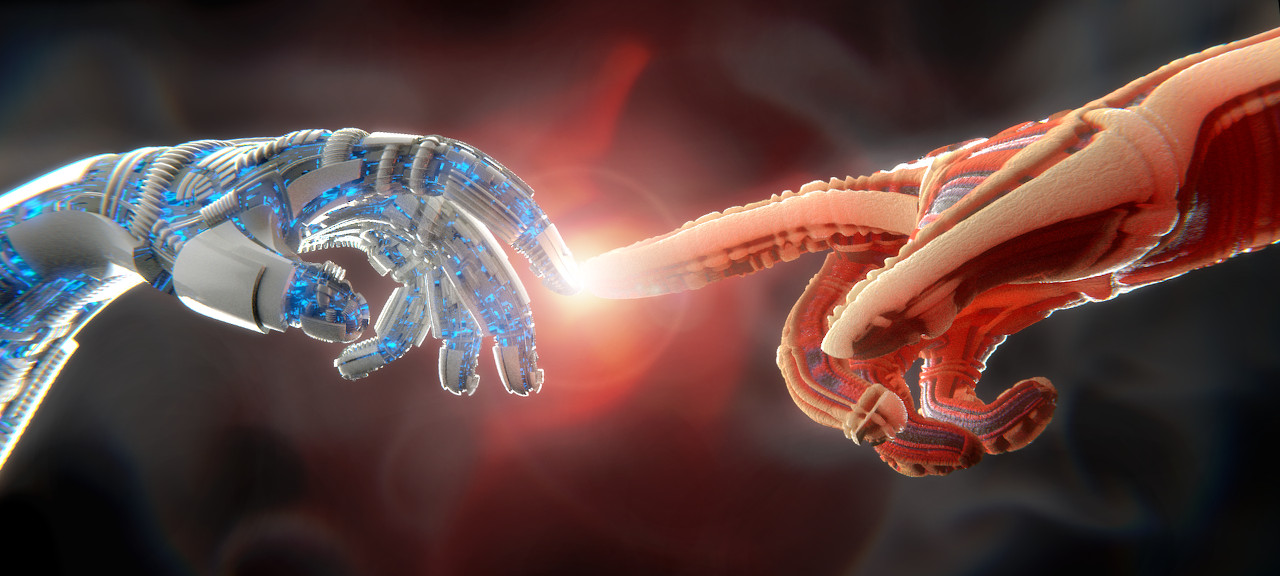
god giving life to adam,michelangelo!
fantastic work!:eek:
Nice JoHal. Classic concept and nice colors.
Thank you doris, filou.rod, Atom. It’s Adam giving live to an android
Like in “Jurassic Park” as Dr Ian Malcom said: God creates man. Man destroys God. Man creates (dinosaurs) androids.
I don’t get it. Who gives energy to whom? I already noticed some blue energy flowing from left to the right hand.
Though the pose of the right hand is more aggressive. However, this may indicate hunger. A very strong WILL. The left hand is a bit pathetic. It doesn’t care much. It just gives to the seeker.
It’s a beautiful render.
Hey, I was joking.
The above comment was on Michelangelo’s work. he he to have some fun.
Thanks michalis. I thought so, but i was’nt sure (language problem :))
It is not a language barrier issue, JoHal.
he he
This Michelangelo’s masterpiece is a controversial image IMO.
Some crits on your last work.
A hardsurf modeling needs lot of individual parts IMO. Real robotics…
If we apply hard surf displacement on organic forms like hands, we can only think of it as an elastic thing. If animation take place how it gonna look like? If this is what you had in mind, an elastic technology, it works better on the right (god’s) hand.
I just posted a small tutorial on zbrush central.
There were some requests from z friends, it is only an additional, an alternative perspective on a lot of great tutorials there.
I’m posting the link here because it is always interesting to see how an adaptation of a method looks like.
IMO, blender is more capable on such methods. It is the UV editor, the edit mode.
However, the excellent z remesher (auto retopology), the auto UV system (GUVs, it also allows manual position of UV islands - somehow LOL), the easy grouping system, solidification via masks and auto retopology of these, makes zbrush a great alternative. It also is a wonderful application for baking and constructing Disp panels.