I can’t get mine to look so clean,my UV islands are all over the place so everything looks out of place.
@0ptikz
I like it, well designed spaceship !
@DCBloodHound
Why not posting a few renders and discuss about it?
In this workflow (follow active quad), UV islands all over the place is not necessarily bad.
hehehe!
I know, I can do it and things like it in ZBrush, but in Blender there is just too much stuff to memorize, by the time I get halfway through the tutorials, somewhere are around step two thousand and eight or so, I forget what I was doing.
GRIN!!!
I’m trying to follow the tutorial on the first page now but:
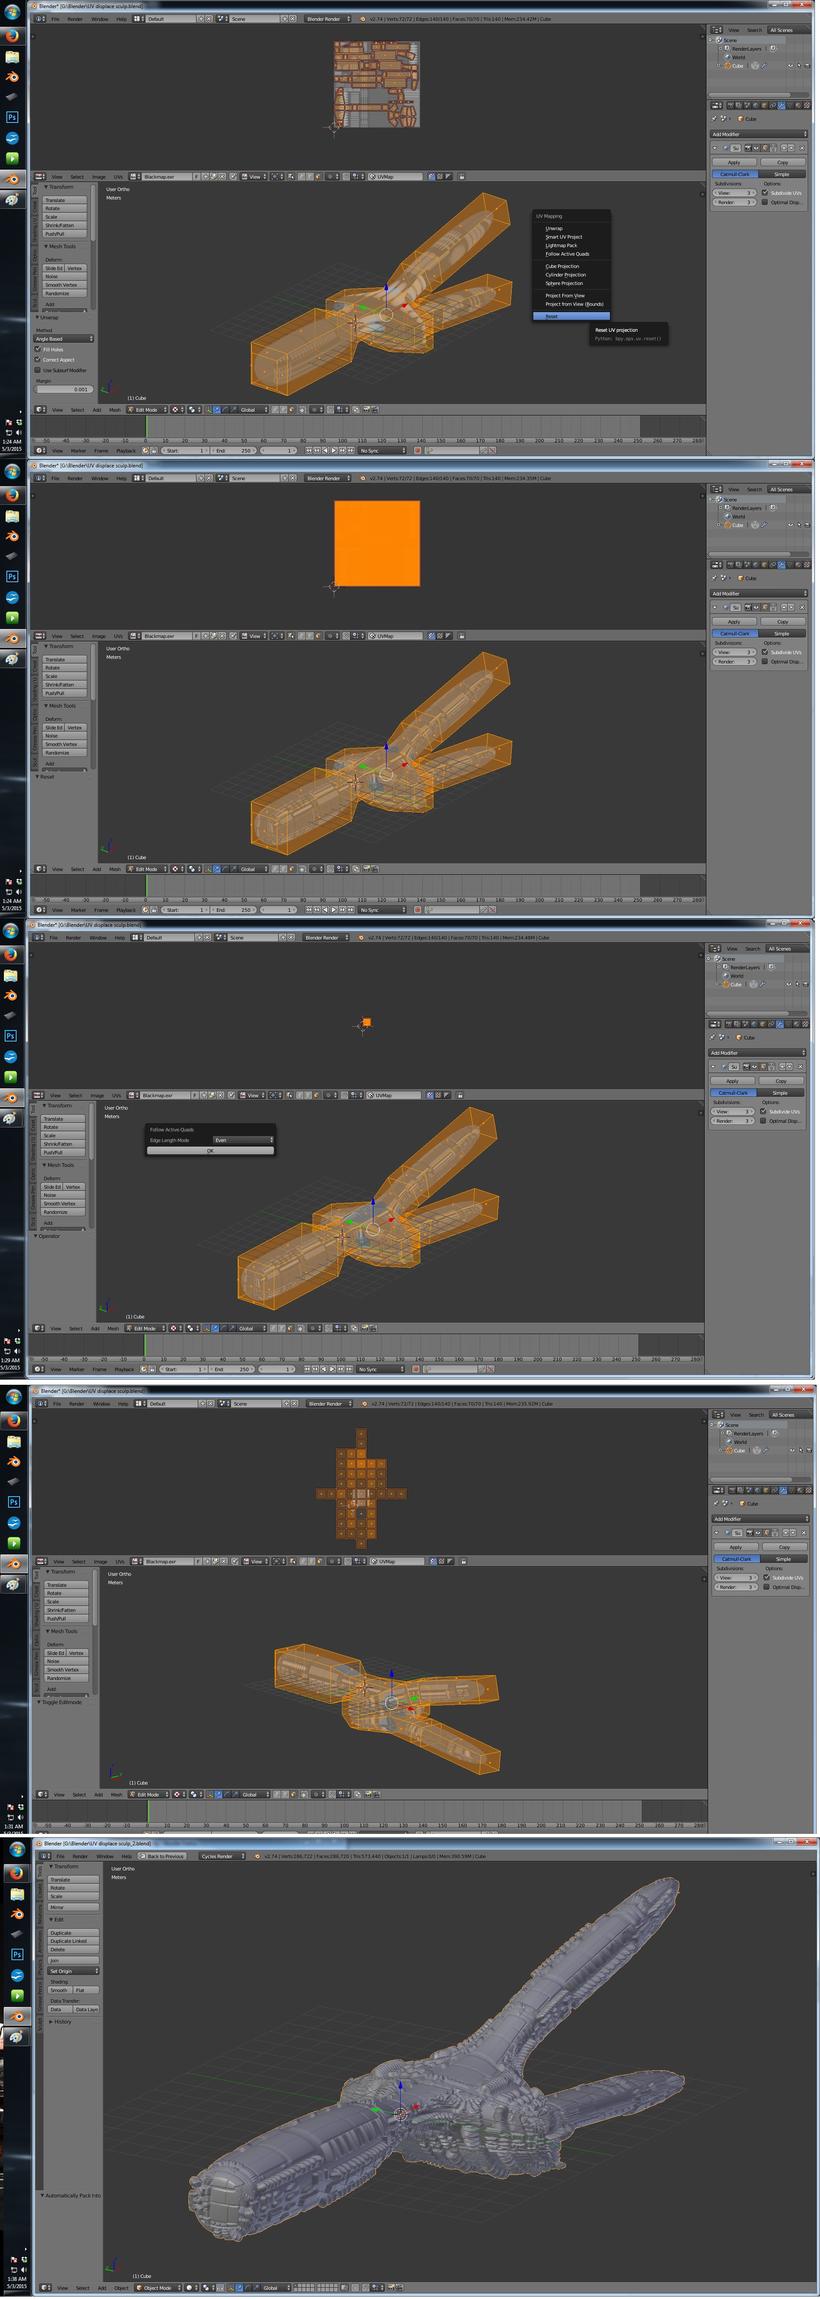
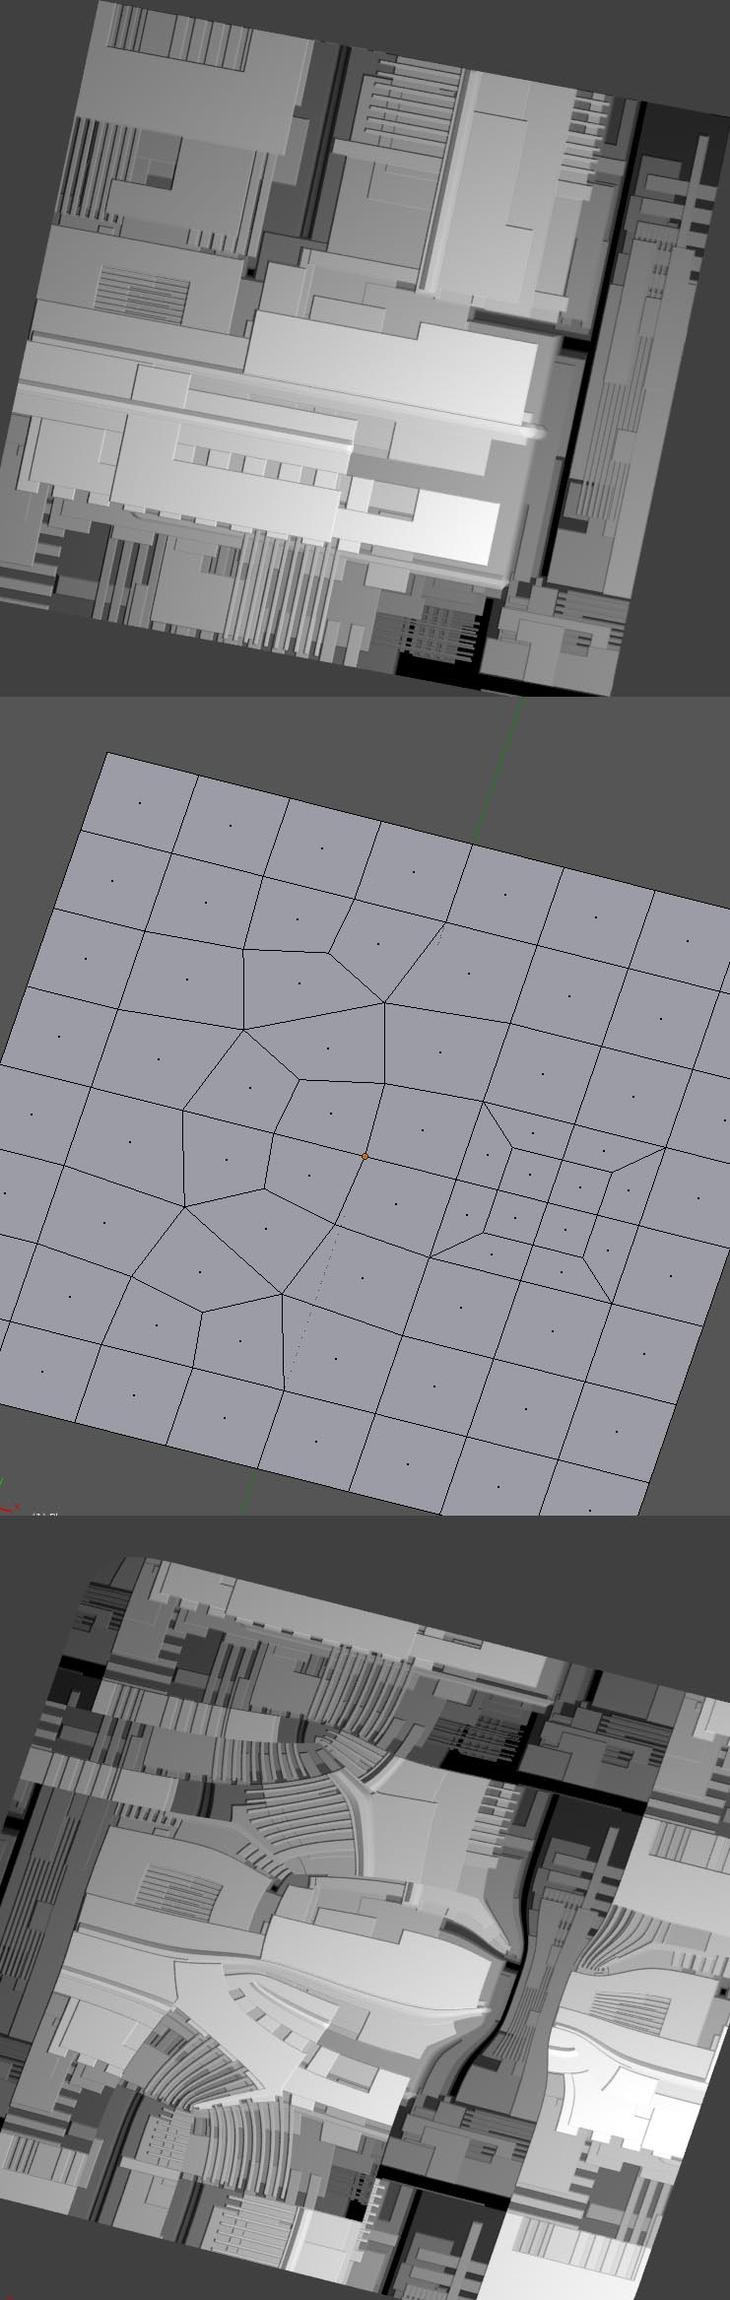
- An easy auto way to have aligned UV islands:
2a. select all and ask for reset UVs, this will produce only square islands for every quad of you mesh. Pack UVs then, to have see them.
I get one large block that covers the entire UV window instead of small blocks.Blend file below:
https://www.dropbox.com/s/ik37mou8watnwez/UV%20displace%20sculp.blend?dl=0
I guess there is a more up to date tutorial somewhere? (it took me a while to realize that i had to be in edit mode to bake)
@DCBloodHound
Follow the tutorial, please.
Just downloaded your file
Here it is:
Edit mode / select all faces, /ctrl+E/clear seam
OK? all selected so, U (to unwrap) / reset. All faces are unwrapped as squares as a stack (in UV editor)
Select one face in 3dview (to become the active one, the one with this highlighting pattern, then A to select all, then U / follow active quad. Done.
In edit mode select all and resize. Have 3d view in texture mode to preview what you’re doing.
Your file here (OGL preview)
It looks just fine.
About the islands:
Shouldn’t be your concern at this stage.
Their purpose is to “sculpt” your subd mesh.
[SUB](the follow active quad mode works inside a surrounded by seams area(an island). So, you may use seams but you have to repeat the unwrapping for every one of them. Great for more advanced use, controlled sculpting)[/SUB]
To go for baking, for a low poly game asset (converting displ to tangent n-maps etc etc), a second, a regular UV set gonna be used and bake there.
On the thread#2 of this topic I added a few links.
How did you get yours to looks so clean?
I shared a few 32 bit maps.
Avoiding curved elements. Just horizontal and vertical edges. Any curved result comes from curved topology.
It is the topology you see. Loops, insets etc etc.
A game depended on the topology! That’s all.
Clean horizontal and vertical only patterns. No magic.
Here’s a simple subdivided plane. With a simple UV unwrapping. A 32 bit ehr dislp map as bump. OK?
Then added a few loops on this topology. You have curves now, right, however using topology and subdivisions only. A horizontal vertical only pattern into a curved topology. That’s all
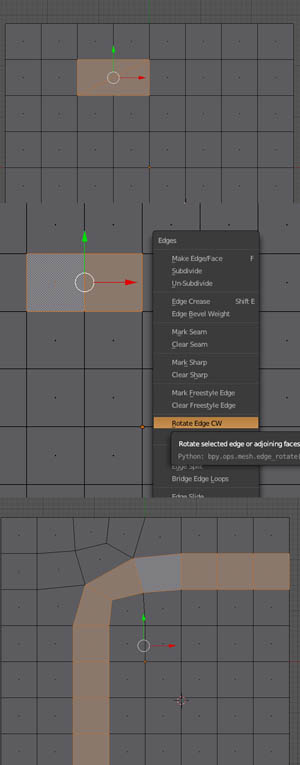
How to create loops?
here’s an idea. The last image shows topology after smoothing vertices.
A simple trick, pixologic (ZBrush) still trying to fix crashes when using a similar tool. (LOL)
1 Like
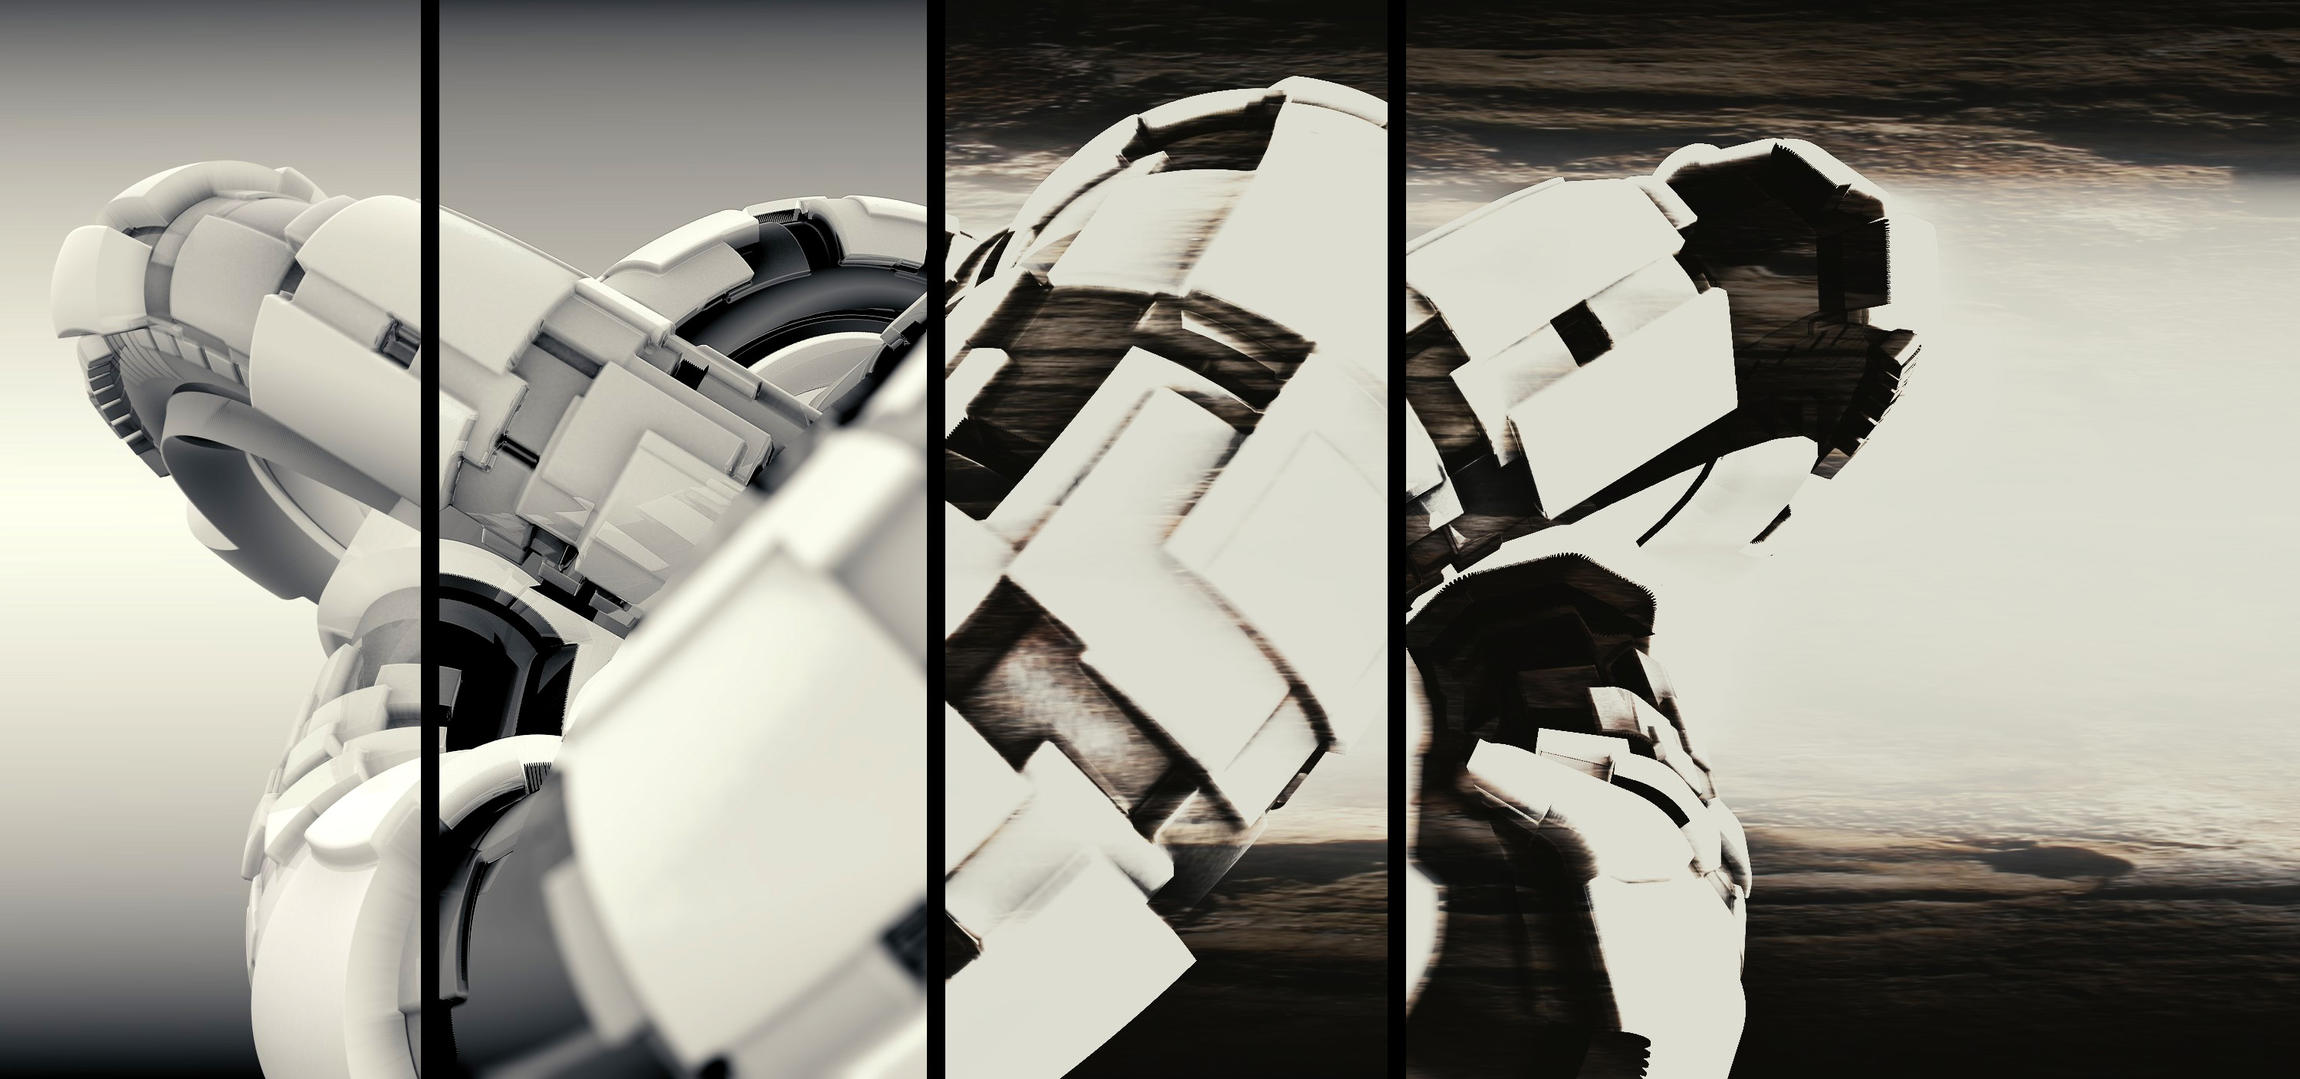
Thanks for this tutorial and all the links to other sites. I’ve had some time to play with it and I think I’m going to use this method very soon. Here is my quick test I did today.
all the best
stefan andersson
@StefanA
You got it right. That’s it. Very nice!
You may pick some random face loops, duplicate and [P] separate. A new UV unwrapping first, place the UV island different. Then, just add and apply a solidify modifier. (apply it, right?)
Just a simple tip. See what you get.
Splitting the basic mesh into different objects can go wild. You never know. (LOL)
1 Like
damn StefanA, that looks so legit. composite it flying on some alien sky bro 
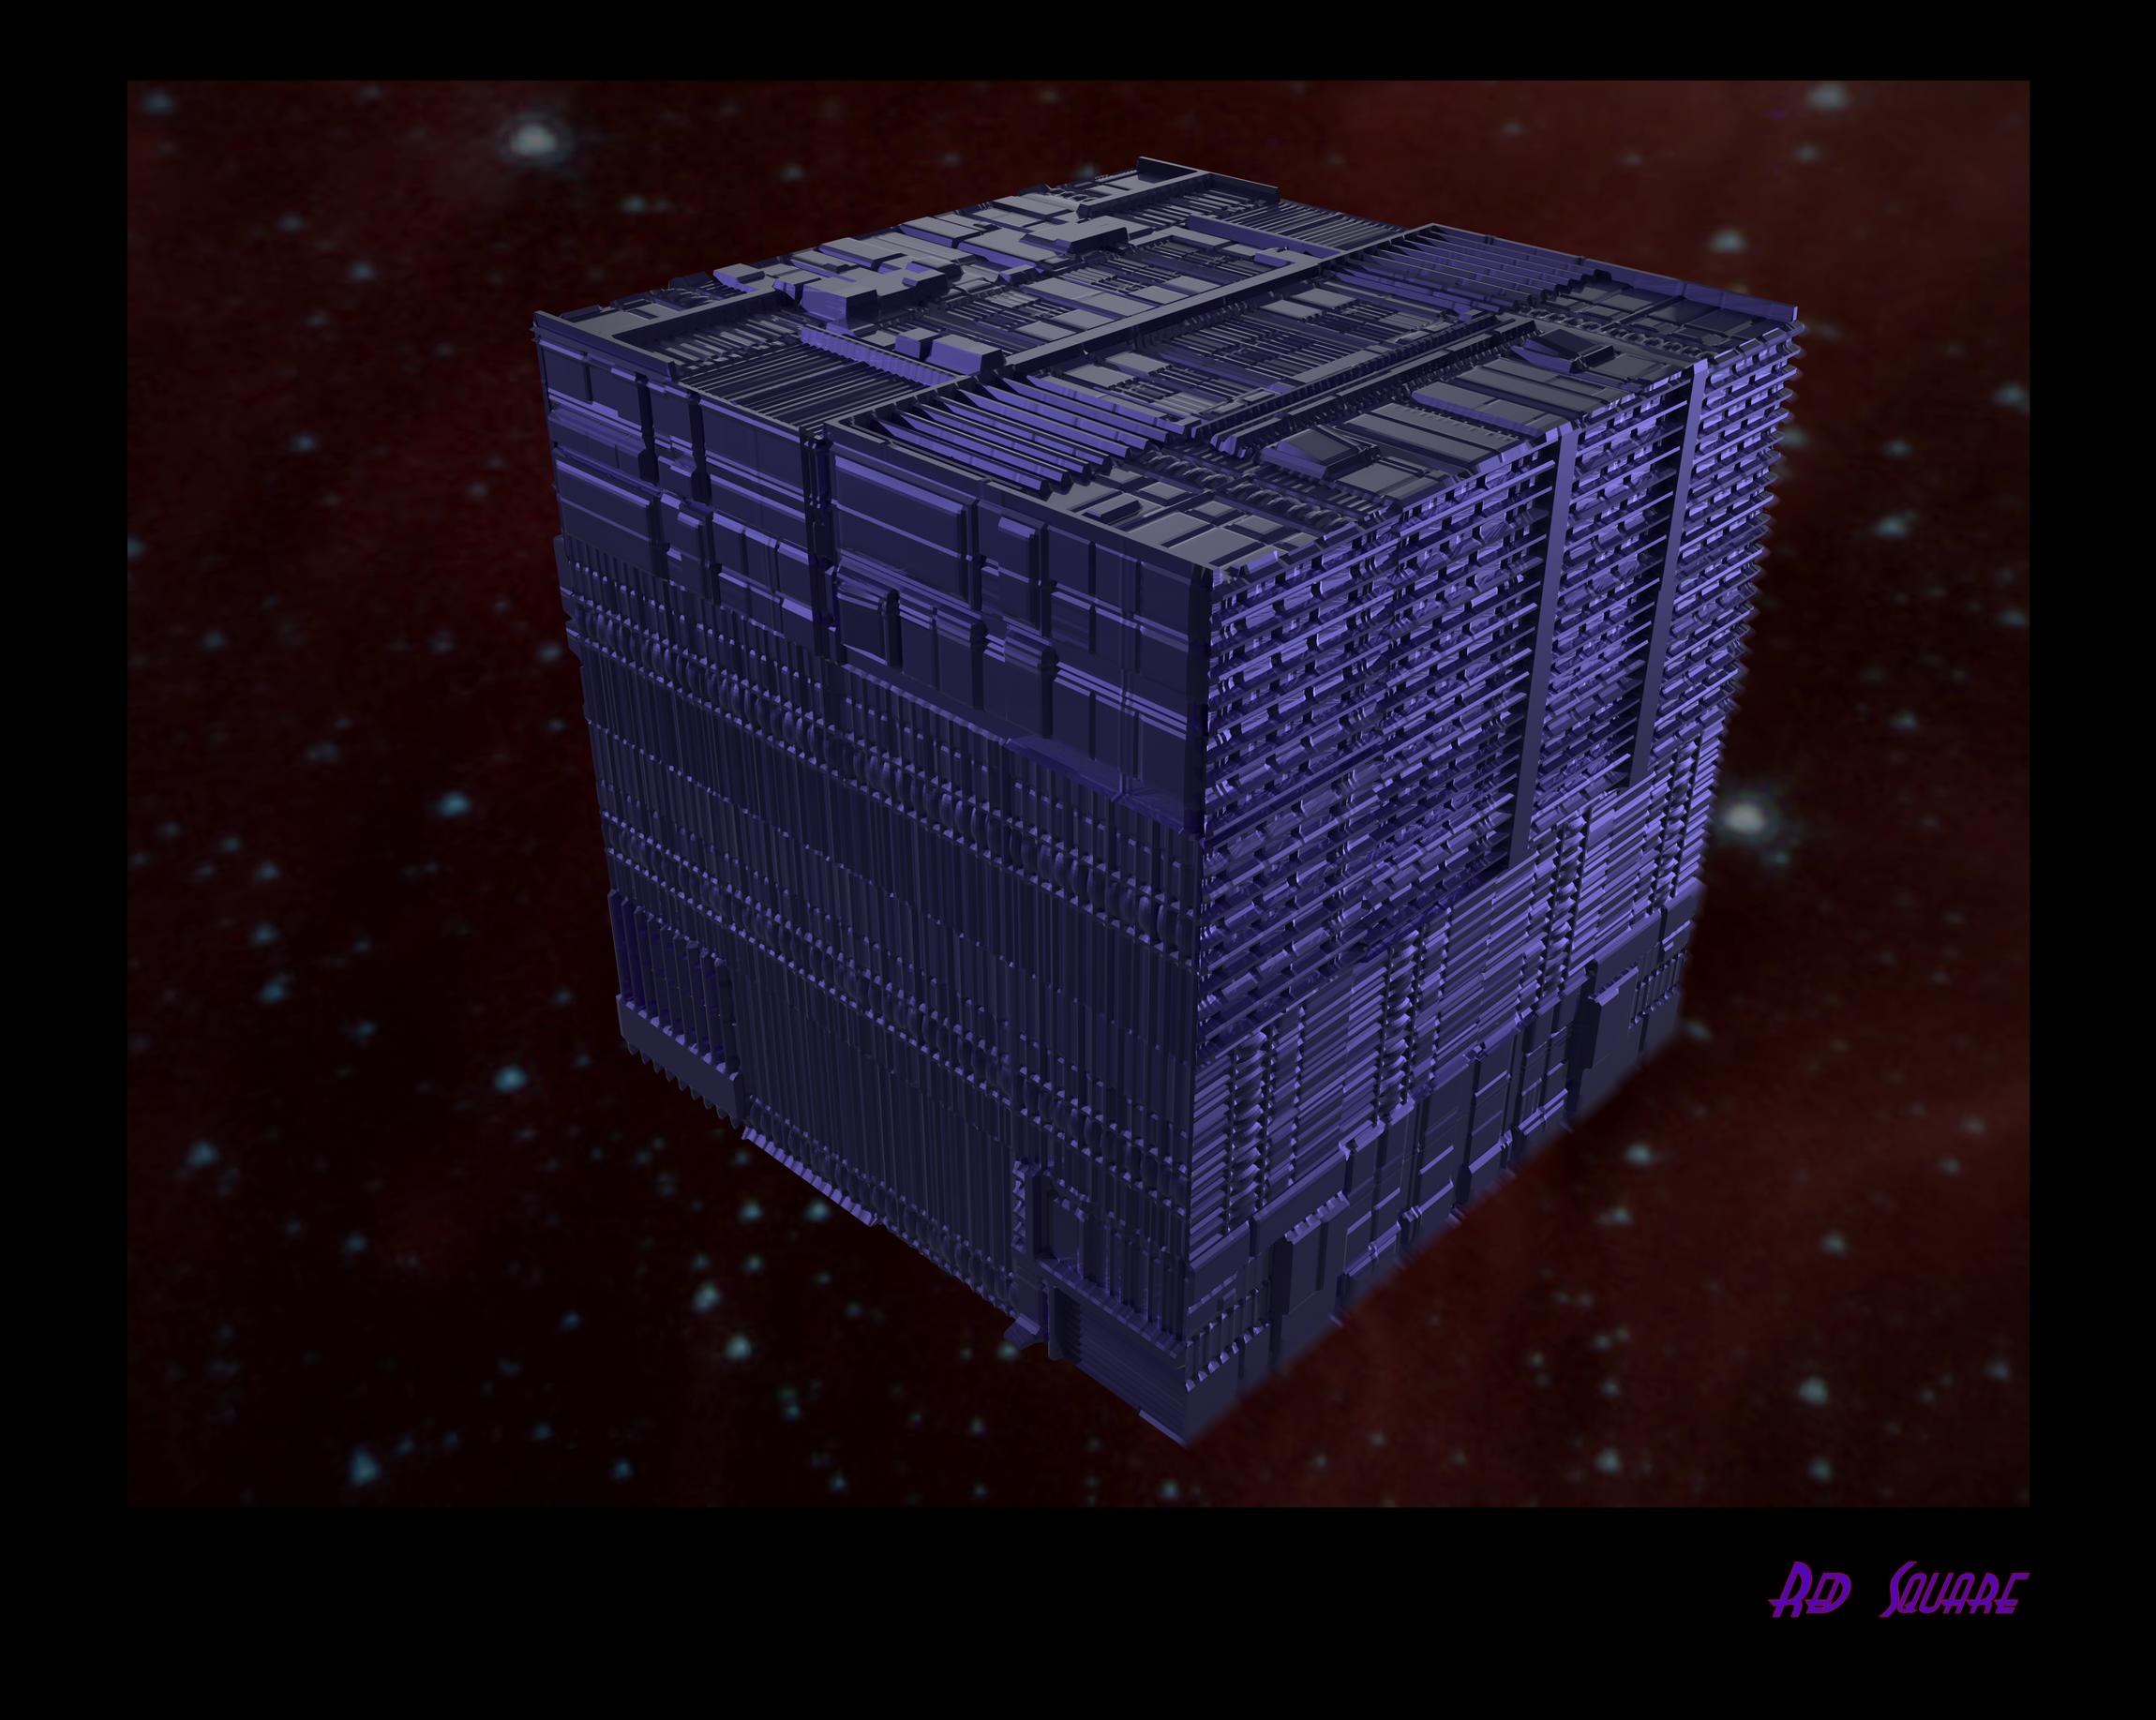
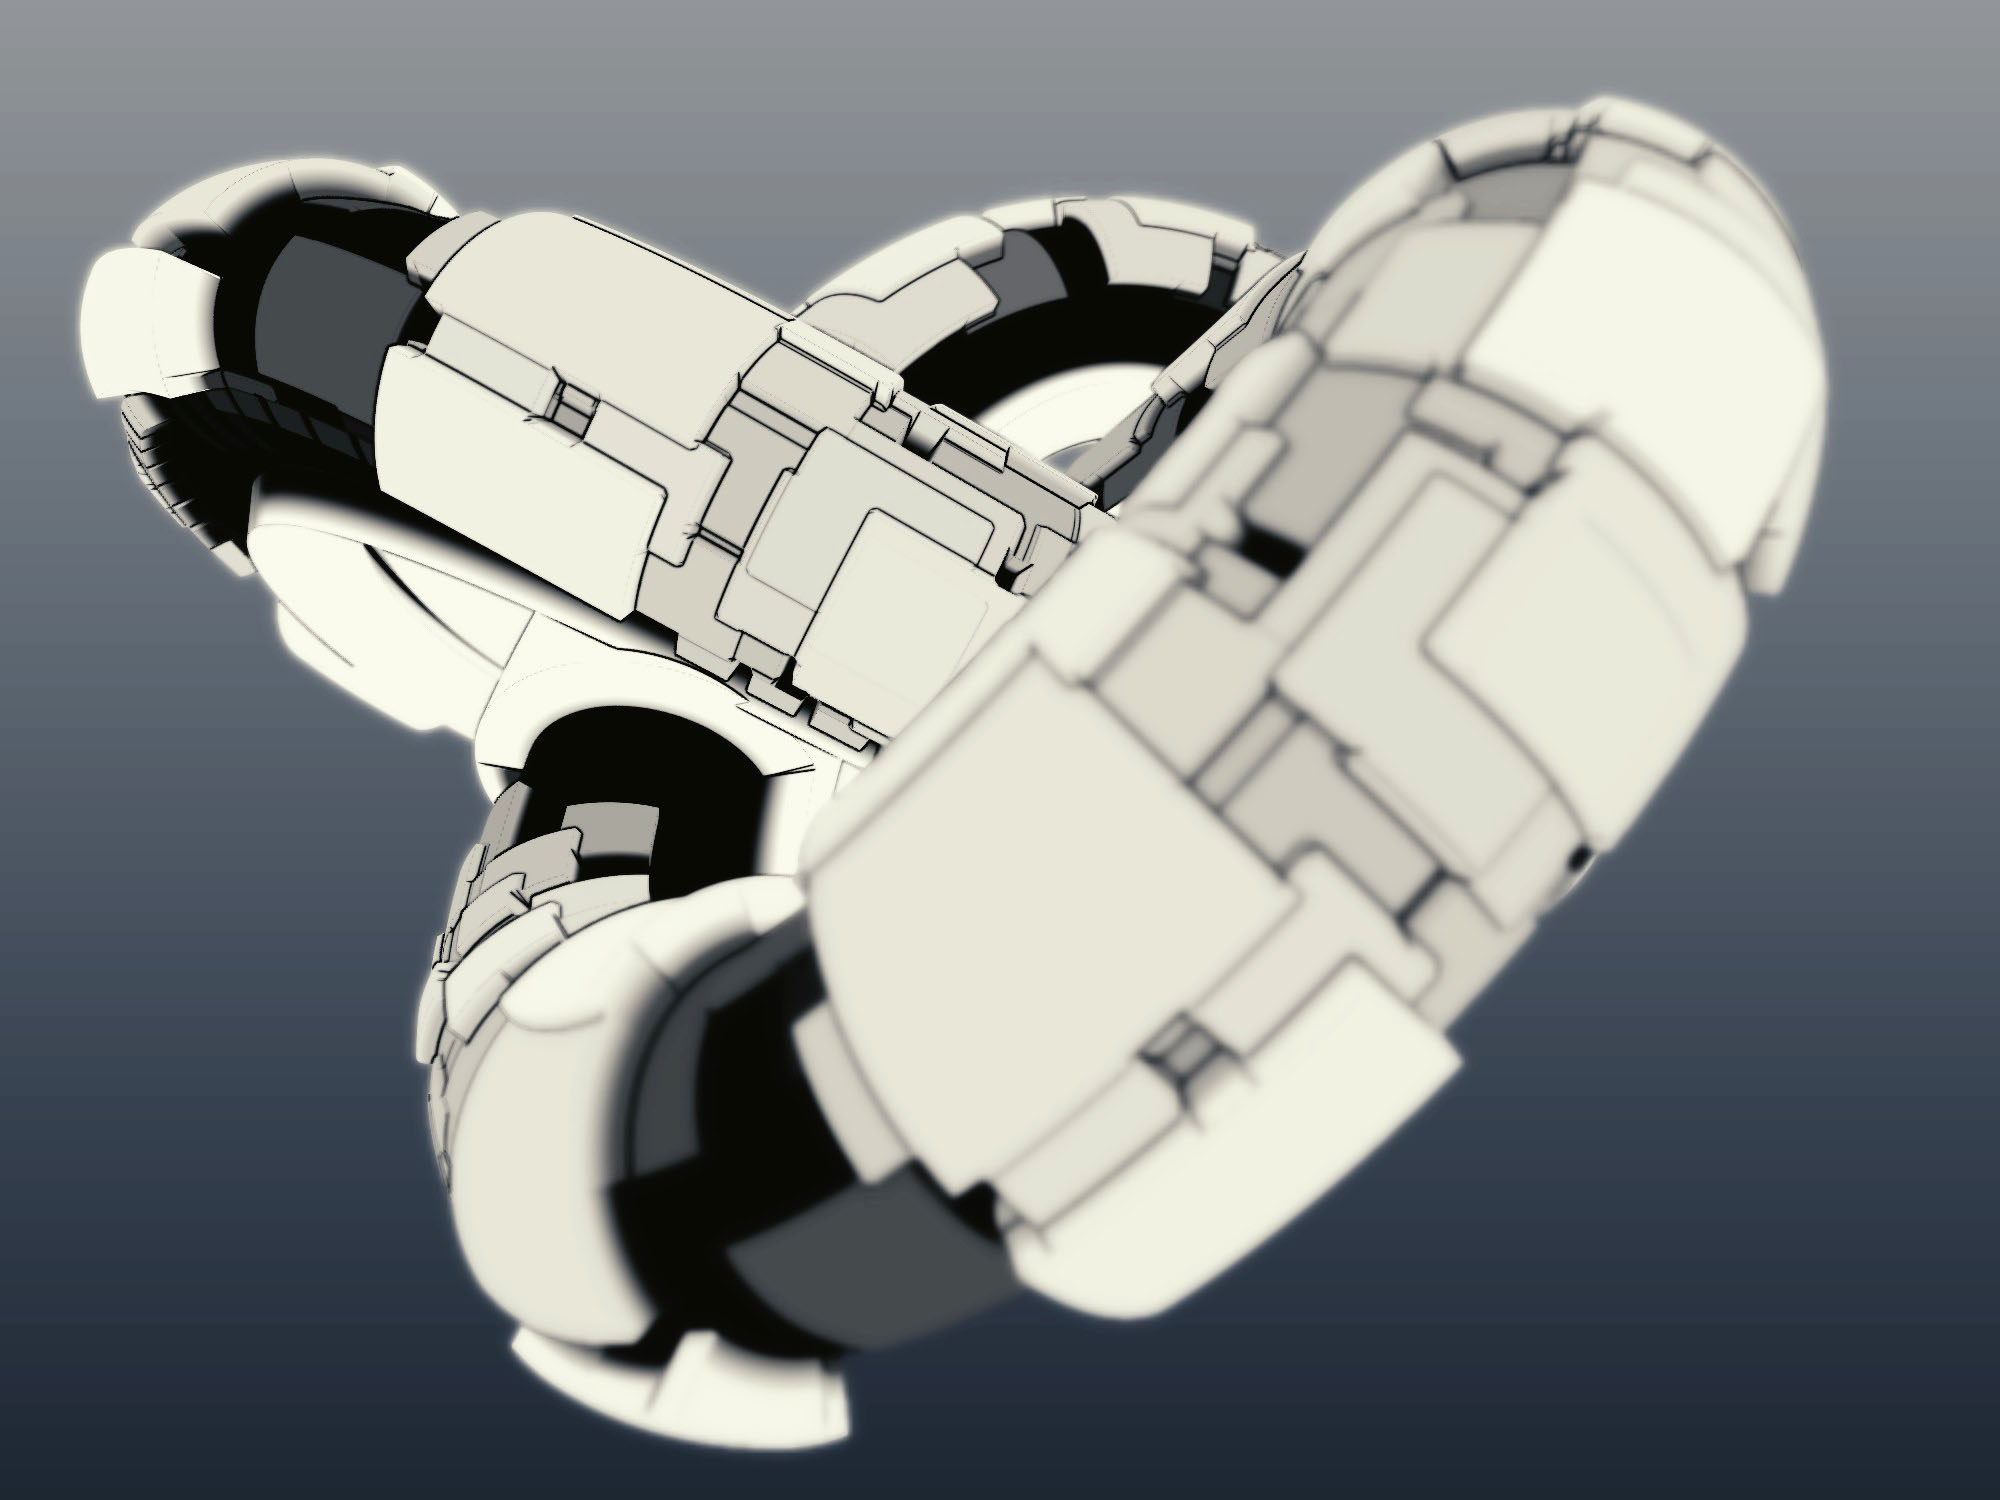
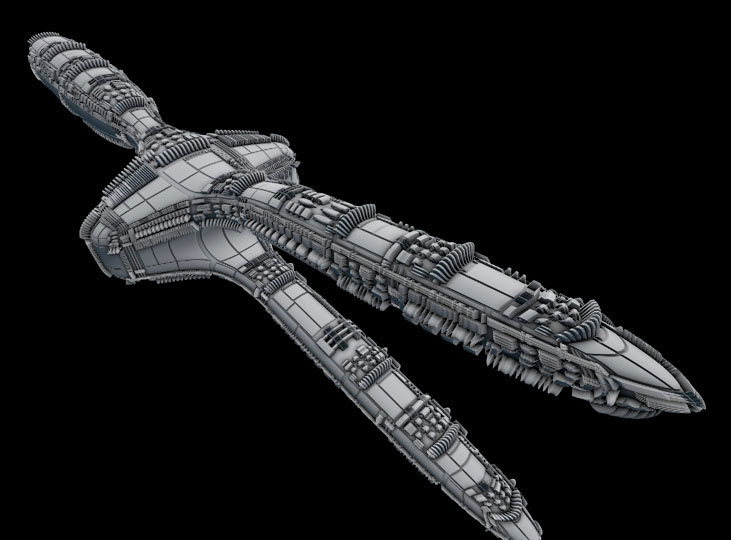
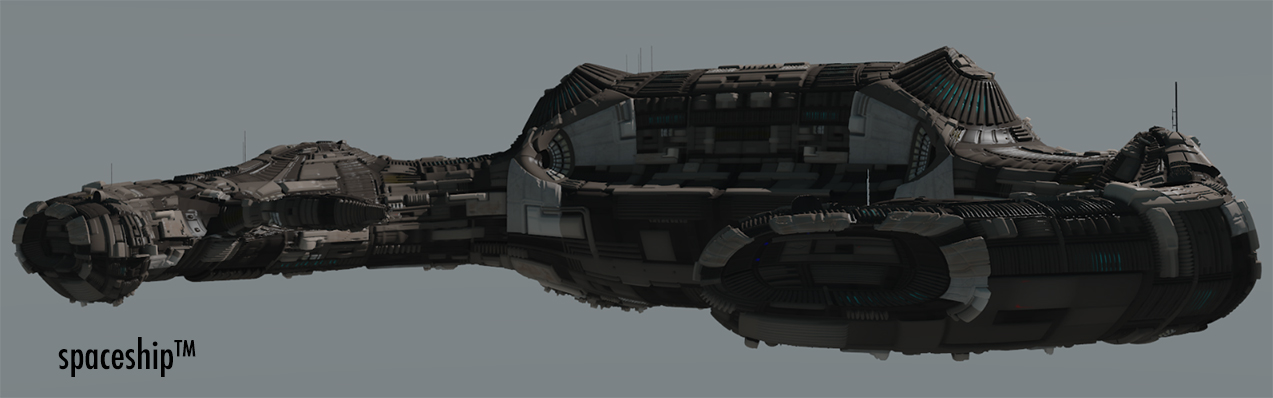
Time to share some pics in this thread, hope you like it.

With 2.75 the amount of vertices my pc can handle with the displacement modfier for rendering went up to 7 times more, so thank you devs for kicking this improvements in, can`t wait for Psy-Fi improvements on the viewport.
If Blender gets developed in this tempo we are heading towards ludicrous speed and we all know what happens if you reach ludicrous speed.
Ludicrous SpeedIf some of you go out of RAM you can use the swap partition with a SSD,this could be 100GIG or more, maybe this is enough.
Their is a bottleneck if you use a HDD, blender and/or your system will freeze.
It won`t work with GPU (until now).
Read this thread if you are interested:
@DERBENDER: Nice, I like the image composition…
reddit’s sub motivated me to do something with blender again, the following was my entry to the “Robotic Heart” contest.
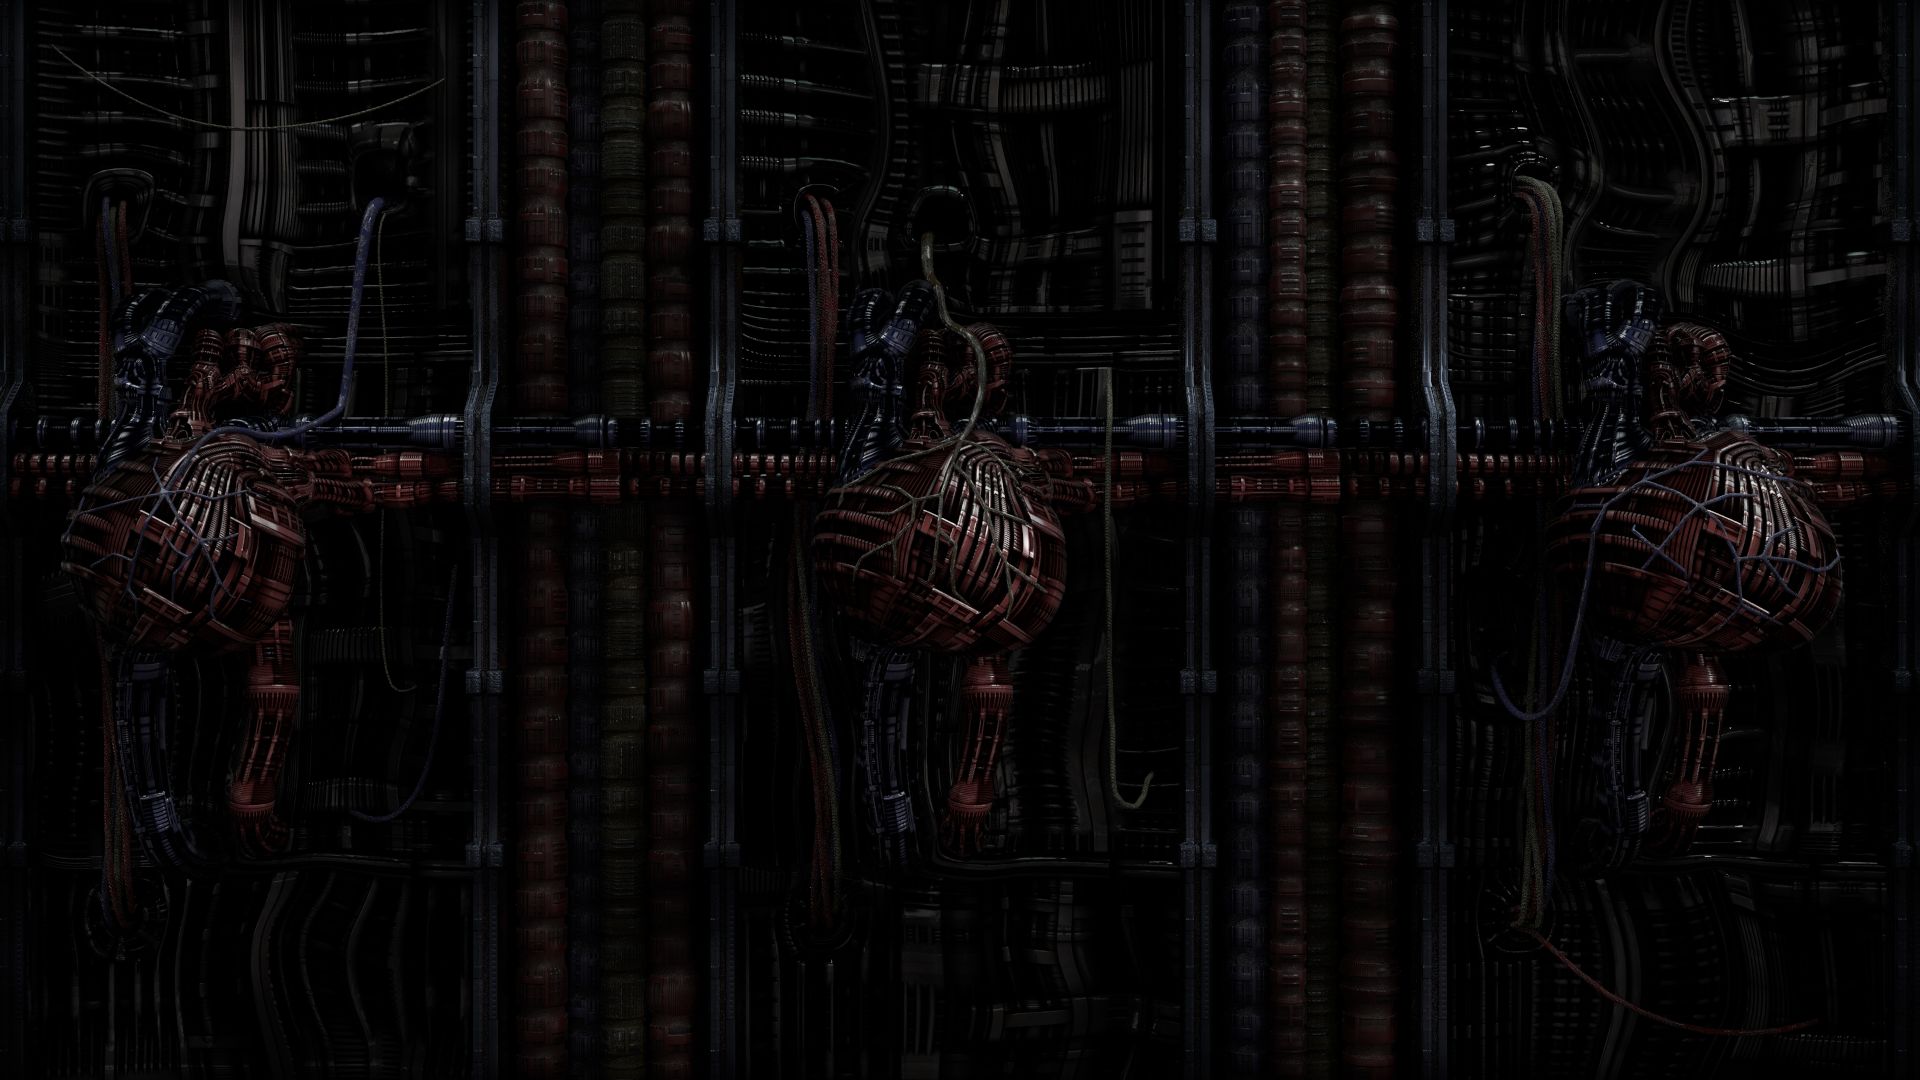
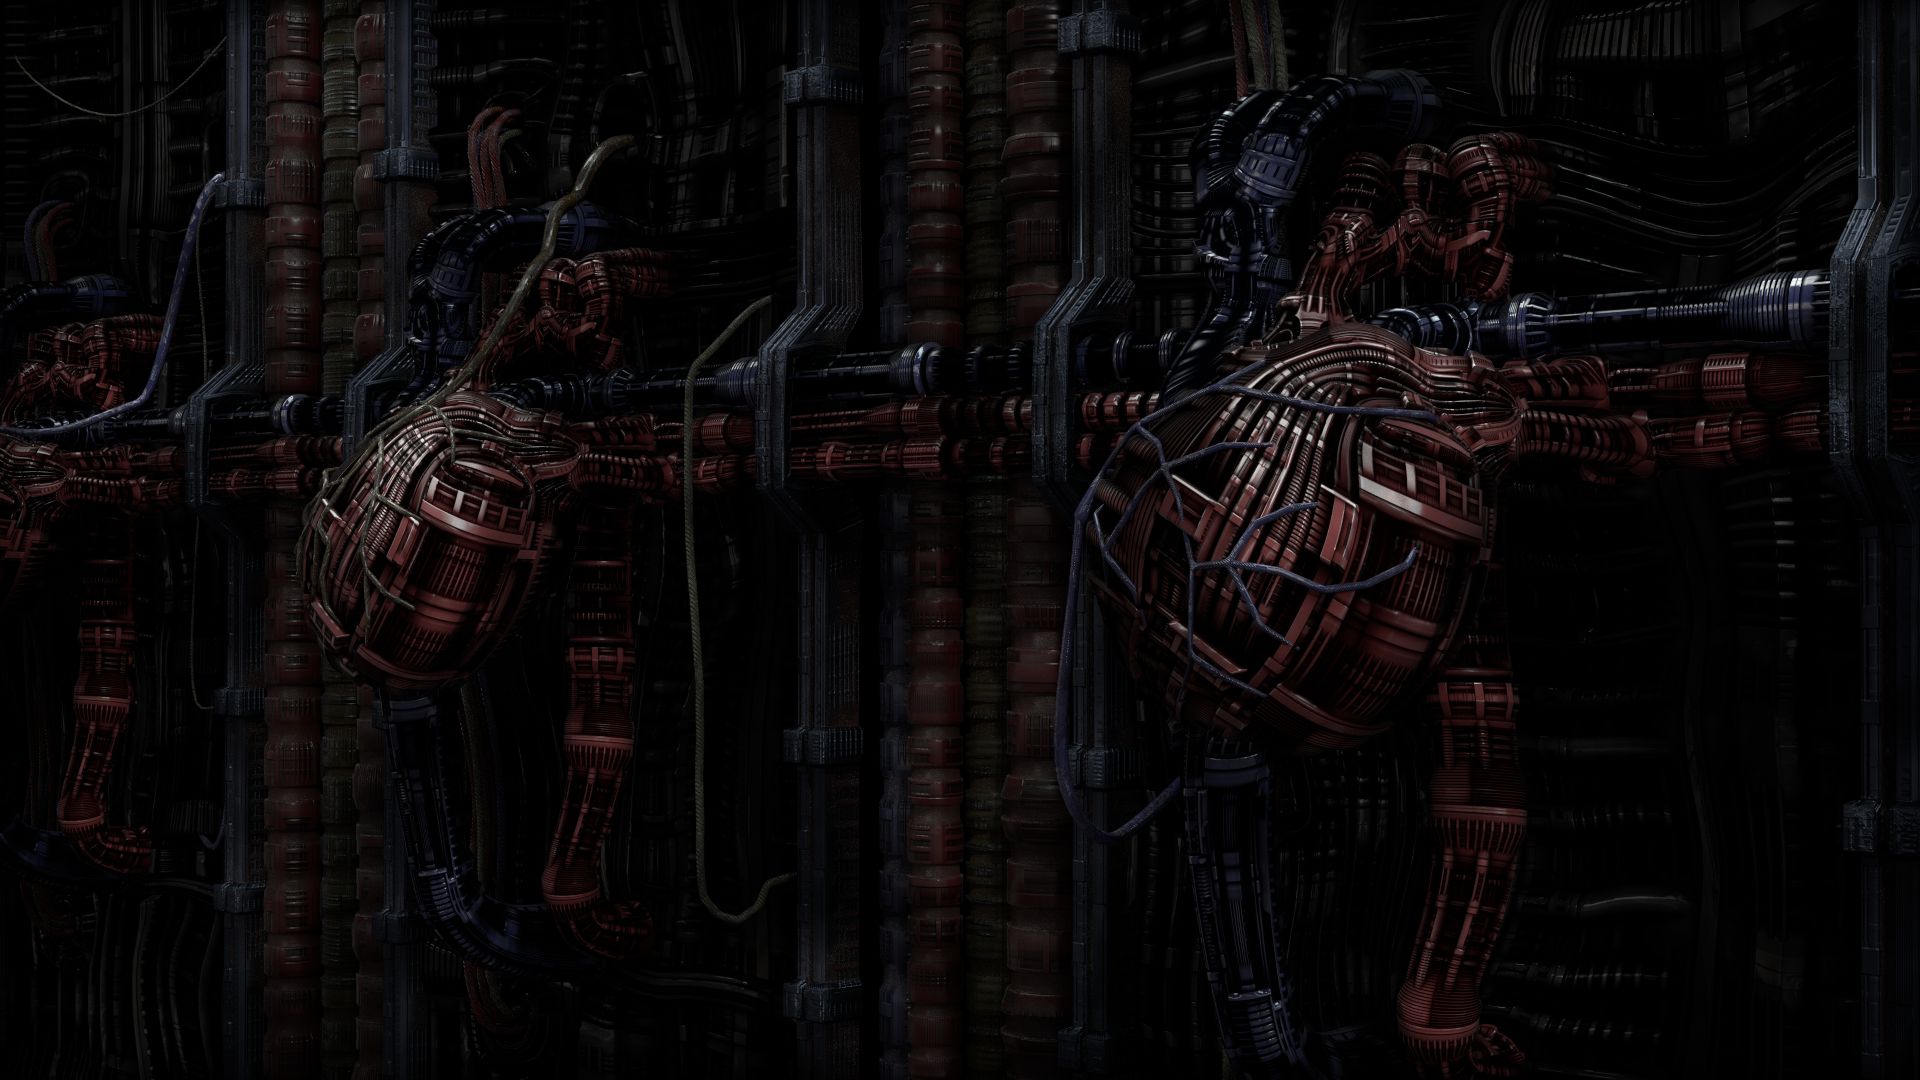
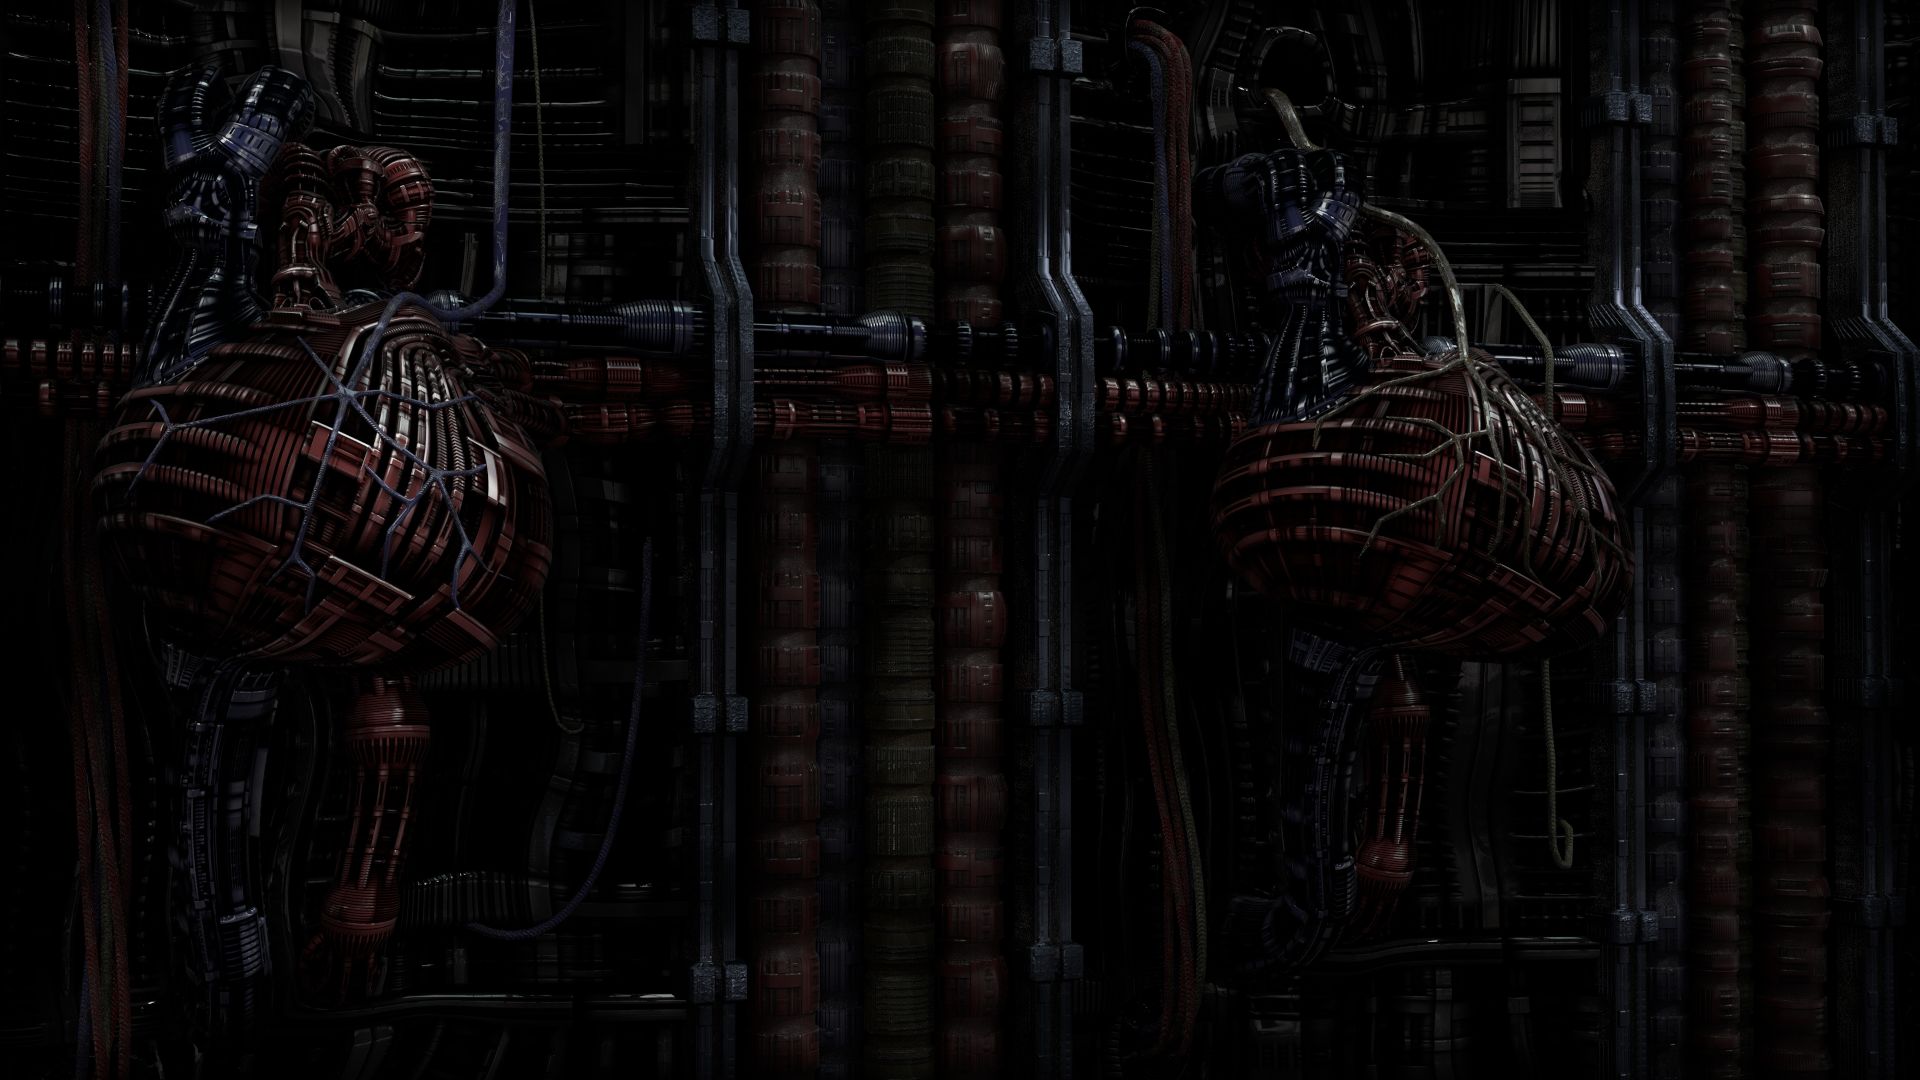
I could (should) have tweak a lot of things until kingdom come, but who doesn’t? 
I tried to apply some procedurally generated scratches and grunge, but you can’t just create one material to fit all scales of displacement and bump. The nodes were kind of blown up, too much to tweak for me. (I’m lazy).
Also I used only ONE texture for all objects, which is kind of lazy. But with cycles you can only use five >8 bit textures at any given time and I didn’t want to fall into that trap again.
Cool stuff…and I LOVE this technique! It’s a life-saver when mocking up concepts.
Thanks, Sir Richfield, it’s a simple compositing(the 2nd pic) setup form Michalis in this thread somewhere, can`t find it right now. If you are interested I post it.
You have always such a dark mood in your images, I like that, it`s kind of SciFi-Darkage-Style if this makes any sense.
Can you please tell me how you lit your scene in the last post.
This is one of my favourite images of yours, even if you´ve said it’s unfinished.
How did you do the fog in this one, texture coordinates/window in the world nodes or a depth mask?
x Astro1derboy: Your ships are great, you must have two fleets in the meantime,always inspiring, would love to see an animation.
It does, somehow. Thanks!
Can you please tell me how you lit your scene in the last post.
One sun and the Old Industrial Hall environment texture from http://www.hdrlabs.com/sibl/archive.html
This is one of my favourite images of yours, even if you´ve said it’s unfinished.
I like that one too, my problem with it is, that I can’t make it not look like a miniature. I think the scale of the foreground is a problem, but I can’t figure it out.
Tried to tweak the scene, but that made it worse each time.
How did you do the fog in this one, texture coordinates/window in the world nodes or a depth mask?
Mist pass overlayed with a “cloud” texture (Standard Photoshop filter) used as factor to multiply that blueish color into the scene.
Just took another look at the file and… well, it’ll take me some time to figure what I did in the compositor. ![]()
Some nice hdrs on that site.
To me it doesn`t look like a miniature. You could try a wider angle on the lens/camera.
Freestyle/Wireframe/BI Combo

and the cloud compositing in Blender
I also have just found this thread, so here’s my feeble effort. Rendered with Thea. Two things to do, try and get Blender to talk to Thea correctly and try this test in Terragen 3. Oh then get to the next step something other than a cube.
Looks slightly better at full screen; postwork just a touch of motion blur.
Thanks Oliver et al.
Cheers Roy.