Ok so if I’ll just start up a new instance in 2.79 load in my image and get my camera data, then I’ll append that to a 2.81 Project. Thanks for replying so fast, saved me from another headache! I am currently moved onto wrestling with Cryptomattes, I’ll update this thread tomorrow with more results.

i was about to do it for you.
but i was not sure that the screen shot was the right resolution/ratio.
1 Like
Here is the original Image, probably way easier. Also you are a saint.
calib_Wall.01.blend (471.3 KB)
file append object folder things in your 2.81
your focal seems to be something around 15/16 degres.
OK!! Thanks
And if you like funky free tools and shades. Browse here.
I am on my way over there now! Heres what I’ve got so far. Gonna model it as a straight line for now, as I am worried about matching the wall textures, the ground I can crop out and go CG only.
Also I am really in love with your cross hatch shader, and your procedural eyeballs. If I can I would like to private message you about some things I am exploring for procedural environments that exist in 3D to be used for a 2D Cartoon! That cross hatch shader could be useful for this, among some other tools.
welcome. PM me if you want, but dont forget to finish this before…
lol, very fitting as I actually have to finish this project before I can start that one 
Ok so status update @skuax
3D Camera In same Positing/Settings - Check
Draw Rectangles - Check
It is the texture that I am having trouble with. This may be just my inadequate knowledge of blender? Here is my third attempt at the texture attached as Image, Should I Upload .blend File? Any general tips on matching would be appreciated! Essentially, texture looks good in PBR Editor, when I bring it into my scene and try to light it, or adjust the color to match image, it seems to be not similar at all?
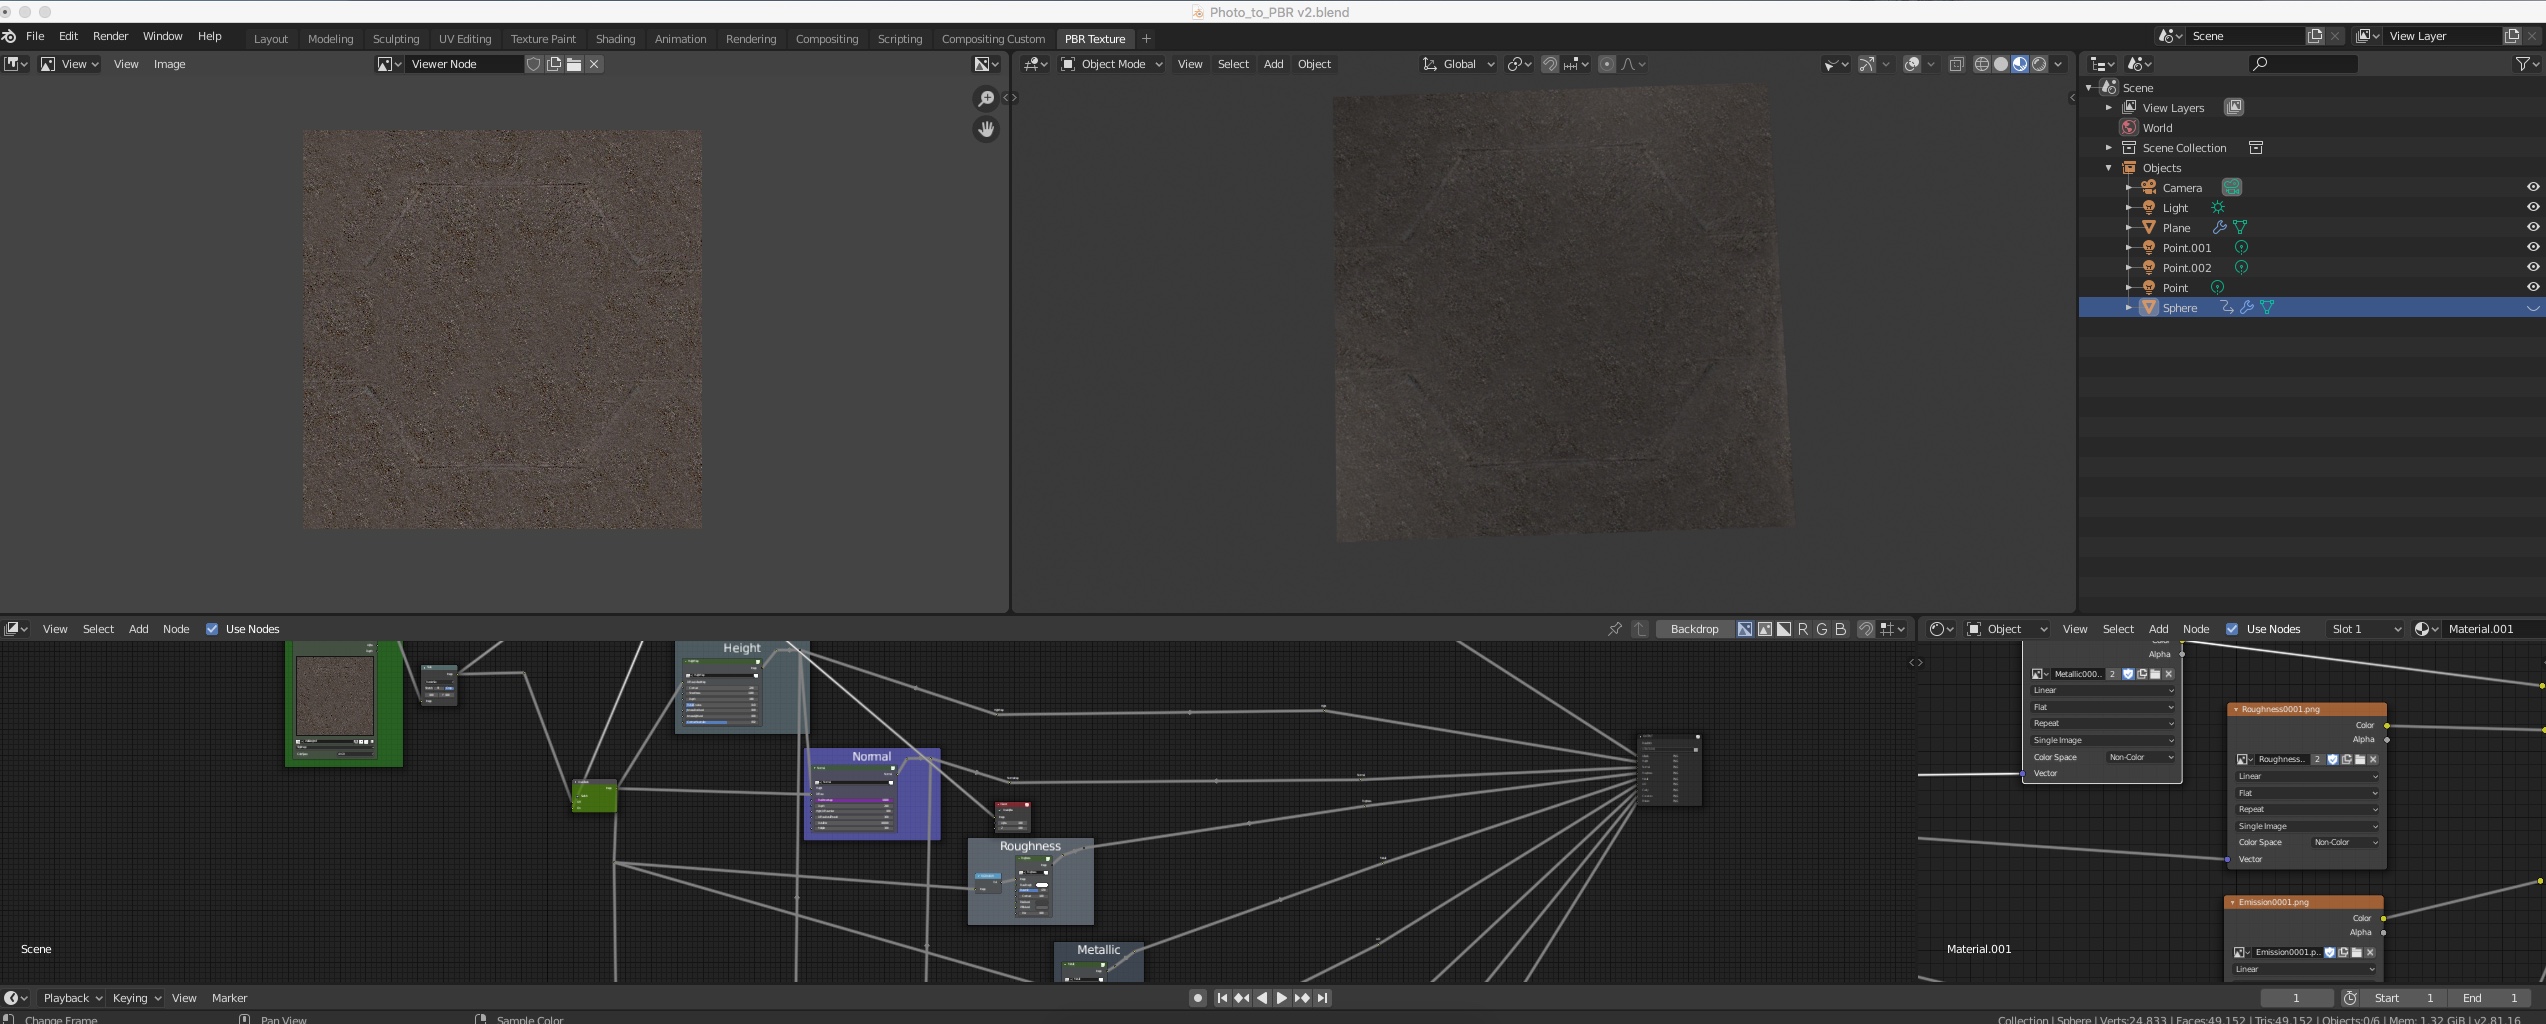
Setup is that I am scaling the texture along this one plane currently to see if it’s looks good. Is this a bad approach? (I had to disable displacement to make this scaling work)!
for your texture scale. you have to use the mapping node before your images to scale all the maps with the sames factors. for a better repetition, make your texture seamless in a 2d program like gimp. or eventually in blender as it was showed in the pbr tutorial video.
and connect also this mapping node to uv node.
1 Like
for the lightning. as you can notice on the right upper parts of the 3D view, you can find 4 balls.
all are configurable separately with the same arrow icon on there right.(last one)
The third one is for material preview and uses an equirectangular map"spherical texture environment" for lightning your preview without using your scene lights. but you can change that if needed with the arrow icon we have talked about before.
The fourth is for rendering and doesn’t use the environment texture provided in blender, but the world environment you have defined. by default a grey color. and your scene lights.
that surely why you have such differences with the PBR generator blender file i think.
1 Like
There is an updated version, but I don’t think you need nor can you used it. Why not simply model it?
hi @rombout
we were talking about marcor addon. and has i tell it before. in 2.81 the calibration tools are not operational due to changes in api or whatever.
anyway. i ve done the calibration on 2.79.
thx for being there 
Well you can also use ispy add-on which does work in 2.81. it comes with a separate app now, but can import the data into blender.
1 Like
Ps camera calibration also has been updated to 2.80
Yes. But didn t manage to make it roll on 2.81.
efficiency is better than theory.
2.79 work i did it and append it.
it works… that’s ok
As a blender lover. i don’t want to leave it. am i right or wrong? i don’t know.
but i ll never use Blam any more.