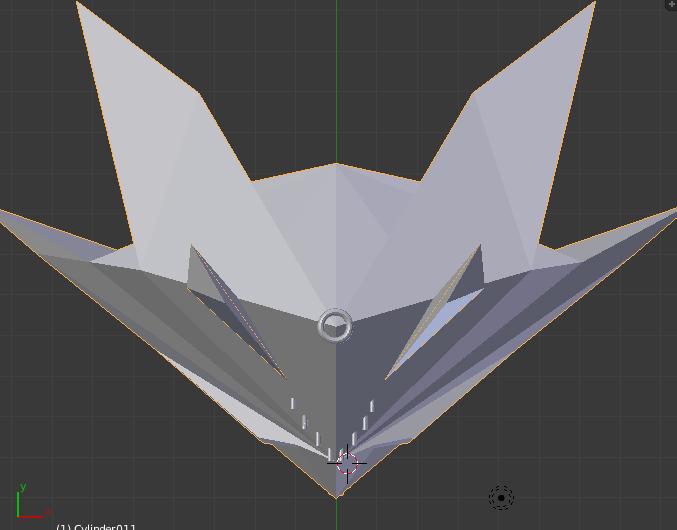
I am having some trouble with it, actually. I started by planning to make it symmetrical so I used a mirror modifier, but then when I wanted to add the guns and the rings on the top and bottom, I figured it would be easier to go back to object mode and go to menu->add mesh, then join it with the ship, but that seems to undo the mirror modifier, so I went back and finished the main body of the ship, then applied the modifier, so I had the full ship. Then I made and joined the rings and the guns (I’m going to add missiles too but I haven’t done that yet). Problem that is without the mirror modifier, I can’t be sure that the guns and such are completely symmetrical (I tried to get them as close as I could by eyeballing it, but it was difficult). Is there a way to make stuff symmetrical when you’re joining objects in object mode?
Ummm… Don’t be surprised if no one posts in your thread in a day. First off, there doesn’t seem to be a cockpit. Second, there are some parts that look too sharp. you might think of putting a subsurf modifier on. Also, since this doesn’t even have textures, the work in progress section would probably be more fitting for this.
I did, did you read my first post? I want to join objects in object mode, like when I add a cylinder on one side I want it mirrored on the other side, mirror modifier can do that? Because it cancels when I tried it.
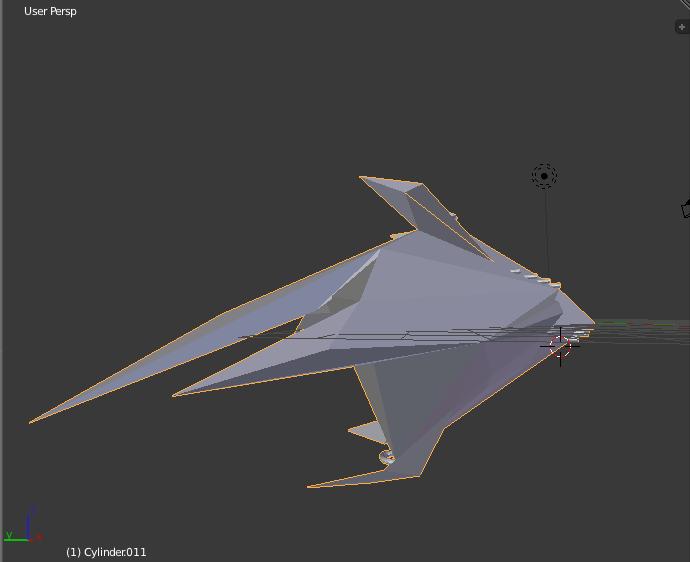
Okay I tried to go back to the part where I was adding the guns, I deleted them until there was just one left and used a mirror modifier, it did create another gun but they were too far apart. You can see the two cylinders (guns) in this picture:
If you can’t see the cylinders one is towards the right of that grid thing and the other is on the left hanging out in space. That’s the one that was created by the Mirror Modifier, I need to find out how to get them closer together please.
How someone could help you…it’s impossible if you don’t ask for a precise task.
But…the biggest problem here imho is you should not ever start to concept inside a 3d program if you are a complete newbie, it will take months to get something good. Make some doodles/sketches on paper or Gimp if you have a tablet. Then use them as a reference background image. No one starts to create directly in a 3d program in a real production pipeline.
And start simple if you’re learning the software, watch a lot of tutorials, I think a spaceship is not the best choice to start from.
I think a spaceship is actually a pretty good beginner’s project. It doesn’t need to take any organic deformations into account, doesn’t necessarily need a lot of texture work, and leaves a lot of room for experimentation.
But yeah - you should probably watch a bunch of tutorials to learn the basics.
If I understand your problem with the guns correctly, it’s hard to give much better advice than “move them”.
But a thing about joining stuff with modifiers - the last object you click will be the “main object”, and retain it’s modifiers, object name etc. So to merge an additional gun “into” a model with a mirror modifier, you’d select the mirrored object last.
And a thing you MAY have missed - use shift+a IN edit mode to add geometry without messing with separate objects.
I’ve never seen a course and/or tutorial for beginner starting with a spaceship, unless you are meaning “taking and grabbing some vertices and giving them a spaceship look”, in that case is a good start.
Okay, I tried the shift-a thing to add a cylinder to try to make the guns, but I’m having some problems. Maybe I wasn’t clear enough last time so I will be more detailed in my explanation:
The first thing I did is select all of the vertices on one end of the cylinder and then extrude them in order to make the cylinder longer, I need it to be longer to fit the way I want it to.
Back when I was creating new cylinder meshes in object mode I did the same thing, and after I was done extruding it it let me form a face at the new end.
When I did it this time for some reason it wouldn’t let me form a face after selecting all of the edges of the now - partially - hollow cylinder.
Anyway now I added a mirror modifier to the cylinder. This seemed to actually do what I wanted - it created a mirrored cylinder on the other side of the ship that would be close to the original cylinder, so I could add symmetrical guns on both sides.
Problem is I had to move the cylinder. I selected all of the faces on it (I was thinking there is probably an easier way but I don’t know it) and I moved it to where I wanted it (the mirrored cylinder also moved to where I wanted it to be symmetrical on the opposite side).
But I want more than 2 guns obviously, so the problem is that I have to copy and paste the cylinder I made, but I can’t figure out how to do that. There was a duplicate function in object mode when I was treating it as a separate object before joining it, but how you you duplicate selected geometry parts of the same object in edit mode?
Someone might have said this before, but I skipped past all those posts. What I do is just keep different parts of my models as separate objects, at least for the time being; and to make it symmetrical, I–
Shift + D to duplicate
Immediately right click
Press N to bring out the panel thing on the right
And then I simply reverse one of the location coordinates, located at the top of the panel, by either making it positive or negative.

 What I do is just keep different parts of my models as separate objects, at least for the time being; and to make it symmetrical, I–