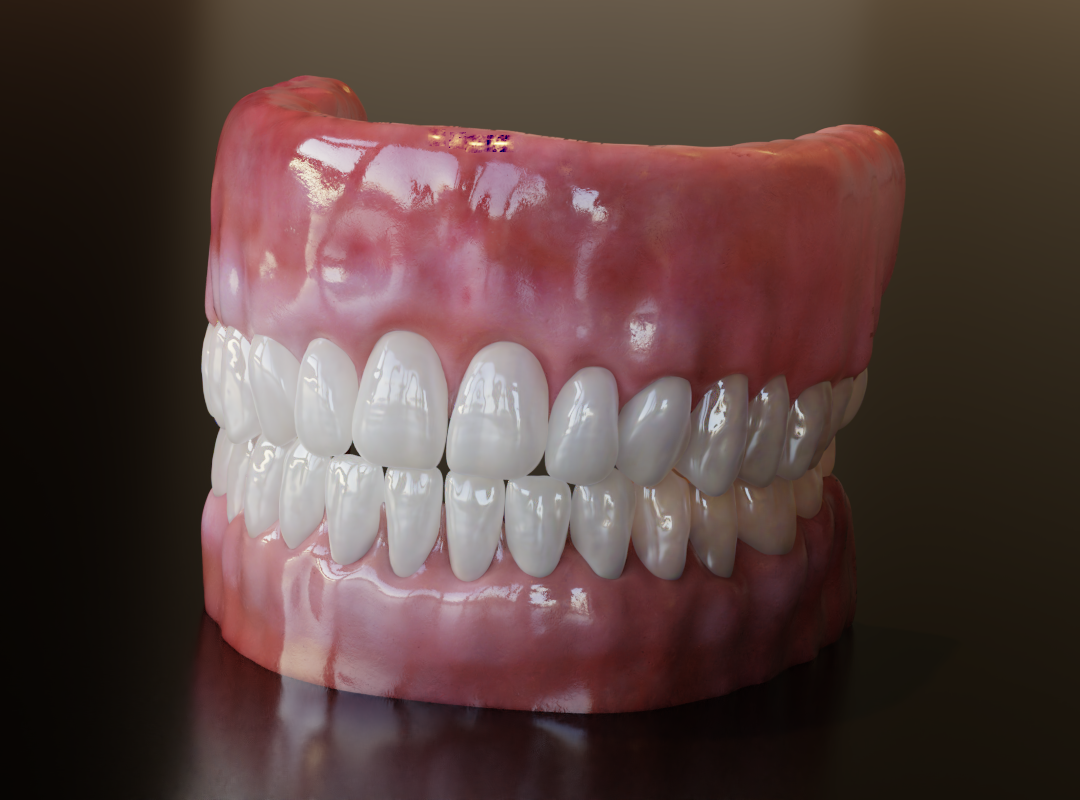
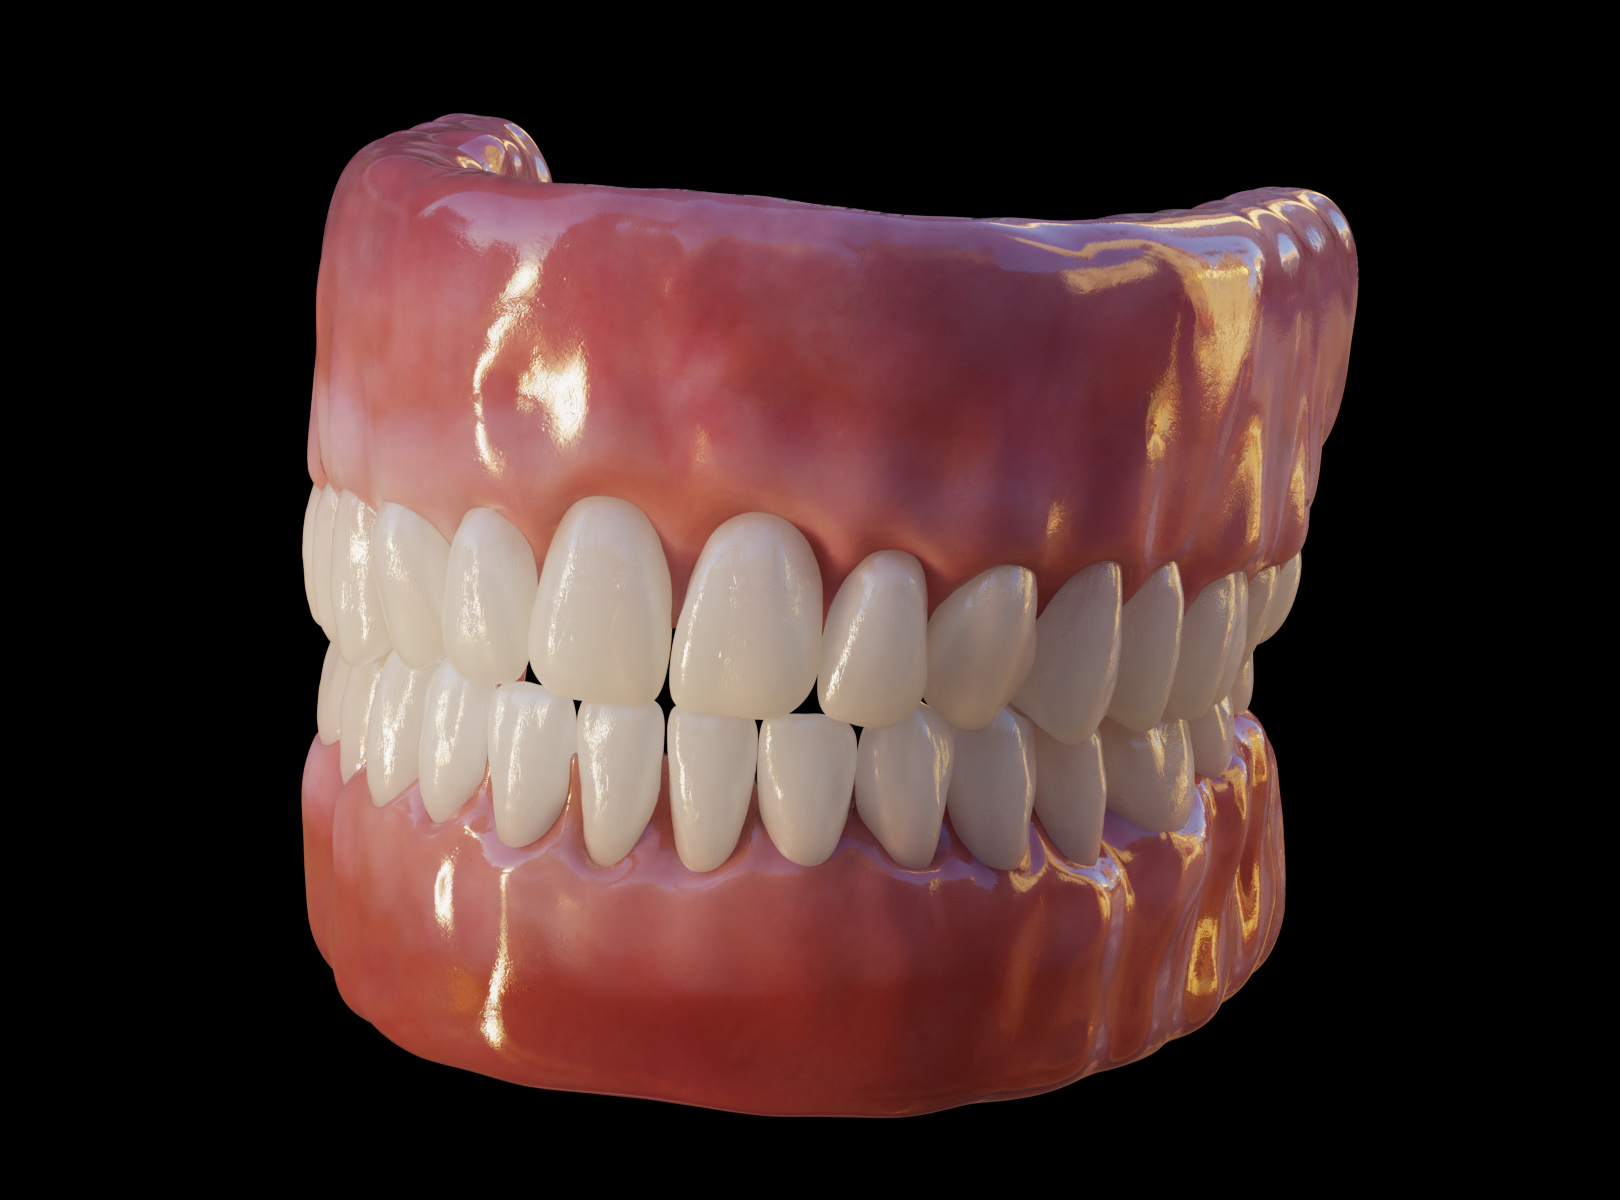
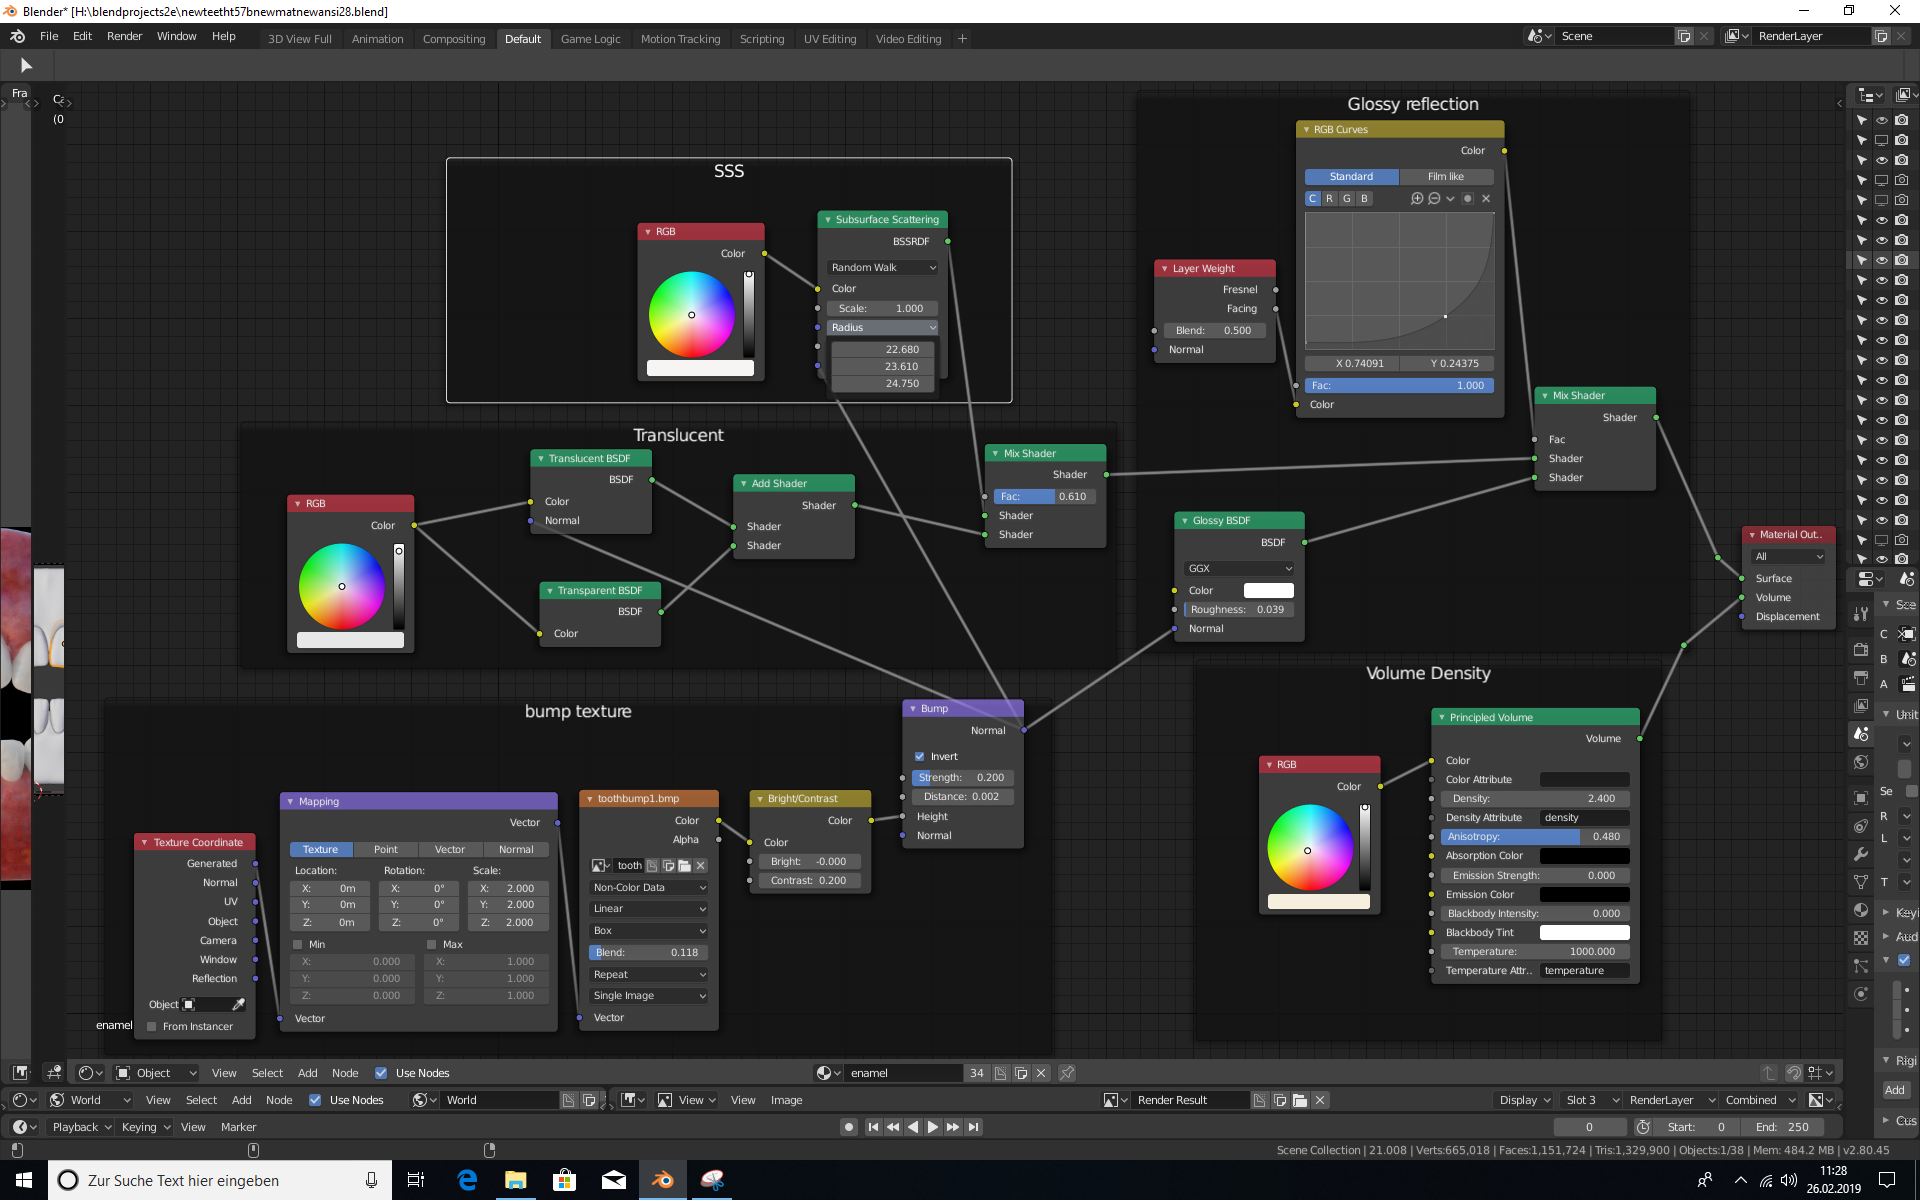
i worked further on the gum material.
edit,i reduced the bump strength,worked a bit on the texture,and i sculped the tiny flesh pieces between the teeth spaces and smoothed the mesh a bit .
edit,worked again on the texture
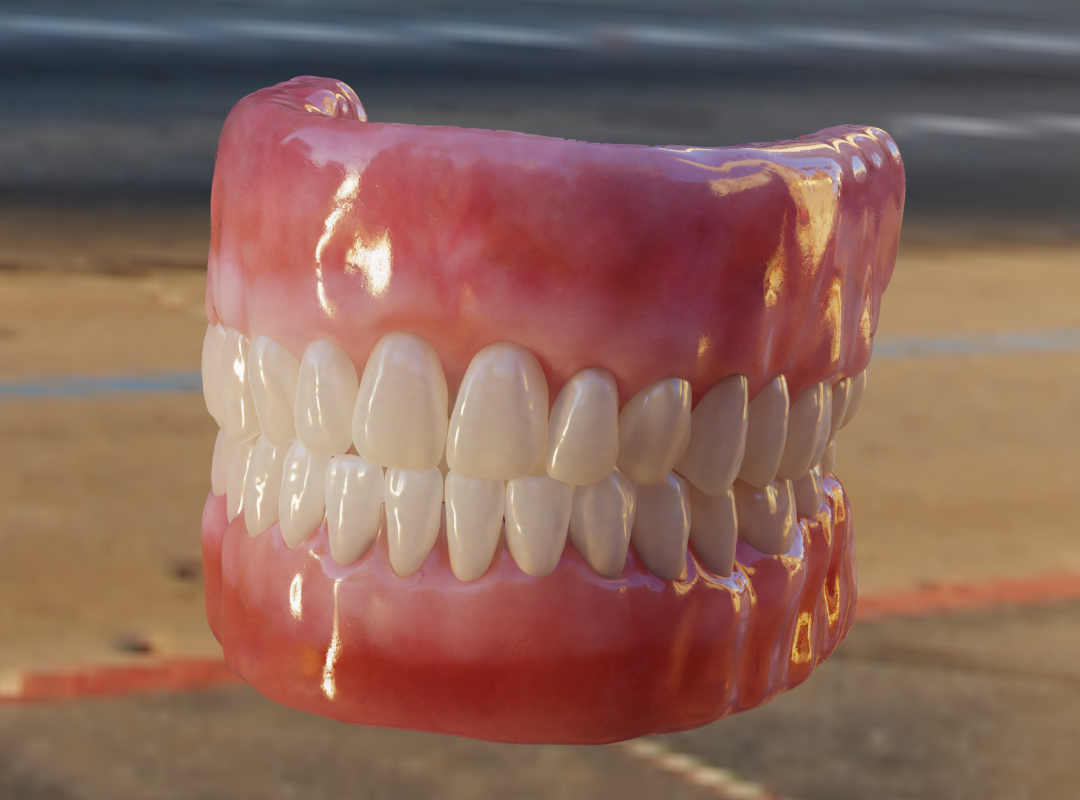
i worked further on the gum material.
edit,i reduced the bump strength,worked a bit on the texture,and i sculped the tiny flesh pieces between the teeth spaces and smoothed the mesh a bit .
edit,worked again on the texture
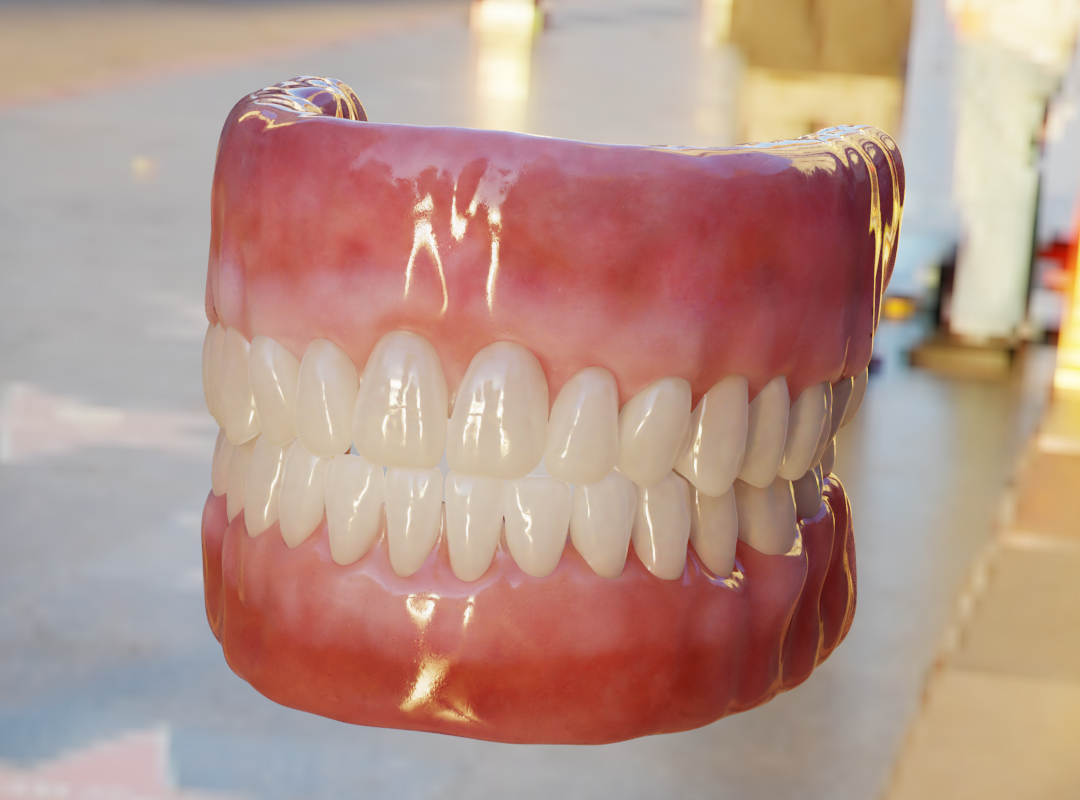
very good progress , gum material is so goood , reflection is little bit strong on teeth
thanks wissammax,i have new renderings in work, with bumpmap on teeths.but this not so importent atm,its something for the final look.i have tested more different random walk settings on the gum.
do you have maybe some pictures from teeths with backing light?i have found only two with google,and the pictures shows only rebuilded teeths.it would be good to have backing light pictures from real teeths for reference.backinglight pictures are very good to setup the absorption.i have found many papers from dental tissue optics,there are good infos in it, but not all is usefull,because it can make a huge difference in the resulting look ,if some percent more or less are was setup as you know.
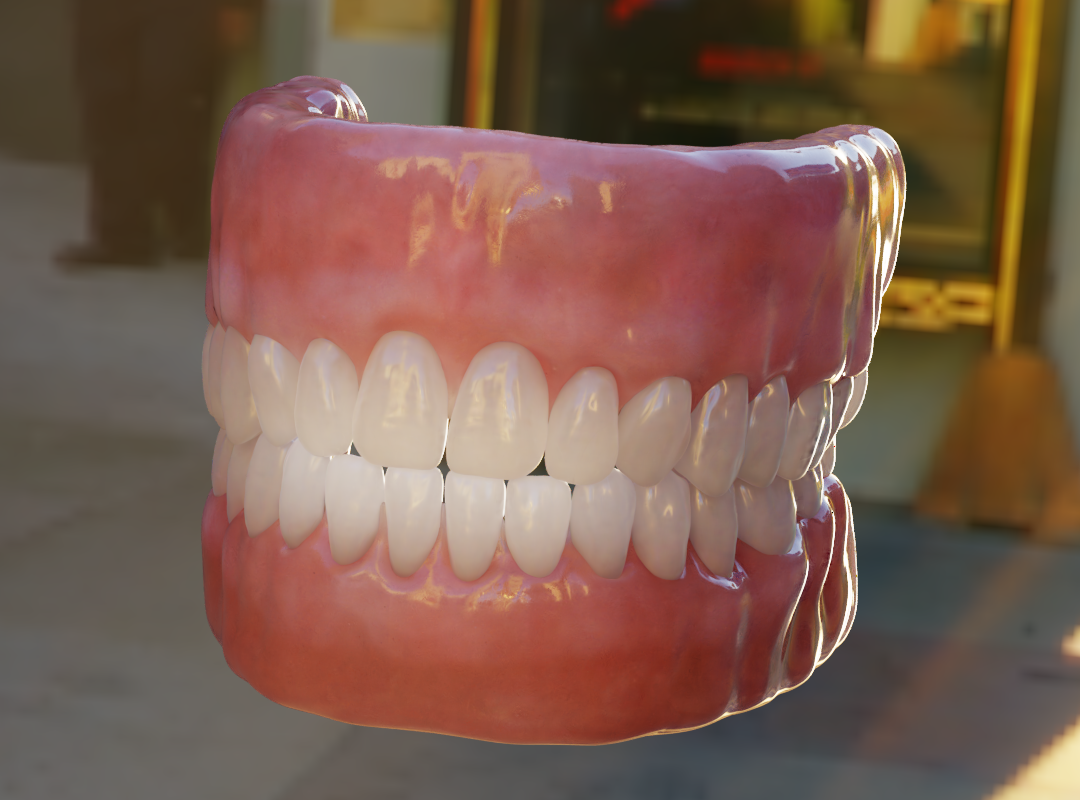
i am at the point to get closer to the final material.with more reference pictures, i think i could get even closer.
edit,another HDRi with different randomwalk at gums,and different settings with bumps on teeths.
edit,different random walk at gums and teeths again.
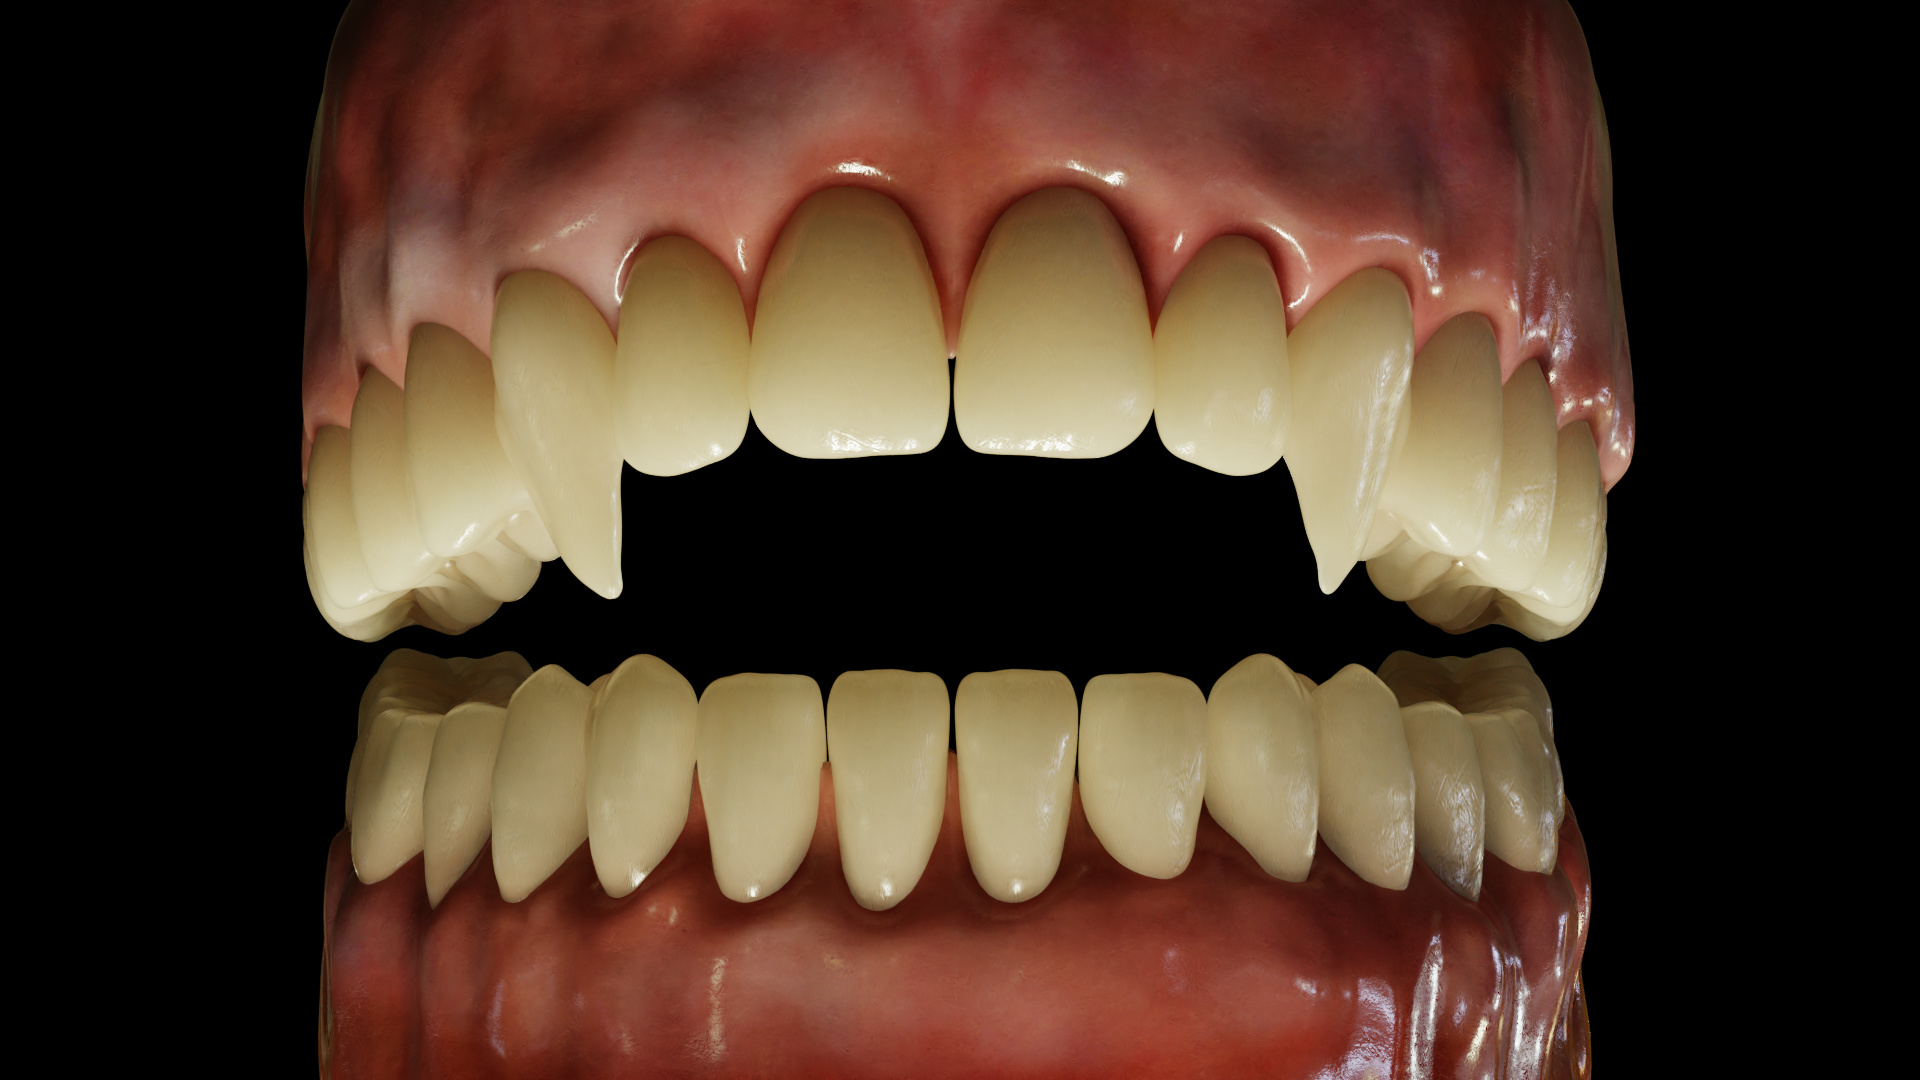
edit,exactly same render 180° turned HDRI for backlit test.rendered with 2.79.3 and the new principle volume shader at gums and teeths.additional to pre renders are the anisotropic values taken from dental papers.
https://blenderartists.org/forum/attachment.php?attachmentid=516425&d=1519582129
This was a very good lighting
thanks,i have changed the settings from the material,with transparency tests for teeth and gum material,and tests with absorption found in papers.new bump map at teeths,its a enamel microscope surface pic i found.
edit,i tested further and found that the density in the volume absorption, doesnt match with the k or absorption value well.i can post the calculation if someone is interested.in short,if you set the density to nearly full light absorption (the longest distance at the point all light is absorped) and lets say for the given k value the density is 1.0 (full distance)and lets say at the half distance, the light should roughly absorped at 50% but the density needs to be at 5.0 to match the 50%.the density in this example should be at 1.0 for all distances,as the full absorption is at the full length.
edit,here for example a new absorption density on teeths.this time i used the measured absorption ,from the papers, at 4mm thickness.then made a test cube ,with 4 x 4 mm and emission plane ,underneath with light strength at 1.and increased the absorption density ,of the teeth material,wich i applyed to the cube,until it matched the value from the paper.different hdri btw, light strength set to 18%grey ,with filmic.
the last render,used a yellowish color in the volume absorption shader,to simulate the dentin inside the teeth.
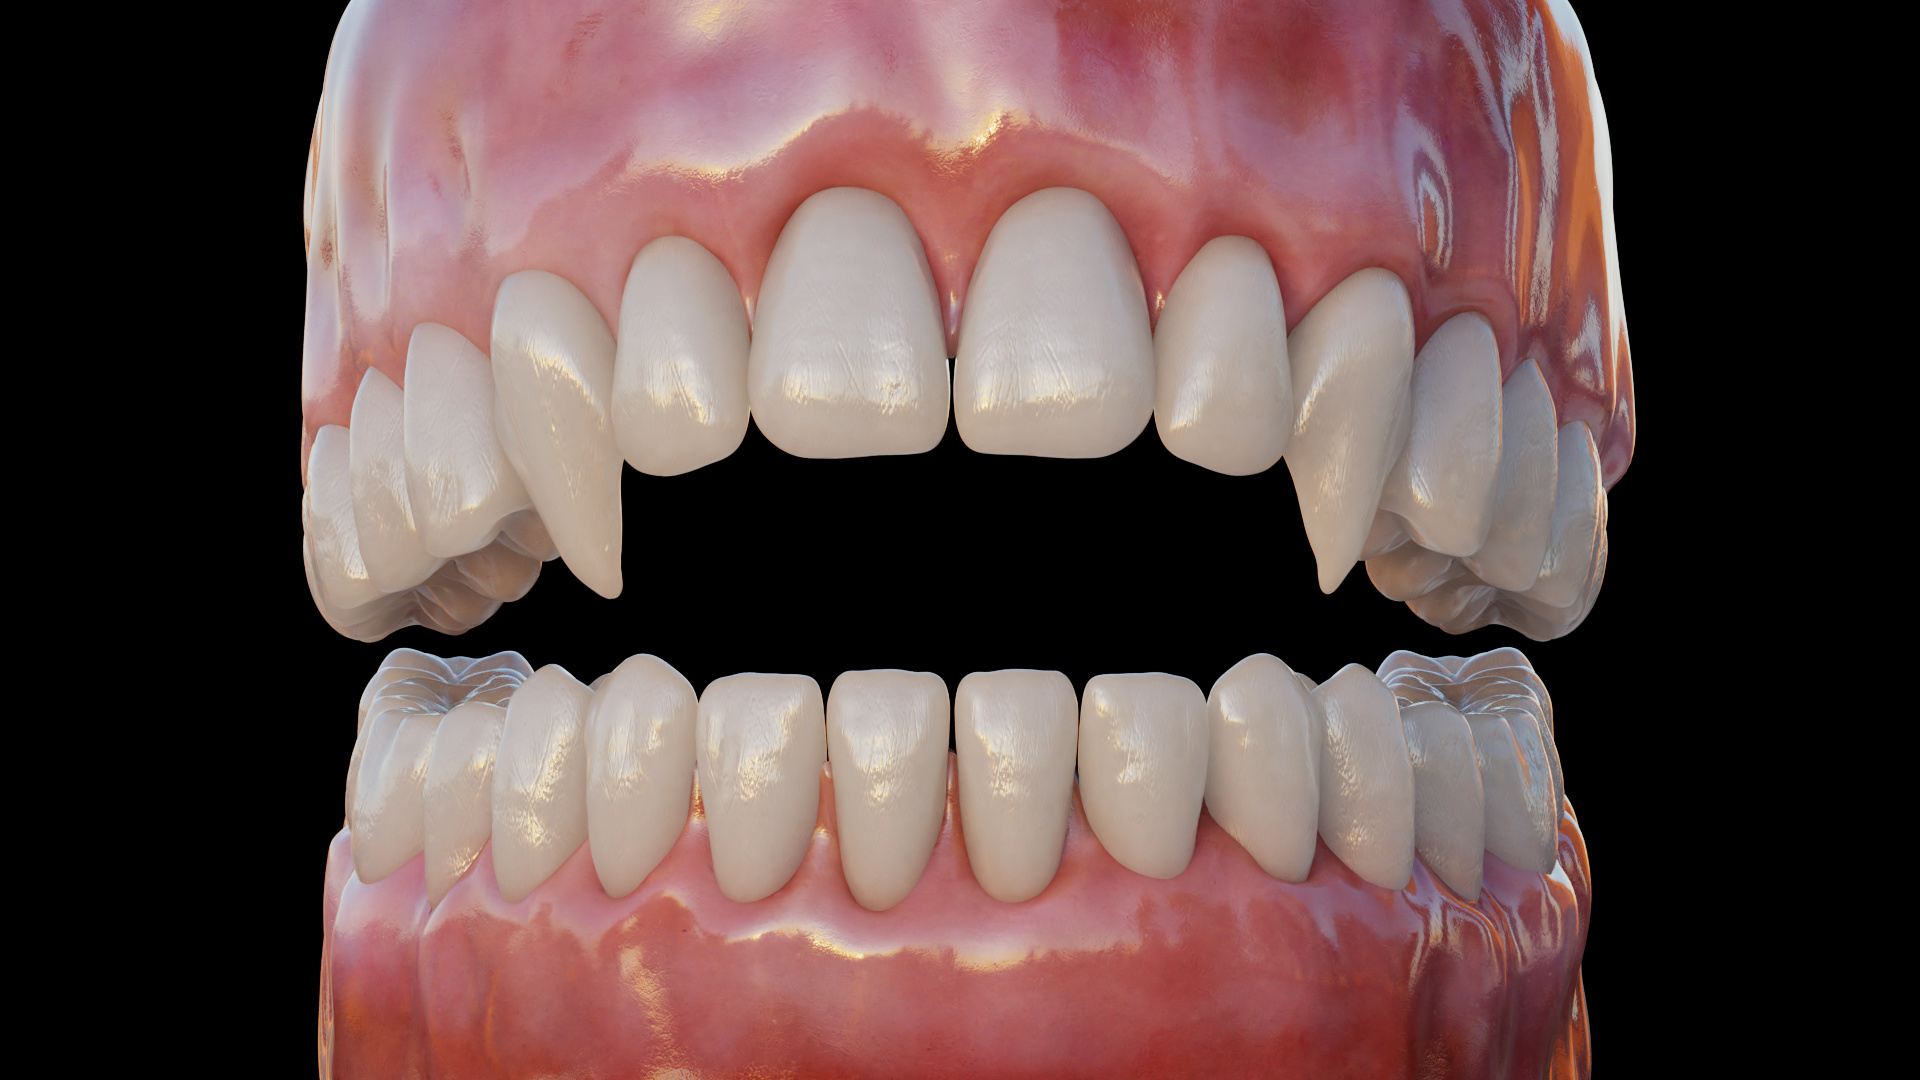
now i have changed the method.
in this first render,i have used a yellowish color in the translucency and a black color in the absorption shader.
in this render i changed the method again.
i used a yellowish scatter color in this one.i theory this makes the most sence,since inside a real tooth,the dentin scatters the yellowish light.
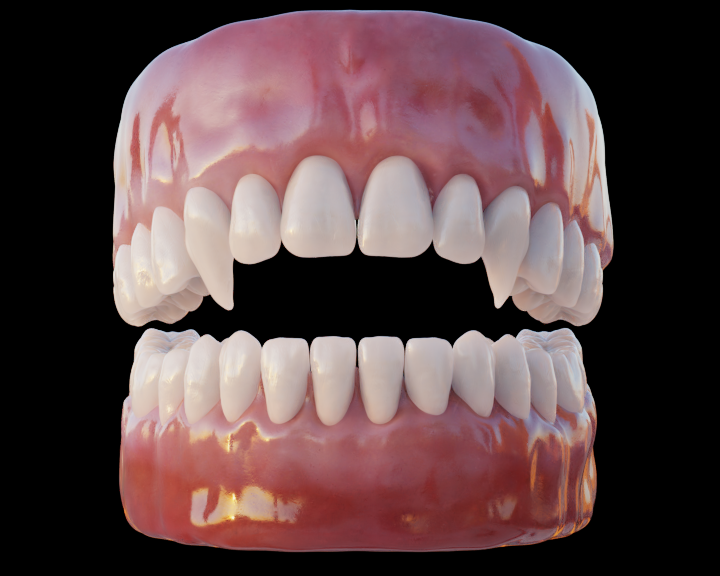
the difference are suble but visible,almost in the backlighting/side view and shadow.in these renders, the most difference is at the right side ,in the shadows and between the teeths.wich one is the best ?
edit,here a quick low res render.it depents strongly ,what teeth look do you need,for setup the values.in this render,i used a bit more opaqe vs translucent.its more like a beauty perfect teeth render.for example, this can pushed eveen further ,for heavy bleached teeths.it all depents ,what look someone what to archive.
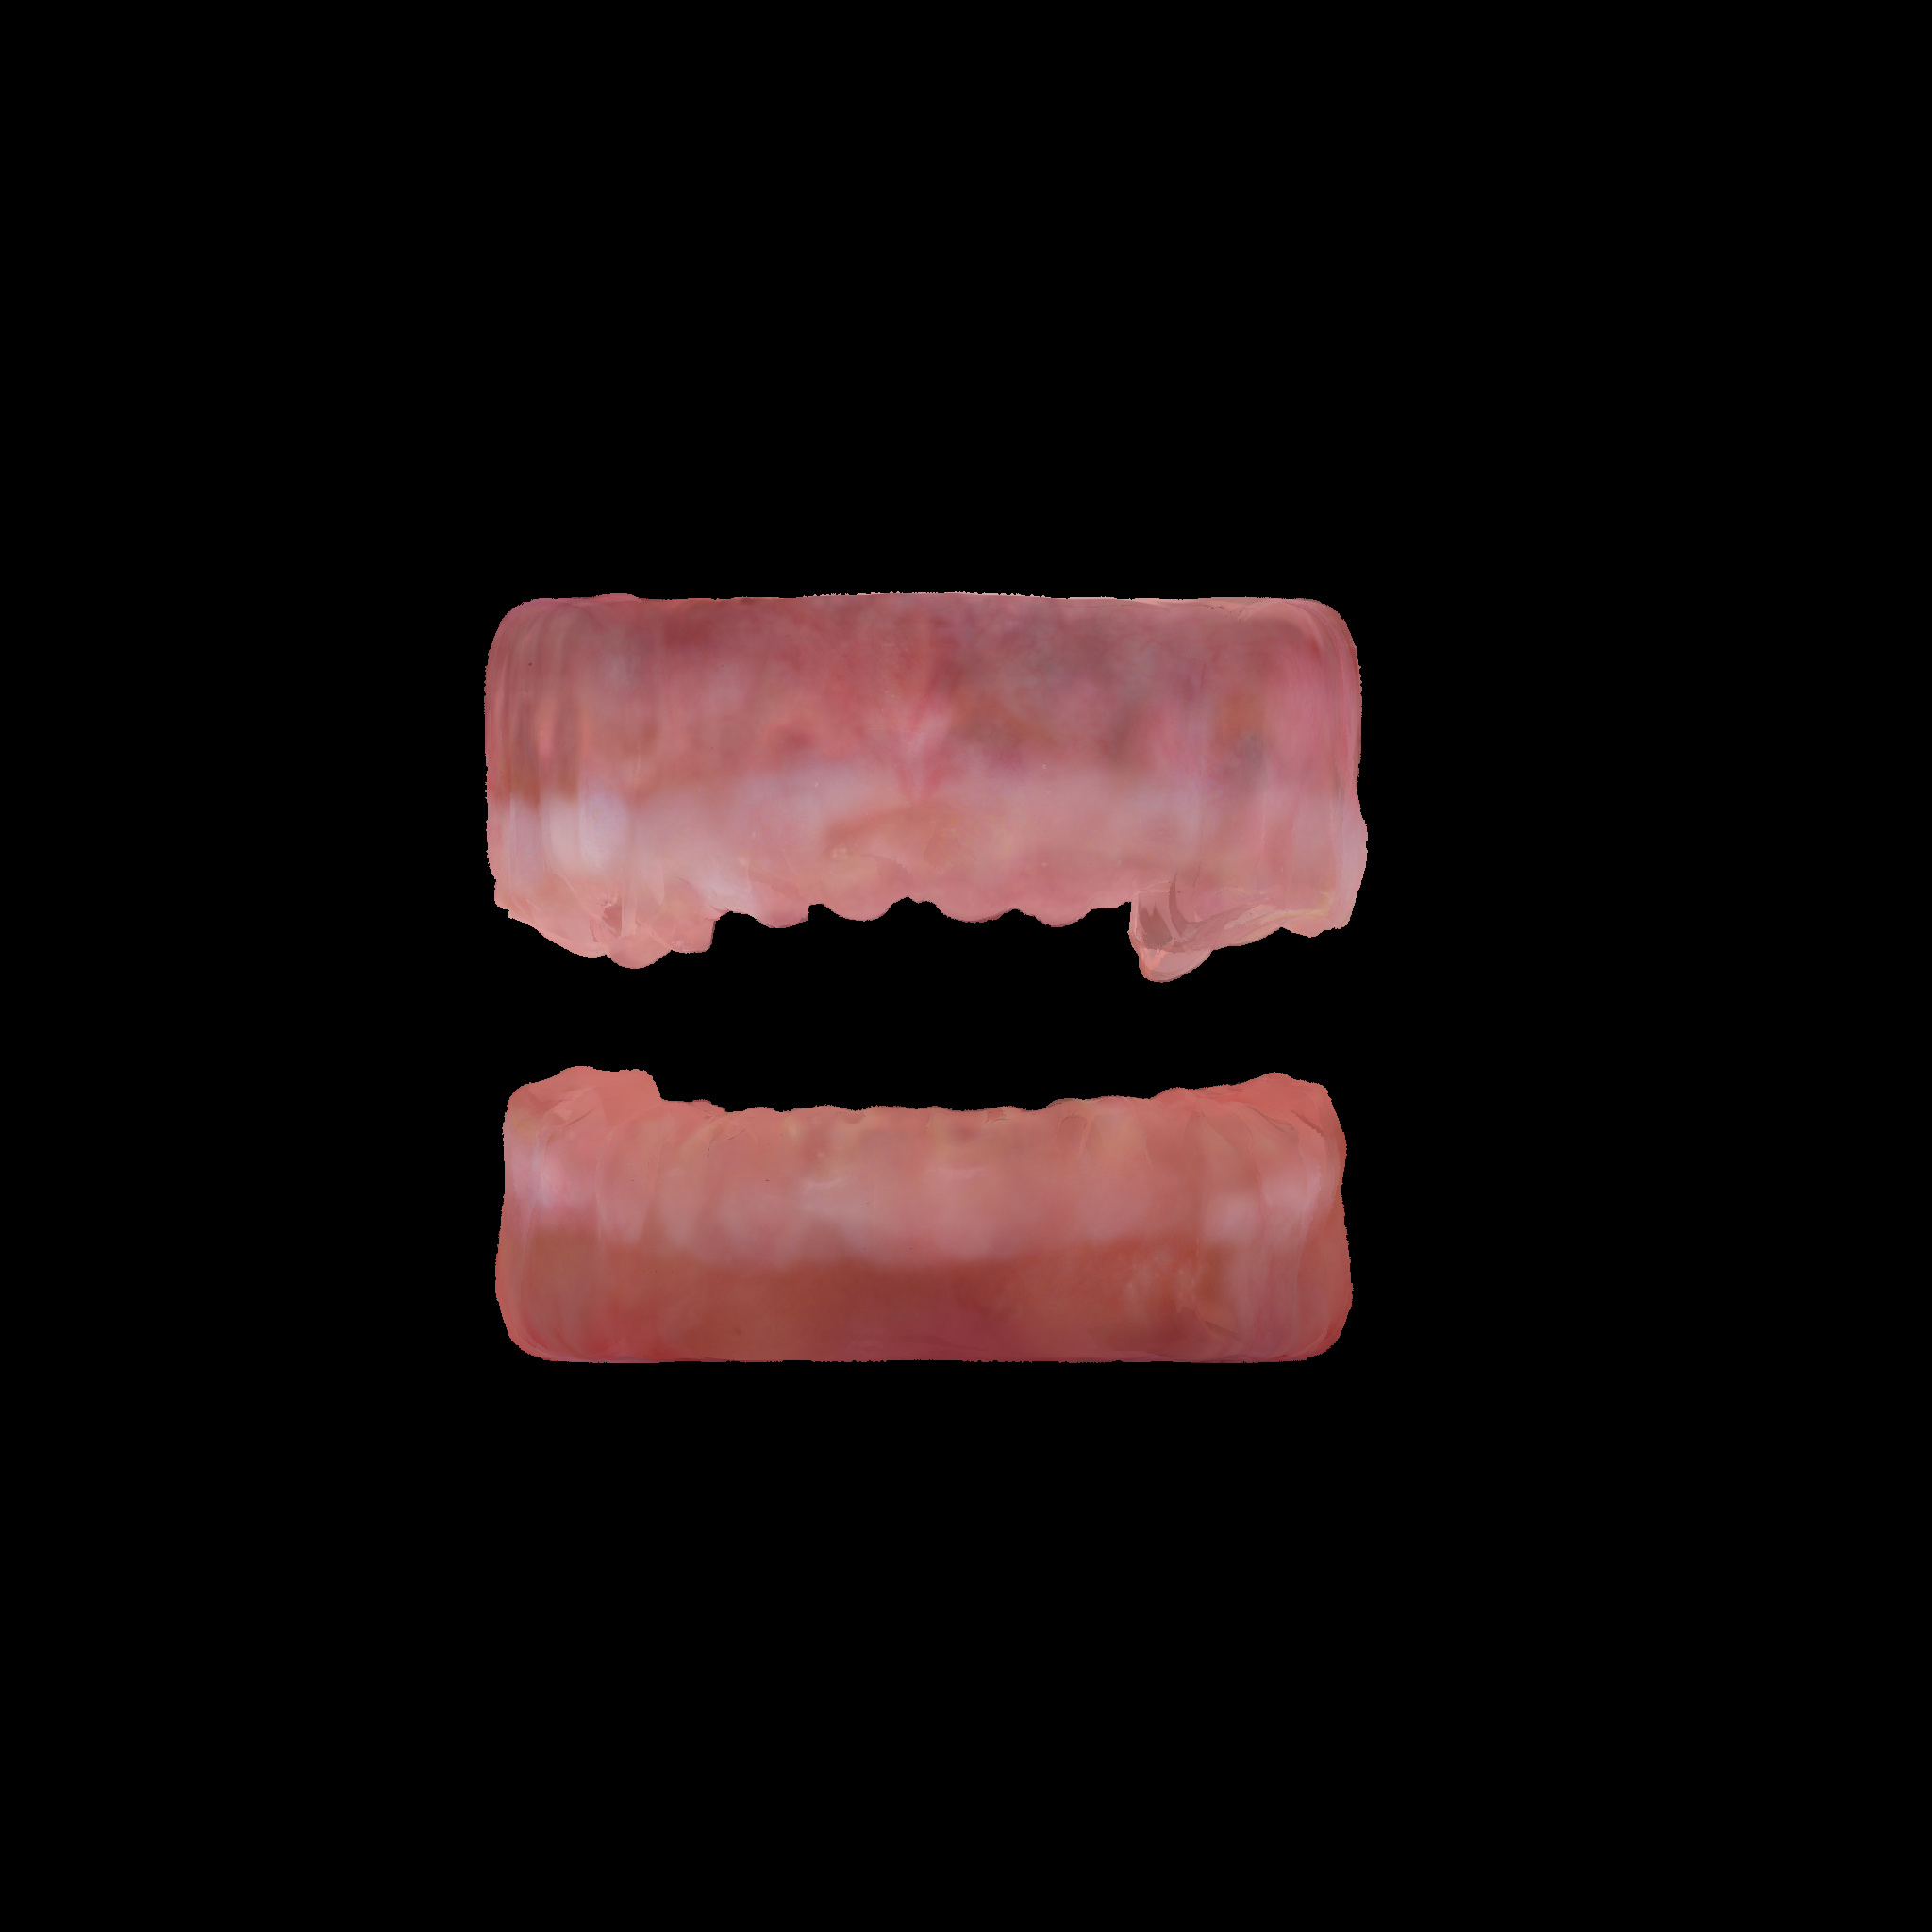
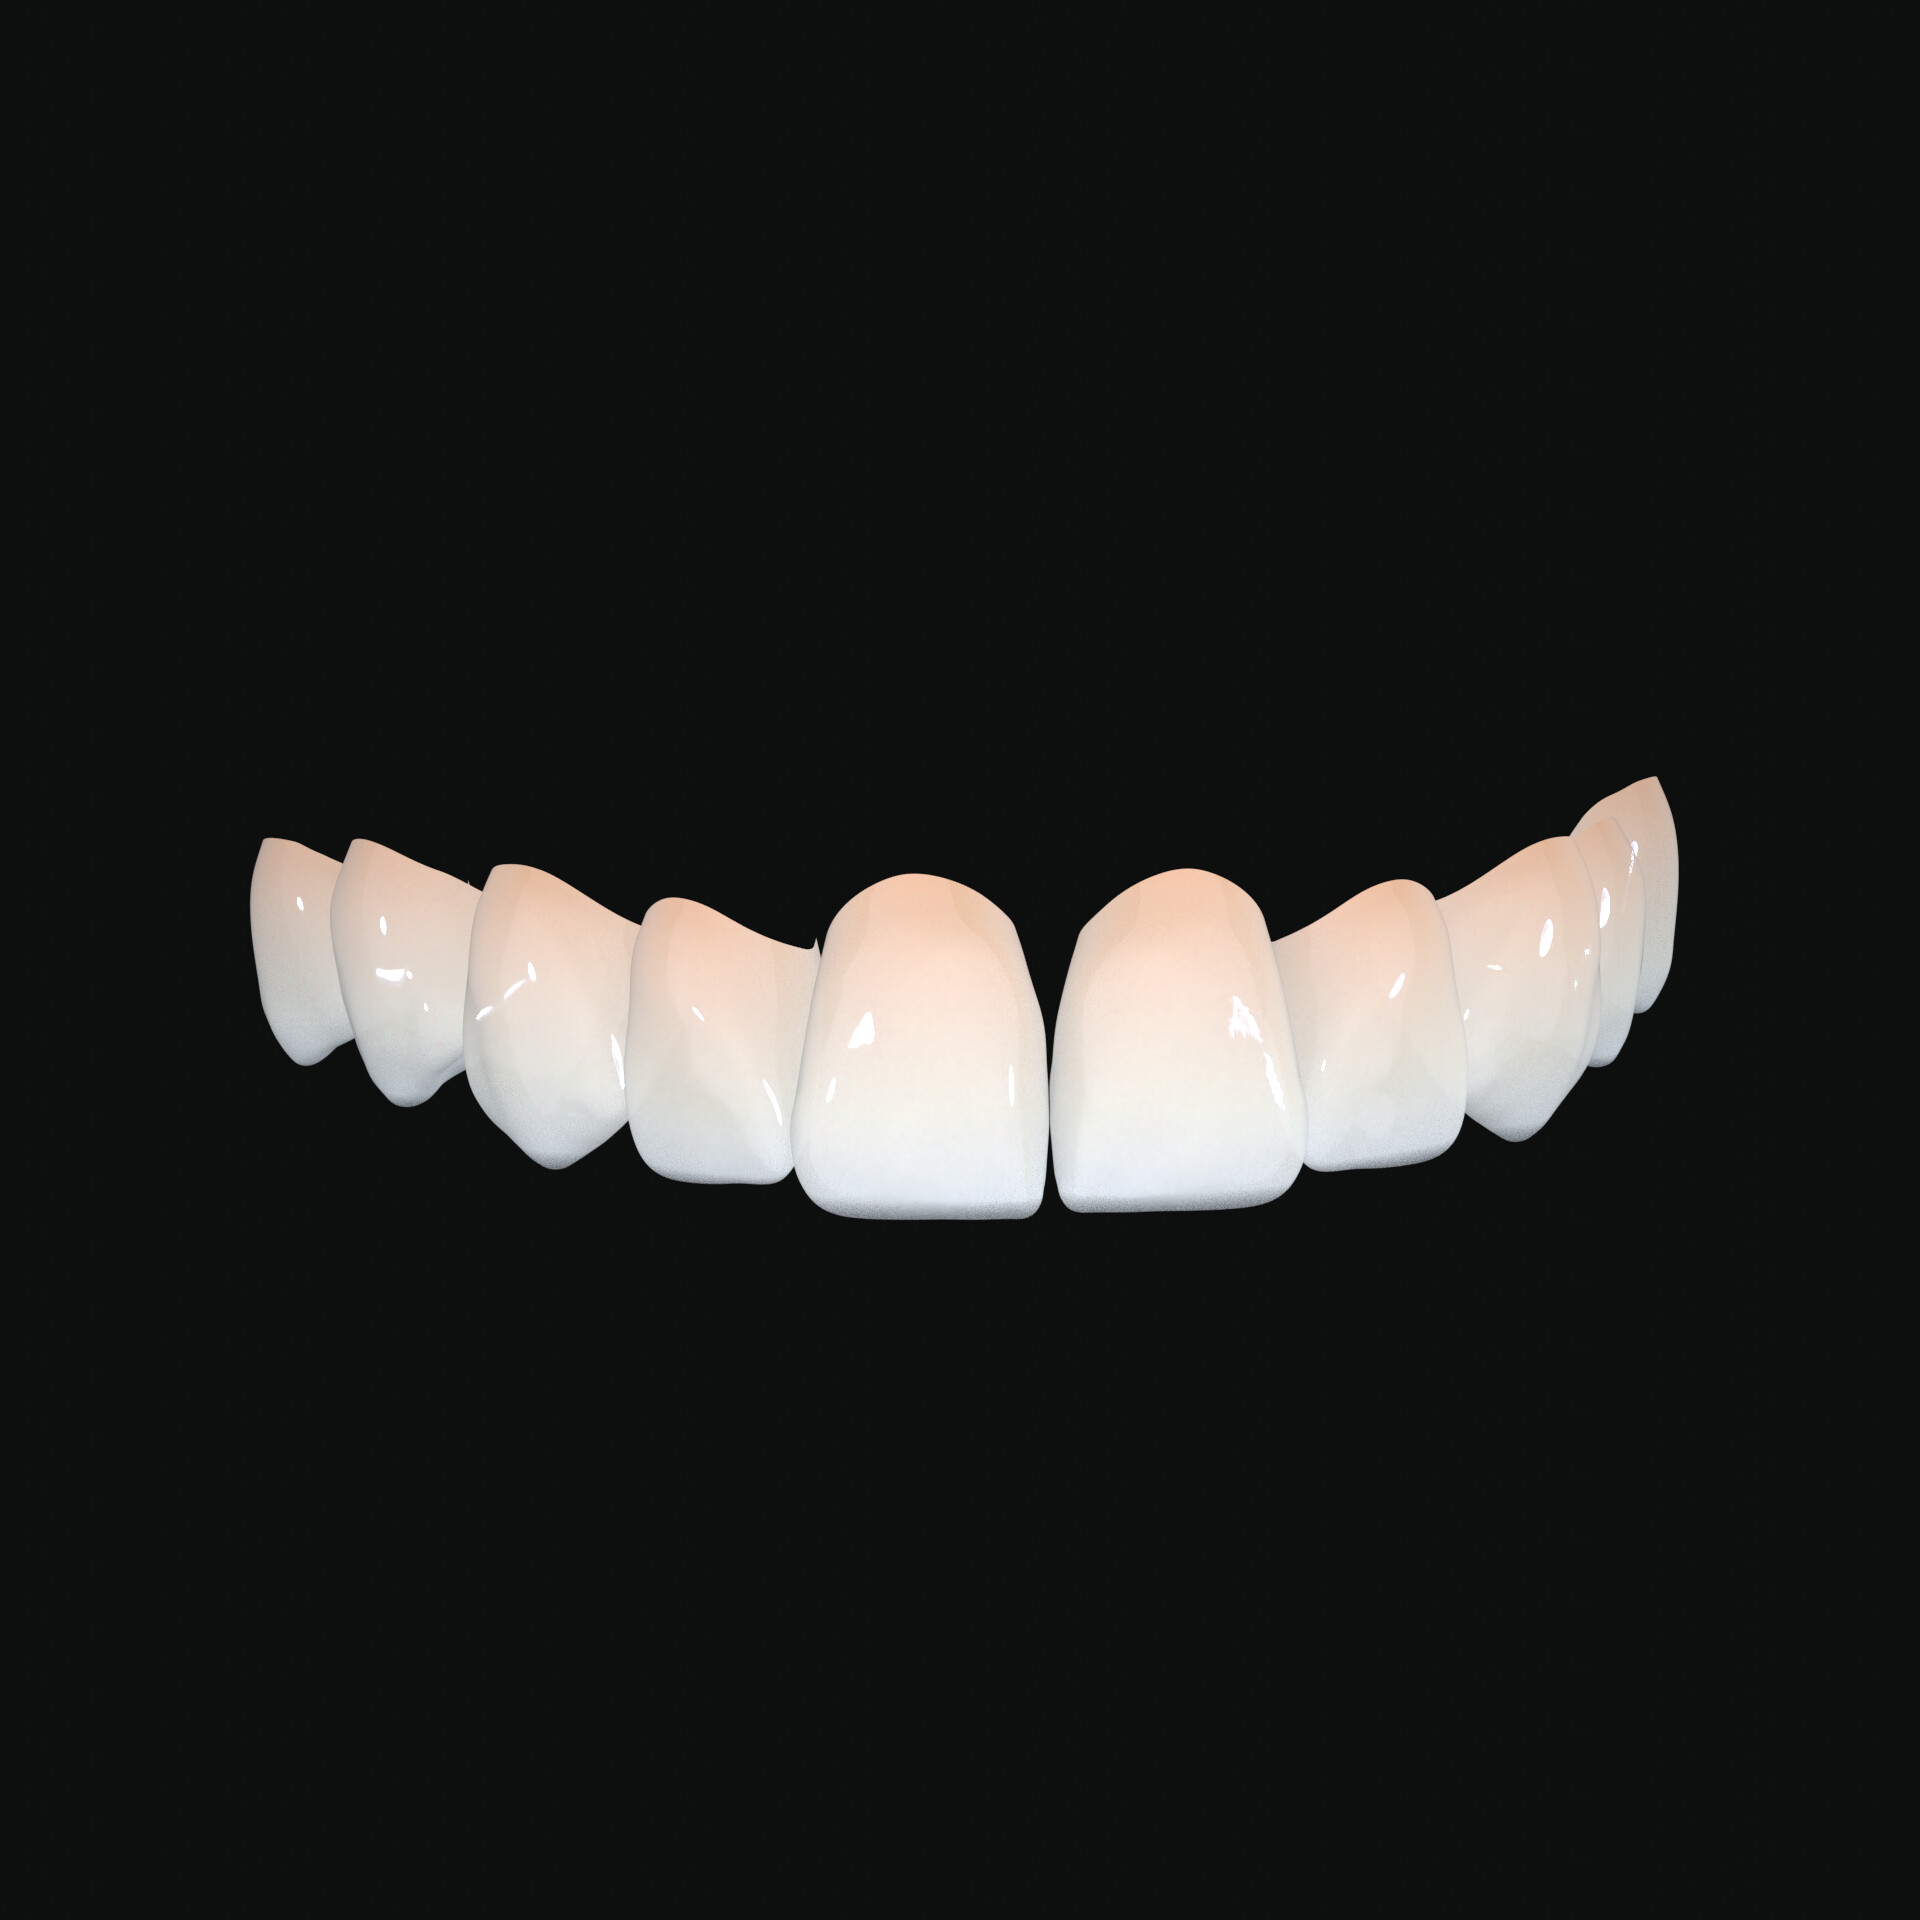
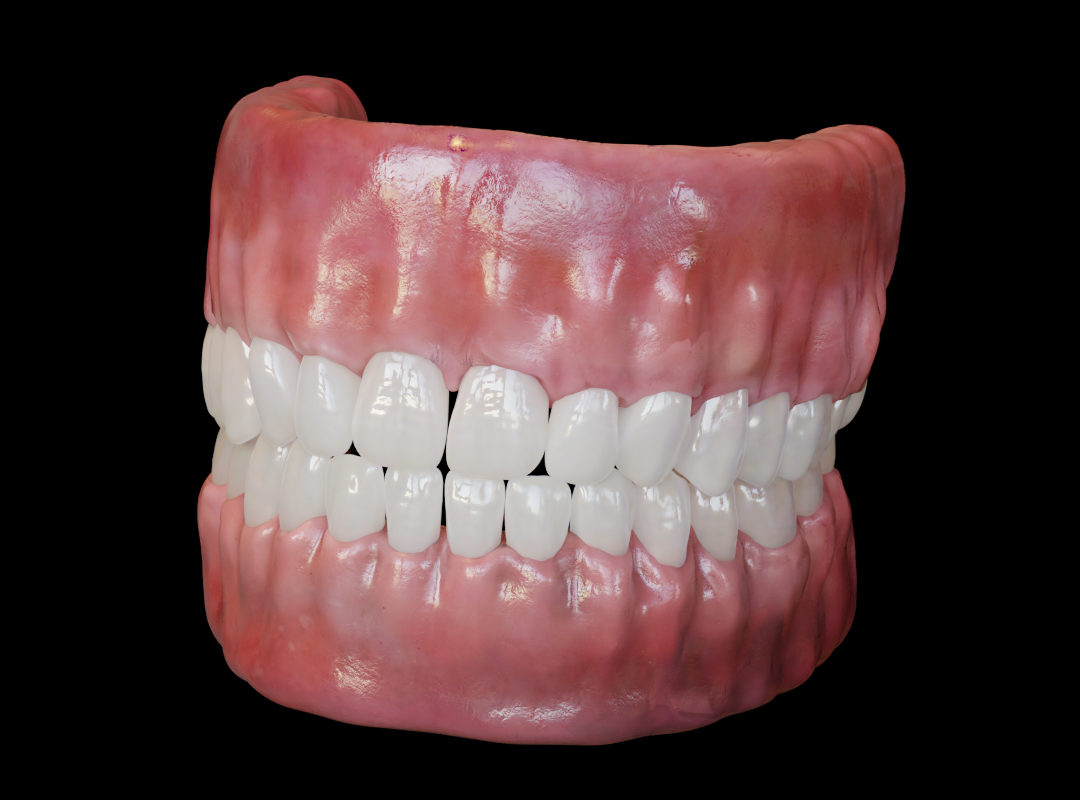
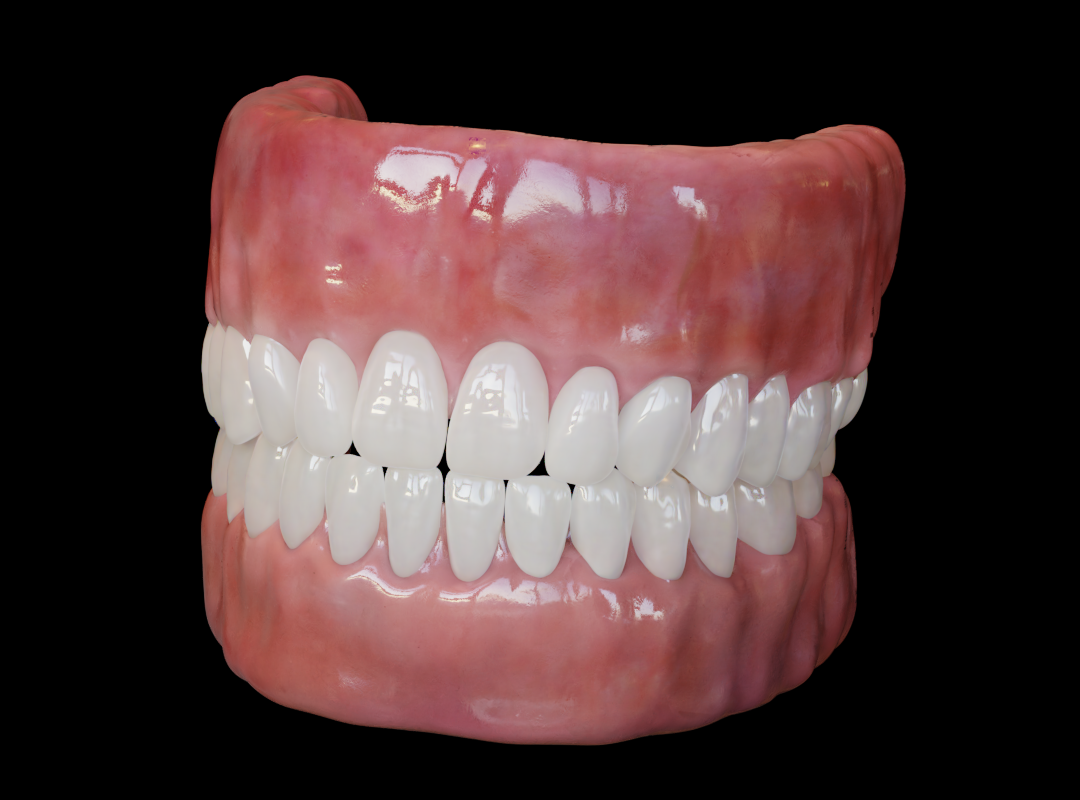
i think, this is allmost the final result.there is not much to improve?.ofcourse now you can add staining on it ,or use different settings for ageing or what not.but for a basic teeth shader, with no mesh inside for dentin,i think this is very close.a teeth shader, is not so easy as i thought.there is translucency,dentin color,denin scatter,enamel sss,the gum and all real parameters, like absorption and translucency parameter,what needs to fit in one shader.in this render i have set the TP for the gum new,and slightly different parameters to enamel.different light direction for a fresh view.
Someone ask me about the teeth material node,here it is.Its the material from the last rendering,one post above.
notice, the material itself doesnt use a dentin material.it was my last testrendering to simplify the two materials (dentin and enamel) to one material.
the world scaling is in meter/blender units,the teeths from this model are around 1-2 cm big each.this is important to get the density from the volume the same.
dont forget to increase the transparent/transmission bounces in the render settings to avoid black spots.my was 16 .and volumetric around 6-7
thank you so much Pixelgrip it 's so nice of you !!
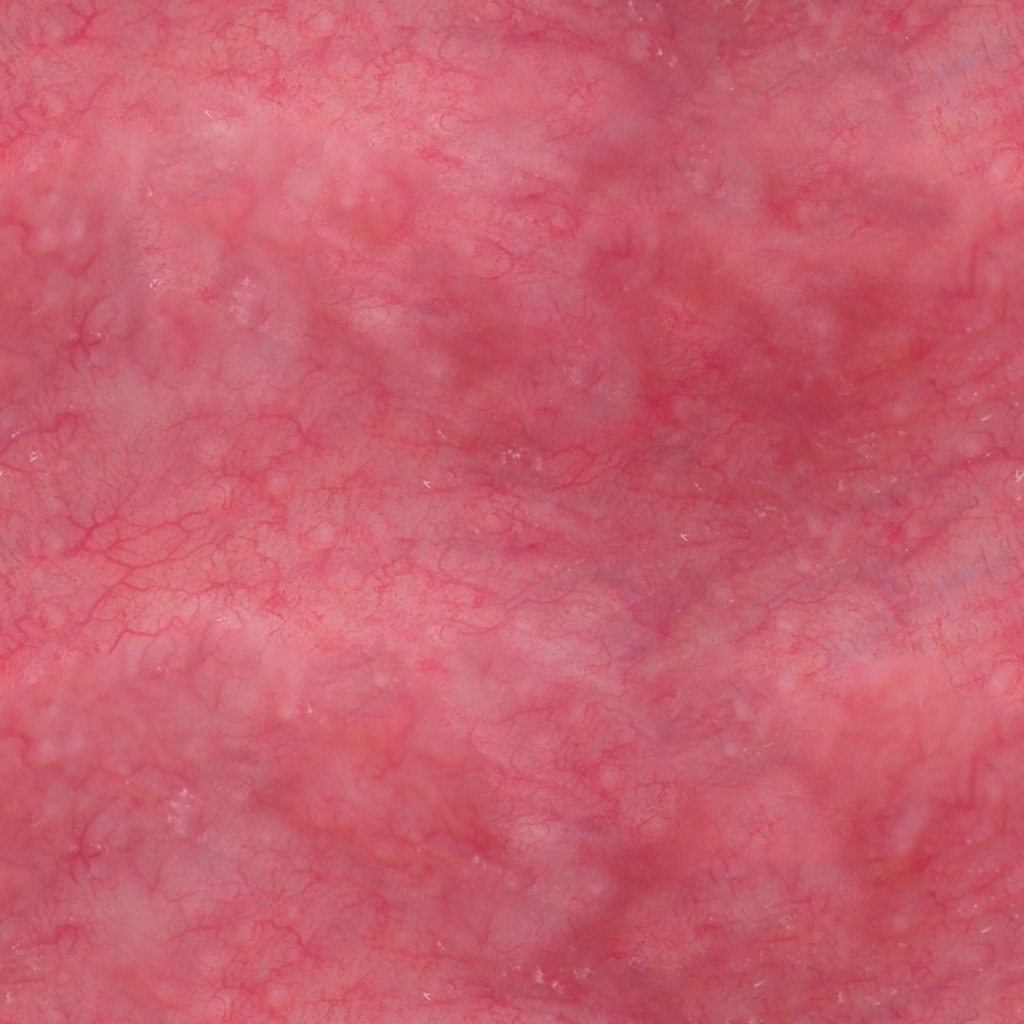
what image did you use for the bump texture?
I am not sure from what source it was.search for “sem human enamel” gives results some like this,cut a good pic out,use contrast and box blending .
http://www.scielo.br/scielo.php?script=sci_arttext&pid=S2176-94512015000200061
Very nice stuff. Would like to see how these end up when milled…
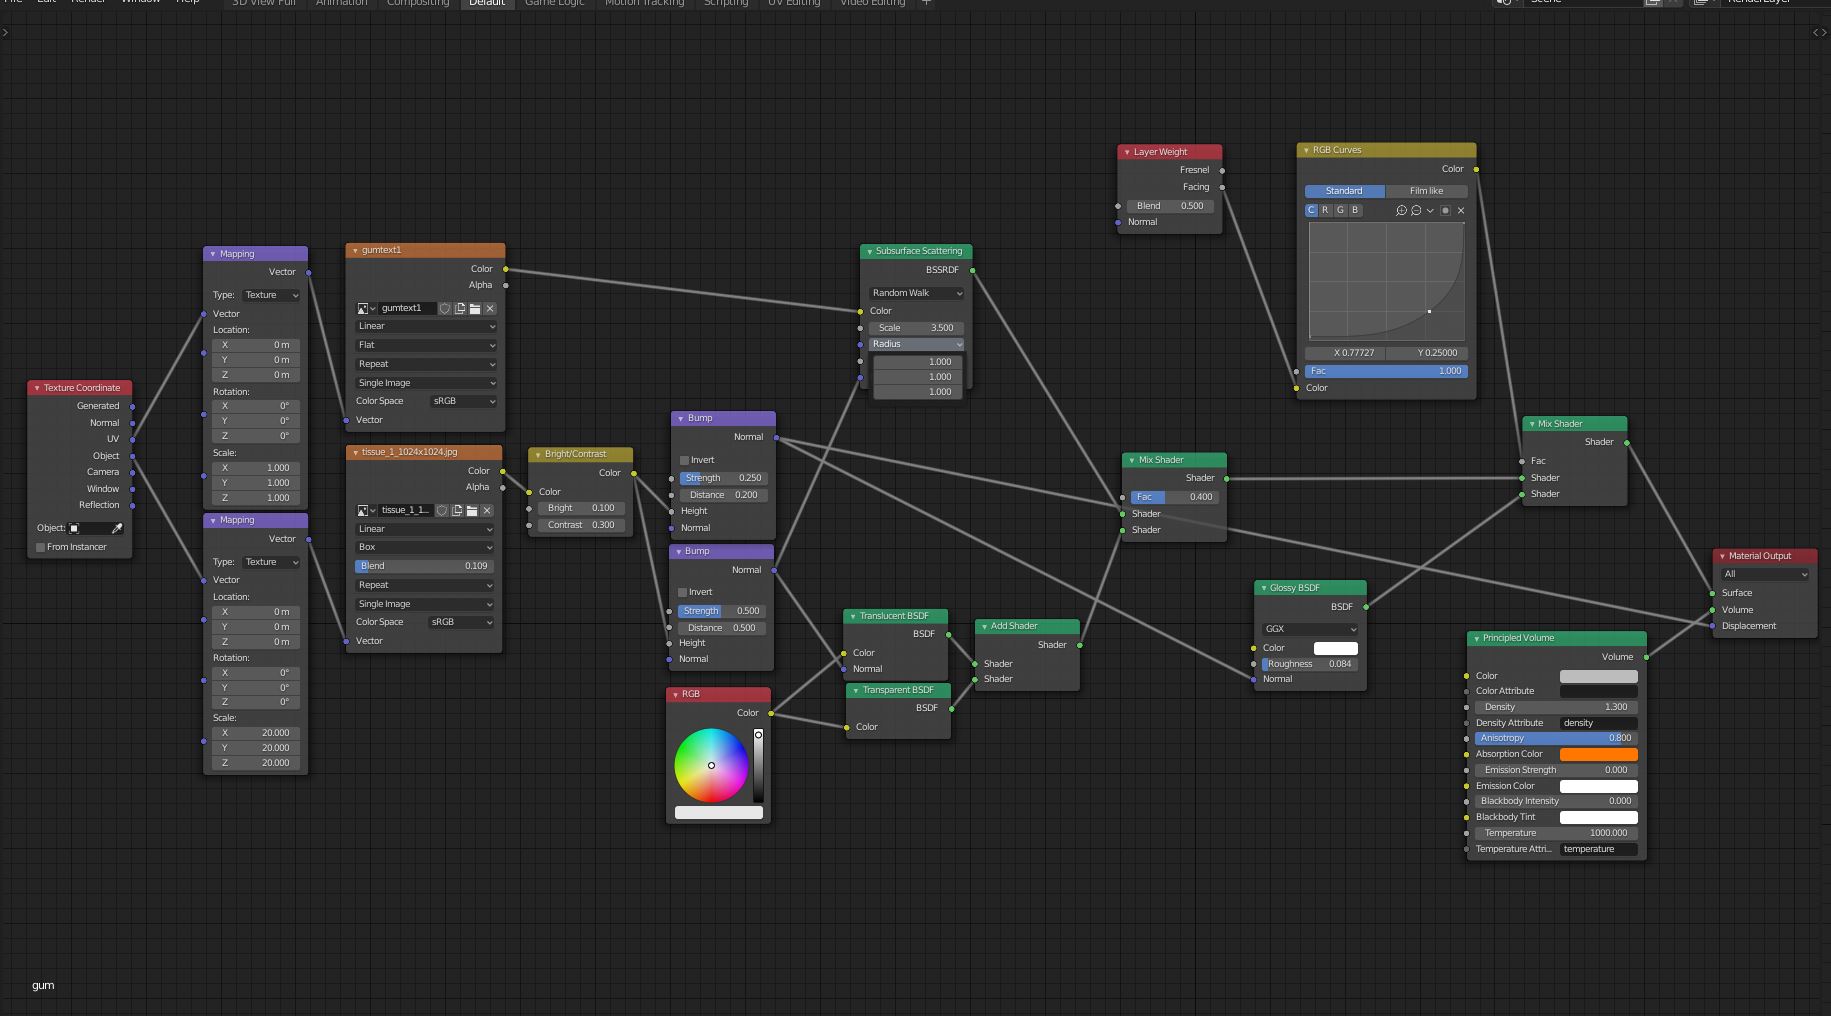
Here the nodes for the gum,the blood color comes from the volume mat
The SSS radius is 1.1.1. to get the white of the teeth seen trough the thin parts of the gum tissue.
gumtext1
Hey I Have been trying to get this bump texture to work for a while now and for me it comes out really grainy where as in your renders the teeth seem to have nice clean scrape marks, with minimal grain (really impressive results here!)… could you give me any pointers as to how you have edited the texture to go so nicely on there??
A few postings above i have made a screenshot with the bump settings.With quite low settings,to get only a subtle look.There is no other secret or something.Just boxmapping with overlapping.Maybe try another texture though.(higher res).
Awesome work, thank you very much… I’m playing with the tooth shader and I am getting quite good results, however, I don’t understand pretty well the relationship between the volume and the scene scale. (I’m using mm, so the numbers should be bigger?). Also, in previous posts you had color ramps to control the stain or tooth gradient… This was removed from the shader, or I’m missing something?. Sorry for my probably obvious questions, but I’m just starting with shaders.
Hi and thanks,the shader units are always in blender units.1 Blender unit is typical 1 m.
Ideal would be you know what scatter coefficent your material has.You find often something in the net or paper.This way you can fit the scatter color and density,same for absorption values.
Keep in mind that density is working as a multiply of the scatter color.Eg double density from 1 to 2 then scattering gets doubled with the selected color.
Then next thing to be aware is the model scale.Eg you have a headmodel with teeths that has a dimension of around 0.22 meter height at a scale of 1.This would be like realworld scale.
You have to fit the scatter coefficent to meter then,and the sss radius.
IIRC then i have set the scale dimensions to mm in the properties,not sure atm,however standard untits should work fine,as the example of 0.22 m head.As said you have to fit the scatter and absorption coefficents to meter then.
If you have scatter values (colors) of mm you can multiply the density to 1000 to get meter, or 100 from cm to meter values.
About the stain,no in the last shader it was not used,you can mix in the stain nodes if you want though.
edit and for brighter scatter appearence you have to incresase the volume bounce setting in the render tab to 5 to 10 should work.higher numbers increase rendertimes though.
Thank you very much for your explanation… I use your shader and add some of the stuff on the previous one (stain) to get this result.
I’m using Eevee, so I have to get rid of the volumetrics. I think the shader looks good enough for my project.
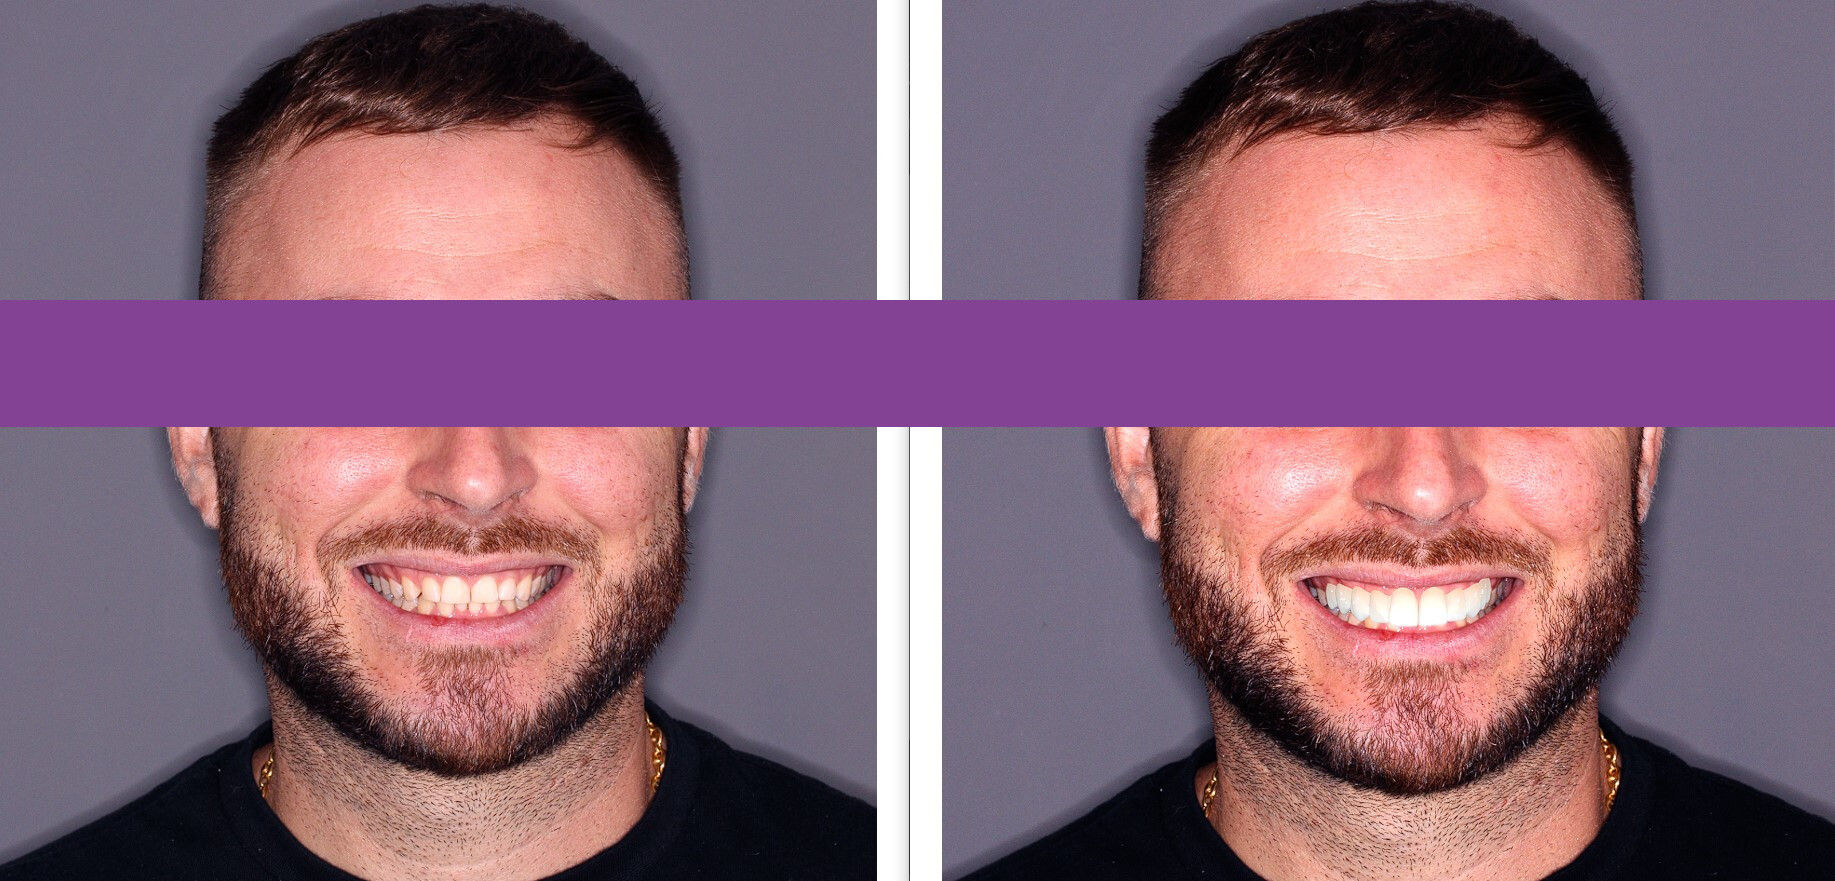
I’m using patient photos to make what’s called a smile design. The render is just to show the patient how the result might look, but I have to mimic the patient’s natural color as close as possible to have a realistic proposal.
Within Eevee’s limitations, I think it looks good, and that’s okay for my protocol.
I’m very happy with my result and I couldn’t accomplish this without this thread… Thanks again for sharing.
Cheers.
Juan.
Looks quite good.As you know, there is not one natural color fit to all.Everyone has different colored teeths,depenting on age and how sound there are etc.