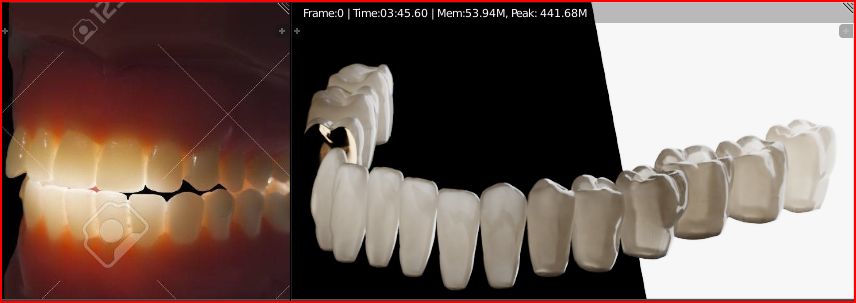
i have read again over the optical properties paper,and changed some values.then i revised the volumescatter and absorption shader.
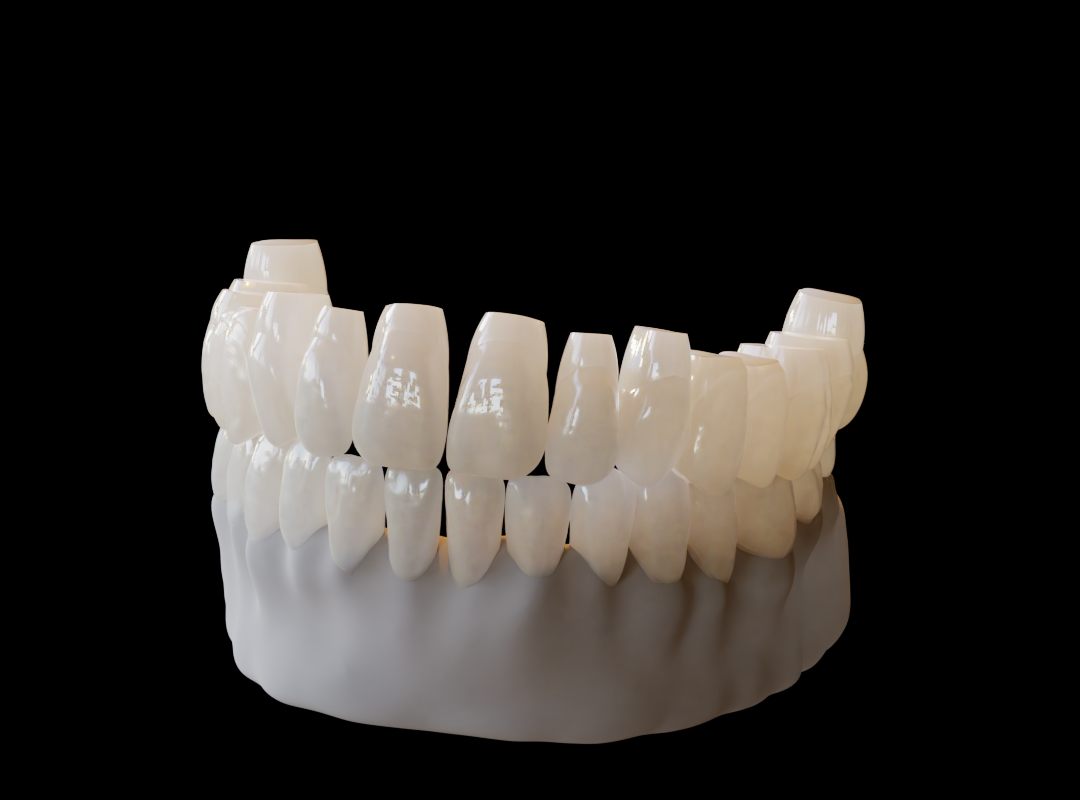
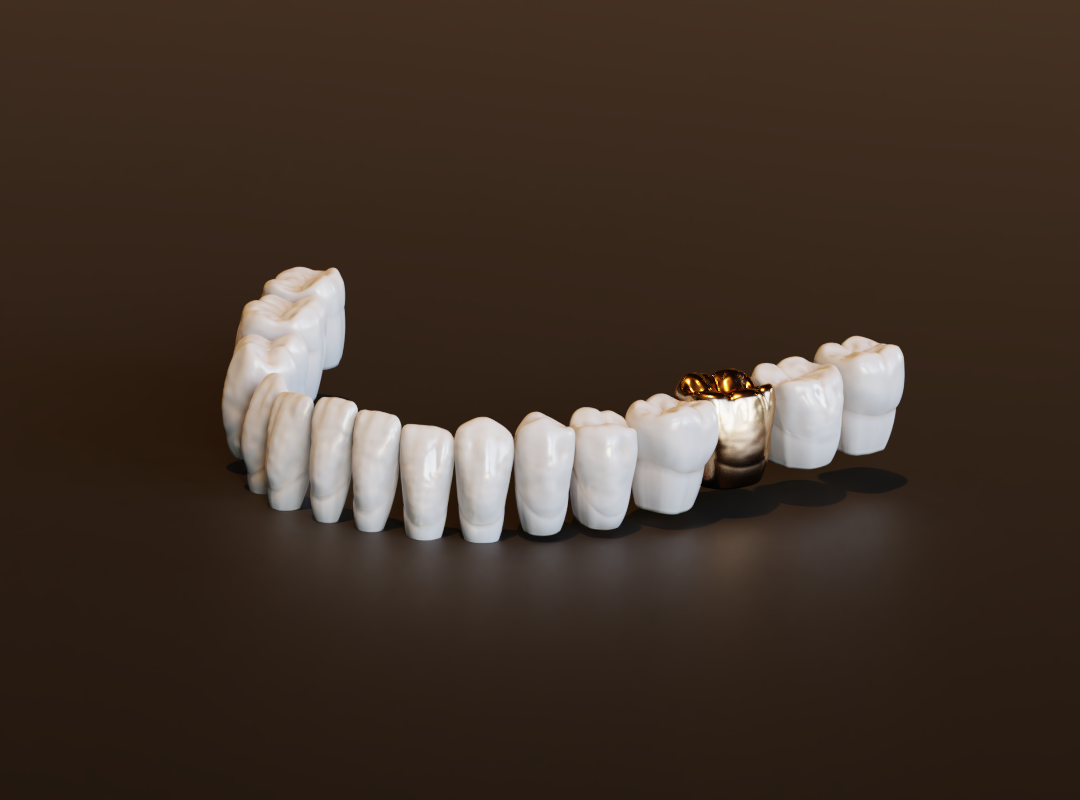
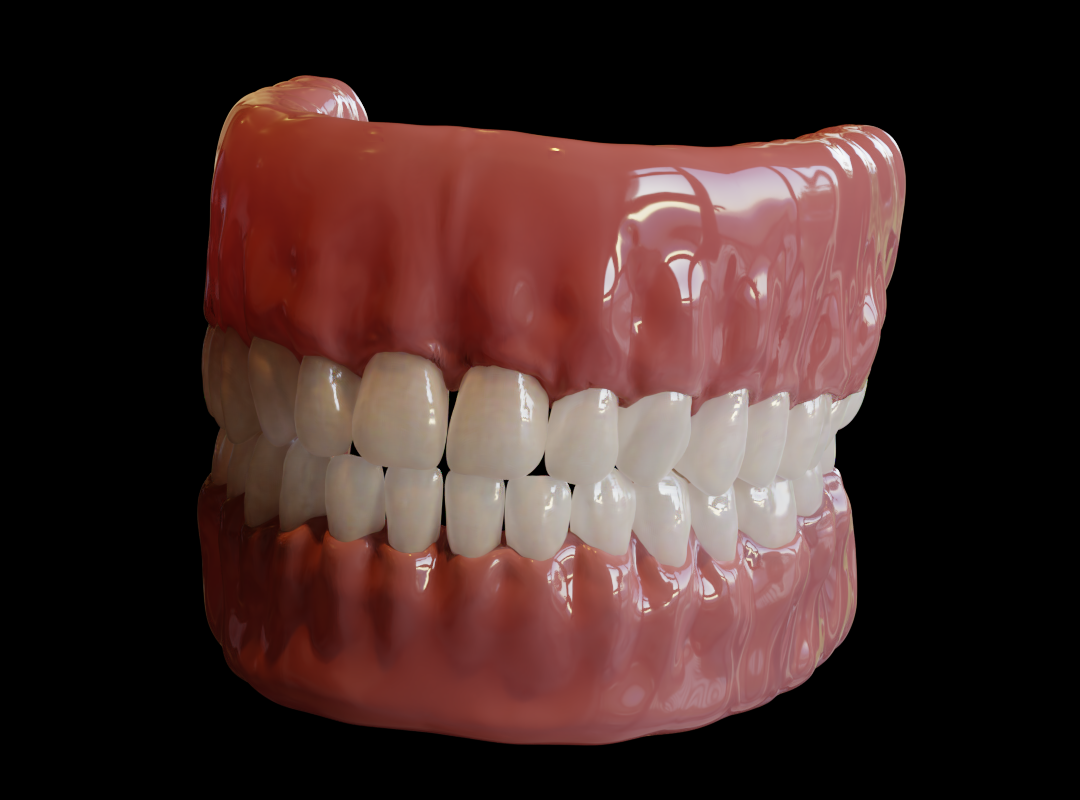
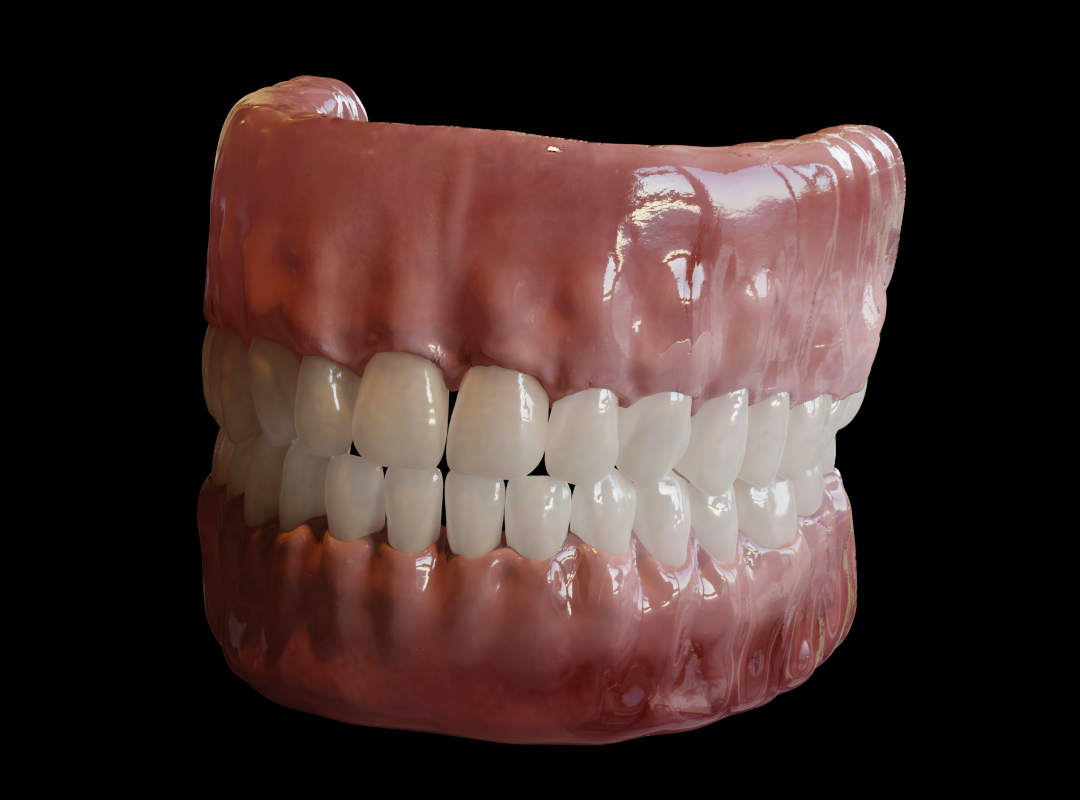
now ,i can control almost the look from clean bluewhite look ,to full heavy dentin look ,with one slider and can control ,the amount of staining ,with another slider.the look like the most comparsion tools,like the vita pan, are possible.here a new render with low staining and a medium dentin coloration.
now i can control the appearence of the dentin with one slider,and the staining with another.settings to match the comparsion tools like vita pan are possible.
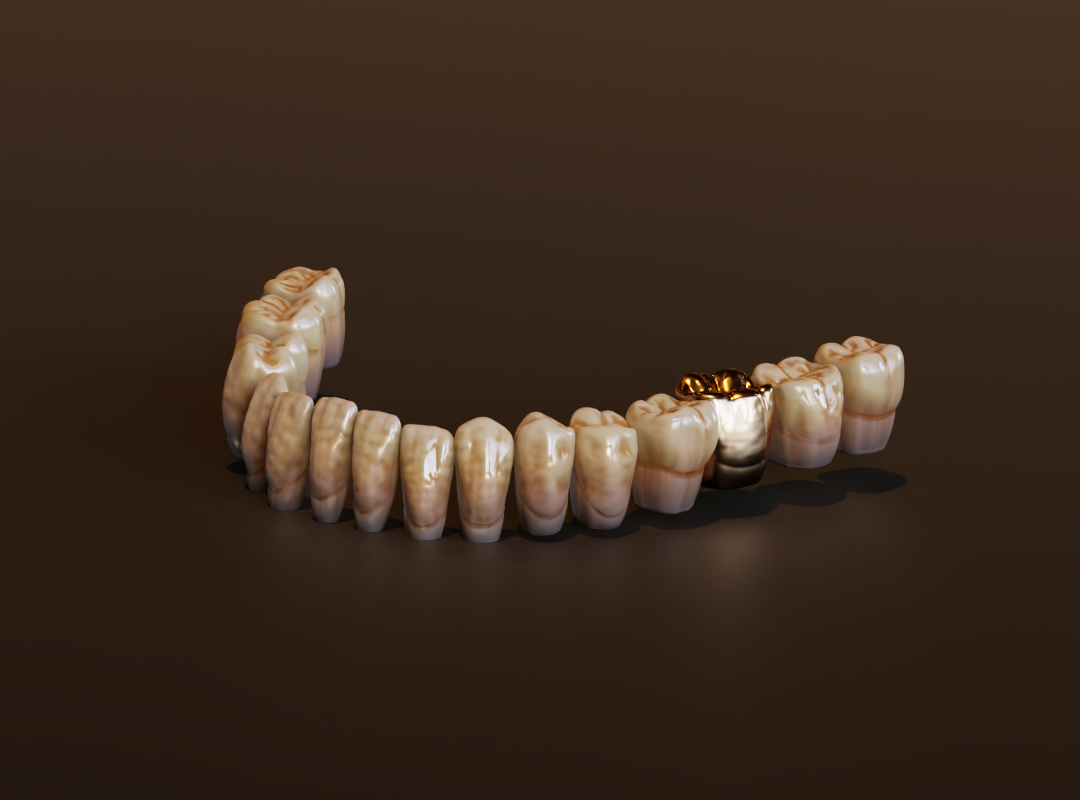
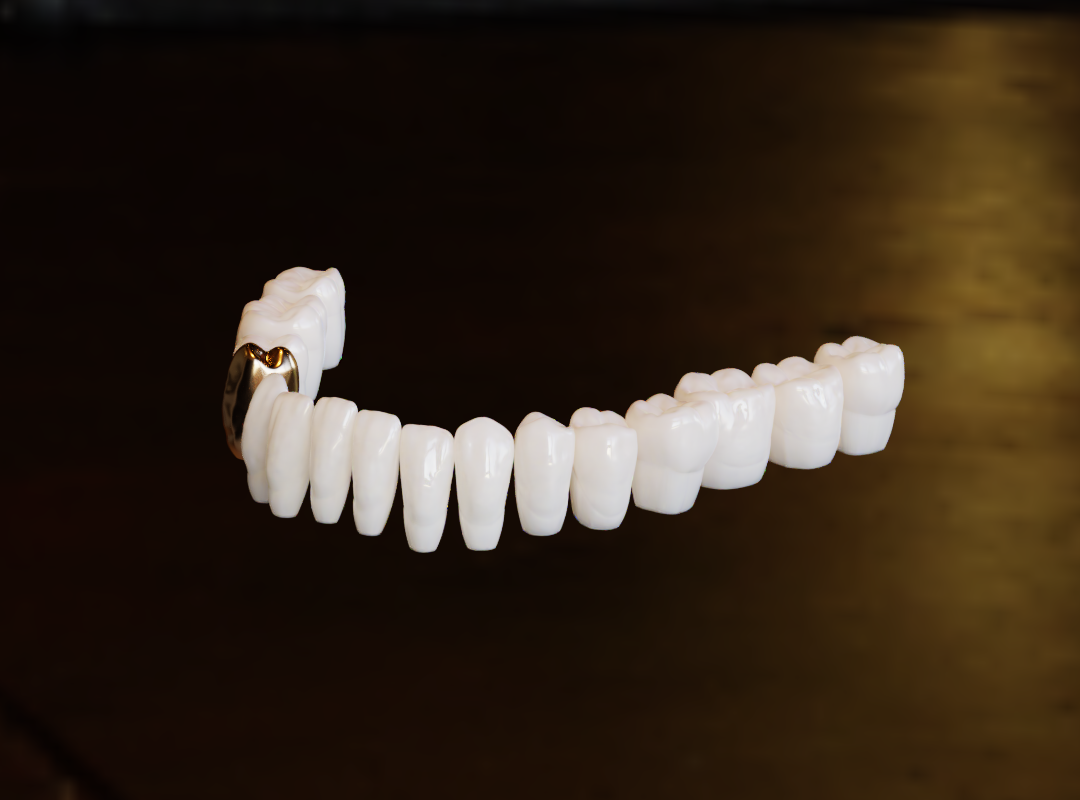
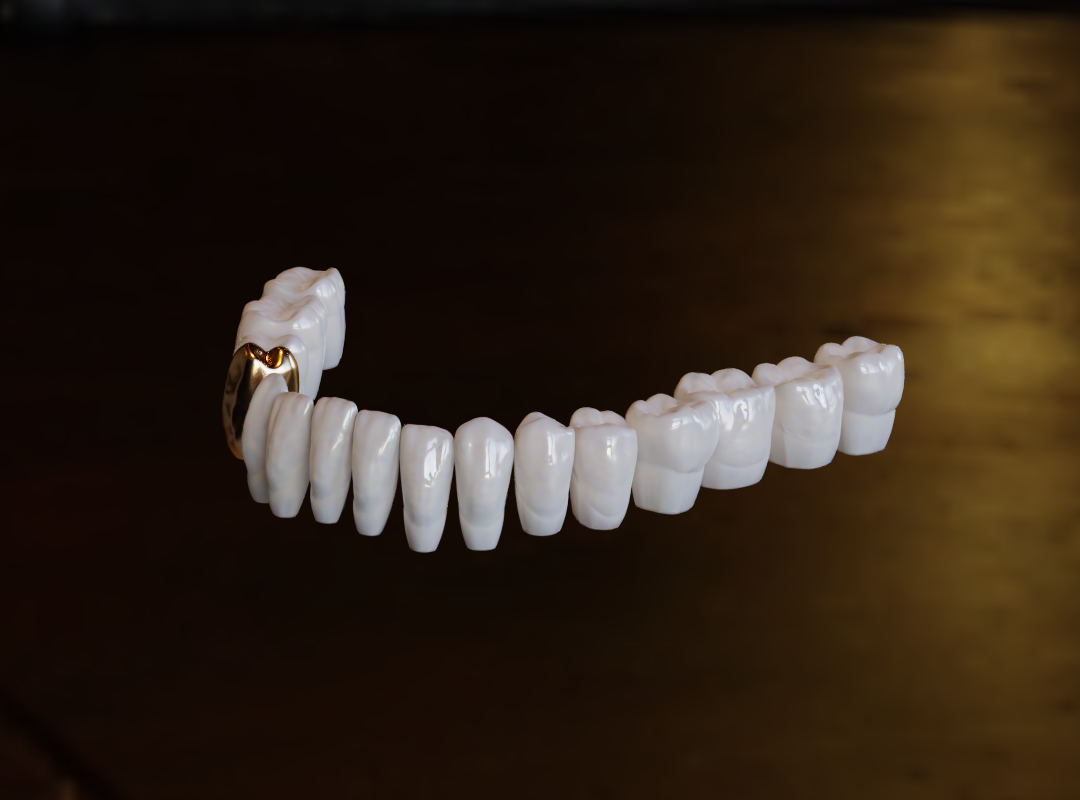
edit,for comparsion medium settings render,a clean settings and a render with strong staining and dentin slider at 0.8
1 Like
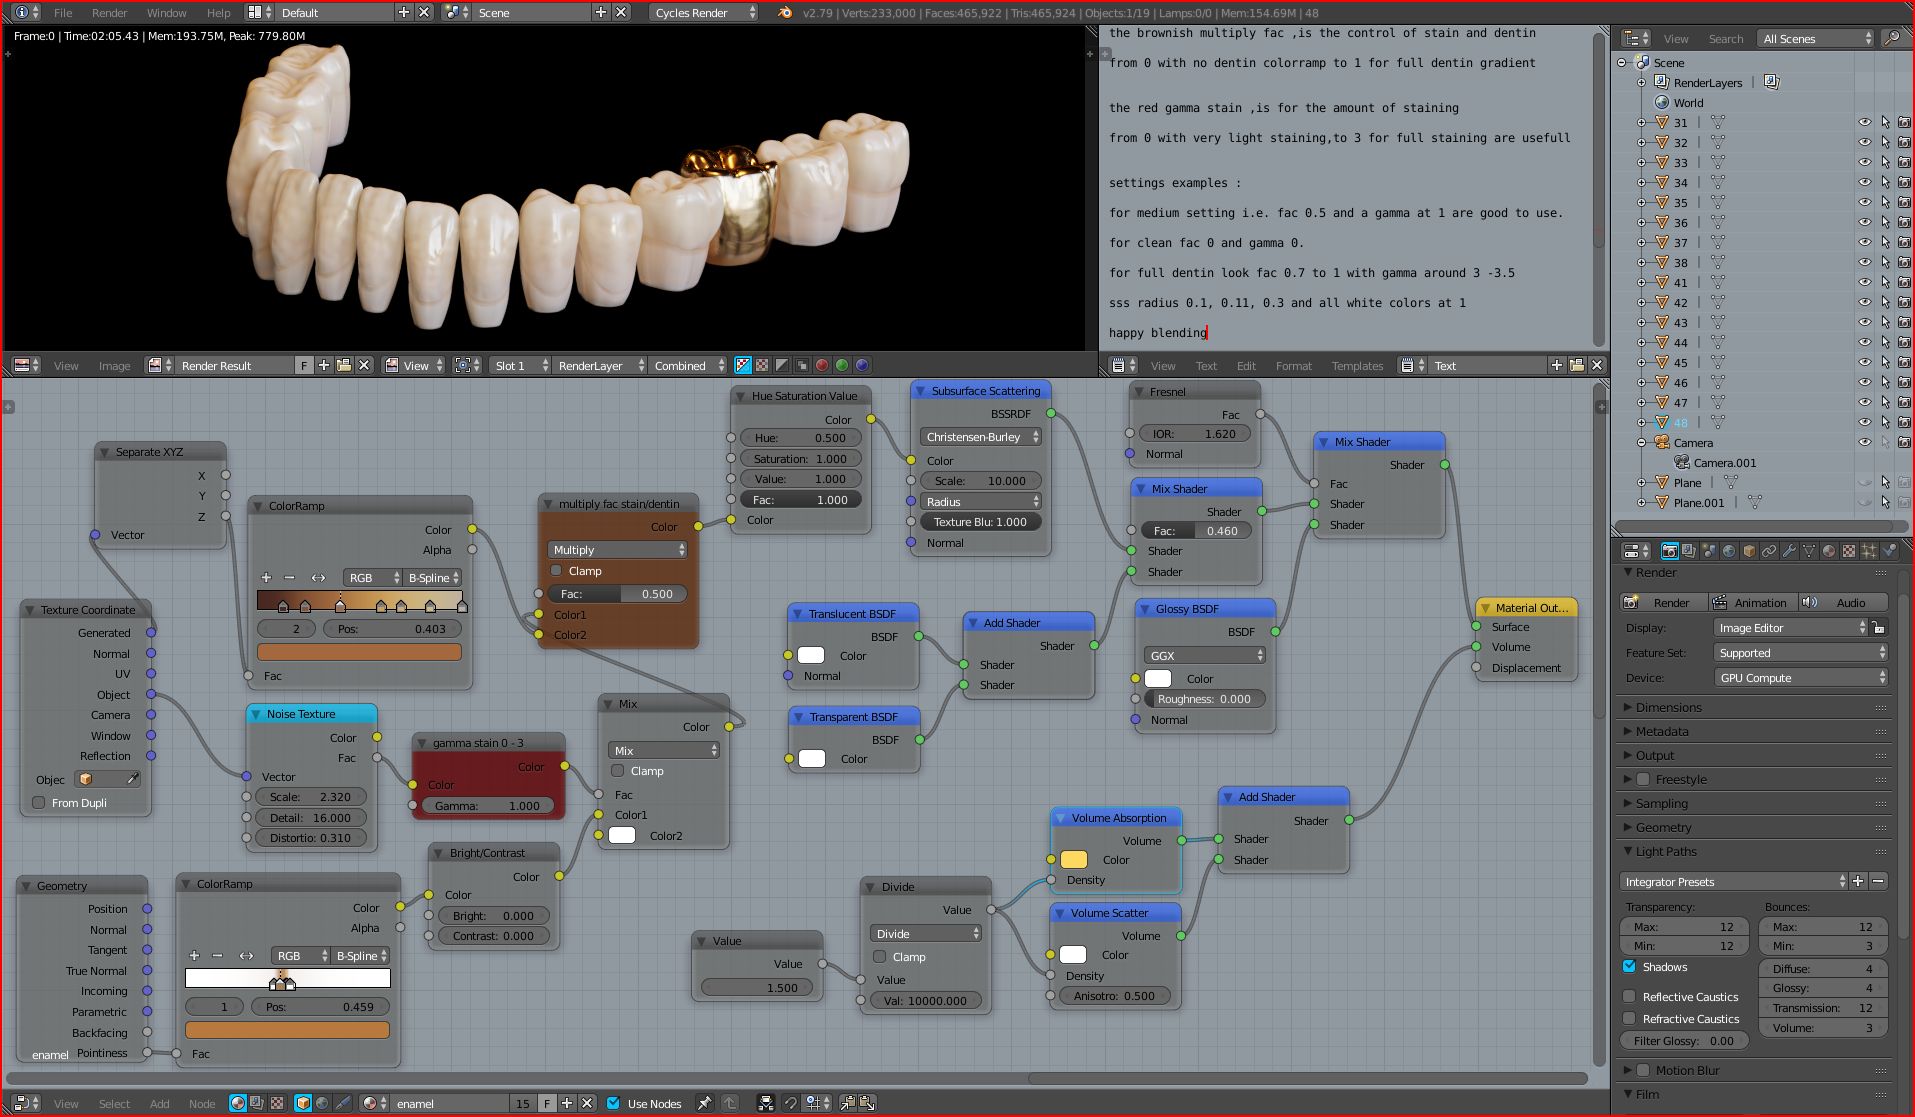
here the material build,i have used Blender filmic with it and one HDRi as lightsource.
edit,since the scale from the sss shader, is simply the scale of the radius,it makes more sence, to let the scale at 1 .for the radius i have found 3 measured scattering coefficients ,from human enamels, in the papers.the average is 1 ,3.4 and 8.9 mm .it works nice and has the blueish and brownish tint.
1 Like
that is very good nodes build , if you can mask the pointyness to be just in the lower part of the teeth that will be awesome
yes I tried that random walk sss it looks great , but I’m suffering some issue with 2.8 brunch because of my old gpu
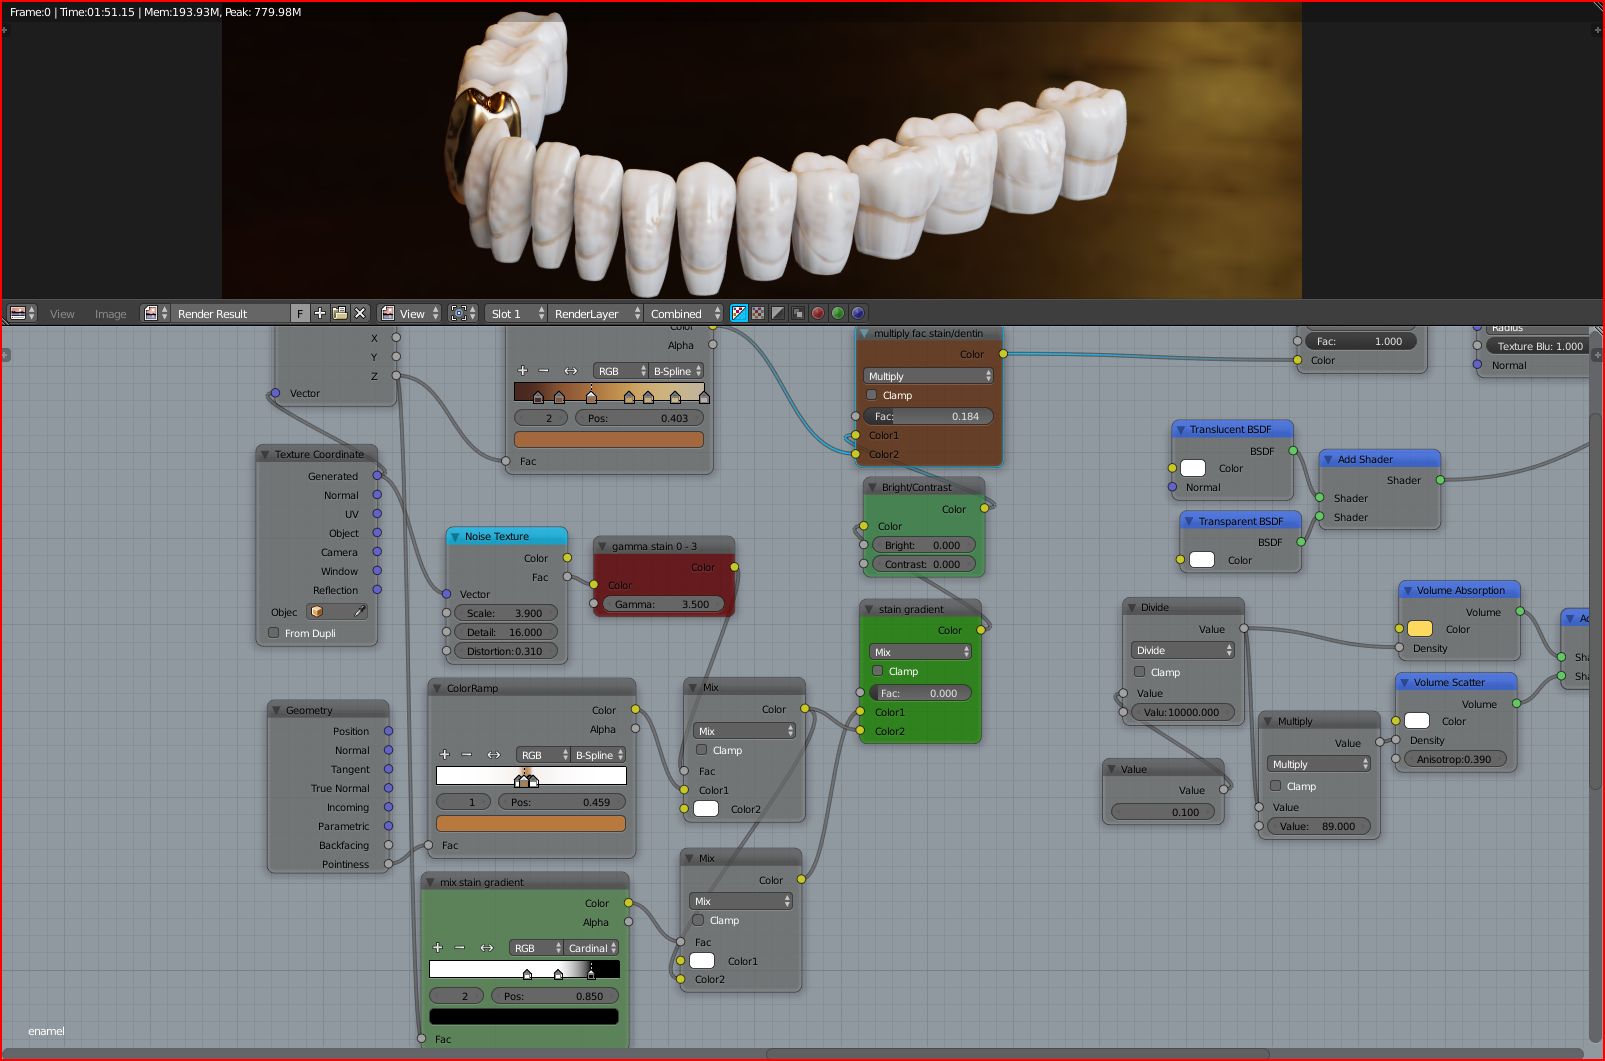
thanks wissammax.something like this?added colorramp gradient, to control the stain (the greenish parts).you can ofcourse finetune the gradient for yourself.the fac, in the green mix node,blends the gradient at 0 to the normal full disburtion at 1.since the gradient weakens the appearence ,the gamma is need to increased more as before, for compansate.if its not enough ,you can increase the contrast, in the green node, even more.
Yes that is better , it needs some fine tune as you said , there is something too , teeth must be arranged in certain way , the stl object positions are wrong ,
yes, the postitions are strange,after importing the stl files, thats what i am get.maybe you have a link to a better positioned teeths ? but for material preview thats fine atm.i think for a simple ready to render shader thats it from my side.of course next step would be to add bumpmaps /displacemet.maybe even build another material for dentin.but i think if you dont need the backlighting or the dentin shine through the top of the teeth,then one shader is enough.you can even fake the dentin ,with a texture together with the gradient.you can make it simple or complicated as you want or need.
edit,and the new random walk sss is waiting for a testrender too.
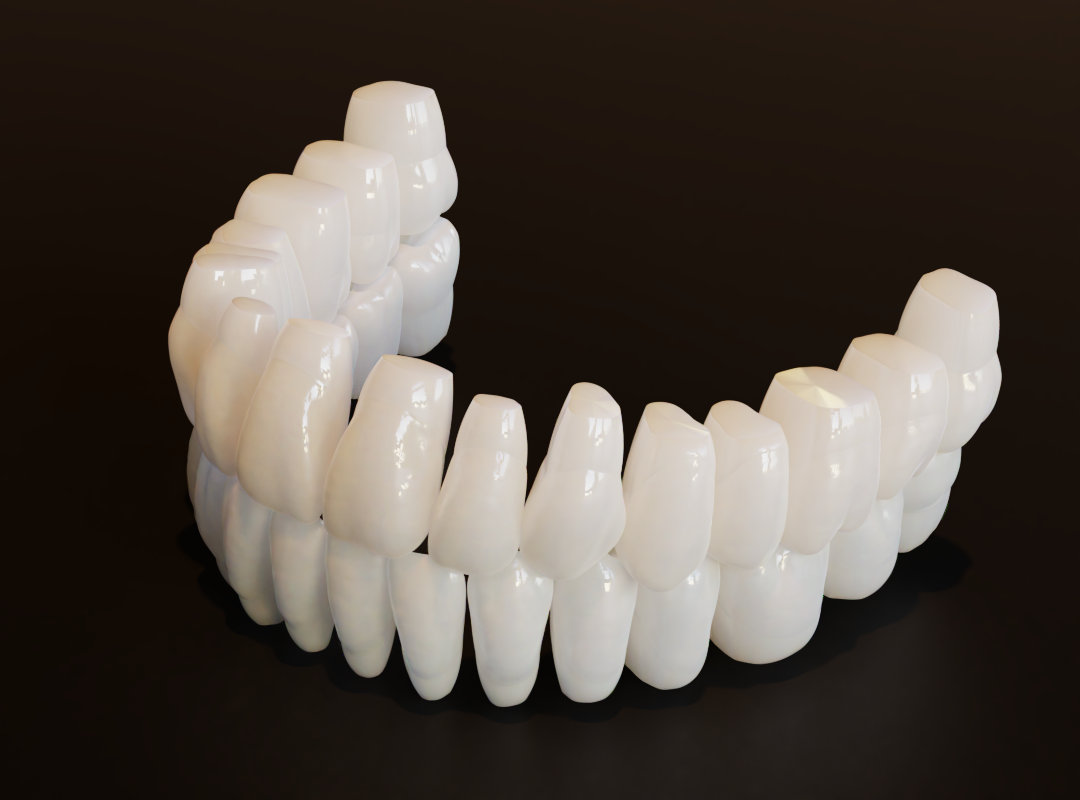
have tested the new random walk sss,its great but ca 1 min slower with same settings.then i started a backlighting test.here first test results,with only the enamel material.
edit and random walk sss test,without any stain or dentin color connected.its looks very natural and milky to me,like sound teeth should look.
edit,i changed some translucency and scattering settings.i think thats looks realy nice,like a pearl material
i changed the fresnel to layer weight, with same curve appearence,to take the dark edges away.found some improvements in backlight /absorption setup.
last image is very nice sss looks great , quickly I arranged teeth in better way for you
this is it
https://drive.google.com/file/d/1My56SLCtNMtdNcwxTn8df_xr-8unZWVq/view?usp=sharing
thanks you wissammax,if think i found a problem with volume calculation.the induvidual object as do be transformed as orgin to volume,otherwise these stl files has the origin at center,and this make it hard or impossible to make a real absorption render.
thanks for the arranged files.i think there is not much to improve.the best would be to test teeth with full gum in a full model because the shading in the mouth would gives the finaly place everywone would render a character model.at the moment its like render third teeth on a table.
edit,i have loaded your arranged file,its looks perfect but you have melted the teeths together,so it has only one orign point,that make it impossible to render each tooth with correct volume.
notice,the induvidual tooths needs a induvidual origin point,otherwise it cant calculate the volume absorption from every induvidual tooth.
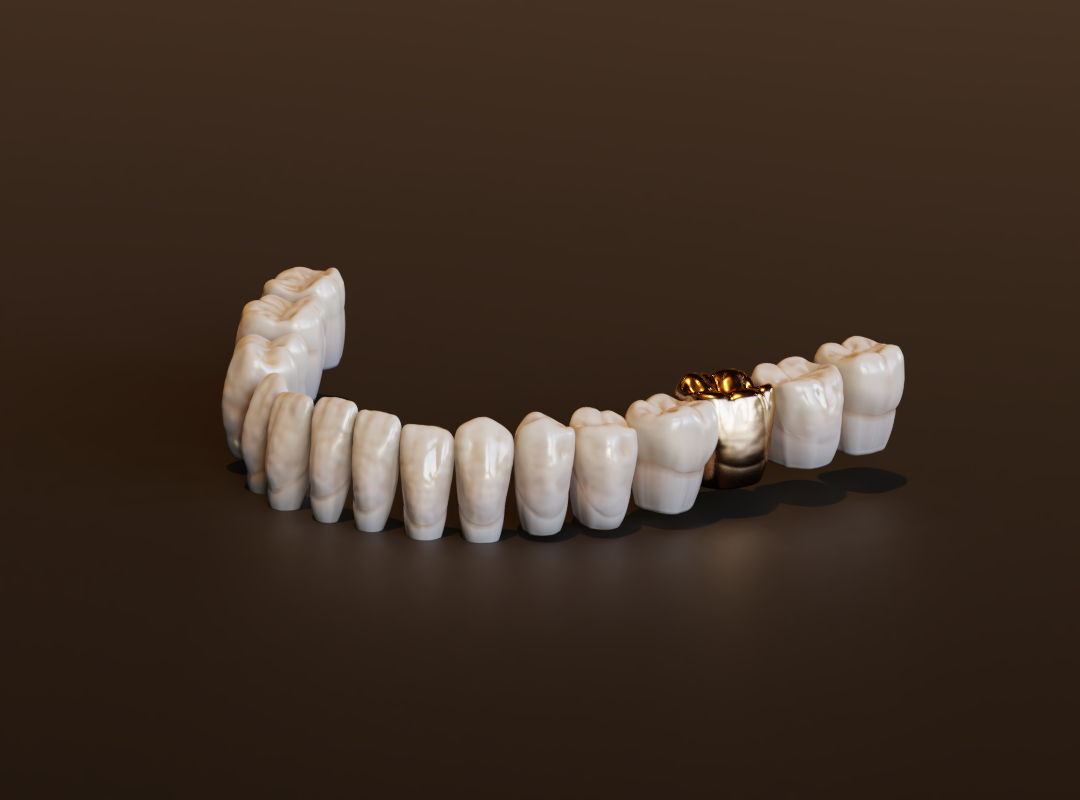
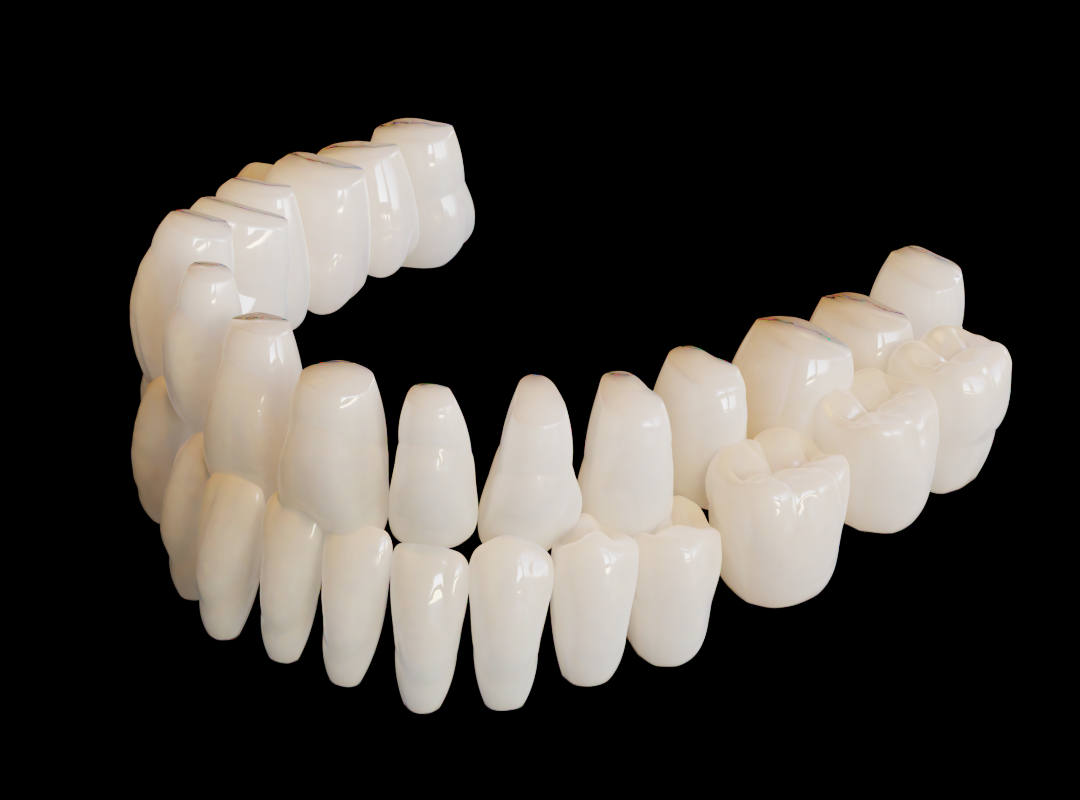
dont worry wissammax,i have seperated all teeths with L and P,and transformed the induvidual origns to volume.here a render.
1 Like
In edit mode you can select all & press p & chose lose part as I remember , with one action , even when you transfer origin you can do it in one action
Now it looks more better , material looks promising, would you try make the gum?
yes by loose parts,but i was not sure, if some of the teeths are overlapping ,so i selected one bye one ,to see if more than one tooth is linked.
making gum? you mean the gum material? sure
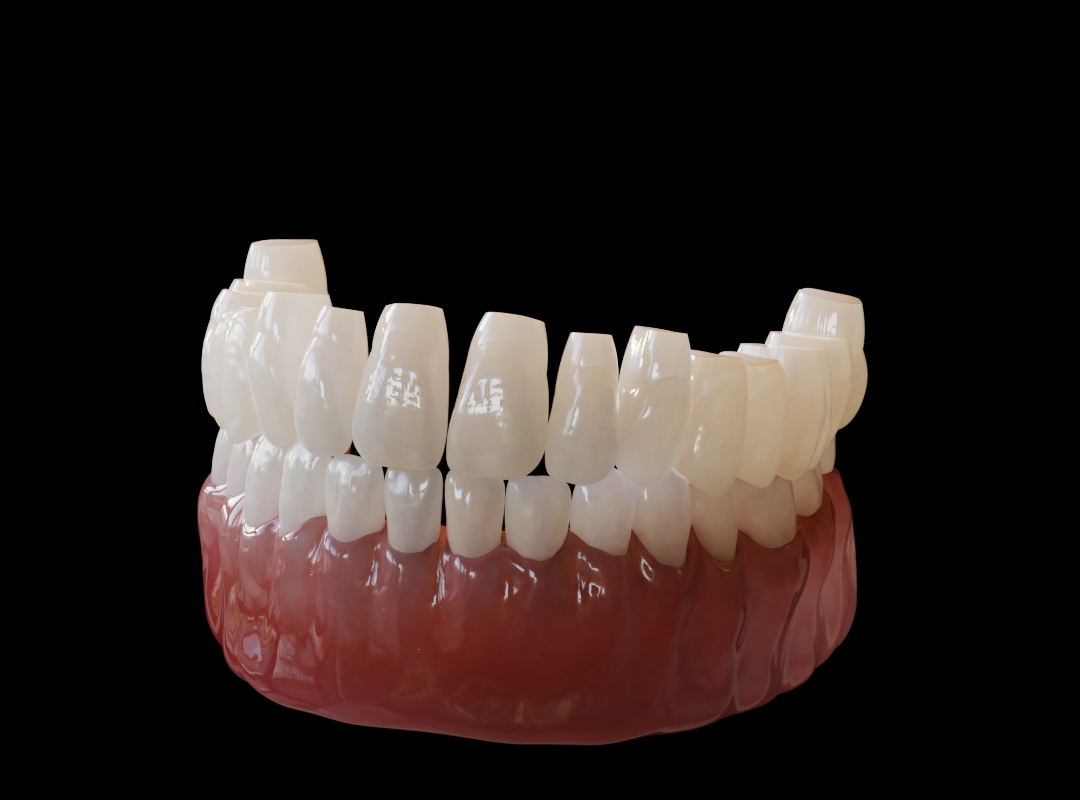
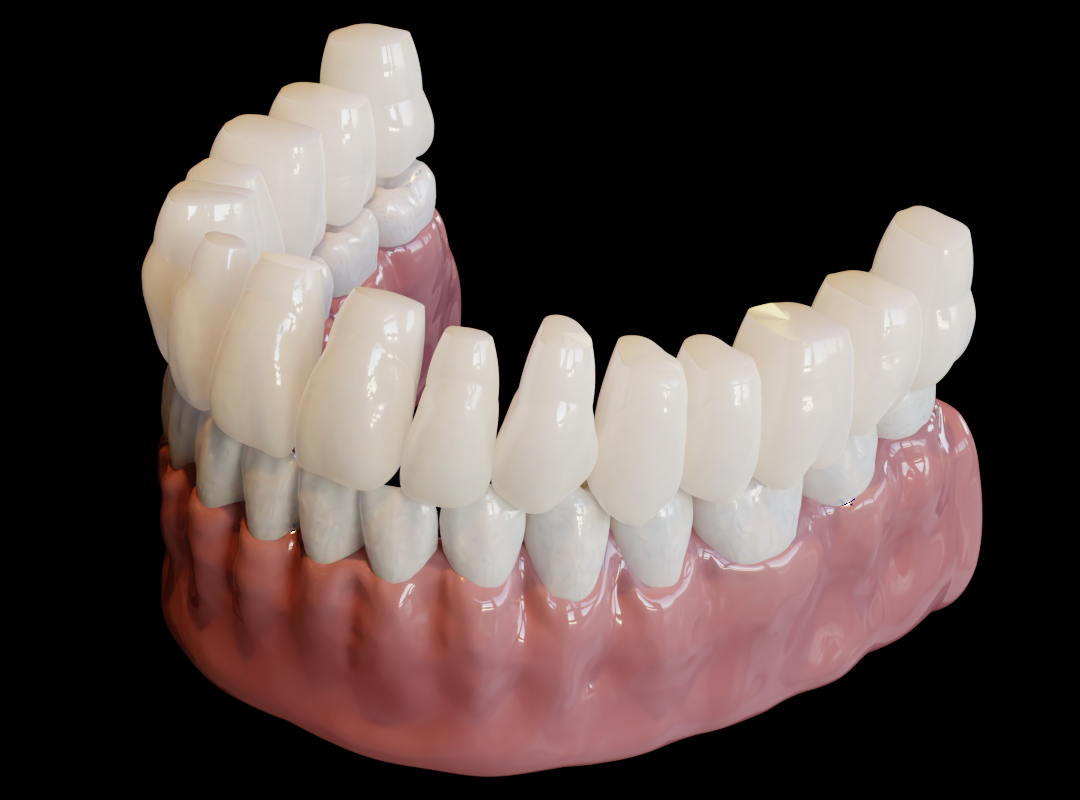
i sculpted a gum,and builded a new gum material.this is testrender with only one skin color ,translucency,volume absorption and reflection on the gum material.no texture or bump/displacement or pointiness.its my first gum sculpt,i think i can do it better.
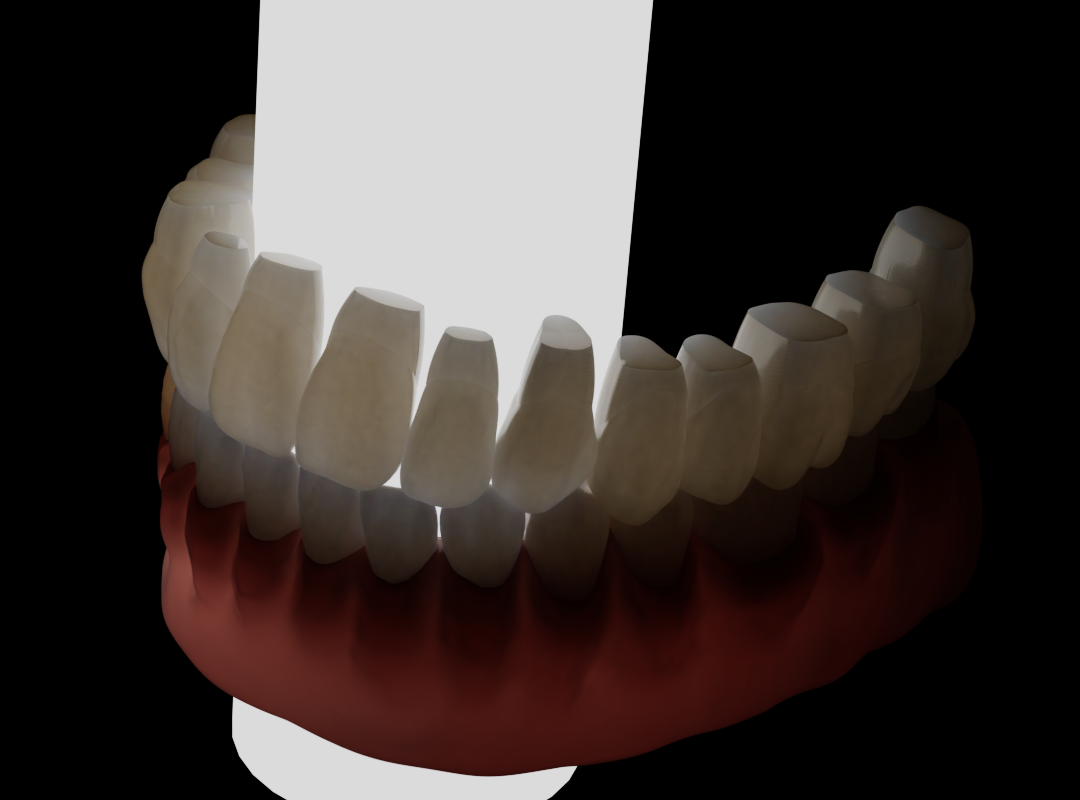
edit,backlight test.a cylinder with emission strength at 1.
The shading work (especially with Random Walk) is getting to the point where it’s starting to become creepy (that’s a good thing, as it shows the realism push is moving in the right direction).
It’s a good step up from earlier tests to say the least (just when you think it looked good enough).
if its starts to look creepy its a good thing yeah,that was my goal hehe and that it looks real.
yes ,the random walk is a good shader ,if its used right.the last bit ,to get this realism ,is not so easy sometimes,even with scattering blood ,flesh bones and what not.i try do get better at this.found some real measurements i.e. translucency from realworld " materials " are very helpfull to get closer and closer.
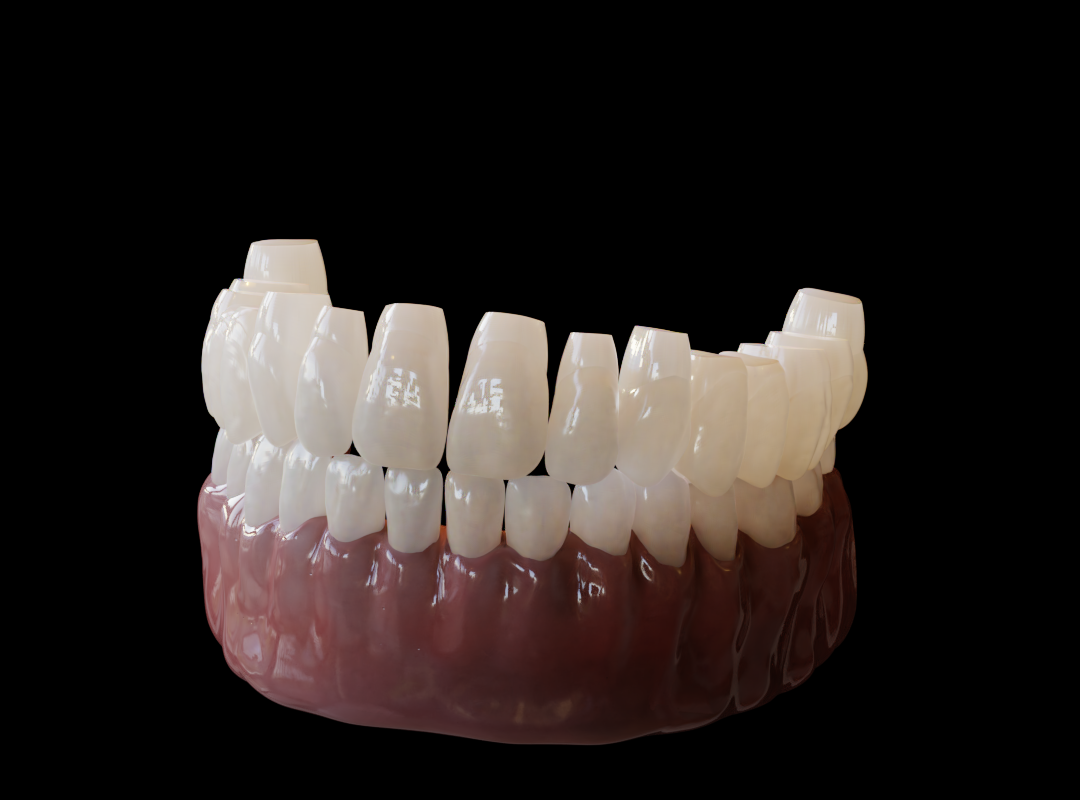
edit,short update render,have forgotten to deactivate one layer.
edit,next update render,with some textures and bump.
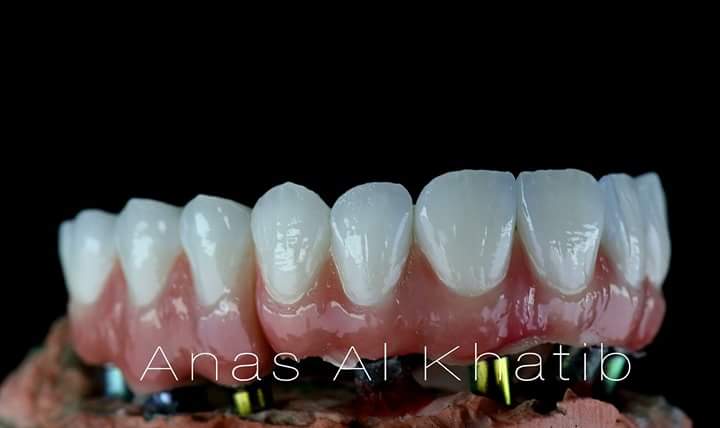
For gum you must shrink it in margin area to give tooth longer shape especially in front teeth look at this pic
yes wissamax you are right.i have tryed with the multires ,to sculpted it at this places,but its started to get poligon artefacts ,at this thinner parts,so i leave it as it is.i tryed to switch to dynotop, but this switch made something with the whole mesh,so i get back to the first basic sculpt.
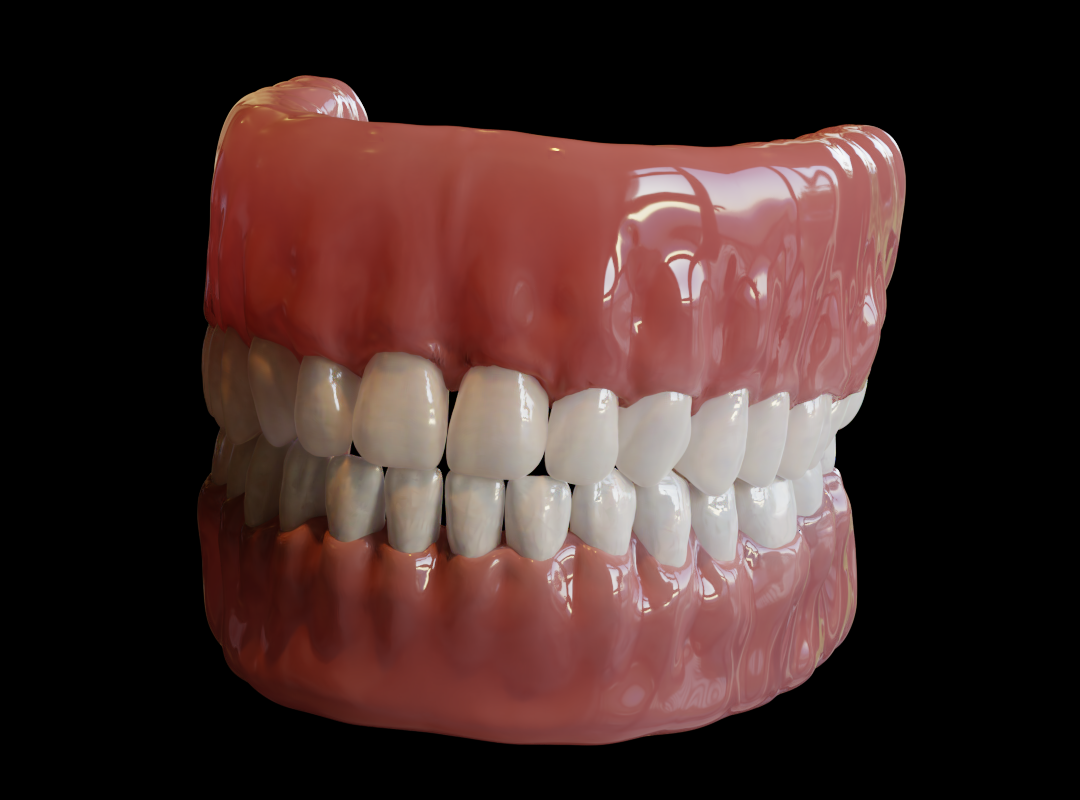
i started a new test.real teeth gums has a thickness from 0.5 mm to around 4mm that is layered over the jaw bones.to simuled the real material behave,i duplicated the lower gum,scaled down to get ca 2mm space for the gum,and used this as jaw bone mesh.i have found some papers from human skull translucency tests.and i put this mean value to the bone shader.
here the testrender.the simple jaw bone layer.then the teeth gum material without bones.and a render with bones and gums together.