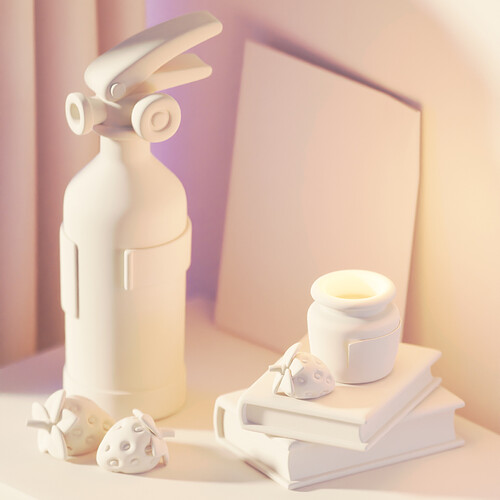
Final version
Clay render
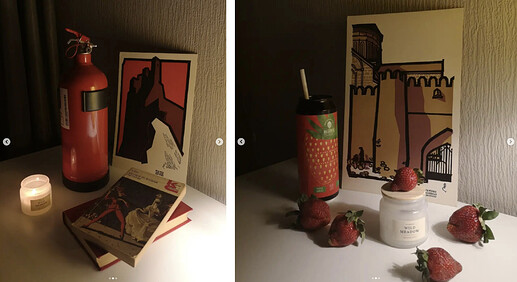
Here is a still life I modeled based on the reference photos my friend took. Here are two of them that I combined into one work
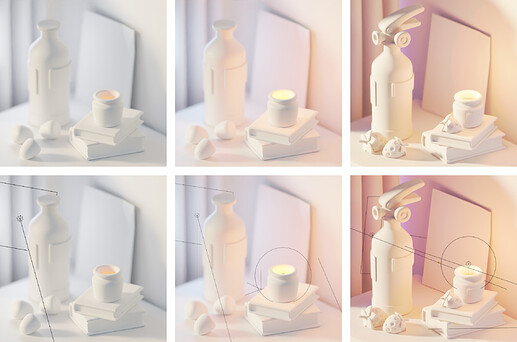
One thing I knew I wanted to change about it was the lighting, I didn’t want to keep the night scene, so I decided to make something cheerful and bright instead. Here are my lighting process wip shots. If you are interested I can make an entire article explaining my thinking process more in depth.
But here is a quick recap
-
Nishita Sky texture + an area rim light + emissive fire in the candle. It didn’t work for 2 reasons: it didn’t fit the mood of the image I was trying to make and it didn’t provide any separation between objects. Oh and the right side was looking a bit too dark.
-
More subtle Nishita + rim light + big point light around the candle + subtle area light in the right corner. This was already setting the mood better, but the end result was still looking a bit flat.
-
Warmer Nishita light + rectangular area light behind the fire extinguisher + warm point light around candle + subtle warm area light on the right bottom side + purple area light behind the curtain + extra area light for reflection in the extinguisher This separated the extinguisher from the background, gave it a nice reflection (see the end result) and provided nice color difference between warm foreground and purple background
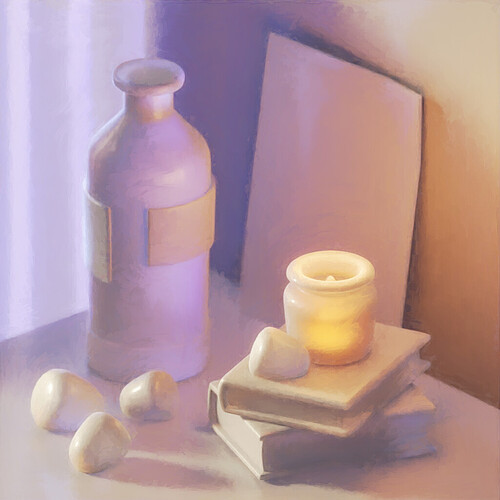
I also made this painted version of it because this reminded me of those classic still lifes we used to draw/pain in my architecture uni. Wanna hear how I made it? ![]()
Oh and I made this short video with my process of modeling the strawberry.
P.S. Better watch it on Instagram since it has cute sound ![]()


