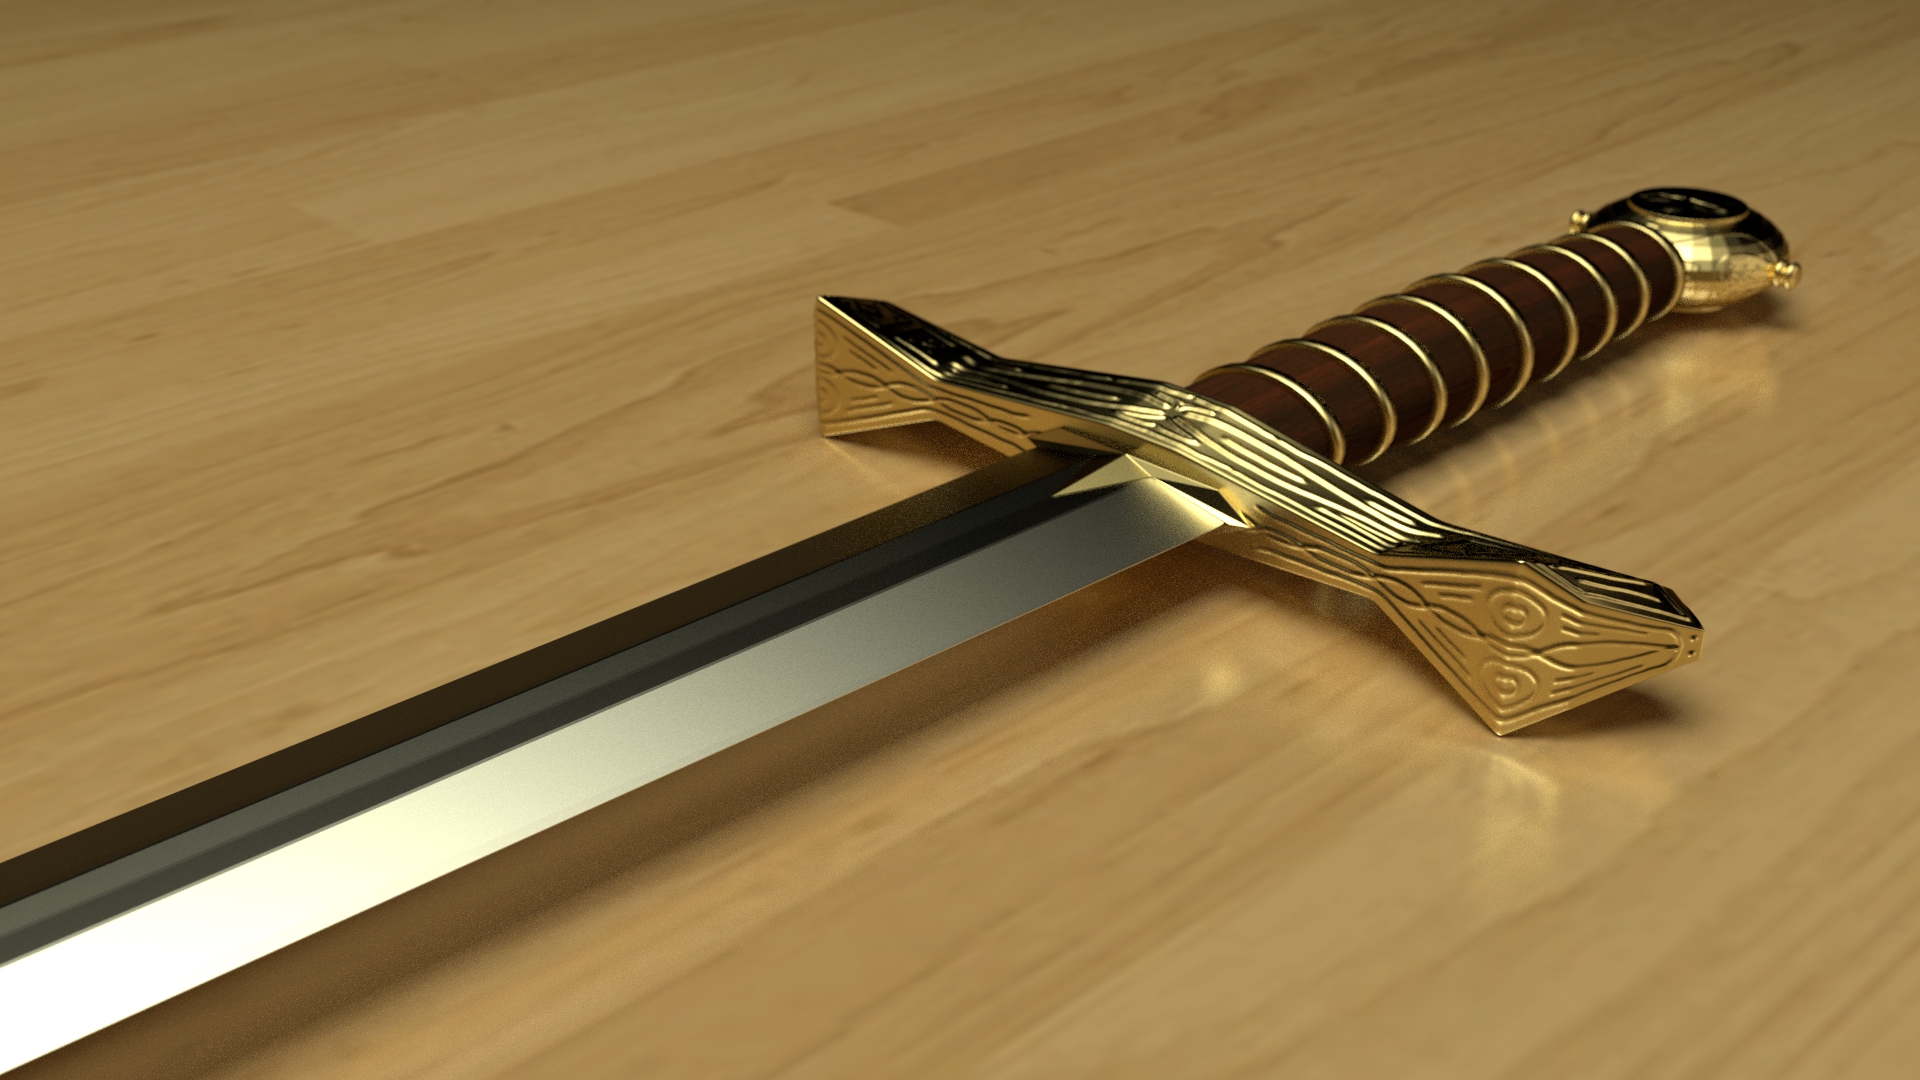
This is just a test render I did with Cycles. Comments and critiques welcome :yes:
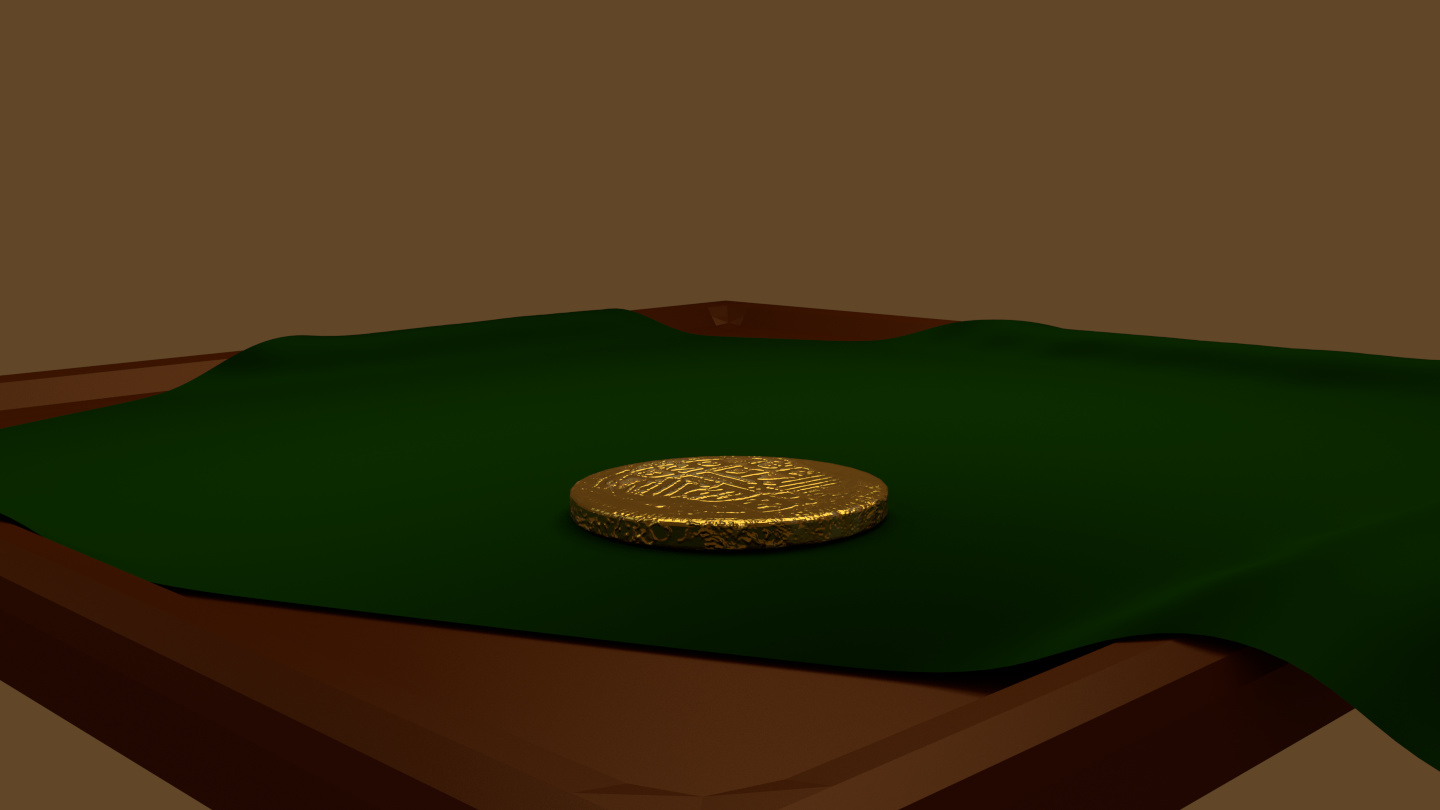
Awesome! I’m currently using Cycles to render a pile of gold coins, I’m really excited about how easy Cycles is to create new materials, especially metals, which were always tricky. You really did a great job here, just a question, how many steps did you use?
I want one.  The only crit is I the top of the sword needs some subsurf as I can see the polys, other than that nice modeling and render.
Robotronic94: Post the pile of gold coins when you’re done. I’d love to see your finished piece! I only used 300 samples to render the sword.
Paint Guy: The gold piece at the top of the sword is actually already subsurfed many times. There are 112,706 vertices just in that one gold piece. I did that so that I could sculpt the detail into the gold piece (as you can see in this closeup).
However, for some reason, it made those annoying squares all around the sphere part ![]()

Absolutely cool… Where you upload your image…?? could I know where the hosting …i mean the website…??
Thanks
Absolutely cool… Where you upload your image…?? could I know where the hosting …i mean the website…??
Thanks
Looks nice, though the blade looks more of a tin like metal instead of a steel. Other then that great job.
Have you tried smoothing just the squared areas manually on that gold piece?
Upon close examination I see what you’ve done. You sculted on that piece. Correct? but you added a “Multiresolution Modifier” and started sculpting on that piece (before) you smoothed the Subsurf modifier. So it kept all of the poly edges. What you need to do next time is add a “Subsurf Modifier” and then increase until it looks smooth, then after it looks smooth you add a multiresolution modifier. Then you won’t have those poly faces.
nitrofreak06: thanks for the comment! I tried for such a long time trying to get the blade texture right. I figured the best way to give it that “steel” look would be to use an environment map but that never got anywhere so I just posted as is.
Paint Guy: So what I did is Multiresolution Modifier then Sculpted then Subsurf Modifier?
And what I should do is Subsurf Modifier then add a Multiresolution Modifier?
Am I understanding right?
That sounds like it should work, yeah. I’ll remember that for next time. Thanks!
Sword is looking good. Really liking the details.
You might want to try using the node editor for the material of the blade and gold. I would suggest using a metal texture mixed with your current material to bring more realism to the metal. you can find free textures on CGTextures.com. There are lots there.
As well, even a brand new sword would have some amount of dust in the crevices.
- Modeling - Sculpt your low poly mesh. Then add a Subsurf Modifier which will smooth the mesh out. (I think you missed the step of adding the Subsurf modifier to the gold piece and just added the Multiresolution modifier and started to sculpt on that. The subsurf would have smoothed out the poly’s. That is why the polys are so pronounced.)
- Sculpting - Now to sculpt, leave the Subsurf modifier on and add a Multiresolution Modifier to the Modifier stack.
- Now subdivide the multiresolution modifer and then sculpt.
- After you are done sculpting you can leave the Modifiers or you can select their “Apply” button to commit them to geometry, but then the mesh is no longer easily editable.
Hope this helps explain it. ![]()
pg
I had similar problems with some models and I solved it using ‘smooth’. For example, trying to render a simple cube with translucent BDSF shader.
Robotronic94: Post the pile of gold coins when you’re done. I’d love to see your finished piece! I only used 300 samples to render the sword.
I’m having trouble right now creating a pile of coins, the pile being the keyword there. But I can show you what I have so far. The final product will be similar but with about a dozen coins, instead of a single coin.
Attachments
this workflow sound super convoluted if all you want to do is bake a clean displacement map.
Yeah, my bad. You don’t even need the Subsurf modifier just go straight to using the Multiresolution modifier.
- Modeling - Sculpt your low poly mesh.
- Sculpting - Then add a Multiresolution modifier press “Subdivide” button and start to sculpt.
After you are done sculpting you can leave the Multi-Res Modifier or you can select the “Apply” button to commit the mesh to geometry, but then the mesh is no longer editable as a low poly mesh.
Paint Guy: yeah, that’s what I usually do. I must have just mistakenly messed up on this model somewhere. It’s never happened to me before and I’ve sculpted a lot of spheres.
The sword looks great nonetheless.
Robotronic 94: What you could do to make a nice pile of coins is to assign each of the coins as game objects. Then simulate a gameflow so that the gravity causes the coins to fall in a realistic-looking pile. And have Blender “record the game-physics to IPO.”
Then use the end frame of the animation as your still image of a pile of coins.
Hope that helps 
Any chance you could share the settings for the gold material?..TY
I tried that, but it seemed that the coins didn’t seem to align properly, are there specific settings I need to set to ensure a realistic result, or do I have to extend the length of the animation to give it enough time to settle properly. If anyone can recommend a tutorial on getting ideal results like this, please send me a link.