SX Tools: Multi-layer Vertex Coloring with AO, Curvature, PBR and Palettes (WIP)

Hi everyone,

This started out on Maya a couple of years ago, but now a Blender version is reaching completion. It’s used internally for a game project, but we’re happy if anyone else finds this useful.

It’s a multi-layer vertex paint tool with basic blend-modes, ability to apply values and gradients directly to color and UV channels, built-in curvature shading and ambient occlusion baking, some shortcuts for creasing, etc.

Example shader graphs for Unity LWRP and HDRP are included, so you can bring PBR objects into a game with many material properties driven directly by per-vertex values.

I’d appreciate any feedback. This is definitely work-in-progress, with some features still underway. It would be great to hear comments on if there are usability issues, and if I’ve accidentally broken things in the latest commit.

SX Tools for Blender on GitHub

22 Likes

Interesting! Do you think you will be adding any way to bake current material (or image) to vert color. Its the main thing I’m missing from 2.79. :frowning:

1 Like

Baking the full shading to vertex colors is beyond the scope of this tool.

The Maya version of SX Tools does read vertex colors from a texture (a feature that we never use), but Maya makes it easy by having a built-in function to return the color of a texture at given UV coords. I haven’t looked at all into how this could be accomplished in Blender, but it’s not an impossible request.

EDIT: I was hoping to find an evaluate() method in Image Texture node, or a way to feed a UV coord into the Image Texture via a vector node, and then read the output, but sadly this doesn’t seem to work. I think baking to textures is beyond my means at this time. If anyone knows of a simple solution, I’m not opposed to implementing it.

2 Likes

Are you planning to make a short video on how you use it? I tried to get the hang out of it but somehow I am on the wrong track. It could be just a video of 2 minutes to get an idea of the workflow you are using. No need to explain every single button.

1 Like

I will definitely check this out. Thanks for sharing.

A video is on my to-do list after I’ve got all the remaining features nailed down :slight_smile:
A basic workflow is like this:
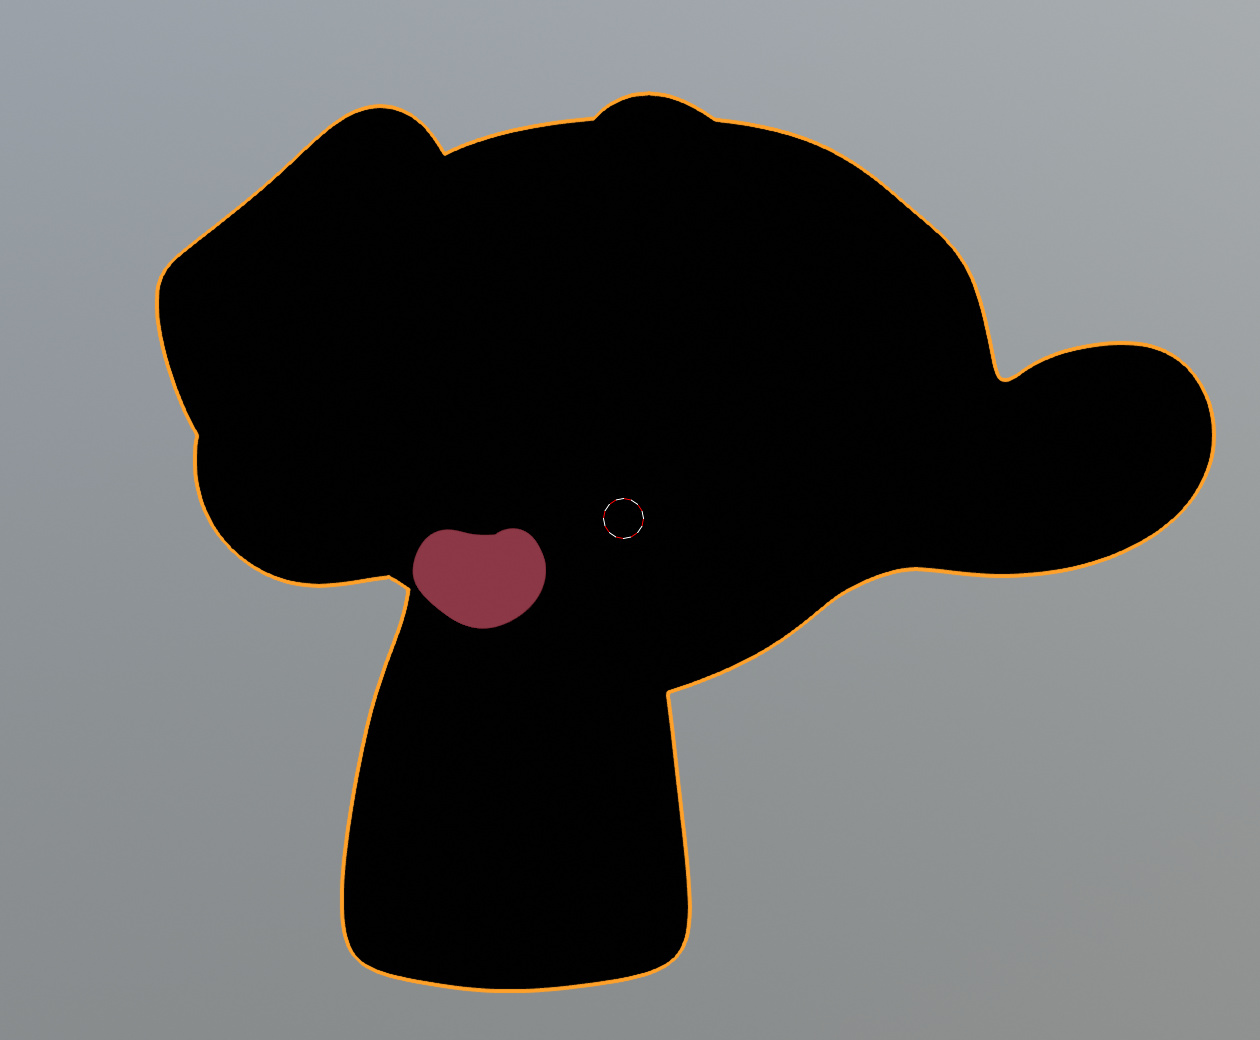
  1. Create a mesh
  2. Click on “Set Up Object” in SX Tools window
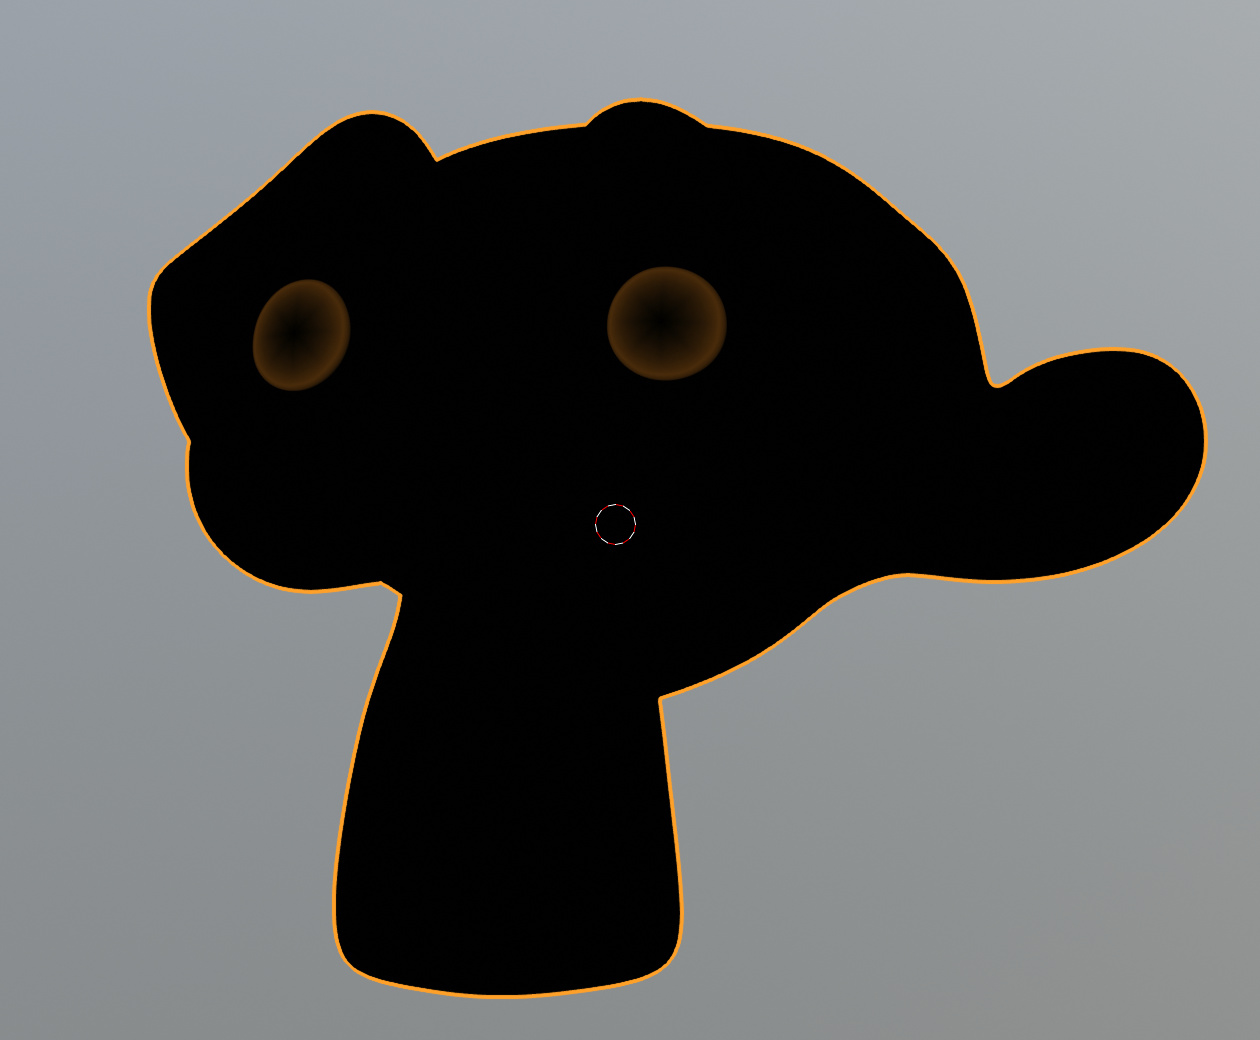
  3. The mesh gets automatically added all the needed UV sets and color layers
  4. Now it’s like Photoshop, just pick a layer you want to work on, choose components, apply colors, apply gradients…

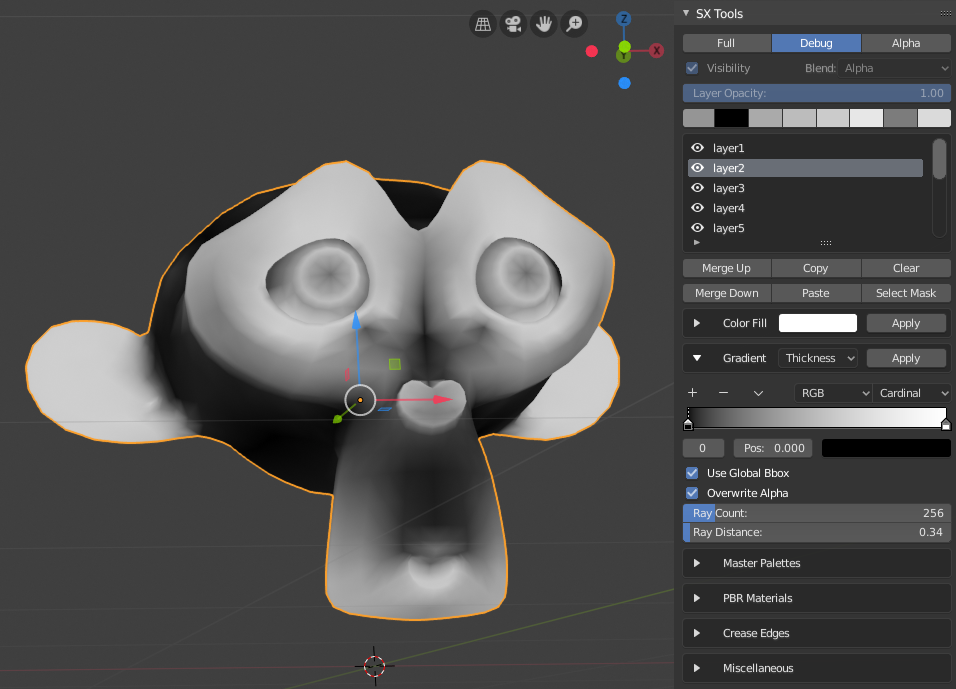
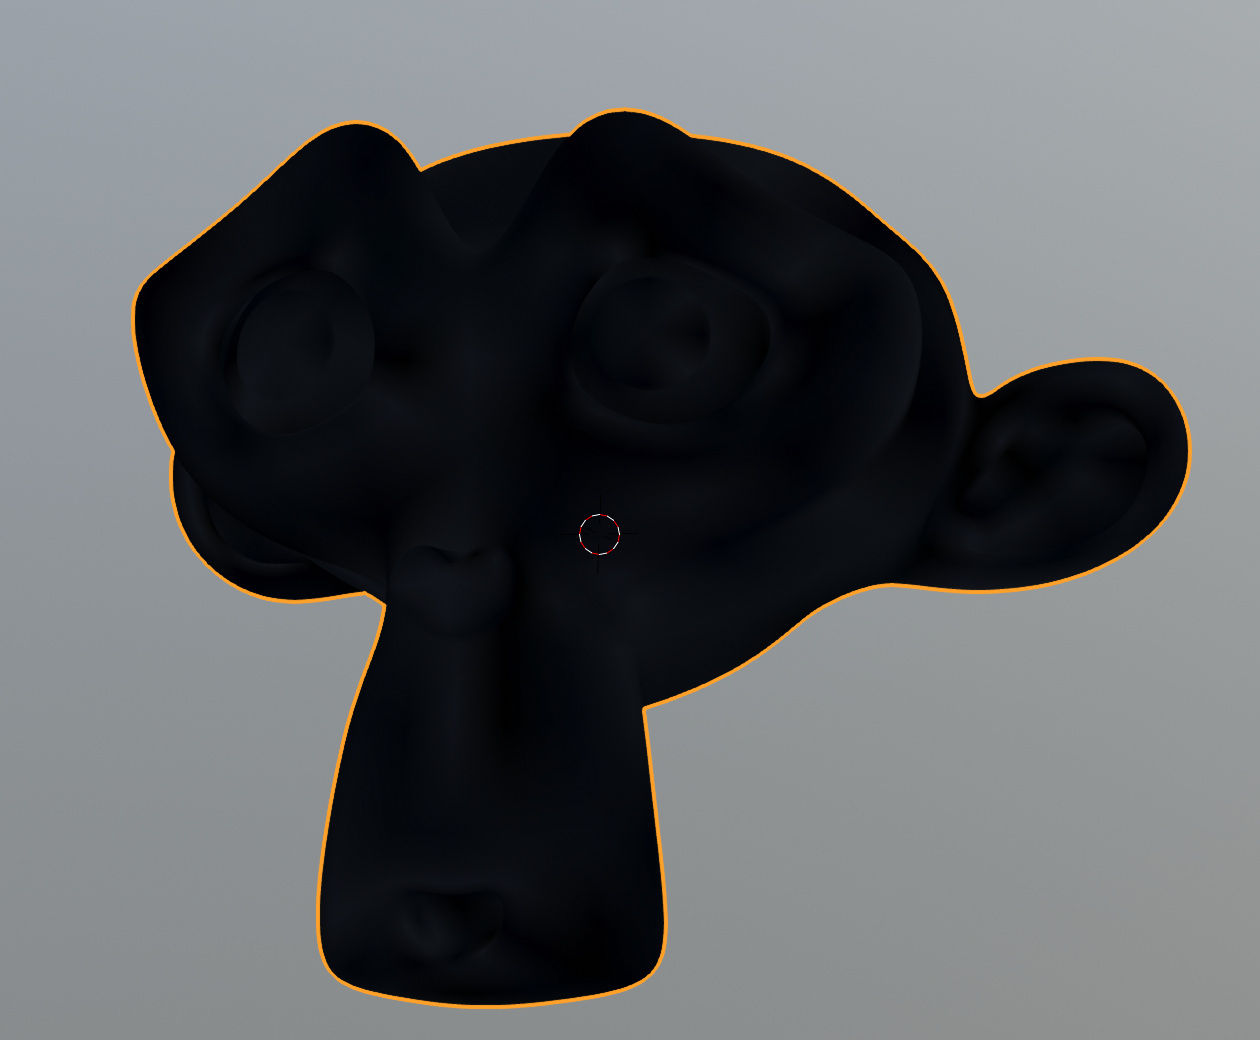
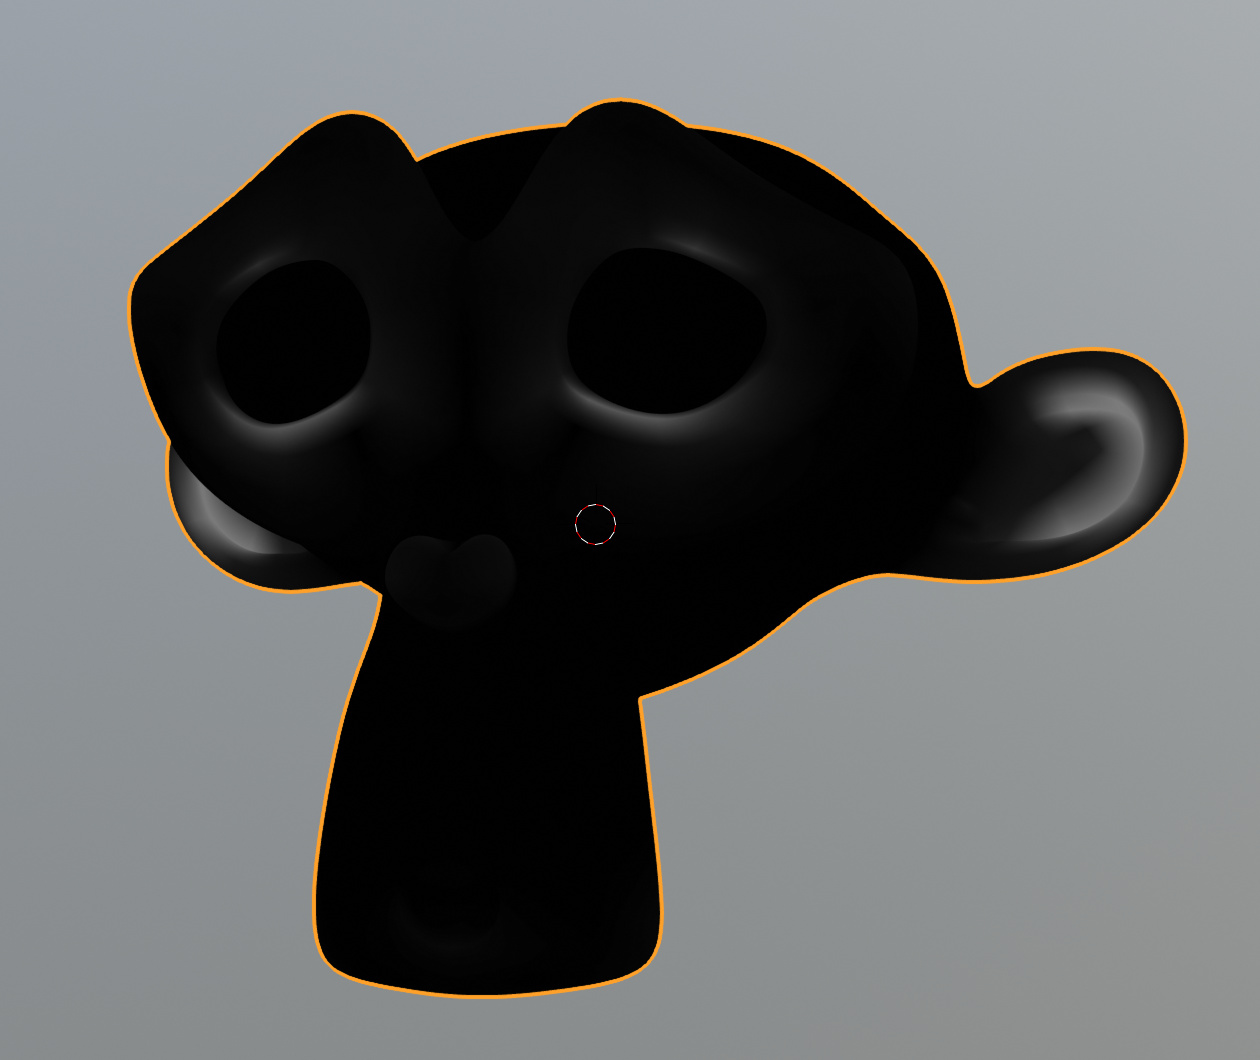
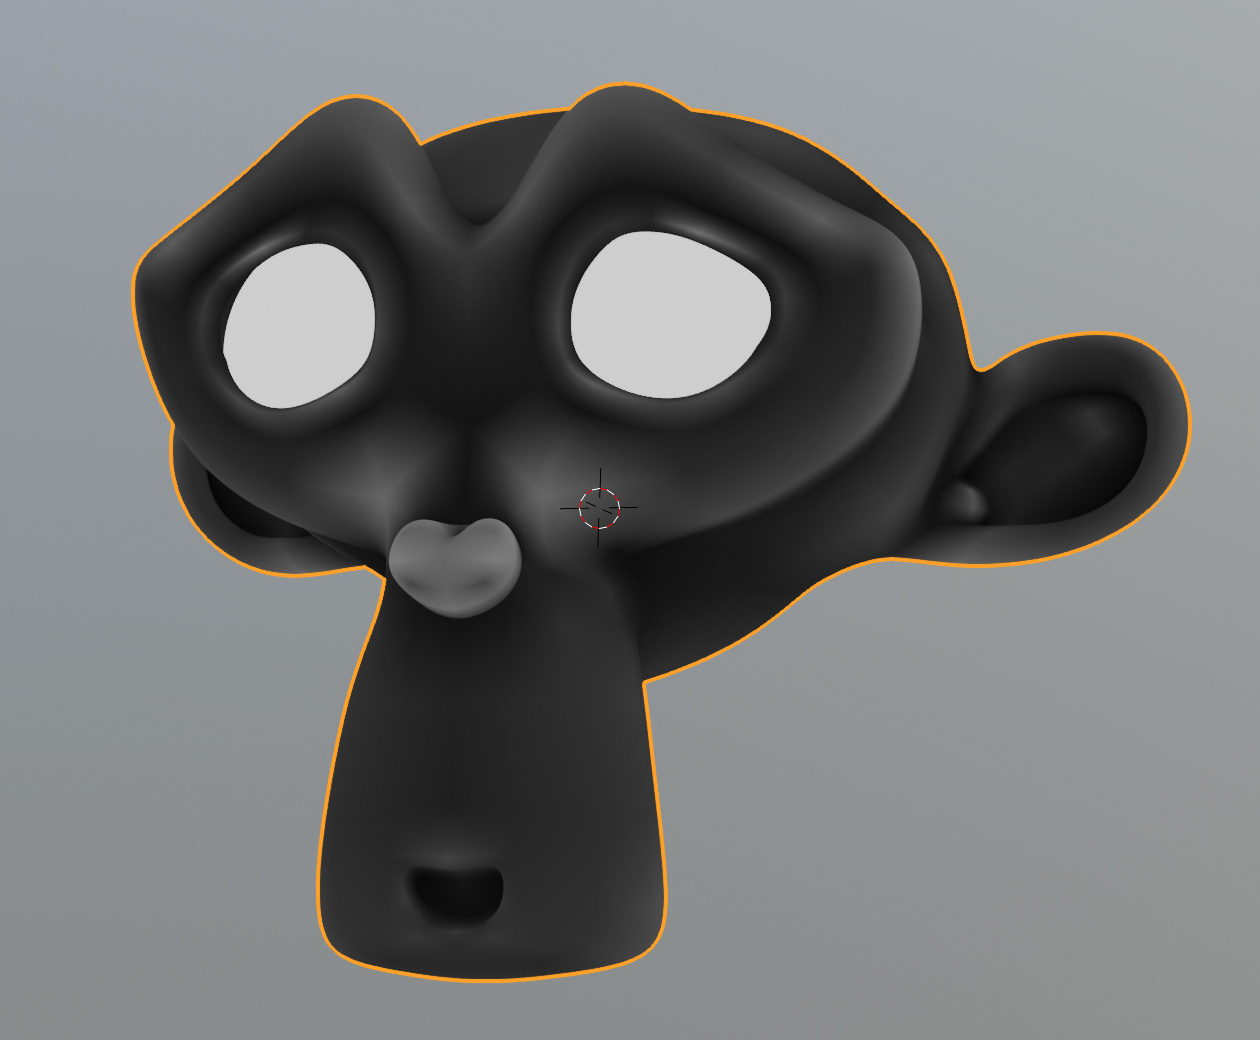
“Full” shading mode displays the object with all color layers and shading.
“Debug” shading allows you to focus on just a single layer. Transparent is still shown as black due to current 2.8 limitations.
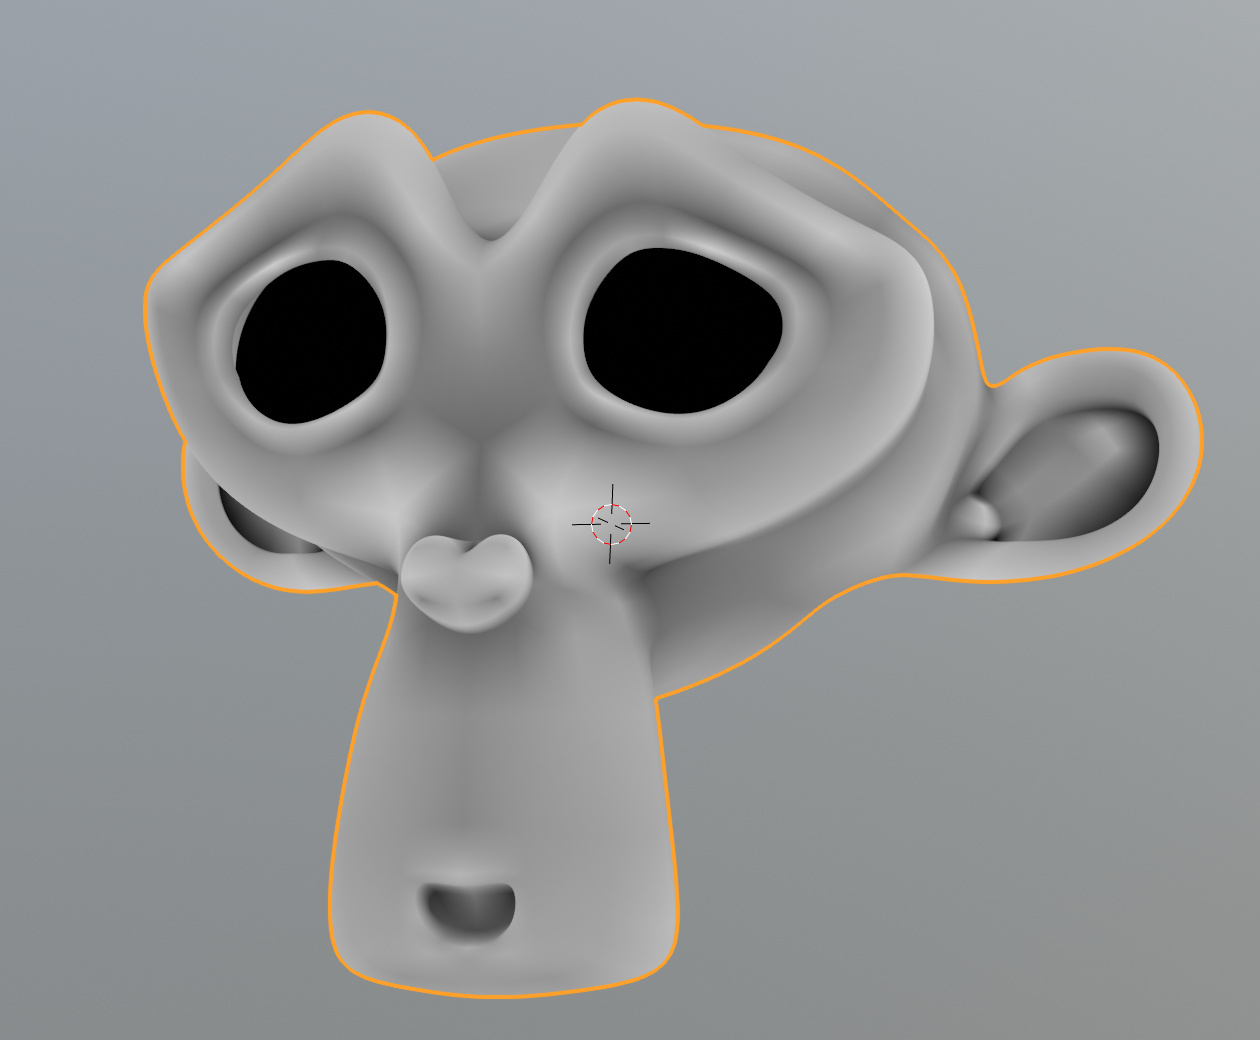
“Alpha” allows you to see the transparency of the layer in grayscale, just like layer masks in Photoshop.

The Gradient Tool is where the high-tech (hah!) stuff is hidden. There are modes for X, Y, Z, Luminance, Curvature and Ambient Occlusion, and you can apply a gradient according to any of them.

To apply vertex AO to the mesh in a basic way, just use the default black-white linear ramp, pick the occlusion layer, set Gradient Tool to Ambient Occlusion mode, and click Apply.

If you want to go artsy, just pick any other layer and modify the ramp to your liking. You could have teal-and-orange toning on your mesh by simply selecting layer 1-7 and applying a color gradient in occlusion mode there.

It’s worth noting that layers1-7 are Blender’s default vertex color layers. The other material channels are grayscale UV layers.

Vertex color layer0 is hidden under the hood, because it’s used for compositing and displaying the color information from layers 1-7.

Master Palette replaces color in layers 1-5. Alpha is retained. It’s a quick tool to change the entire color scheme of the object.

PBR materials are comprised of three values each: base color, metallic value, and smoothness value. If you choose an object or a component selection, base color is applied to the selected layer, but metallic & smoothness are applied to their respective material channels.

I hope this helps.

Thanks, I am going to take a look into it this week. I struggled with understanding the hierarchy of all features. Probably because I never did much with vertex paint. But your short overview will help solving the puzzle.

Occlusion and curvature are a bit hidden, but I think it’s worth it, since their integration with the gradient tool allows for instant funky tonemapping :slight_smile:

(Also, apply curvature to smoothness! Instant wear!)

1 Like

This definitely needs an instruction video. The written instructions are good but as the saying goes ‘a picture is worth of a thousand words’. :slightly_smiling_face:

1 Like

Now added support for mesh thickness baking. Found under Gradient tool. For good results, adjust Ray Distance to mesh scale, and tweak the results by adjusting the gradient.

This should work decently with the Transmission shader channel in PBR materials.

1 Like

Driving subsurface scattering with vertex thickness (Cycles).

5 Likes

Thanks for sharing

It’s not quite a video or a set of gifs (yet), but I’ve updated the Getting Started -section on the github page. I hope it brings some clarity.

For workflow, some tips:

  • Layer1 is the bottom layer, the compositing process runs from Layer1 to Layer7. Think of layer1 the same as the Background layer in Photoshop.
  • If (and only if) you want to re-palette the object, you should stick with one color per layer. Clicking on a Palette will apply colors 1-5 to layers 1-5 while retaining the alpha channel.
  • I usually start from layer1 up, with each layer filling smaller areas of color (with the Blender monkey for example, layer1-layer2 for base fur, then face and ears, then nose, and irises)

Layer1 - Dark base fur

Layer2 - 15% opacity, shading variance

Layer3 - Face mask

Layer4 - Ears

Layer5 - Eyewhites

Layer6 - Nose

Layer7 - Irises

For quick material work test on the Suzanne monkey mesh:
Ambient Occlusion:

  1. Set gradient tool to a linear black-to-white ramp
  2. Set gradient mode to Ambient Occlusion
  3. Select Occlusion layer
  4. Click Apply. Occlusion done.

Subsurface Scattering

  1. Set gradient tool to a B-Spline black-to-white ramp
  2. Drag the black about half-way to the right (say, 0.55)
  3. Set gradient mode to Thickness
  4. Select Transmission layer
  5. Click Apply. Subsurface Scattering done.

Smoothness

  1. Set gradient tool to a B-spline black-to-white ramp
  2. Adjust the white to something like 0.5 gray
  3. Drag the black to the right, position 0.6
  4. Set the gradient tool to Normalized Curvature mode
  5. Select Smoothness layer
  6. Click Apply. Tweak ramp to your liking.
  7. Fill eyes with pure white

And the Full Shading mode result:

The latest version on github has seen a lot of improvements since things were last discussed here:

  • Simple mode (for emissive shaders etc.) hides all PBR stuff and only exposes color layers
  • Dynamic palette and PBR material libraries (i.e. users can create and delete palettes on the fly)
  • LOD mesh generation
  • Edge beveling merged with crease-tools
  • And lots and lots of little improvements…

I’ll be working on documentation in the coming weeks.

Here we go. All feedback absolutely welcome!
New SX Tools Documentation Site

2 Likes

Thank you for this wonderful tool Frand, it’s been very useful!

It’s great to hear that the tool has been helpful!

The 3.x release on github is currently the battle-proven one. The latest 4.x development has been increasing performance a lot but there are still possible glitches here and there.

The 4x rewrite has resulted in 100X perf increases on models with >10k polygons. Even on ~1000 poly objects, the entire thing is much more responsive.

1 Like

That’s great news! I have indeed noticed slower performance while painting on dense meshes.

If you’re up for testing, then I’d be happy to get feedback. If you grab the latest from github (v4.3.10 at this writing), it does include all the latest perf increases.

1 Like

Will do so now, Thanks Frand!