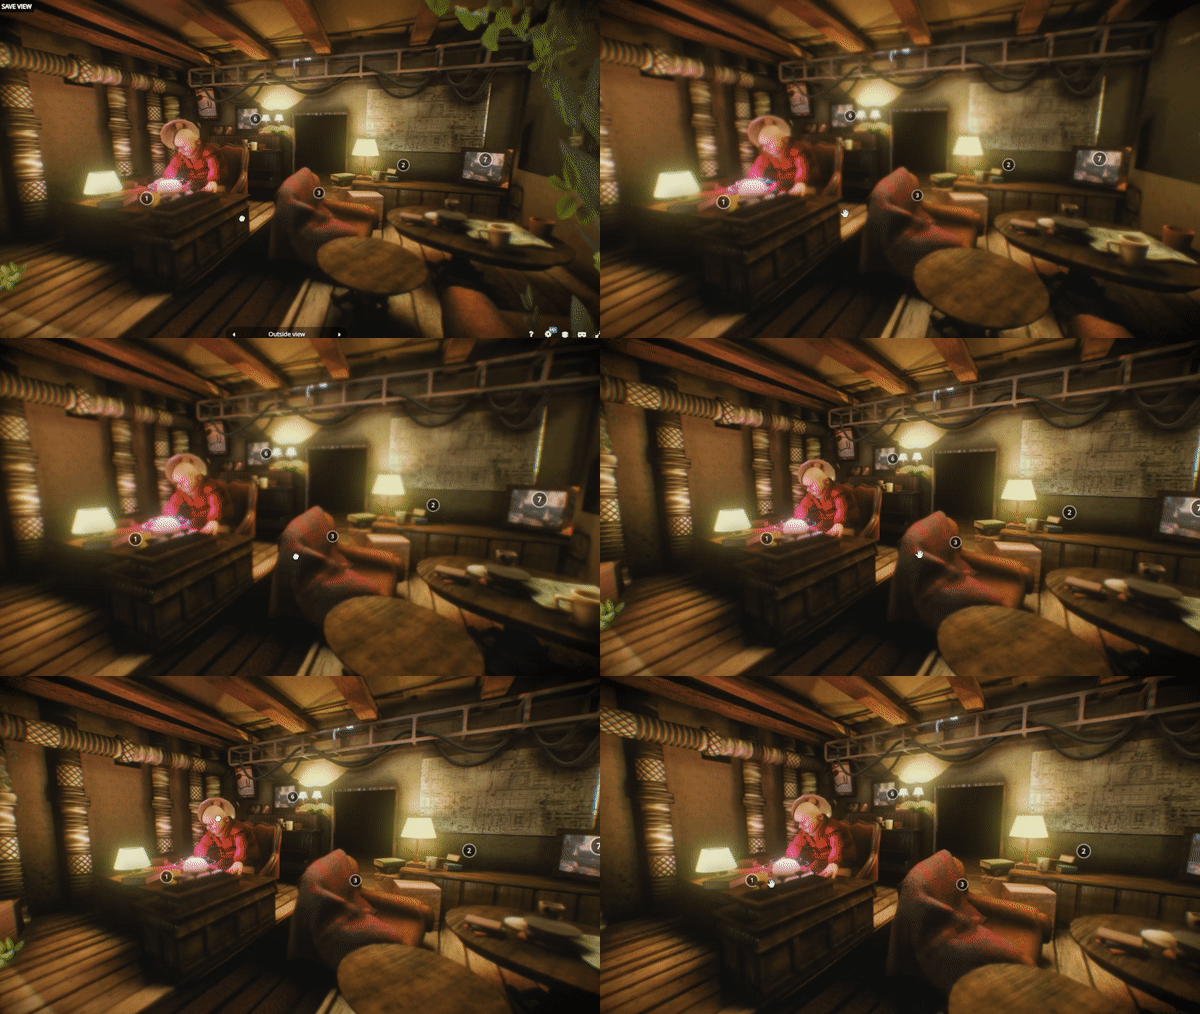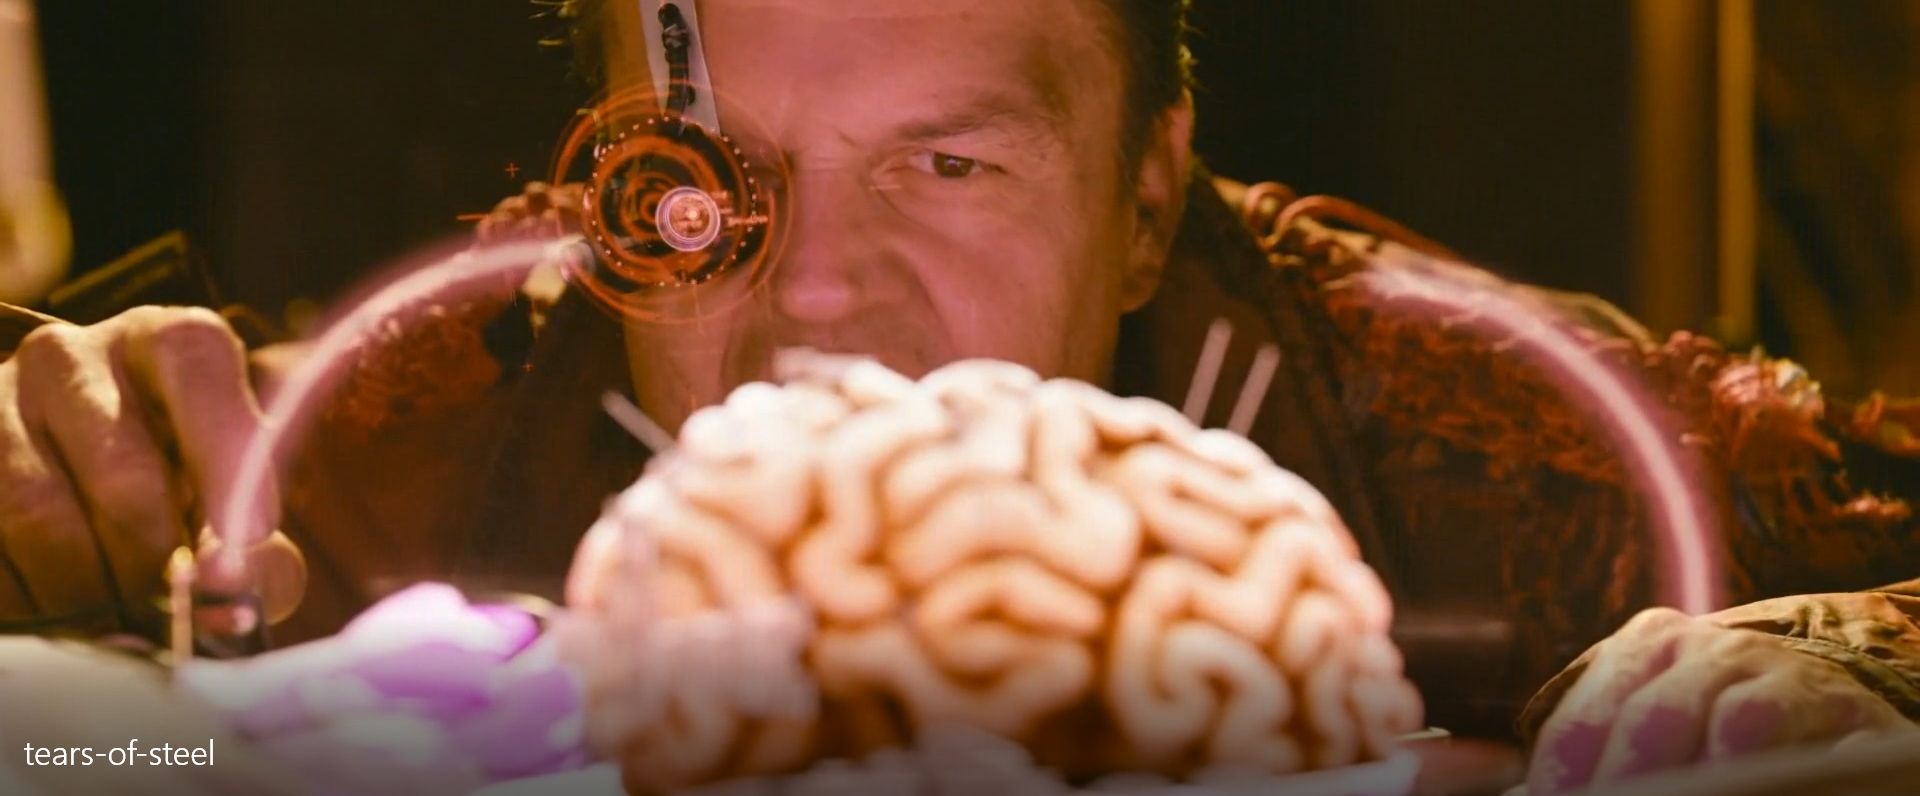
TEARS OF STEEL ANIMATED VERSION
Part 1 | Scope
Hi, thank’s to everyone who reads this 3 day chaotic journal. I’m a little bit late on the contest but i can’t miss this experience.
For my entry i will turn 2.64’s splash screen featuring a frame from Ian Hubert’s Tears of Steel into an animated scene. I choose this one because i’ve tried to learn blender since but actually took it seriously around 2.75.
But in that time Tears of Steel inspired me so much that i ended up studing filmmaking because i wanted to create my own shortfilms and i knew that with Blender i will be able to create that crazy worlds that budget and crew wont let me back then. As years gone by i ended up making videogames and animations because i feel like i have a little bit more control and that i can actually create projects by my own.
So this piece will be my althar to that plot twist in my creative carreer. i’m very excited of what i have in mind and can’t wait to get it done… but, as i saied, we have just 3 days.
And as an indie game developer i have learned the hard way that scope is crussial when we work in projects, especially the ones we don’t have a lot of time to complete. So in this adventure, scope it’s vital. And the best way to master scope it’s to plan.
SCOPE
The Challenge.- ... Where the He** it's the Camera?
The biggest difference between our Splash reference and our entry is the camera.
Our final piece has to be a 3D “Viewable” thridimentional scene that users can walk trough in “Sketchfab’s Realtime Viewer”, in other words there is no camera. User is the camera. Therefore we need to expand what we can see, not just the character and the brain but at least the entier studio of The captain.
But ¿How much could we expand it?
The Solution (?).- Let's set bounderies, shall we?
In order to know exactly what i’m going to make i need to map out the “Set” of Captain’s studio, and for that i downloaded the shortfilm from blender studio and using pureref created an iteration friendly mood board.
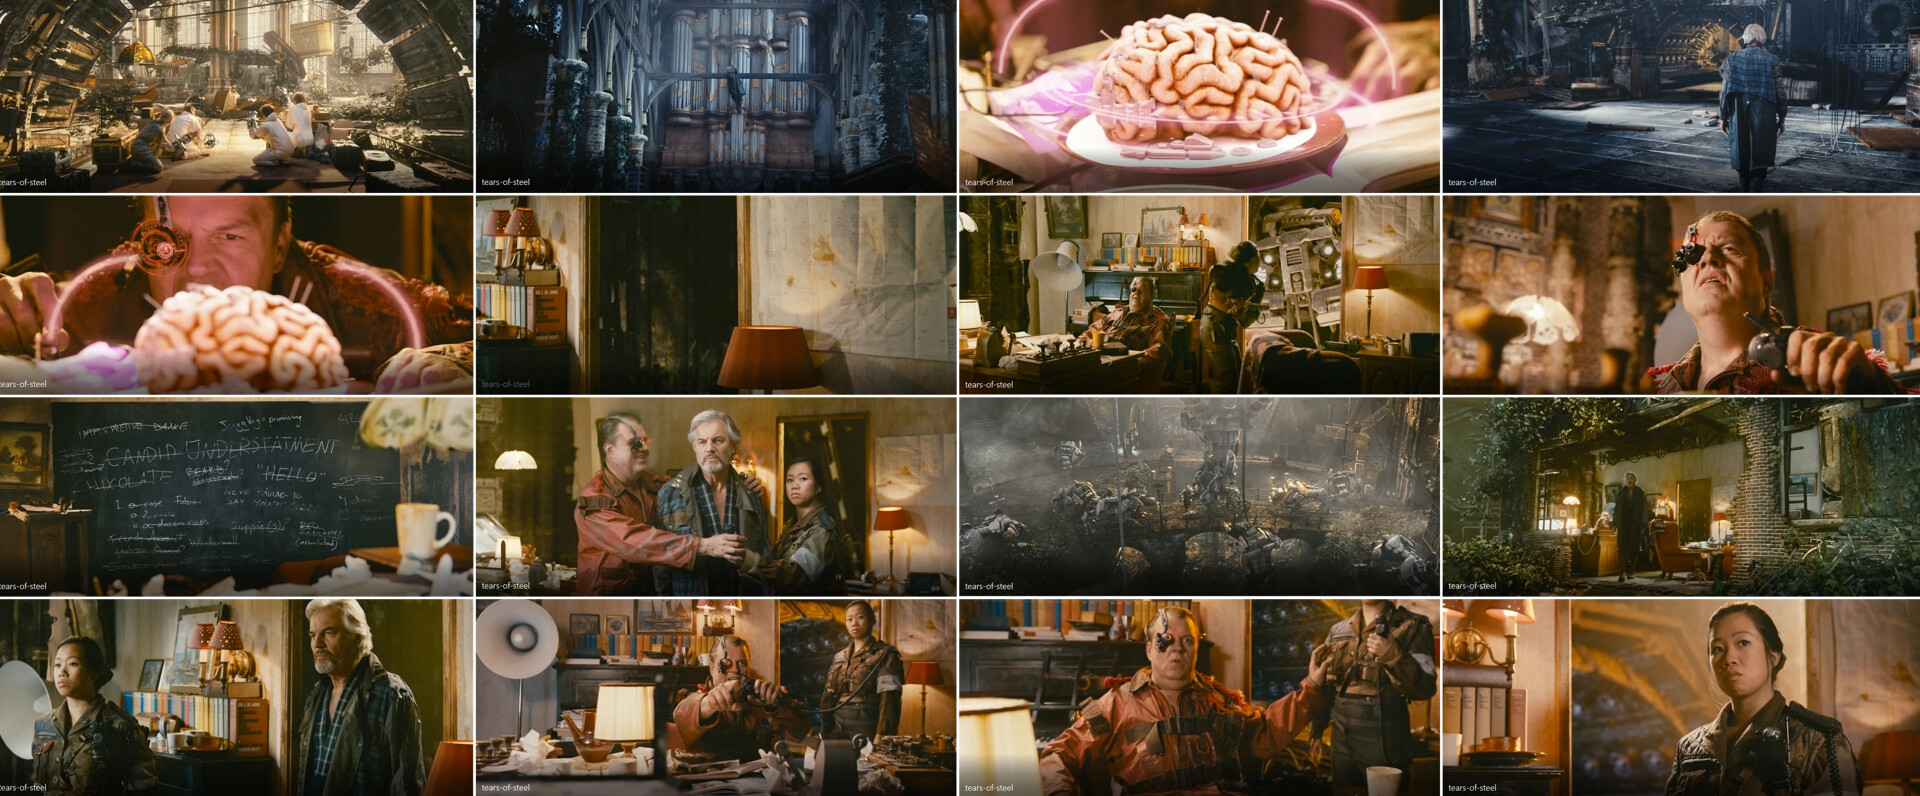
After watching a few times the shortfilm i firuged out where every set is in the space and how they connected so i created a Mockup placing the screenshots to have an idea of the actual size and distance between each one of them.
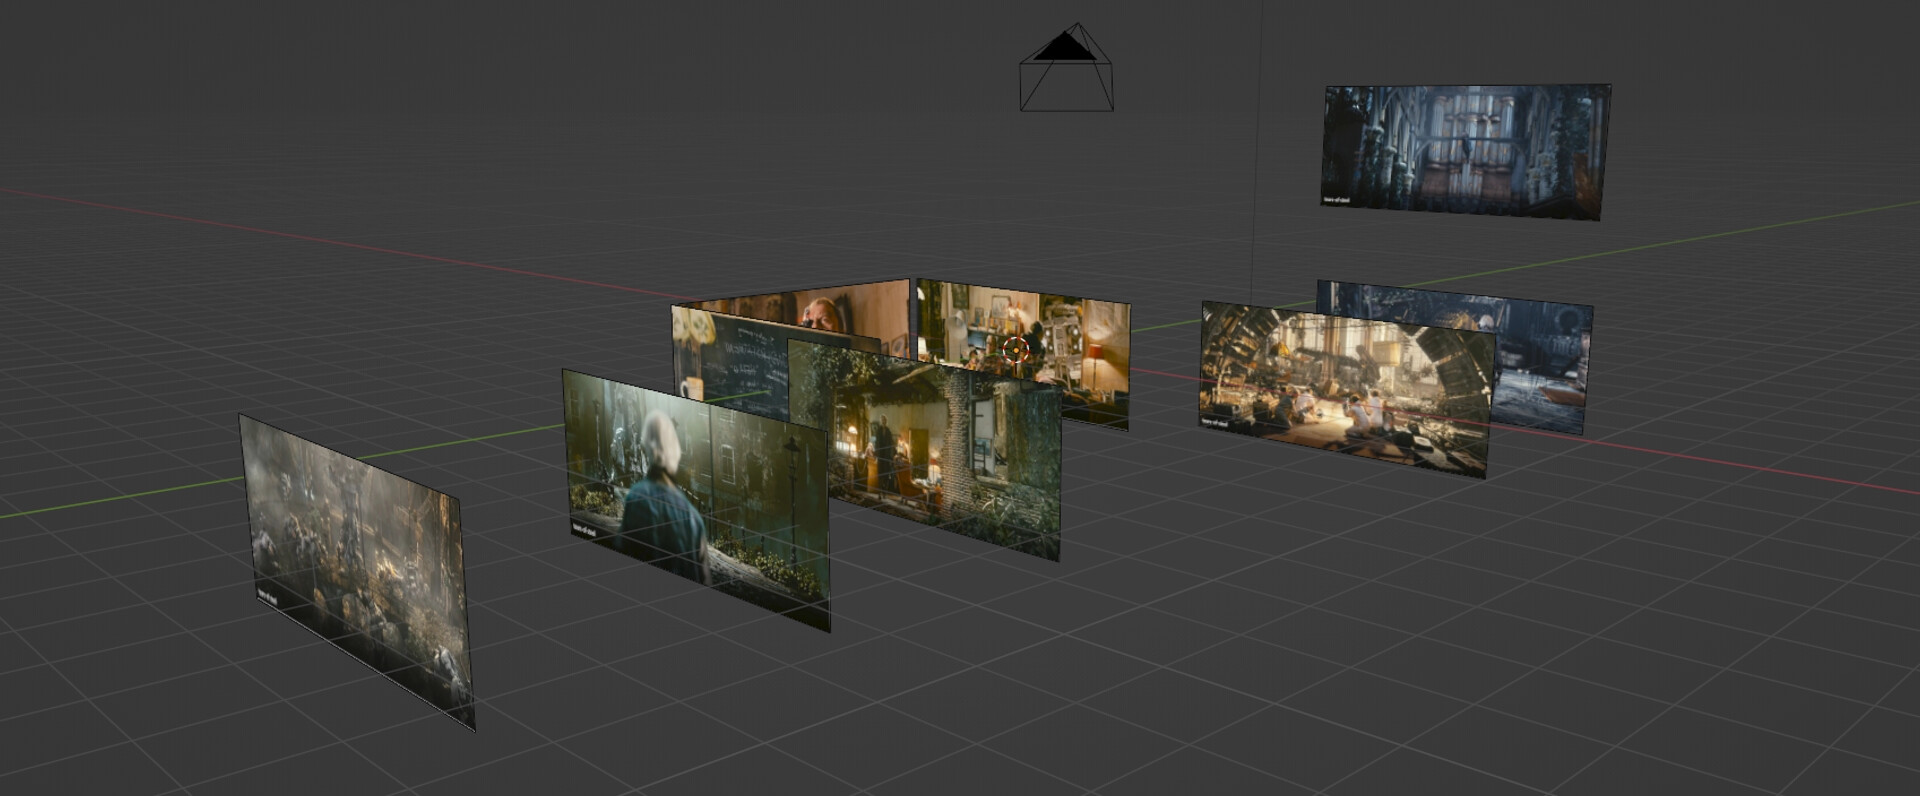
Finally to make it even clear i created a floor plan on Krita that transforms our Mood Board and our Viewport Preview into an actual blueprint of what exactly i’m going to model.
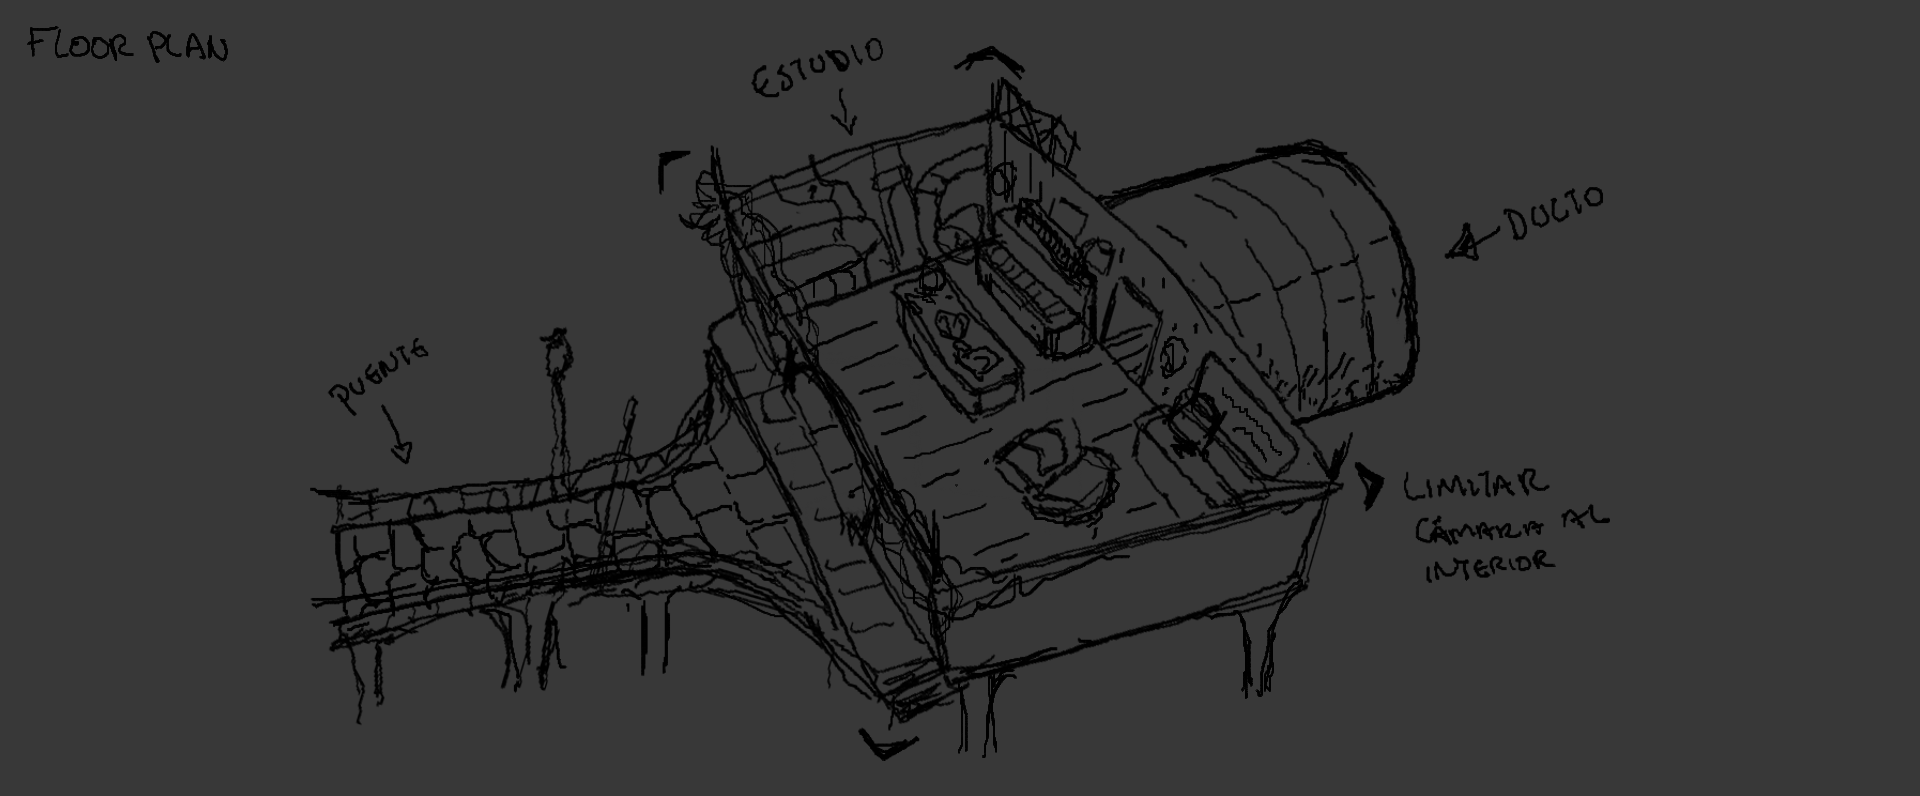
With that done we just’ve set our bounderies.
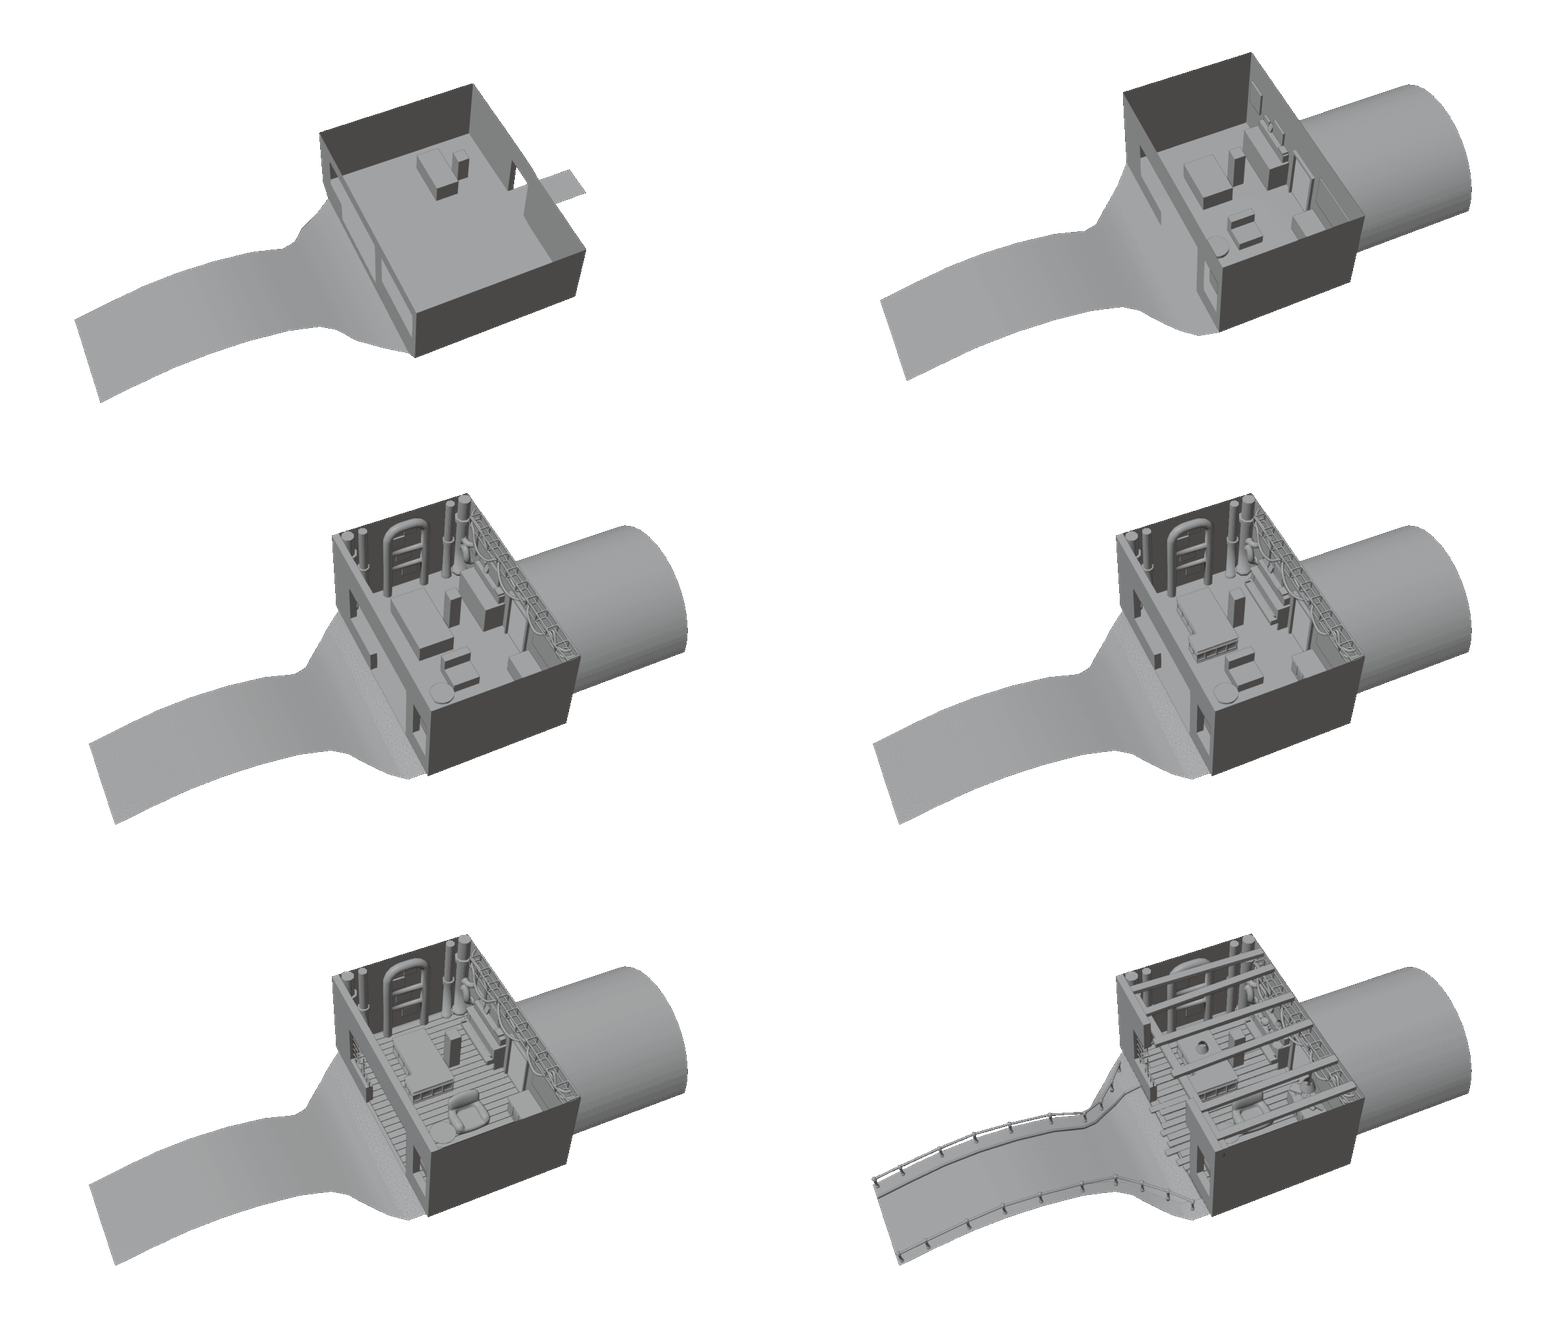
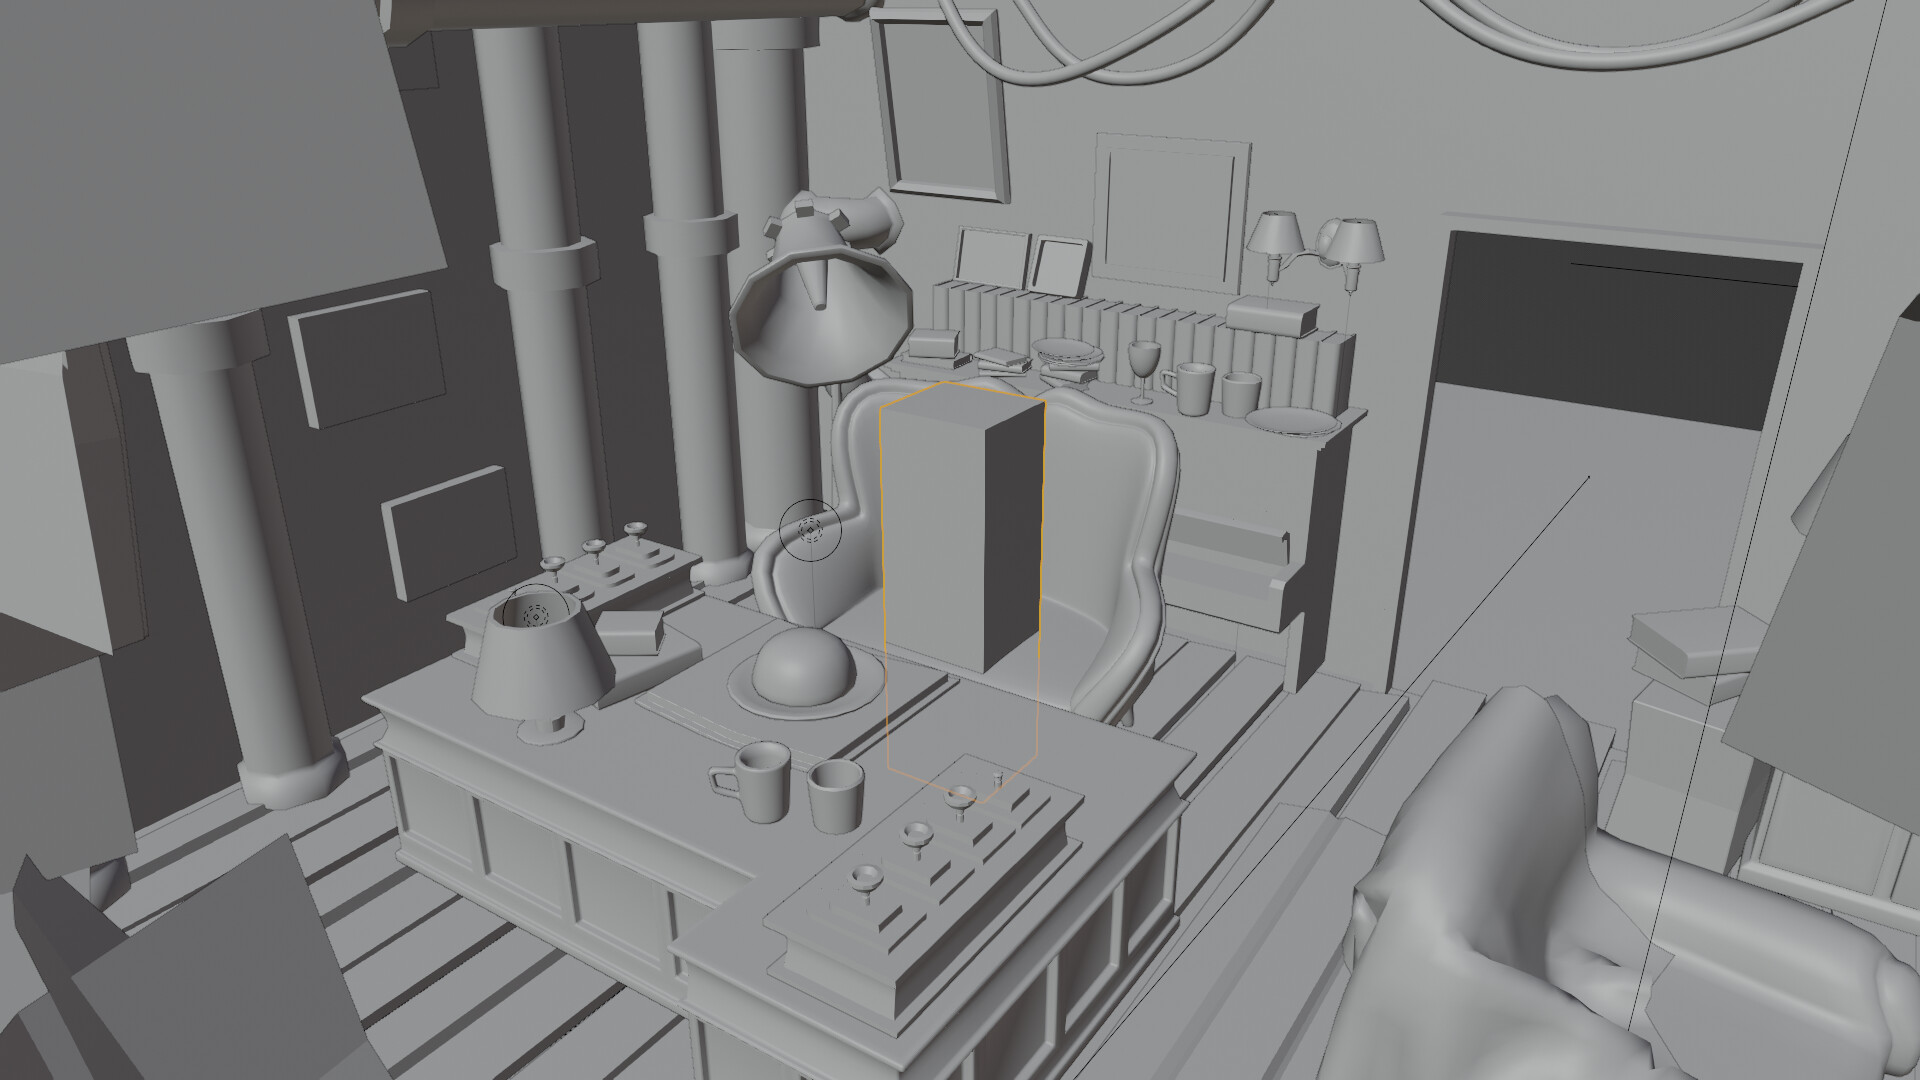
what’s left it’s to Block the scene with primitives for later polish, but how about we keep this journals short and sweet and talk about it in the next one.
Thank you for your time <3.

 thank you so so mucho for the tips!