Hi,
So I used the node wrangler add-on to add a texture setup…it took multiple times for it to actually apply the texture nodes but no problem.
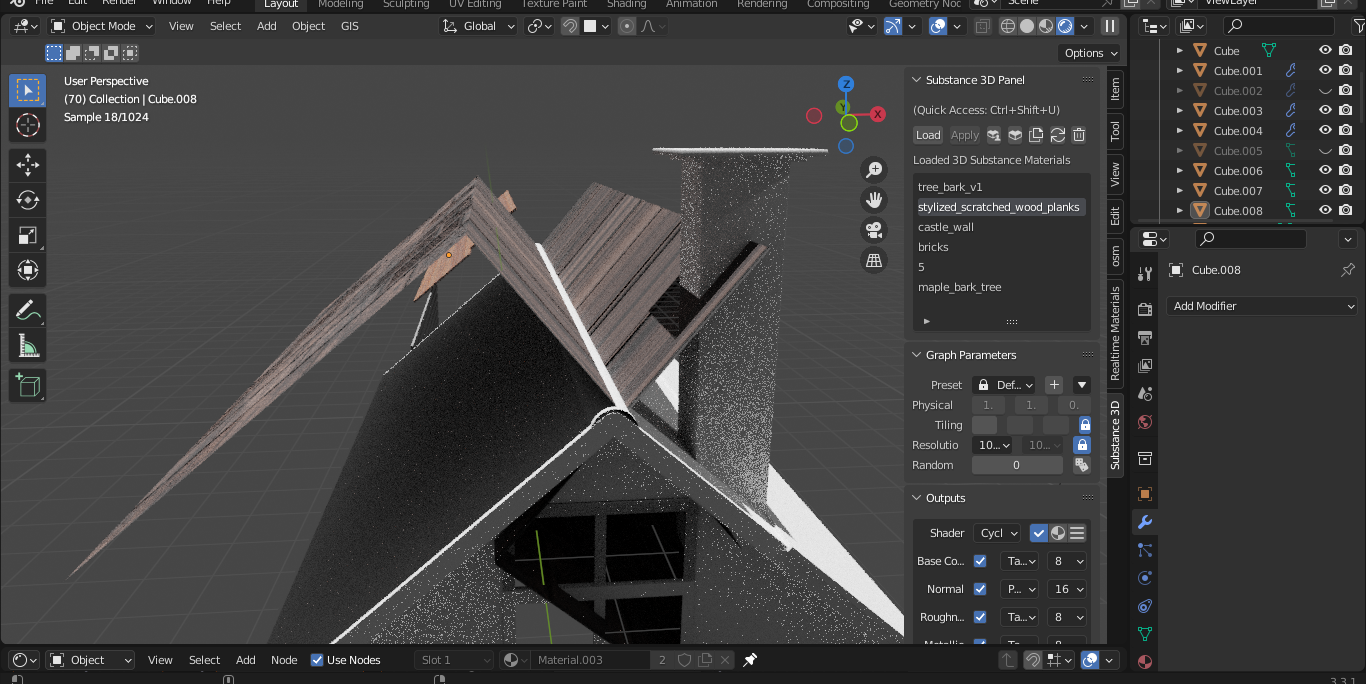
After applying…this happened…and I can’t find a reason. The textures were working just fine, but when I entered rendering mode…
Steps: Press shift-control-T ----> Choose the texture folder (PNGs or whatever) ----> press “Principled Texture Setup” -----> Apply the texture and go to rendered preview.
Help.
Thanks!
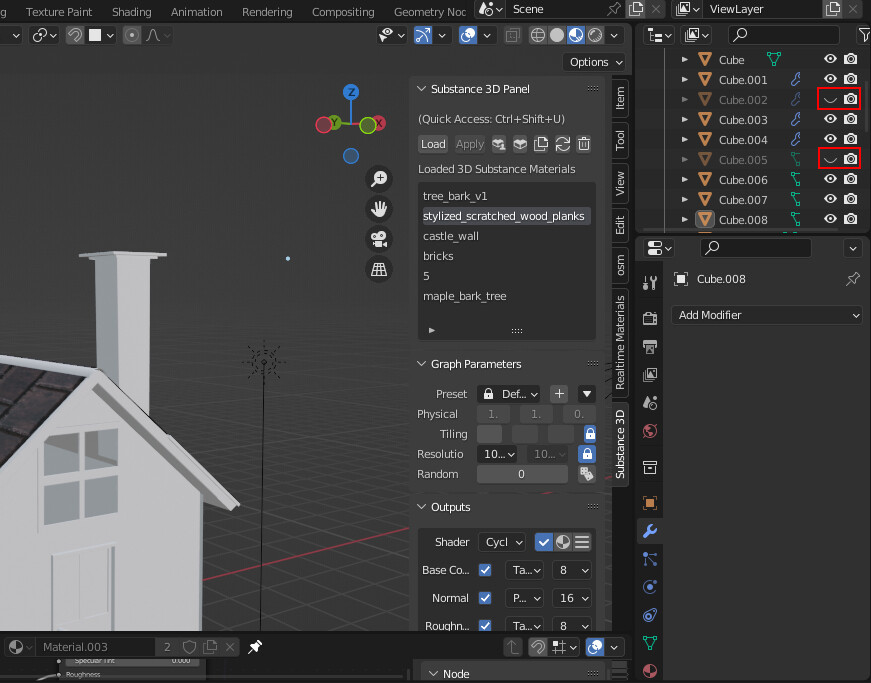
if it’s because it’s too big (>5mb) you can try creating a copy blend file, removing anything not necessary to show the problem, and pack it. if still too big, or you can’t upload here for other reasons (too new to forum, for example) you could upload to another site, like google drive, and then use the link here.
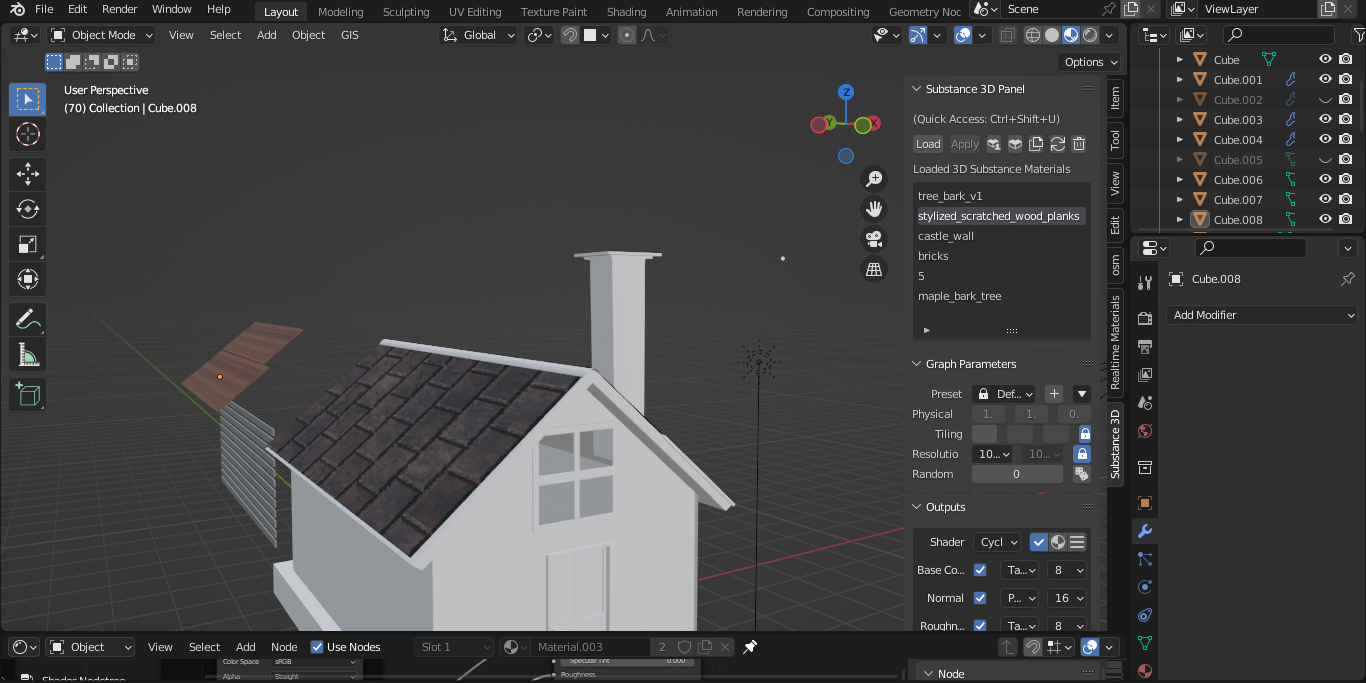
Seems like your roof and that texture is two different objects, have you tried to join them together? I think you need to unwrap your roof, stick a texture to it and you’re good to go
No wonder why you got what you got. Most likely that your roof just has shifted, you can fix its location manually. But if it’s happens only in render mode, but not in the viewport, that’s kinda weird. Anyway, you can select your house, enter the edit mode, select both sides of your roof, apply a new material to it, then unwrap that roof via UV Editing tab and apply thereafter a new image texture, but this time, exactly for the one part of your house. It’ll be more reasonable way instead of making a new object and then fits its position to your roof.
It looks like you are using displacement in your texture, displacement will actually displace (move ) the vertices of your mesh.
Displacement with nodes only works in cycles render which is why it does not effect the eevee view-port.
It looks like your roof is low poly in which case you should not use displacement at all. Use bump instead. Unplug the displacement node from the material output node.
If you have a height map plug it into the height of a bump node and the normal output of the bump node to the normal input of the principled shader.
For us to be more precise you need to send a screen shot of your shader node setup (for the roof).
Hi,
I tried to add the texture to the roof alone…but it applies the texture to the WHOLE house…so I guess it has to do with the way I built the roof…I separated the roof but nothing happened
So, What’s next?