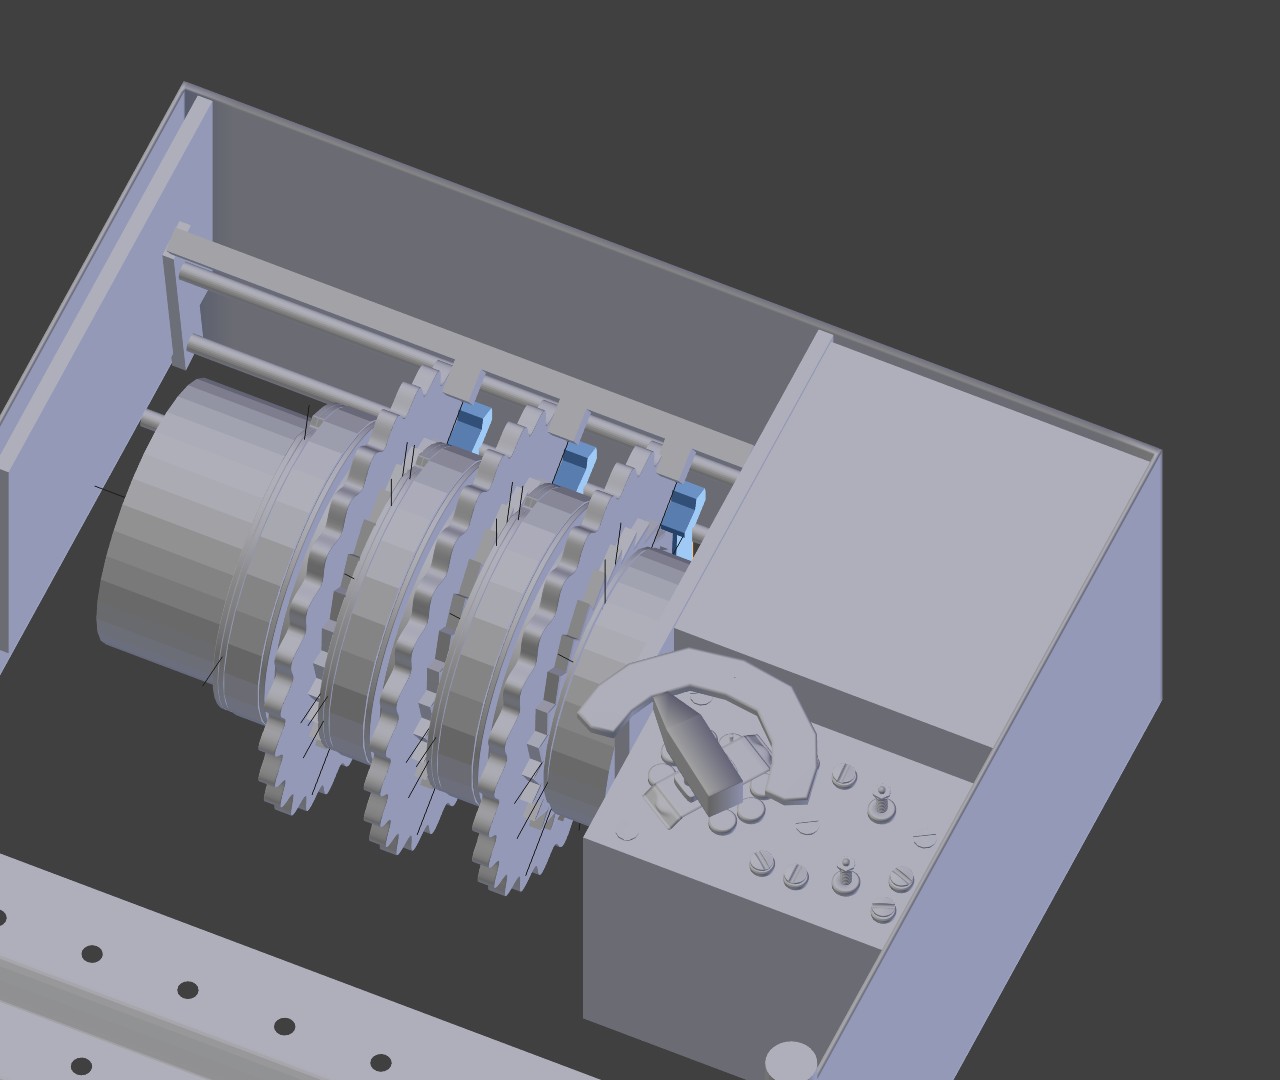
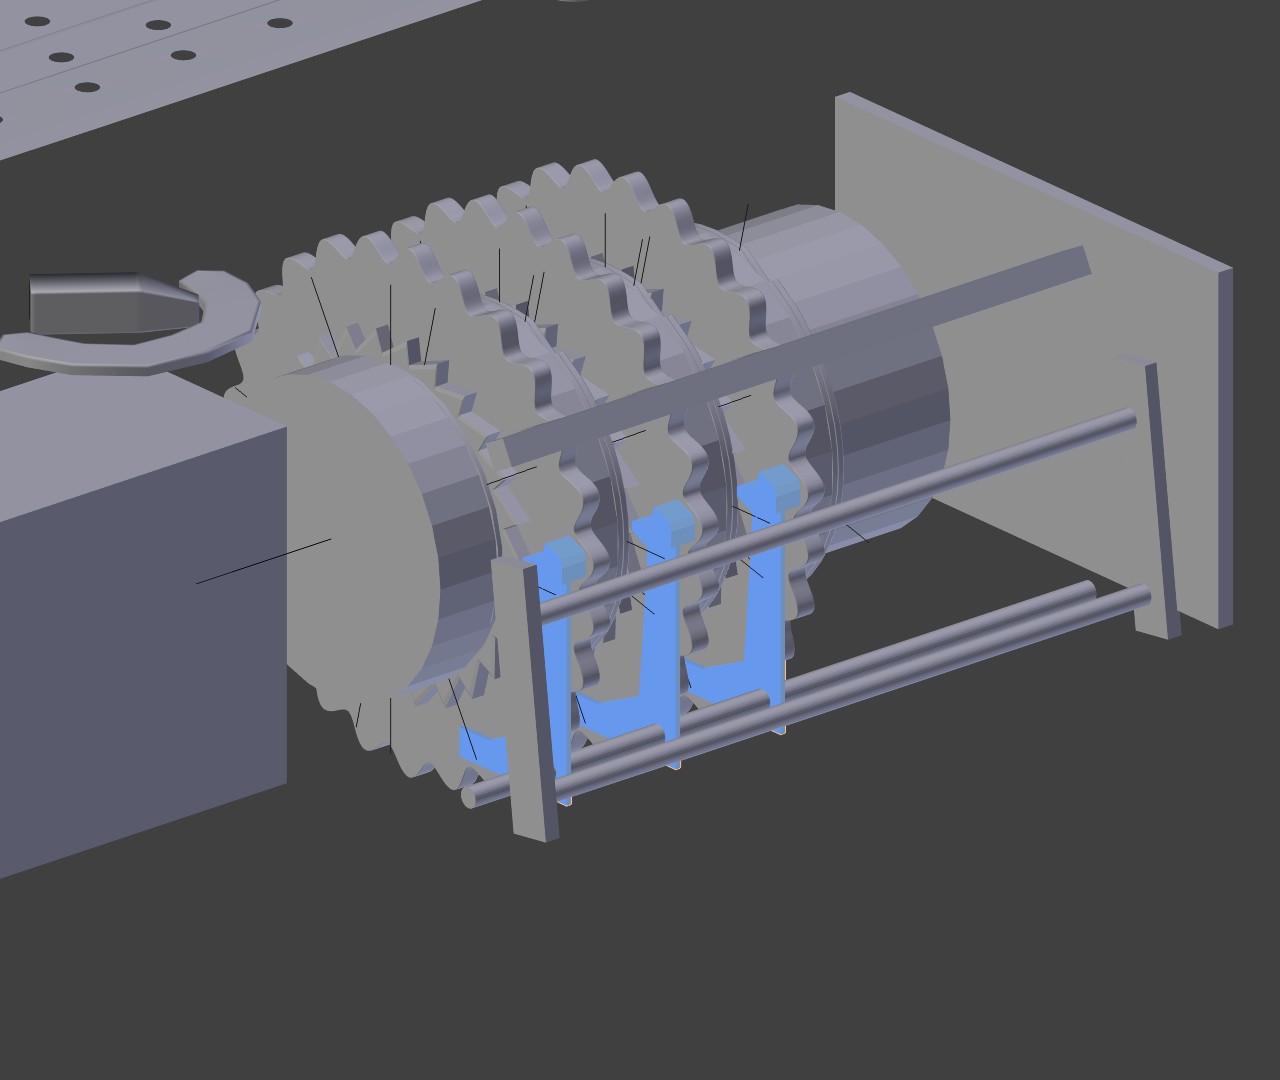
Detailed but incorrect. i have just noticed that i have placed one of the notches the wrong way round… this would render the entire machine inoperable… ooops. I’ll go back and tweak the rotors at some point.
For now, i’m trying to work out how the cogs are inserted. i’ve been starting at images until my brain hurts. the trouble is, the only shots of the inner workings are without the cog (obviously, otherwise you would not be able to see the inner workings) unfortunately this means that you can’t see how it interacts with the cogs.
Hi MonkMonk, don’t know if that is of any help, but there is (was?) a python project going on to implement the encoding algorithm of the enigma in python. Together with that I found a brief description how this worked but it’s difficult to understand without some images.
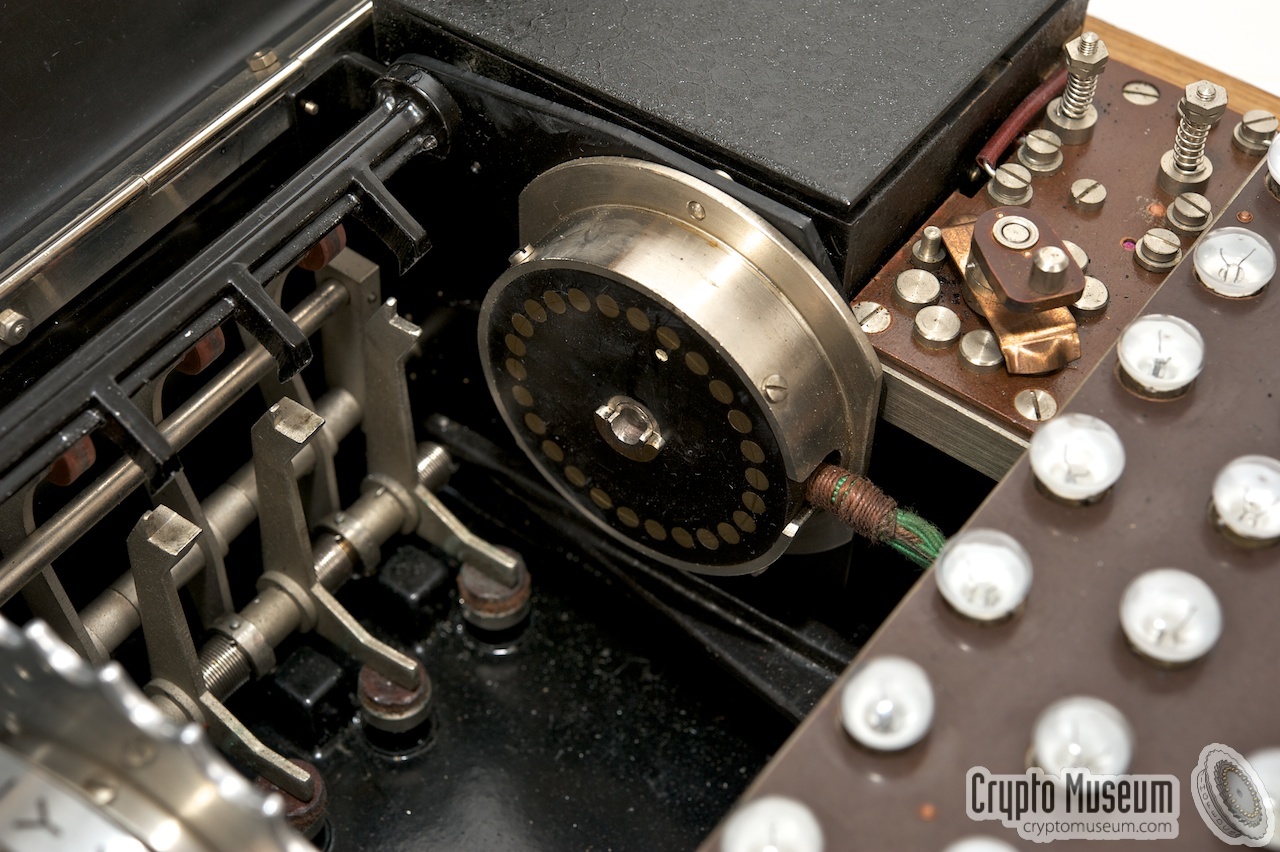
The most common arrangement used a ratchet and pawl mechanism.
Each rotor had a ratchet with 26 teeth and, every time a key was pressed, each
of the pawls corresponding to a particular rotor would move forward in unison,
trying to engage with a ratchet, thus stepping the attached rotor once. A thin
metal ring attached to each rotor upon which the pawl rode normally prevented
this. As this ring rotated with its rotor, a notch machined into it would
eventually align itself with the pawl, allowing it to drop into position, engage
with the ratchet, and advance the rotor. The first rotor, having no previous
rotor (and therefore no notched ring controlling a pawl), stepped with every
key press. The five basic rotors (I-V) had one notch each, while the additional
naval rotors VI, VII and VIII had two notches. The position of the notch on each
rotor was determined by the letter ring which could be adjusted in relation to
the core containing the interconnections. The points on the rings at which they
caused the next wheel to move were as follows
(Recreating the enigma in Python by “mat”.)
Here are also some other little bits of information. And I’m sure you watched the videos concerning that on youtube?
Hm, implementing the enigma in python … blender … addons … could think of a plugin, animating your model to encode and decode strings … Wasn’t there a python crack in this thread?
Are you trying to scare me! Trying to work out the machine is bad enough, now your talking about coding as well!:spin:
cheers for the info though, I think I’m starting to get my head round it, I think those blue parts are what cause the cogs to move… Yesterday I was thinking they stop the movement only.
a fully working animated enigma machine would be insanely cool though…
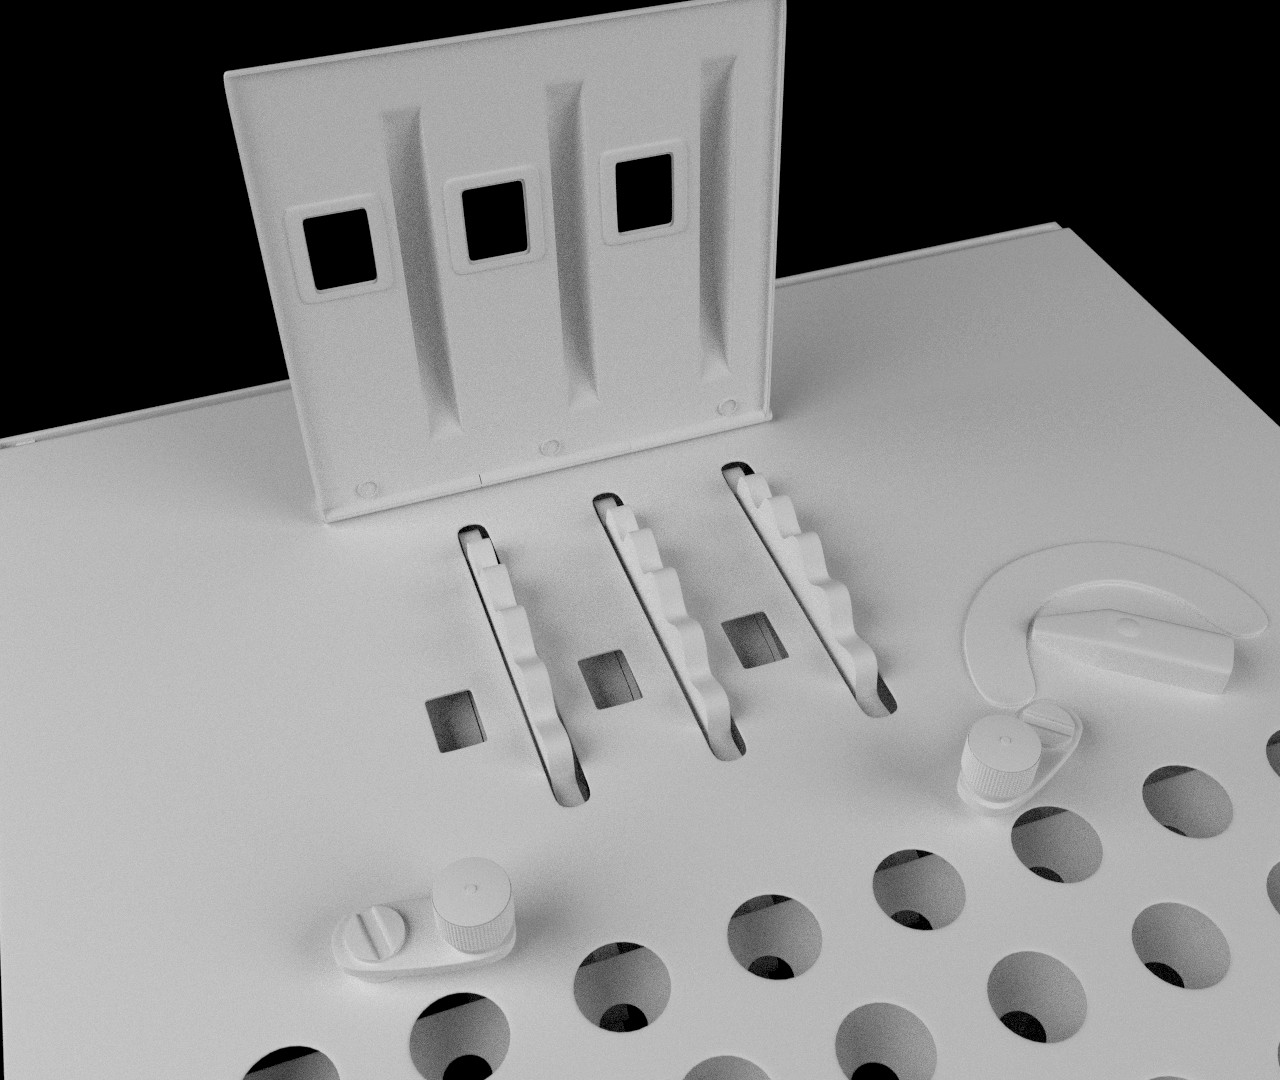
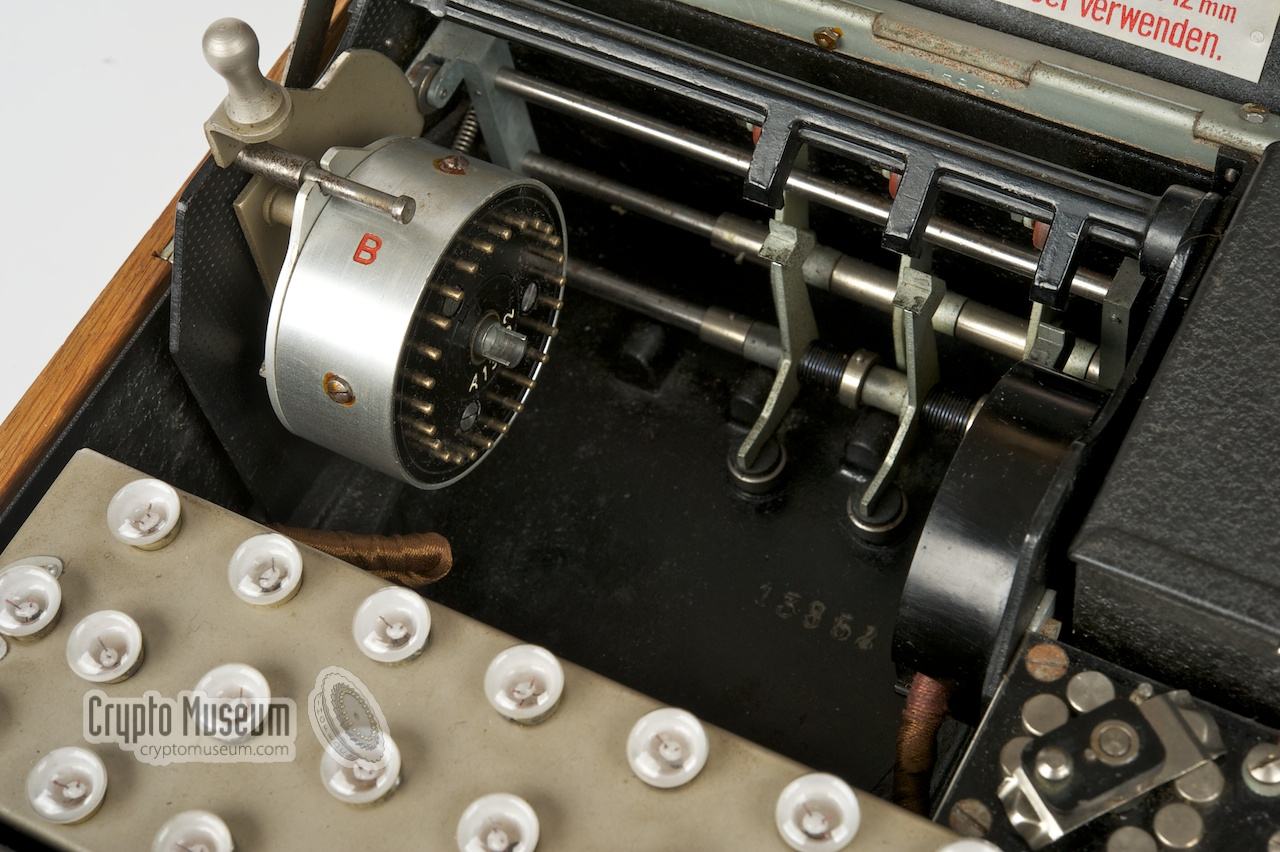
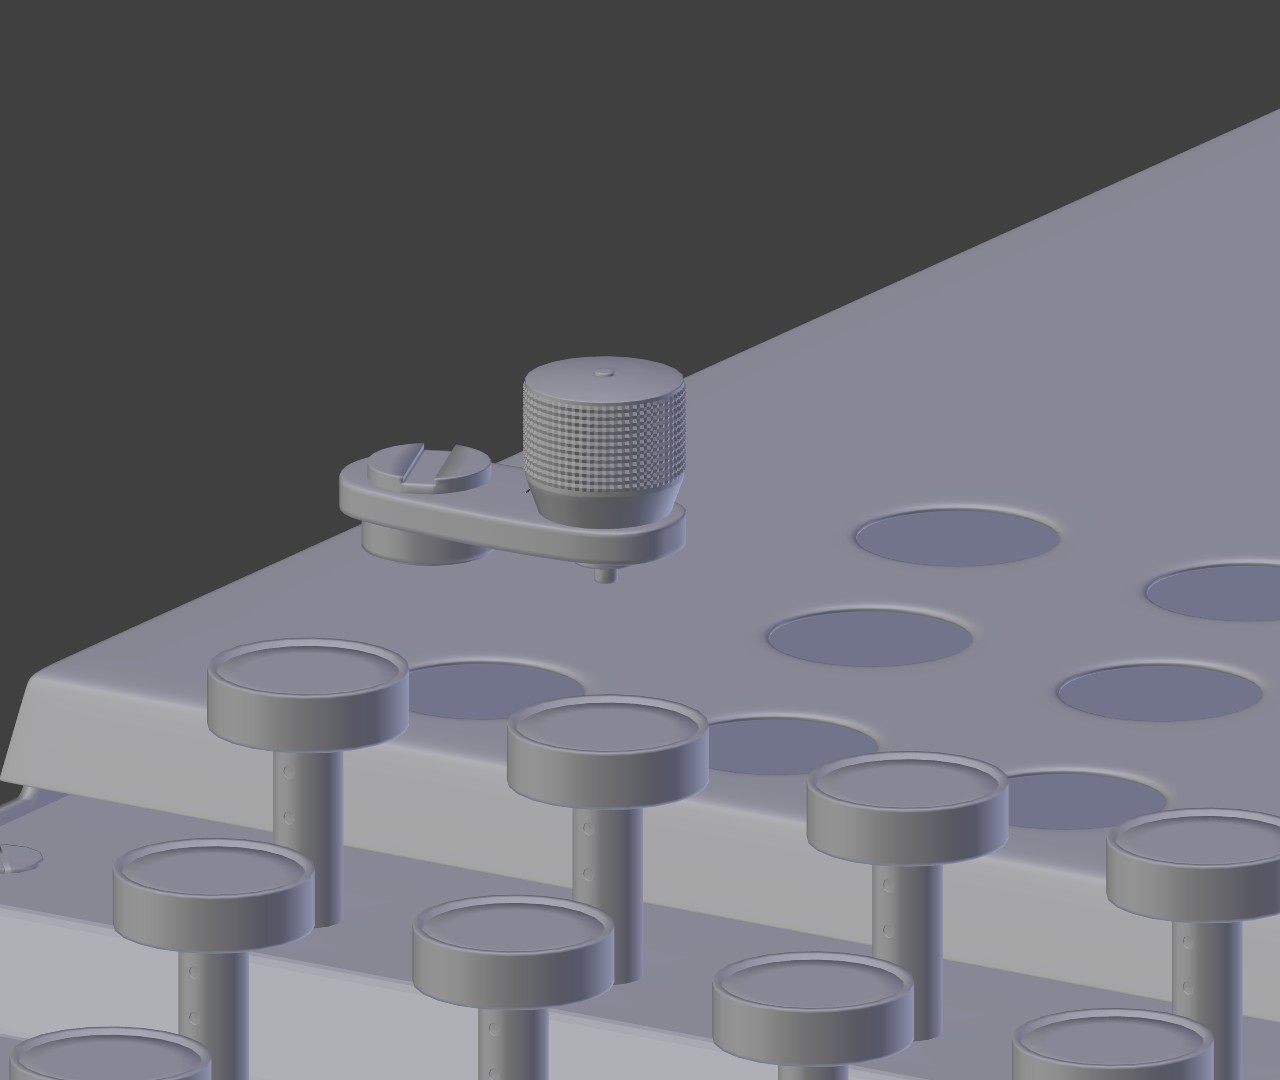
Prepare yourselves for the excitement that is…[drumrole]… A dial thingy!
There are 4 of these. the two near the rotary cogs clearly keep the small cog lid in place but i’m not really sure what these outer ones are for…
In other enigma news, i managed to find some videos of a man testing parts of the enigma machine so i will (in theory) be able to go back to the inner parts and cary on with them now.
RickyBlender: it’s a very small 5 vertex pyramid that has been through a couple of array modifiers.
Andrea.ailic: Very nice! (and there was me thinking i was doing something original ) Did you model the insides as well? i would love to see more renders of yours (assuming you did more).
:D:D:D sorry
Ehm I usually don’t model non-visible parts (it’s my fault, i know).
Are you talking about more renders about Enigma? That’s the only one. For other render you can go to the sites on my signature.
Bye and keep it up!
Haha. I do plan to make the non visible bits visible (otherwise what’s the point?)
I did mean more enigma renders, but i checked out your stuff. Very good!
This is a really cool project Monk… I admire how you can tackle too completely different projects and styles at the same time. I’ll be sure to follow this. I’ll have to scout around and see if there are any videos that show this thing actually working.
edit… It was interesting to learn more about this machine, I had heard of it, but never really understood how it works this is a video that explains it pretty well
Rickyblender: I did think of using a texture / normal map, but I want it to hold up with the camera very close. That said, normal baking is something on my list to learn how to do and I’d be interested in seeing what you come up with. I’ll upload when I’m next near my computer. Thanks again for the support.
Harleynut: thanks. This is my modelling / photorealistic project, the Mill is my texturing / artistic project (although this will obviously turn into a texturing project) I like having two big projects on the go, that way I can swap around to suit my mood.
(It also stops me getting bored and doing even more book pics… I can hear them calling me even now…:p)
thanks for the video. I’m findings that the more I watch the more interesting this machine becomes…
Render time is something that matters, but perhaps lesser when you do a series of stills. And I learned that you have a high end machine for serious work and another for occasional modelling. The “thingy” looks good. Very accurately modelled.
Thanks RickyBlender for the help and input. I may well go down that route if the scene gets too bogged down.
Harleynut: I’m glad you like the books, there will be more…
And thanks every one else for the kind words.
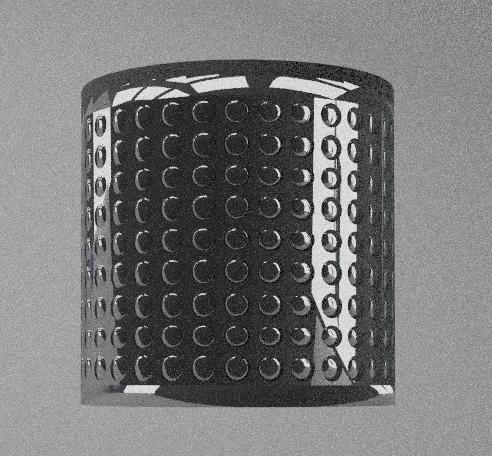
I’ve done a lot of tweaking and almost made up for the fact that i was using different models of the enigma for my refs. This is now mostly consistent. Also done a lid for the cogs. May go back and correct the sockets before forcing myself back inside…
I was tempted to start texturing a while back, but i though it would distract me from the modelling. i think i’ll try and make a full clay version before adding texture.
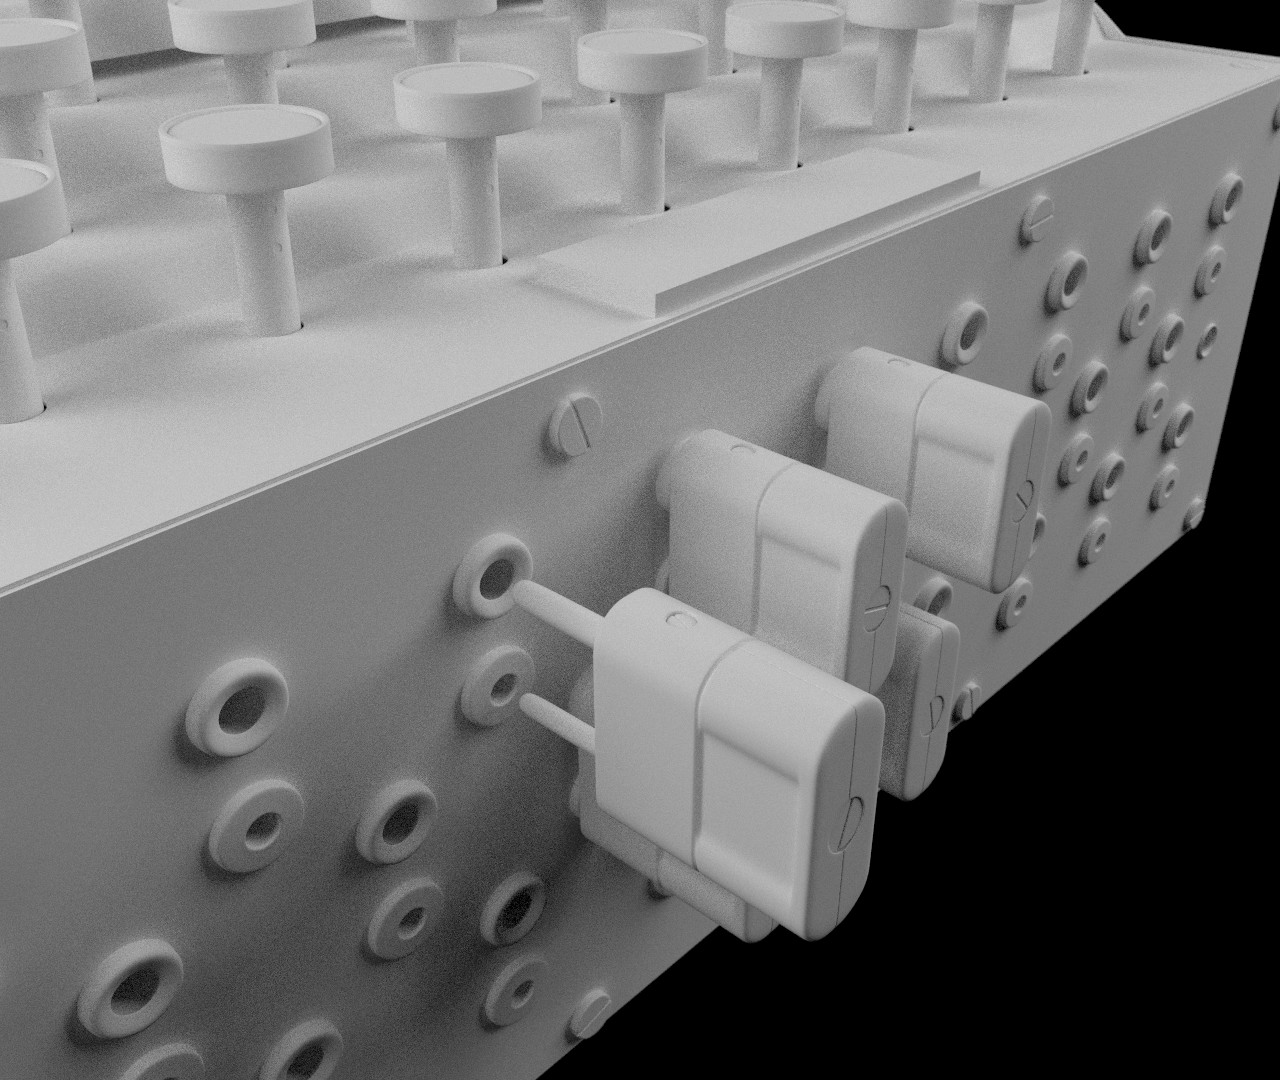
I have tweaked the plugs and sockets. much happier with them now.
 Trying to work out the machine is bad enough, now your talking about coding as well!:spin:
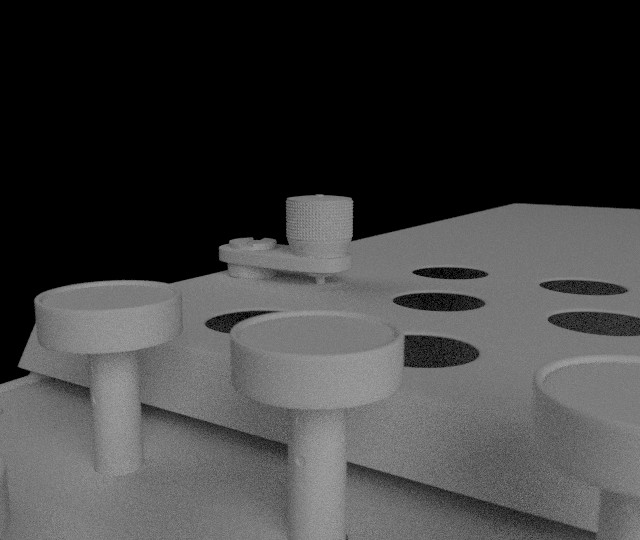
 ) Did you model the insides as well? i would love to see more renders of yours (assuming you did more).