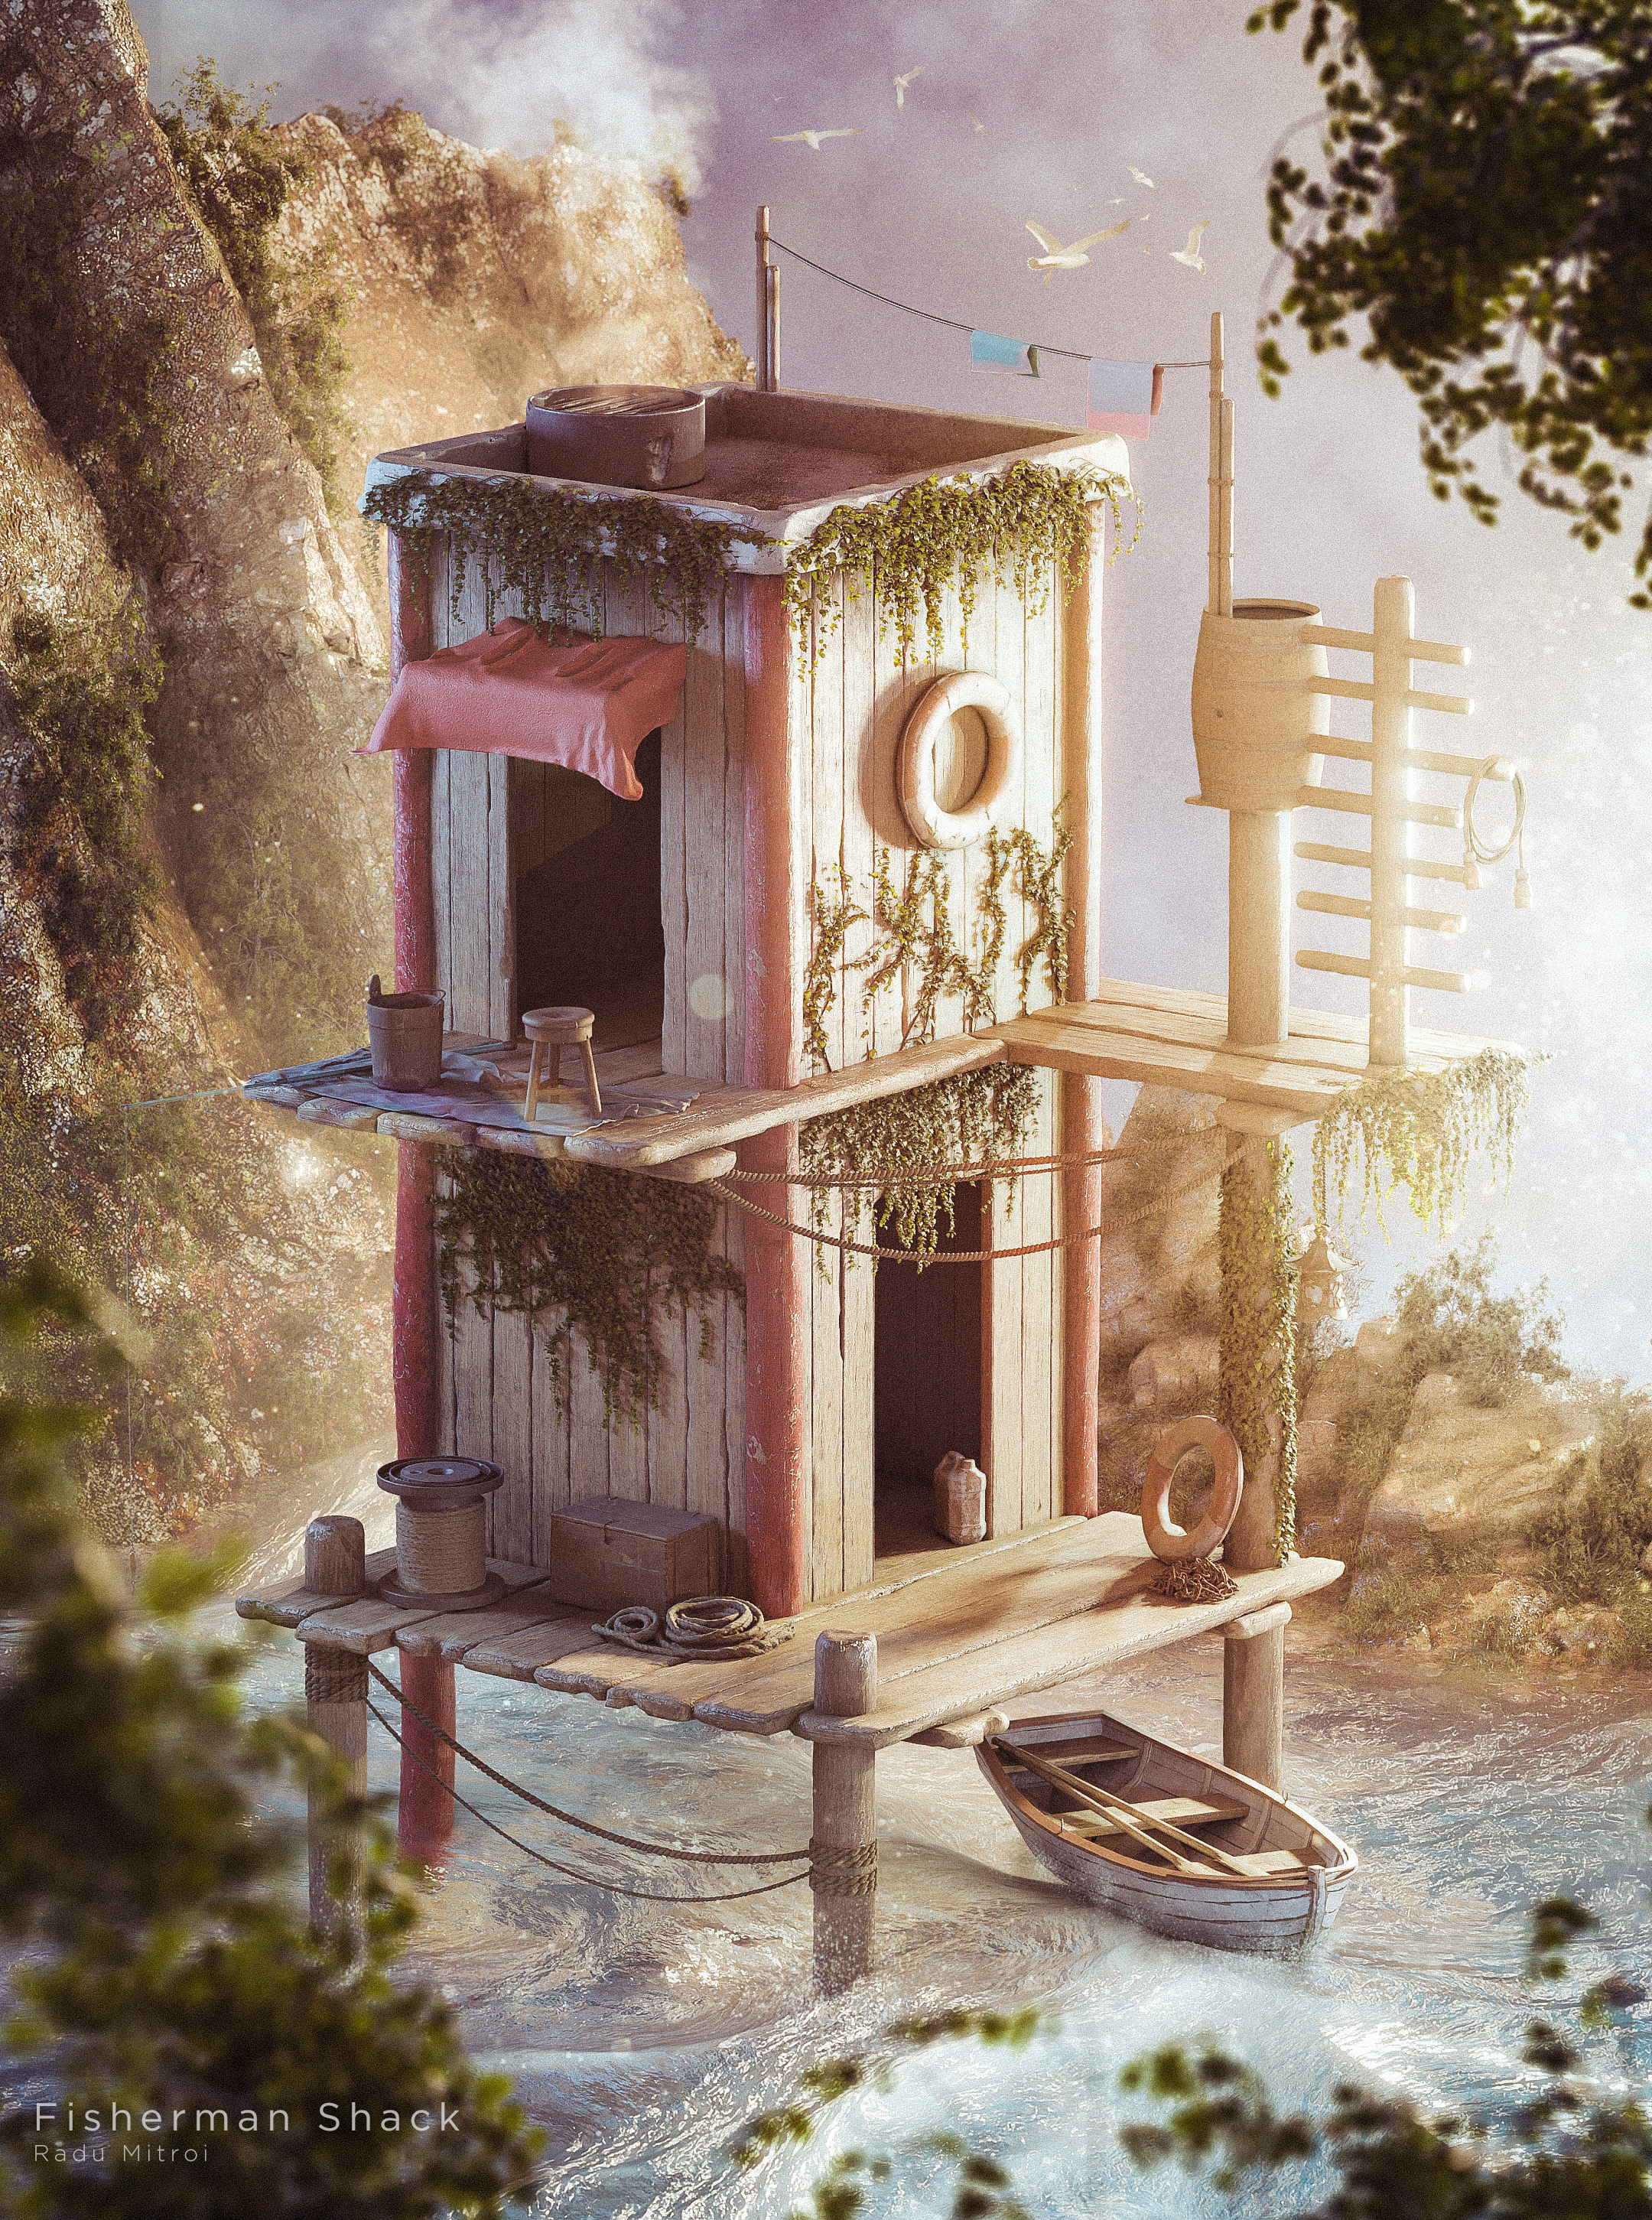
Hi guys, this is my latest project, The Fisherman Shack. This was just a fun little project I’ve done in my spare time, in between commercial work. The whole project took me about 3 days, working a few hours a day, from start to finish. I’m really satisfied with how this one turned out, despite the fact that while I was working on it I felt it was gonna end up a fail.
I modeled the entire cabin & platform myself, and used just a few Megascans props to fill out the space, as I wasn’t feeling like sitting and modeling a bunch of small props.
Texturing was done inside Substance Painter, and the image was rendered using Cycles.
Thanks!
I can’t take all the credit though, I was highly inspired by this little stylized diorama version I found on Pinterest: https://pinterest.com/pin/9640586693725106
The best part is that on the right side you just used a background and didn’t fill it with any objects. I wish to have such skill. There is only one thing I have a comment on. The water looks more like ice or something solid. Great render!
I really like how to composition turned out as well, even though I didn’t really plan anything ahead and just freestyled it. But I did try to create some kind of diagonal leading lines with those foreground leaves, that compliments the other shapes in the background - the slope of the cliffs etc.
I myself like how the water turned out, but I get what you’re saying. I actually didn’t spend much time on the water shader since I only gave myself like 12-15 hours to complete this project, so I had to be mindful with what I focus on.
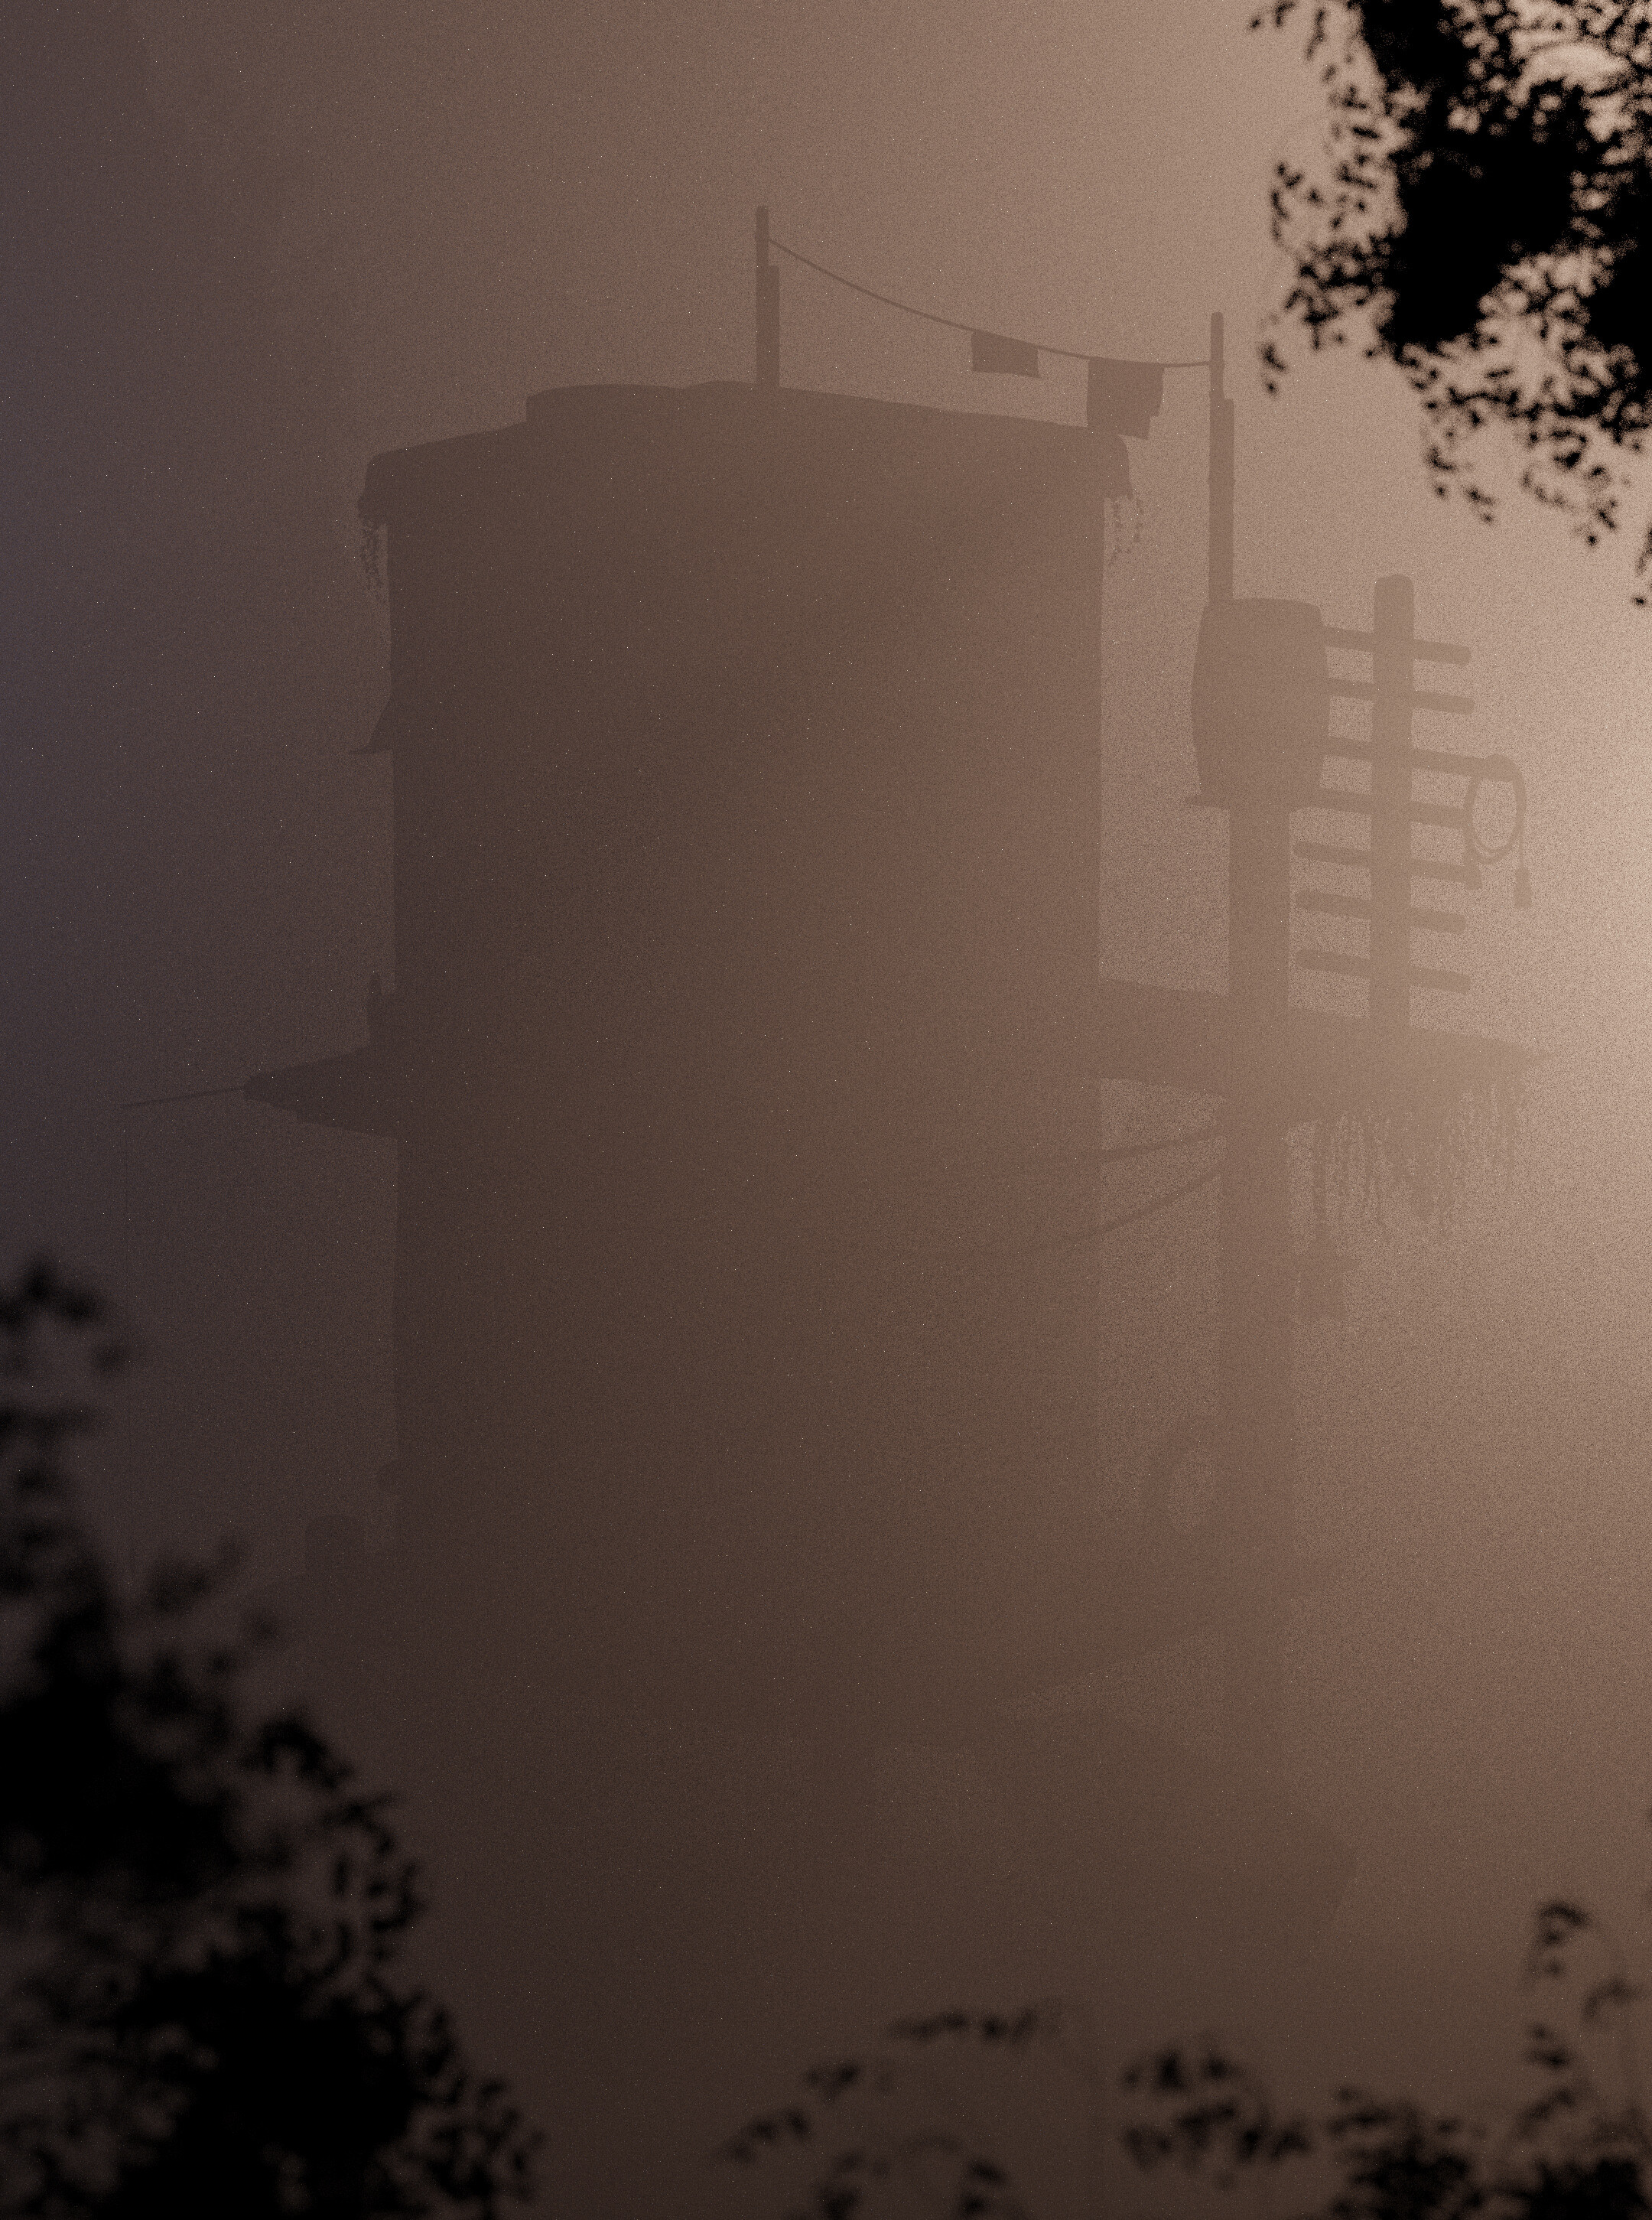
I really like the whole “look” of the image! Did you add some grain in post processing or something - It makes the image feel kinda “cinematic” in a way, like it was shot using an actual camera with imperfections - really cool!
Yeah, there’s plenty of post-processing on the raw render. I always bring my raw renders into Photoshop and mix different passes into the image. I composite the AO pass on top of the raw render and that gives it a lot more depth, and other passes as well, to have better control over whatever I can - so things like fog, AO intensity, light bounces, etc - I can control easily inside of Photoshop, which is great.
There’s the usual lens flares overlays, mist brushes composited into the render - for this one I actually used the pen tool to mask out the building and add some subtle mist behind it using PS brushes.
And finally I bring all of that into a Camera Raw filter, and I treat my renders as a photographer would treat his photos.
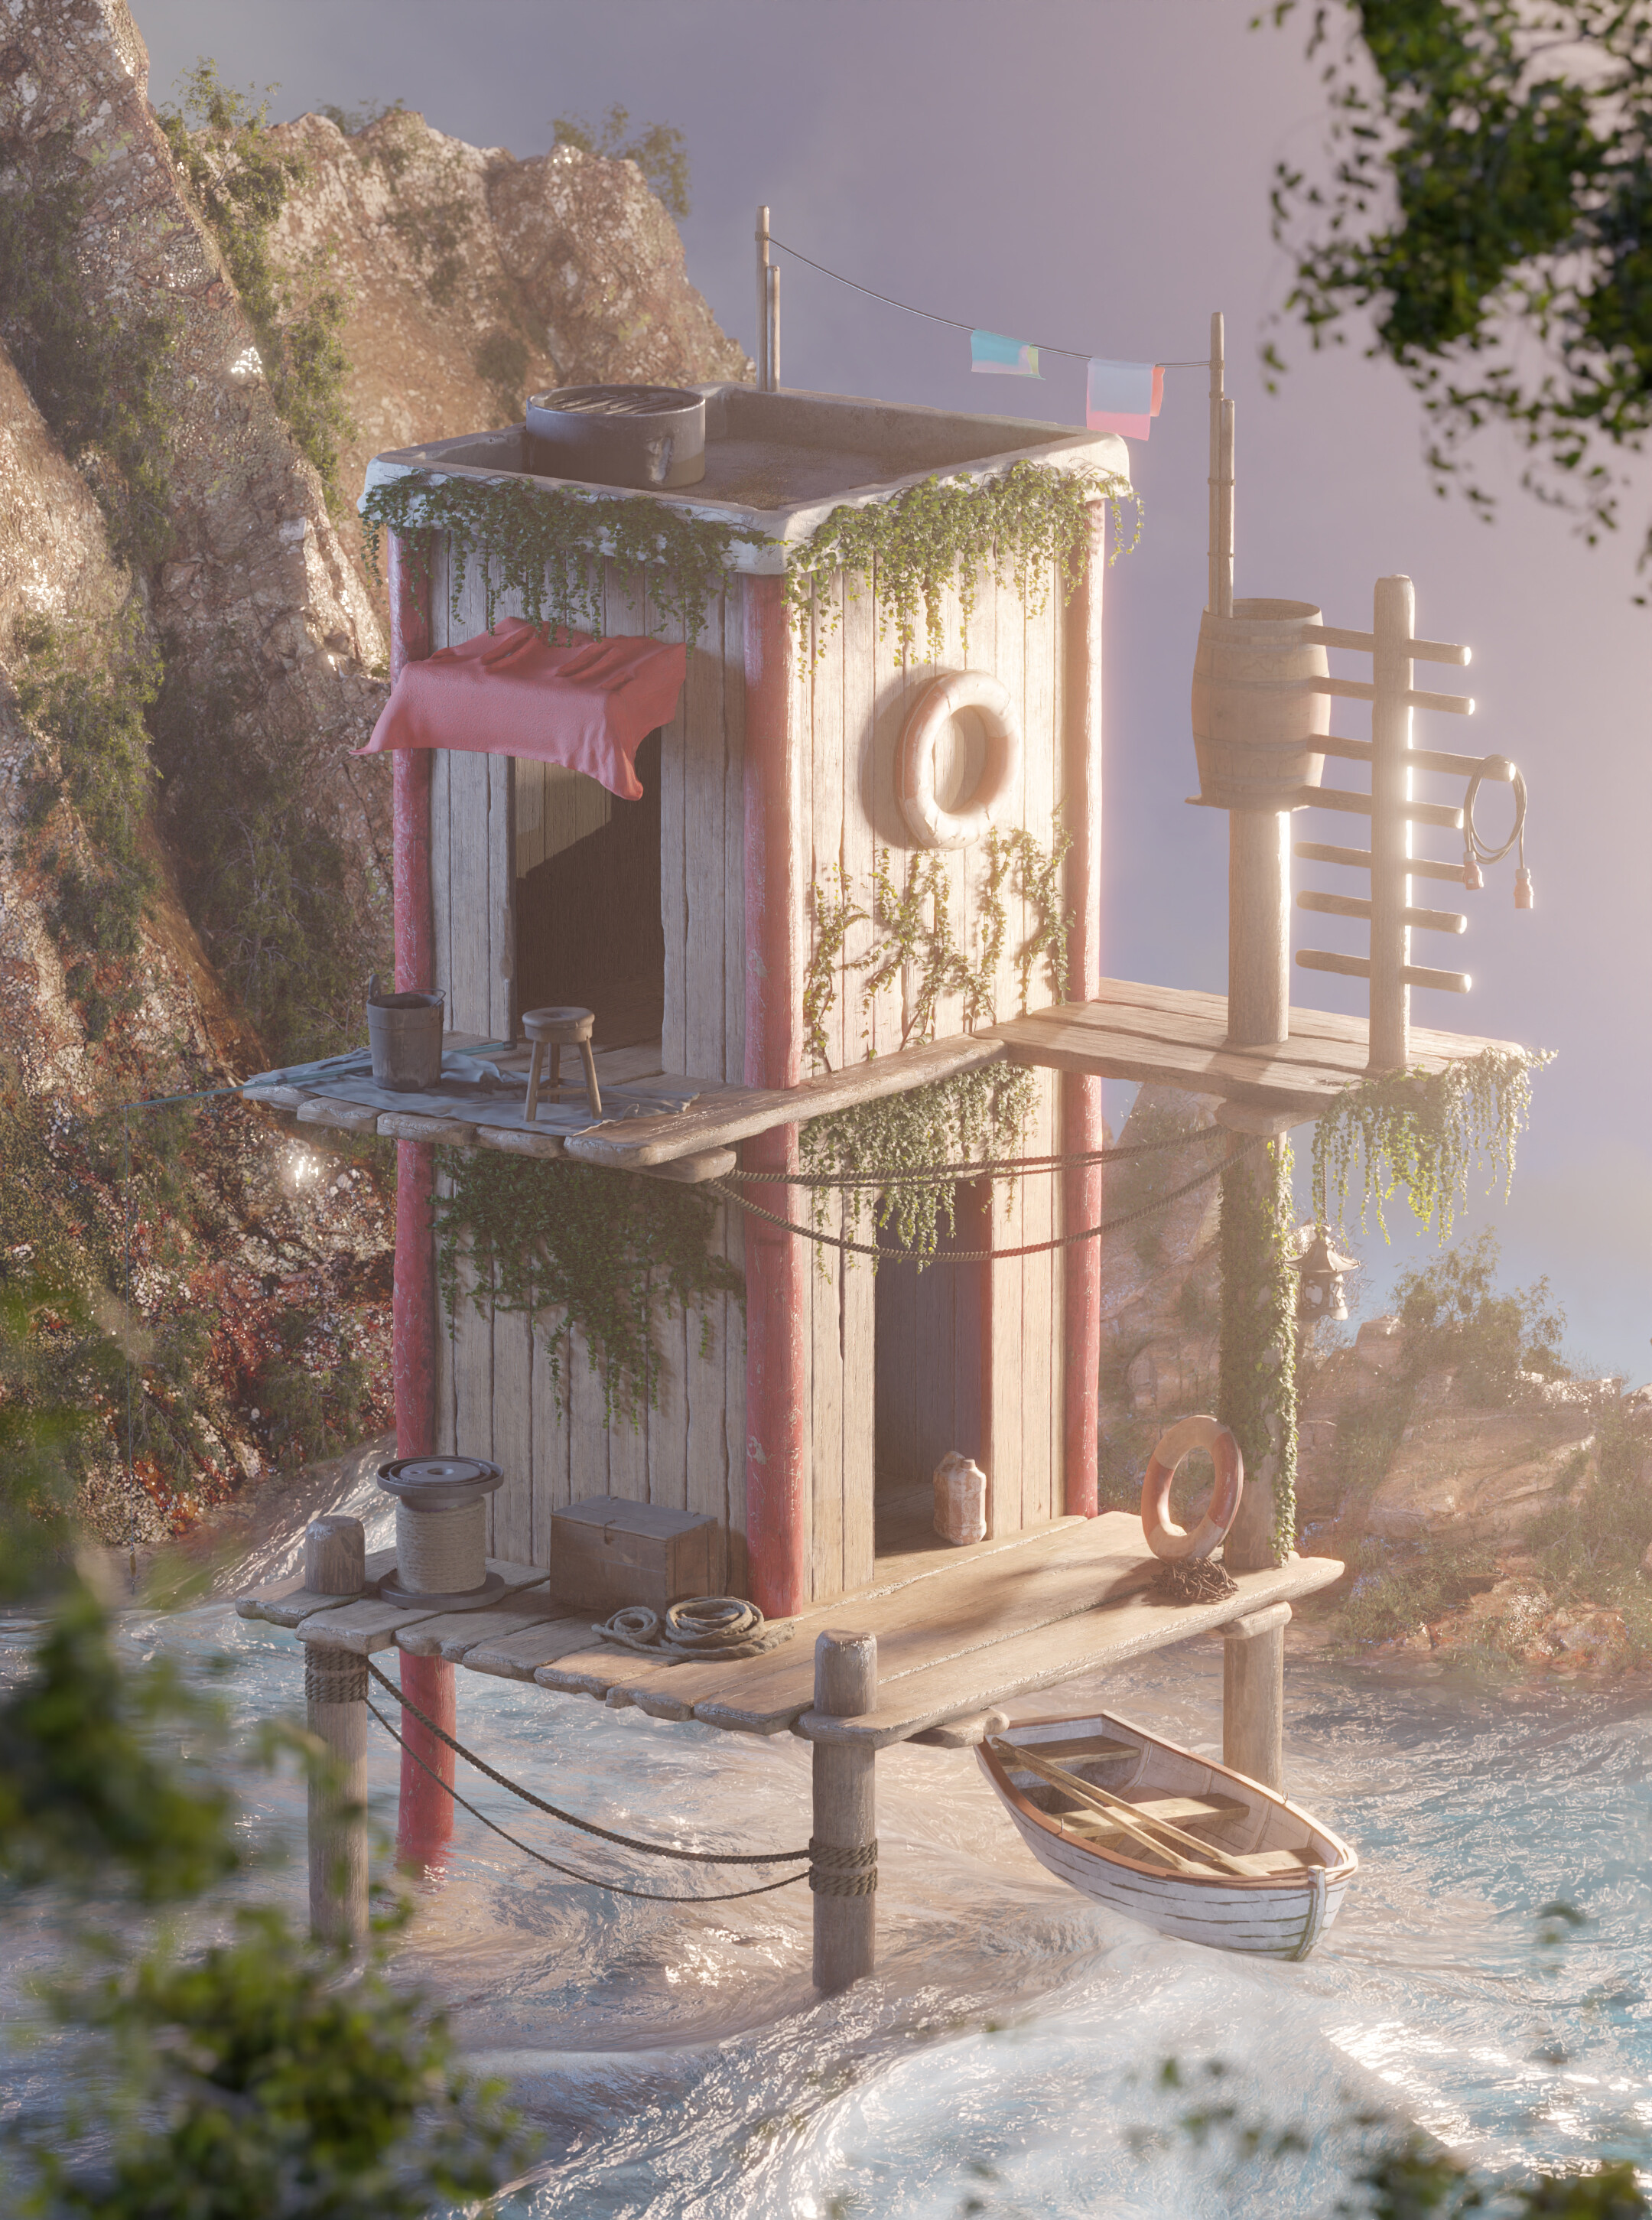
Here’s the raw render straight out of Blender, so you can get an idea of what before & after looks like:
I dig it. Rad combination of more photoreal feels like the depth of field while still keeping it very stylized with the heightened colors and proportions. Feels good.
Man, people have been telling me about that tutorial a lot since I posted this artwork. Never knew who Grant was before people started telling me
It’s a bit weird seeing everyone referring to that as “Grant’s tutorial”, since the tutorial itself has been produced based on the same concept art as I’ve based my project on (I’ve linked the concept art somewhere above).