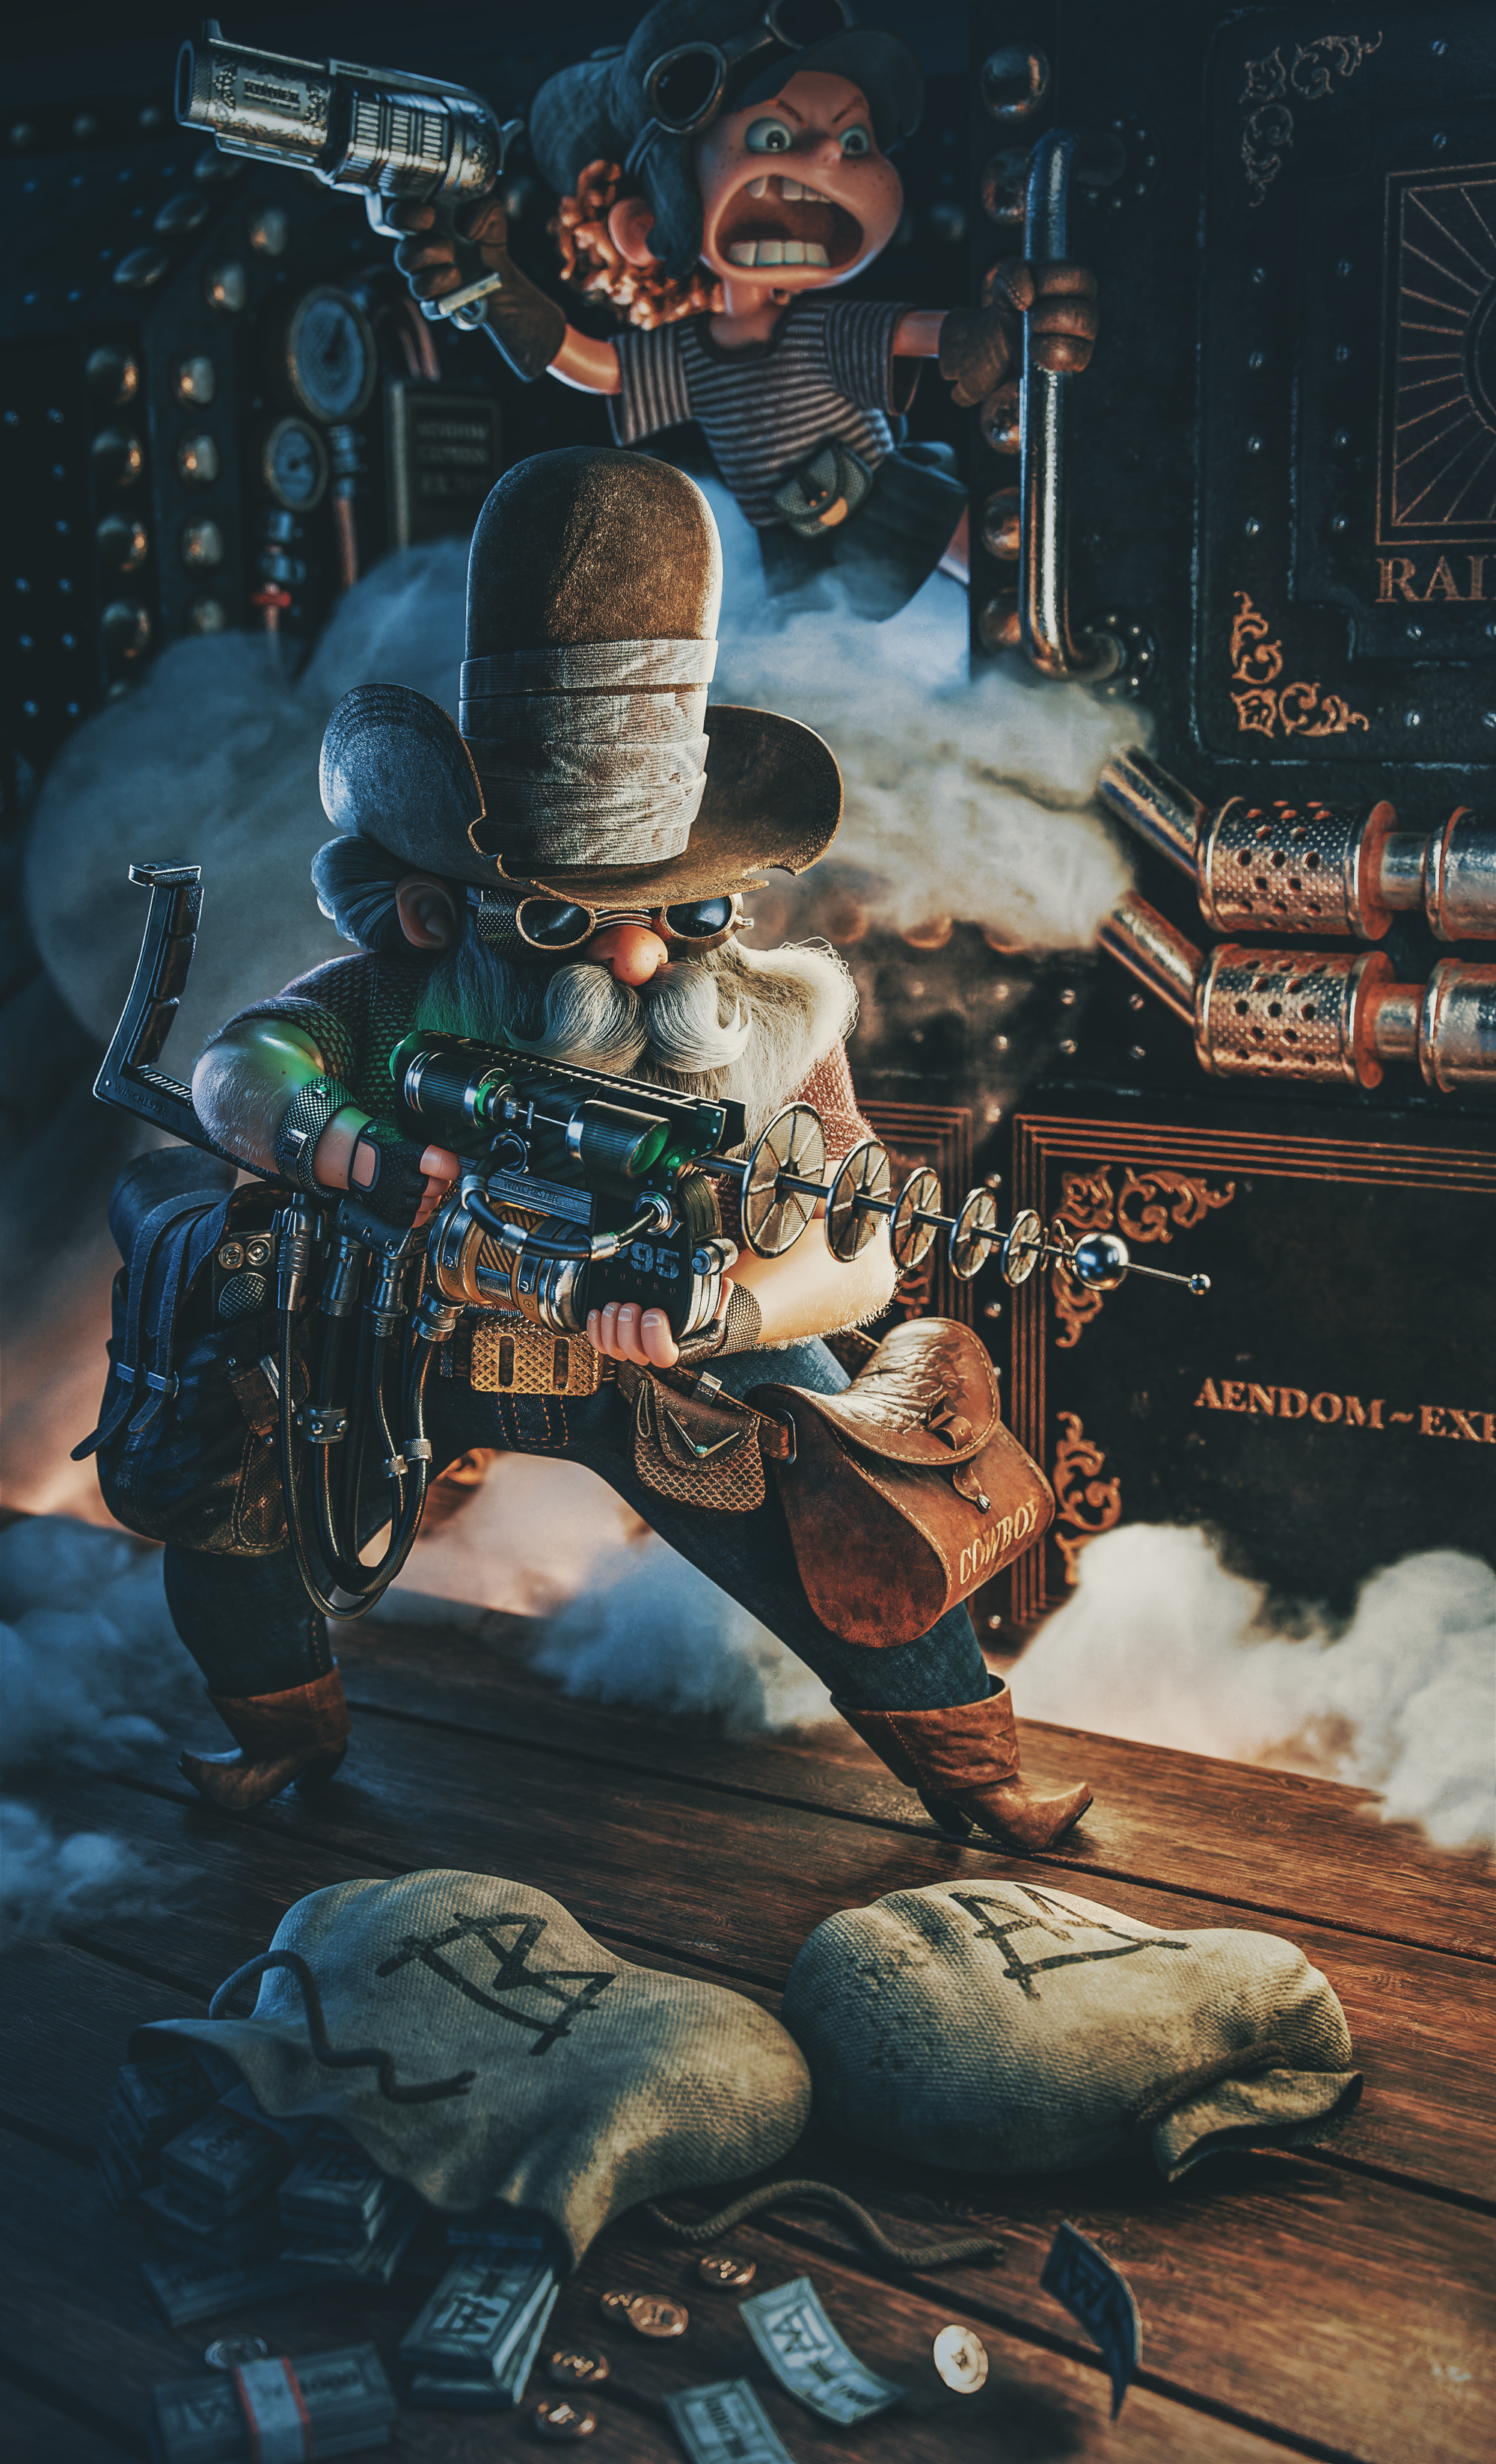
The project is based on one of the concepts of the artist Gaspard Sumeire. This is the Third project of the series. The topics to learn were smoke simulation and texel density. I made a guide of the workflow, this includes YouTube videos. Also if you are really interested you can download the clay render for free.
Glad to see your work here. Again, it’s absolutely amazing. I also went through your article on your website. What s great resource! And similar to the great ‘junk shop’ article I wish I had read it a few weeks earlier. Thanks so much for sharing!
Hey @Christian_Lipski Thanks man! I really appreciate that you were with me all along this week. This new article has a lot more info, and I wanted to be clearer! I would love feedback from you!
First of all, the sheer quantity of information is great and since it’s well structured (and the layout / type setting looks gorgeous) you can jump right into any chapter that you’re interested in.
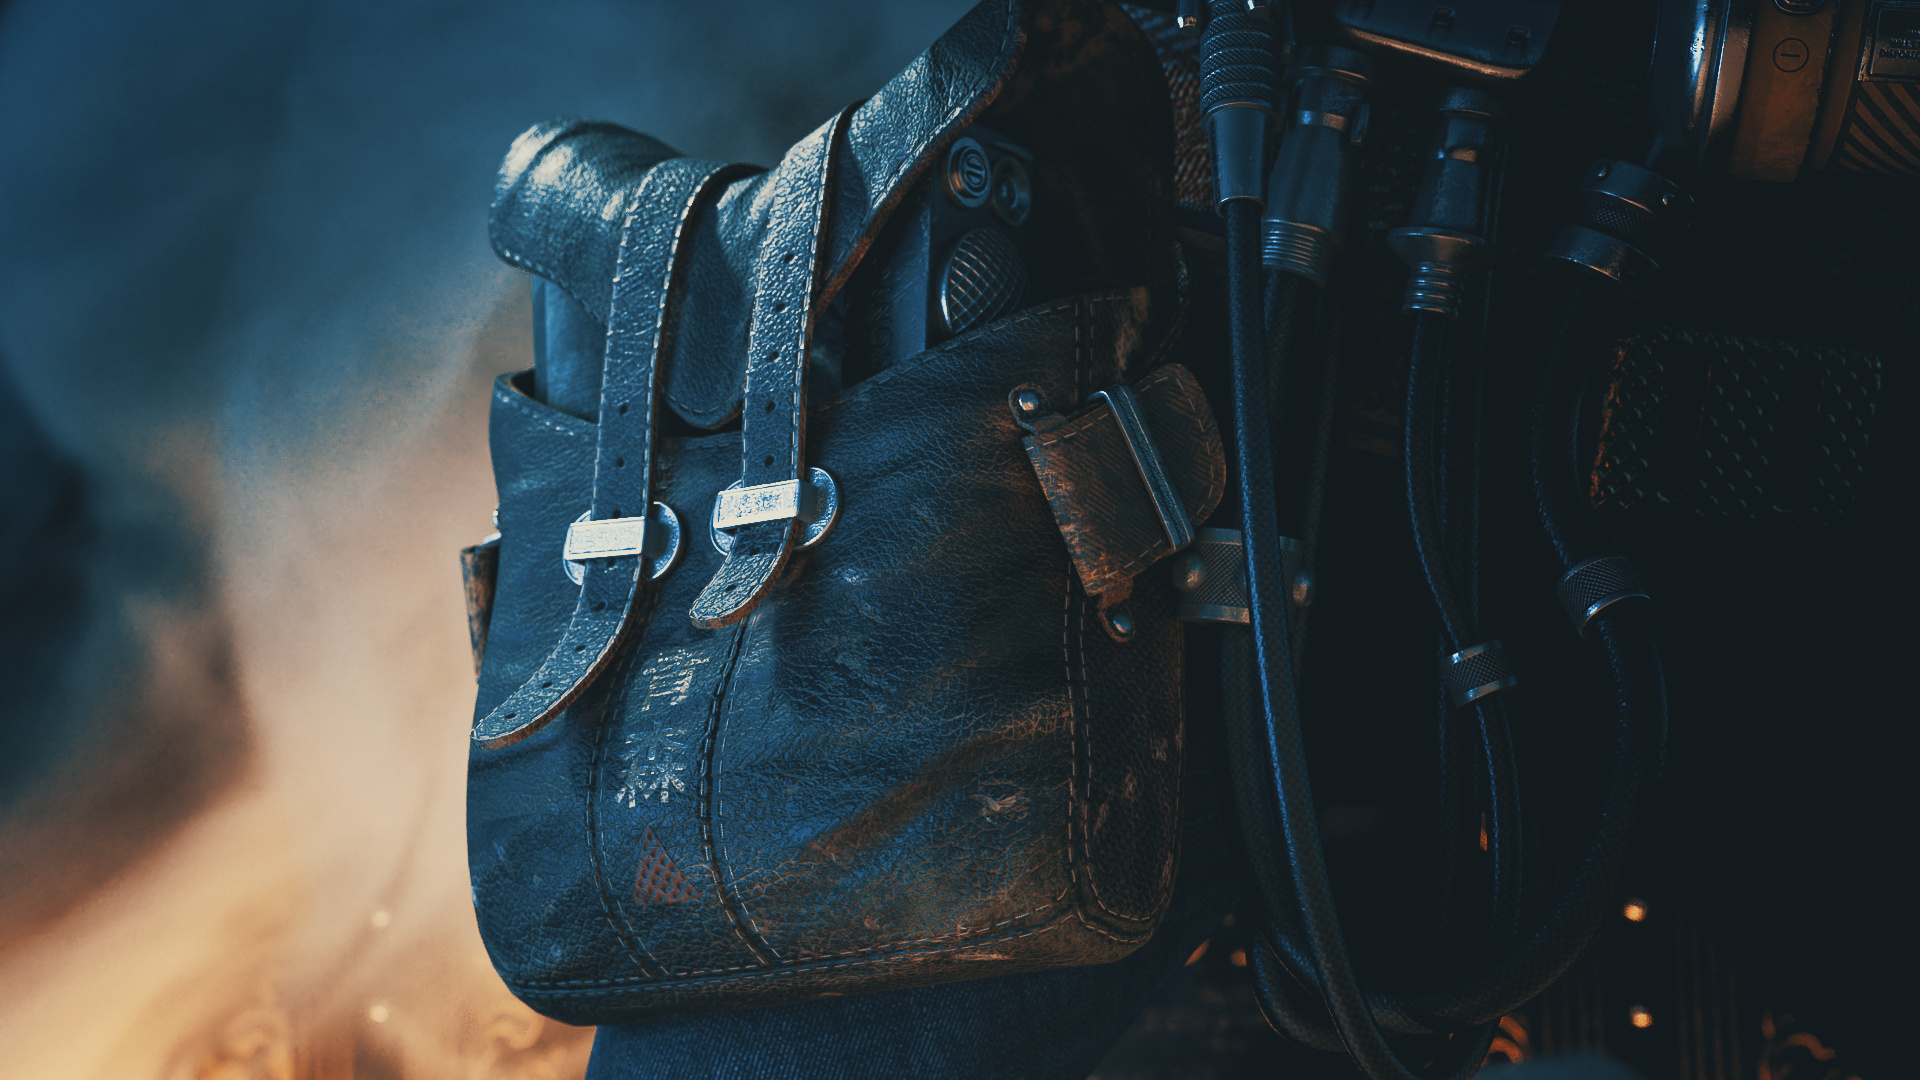
The most important read for me is the workflow going from blender to Substance Painter and back again. This always cost me a lot of time and requires experimentation and not a lot of other tutorials tackle that subject. Had I read the “It Is Necessary To Have A Material For Each TileSet” Tip earlier, I wouldn’t have spend a whole night shouting and curisng at my laptop.
I also found the lighting chapter (4.4) to be very helpful. Somehow I never found good guidance on lighting, so I learned by experimentation and often end up with overly complicated lighting set ups. It would be great to see a tutorial in the future that focusses on lighting.
I also found some new tools (F2 looks like something I should have used ages ago), the same applies to some of the hotkeys and other tutorials - very helpful.
I found it quite surprising that you chose a document size of 4096px. I usually set the document size to 512px or 1024px and export at a higher resolution (but I guess you need the resolution to paint all the details). Can you give a number of how many materials you have in your scene(s)? Dividing your scene into multiple .spp files now seems like such an easy trick that I should have used before.
I am thrilled to hear you work on a video game project next, can’t wait to see how that turns out!
WOW! that’s was very precise feedback! Thank you for your time! I had some of the same problems that you talked about, I’m very glad you learn stuff from the guide. The Texel Density was why I choose these sizes, I even use 8K for some meshes like the Train in the background.
About the number of materials, I just lost count of them! but I can tell you that a lot! Also dividing the scene is basic to paint bigger scenes and don’t crash the PC. The video game its the final destination of the AENDOM project. Maybe not the next one but I will reach there in some time.
Thank you for your support @Christian_Lipski I hope you are getting value from these tutorials.


 Do I need to change something… somewhere? Cheers!