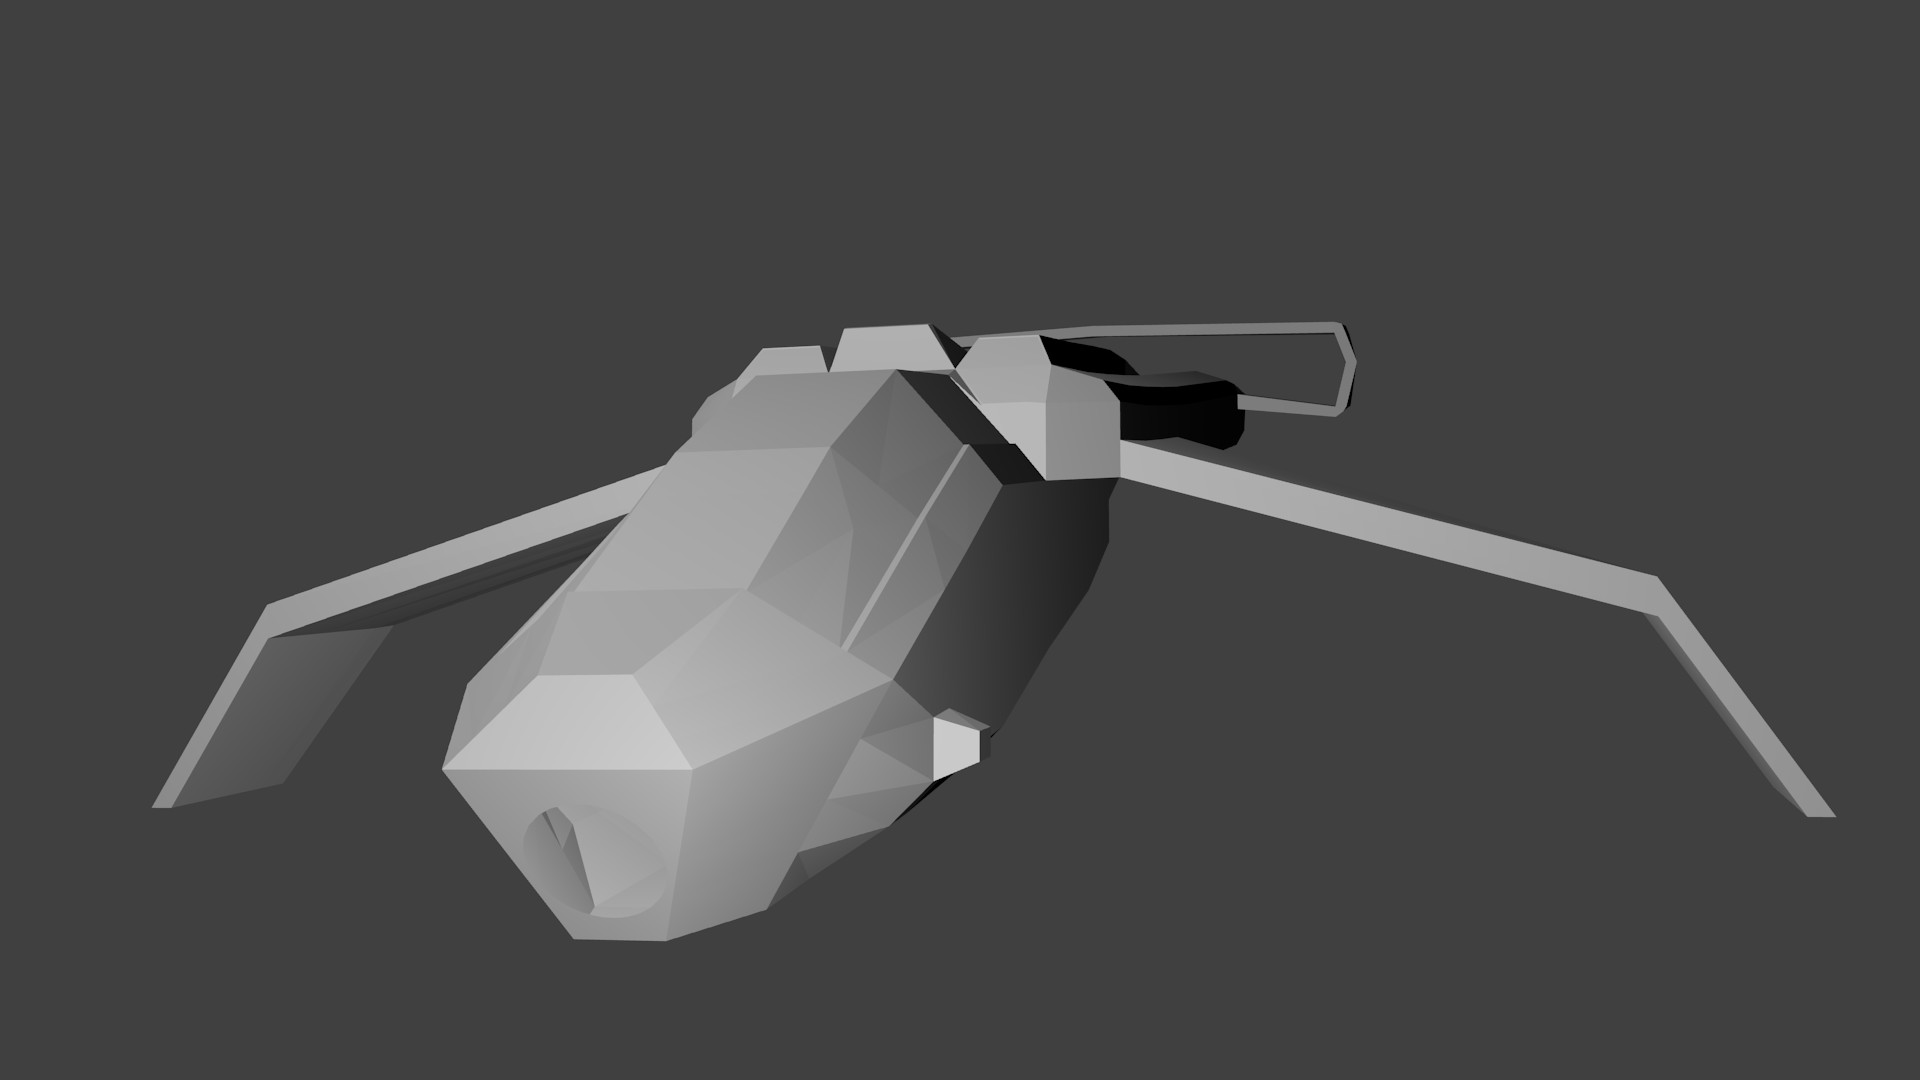
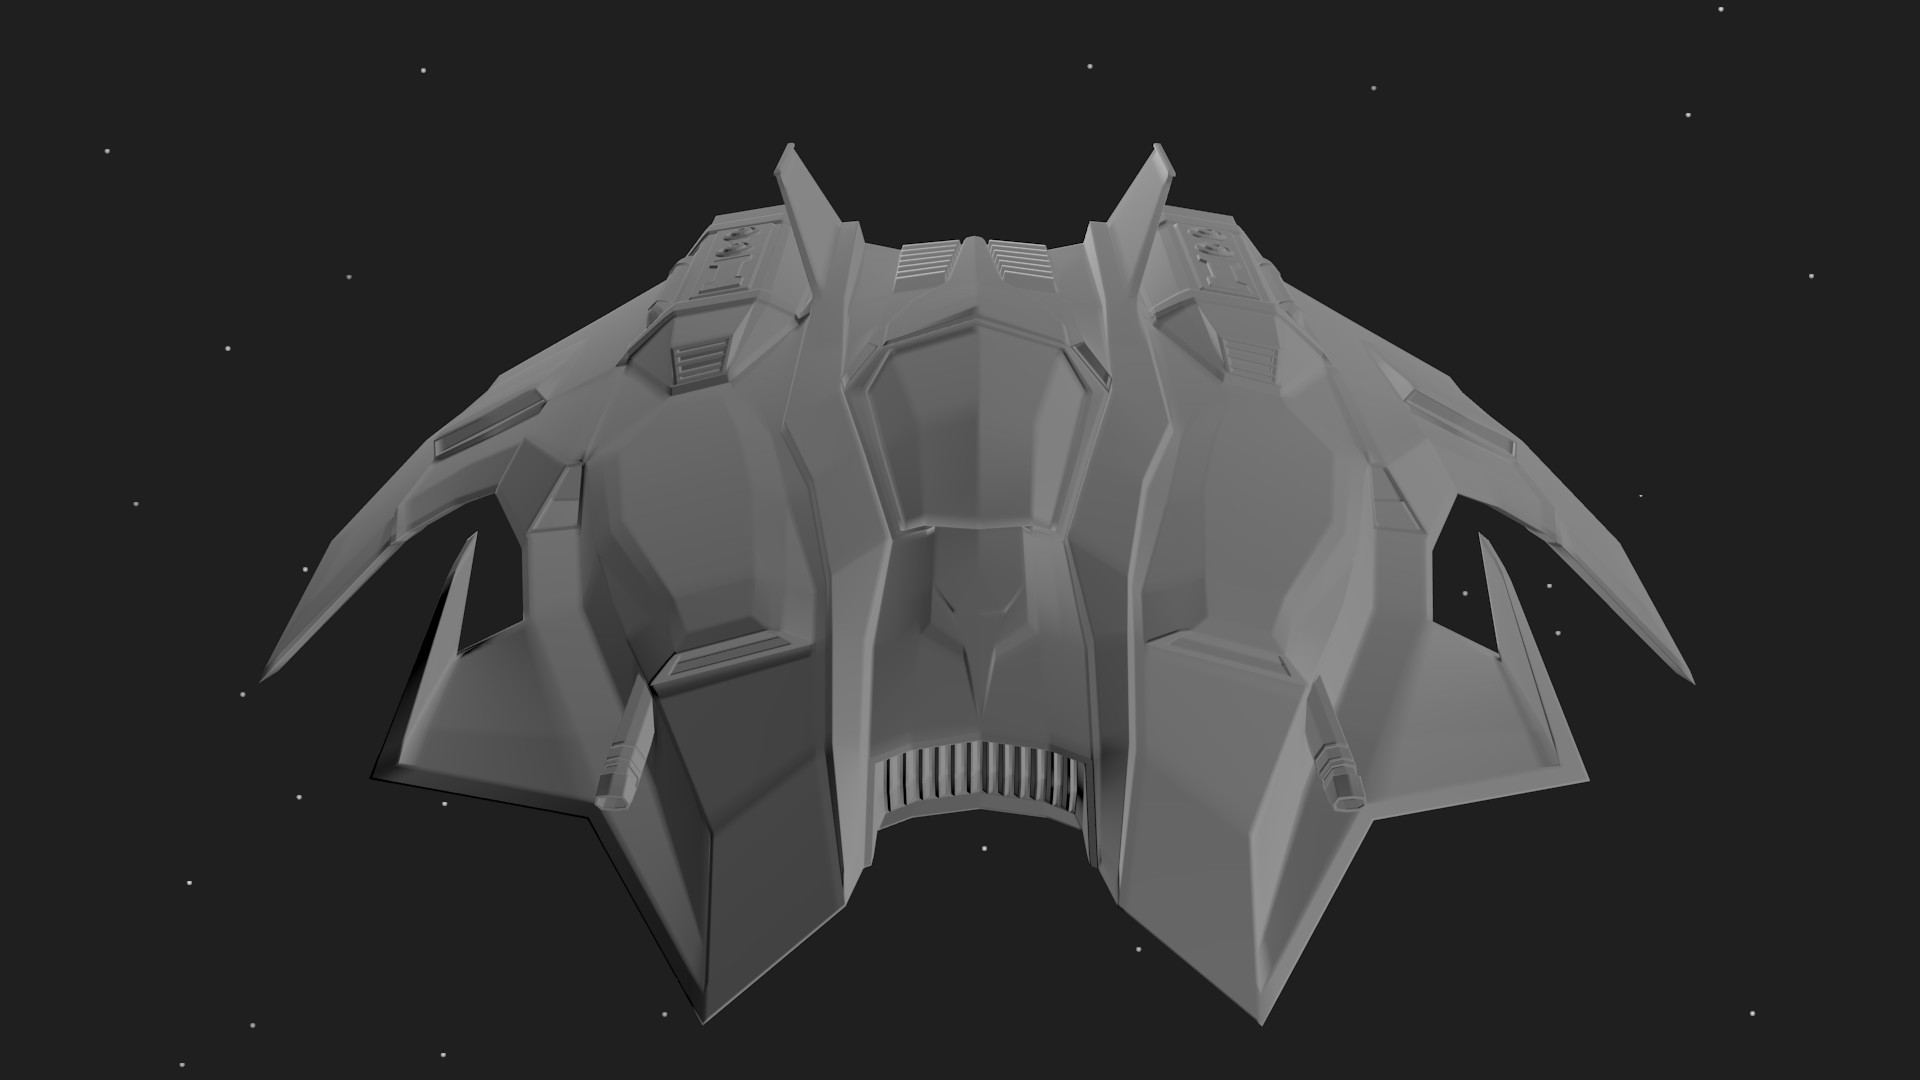
taking a break from doing buildings, had to move, also started the next rendition of one of the Space craft for the Game this one will be what the A-10 Warthog is to us today. this is the A-11 Warthog this is the base model and will be getting progressively more detailed as i go, i looked at Apache Attack choppers, as well as the A-10 wart hog as well to come up with this one, i hope i am striking a nice balance with the Sci Fi design and still trying to keep it human manufactured.
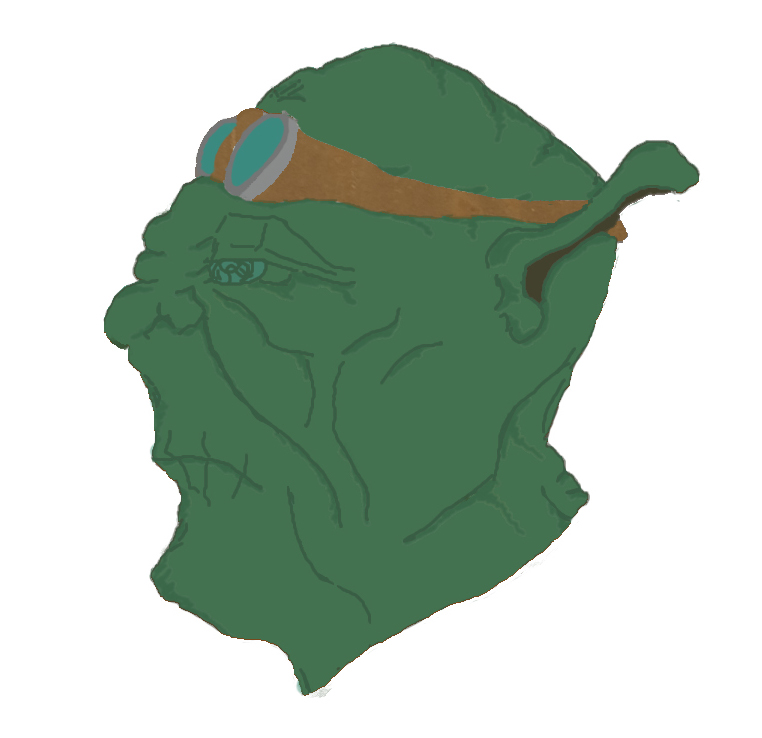
Also finally got an Intuos Wacom, so working on putting up some concept sketches, but i am new at using one of these things so its a learning process, here is the concept i have for the Aun.
in my original design he had Ram like Horns but i was not sure if that would work so redesigned with ears now i kind of want the horns.
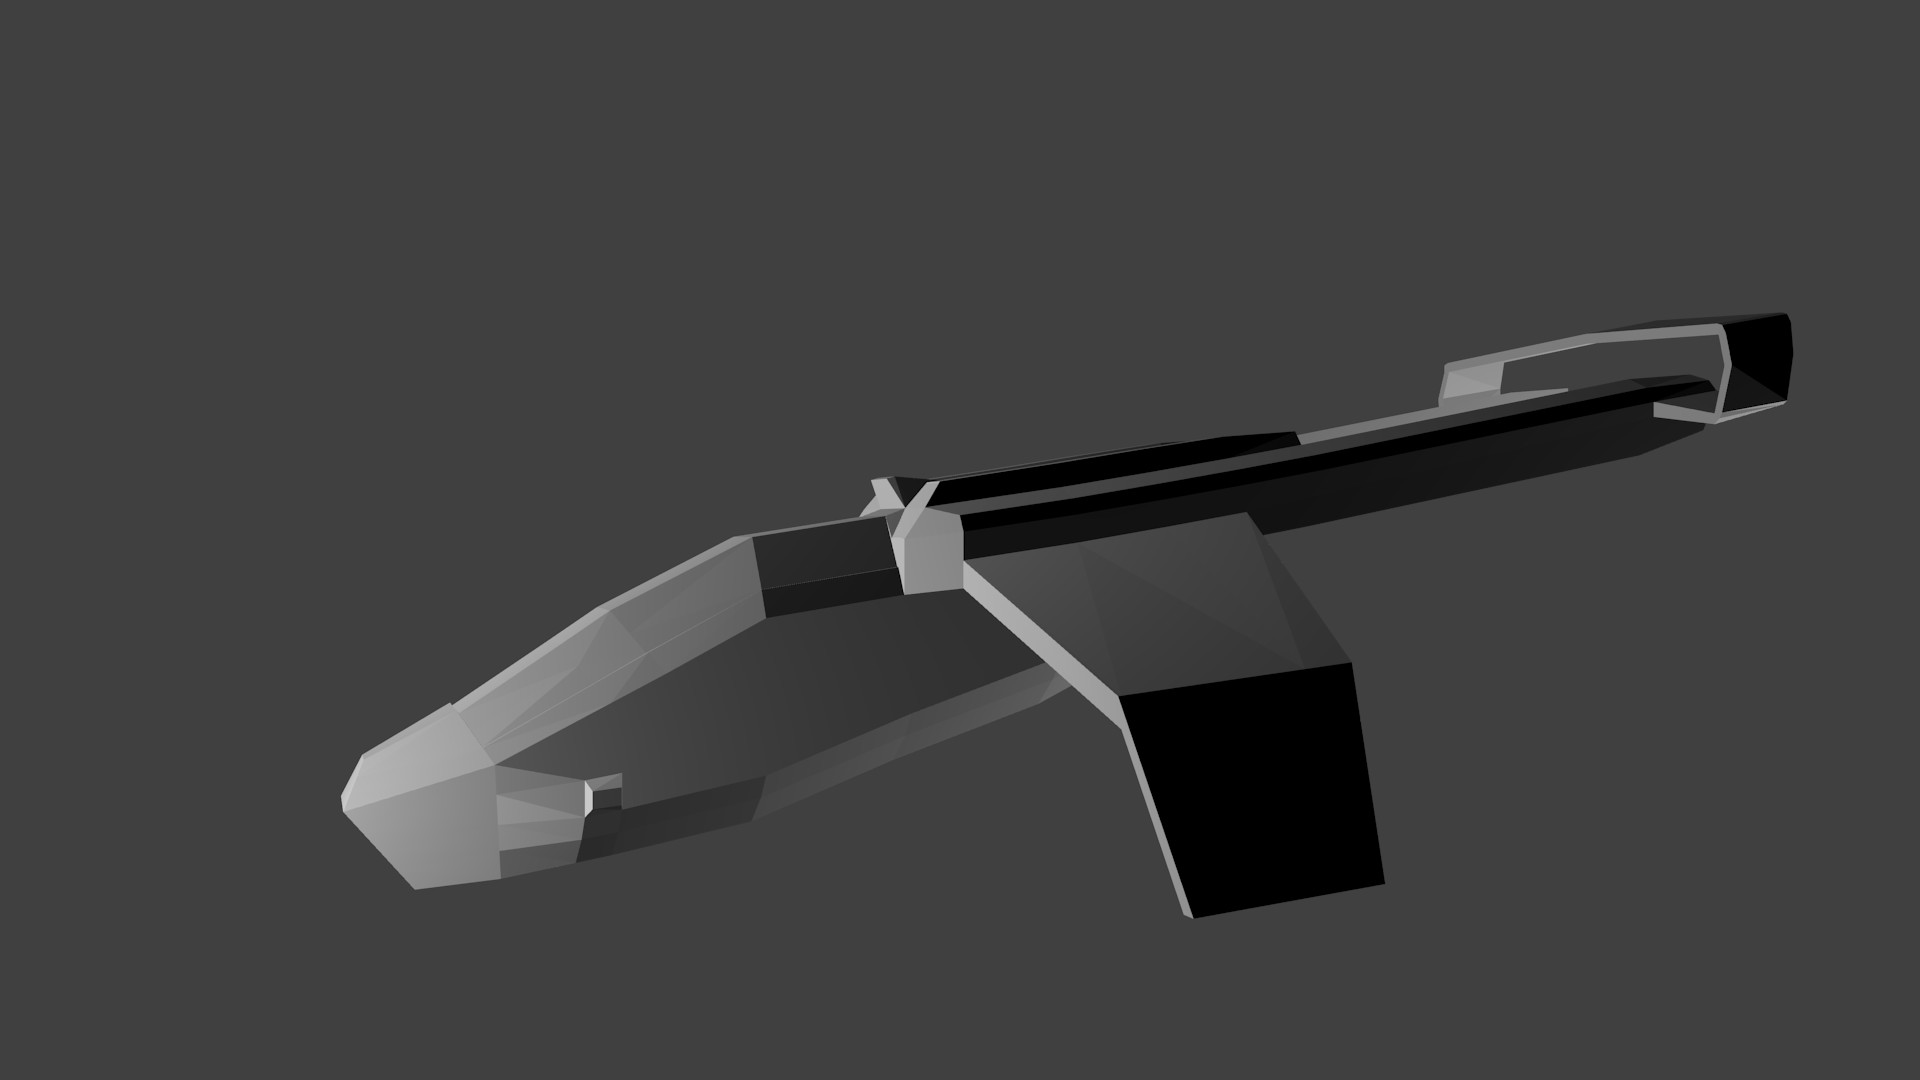
figuring out how to use the WACOM is kinda fun, here is another concept sketch for another Fighter craft this one is of the Abaddan’s Critz welcome.
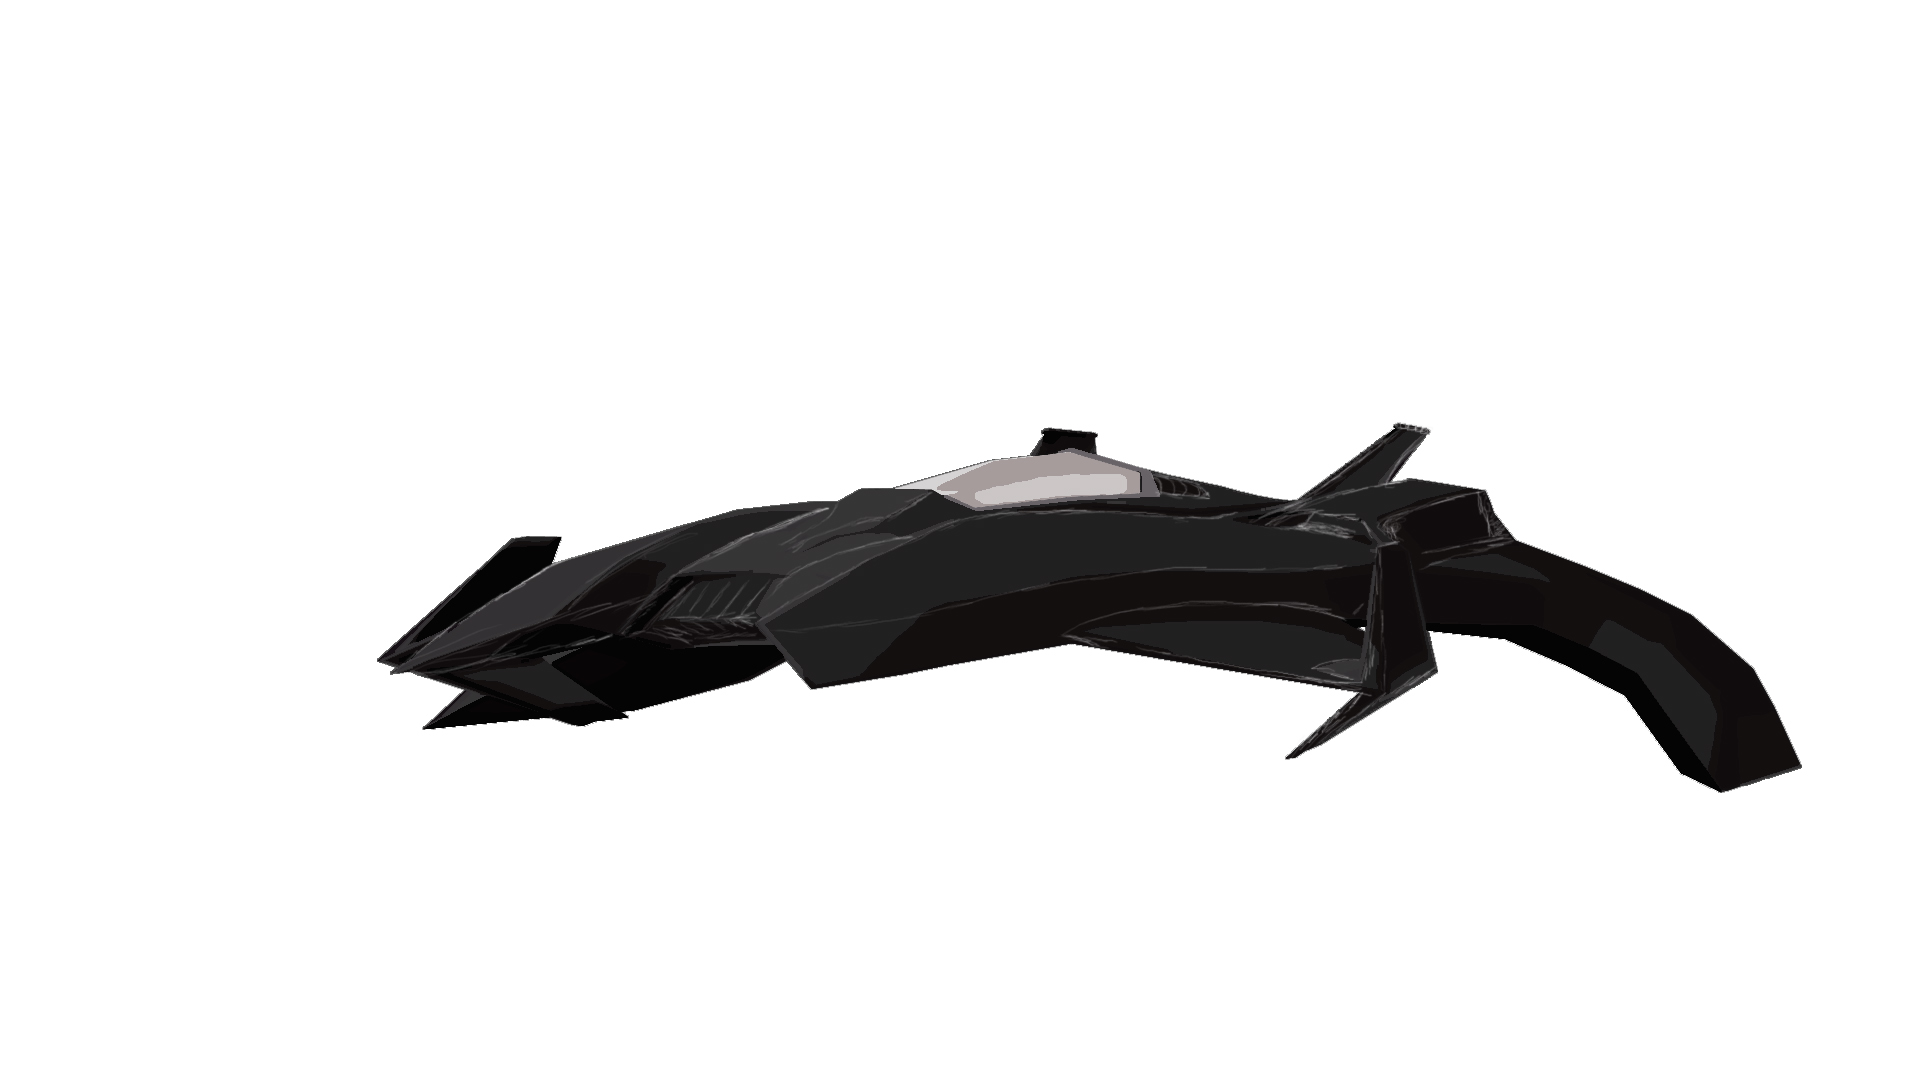
and from the sketch, here is the Abaddan fighter. still have to texture it, have to think about the look needed.
That sketch looks sexy as hell, and a nice model to boot. This is going well I like it. 
thanks man.
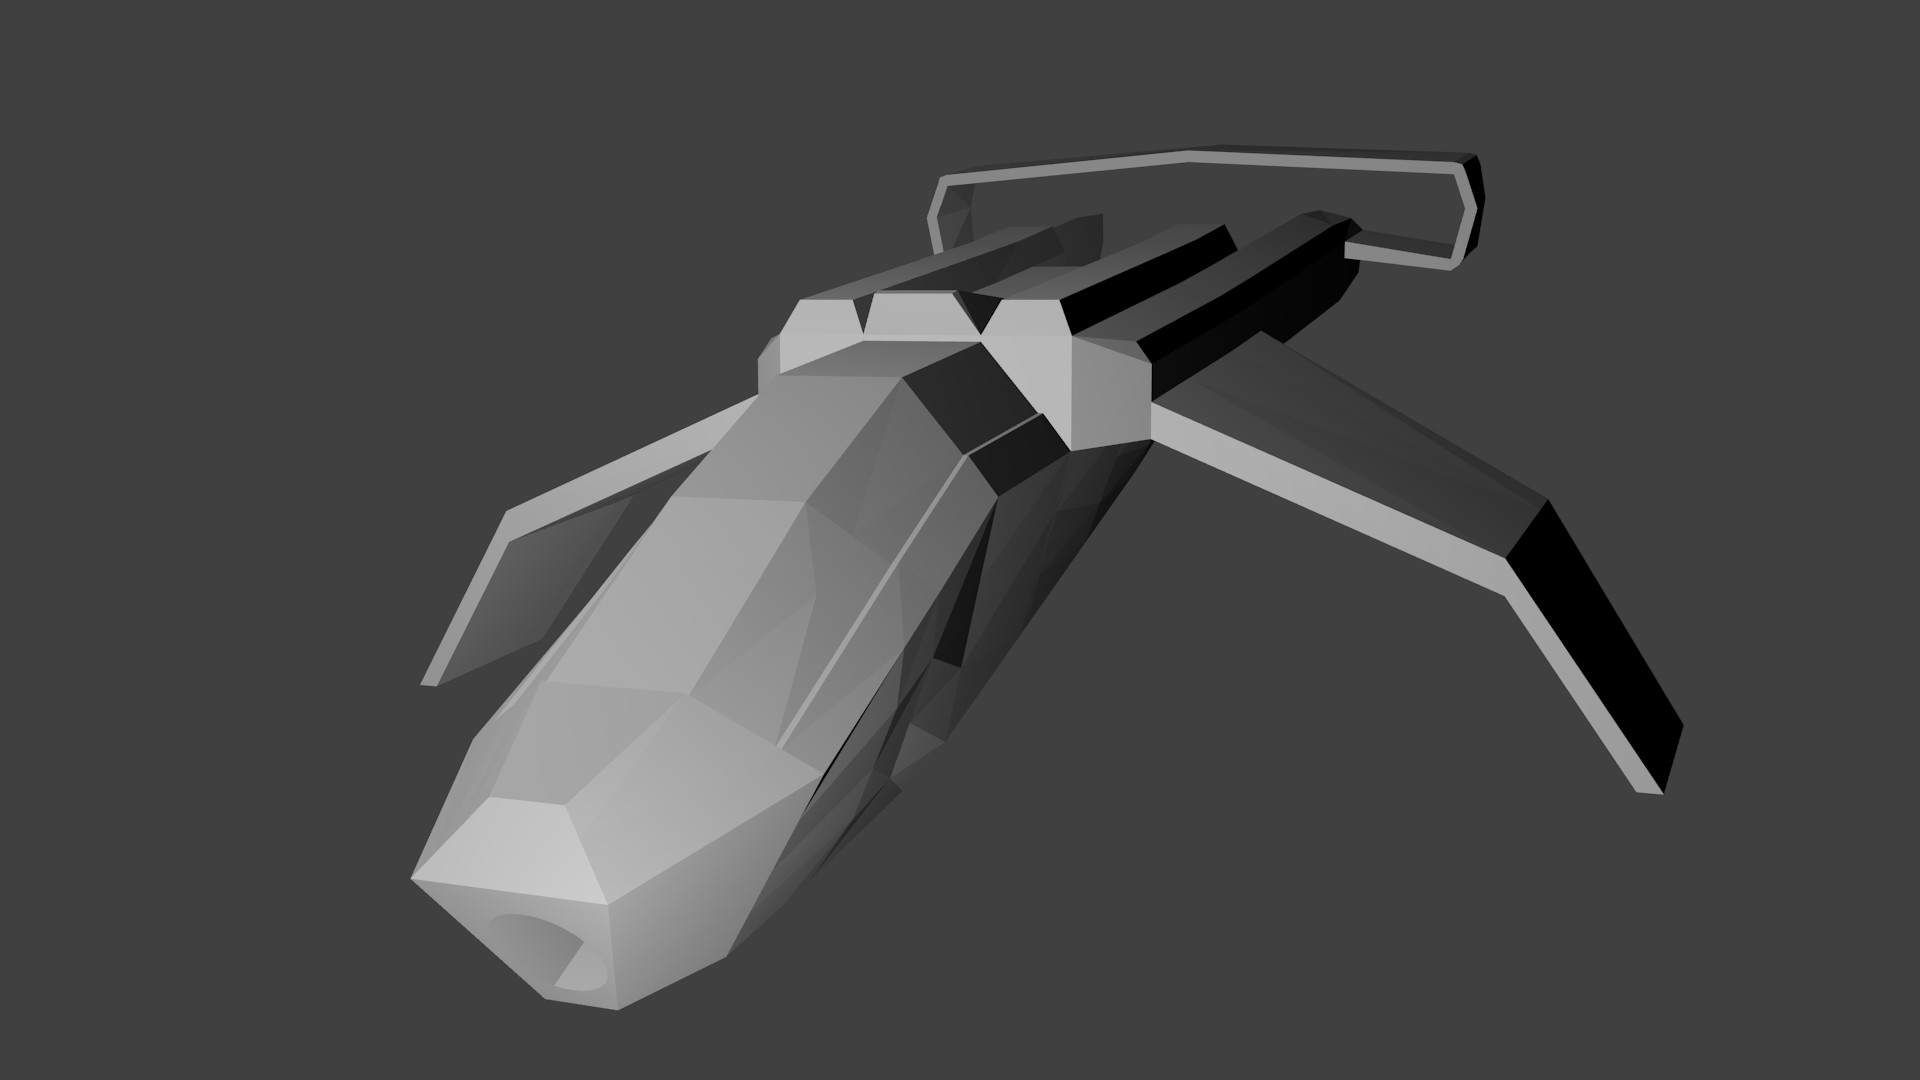
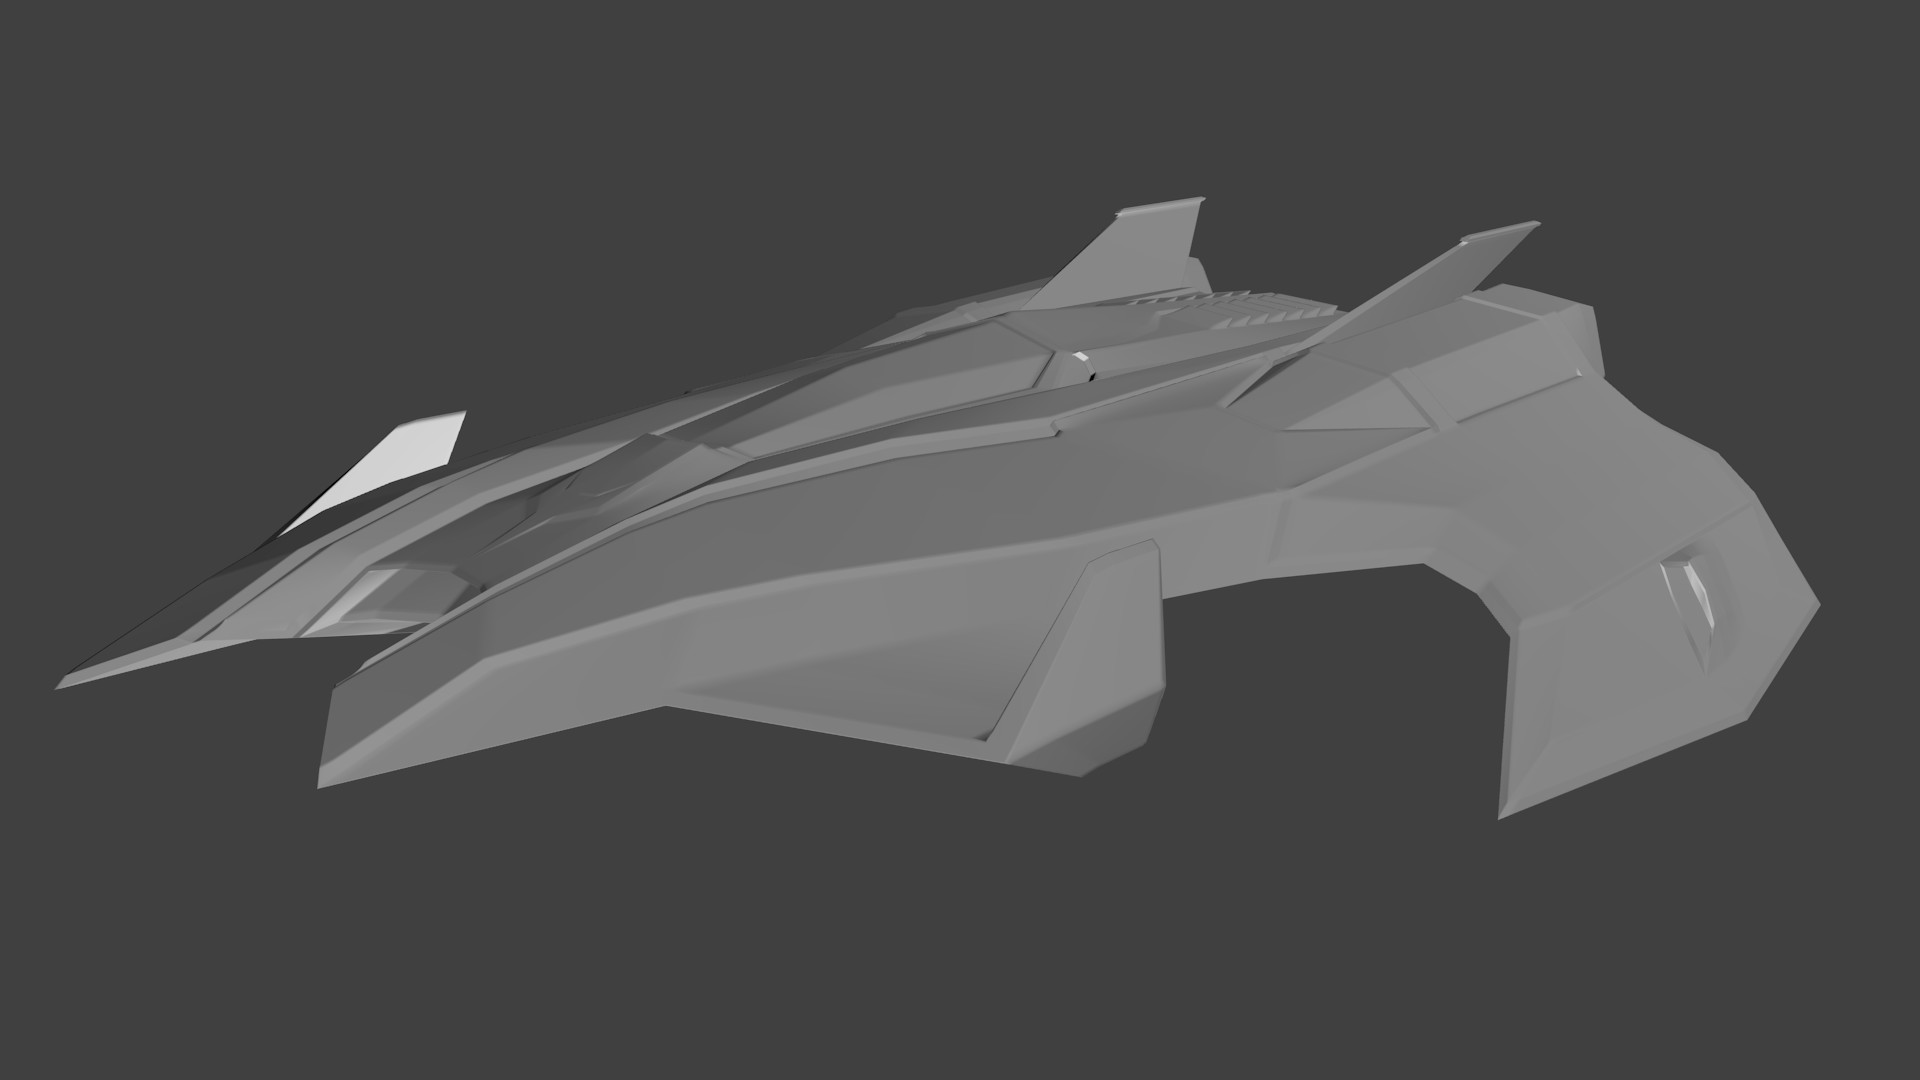
well i know is aid i was going to call it done, but i couldn’t leave it alone, it is no longer done i will be adding more detail to this one. but here is were i am now.
any more input would be helpful or any critz good or bad its the best way to improve so have at it.
Everything is looking very nice, and this new vehicle looks great! Can’t wait to see it in color 
thank you Raven, color is going to take some time seeings how i am still new to unwrapping i am struggling on getting this done, hitting up all the tutorials i can but still falling short of getting it right. i know it will take some time and i will learn but it is a speed bump i would like to get past. thank you for the comments.
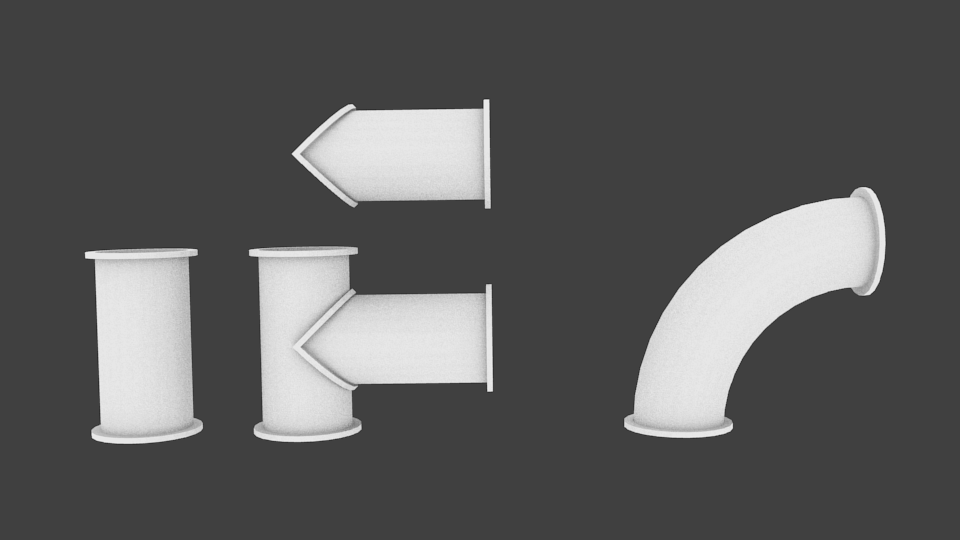
Some more props and kits. All procedural then baked to maps. No textures are final, just to get more of an idea on things.
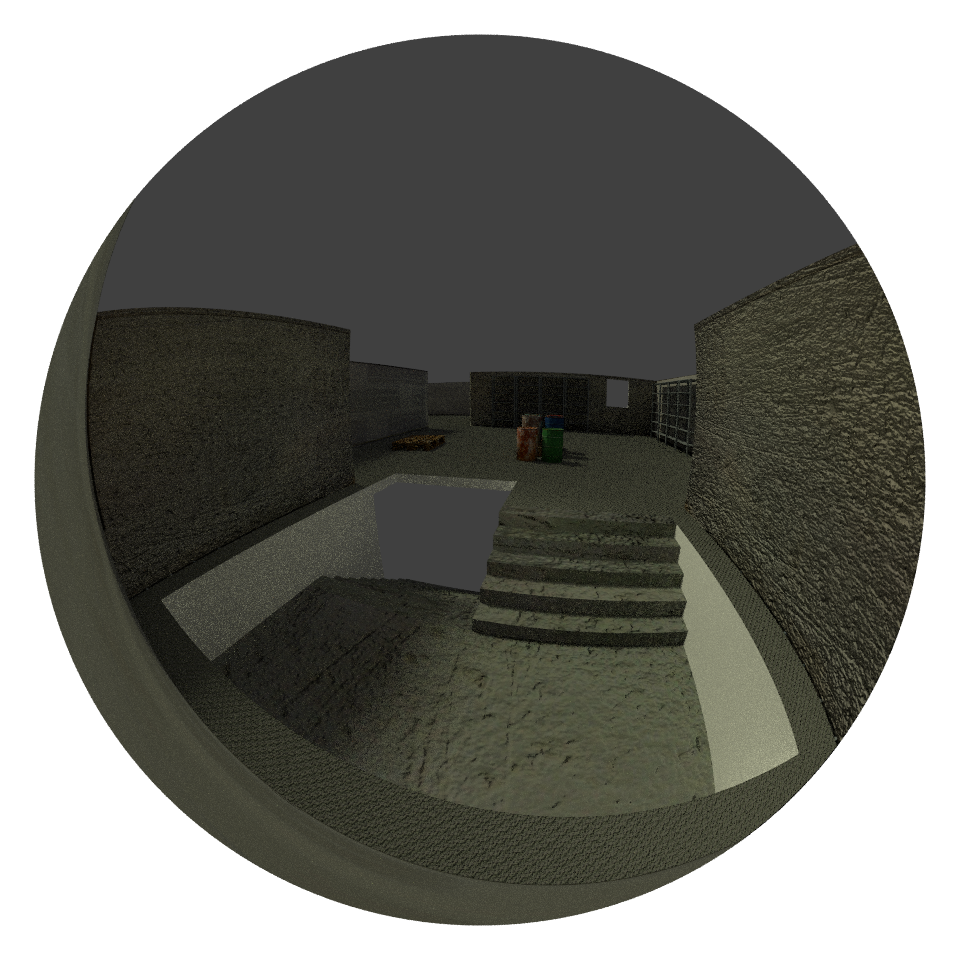
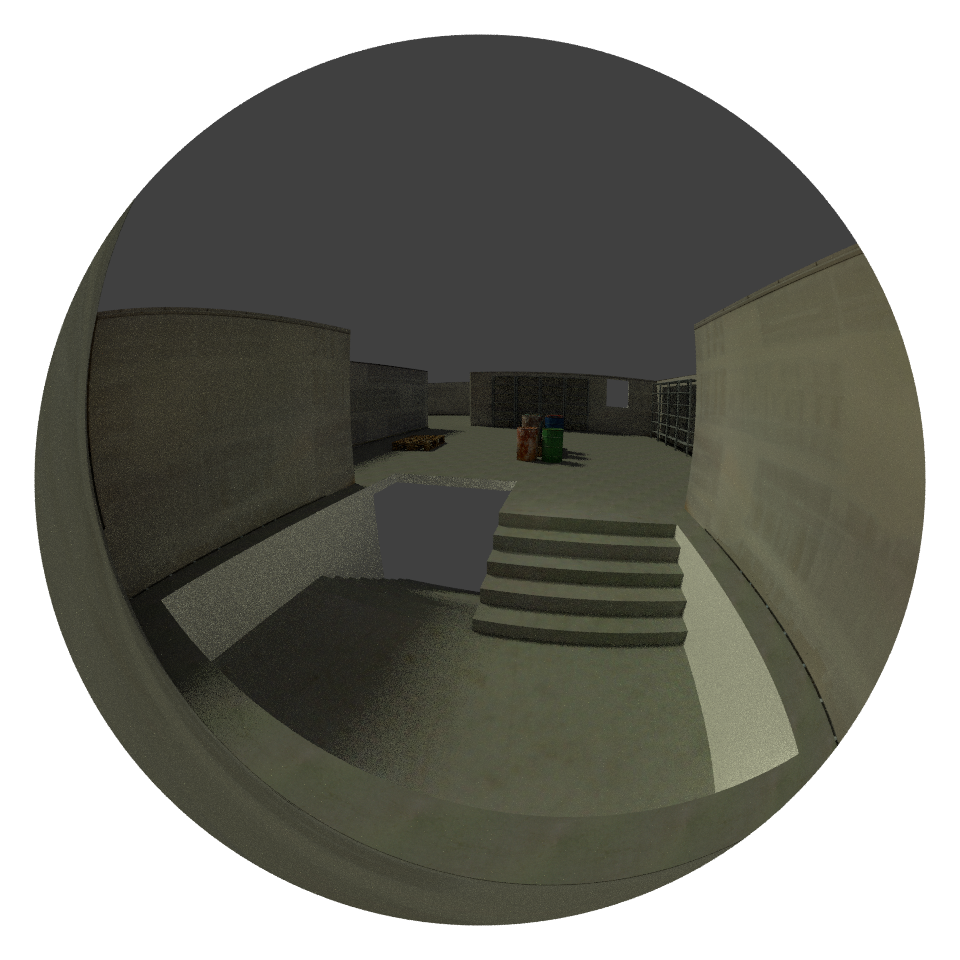
This was supposed to be a construction level of some sorts. first floor as of now is the only thing modeled. Only reason I rendered with a fisheye was to get more detail into this picture. This may or may not get more work done.
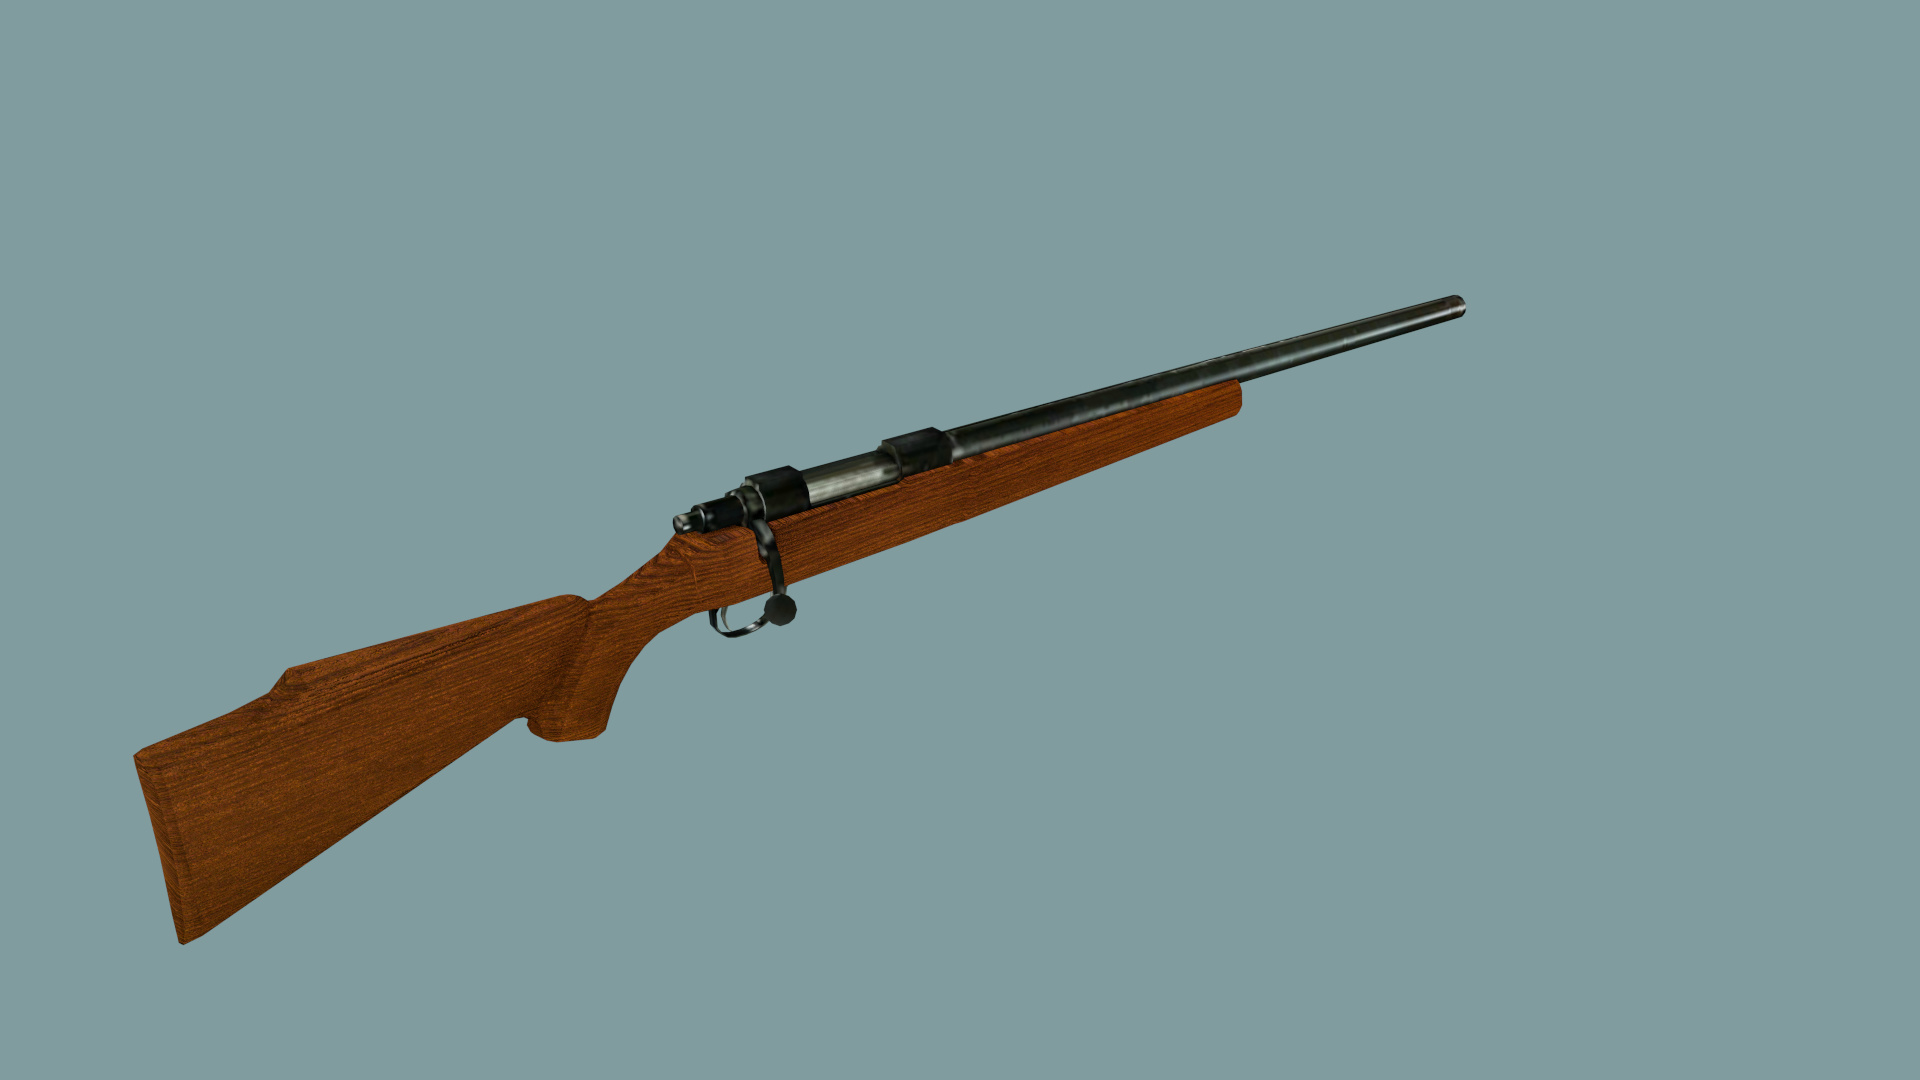
Looks good, should have some more crafts done soon, then it’s back to buildings for the first level.
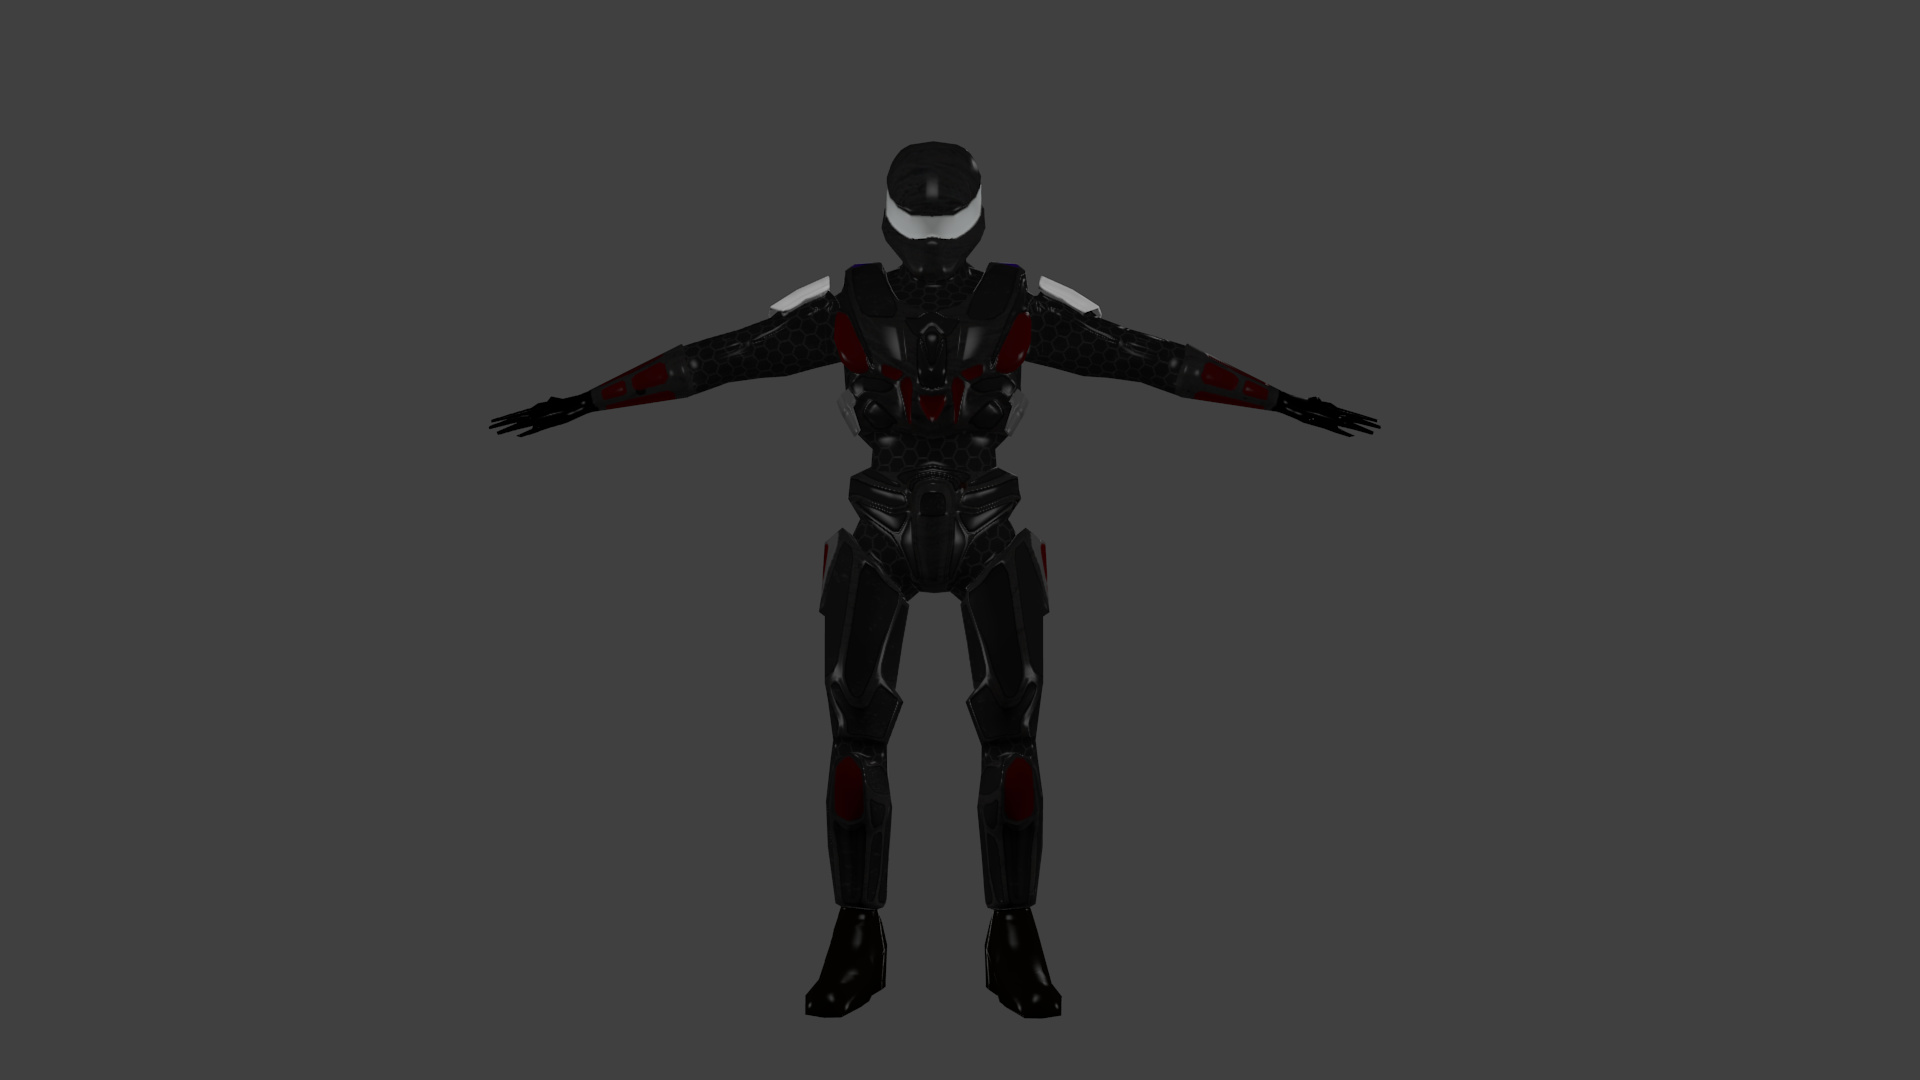
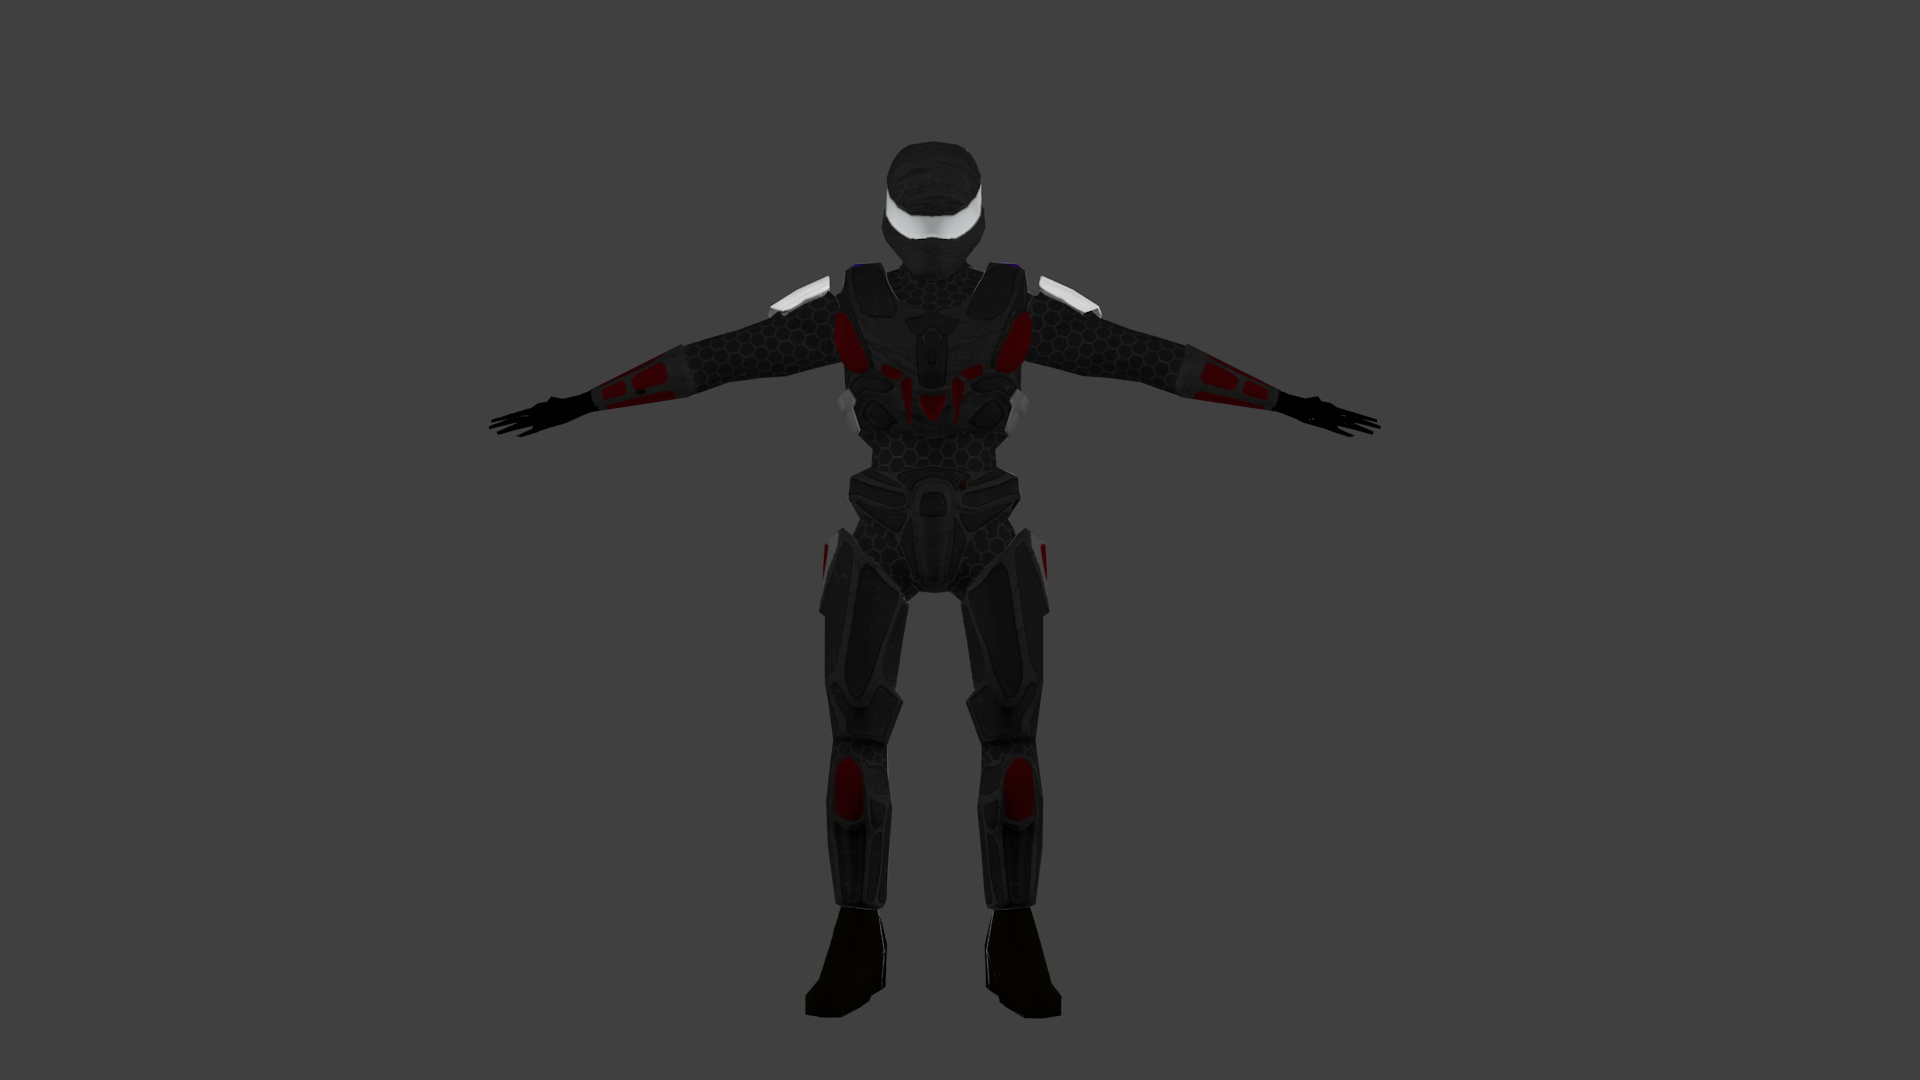
i think i watched way to much GI Joe as a kid it looks as if that’s what has influenced my work  anyhow this texture will be getting an overhaul, but i wanted to show you guys our space marine, some of you guys may have seen this one in another thread but i am updating it here as it will be a game asset.
this one has a texture added to make the surface shiny.
this one is without it
/agree with the GI Joe style. I like it
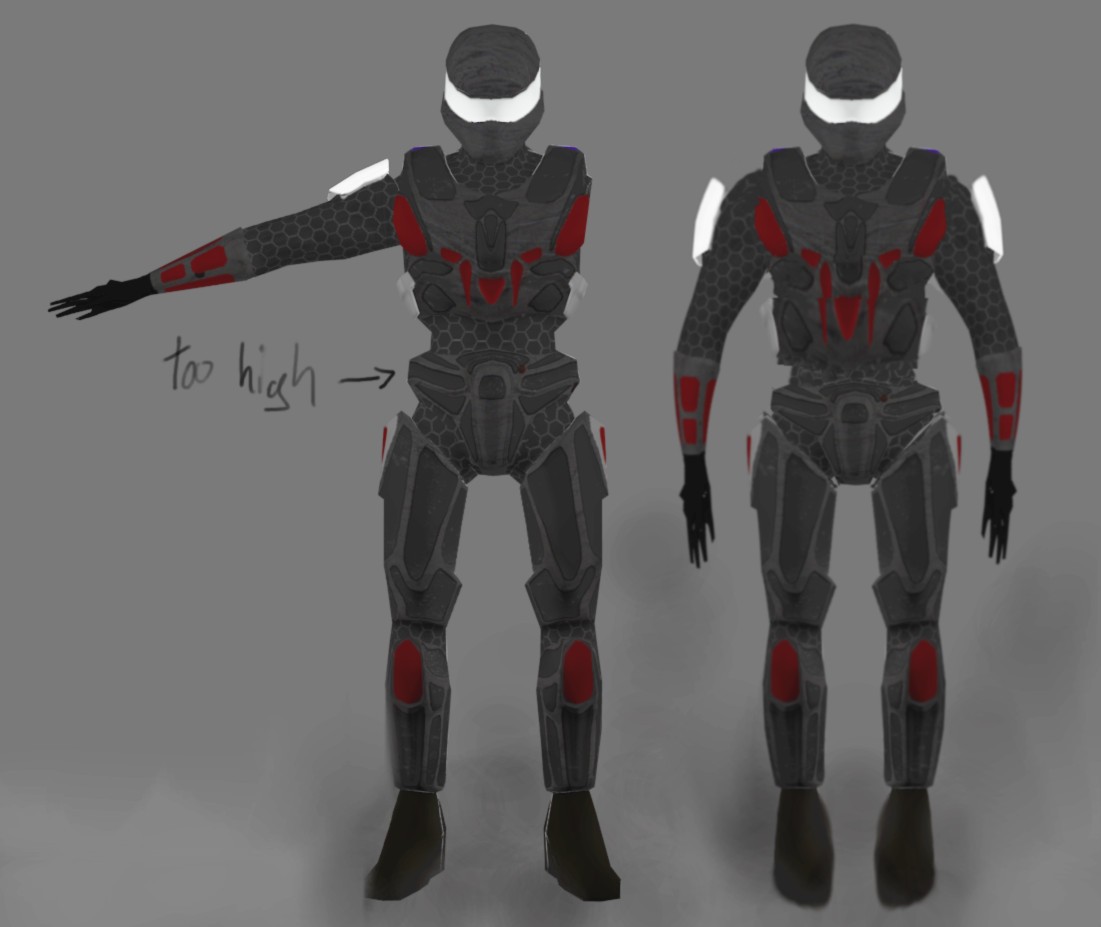
I think the model looks good, except that it seems as if you could drive a tank between the legs.
The relaxed T-Pose looks a bit silly. But maybe you need him this way for it’s most common poses/animations.
It’s not perfect but i reworked a bit the pose and i also suggest to put the belly protective part a bit more down to the hips. (Hands are still a bit to slim totally forgot to shape them hehe)
What do you think?
drive a tank through his legs now that’s funny lol thanks man.
I think your right and it is an easy fix, the problem could have been my reference Sketch was slightly off, the funny thing is you spotted that when my eyes keep being drawn to the size of the boots, I will make the adjustments you have mentioned and redo the texture. my question is do you think this texture style is to dark for a game?
also here is a freebee for you guys here is the Nano Weave texture i made in blender
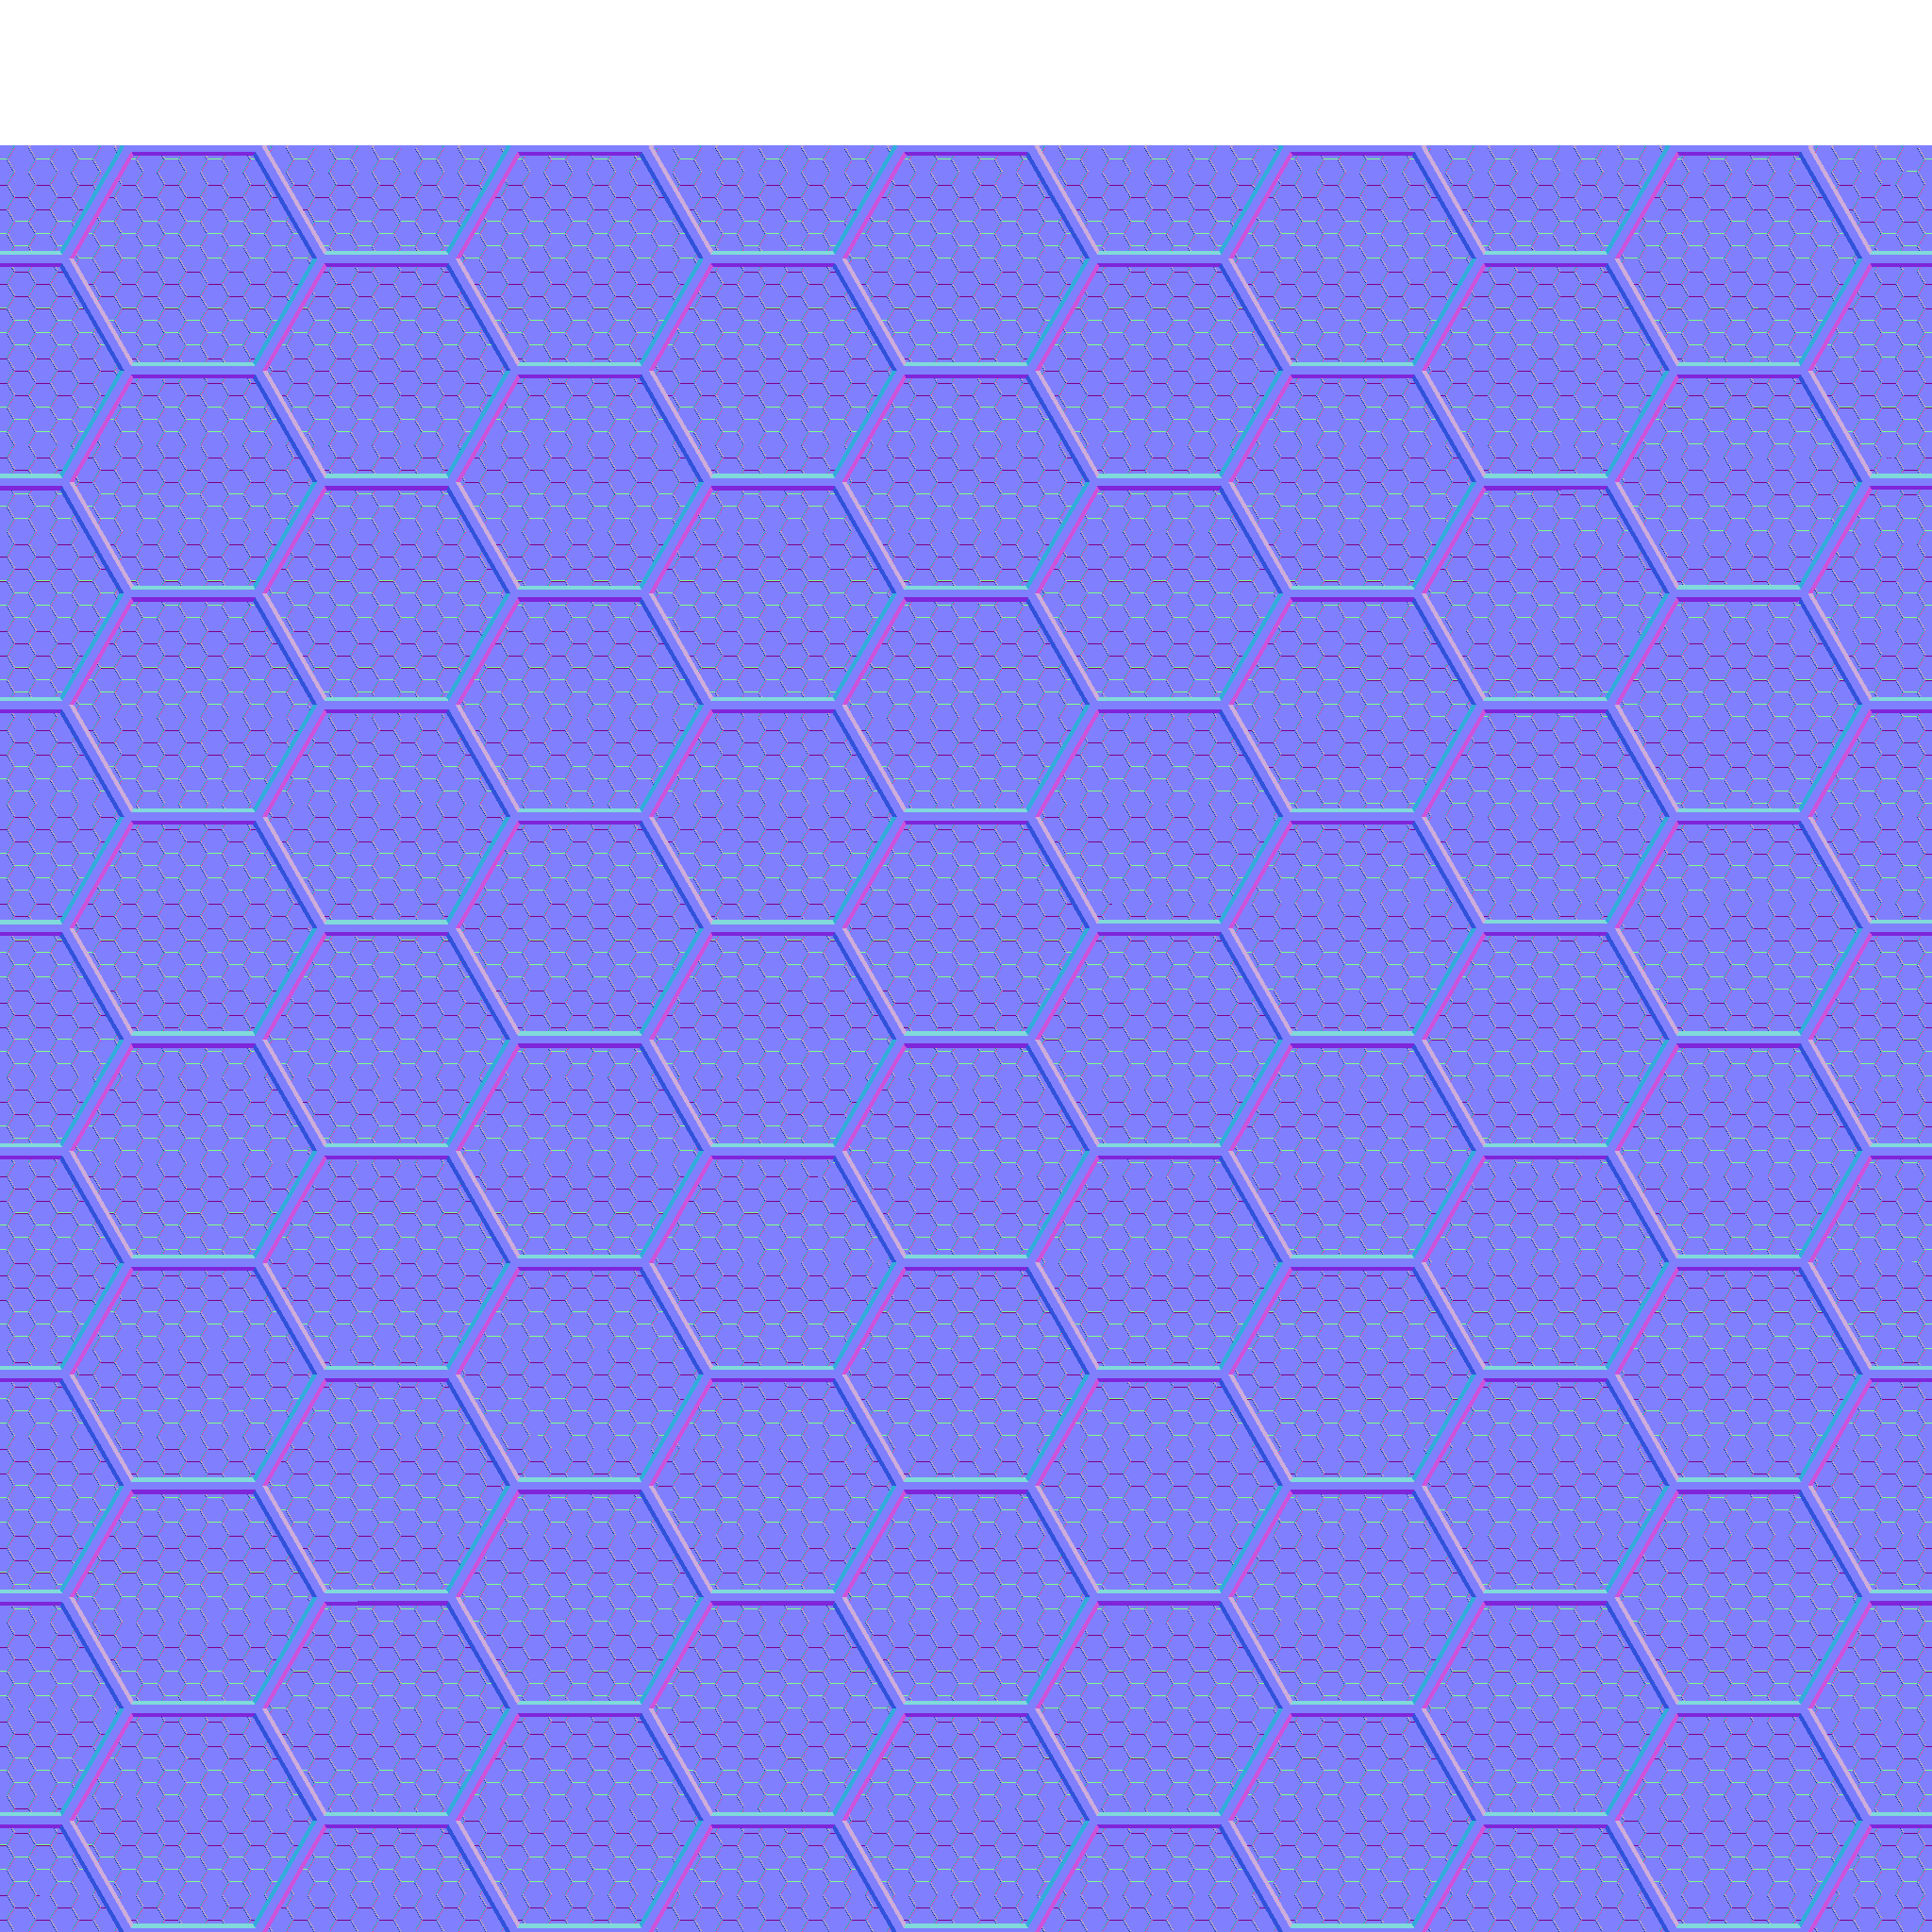
You may need to open this up into your favorite photo editing program to make it fit your needs but this one is for you guys.
Attachments
well Cerfribar edited the Marine but put it back to the original blend what we were seeing was the camera angle throwing of the perspective, also loaded a different reference image to compare, but the size of the boots are still way to big lol.
it was just a suggestion, you dont have to do what others say if you don’t like it :-D.
overall for game characters you should keep in mind that you want to see shadows on the clothes or surface, so you should avoid using a perfect black on textures. just make it a little bit brighter.
The sheos and gloves for example are currently pitch black, so you wont be able to detect any shadows on them, only the specular.
When you are in blender just make the background pitchblack (world settings horizon or a shadless plane behind the character) and take a look of how much you still can see from the shape of your character.
Are you also going to bake the whole character on 1 Texture or how many materials/textures are you going to use for him?
I like the pattern you built there, but as already mentioned the black parts could be a bit brighter. besides that, it looks pretty clean and scifi like
Looking at it i thought your were right and i liked your idea, but it was not the model it was the position of the camera giving off a perspective view, much like the way Hollywood uses camera angles to make Sylvester Stallone look taller then he really is lol, anyhow i take all your tips and incorporate them when needed, you have been a big help in developing my skill and have given spot on advice.
being new to Uv mapping and building textures this is as far as my skills have developed so the model is one single texture, still have to learn multi-texture any tips to help me build some mad skills are always welcome.
i cant give you the ultimate tip. it’s more like learning the complete workflow.
When i do a character my Workflow is like this:
- Use multiple materials with diffrent diffuse Color and Textures to give the model a basic layout.
- Unwrap the complete model and adjust the UV Map until you are using most of the part on it.
- Bake the Texture (so after that all your Materials Diffuse and Textures are baked onto 1 Texture)
- Bake the AO (Ambient Occlusion. World Settings Scroll down to Gather and set it to 16-20)
- Now i take everything to Gimp. The texture as Background and the AO set to multiply.
- Add new Layers for diffrent details and paint them (for example scratches have an own layer)
- From there on it’s just playing around with Layers and add more and more details.
I really use the Bake Option very often. When i setup a Basic layout tigh some Normal Maps, Displacement or Specular Color i also bake those for the basic layout, so i can use them with gimp.
When i sculpted something highpoly and finished the retopology i also bake the AO and Normals to the Lowpoly Mesh.
So in short:
Basic Layout with Materials, Build a Clean UV, Bake, Bake, Bake, Add Details with Any Painting Software :-D.
EDIT
I will add an image soon, to explain it a bit better
(- Use multiple materials with diffrent diffuse Color and Textures to give the model a basic layout.)
this i do, pulled that tip from CGcookie, but am glad to know that it was the right thing to do.
(- Unwrap the complete model and adjust the UV Map until you are using most of the part on it.)
This i do not do, i thought i was supposed to unwrap the low poly model of the High poly model, and then bake the high poly model to the low poly model.
(- Bake the Texture (so after that all your Materials Diffuse and Textures are baked onto 1 Texture)
when I bake the textures I do a normal map, a shadow map, a diffuse map, and a color selection map, dont know how to do this all in one texture.
(- Bake the AO (Ambient Occlusion. World Settings Scroll down to Gather and set it to 16-20)
never have done this and do not know the process for doing it.
(- Now i take everything to Gimp. The texture as Background and the AO set to multiply.)
another step i am not familiar with.
(- Add new Layers for diffrent details and paint them (for example scratches have an own layer)
this i do do except i had no idea to give scratches their own layer but it does make sense.
(- From there on it’s just playing around with Layers and add more and more details.)
yea i can never stop messing with my textures just cant get happy with them.