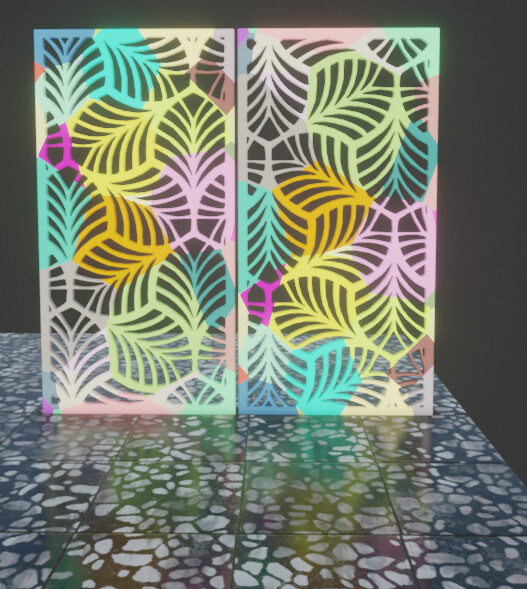
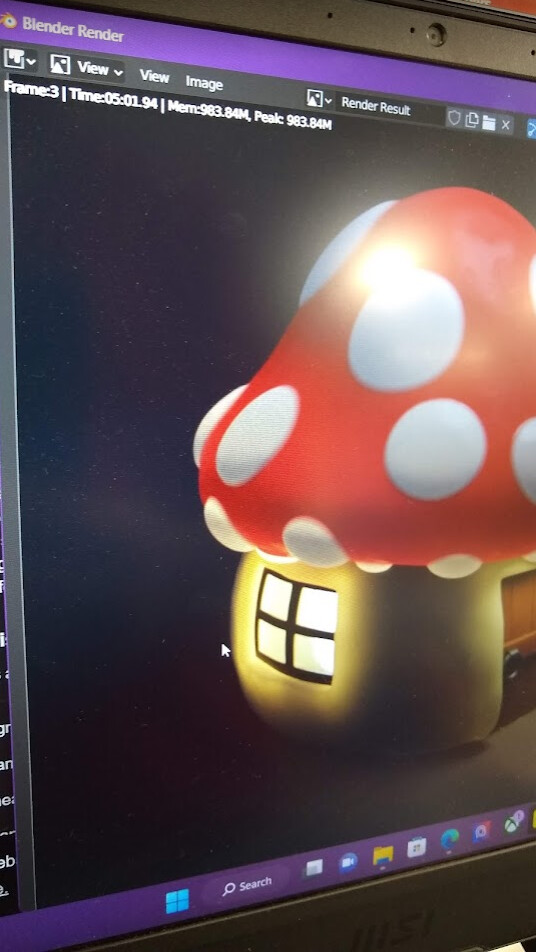
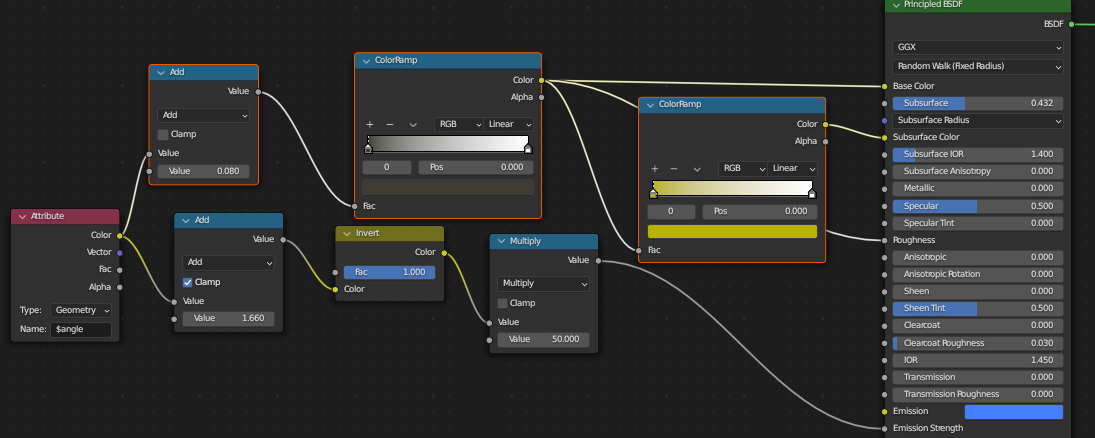
A free model I downloaded had this image as the emission color

emission shader strength was like 85 I think
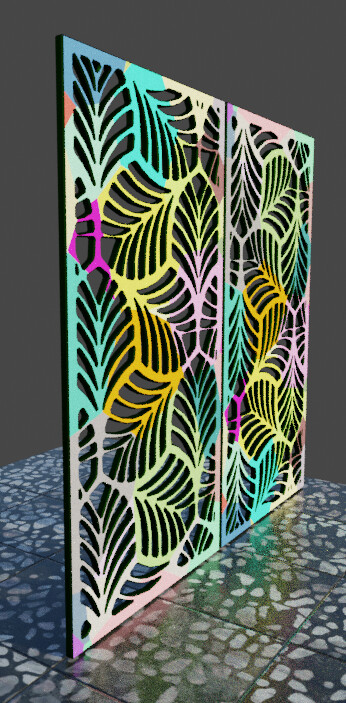
A free model I downloaded had this image as the emission color

This is the kind of thing I really want to be practicing but it’s just so hard. Quite some time ago I finally made a workspace that helped me have less visual confusion when trying to model (TODO find link and insert here) and after a solid 2 weeks of trying to model and not creating a single thing that was worth saving or even worth taking a screenshot of, I haven’t touched this kind of thing since. I think the only real modeling from scratch I did was the doorway-like thing at the bottom of the windmill in the isometric navigation illustration scene. That little stupid door was so damned hard to make.
Oh, that and the rear land with the farmland stripes that I wanted to try to put hiils on. Subdivs was a pain on even that simple thing. Actually the real source of pain was the shrinkwrap modifier used to stick the road to the terrain. Perhaps using raycast in geometry nodes would work better.
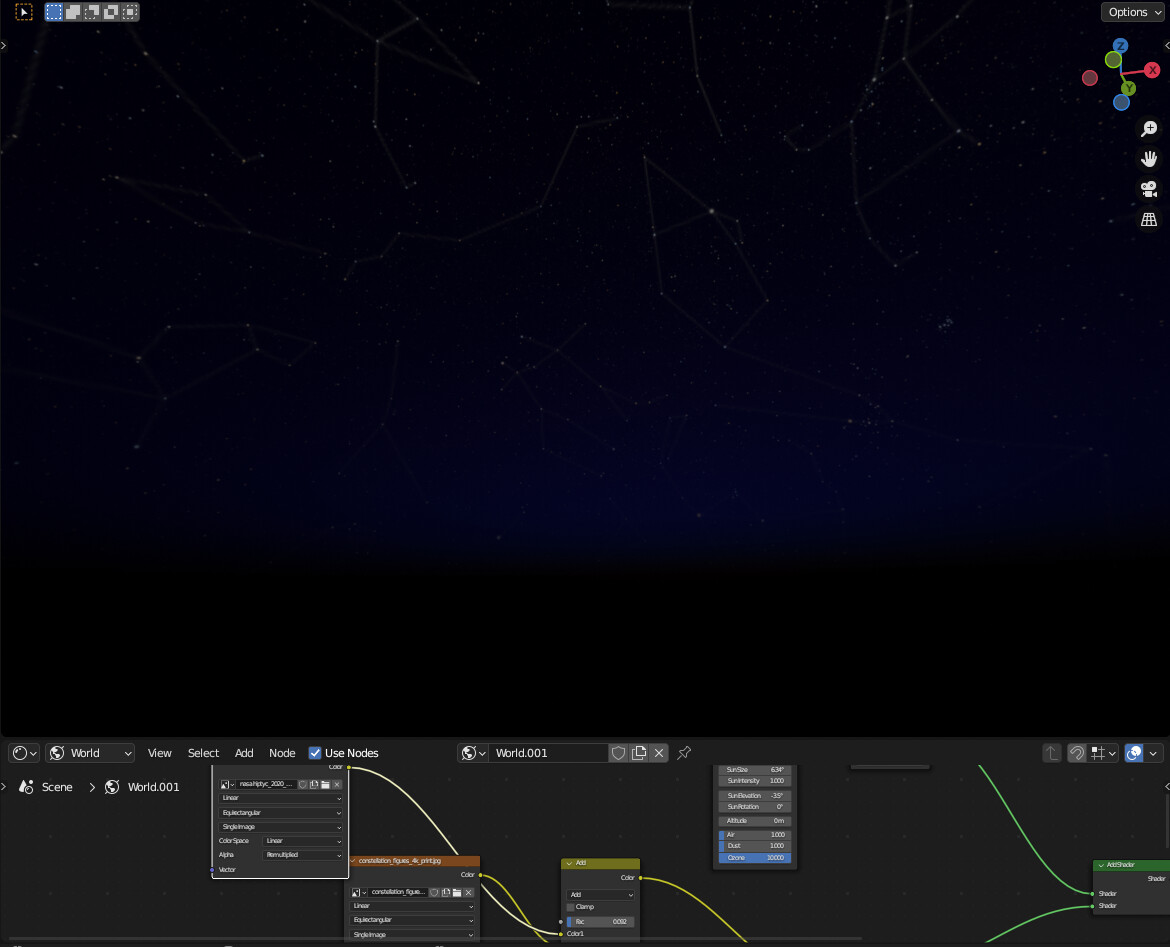
Multiple Importance Sampling means rays will be shot from the camera straight to the light sources before anything else. Less relying on random bounces hitting a light. This is why portal lights are a thing. There needs to be an object with multiple importance sampling for the camera to shoot at. Using Multiple Importance Sampling on the world shader preprocesses the image to find the brightest spots on the image and the camera will shoot rays at that spot. I guess there is no way to have rays shot directly through windows to hit the bright spots on an HDRI unless a bright spot was lined up with the window and camera so it could be shot.
Tired of trying to test Blender on display laptops at sam’s club without scenes that can be downloaded in a reasonable amount of time.
Need to optimize some of my own scenes and put them on my web server: thinsoldier.com/blender
One of the first blendswap scenes I ever downloaded. Increased it to 8k and 1000 samples.
HP 1650 51m 22s
MSI 3060 12m 45s
Lenovo 3070 10m 04s
The procedural wood material murders eevee on my HP laptop. The whole UI less responsive while eevee is active.
HP 1650: 6m 36s at 100%
MSI 3060: 2m 25s at 100%
Lenovo 3070: 2m 04s at 100%
The wood texture still murders eevee on the 3060 and 3070
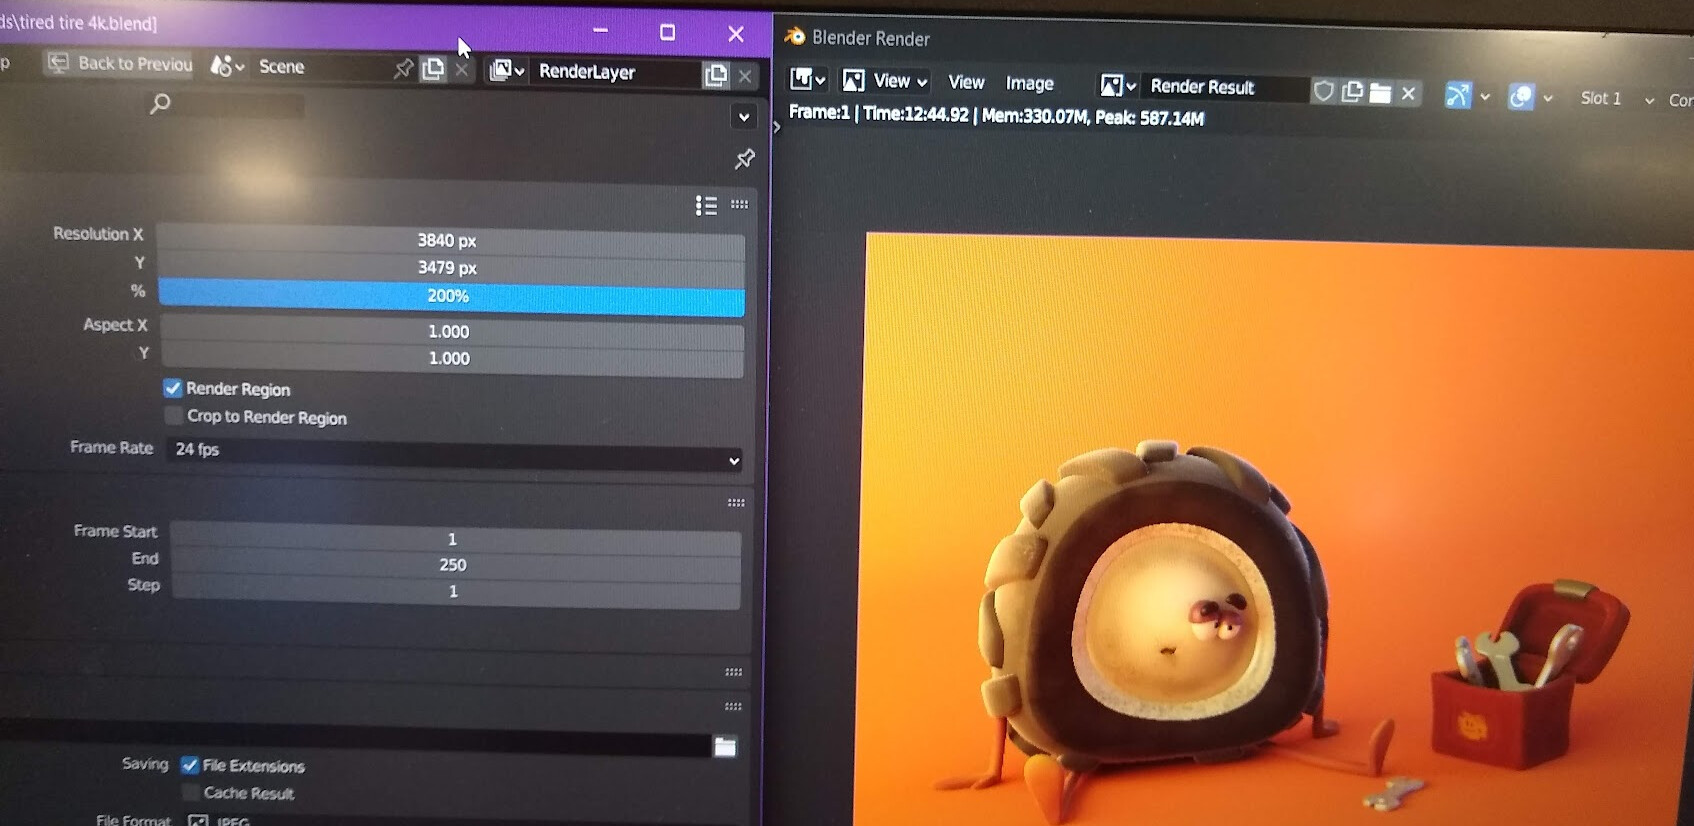
Has lots of subsurface scattering and some adaptive subdivision displacement.
HP 1650: ??
MSI 3060: 5m 02s
Lenovo 3070: 4m xxs
Decimated the water splash object and embedded the HDRI and textures.
Takes 30m08s to render at 150% on my HP laptop (without the splashes).
– problem, the HP 1650 renders included the VDB cloud but the other did not –
HP 1650: 36m17s with splashes & WITH VDB.
MSI 3060: 4min 07sec with splashes, without VDB
Lenovo 3070: 3m 20s with splashes, without VDB
I remember doing test renders as I fine tuned materials, lighting, and particles was a snore-fest because of the ice taking forever. On the display laptop the viewport was pleasantly interactive even when denoising at the first sample with OIDN + normals + accurate
HP 1650: 43 minutes 39 seconds
MSI 3060: 12 minutes 57 seconds
Lenovo 3070: 1 minute 46 seconds …?
That can’t be right. I need to double check the render settings used on the other 2 laptops.
TEST:
Download this file, open it, change nothing, render it: http://thinsoldier.com/blender/done/Restaurant%20%20open10.B.01%20-%20libs%20packed.blend
RESULTS:
HP 1650: estimated: 12m 09s
Lenovo 3070: 1m 39s
It took about 40 seconds for eevee to compile all the materials on the first 2 machines. The 3070 took 30 seconds.
My Laptop: slow solid viewport and slow cycles viewport - very very unpleasant
Display Laptop: pleasant
…
My Laptop: 8 - 20 seconds per frame. Can’t render more than 25 frames without crashes.
Display Laptop:
9000 samples is not enough to resolve the bokeh
My Laptop: 11m 38s
HP 1650: Eevee struggles and Cycles fails to use the 3 8k images in the world shader.
Lenovo 3070:
viewport renders take annoyingly long even with 90% of the grass invisible, even with all fog removed.
HP 1650:
MSI 3060: 25m approx
Lenovo 3070: 19m approx
2021 / blendswap contemp bathroom
2021 / blendswap country kitchen
2021 / blendswap ???
2021 GeoNo reusable stacks of paper
tut chong3d hologram earth had bad viewport performance back then
tut default cube christmast wreath geono - slow viewport and slow render
!! several 2021 tuts need fixing in latest blender
Finally investigating files that I downloaded 3 or 4 years ago (holy hell, has it been that long?).
Cup by vdopower1.blend

The original scene was bloody massive.
Disabled volume shader in world.
Parented everything to a cube and scaled down until the tea cup was about 4 inches tall.
Adjusted camera depth of field distance.
Disabled original lights and added nishita sky.
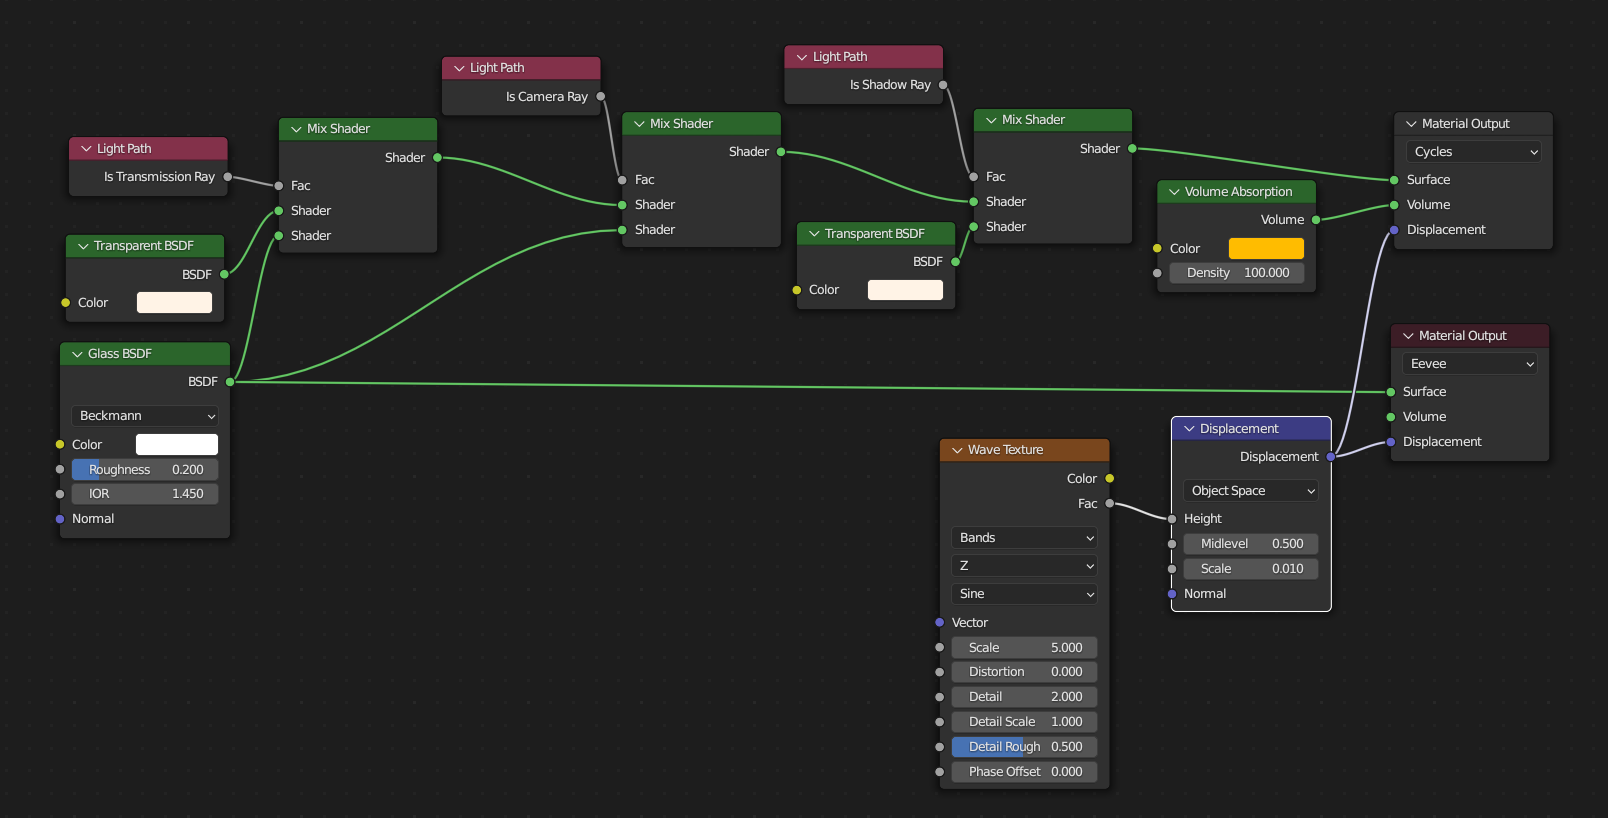
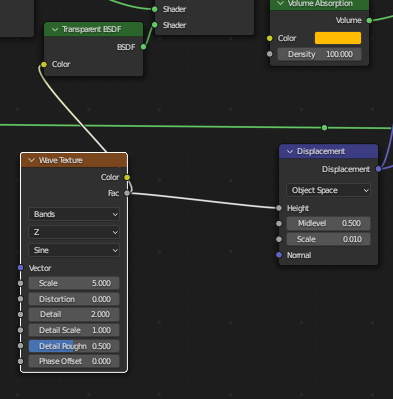
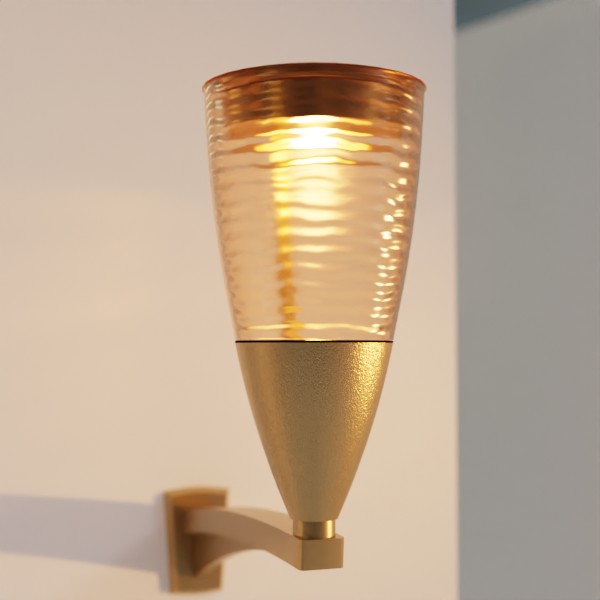
The fake glass material is very interesting.
Added solidify to the walls to avoid light leak that was caused by geometry displacement in shader.
Even without geometry displacement, the bump map node seems to also cause the same problem and is also fixed with solidify.
The “Bricks.002” material is absolutely bonkers in complexity.
Added the same mapping node to “Bricks” to get the same scale.
Added fog volume around focal area of the shot.
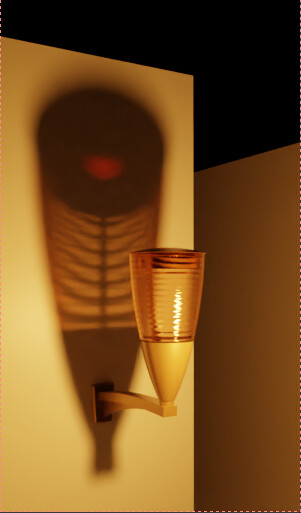
Put a hole in the side wall to get more light on the cup.
The sun angle I chose does not really produce anything worthwhile with the fog volume so I disabled it.
Increased ozone and elevation of nishita sky to get more blue like in the original fiie.
Added A19 light to lamp.
Added 5 A19 lights to ceiling.

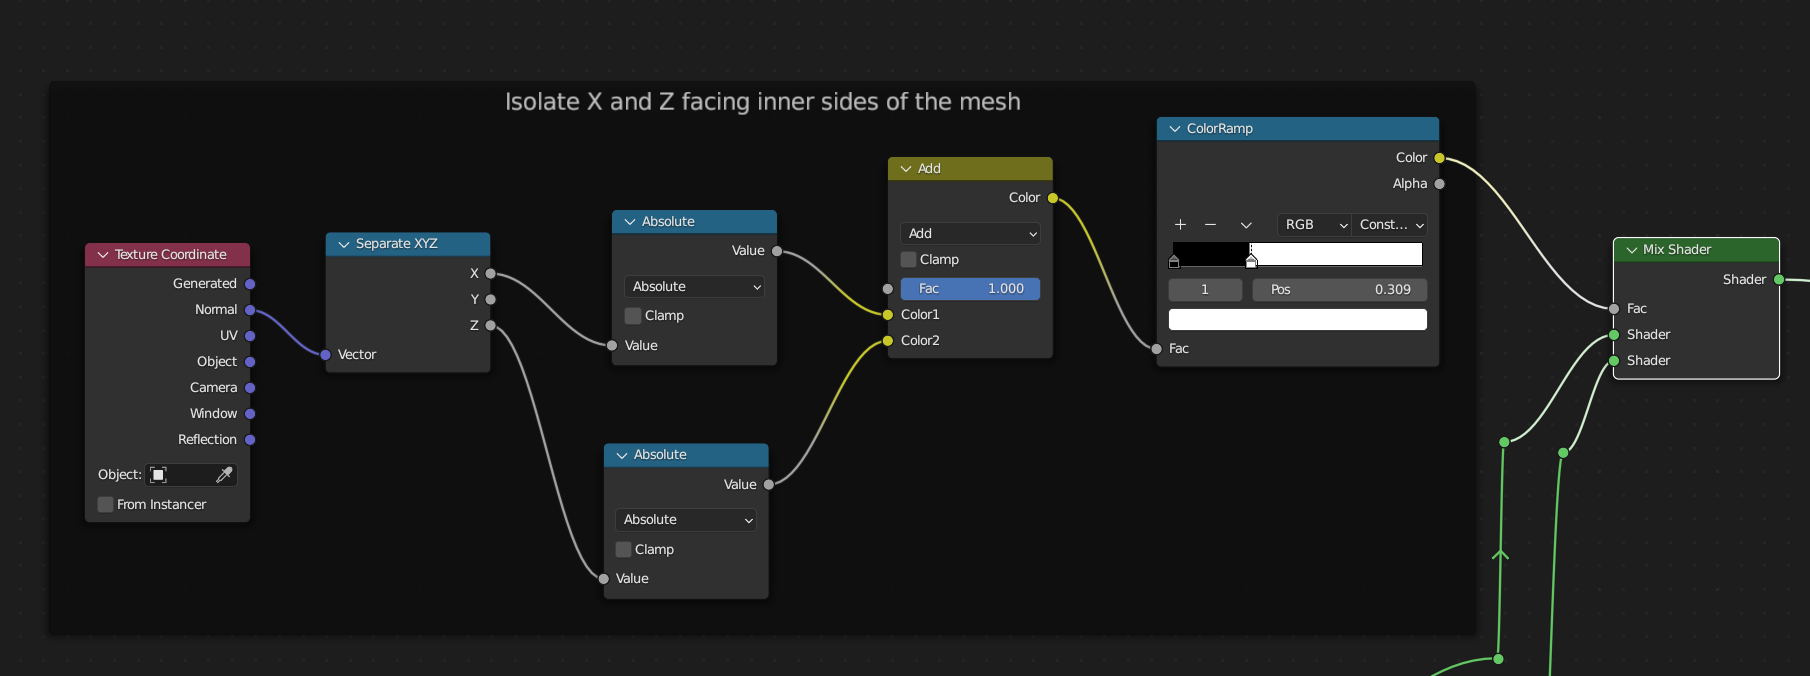
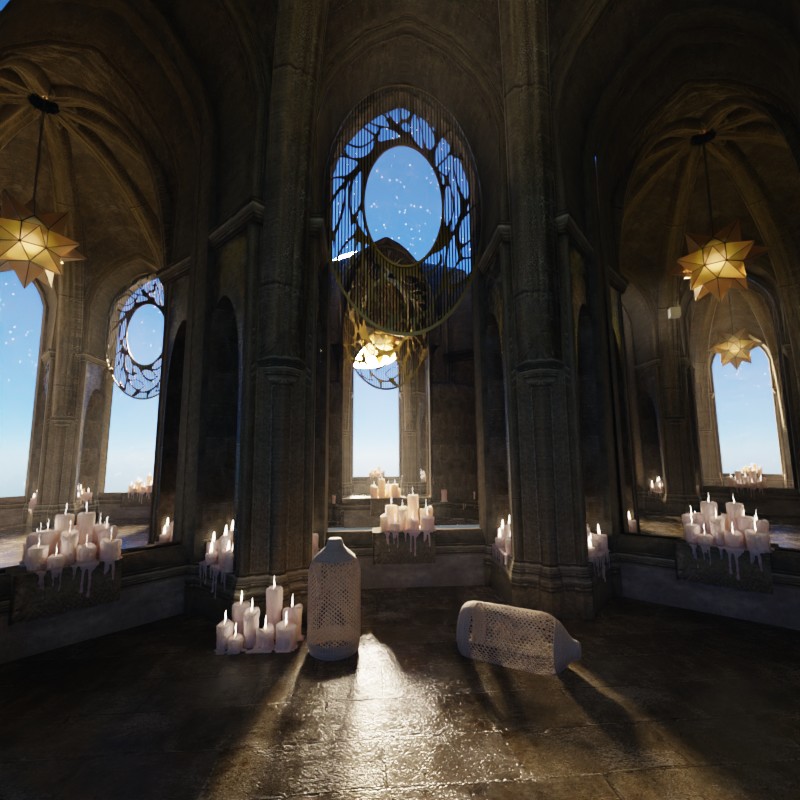
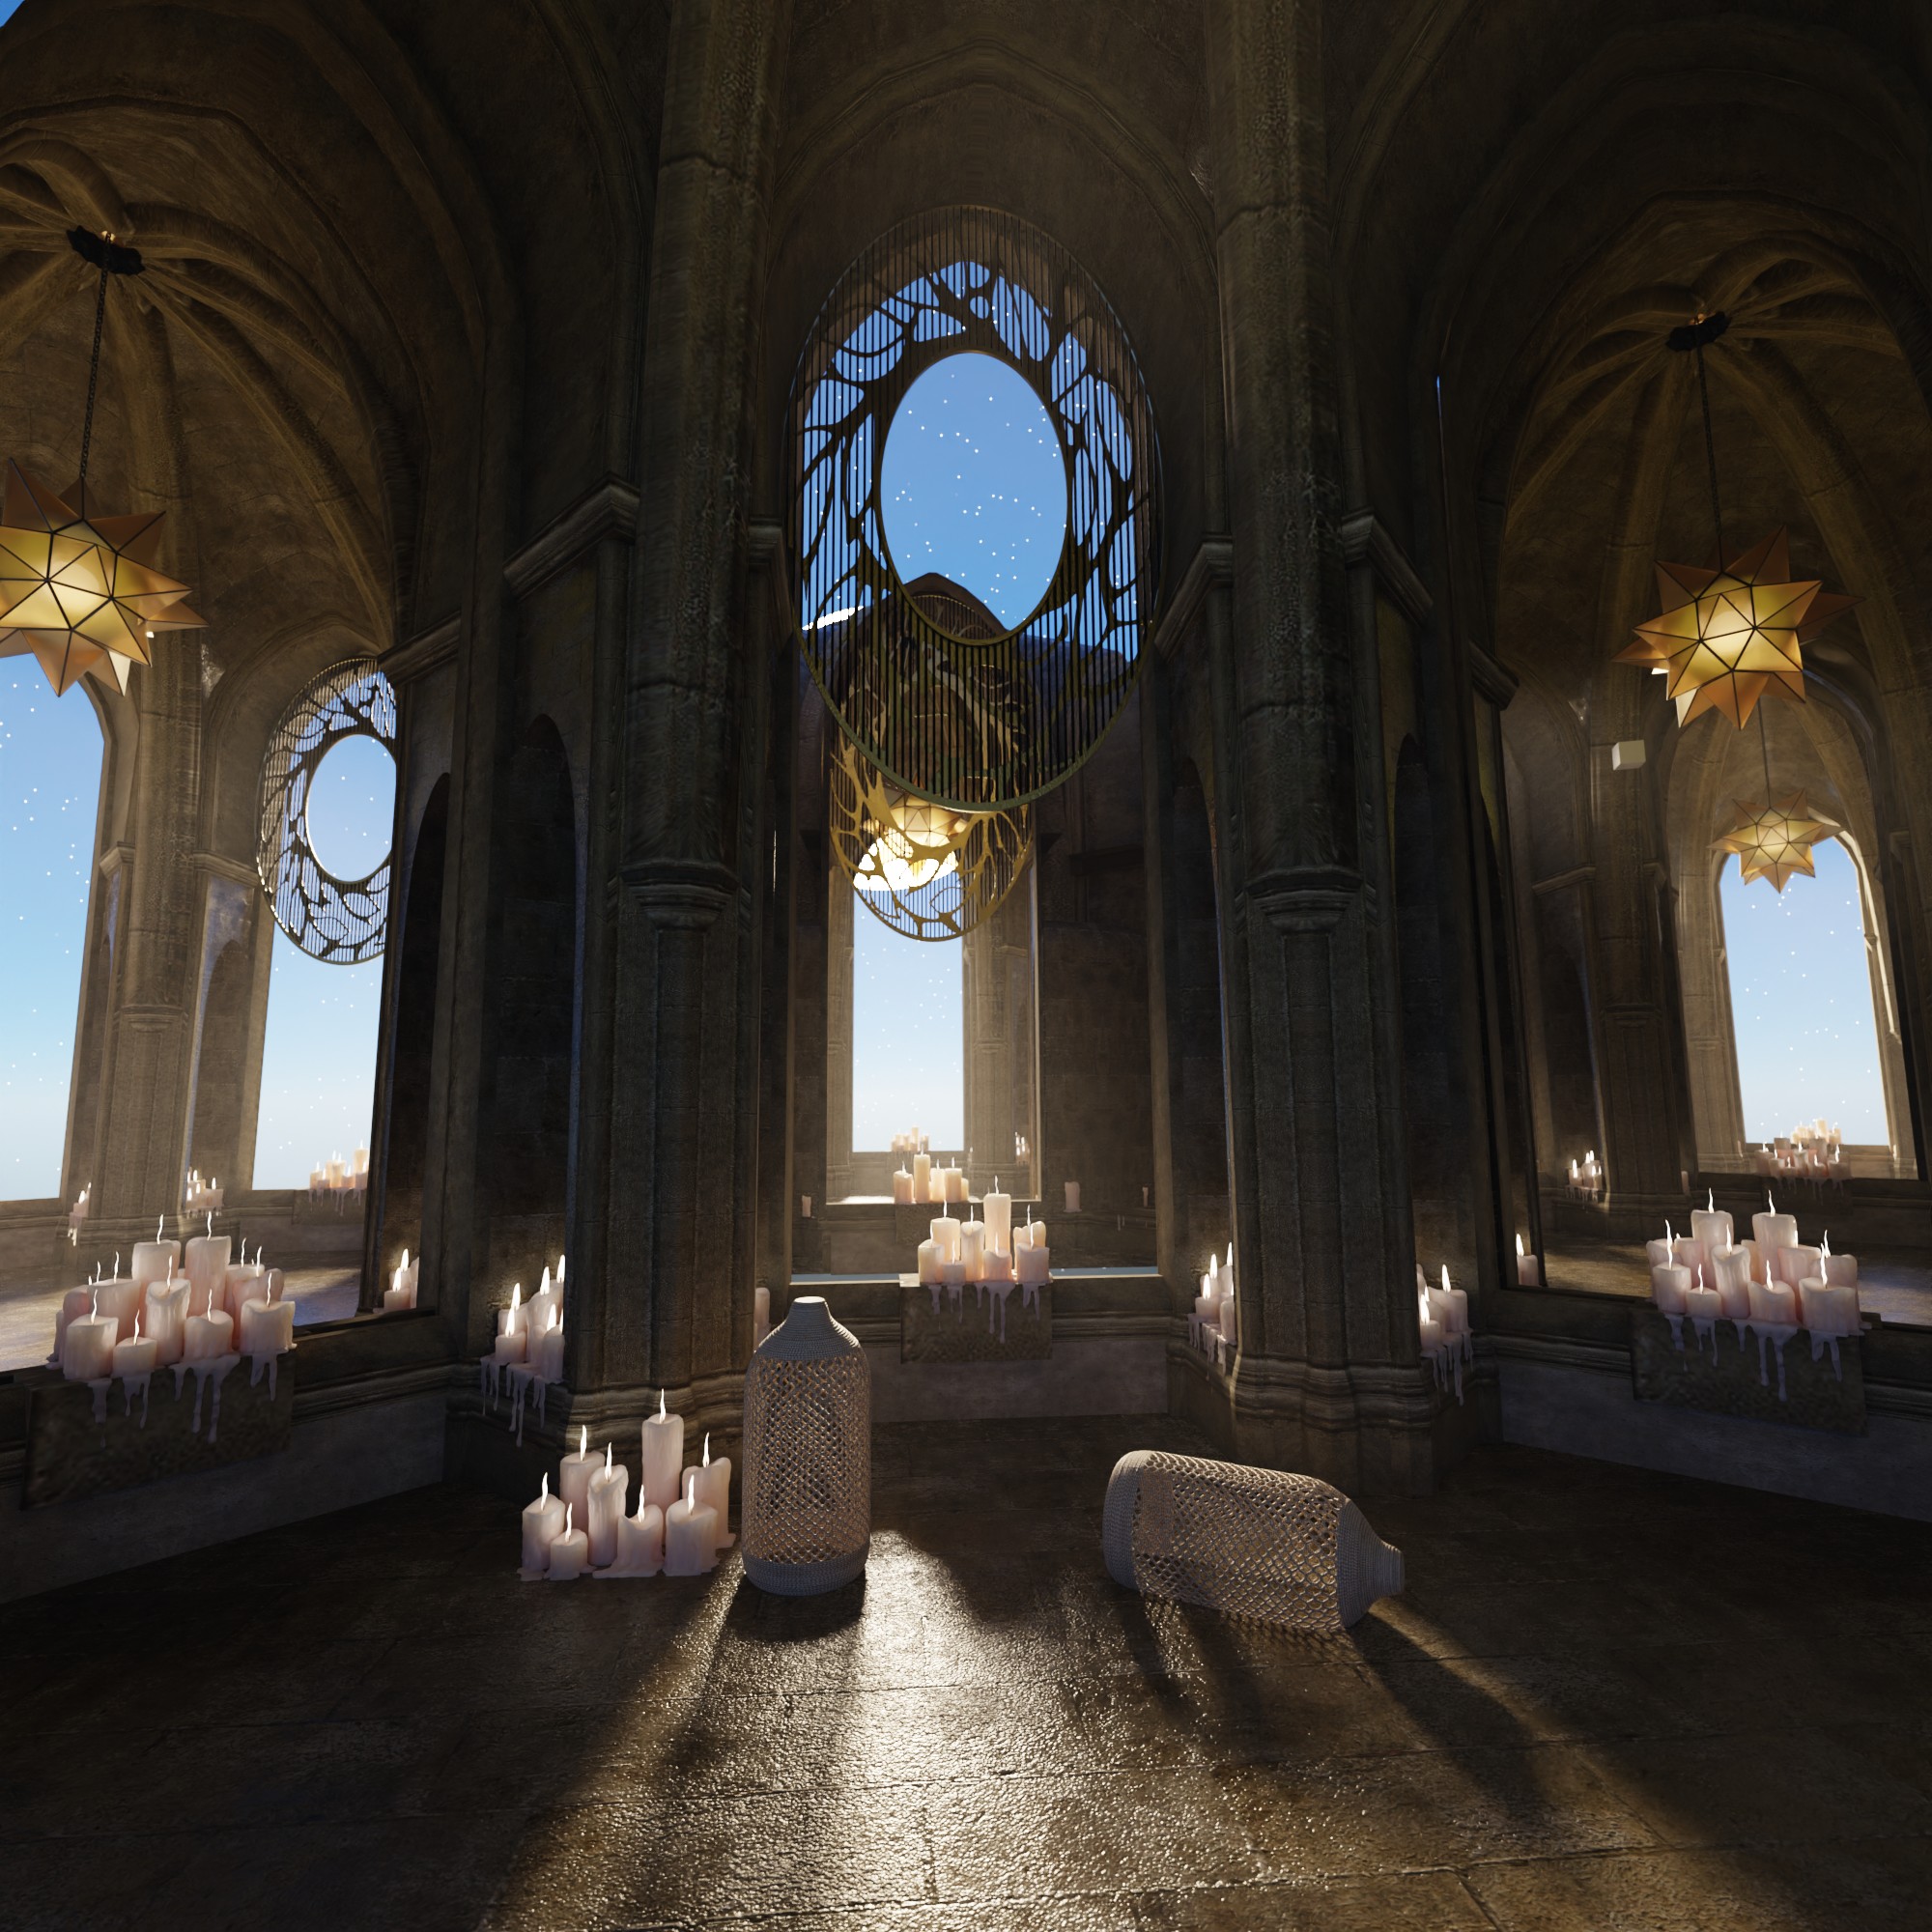
clean up a few hundred more triangles and I might be able to put some bevels on these columns.
If I add a single point light within a glass sphere, the lighting goes to hell.
300% render test on a display laptop in Sam’s Club: 16min 20sec
150% render test on a display laptop in Sam’s Club: 4min 07sec
The 150% render on my laptop takes 36min 17sec


