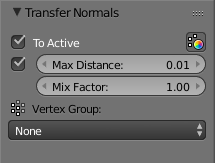
After finding out how to transfer normals to another object I created my first Blender add-on which makes this an easy feat. The add-on provides the ability to Transfer Normals between objects in Object Mode using Alt+N and Shift+Alt+N. Optionally vertex colours can be transferred as well.
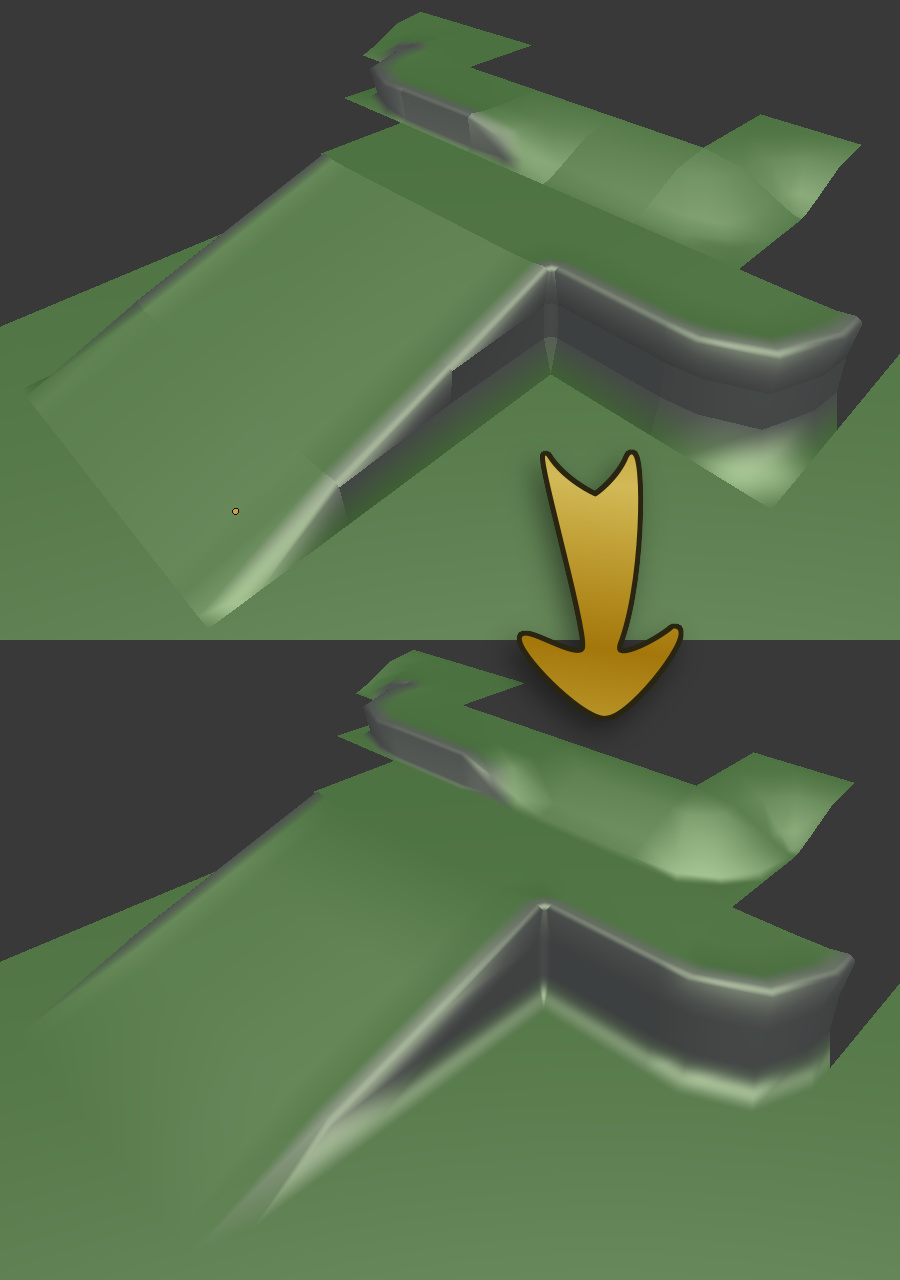
The add-on allows you to (more easily) make separate objects connect seamlessly without joining them, which can be useful when creating elements for your game worlds.
Hotkey
Operation
Alt+N
Transfer normals from selection to active object
Shift+Alt+N
Transfer normals from active object to all other selected objects
I created a repository on GitLab for this add-on so I can more easily update it while implementing the points on the to-do list as well as to allow for forks and pull requests.
Hey @kabu! I’d noticed your avatar in a cloth modelling thread yesterday.
Hope you like the add-on. I’m now working on the option to apply normals from the active object to all other selected objects. (edit: done)
And before creating a video I’d like to implement the current points on the to-do list and create some pretty models that really suffer from those seams.
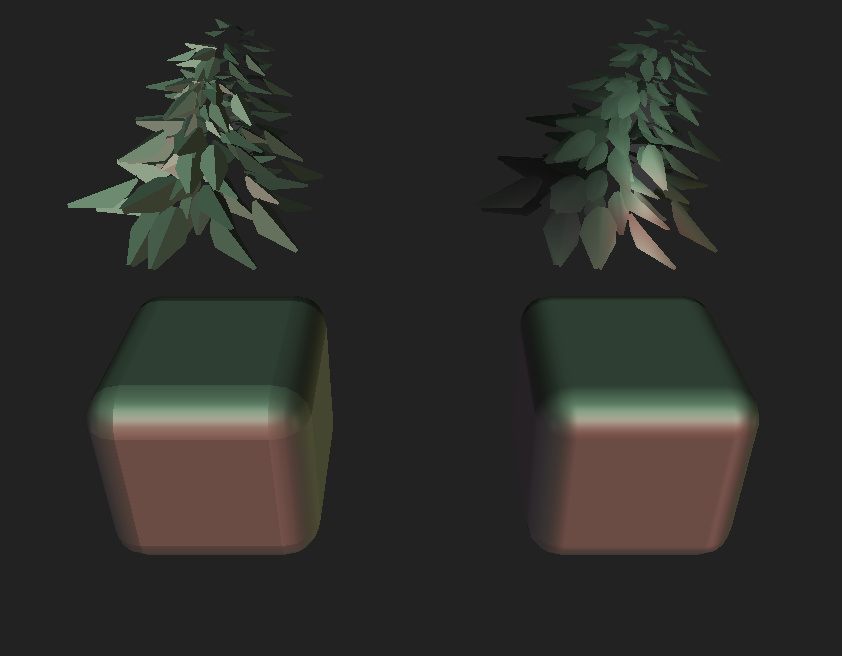
EDIT: For now an image of the test blocks will do.
You can search by Key-Binding under input in the user preferences to find out.
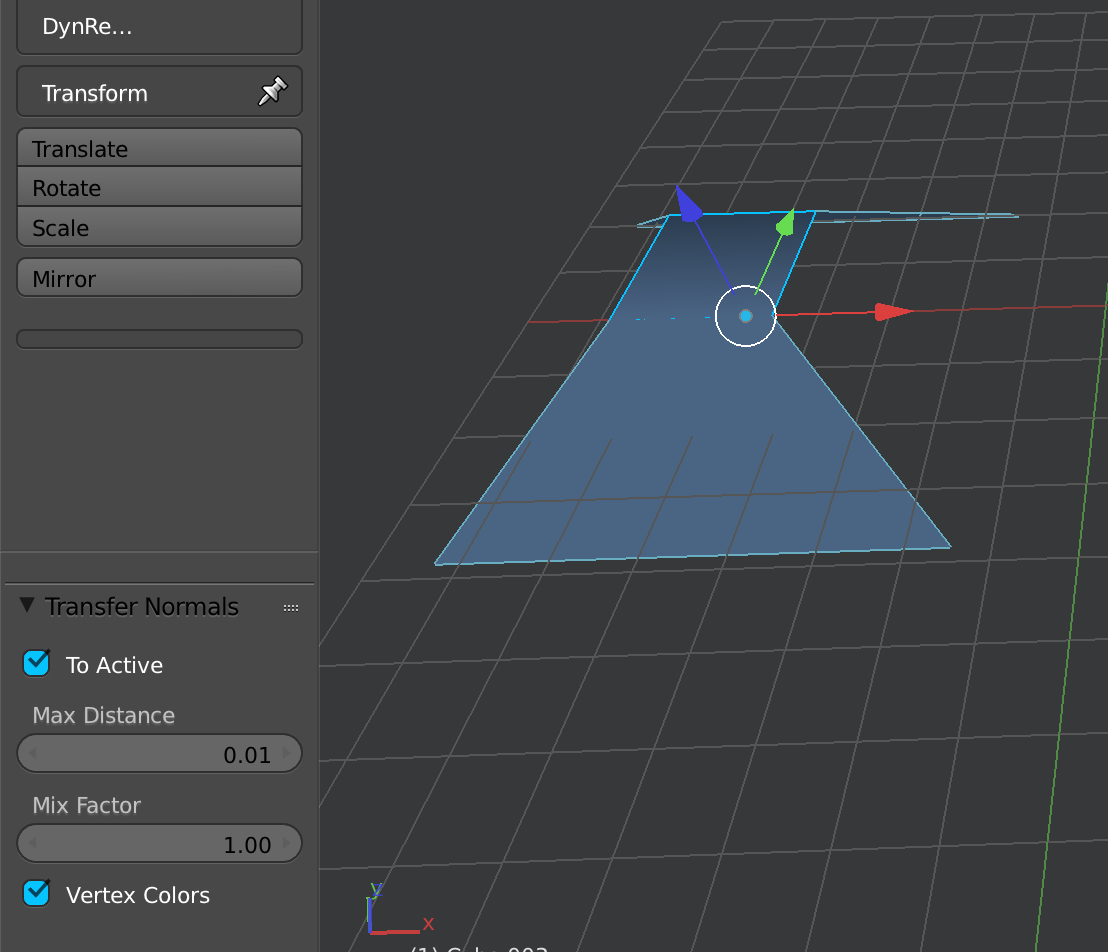
Make sure you are in object mode. Also, is your setup similar to this example? BasicNormalsTransfer.blend (472.4 KB)
I added a button to the Tools panel. The shortcut isn’t showing up there either. Could this be related? Or is something else required for this?
You probably have non-model objects selected (which is no longer a problem), like the camera and light. It currently creates modifiers for these as well, but cannot set the source object. This makes it fail during a later step and leaves a messy modifier stack.
I plan to add a check for this, but until then I will not know how.
Pull requests are welcome.
The add-on now includes an extra operation to clear the custom normals data for the entire selection. By default the hotkey for this is set to Ctrl+Shift+Alt+N.
I have considered relaying the modifiers’ vertex group parameter. But so far the Max Distance parameter works well enough for me. Could you mention example situations where this precision is necessary?
@kabu What do you think of the latest test scene, btw?
In a most general way, in Blender, relying on a key combo setup for the main function is not a good thing imho, because everyone has a different keybindings and keys “real estate”, given the many functions, is scarce.
Normally, I use the Outliner to “select active”. I tried selecting with B but I don’t know how to “select active” that way. If I click on an item, just one part of it gets selected.
You can have a single object with Ctrl-J join all of them in a single one.
The scene is nice. Using trees as a classic test case for normals is a good idea.