This is more for intermediate users, I expect that you already know how to uv map, but are curious to know about a few tools you might not have heard of or a few time saving workflows.
Useful plugins
I used to think blender’s uv toolset couldn’t or didn’t need to get any better. Then I saw this video. - Warmaster Horus
-
UV Packmaster 2 Pro ($), I pack my UVs by hand but from the results seen, this script is as good if not better.
-
Tex Tools, absolutely essential.
-
UV Squares ($ but not really it’s on github), not “essential” but it’s a nice time saver.
Useful Tutorials
Scarred,afraid, the flatten mapping button is in a different shape in this non blender tutorial so abstain from it I shall - blenderwarrior420
Chamferzone’s “Unwrap special” & his Machette asset creation tutorial, which is a 100% free from start to finish by the way. He uses max but if you’re comfortable with 3d you shouldn’t have a problem figuring out what the blender equivalents are.
Polycount wiki this page in particular.
CGBoost’s 20 UV Tips & Tricks
Unique Tips I’ve picked up along the way
I’ve run out of fake quotes to create so I’ll stop now - fdfxd
Tip - 1, The pin tools exist for a reason.
shocking I know.
But say you’ve got to unwrap something like this pistol grip (the same pistol grip of the amazing oscar nominated krinkov aks 74u you can get it’s autograph here!!! )
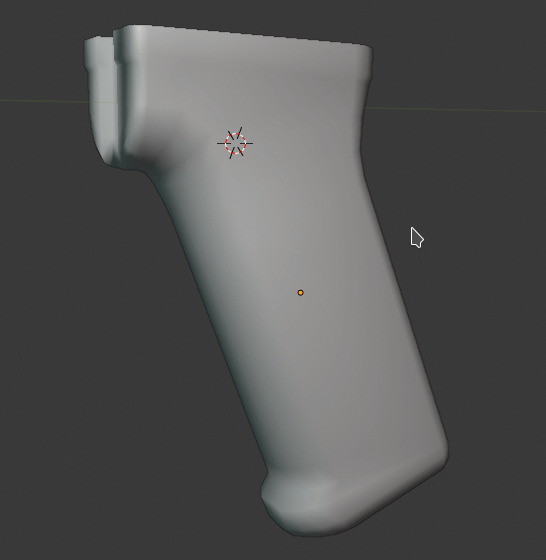
So you place your seams, as you would.
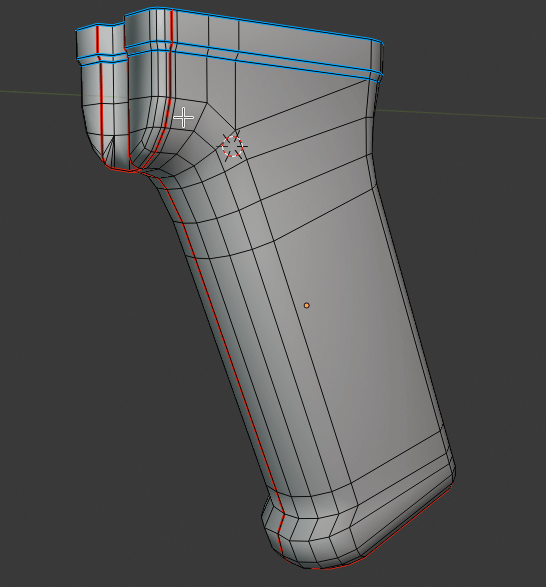
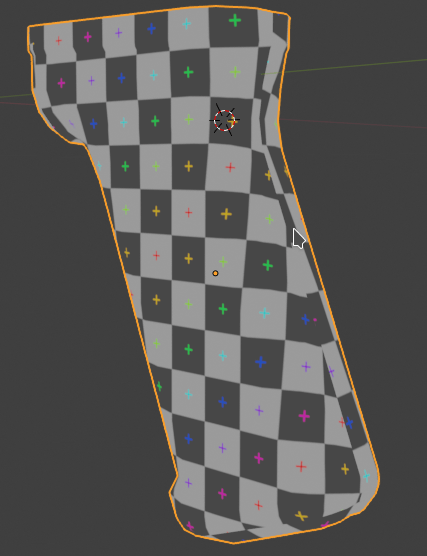
Then you unwrap only to find…
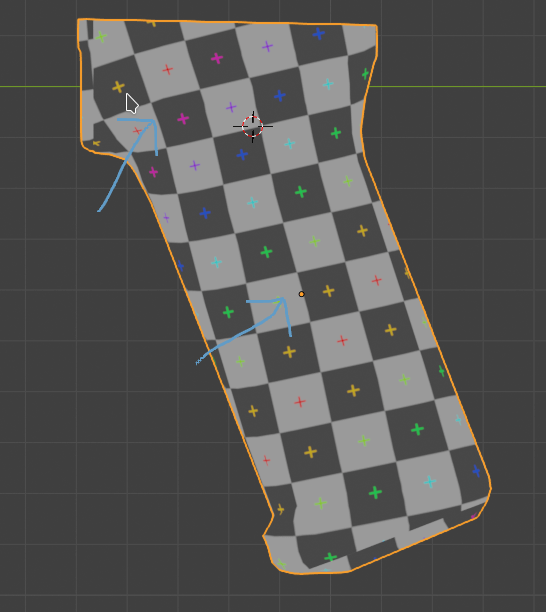
Distortion! Might not seem like much but it will(and has) show if you say… slap a diamond pattern texture on this grip, like i was planning to do.
So what to do now? Go on BA forums and complain? Convert to using the tools of the ruinous powers? Not quite yet I have a solution

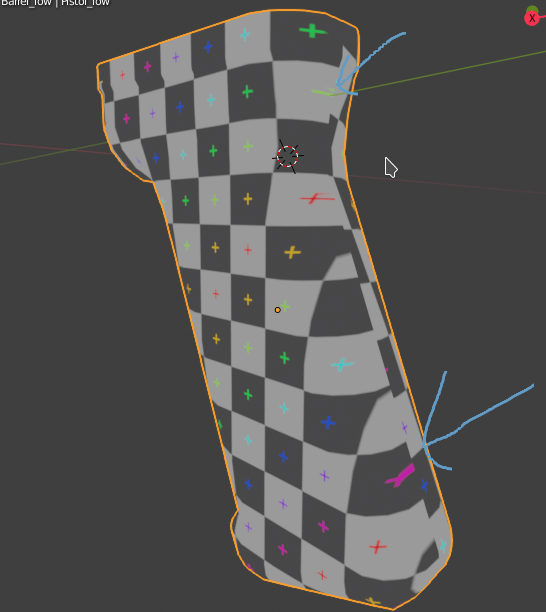
Project from view while having the “view”(camera) be perpendicular to the surface.
We’re not done yet, this causes another problem
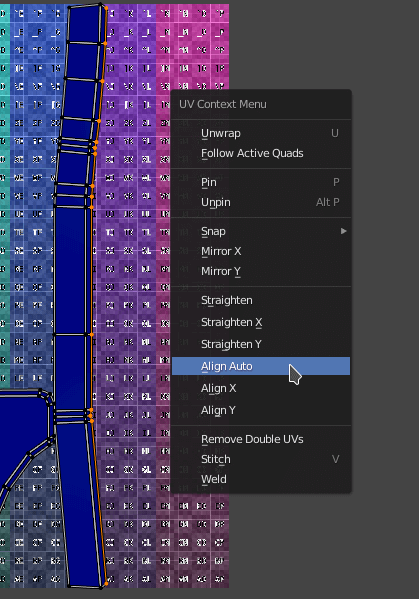
This is where the pinning comes in,
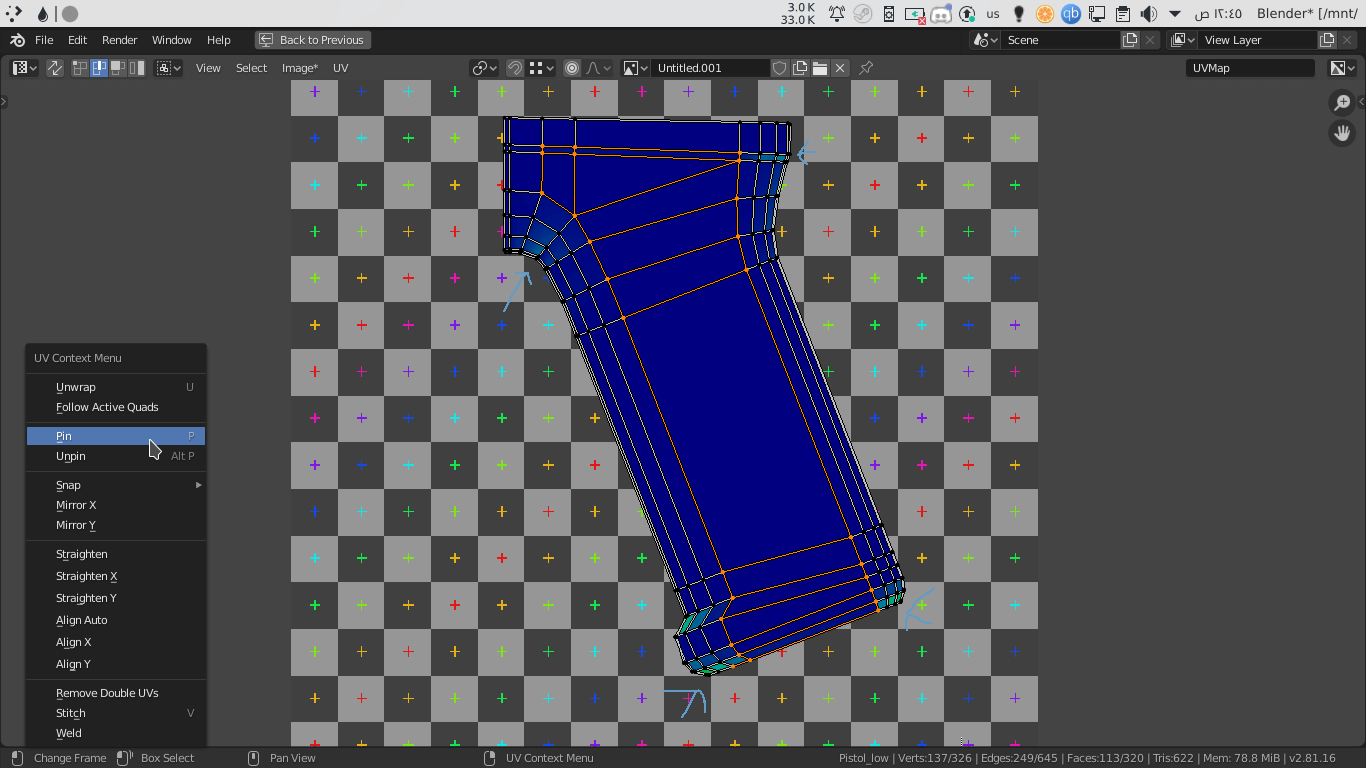
In your UV Mode, select all the coplaner faces, and hit p(or right click and click pin)
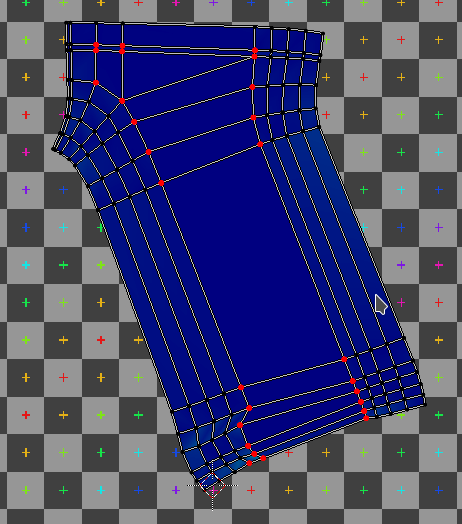
Then unwrap, and your troubles are no more(for the most part, maybe unpinning some of the edges near the bottom will yield better results.)
This isn’t where the usefulness stops
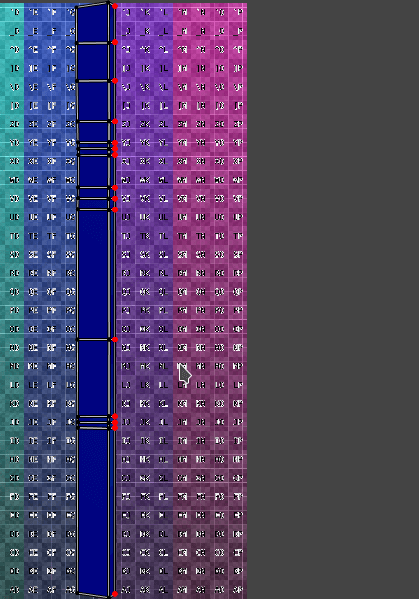
Say you’ve watched that Tim Bergholz tut that emphasised that the borders of your UV islands should ideally be straight for perfect baking at any resolution
But what happens when you get a piece like this?
With the pin workflow you can fix this no problem
Tip 2 - Using Materials to keep track of how much texel density each bit needs
This trick I learned recently while modelling a handgun that I haven’t uploaded at the time of writing this
But, this whole trick is based on the principle that not every bit needs as much space in the uv map equally, some bits are going to be on the player camera more often so they need more space.
Say this is our prop
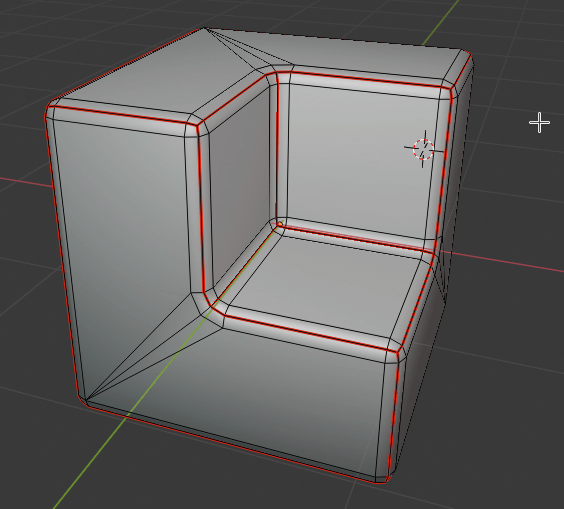
(I wouldn’t put the seams this way in actual prop by the way, just an example)

I’ll create 3 materials
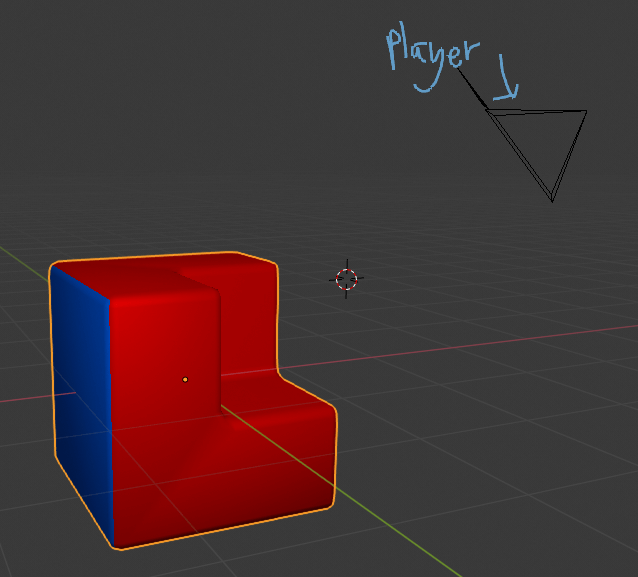
Assign them based on how close you’d expect them to be to the player camera.
After you’re done with that, do the next two steps for each material.
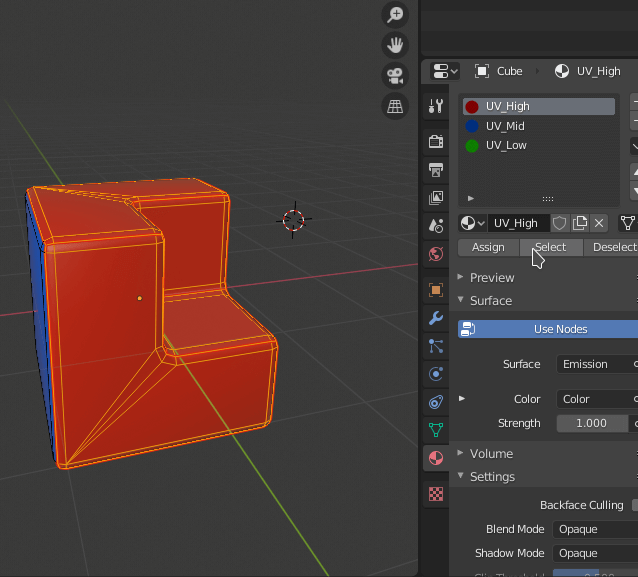
Select the faces linked to the material. Make sure nothing else is selected
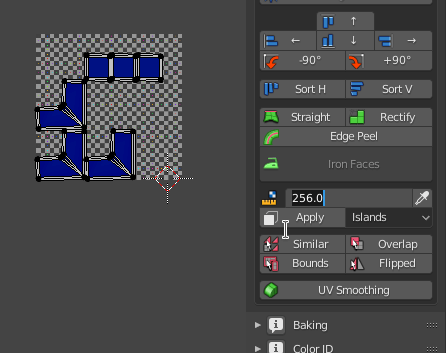
Using the textools addon, set the texel density to the appropriate numbers and apply.
in this case I decided,
UV_High (the highest texel density) - 256
UV_Medium - 128
UV_Low - 64
Tad overkill, you’re free to experiment with better values.
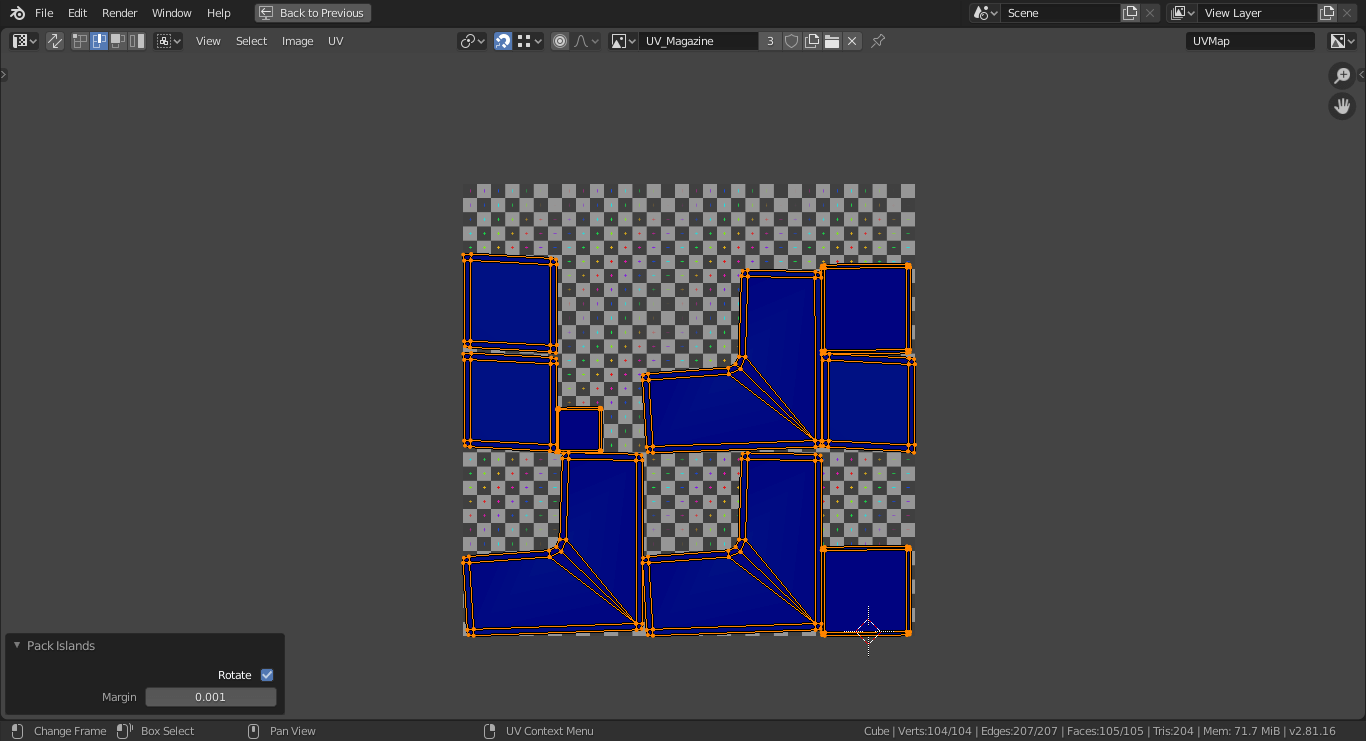
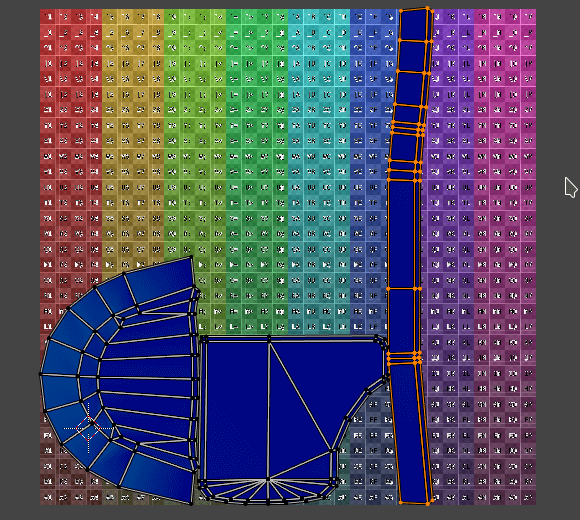
After you’ve done all that, select all the faces of the object and pack.

Now most of the detail should be concentrated in the areas where the player will spend the most time looking at.
That’s all for now. It’s worth noting that I’m not ex-ilm,bungie,mlg,etc god modeller, I’m just a random talkative(in public forums behind edgy avatars, god knows I can’t speak irl or in dms) prop artist
So if I get anything wrong, feel free to correct.
