It is absolutely transferable between scenes/lighting setups. That’s the whole point of it. It is heavily dependent on input textures, however. The demo head in the examples/demo scene is a high quality laser scan with scanned textures, so it’s going to give the highest possible quality. Lighting is also, as always, a key factor to nailing a good looking shot. Here’s another look at the beast character that gives a better example of the skin shader.
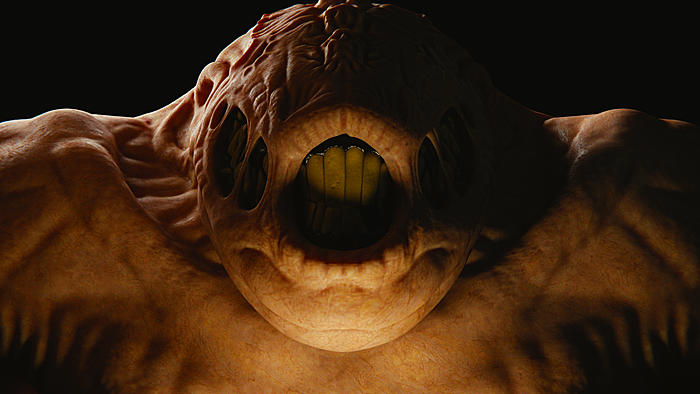
Those initial head renders were outstanding. And the shot above is a great indicator of how professional quality textures can be produced with greater ease.
However The problem with posting reference pics is the quality of the artists work stands front and foremost rather than how the shader stands “on its own” versus other shaders.
Therefore I relate again that the skin shader is quite a bit faster for me doing working renders. Like 20-30 per cent faster. Which translates to 10-15 minutes quicker per shot. Which means a butt ton of minutes over a course of thirty and forty test shots. And it gives looks a lot better look than prior versions I’d used with Path tracing. User friendly is an accurate term.
So a less accomplished artist like myself striving for a quality look actually gains more benefit from the shader than a high end pro. In terms of total time devoted to a project and reducing frustration.
Particularly with my shoe string budget laptop.
I just now saw this Matt! I had been waiting for it for months. Can’t wait to check it out.
Can’t satisfy them all.
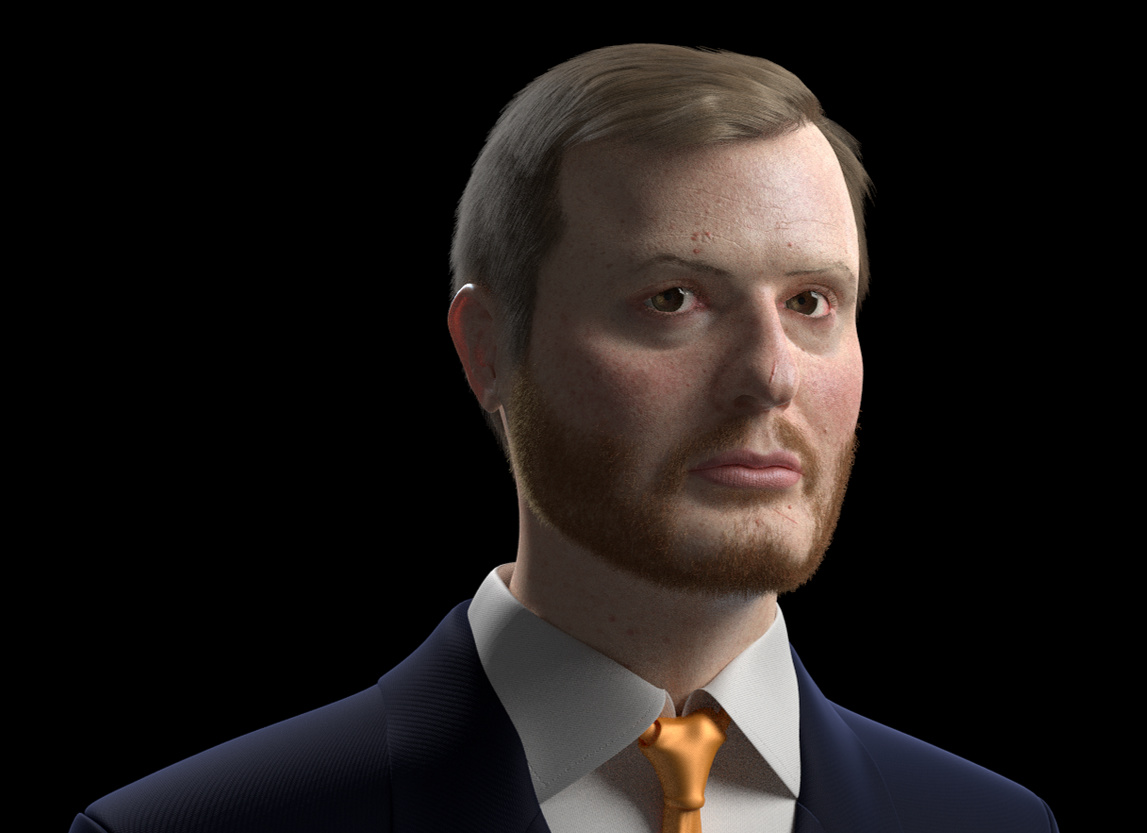
Well done Matt! The updated free shader is wonderful. I finished my self portrait project and rendered it with the old shader before I found that the updated free shader was available here and I can definitely tell a difference. One main difference is just the overall color that comes out of it. It’s great!
Anyway, I may have to rerender my animation with the new free shader, although I’d love to just buy the SOG shader. Maybe I’ll wait for that :). Well, here is a test render from the viewport after converting all the values from the old shader to the new one:
One tip I would like to share is to make Shallow Scatter color map a greenish color to kind of offset the deep red color of the Deep Scatter. I think it works well.
I do have one question. I hope you don’t mind. Why are the blend nodes for the reflections set to “facing” instead of “fresnel”? Anyways, happy blending all and thanks again Matt!
Great skin and beard, by the way. Did you make a high res image of your face as a base for the skin?
Thanks! Actually I didn’t :). I didn’t opt to go with a realistic map because:
1: My face is changing a lot due to the sun. I’m pretty pale guy so sunburns can happen and it won’t represent my face and the winter time I look super pale. So I took averages of few photos from similar lighting circumstances in late spring and used that as a base skin color after I color corrected them.
- I can never seem to normalize face maps well. So the sheen kinda gets permanently put in and the bumps and stuff.
Maybe the facing is used on the Blend nodes because it’s a bit softer? It looks as if it is used across the board on all the shaders (Yay! I finally bought them!) so I’m curious :). I changed them to fresnel nodes but I’m curious to know if there is a reason to change it back to a facing value.
I’m still fuzzy on the IORin and IORout too. Hopefully someone can help. If human skin (as a purely technical number and is only accounting for perfect skin conditions) is 1.44 IOR, how does one factor that in to the (IORin-IORout)^2/(IORin+IORout)^2 = Fresnel?
Thanks ahead of time, and great shaders!
I do indeed use the facing value rather than the pure Fresnel because it A.) gave a more visually pleasing result in my opinion and was easier to tweak and B.) seems to be the standard method of calculating reflection falloff in other production shaders.
As for IOR in and IOR out, those were controls put in place at the request of several of the beta testing artists. It’s simply another way of calculating the final Fresnel value. A value of 1.0 out (for the air) and 1.4ish in (for flesh) will result in a Fresnel value of .028 which is (supposedly) the ideal value for dry human skin. However, I agree that this doesn’t always give the best looking results (mainly because human skin is rarely if ever completely dry). If you’d like, there’s no functional reason not to disconnect that group of nodes calculation the IOR from the socket and just using a pure IOR value instead. Ideally when the node system in Blender has the option to add boolean statements to node trees I will update the shaders to have certain options hidden behind a checkbox to keep everyone happy.
Oh, and thanks to everyone for buying! I really appreciate the feedback I’ve gotten from this project 
Love the sum of gausians shader…
this shader has saved me a bunch of setup time and boosted quality for me… well worth teh money!
I modified teh shader to take a normal input rather than have a normal map input… personally i’m more comfortable with that as it’s more consistent with other shader nodes and I can plug in either a bump or normal map via an appropriate node…
i also mixed in some extra glossy stuff for stylised lipstick coating…
here’s some quick results:
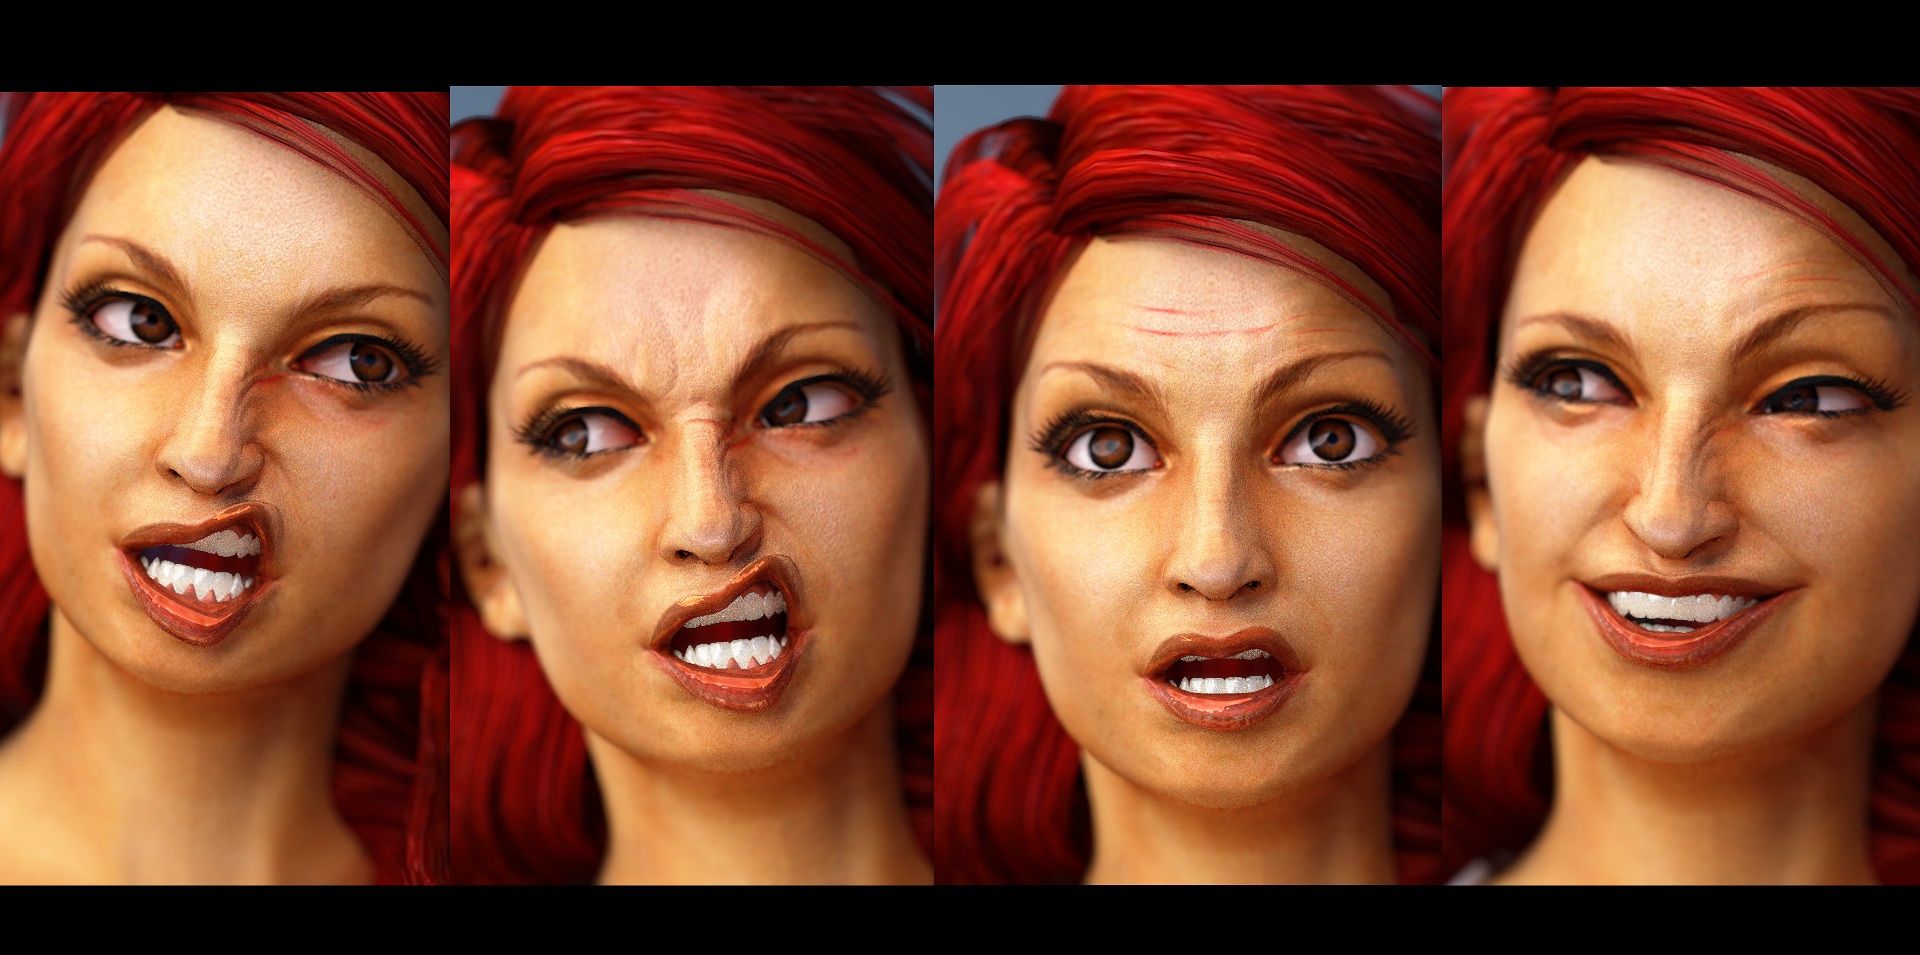

@MicahelW, that is some epicness!
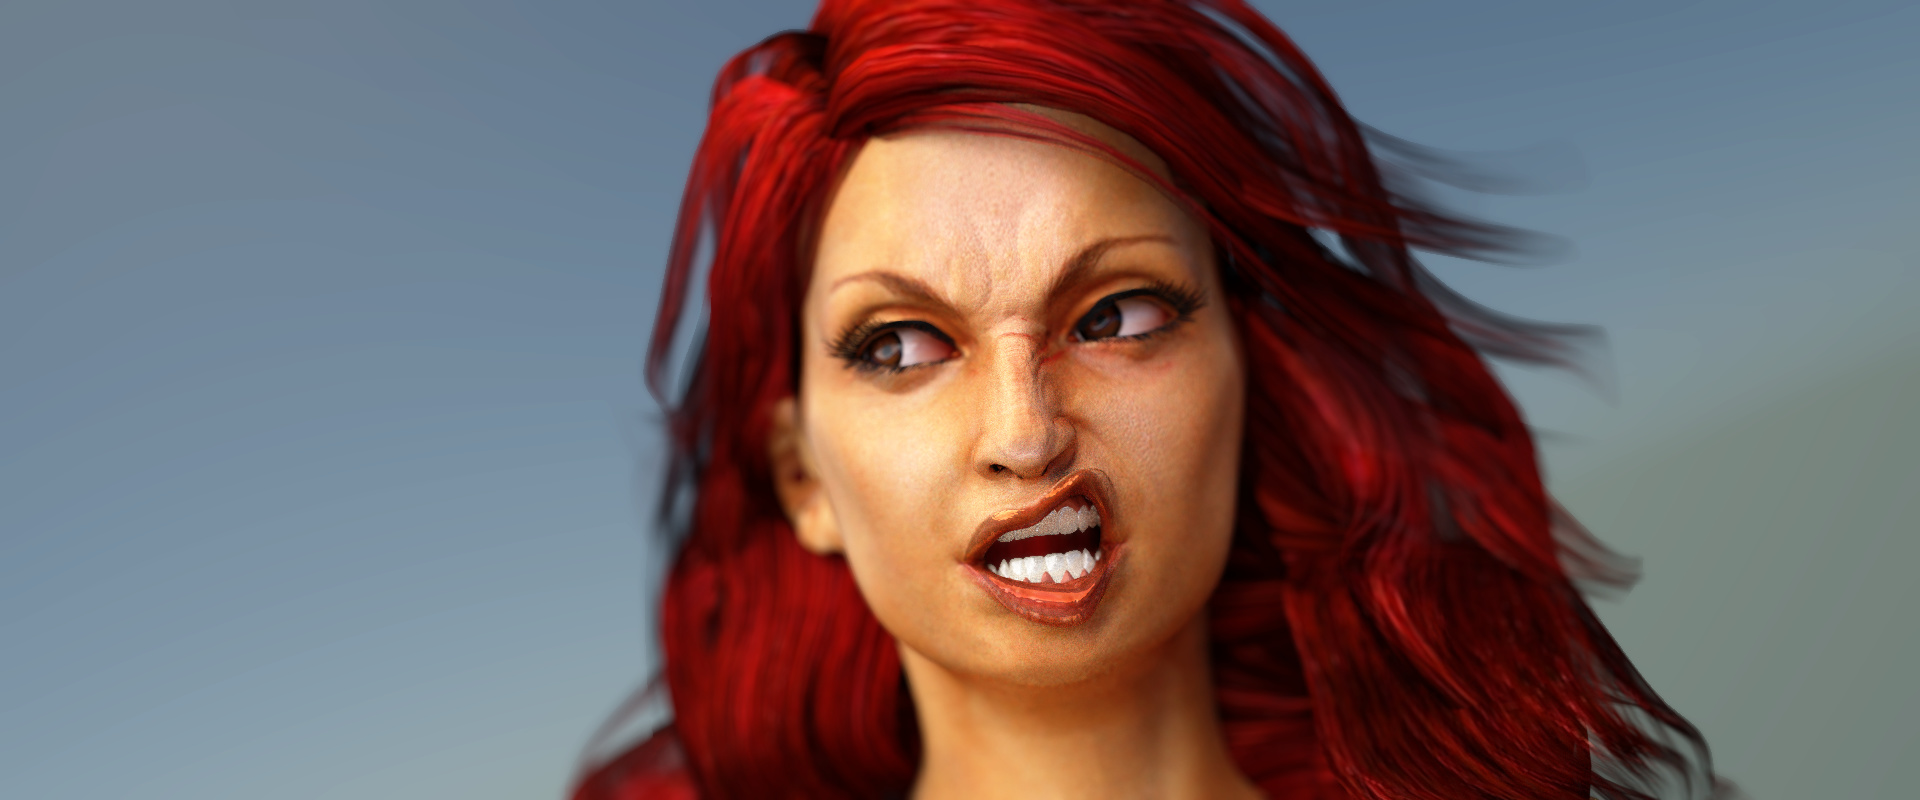
Great shots and expression. Agree totally with the time saving aspect. I have a question though: why the variation using a
“normal” input vice a “Normal map” input? Not clear what the difference is.
I know that the normal, normal map, and bump nodes can be found in the the vector sub category. But that’s about it.
Also Doris used another variation, IMAGE MAP - NORMAL MAP node - input going to the height side of the BUMP node.
fxr, in my case i had a complicated node group for wrinkle maps that outputs a normal…
and the input to the skin shader being a normal map just didn’t suit…
a greyscale bump map can be input direct to a shader as displacement or can use a bump node to convert it to normal…
a normal map cannot be used without converting it to an actual normal by using the normal map node to be converted to a normal…
not sure what Doris was up too but it sounds overly complicated and un-necesary… usually you just plug the image into the height of a bump directly…
you “can” get height from a normal map… but it’s only an approximation… essentially the blue channel decreases in intensity as the surface angle increases in the map (as a tangent spaced normal map has normalized directions…)…
so converting a bump map to a normal map back to a bump map sounds like an odd thing to do…
Awesome results Michael! Great to hear that it’s been such a time saver for you. It’s an interesting approach to replace the normal map input with a straight normal input. I’d be interested in seeing your setup for generating normals some time since I’m having a hard time envisioning it.
Automatic detection of bump vs. normal map is something I’d eventually like to have as well, but unfortunately this is outside of the scope of what’s possible with the node editor at the moment.
Detecting bump vs normal is trivial. In a bump map R = G = B. In a normal map this is never the case. Just use a channel split and some math nodes.
@Pitor: Huh, interesting solution. I’ll see if I can whip something up later today.
I guess I’ll also use this post to announce that, in honor of SIGGRAPH, meaning today until the 14th, the skin shaders will all be between 25 and 30% off! Perfect time to pick one or both up if you’ve been holding off. I’m so happy to see all of the awesome results and stories that I’ve gotten from buyers since the launch a couple of months ago, and can’t wait to see what people can bring to the table in the future!

sometimes people are “dirty” and use a colour map as a bump input… lazy but that would break this method!
One render doesn’t look as good as the other and you blame the shader…? Ok then.
IMO this is a really contrived argument. If they really must plug a color into the bump, which is a dumb idea in the first place, they can just use an RGB to BW node in front.
You could also do the opposite and check that the normal vectors sum up to about 1, but that would take more nodes and could have some false positives on color maps anyway.
Hi Matt, I’m checking your page on the blender market, and the prices for your shaders look to be the same as they were last week. (Don’t get me wrong, $15 for an awesome skin shader is a great price anyway, but hey, a sale is a sale!)
Is the page not updated, or am i just missing something?
