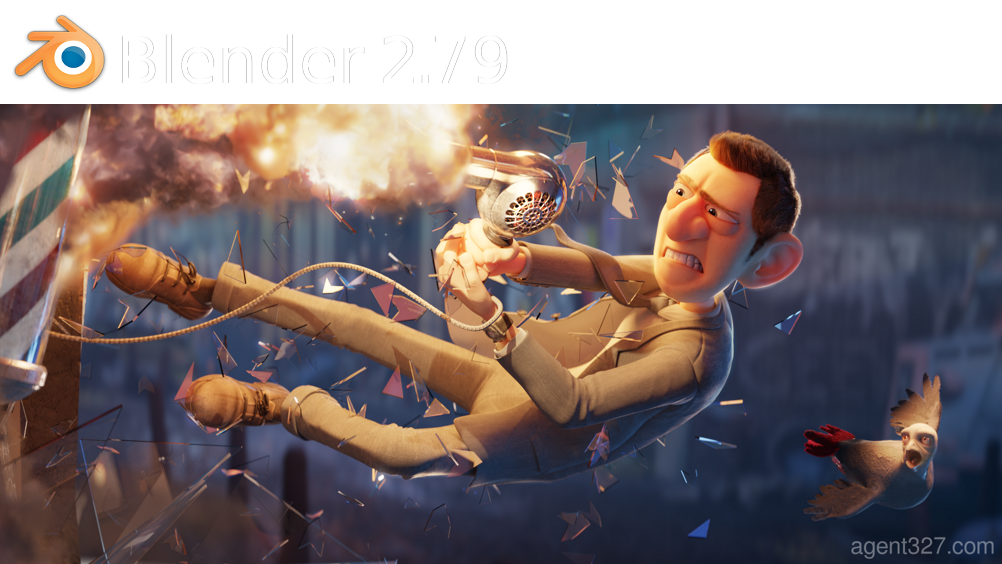
Ah the good ol’ days. I remember it like it was yesterday, launching Blender 2.79 for the first time and experiencing it’s light gray theme and that awful right click select ![]()
Despite the old interface that I found extremely complicated, I was so excited to dive into world of 3D and learn amazing features that Blender had to give.
And the Agent 327 short film was a perfect long term goal to set. With it’s fantastic design, animation, choreography and entertainment in general, I knew that creating those shots is what I want.
Here I am now couple of years later, modeling and designing characters. This is a perfect opportunity for me to pay my tribute to Agent 327 and Blender community for helping me carve my path.
- 1. Research and Creative Development
When I was starting the project I only knew two things. I wanted to do the model from scratch, in my own style, and I wanted it to be entertaining and funny.
Research is one of the most important steps of any project in general, and we really should take our time with it. It contributes to the authenticity and believability of the characters.
I knew that Agent 327 is originally based on a Dutch comic, and that he is already developed character. So I had to learn who is he, what is he like, how does he react in certain situations etc.
I’ve managed to get my hands on two English copies of the mentioned comic, and read them as a part of my research. And boy was I charmed! I had no idea the comic was a parody, which was perfect for my wish to make an entry funny and entertaining. The story was full of twists and turns, and never predictable.
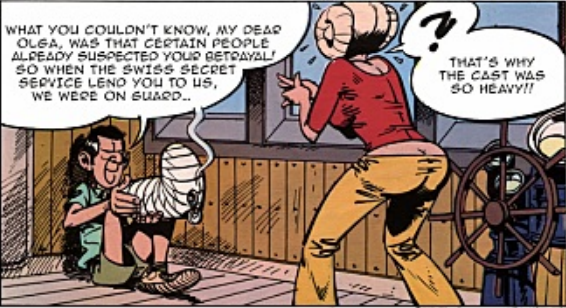
One thing I learned from reading comics about Agent 327 is that you should always expect unexpected. This scene of Agent 327 shooting out of his cast served as a perfect inspiration for my project. It is unpredictable, funny and entertaining.
I also wanted to include his handsome and smart fellow agent Olga Lawina. She is a Swiss secret agent with an incredible training in her background. These two characters work so well together because they contrast so much from each other. Agent 327 is often very clumsy, thoughtless and deceived, while Olga is very cunning, agile and handy.
At this point I wasn’t sure what situation I wanted to put these two in, the only thing I was sure about is Agent 327 shooting out of his cast. So I started with the creative development. I started sketching the characters on paper to get the feel for their shape language, face expressions, proportions and some poses and ideas that I could use for my final decision.


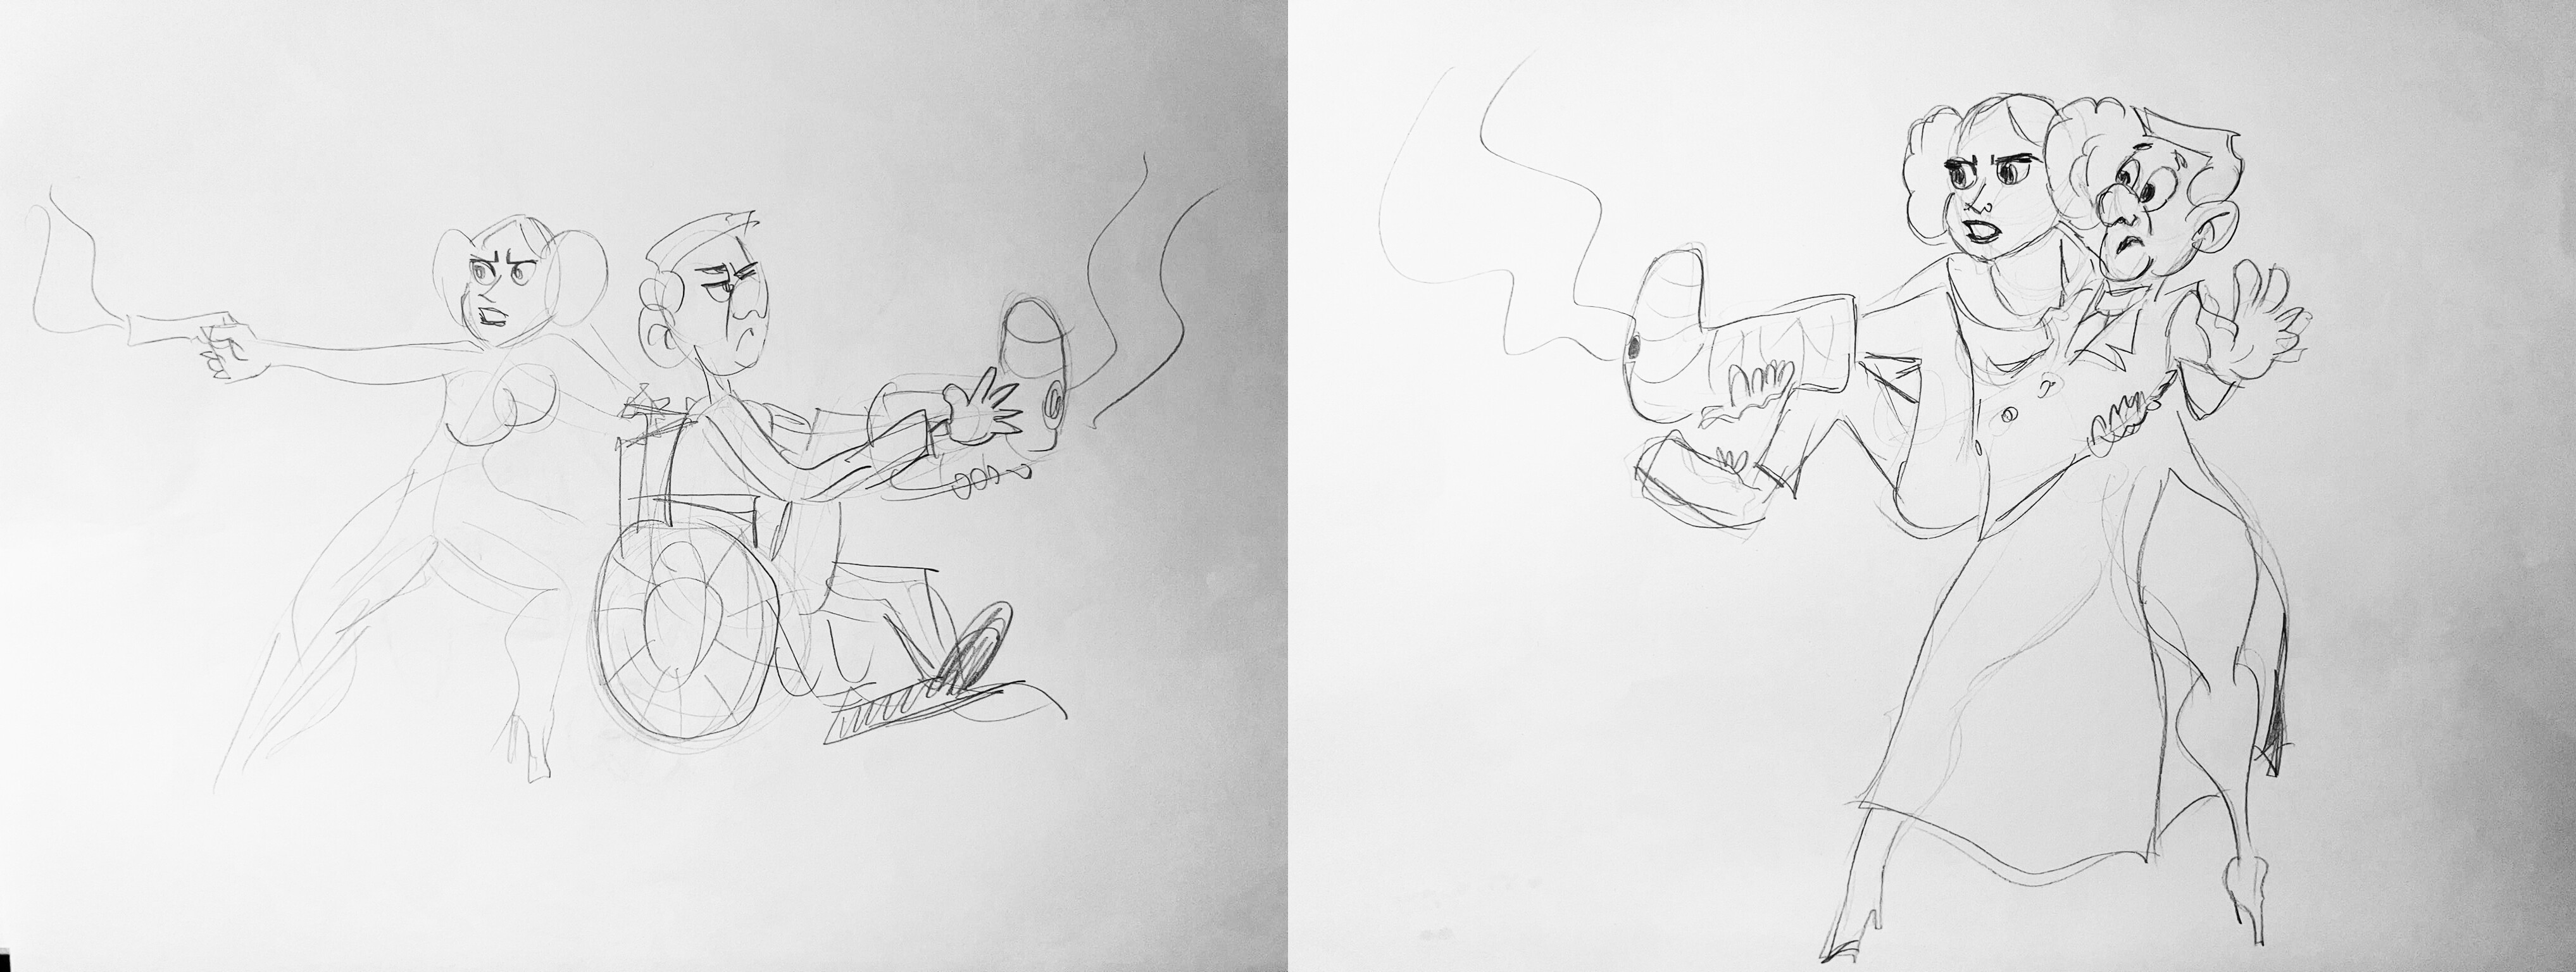
Agnet 327 is pretty basic and is made up of simple shapes, but Olga is going to be a challenge. I always find female characters to be harder to make because they require smoother shapes and more appeal. My greatest influence for female character design is Bruce Timm and Jin Kim.
These sketches are far from good, but they serve me well for visualizing ideas. I got some feedback from other people and we all agree that the most entertaining idea is the one where Olga is holding Agent 327 and shooting out of his cast.
This idea also serves me well from technical aspect. The scene is going to be simple and should be easily presented in the Sketchfab viewer. The focus is on the characters and I don’t want audience’s eyes to be drawn too much to the background.
- 2. Sculpting
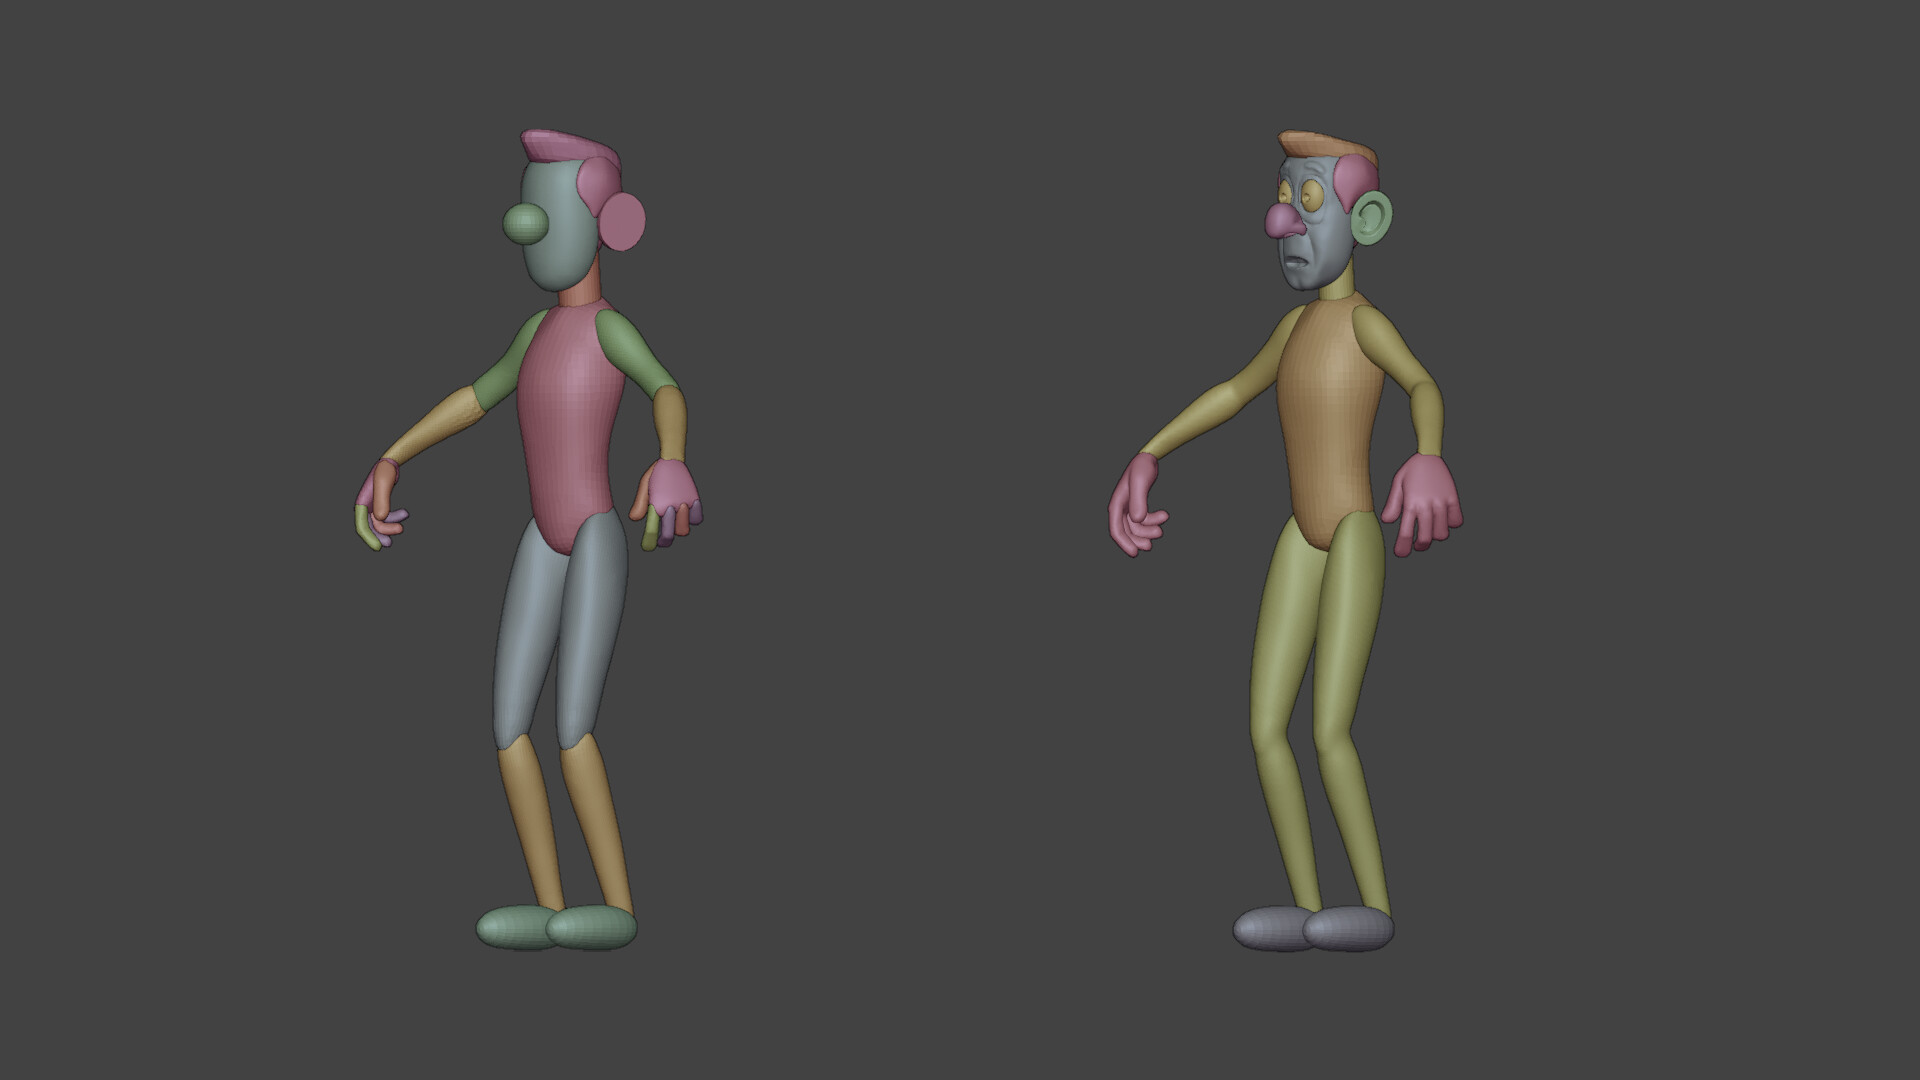
First I started sculpting Agent 327 in a static, relaxed A pose that’s going to be useful when I start posing him later. I’m using super simple shapes and I don’t spend too much time on details and proportions but rather shape and form.
For my second pass blockout I’m focusing more on getting right proportions, sculpting facial, and hand details. But still keeping it relatively simple. For one, getting into too much detail in an early stages can be devastating, and the other, I always loved simple and cartoonish style, and that’s what I’m going for here (just like I mentioned, in the style of Bruce Timm and Jin Kim). It’s a good thing to mention that getting some basic face expressions early can help a lot during posing stages.
For the third blockout stage, I merged smaller parts into a broader ones, slowly merging them to one object. I’m still keeping hands and head separate parts because those need more geometry. In this stage, as you can see, I modeled clothes manually, and therefore I did 50% of the retopology process. ![]()

Just like before, I started my sculpt with the basic blockout focusing more on broad shapes, and defining basic form. With the second blockout pass I merged limbs and defined them a little better. And also sculpted basic face.
For the final Olga Lawina sculpt I merged everything except for the head and hands again, and modeled a fancy dress. Vertex colors always help to visualize the model better ![]()
Olga is way harder to design than Agent 327. With male models, sometimes you can get away with some imperfections, while female characters require precision and particular attention to detail.
I’m not too happy with the dress, I’ll probably change the design later because it steps away too much from her personality. She is supposed to be foxy and charming (probably should show more skin) ![]()
The plan is to sculpt and model big for now, so I can have enough time to focus on detail later.
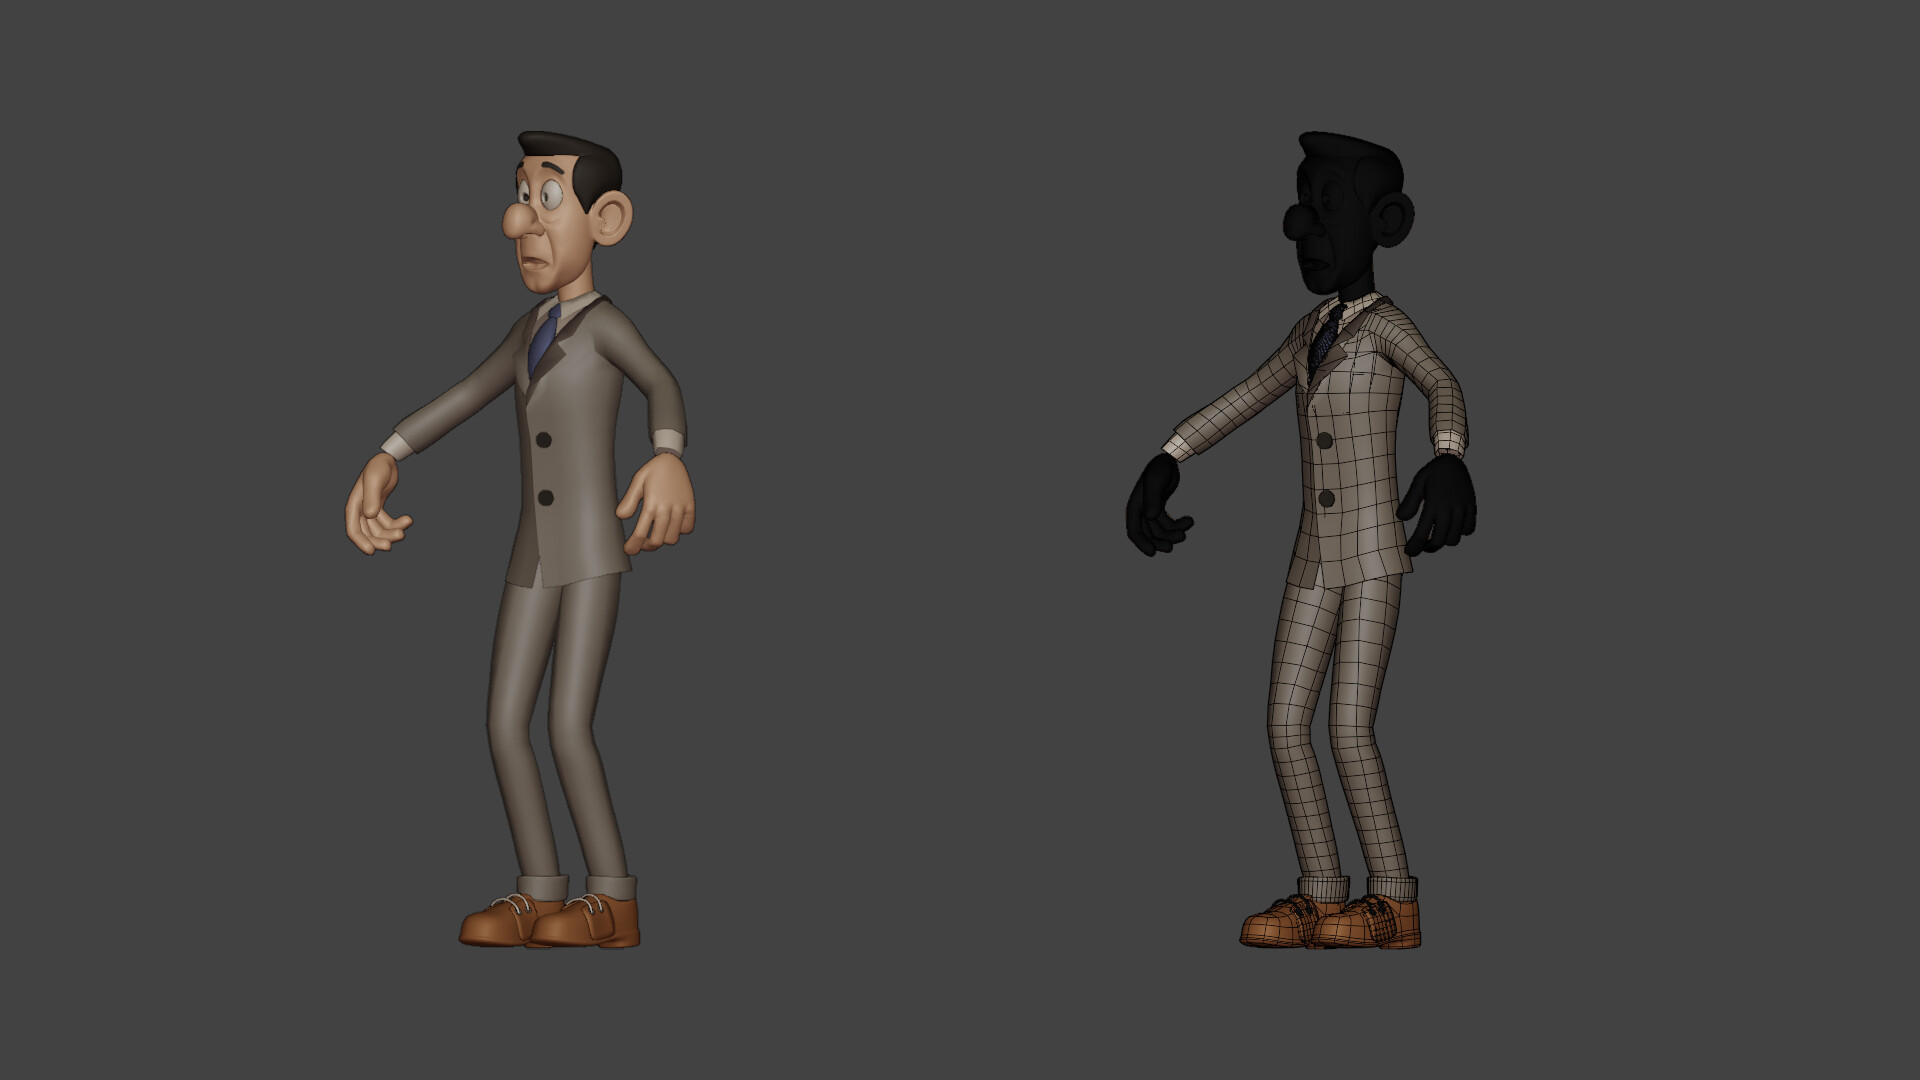
- 3. Retopology
After feeling somewhat happy with the sculpts, time to reduce character’s polycount. As you know, with the process of retopology we’re getting the least amount of vertices needed. And also it helps a lot with the posing and texturing, which I’ll do in the following steps.

Well this was a painful day ![]() Retopology is definitely NOT my favorite part of character creation. It can be enjoyable, while listening to the music or a podcast but up to a point. Some people like it more, some people like it less I guess
Retopology is definitely NOT my favorite part of character creation. It can be enjoyable, while listening to the music or a podcast but up to a point. Some people like it more, some people like it less I guess ![]()
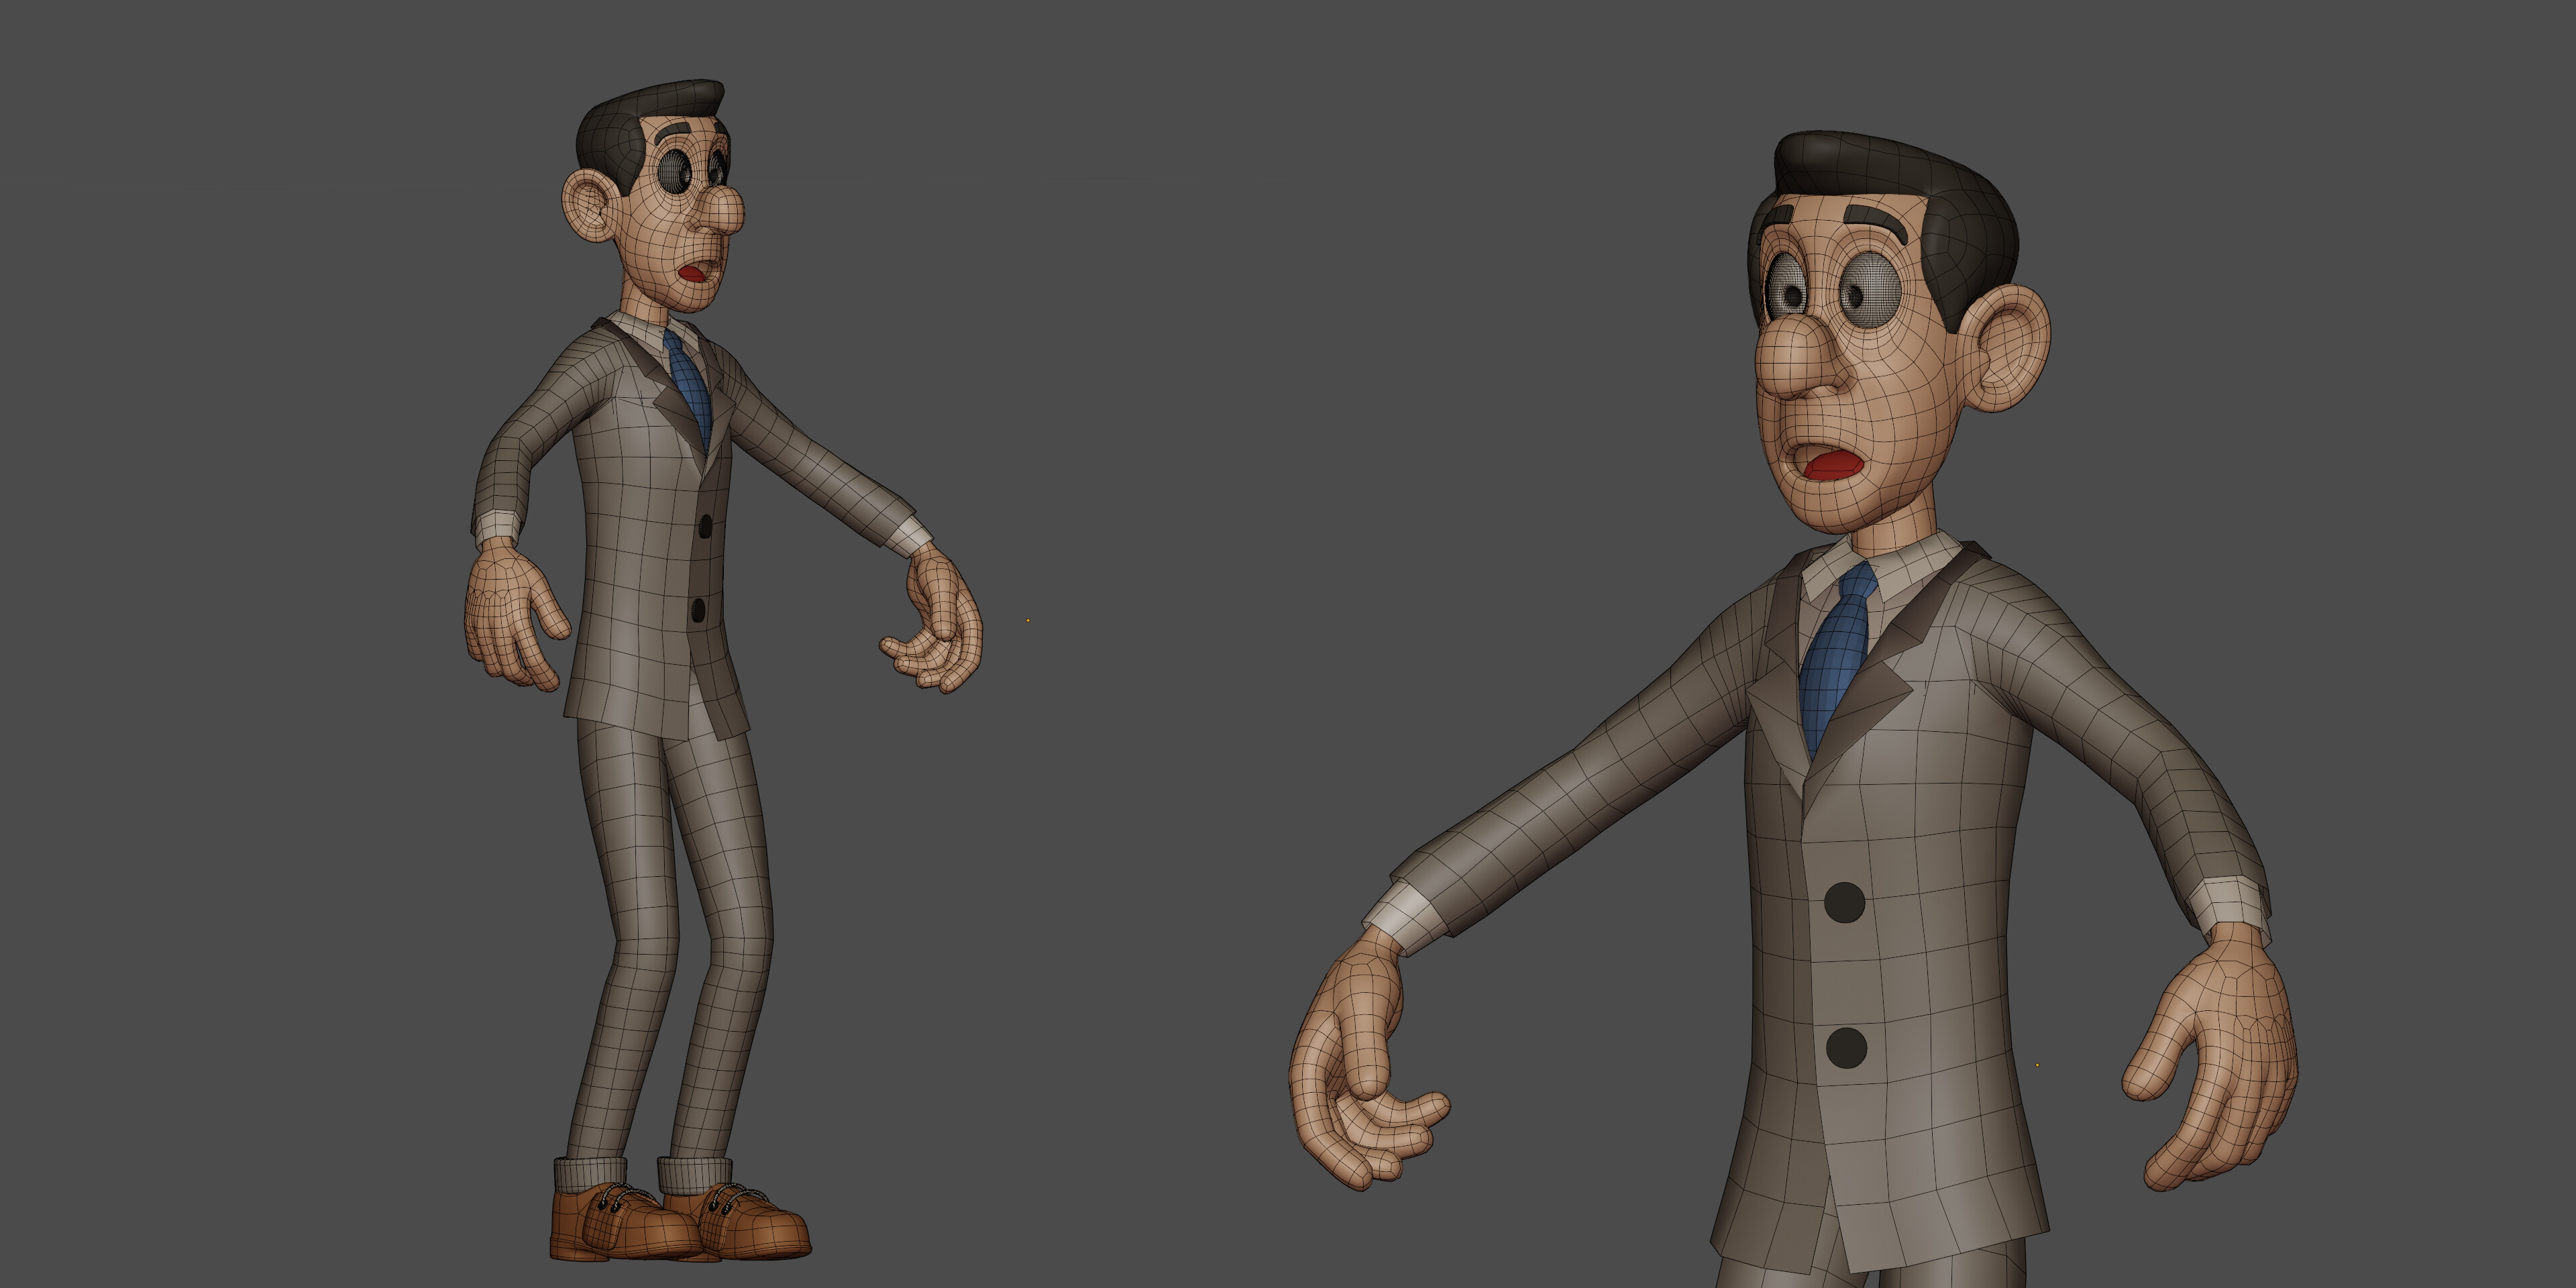
This is a great opportunity to push the characters further. After retopology, I spent time tweaking forms of the characters and their clothes. I feel like this is the part where characters start feeling believable, because of all the detail added and it’s very important to capture their essence during this phase. What makes characters, well, them! ![]()
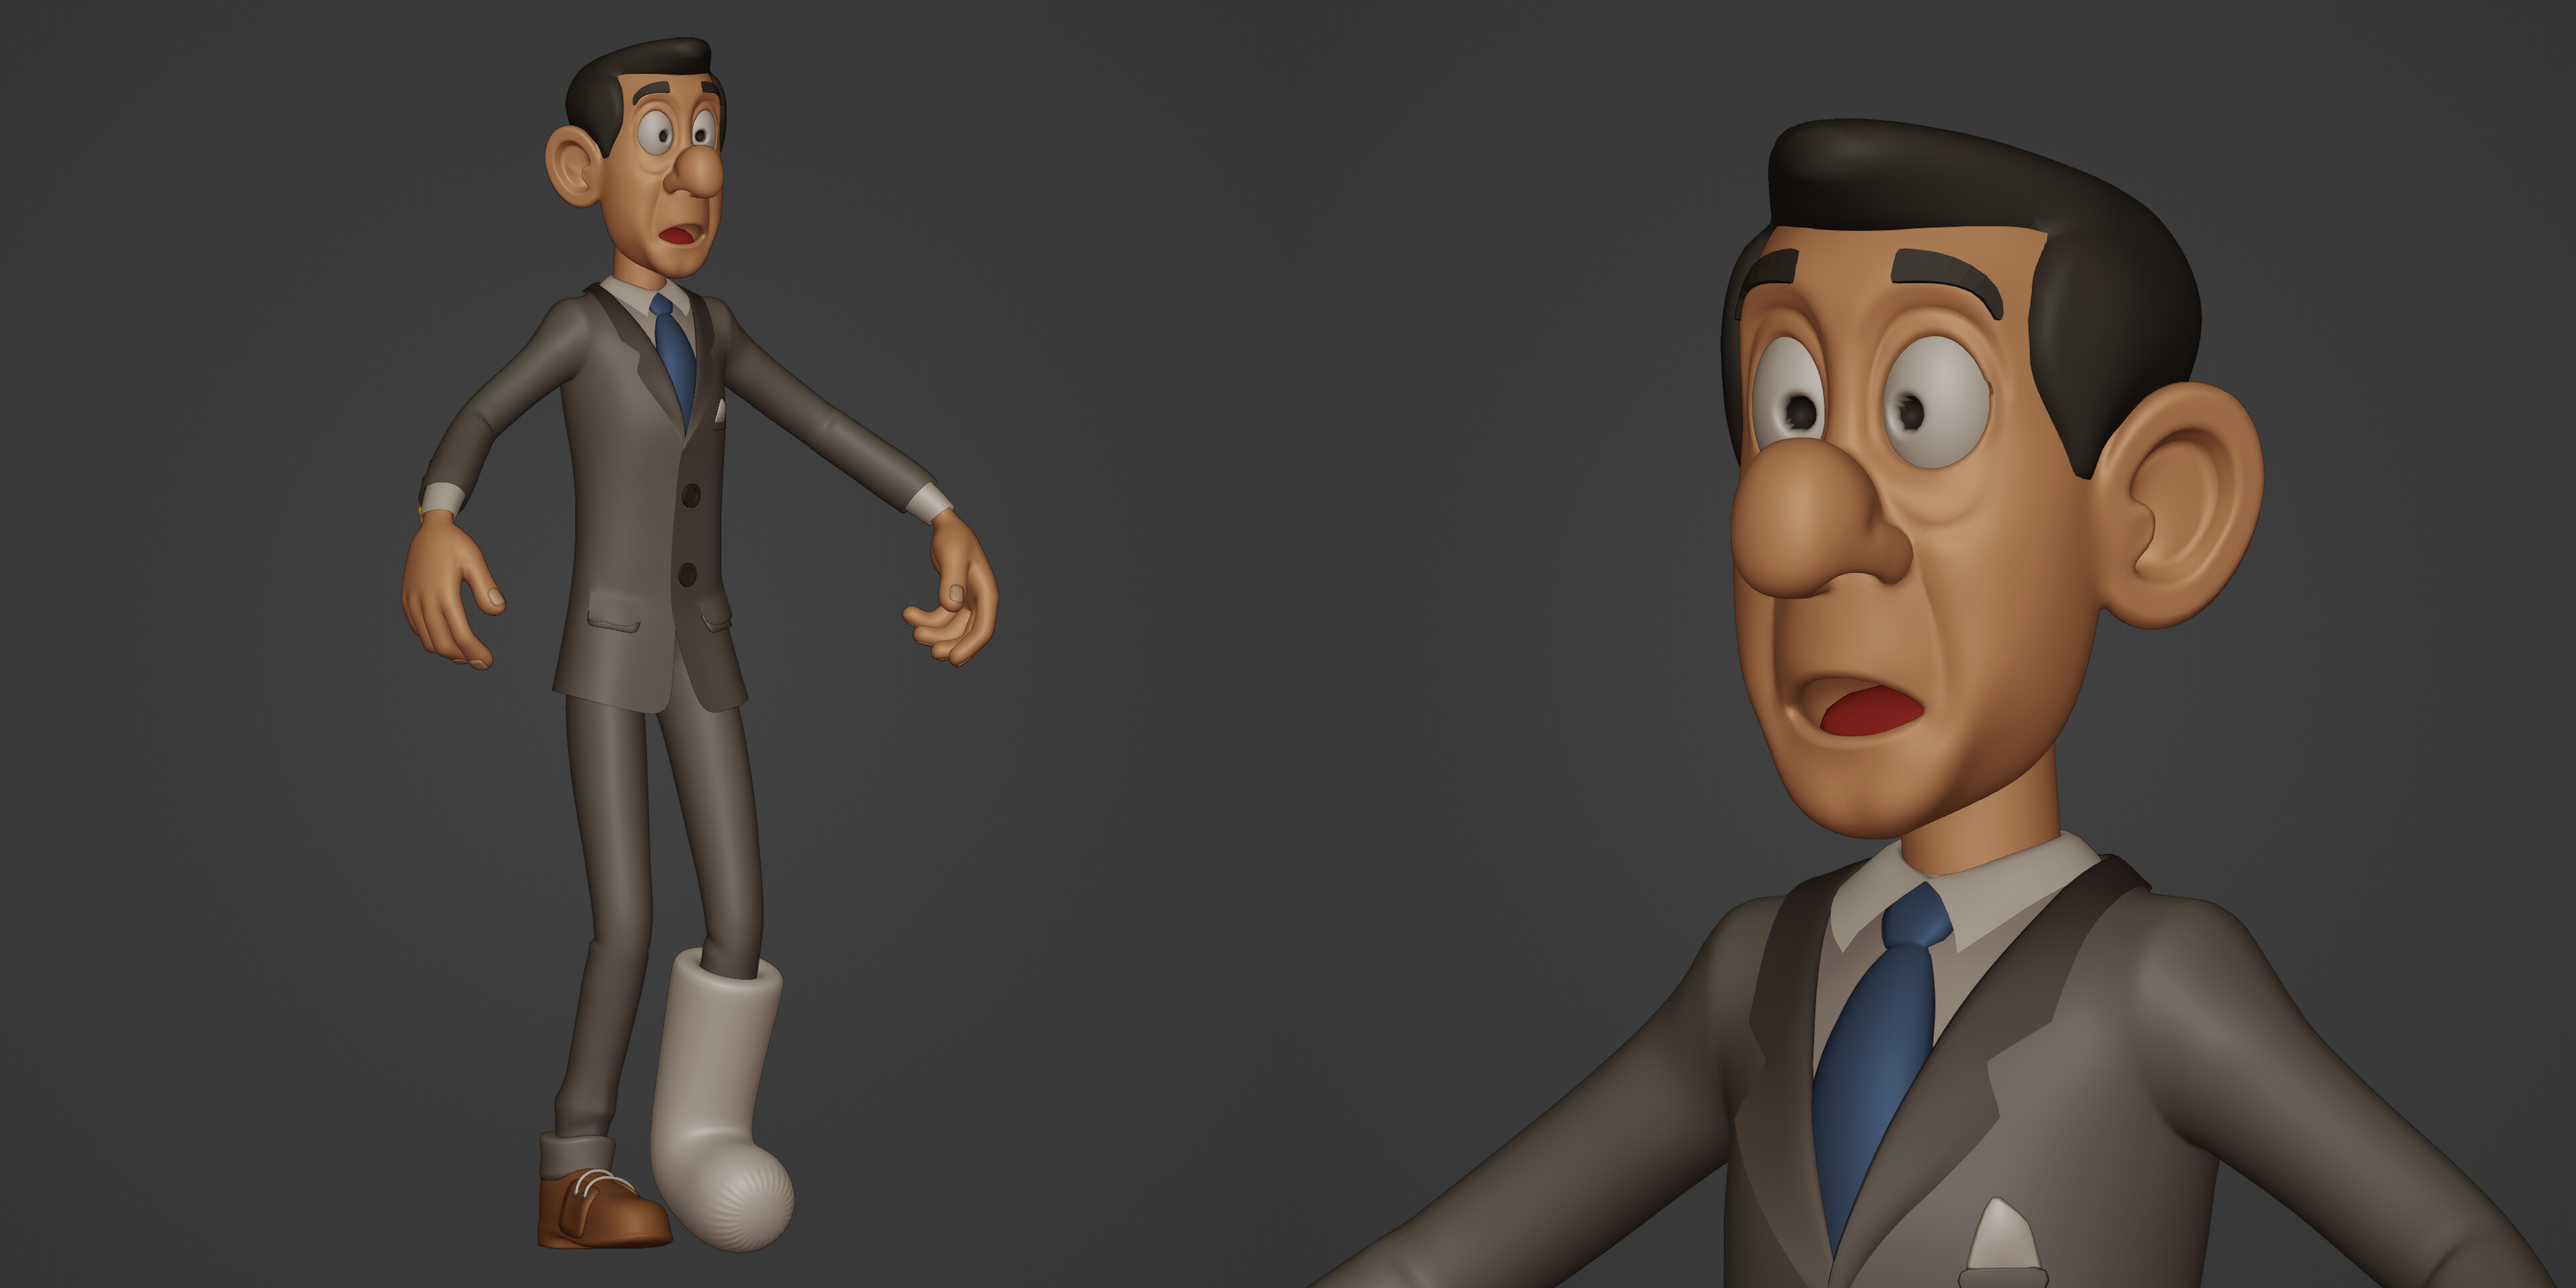
For detailing Agent 327, I added fingernails, buttons, fixed his clothes and added wrinkles and folds. And also modeled a simple cast for his leg. I feel like the suit still feels kind of stiff, so I’ll definitely come back to it later. I think it’s good enough for now, so I don’t want to lose too much time but rather continue with the production.

For Olga, I mostly spent time tweaking clothes and creating different variations. As I said before, my first choice for her dress didn’t quite fit her character. So I started searching for more dress references. Eventually I remembered Jessica Rabbit from “Who framed Roger Rabbit”, who had the same kind of seductive, sexy charm to her. So I used her dress as an inspiration to create something attractive, but also trying to keep that “spy” feel.
After some time, I ended up with couple of design variations which all seem to work, but some work better then the other. Personally, I like the last one best but we should always ask for feedback from other people. It gives us fresh perspective on things. Someone else might see something that we don’t.

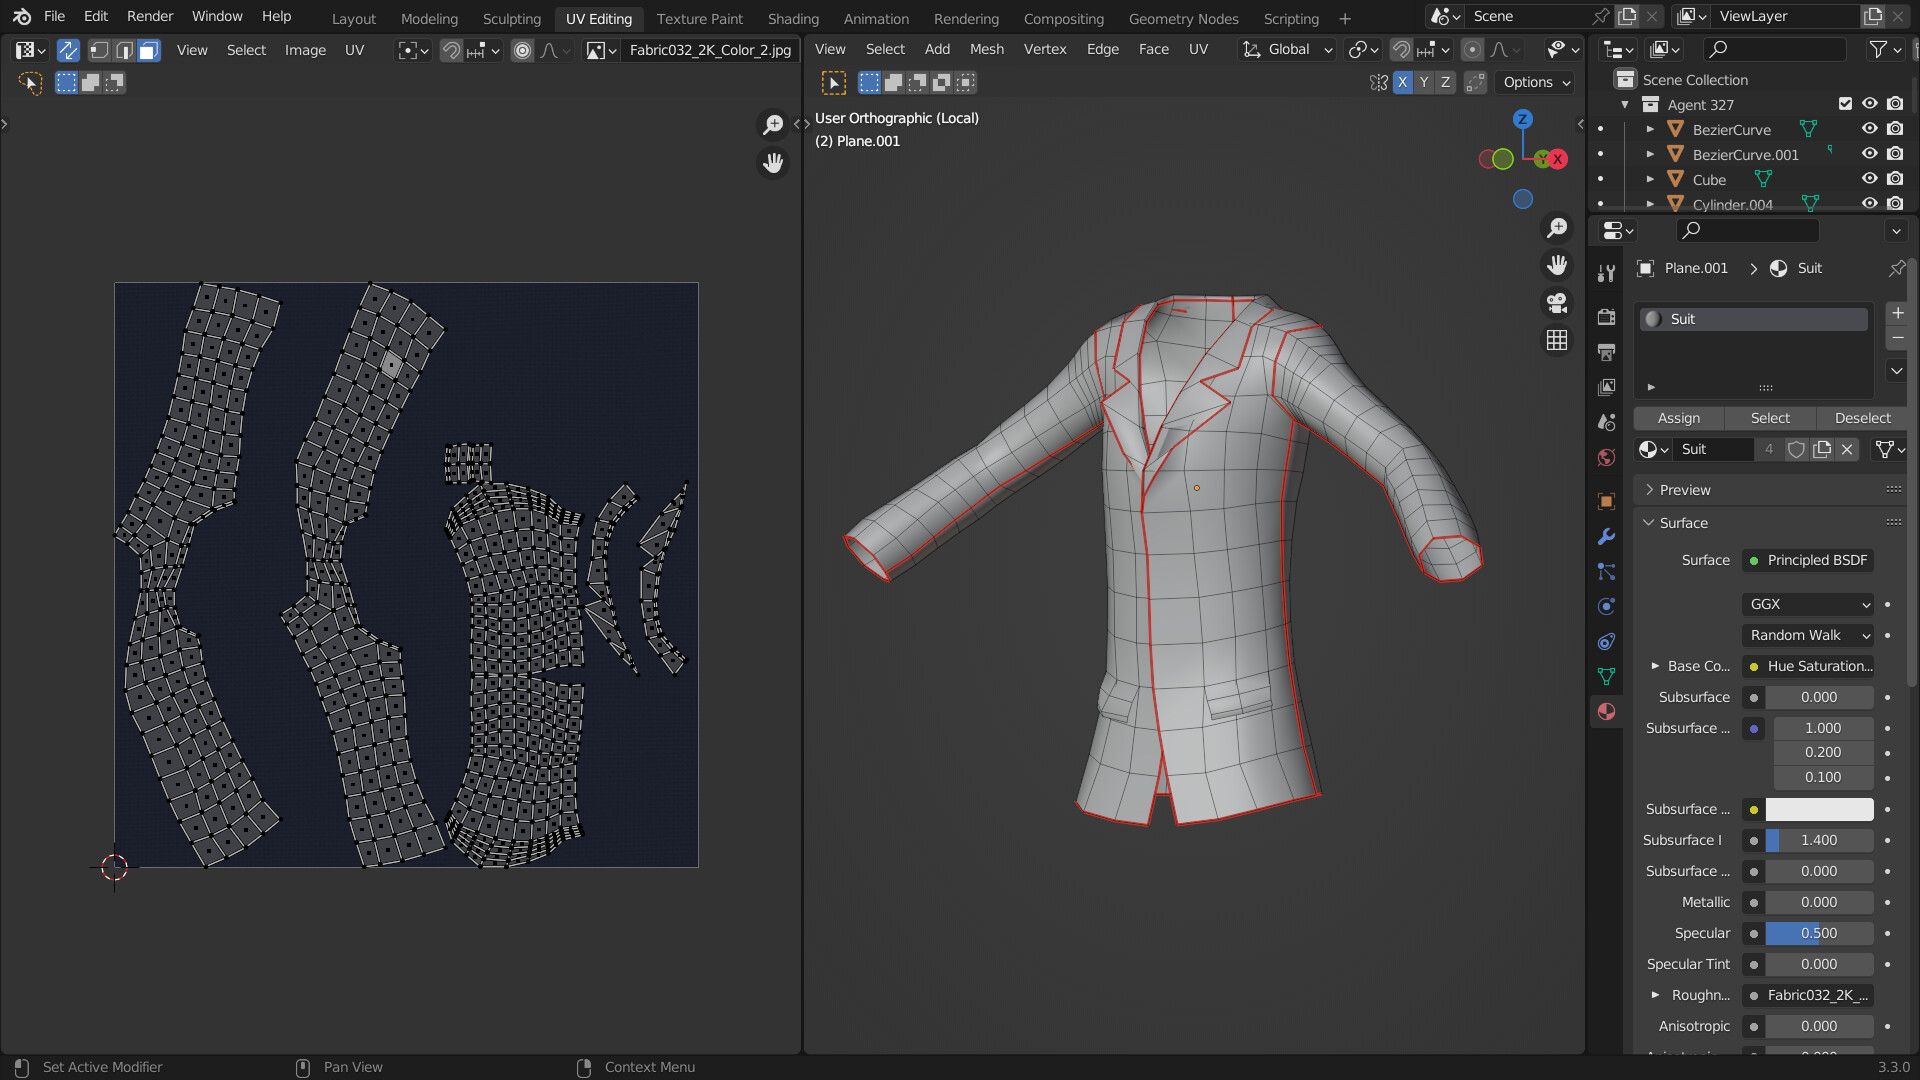
- 4. UV unwrapping
Now it’s time to lay all mesh flat, so that the textures can be projected on to it.
For now, I’m still keeping agent’s hands and head as separate objects, as well as clothes. It’s important to add seams to the models to achieve the best result possible. I’m not an expert at this area, but I understand basic seam positioning that helps me project textures a little better.


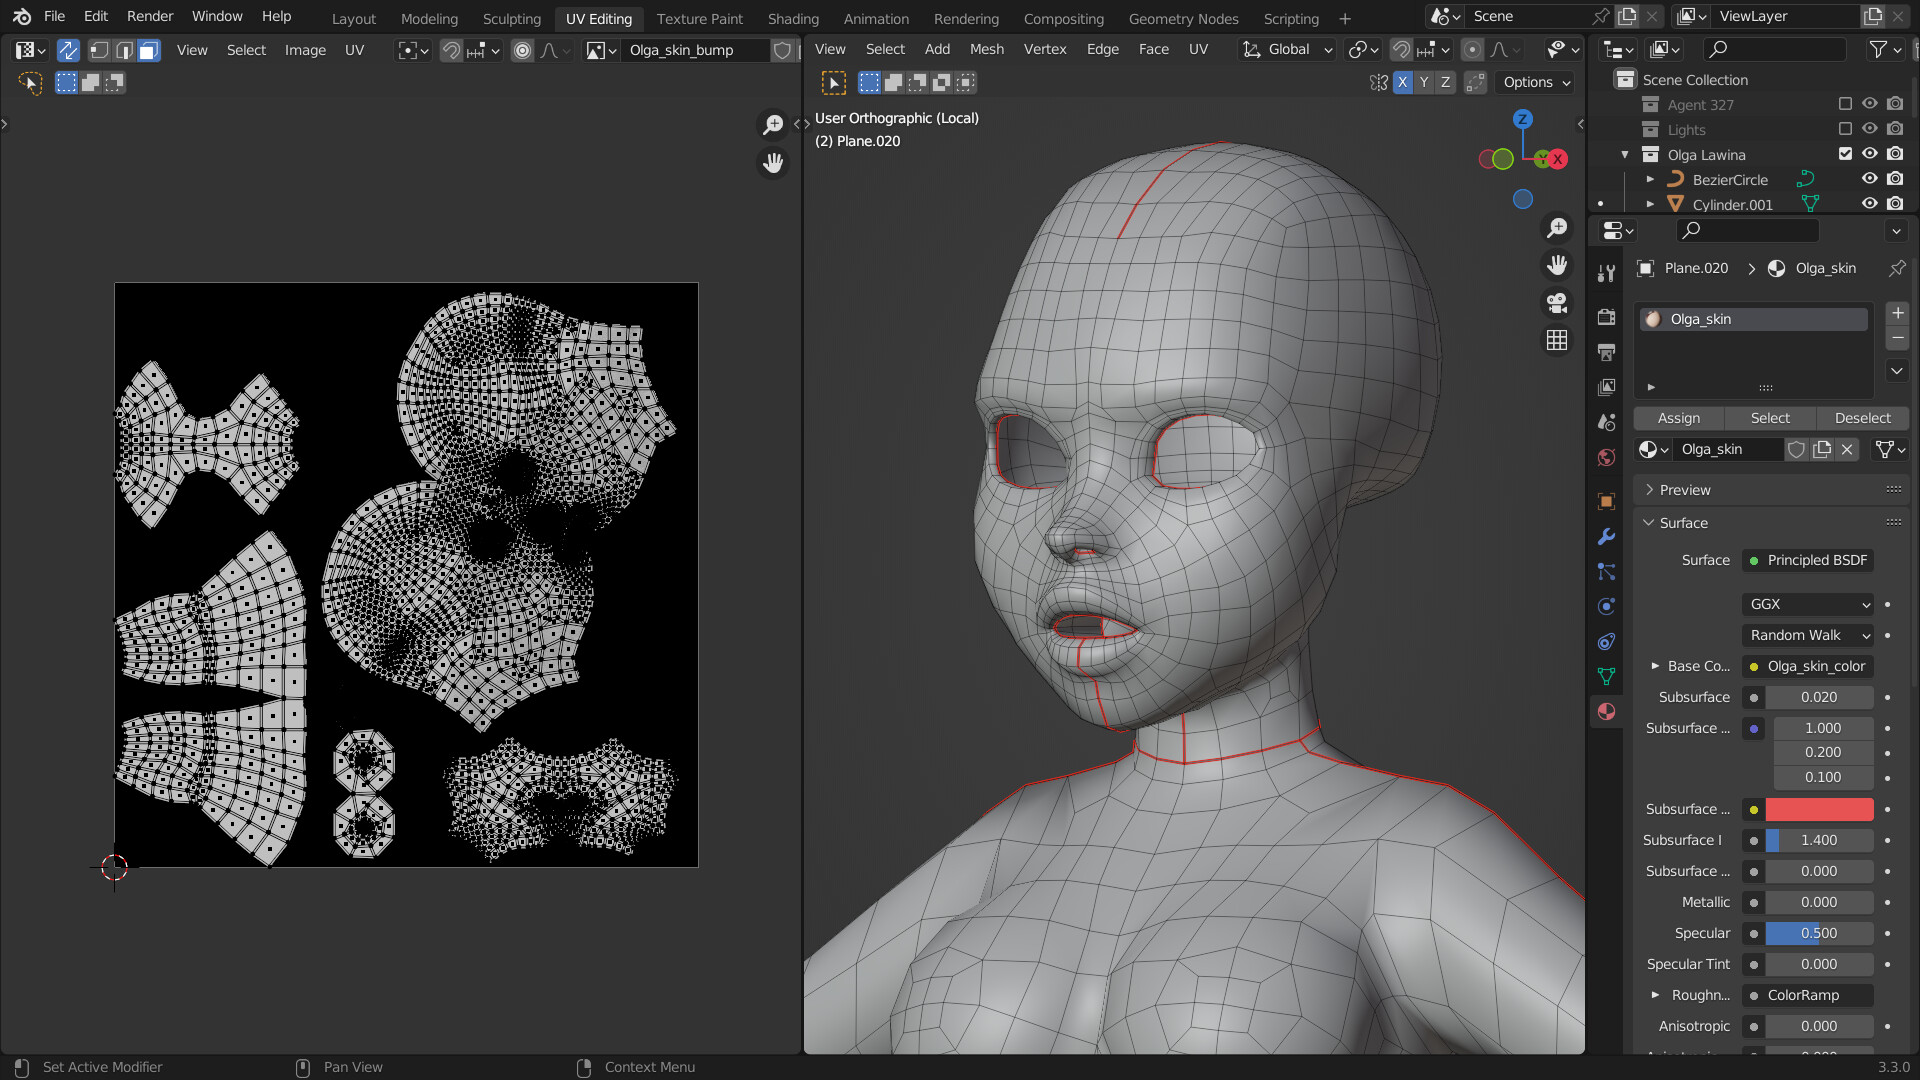
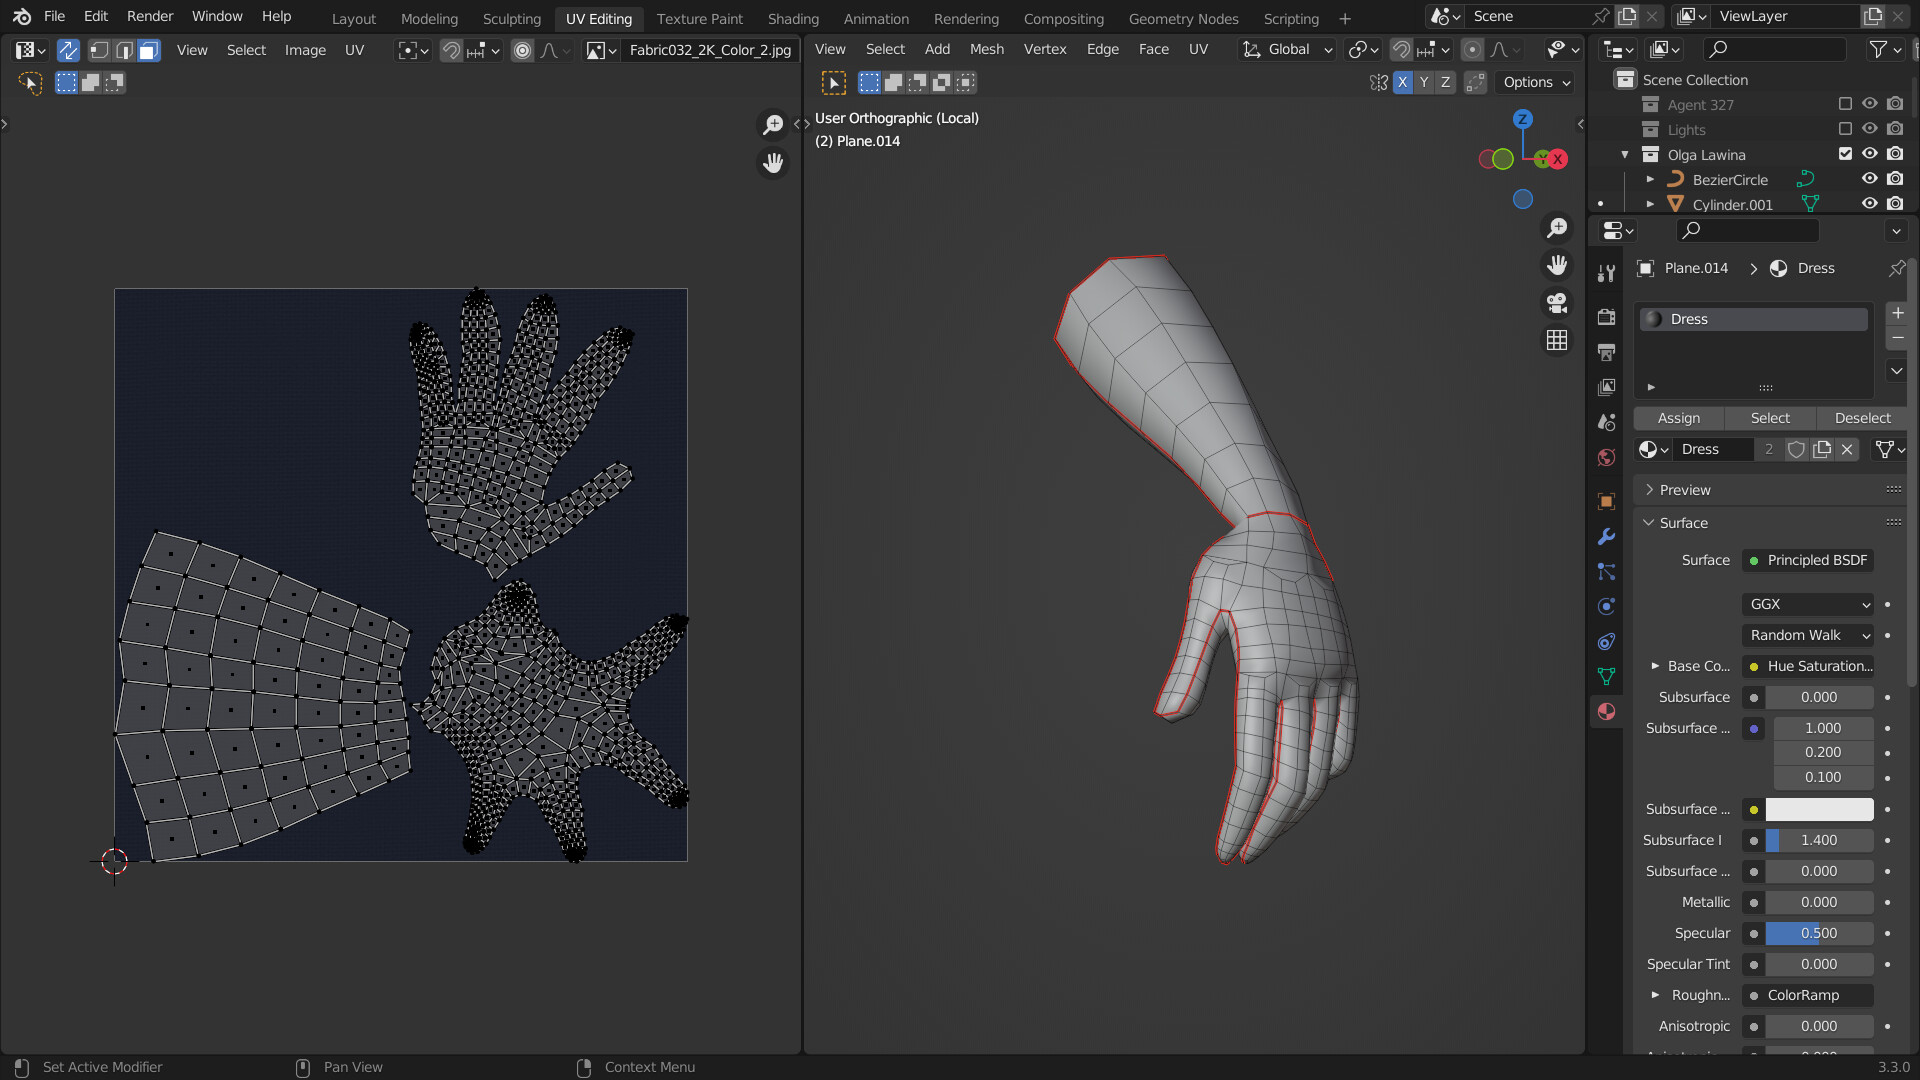

After UV unwrapping, the mesh is ready to be textured. I’m gonna use basic PBR texturing, texture painting, and procedural surfacing.
I love spending time surfacing characters because it’s literally a digital 3D coloring book ![]()
- 5. Surfacing
For the textures, I’ve decided to go for a semi realistic look of the characters. Trying to achieve that feature movie, “Operation Barbershop” look. As always, Agent 327 is first in the line for work.
I started by texture painting his head and hands.
For the color map, I mostly mixed yellow, red, and purple to get that nice color variation. More variation in the color gives better results. So I used basic pores as a texture mask to add additional variation to the skin color.
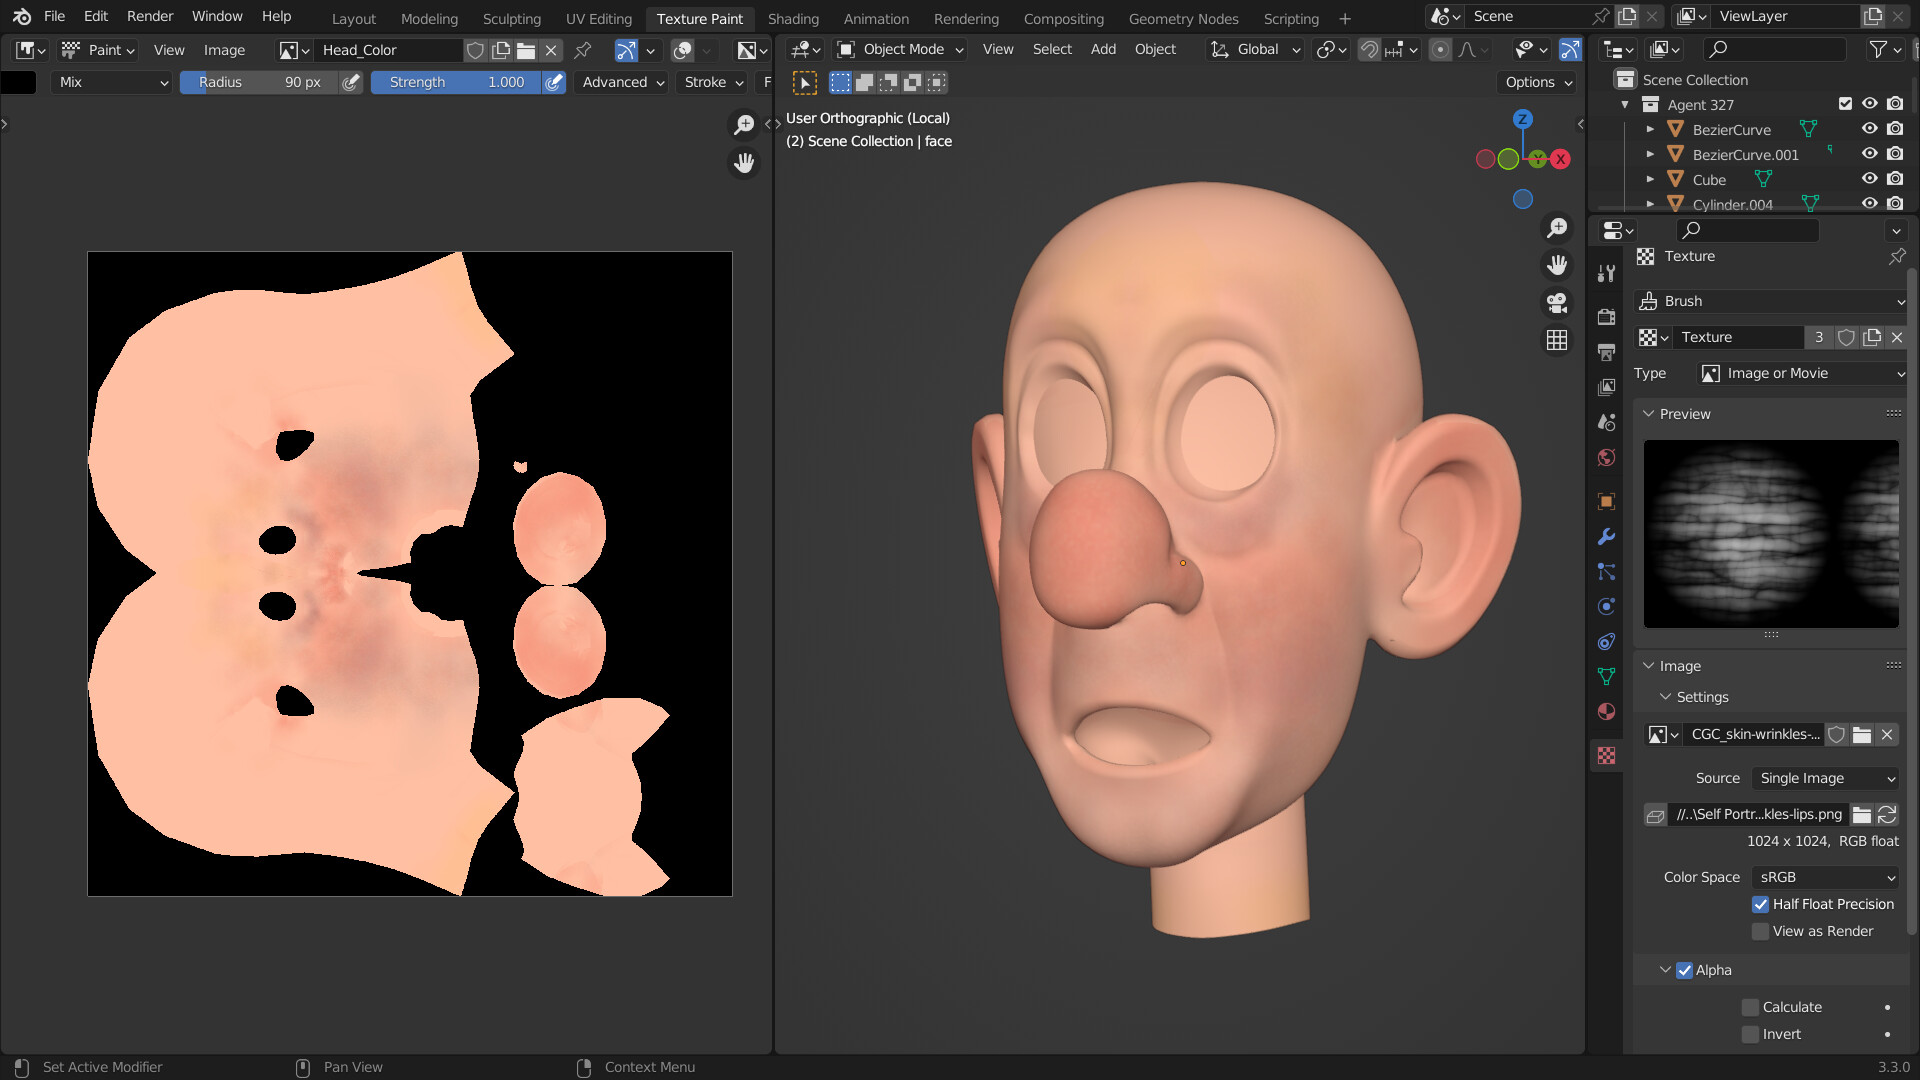
For the roughness map, I used the same alphas as texture masks and hand painted areas like forehead, nose and cheeks in dark, to get more of that glossiness. I also used some noise textures to procedurally generate simple skin pores all across the head and mixed it with painted texture.

And for the bump map, again I used the same alphas for pores.

For the coat and rest of the assets, I used basic PBR textures and basic procedural texturing.
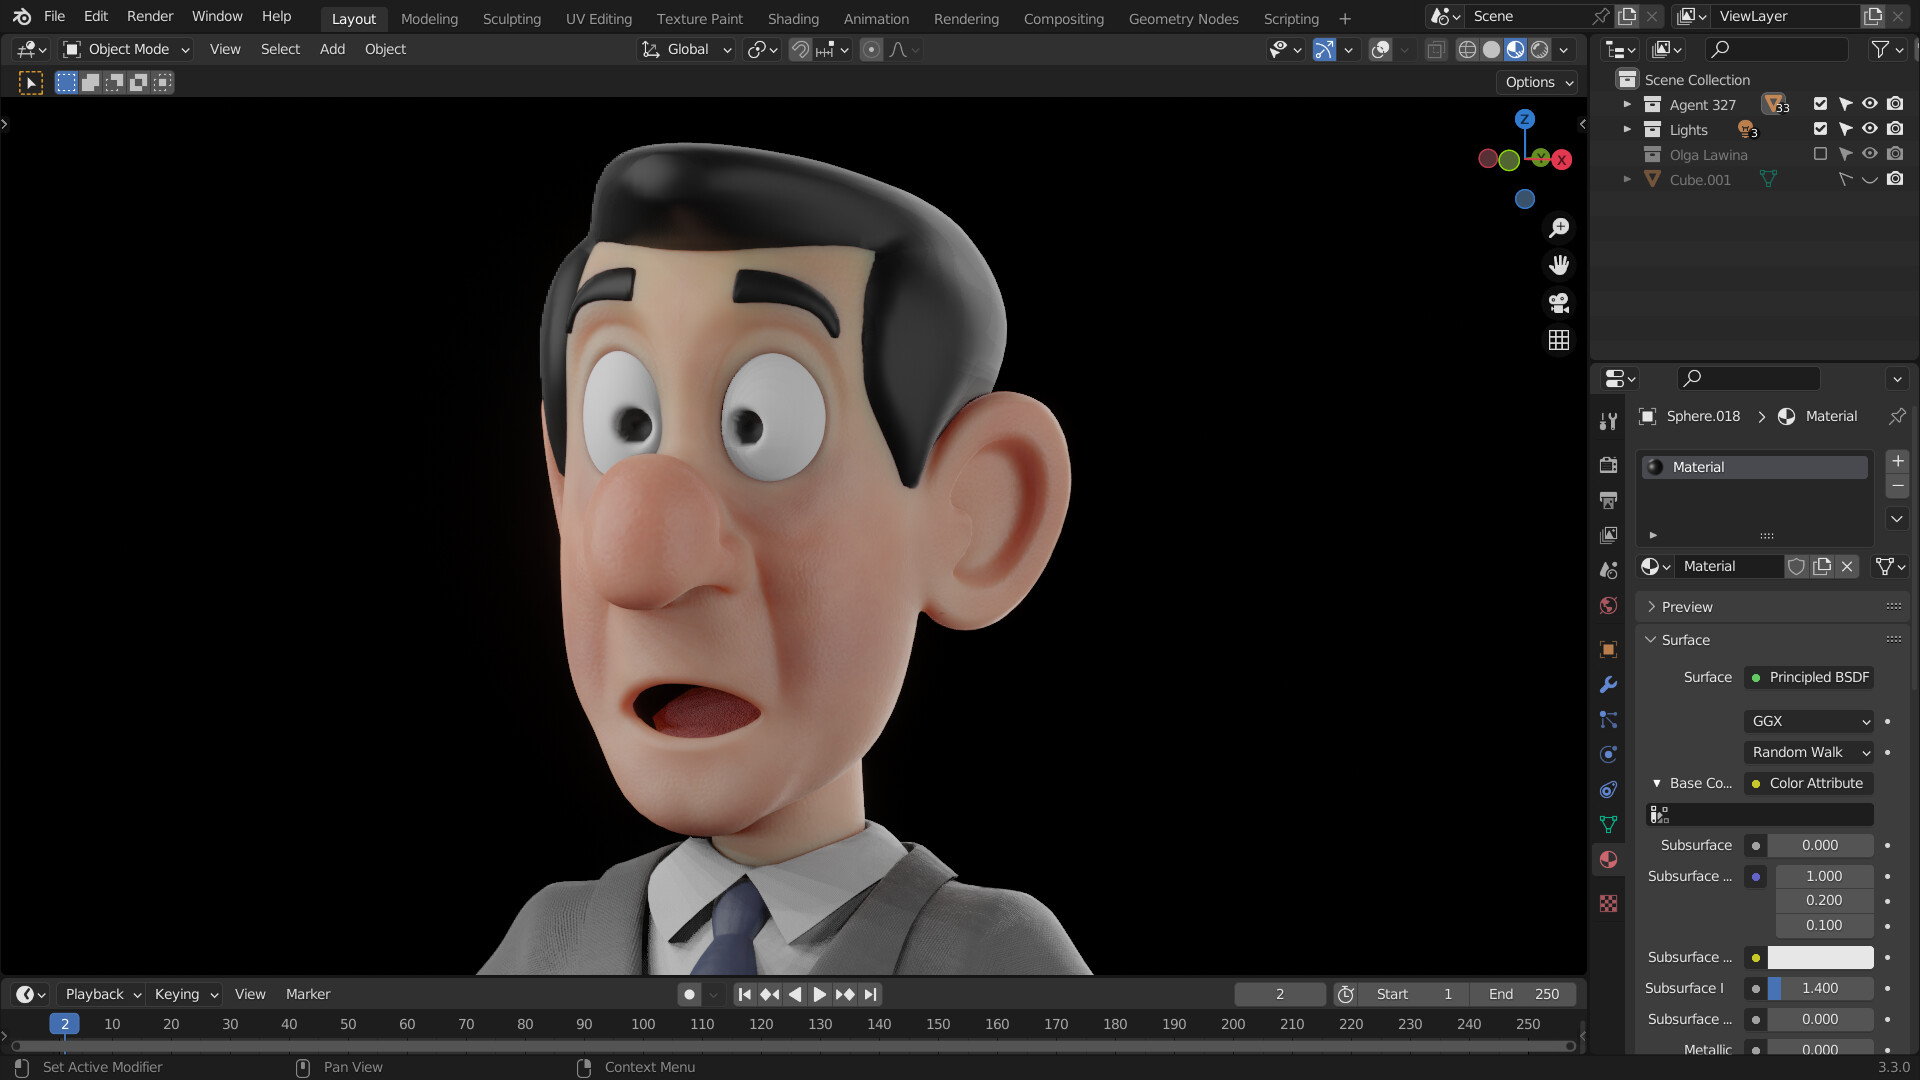
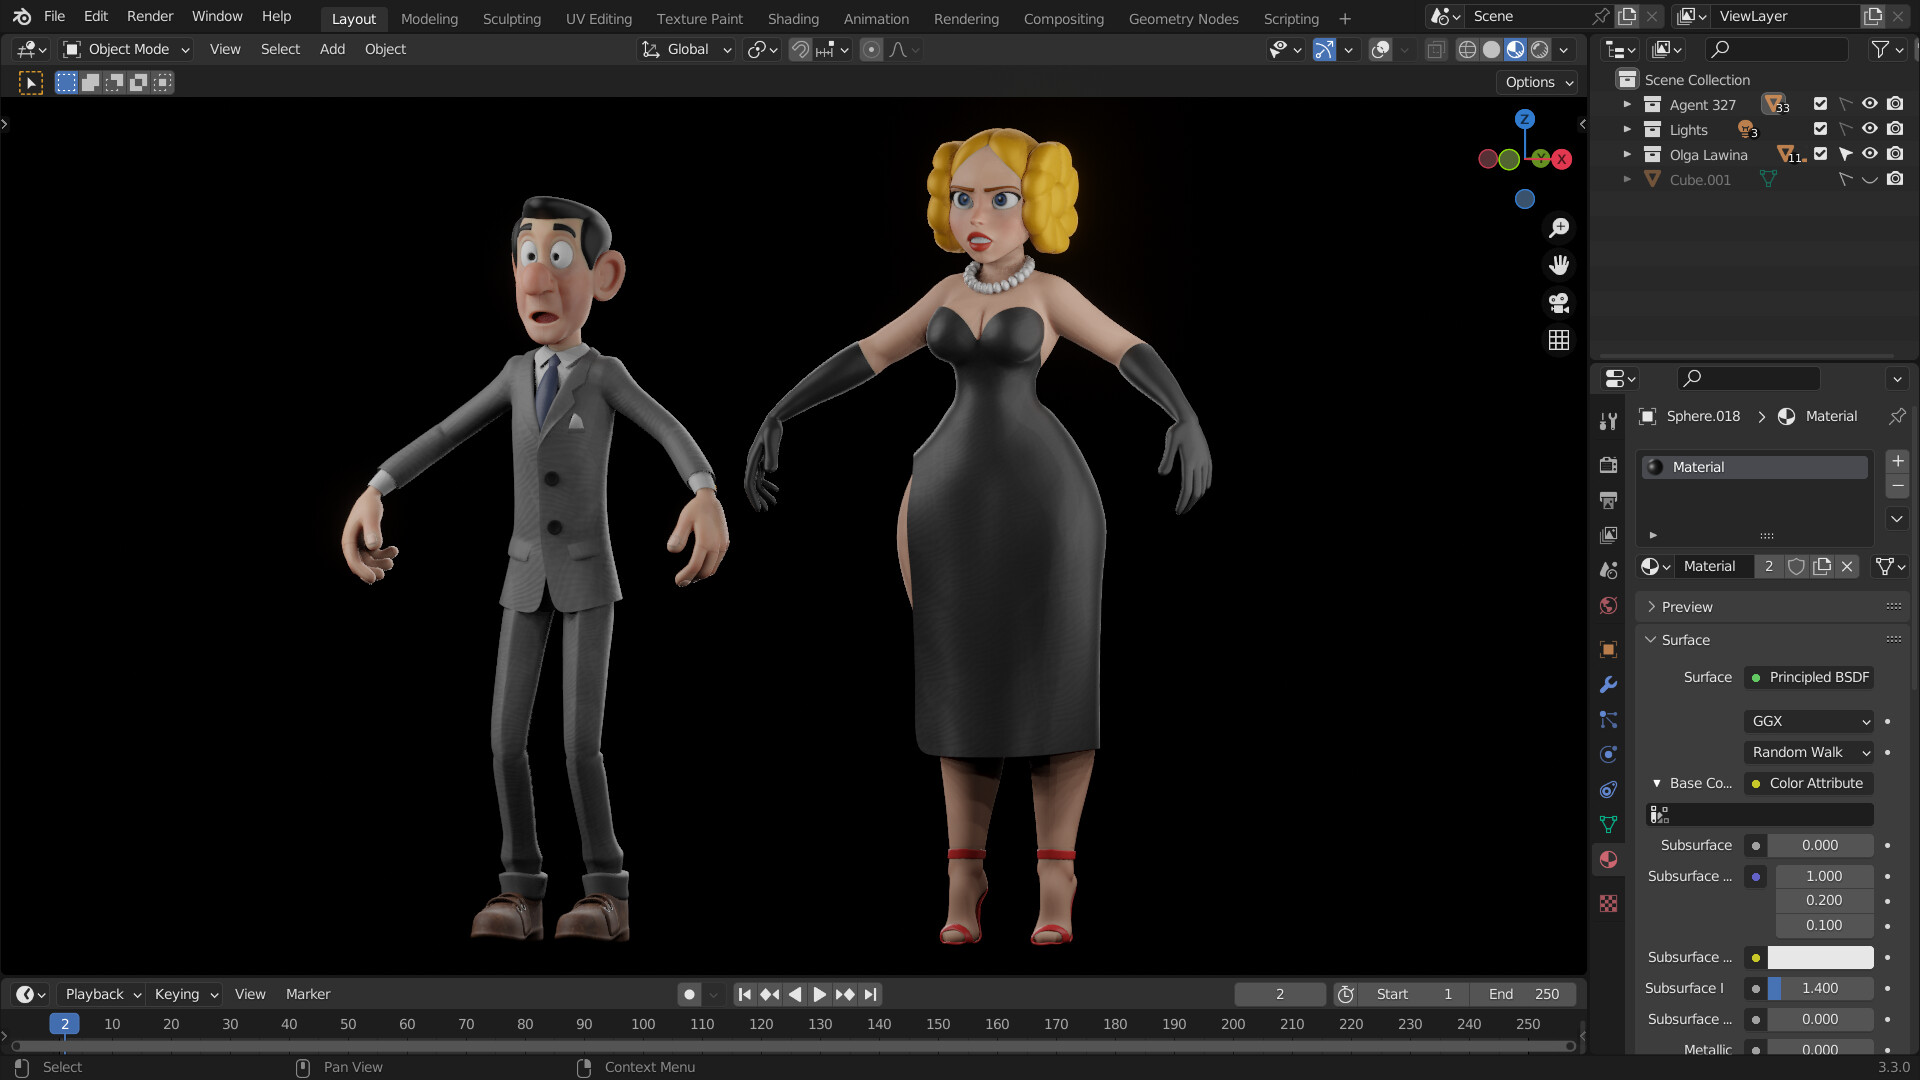
I went through the same kind of process for the Olga and here is the result.

Finally it was time to compare them together and see if their designs work together. Eventually I had to change some proportions until I was happy with their look overall.
I remember Julien Kaspar saying in one video: “If it looks good in the materials tab, it looks good in rendered”. I’m paraphrasing it, but it’s something that struck me hard and stayed with me till now.
- 6. Rigging
Finally it’s time to pose the characters. I used Blender’s basic Rigify meta-human rig with automatic weights. The result wasn’t perfect, but for my needs it was more than enough.


- 7. Posing and detailing
Finally it’s time to pose the characters and bring them to life! This is one of my favorite parts of the process!
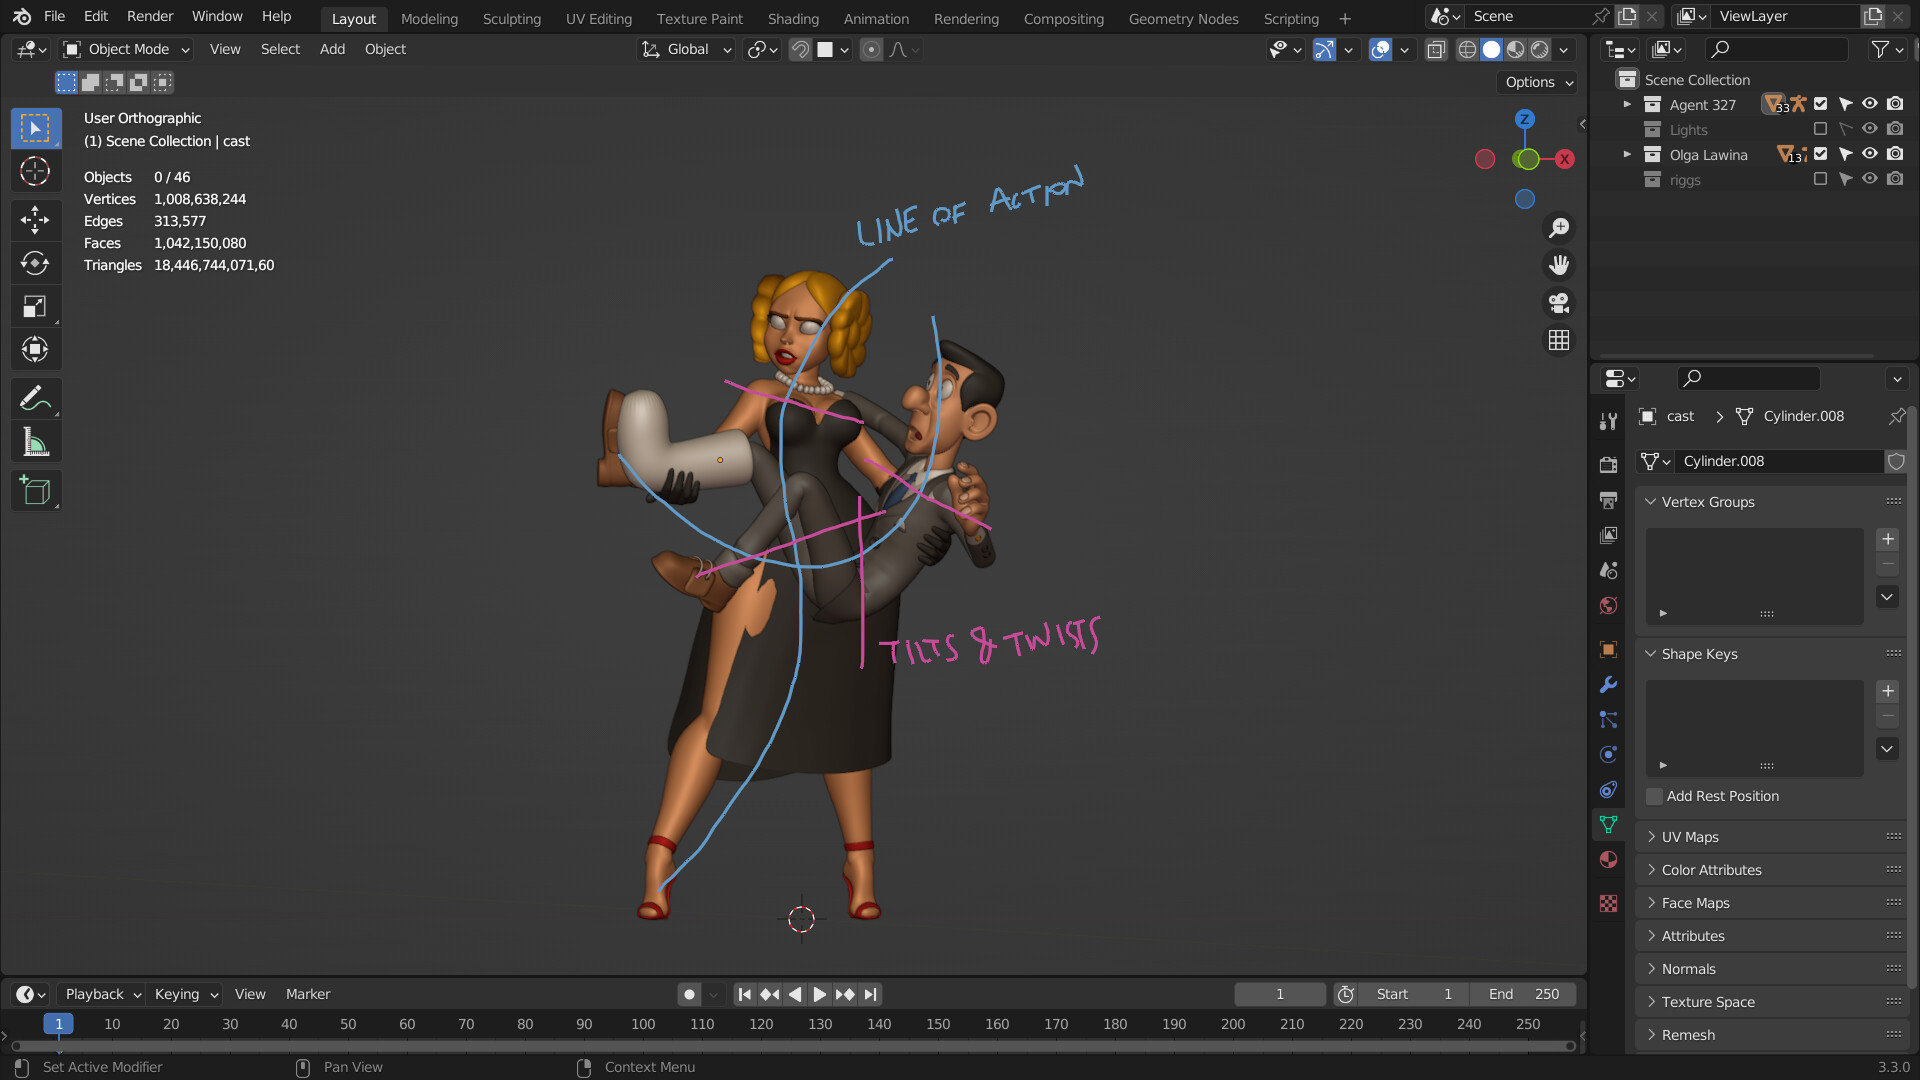
In the process of posing, it’s very important to pay attention to line of action, character weight and balance, twists and tilts etc. Achieving those things makes characters believable to the audience. Playing around the spine, hips and shoulders can give very nice and appealing results.
I’ve made some annotations to show some of my thinking better. The line of action should be clear, simple and flowing. Adding little twists and tilts in shoulders and hips can make a whole lot of difference.
After I’m done with the rig, it’s finally time for details. I spent a good amount of time smoothing shapes and forms, and fixing weird deformations from the rig. Adding asymmetry to character’s faces can add so much life to them.
This seemed to me like a good time to add smoke coming out of the cast. I went for more stylized look, and sculpted it instead of using alphas, so that it looks good from all angles
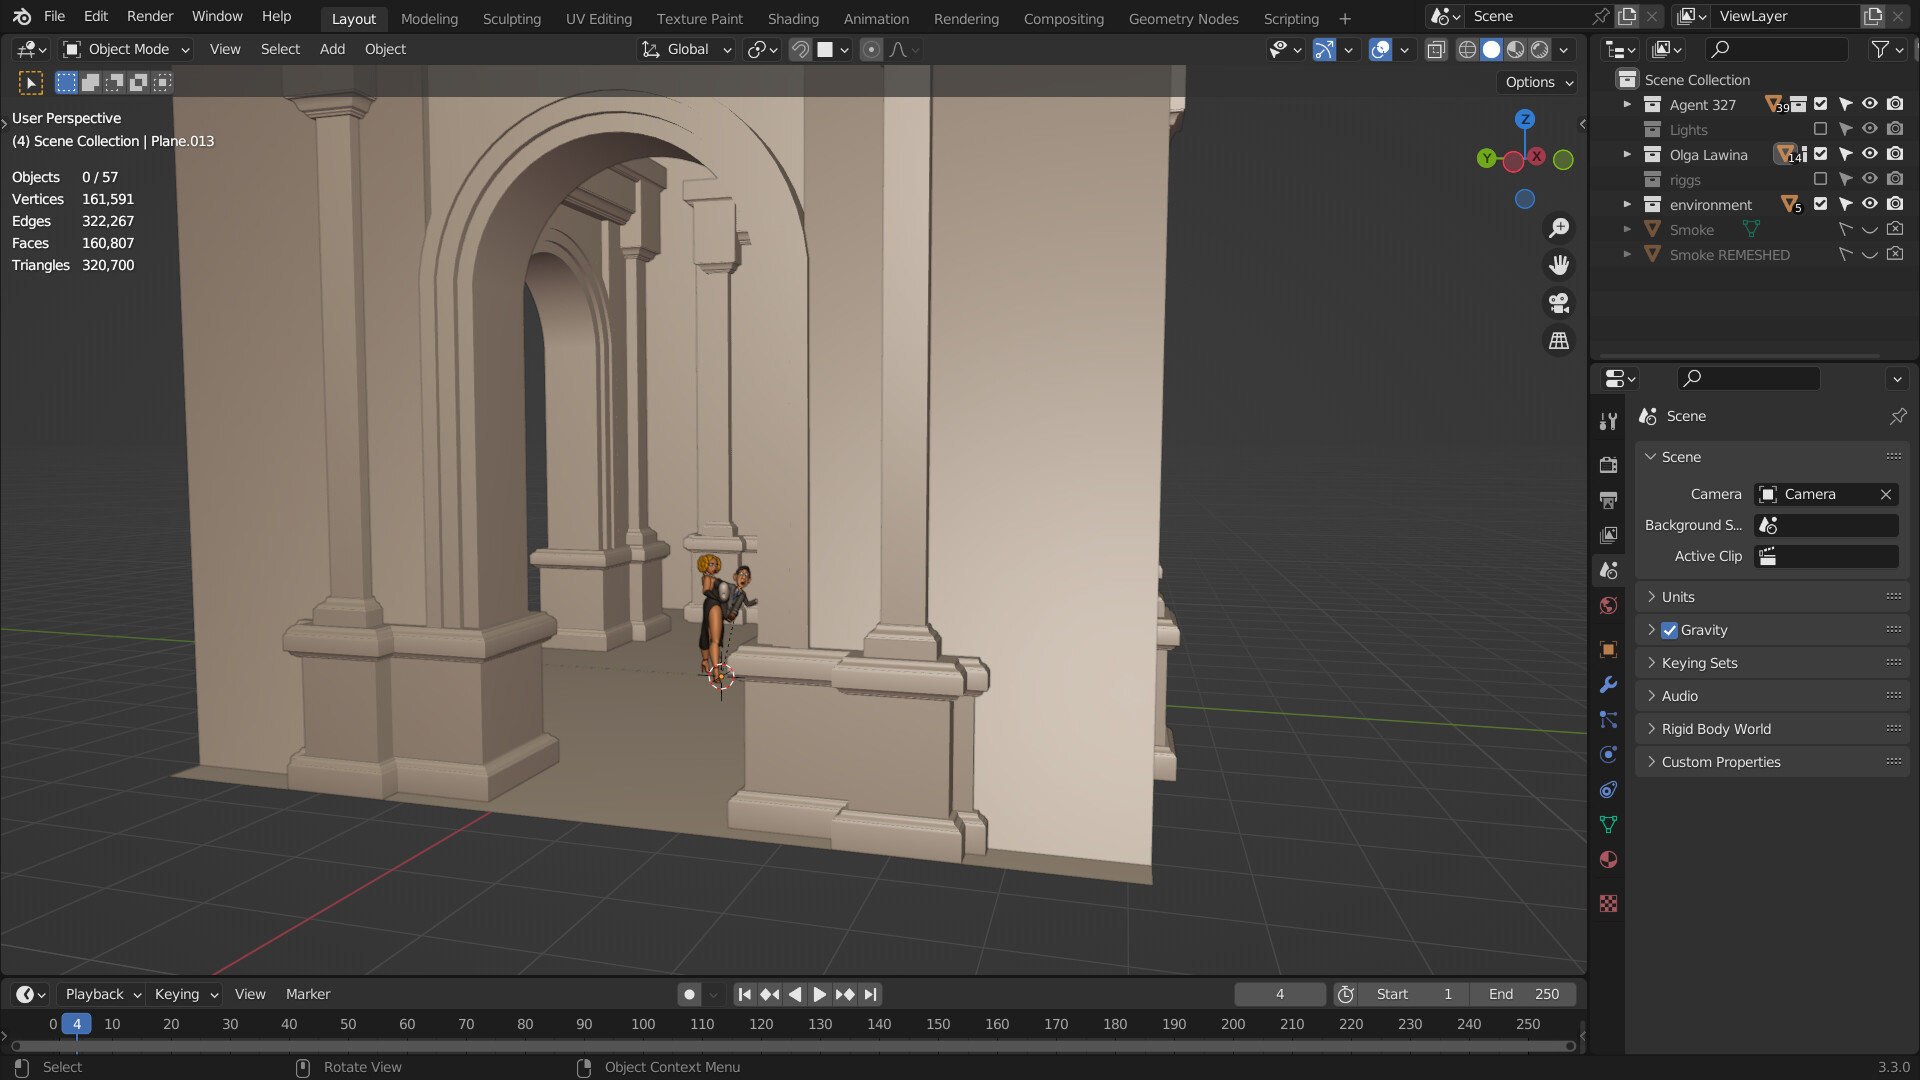
This is the viewport so far.

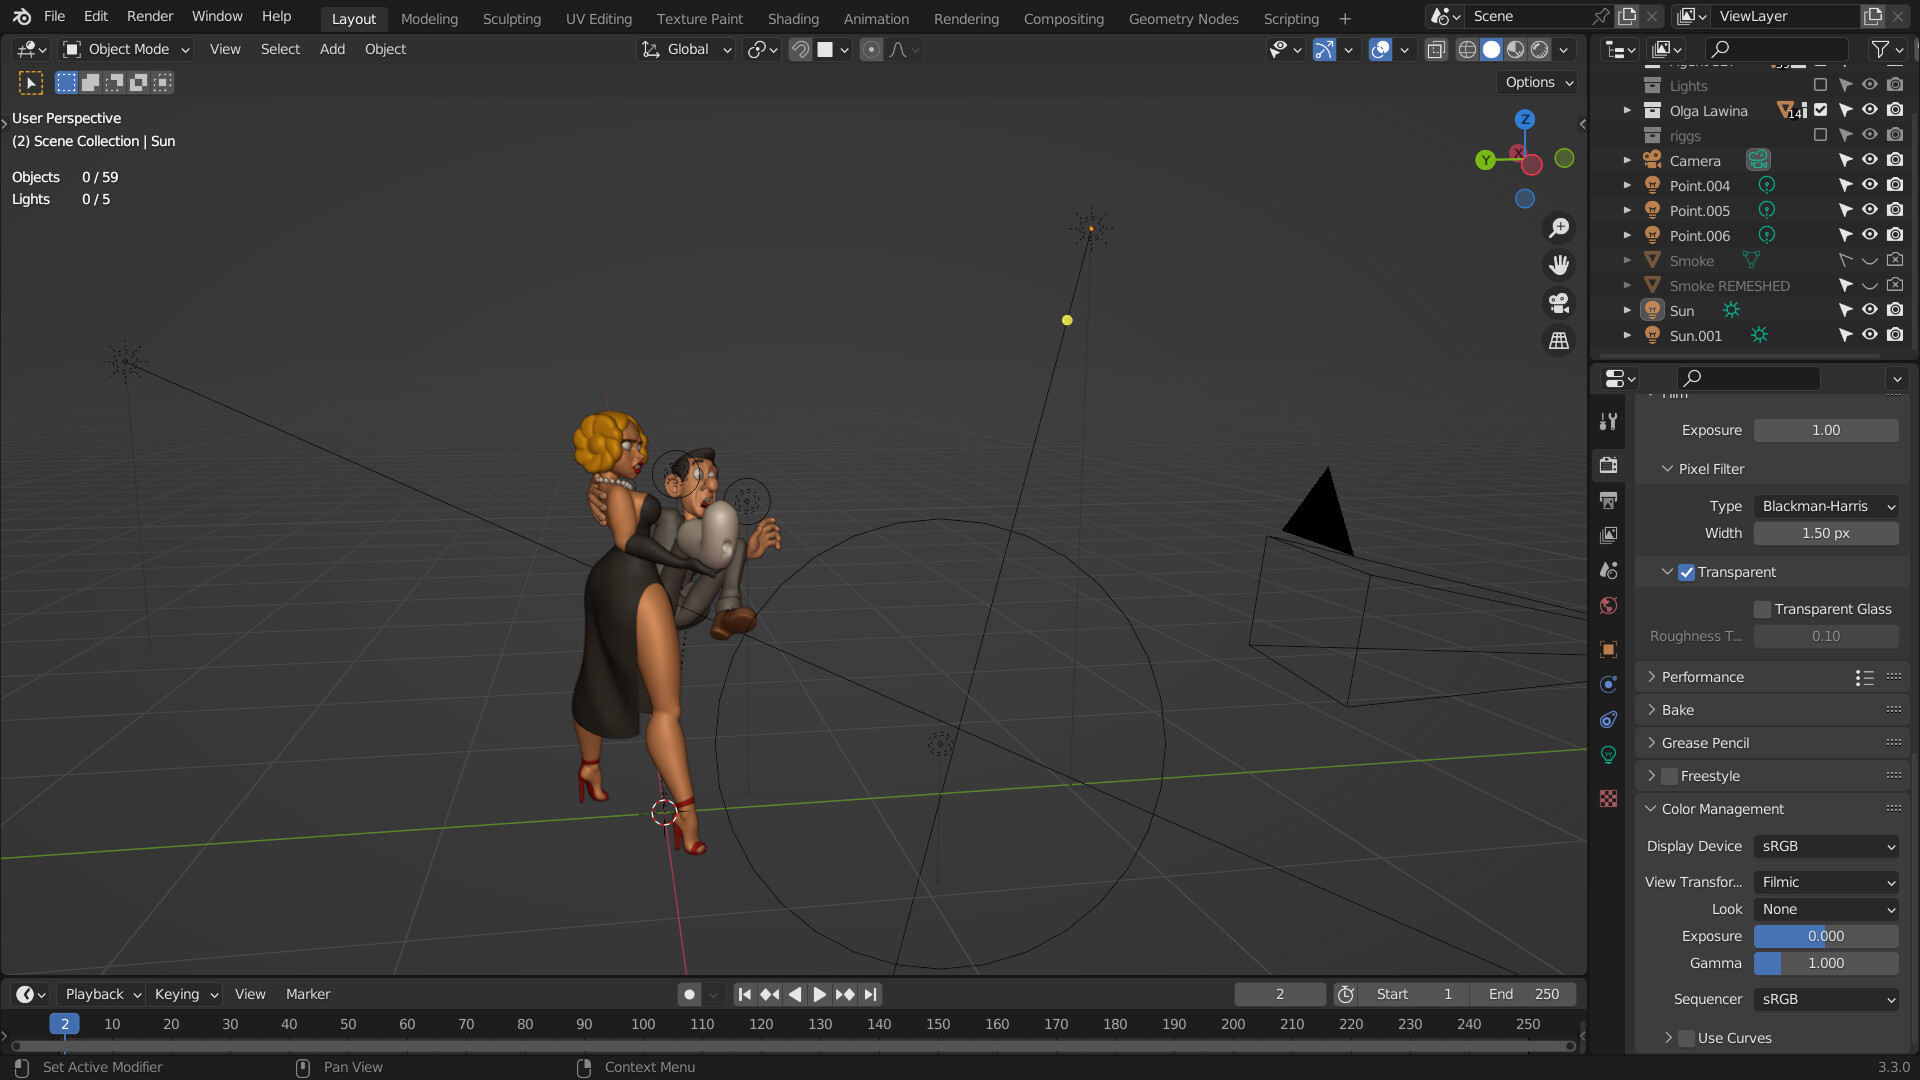
- 8. Lighting
Considering this is a pretty simple scene with pretty simple composition, I used only few lights. Basically, I just dropped two sun lamps that act like key and rim lights, and couple of point lights that filled some dark areas.
Lighting is very important for model presentation and for creating desired atmosphere. It’s also used as a composition tool so that the audience’s eyes are drawn to the important parts of the frame. Lighting is one of the key factors for good visual storytelling and it’s one of my favorite parts to play around with! ![]()

Here is the raw render. Raw renders are usually far from the finished product, because there’s still post production to cover. In this phase I’m re-rendering scene and looking for little details that I can fix like tweaking textures and shapes of the characters. I’m very time limited so I don’t want to spend it too much looking for small details. I’m rather focused on finding a good value for subsurface scattering, and for textures like bump and roughness.
Once I’m happy with the values and fixes, it’s time to tweak the colors and lights in the process of post production.
- 9. Post processing
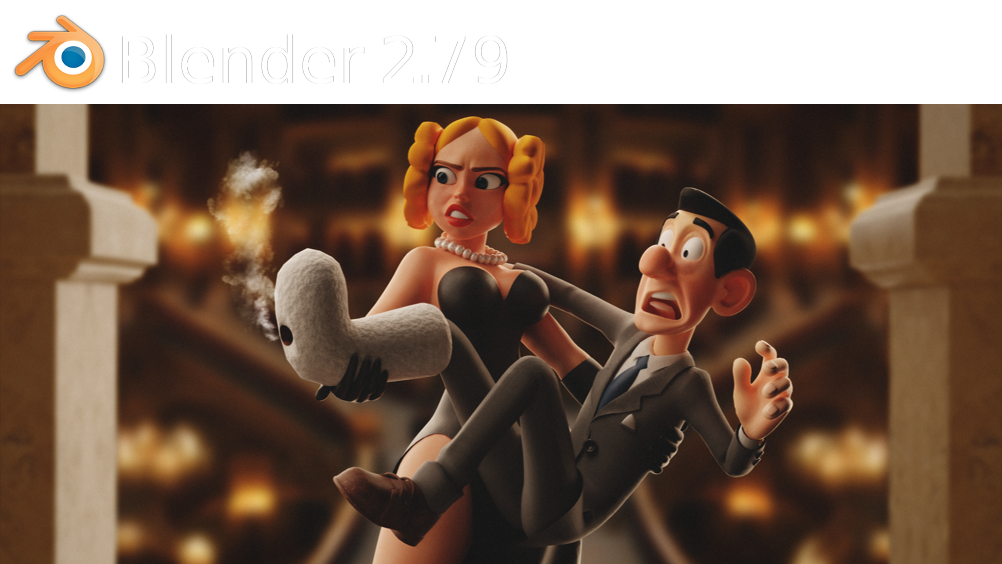
First thing that I did for the final editing, I went into a research to find a suiting environment for the characters. Right from the start, I knew that I want it to be a luxury interior (you can already tell by Olga’s dress). I felt that would be a good fit for two secret agents ![]()
So after a lot of exploration, I came across the Opera Garnier located in Paris. The opera house is very luxury, has that yellowish golden tint and perfect cinematic lighting. I could definitely see some spies in there!!
So for starters I’ve placed image of the interior as a background. I tweaked some contrast and brightness for both characters and background and also decided to add alpha smoke, just for the final render so that it looks more believable. I tweaked curves just a little bit and added just a touch of gran and vignette for that cinematic effect.
Here is the final result.

- 10. Uploading to Sketchfab
I took some time to figure out how would I present the model on Sketchfab. I was sure that I wanted it to be some kind of diorama. So I’ve modeled basic architectural arcs around the characters.
The next step is to bake all the materials to only few textures. It was actually very fun to lay out all the UVs to one map, kind of like a puzzle ![]()
Just want to mention that all of the textures are from this website: https://ambientcg.com/
Opera Garnier image: https://commons.wikimedia.org/wiki/File:Opera_Garnier_Grand_Escalier.jpg
I ended up baking 4k textures for color, roughness and normals. I didn’t really know how would it run on Sketchfab, but there was always an option to reduce the size of the textures for better performance.
When I reflect on the past two weeks, there was so much blood, sweat and tears brought into this model. I started my project quite late, and had so much work to do. I was very ambitious about it. Not one, but two characters from scratch, and with two weeks left to deadline. I knew this was the greatest 3D challenge I ever faced and from the past projects I knew one thing from the start - good planning and idea development will give me a solid base to start building on.
That is exactly what happened. I was excited but nervous at the same time. I had my idea, but I wasn’t sure I can make it in time. Since that Thursday, I lost all my social life and side activities so I can spend time modeling all day, every day. And it was very fun at the beginning, but after some time, I felt burnt out and tired of looking at the same old scene every day for so long.
Looking back on it, it was hard but it was fun overall. My own abilities were put to the test and I certainly recommend everyone to do it at least once. There’s an important lesson I learned during these past two weeks. I learned that I should just keep going with my projects. Often times I would find myself tweaking small details and exploring ideas during sculpting, modeling or texturing phase, which can make the project unnecessarily longer and demotivate the creator early. For this project, there wasn’t time to lose, so I just did what I could and what I knew I wanted and fixed everything else later. That showed me the non destructive process of character creation that I didn’t see or experience before. And the WIP journal helped me a lot with keeping my thought process visible so I could stay on the right track.
Seeing all these beautiful reimaginations, it’s a true honor to be part of this challenge and this fantastic Blender community. ![]()