WIP: Secret Deer Recreation (Make a Splash in Amsterdam)

Introduction (who I am)

Hello, I’m Erika, a 3D artist and video editor with 10+ years of web/graphic design experience. It might sound odd, but changing a career path after turning 30 is generally considered impossible, and 3D commercial art is still not so much common in the country where I live. So, while I was always wanting to make a living with 3D art, finding a chance was very hard and my work history was built like that.

But, thanks to Blender being FOSS and developed amazingly actively, recently I finally got an opportunity and started working as a 3D artist for an animation studio after the three years of self-learning period.

So, I decided to submit to this challenge to tell the Blender team and the community “thanks”. I can’t be happier more if I get a chance to tell it to them face-to-face in Amsterdam, for sure.

The Concept

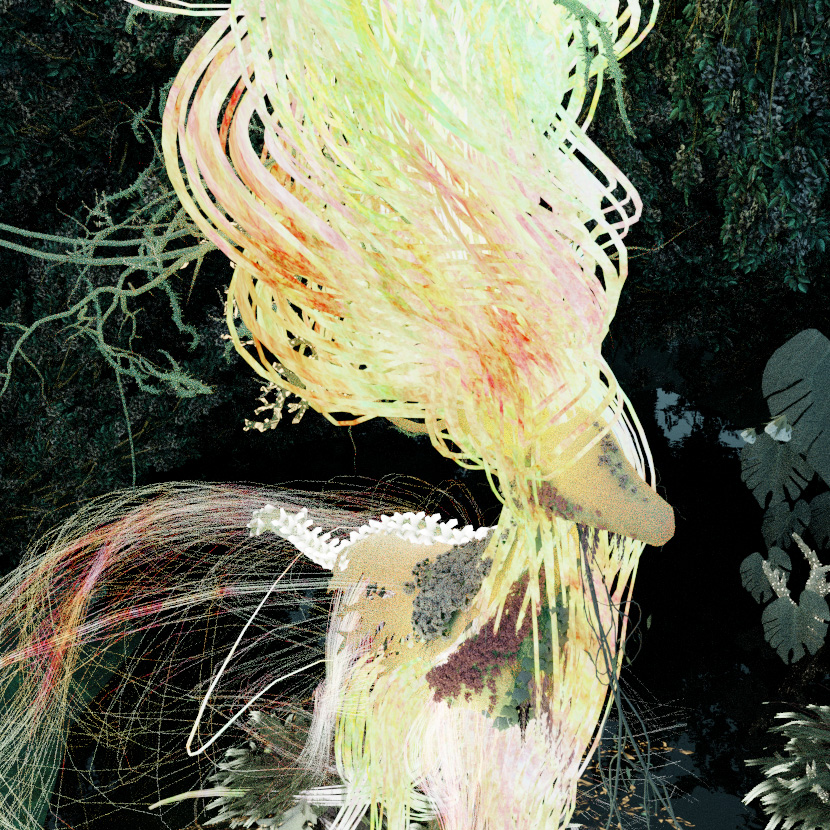
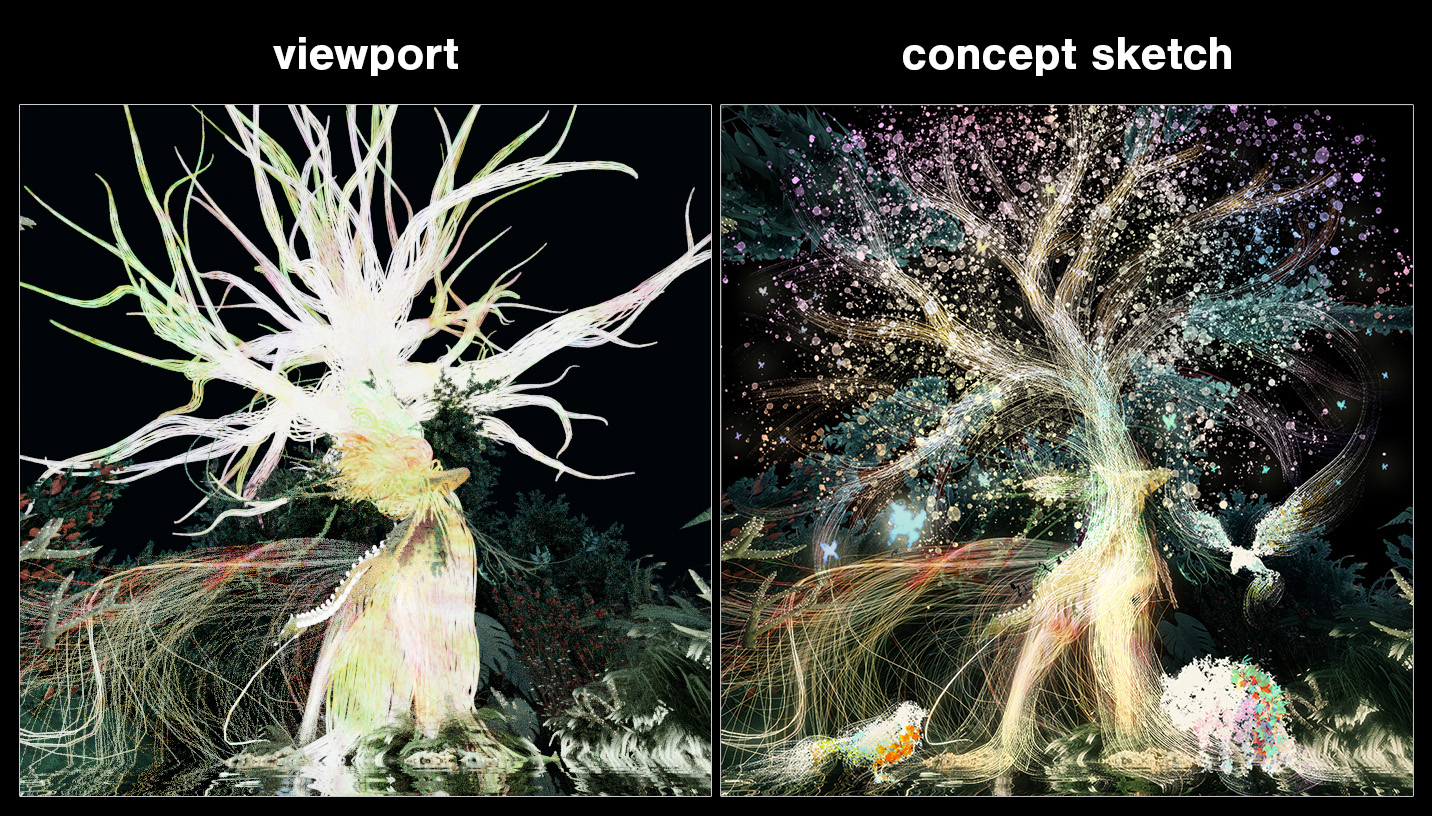
The splash screen art I chose to recreate is Secret Deer. Here is the concept sketch:

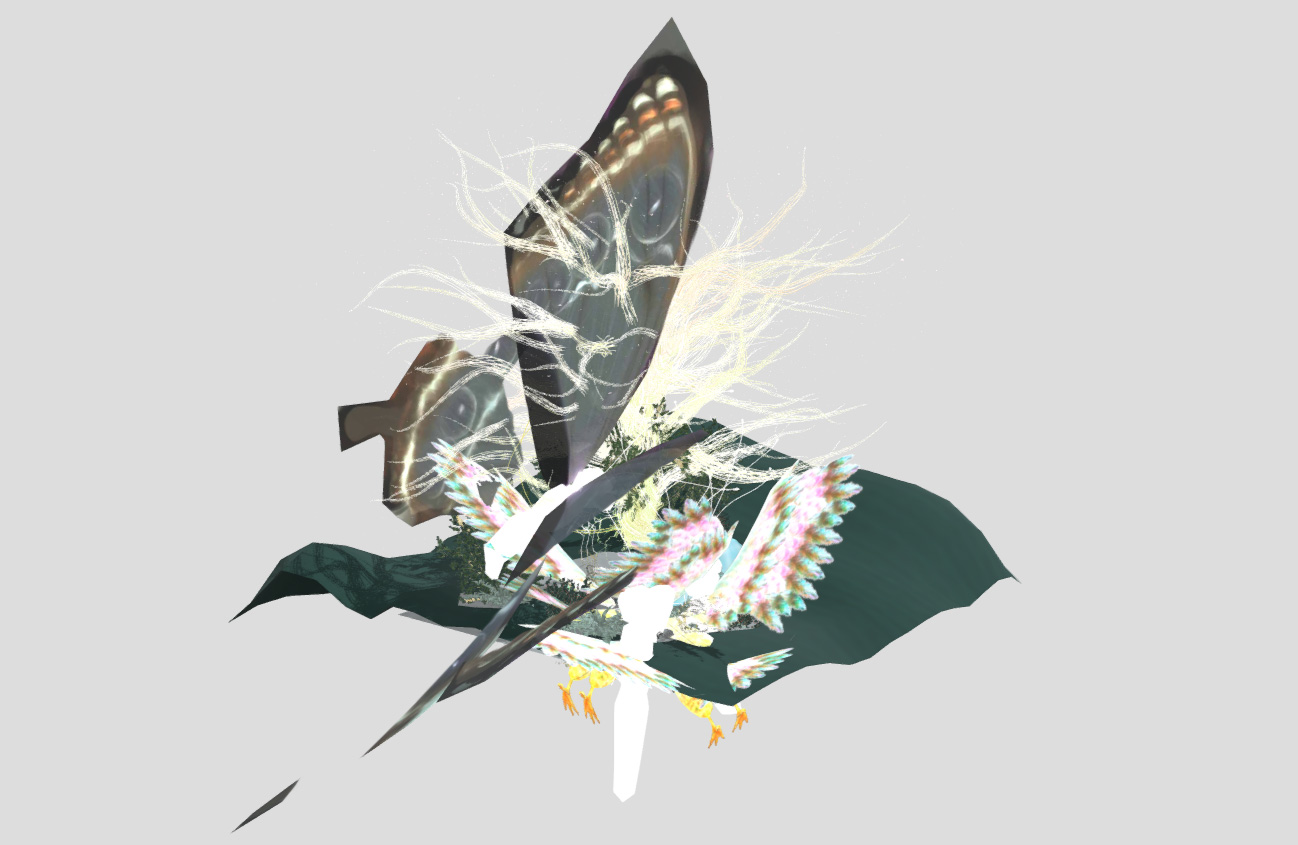
Imagined what happens next based on the original concept, I thought

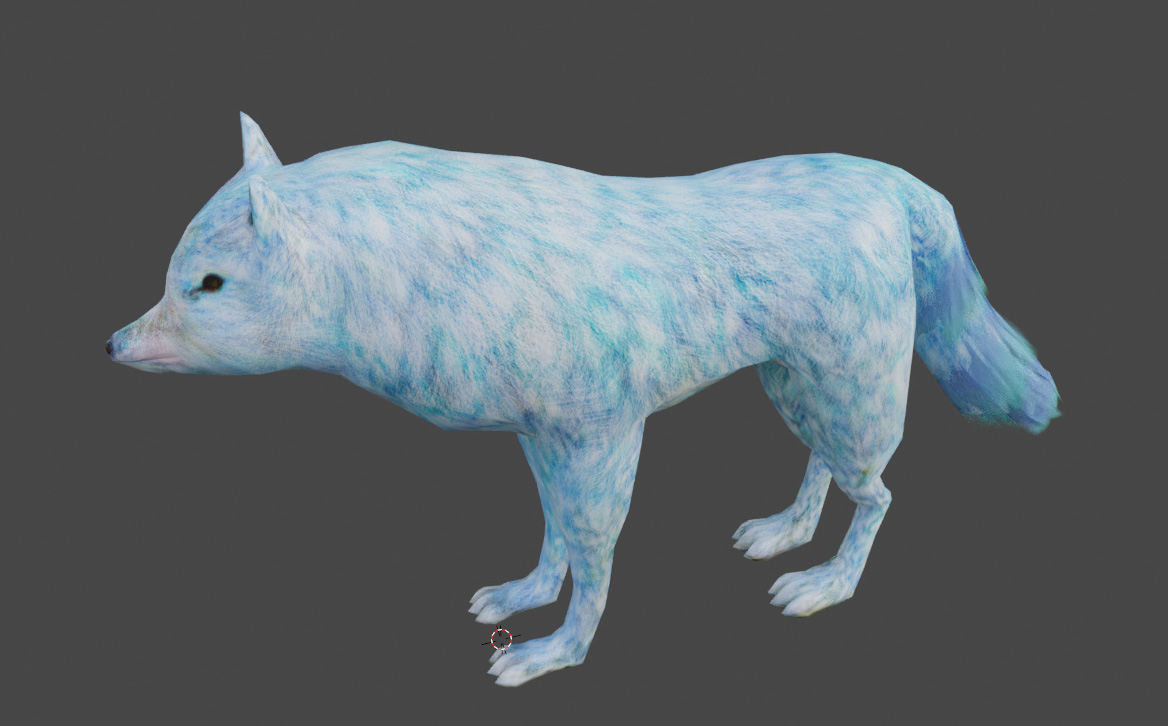
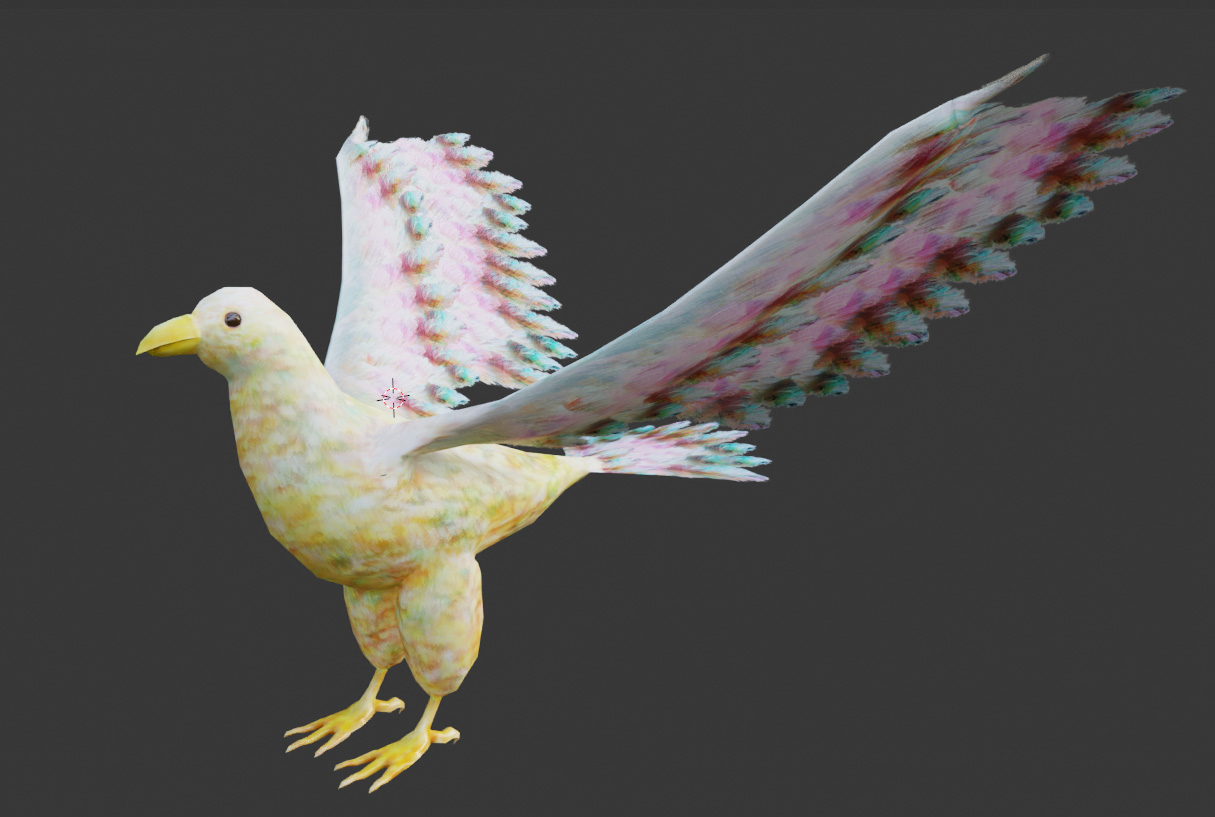
  • The energy flow emits from the deer will call or attract other creatures.
  • These attracted creatures will emerge around the deer.
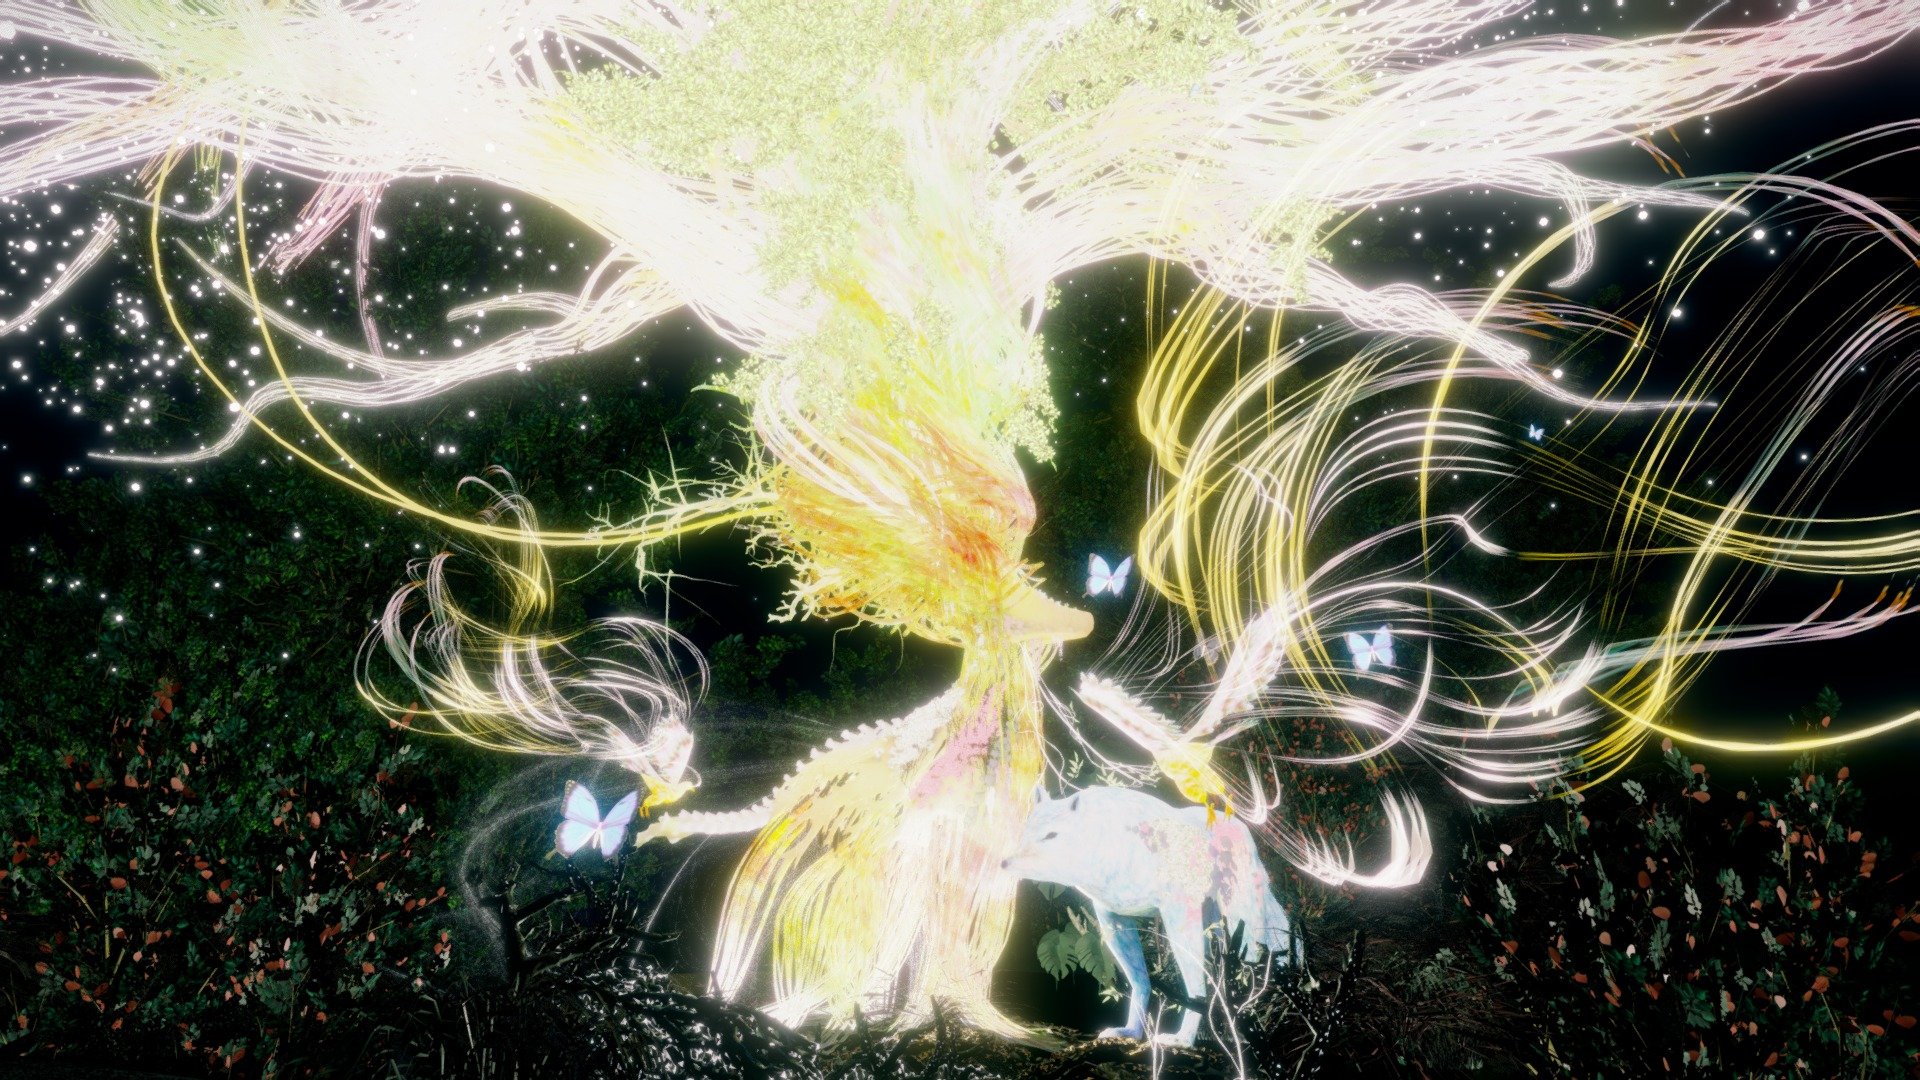
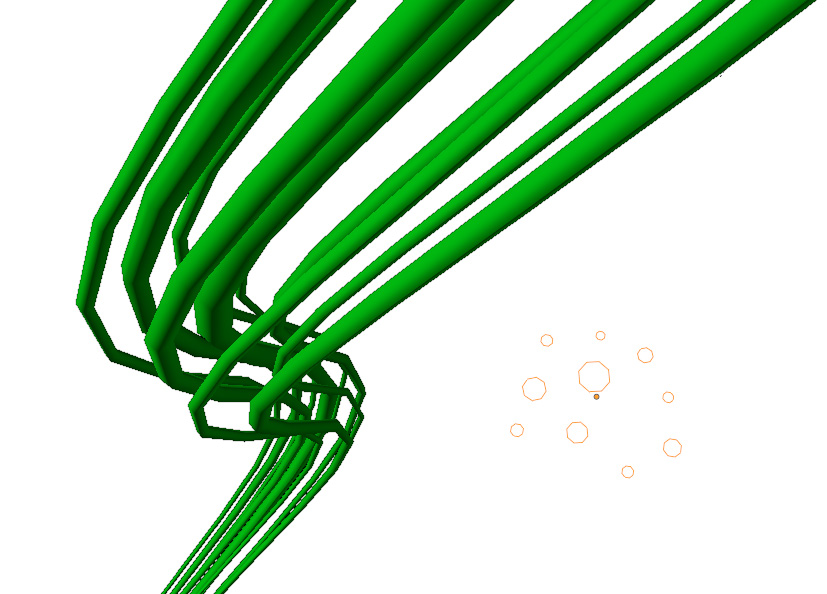
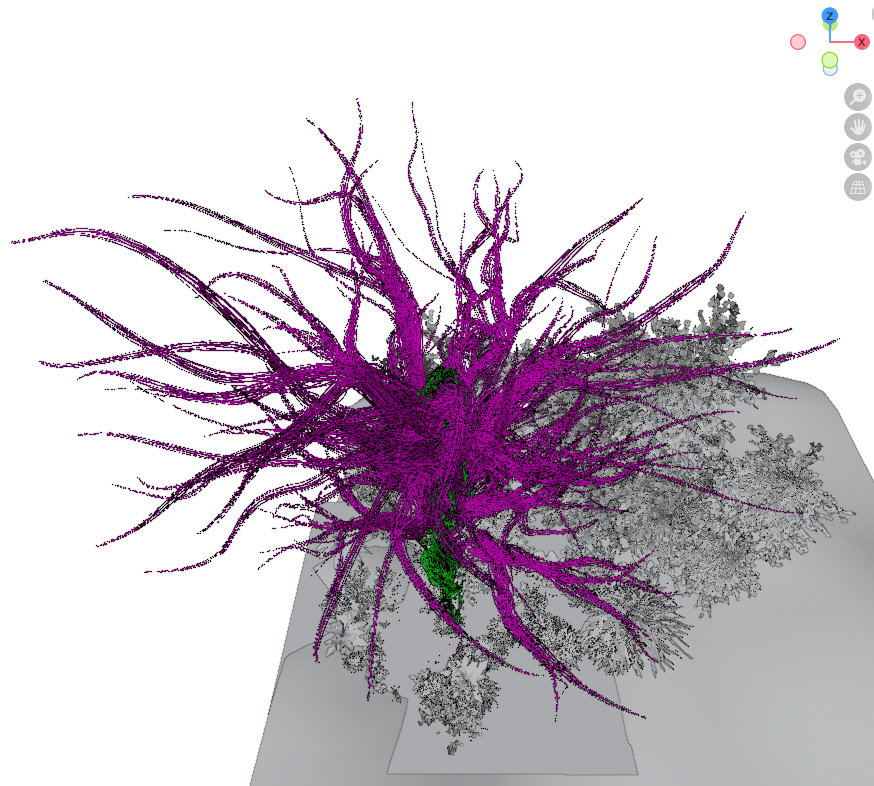
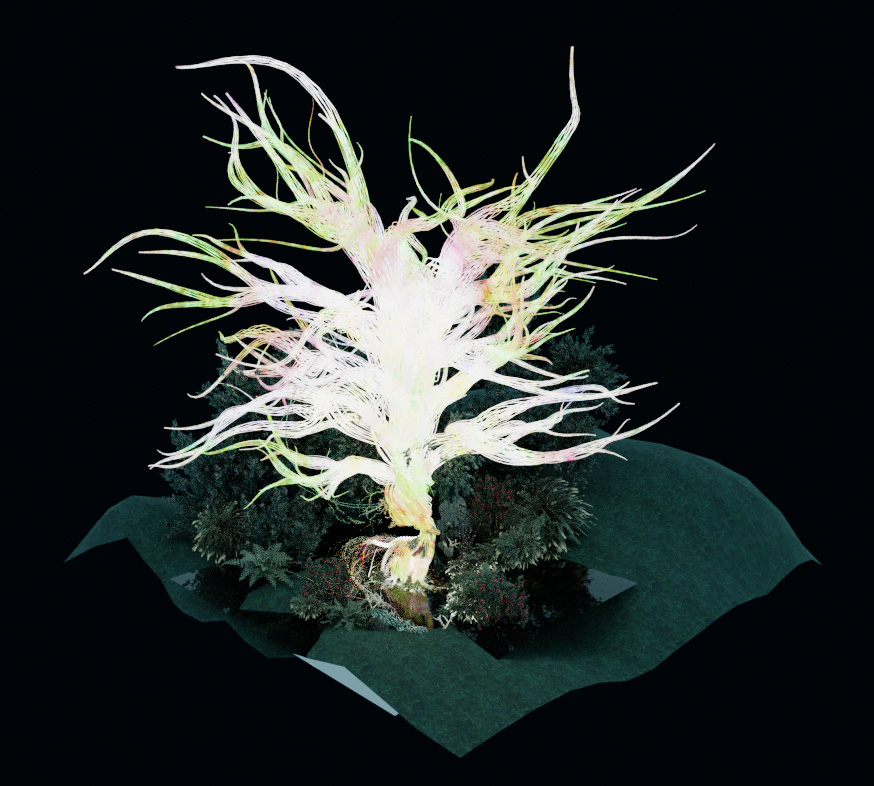
  • Their energies will unite, and create a single, yet bright and harmonic phenomenon: the tree of positive energy.

Because it seems that there should be other mythic creatures merged with the environment in the forest. And I wondered how they would communicate with each other.

The original concept for a reference (quoted from Behind the Scenes: Secret Deer)

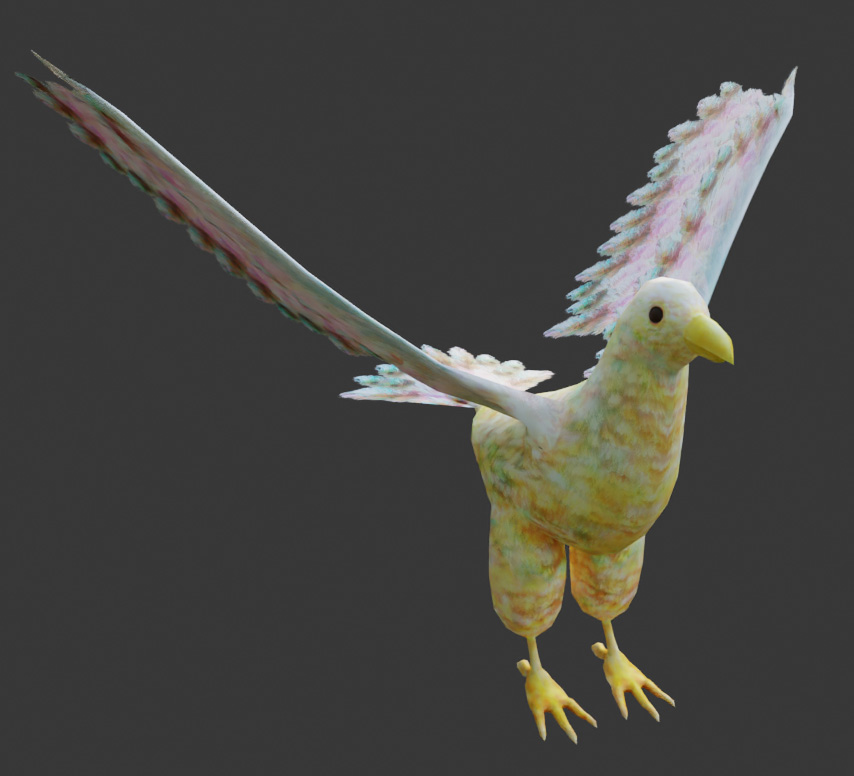
I wanted to make a creature that was physically and metaphorically merging with the environment, while also allowing the environment itself to inhabit its body, with flowers and corals growing on its skin and glowing energy flowing through.

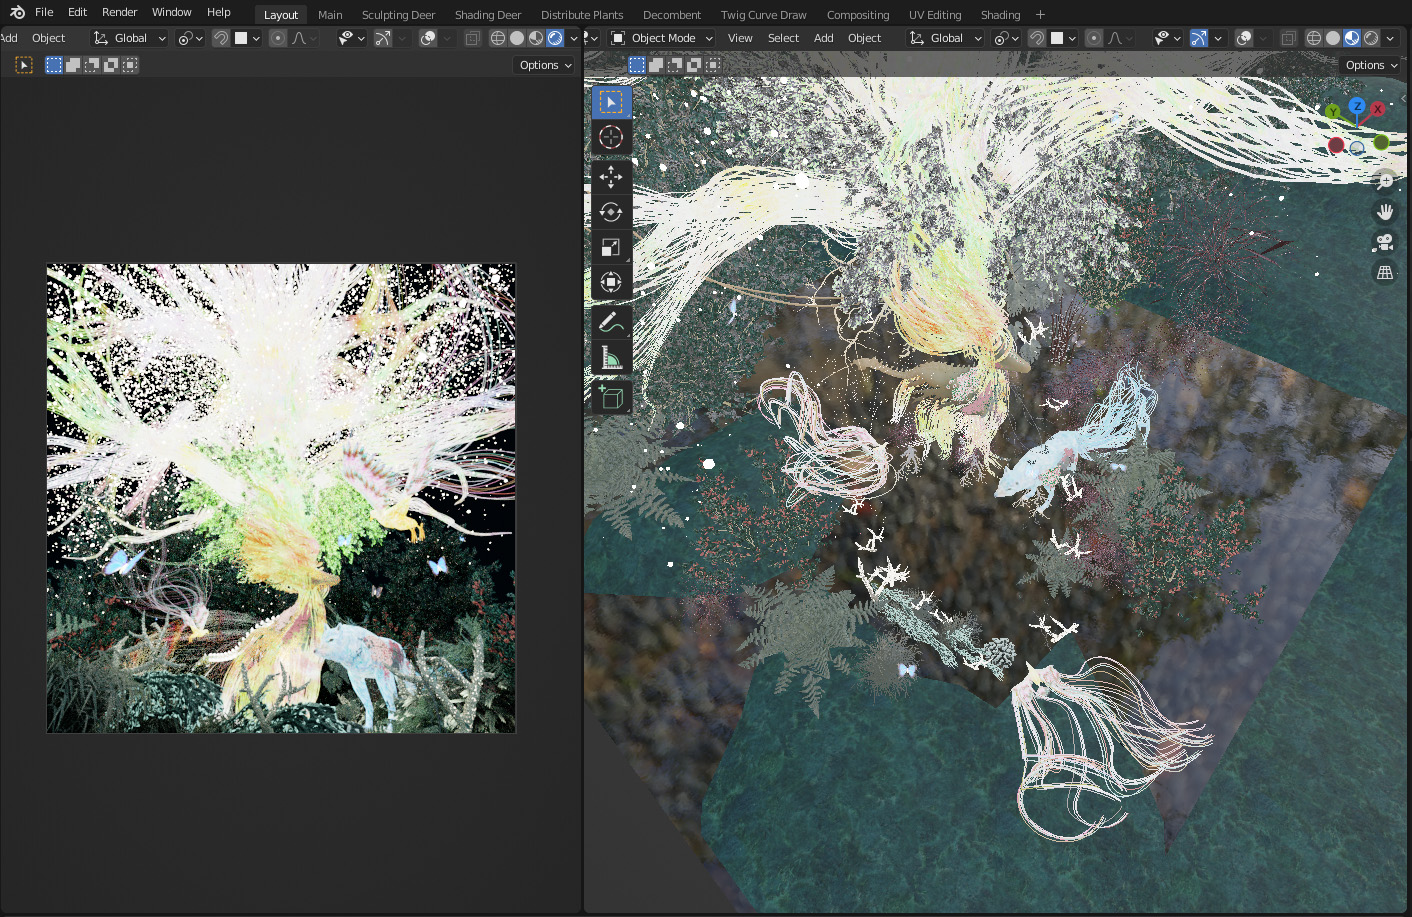
Possible Technical Challenges

Since Sketchfab (free-tier) has some technical limitations, following things can be challenging:

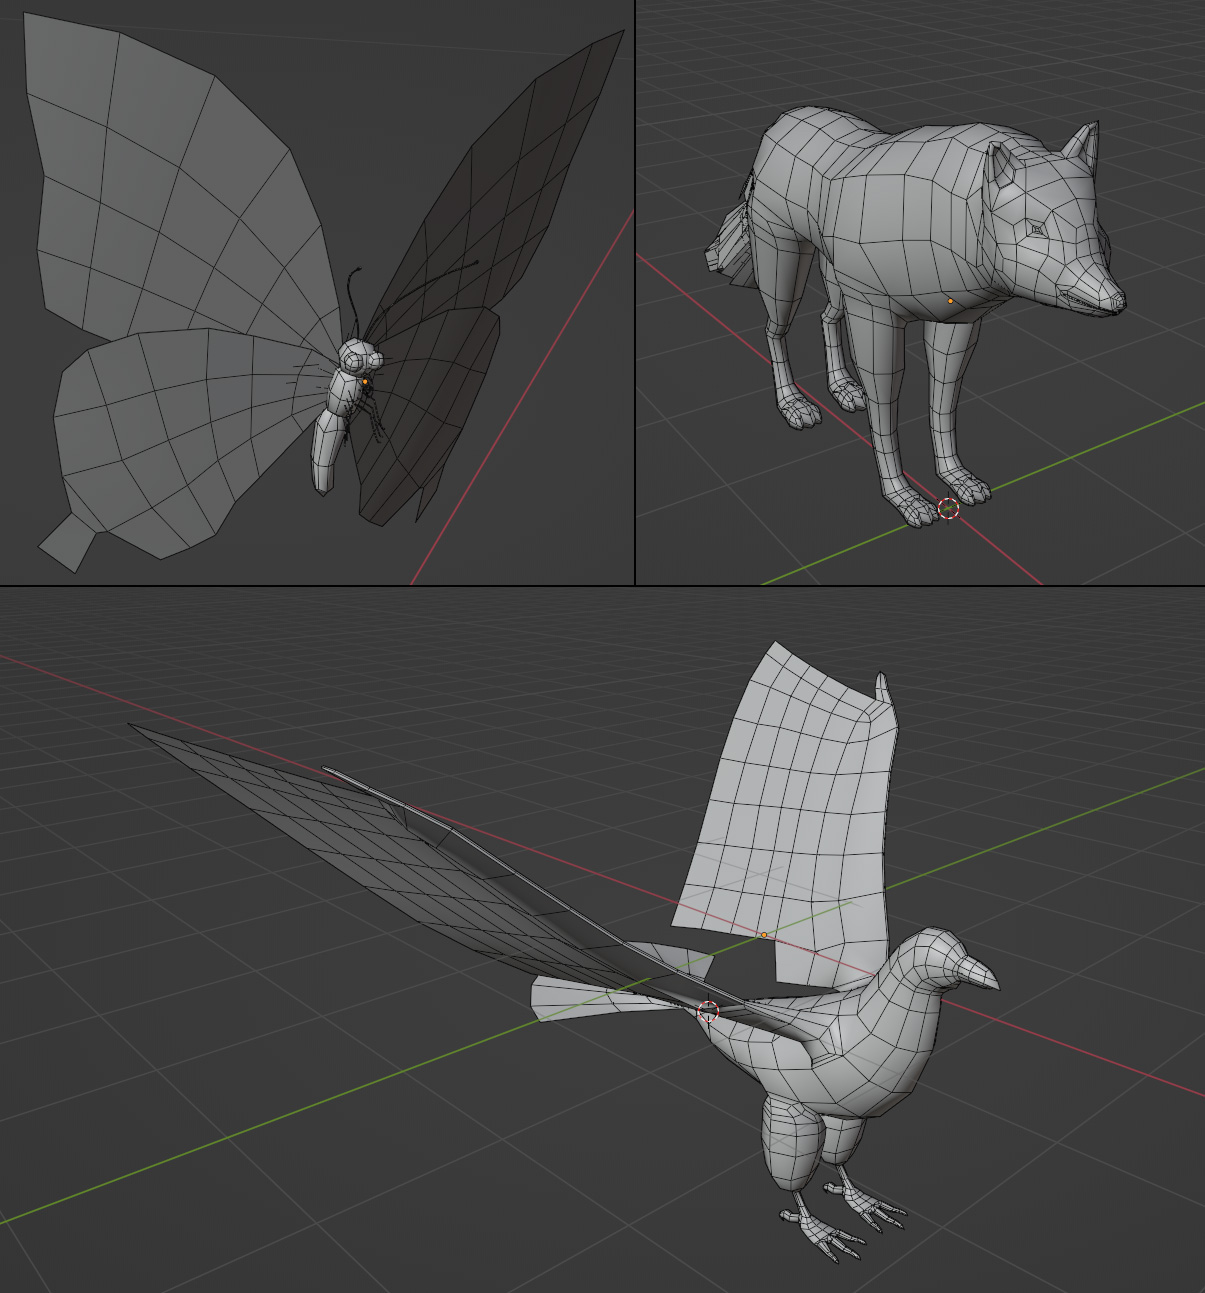
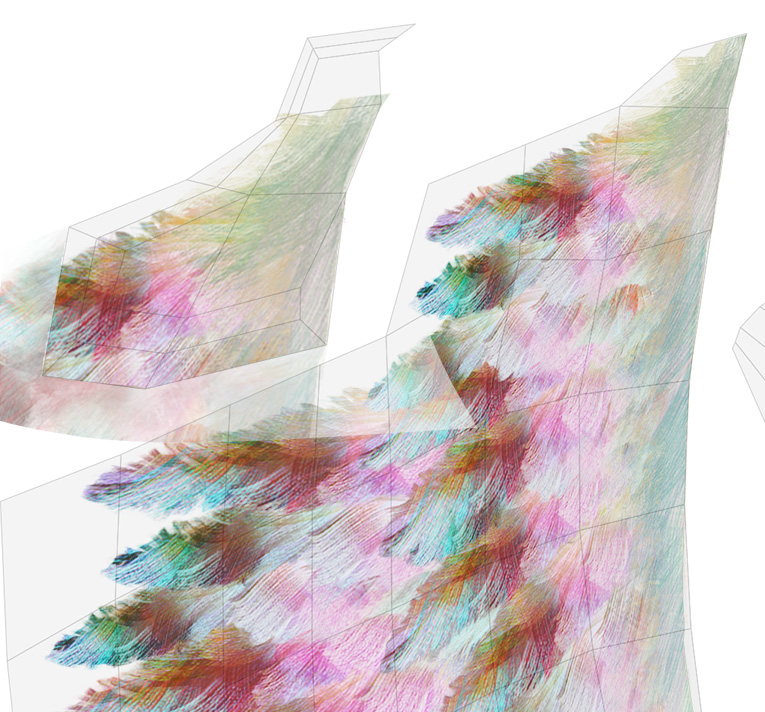
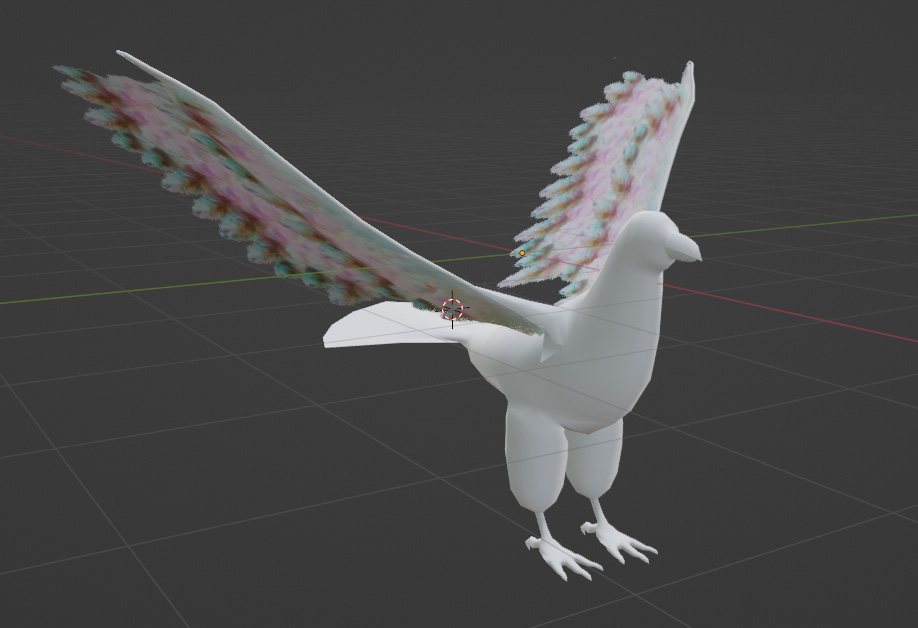
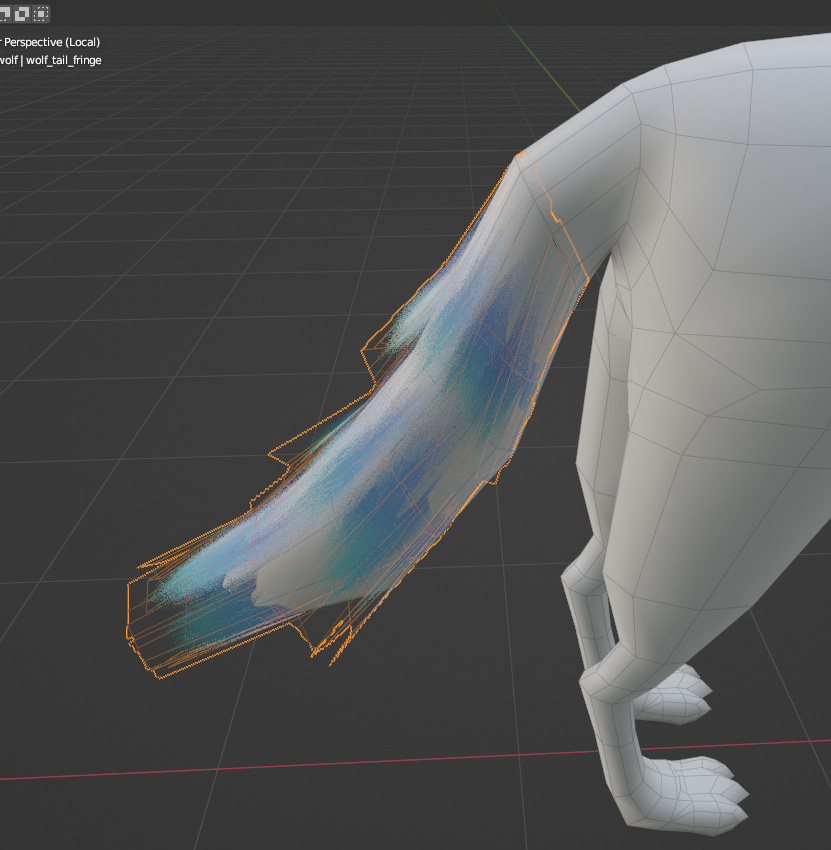
  • Reducing verts count
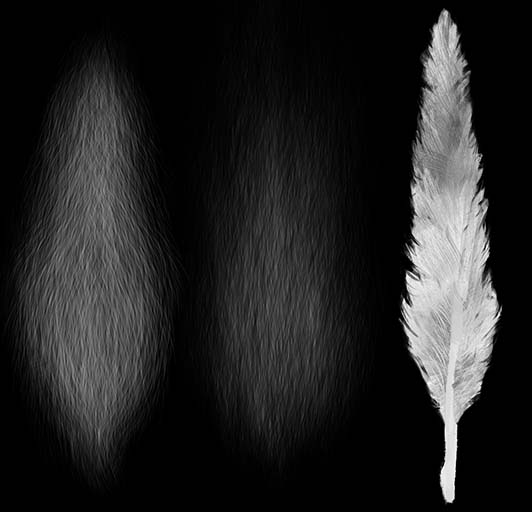
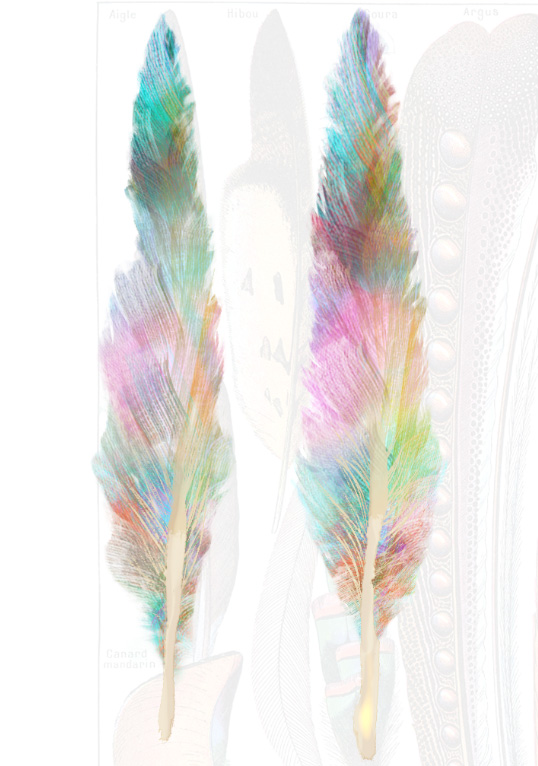
    • → Possible solution: using planes and an alpha texture for the shape of particles around the branches, instead of spheres.
  • Preserving emissive/volumetric atmosphere
    • → Possibly can be done by post-processing?
  • Baking materials (will take long)

To resolve these issues, I may change some of the plan or layout, if I find it’s not practical. I’m going to prioritise presenting the concept as clearly as possible in time over showing technical skills for this challenge.


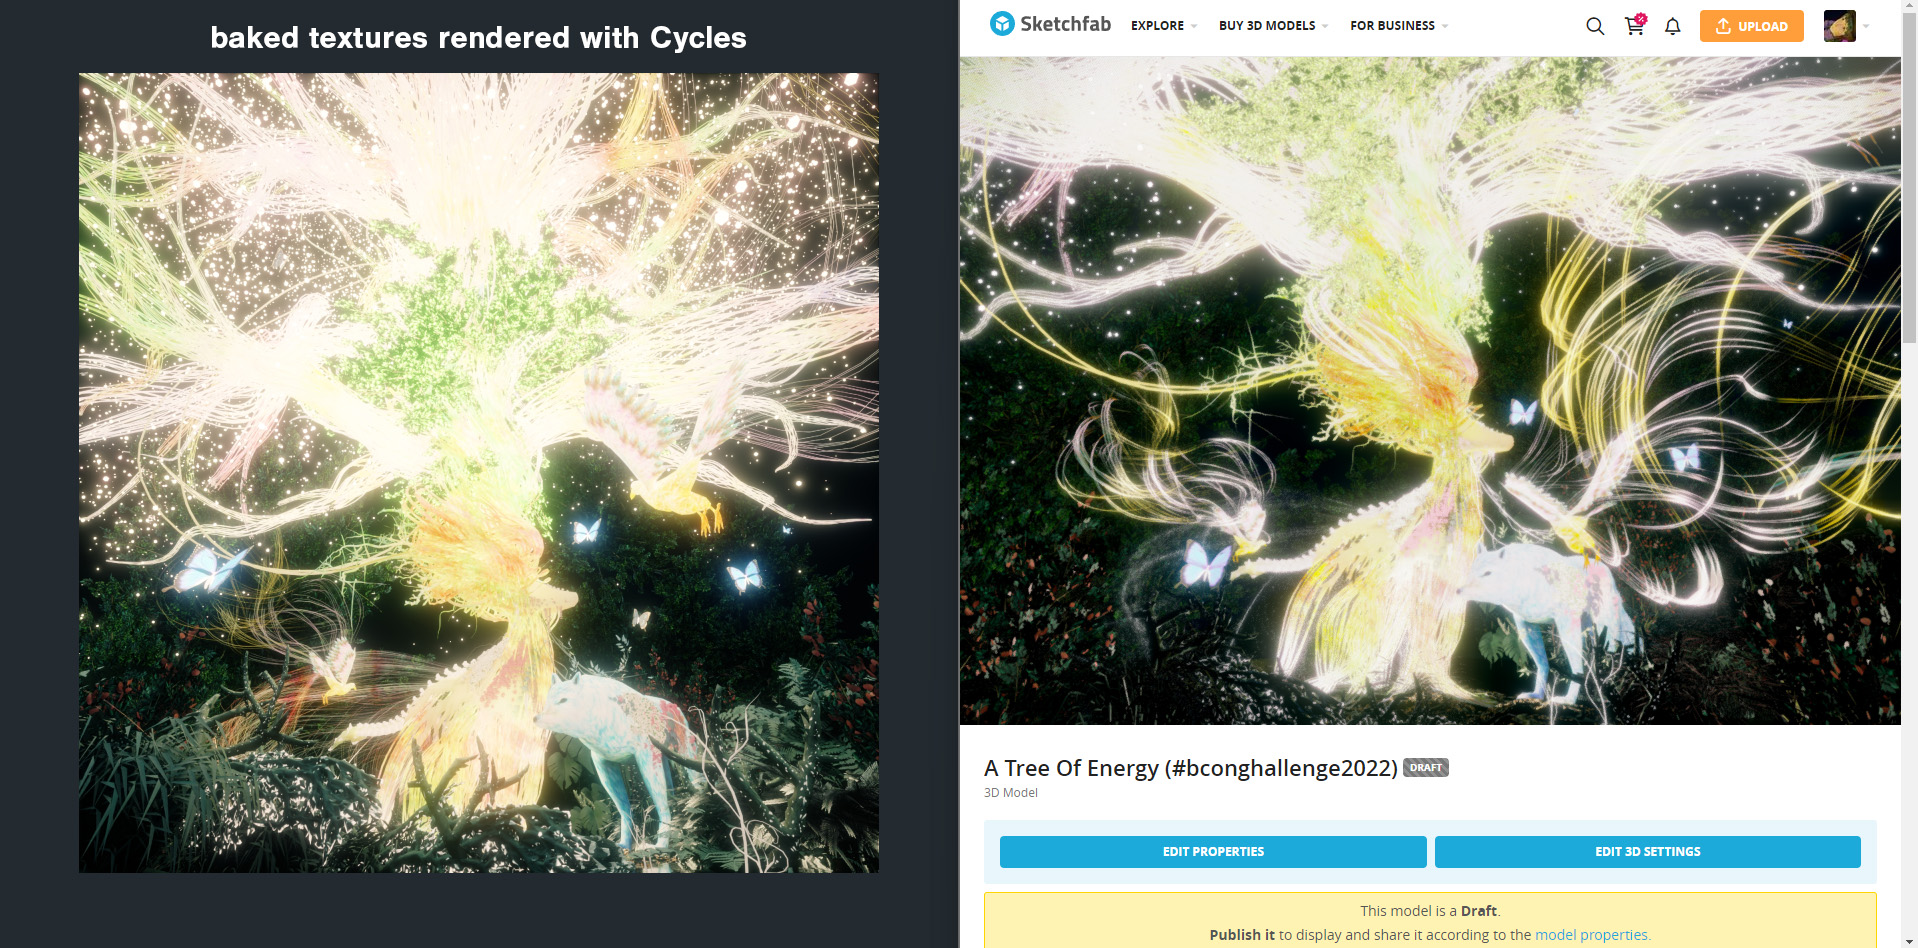
For thumbnail update

6 Likes

Sorry for the slow update! Here’s my current progress:

Modelling Creatures (show wireframes)

Unlike the middle/high-poly deer from the original data, I thought they have to be low-poly models from the beginning to reduce the data size without hassle. So, I decided to go an old-school way here.

Fortunately, I have a self-made model and textures of a butterfly, and found that I can reuse it after some geometry/texture modification. So, what I really needed to make were a bird and a wolf. Since I don’t have enough knowledge of animal anatomy, I picked several reference photos and wireframe images (cheat! lol) to make them more realistic.

Texturing (messing up literally right now)

This is what I’m doing now. I was aware of the existence of free texture assets which allows me to do shortcuts, but I chose the following way because I’m stupid :upside_down_face:

Firstly, I made these textures for different purposes:

  • A fur brush texture (alpha texture) for the wolf’s body.
  • A fur texture for the fringes of the wolf.
  • Feather textures for the bird’s wings, both in B/W and RGBA.

(From now, I only talk about bird’s textures.)
Then I duplicated these feathers to make a wing texture. In the middle of the process, I noticed that I wasn’t enough careful about wing anatomy, and the wing looked awful. So, I decided to make this over.

Applied it to the bird… Oops. I need some thickness here. It’s way too papery.

Yeah, I need to tweak the texture as well…

Here is the result. Applying a same, but also independent texture pattern to additional meshes at this point was a bit challenging.

What I’ve Learned At This Time

  • Never overtrust your knowledge and your muscle memory.
  • Never forget to use reference images to save your time and energy. (A very basic thing, though.)

On The Schedule

To be honest, it’s delaying. Even though I consciously set tighter milestone deadlines to make enough time to deal with possible difficulties and unexpected accidents, I wasn’t prepared for this happening in such an early phase.

However, there are still many ways to take myself back on track. I’m not so much discouraged for now.

2 Likes

A quick update: I’ve just managed to finish this hand painting :dizzy_face: I don’t know if this is fast, but it took about 4.5 hours (col + alpha).

1 Like

Another image-heavy (+ text-heavy) update! Before we get into, let me share my current status…

(Tasks with a blue checkbox are covered in this update)
:white_check_mark: Model creatures
:ballot_box_with_check: Add materials to the creatures
:ballot_box_with_check: Decimate geometry of the scene
:ballot_box_with_check: Model a tree
:ballot_box_with_check: Add a material to the tree
:white_square_button: Generate particles around the tree
:white_square_button: Add a material to the particles
:white_square_button: Place creatures
:white_square_button: Bake materials
:white_square_button: Export data
:white_square_button: Upload data

…Okay, I even haven’t reached to the half way yet. Here we go.


Texturing A Wolf

Same as the bird, I did some hand painting for this wolf as well. It took exactly 4 hours, and fully done with Blender.

  1. Started with a tail to quickly decide the colour scheme


  2. Painted foundation colours on the wolf’s body. Tip: Keeping the directions of hair in mind from the beginning is important.

  3. Added details and contrast. I exclusively used Color Burn and Color Dodge brushes in this phase.

  4. Done.


Generating Other Maps

Once the painting has done, I generated specular, roughness and normal map textures based on the base colour texture. There is nothing special to share, but Photoshop is my choice of tool for this as usual.

  • Specular and roughness textures were mostly done by simple HSL/contrast adjustment.
  • For normal maps, I eventually used PS as well. However, I tried to generate them with Quixel Mixer before that. While it seemed a good free texture painting tool, its experimental “Generate Normals” function annoyed me with odd bleeds and I couldn’t find a solution to remove them. If you know how to use this function properly, can you let me know about it? I appreciate any helps.

Here are the creatures with the additional textures:


Simplify The Scene

Finally, the scene recreation time has come! Before adding newly made models, let’s check the technical limitations of Sketchfab again.

Maximum file size per model: 100MB
This includes the 3D mesh, textures, and any other files included with the model.
(source: Plans & Pricing - Sketchfab)

As you see, 100 MB might be enough when a FBX file converted from the original high-poly data only takes 74 MB. But, as a former web designer who used to deal with file size limitations a lot, I prefer not to make the file size such big for better user experience.

So, I decimated geometries before editing, including the deer. I added multiple Decimate modifiers (and Vertex Groups for precise control) to each object, so I can revert changes at any time. I also eliminated several objects to clean the scene up.

Now, the file size has reduced to 25 MB. Fair enough.


Adding A Tree

As far as I know, the only way to visualise the tree of energy in the sketched style is using lots of bevelled curves like this. Of course, this method definitely jumps verts count up high, even if the curves are low-poly. This is the another reason why I decimated the entire scene before.

Anyway, curves added. Green represents the tree’s trunk, and pink represents branches.

Material added. This result doesn’t look too bad, does it?


Thanks to the well-structured editable material node, I could apply that sketched vibe to the tree so easily. Here is a comparison, and the simple tweak I did:


Some Thoughts On Personal Strength :thinking:

The material modification process was so fun…! And this joy reminded me the words recently hit me hard: “You are focusing on technical things, but isn’t your true strength on the artistic side, such as scene/colour settings?”

Of course, by understanding the system I can remove many technical limits which prevents me from visualising what I wish to see, no matter which tool I use. And since it’s also a fundamental skill to thrive in this high-speed digital age, I always tried to keep up with it, and believe there is nothing wrong with it.

What I mean here is that I, and probably you who is kindly reading this section shouldn’t forget your purpose, style, strength or whatever in your core, in the flood of information. Mine had been forgotten until I was told that words, then revived with the help of this amazing challenge and the beautiful original artwork.

But, anyway, can I really bake this generated colours into a texture without losing its vibe…?
(The need of technical knowledge arises.)

1 Like

Hey! As we’re entering the final days of the challenge, I’d like to give you some helpful tips to make sure you can successfully complete your entry. Please see my new post on the FAQ topic.

1 Like

Hey! Just a quick reminder that there’s now less than 12 hours remaining to wrap up your challenge entry - submissions close at 2022-09-15T21:59:00Z, GMT+1 (click on the link for some international times).

If you haven’t done so already, please review this post which contains some essential information for preparing your submission.

At the very least, upload your work to Sketchfab as soon as possible and add the #bcon22challenge tag.

It’s also a good idea to add a link to your WIP topic in the description of your Sketchfab model so we can easily find it.

I’ll also keep a close eye on the FAQ topic today, so if you have any issues or questions please post it there as soon as possible.

Good luck!

Well, it’s been a while again… A long while enough to finish all the tasks up :sweat_smile: Here are what I’m going to cover in this update (blue checkboxes):

:white_check_mark: Model creatures
:white_check_mark: Add materials to the creatures
:white_check_mark: Decimate geometry of the scene
:white_check_mark: Model a tree
:white_check_mark: Add a material to the tree
:ballot_box_with_check: Generate particles around the tree
:ballot_box_with_check: Add a material to the particles
:ballot_box_with_check: Place creatures
:ballot_box_with_check: Bake textures
:ballot_box_with_check: Export data
:ballot_box_with_check: Upload data


Generating Particles Around The Tree

For this purpose, using the tree itself as an emitter was the most low-cost option for my brain, but it surely was the high-cost option for the performance of my PC because of its complex geometry nature. So, here is what I did to make a low-poly, tree-shaped emitter.

  1. Convert/merge the tree curves to a single mesh object.
  2. Add a new volume, then add a “Mesh to Volume” modifier to it. Set the tree mesh from step 1 to “Object”.
  3. Add a new mesh, then add a “Volume to Mesh” modifier to it. Set the volume from step 2 to “Object”.
  4. Add particles to the mesh from step 3.

I added two hair systems for emitting particles (“main” and “sub”) to control the shape and scattering parameter more precisely, and a hair system for butterflies flying around the tree.


Adding A Material To The Particles

Since an over-emitted material doesn’t care about parameters like roughness and specular, I added a simple emitter material to each particle object.


Placing Creatures

As like as material settings, I have not so many things to tell here. Though, I was trying hard to place the creatures on the position where they look nice both from the top view and from the camera view (= the angle for a thumbnail), and tell their story at the same time. The same can be said for the energy flows emitted from them.


Baking Textures

To make the whole scene look as same as possible both on the Blender’s viewport and on the Sketchfab’s viewer, at first I thought using combined textures as emission textures was a good idea. The plan was changed a bit later on, but basically what I prepared were

  • Base Color textures (Slightly darker than combined textures. Adjusted nodes to render these)
  • Emission textures (Using combined textures)
  • Opacity textures

And I was sure that this would take hours, or even days. So, I did some cheats/shortcuts to reduce the time.

  • For some background textures which I don’t need to unwrap, I prepared them by manually adjusting the colours on Photoshop.
  • For the complex objects originally made with curves, I used a lightmap as a UV map for bake. It’s simply for the faster unwrapping speed compared to smart UV project.
    For example, here is the emitting tree’s texture. Looks chaotic, but it works.


Uploading Data To Sketchfab

This was the toughest process for me. My .blend file still had millions of vertices even after the decimation, Sketchfab has 100 MB upload size limit, and I wanted to preserve the art’s mystic atmosphere created by complex models and materials as much as possible. After the many times of trial and errors, I finally found the way to reduce data size while keeping details of the art.

  • Upload file size can be reduced by
    • Using .blend with linked object data. Don’t forget to apply modifiers (apply > visual geometry to mesh) and clear all the constraint properties before you upload.
    • Resizing/re-exporting textures to low-res JPG. I could downsize them from 101 MB to 18 MB.
    • Remove more background objects to simplify the scene. I removed several trees because of the verts count, and scaled those remained up and rearranged to make the scene’s impression similar to the original art.
    • Reduce the amount of particles.

And, it’s important to set an Empty to the parent of all objects, to avoid any scale and positioning problem like this.


Material Settings And Composition On Sketchfab

Honestly, I wasn’t much aware of today’s rendering features of Sketchfab (Sorry! :persevere:), and simply astonished by its possibility. It was fun to play around with Unreal Engine-like opacity settings and effects on the compositor which magically allow me to make the art on the real-time viewer look very closer to what I can render with Cycles.

But, adding a complex opacity setting to every single material does affect the rendering performance for sure, especially when the model itself is already too complex.

I’ve already given up on superfast rendering because of this. But, even though, I set the complex opacity settings only to main objects such as creatures and the emitting branches and leaves. Because, I thought this is the best way to add more mystic vibe while limiting performance cost increase at the same time.


Final Thoughts

So now, finally, my upload on Sketchfab is ready. Even though the model is so heavy, the geometries are not beautiful and there are still lots of things to learn, I’m proud of achieving a presentation of what I planned at this level.

Thank you for reading this long WIP to the end!

1 Like