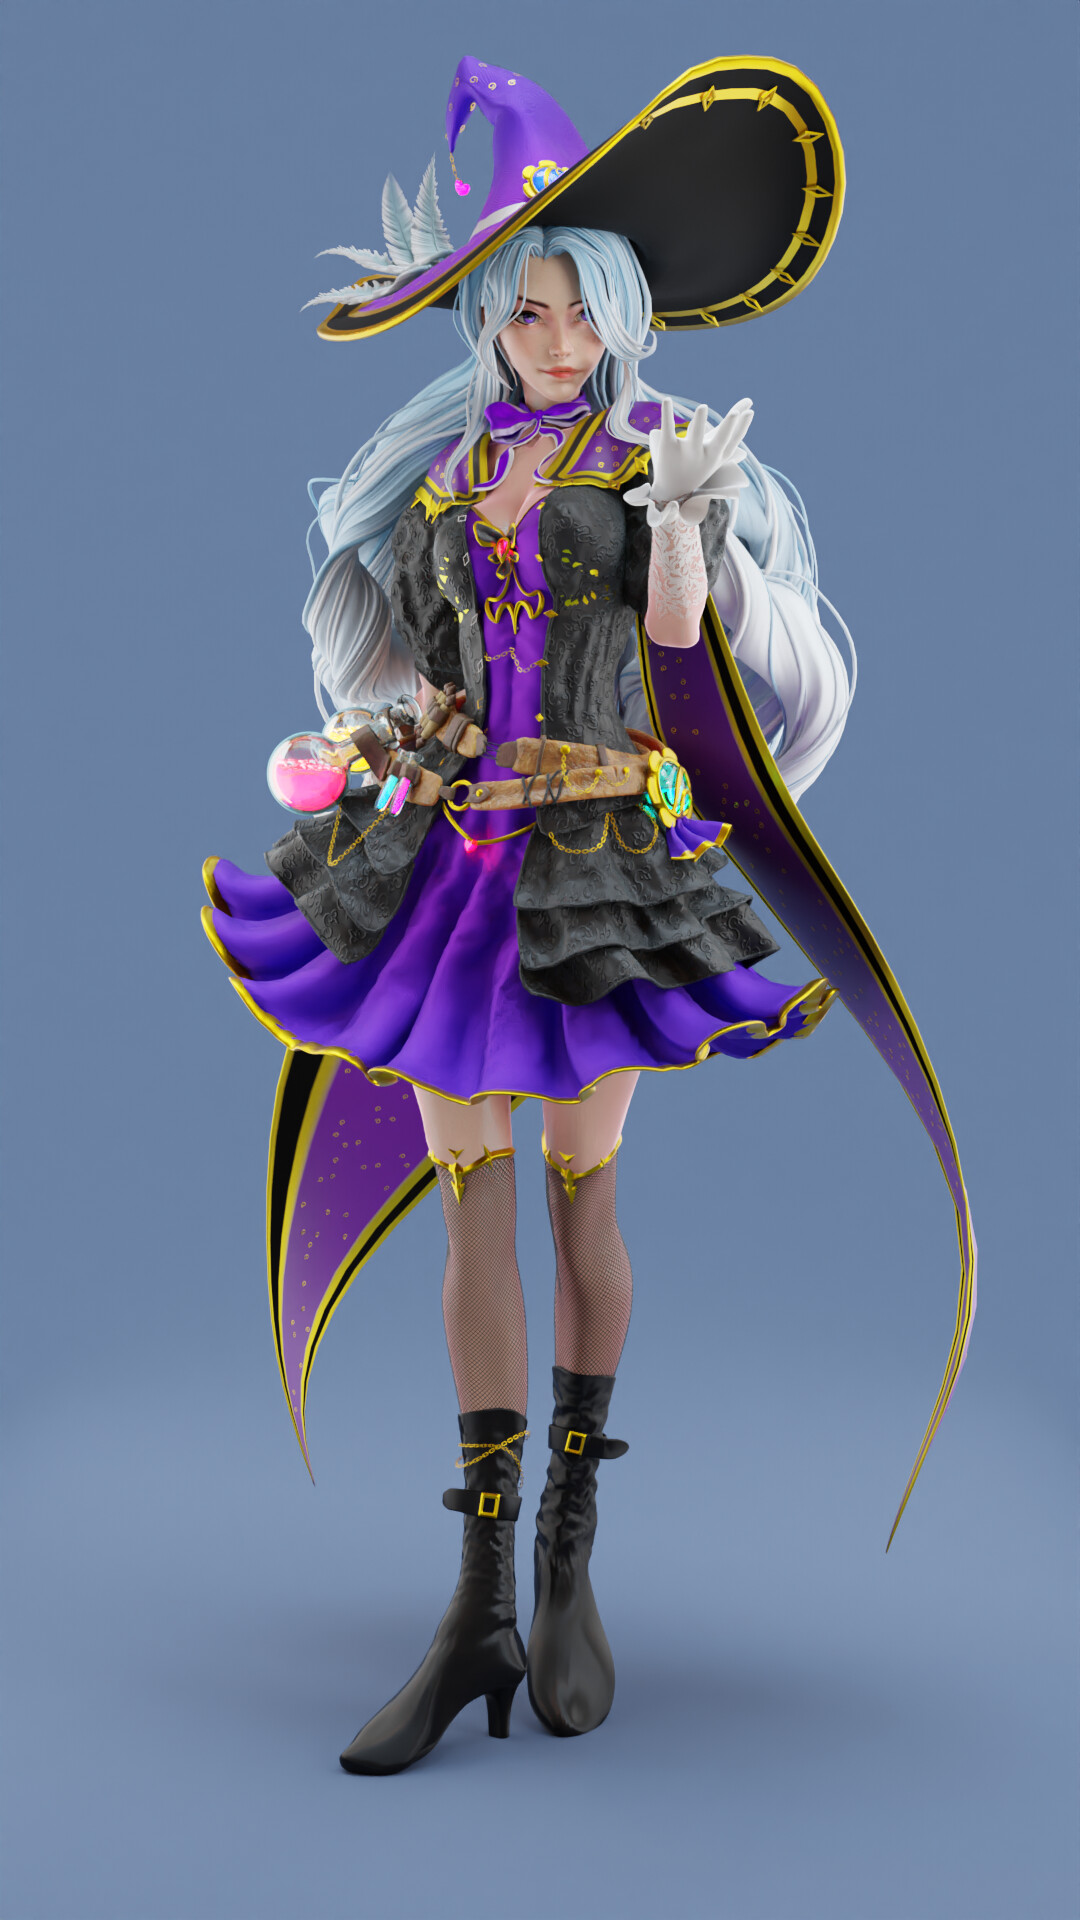
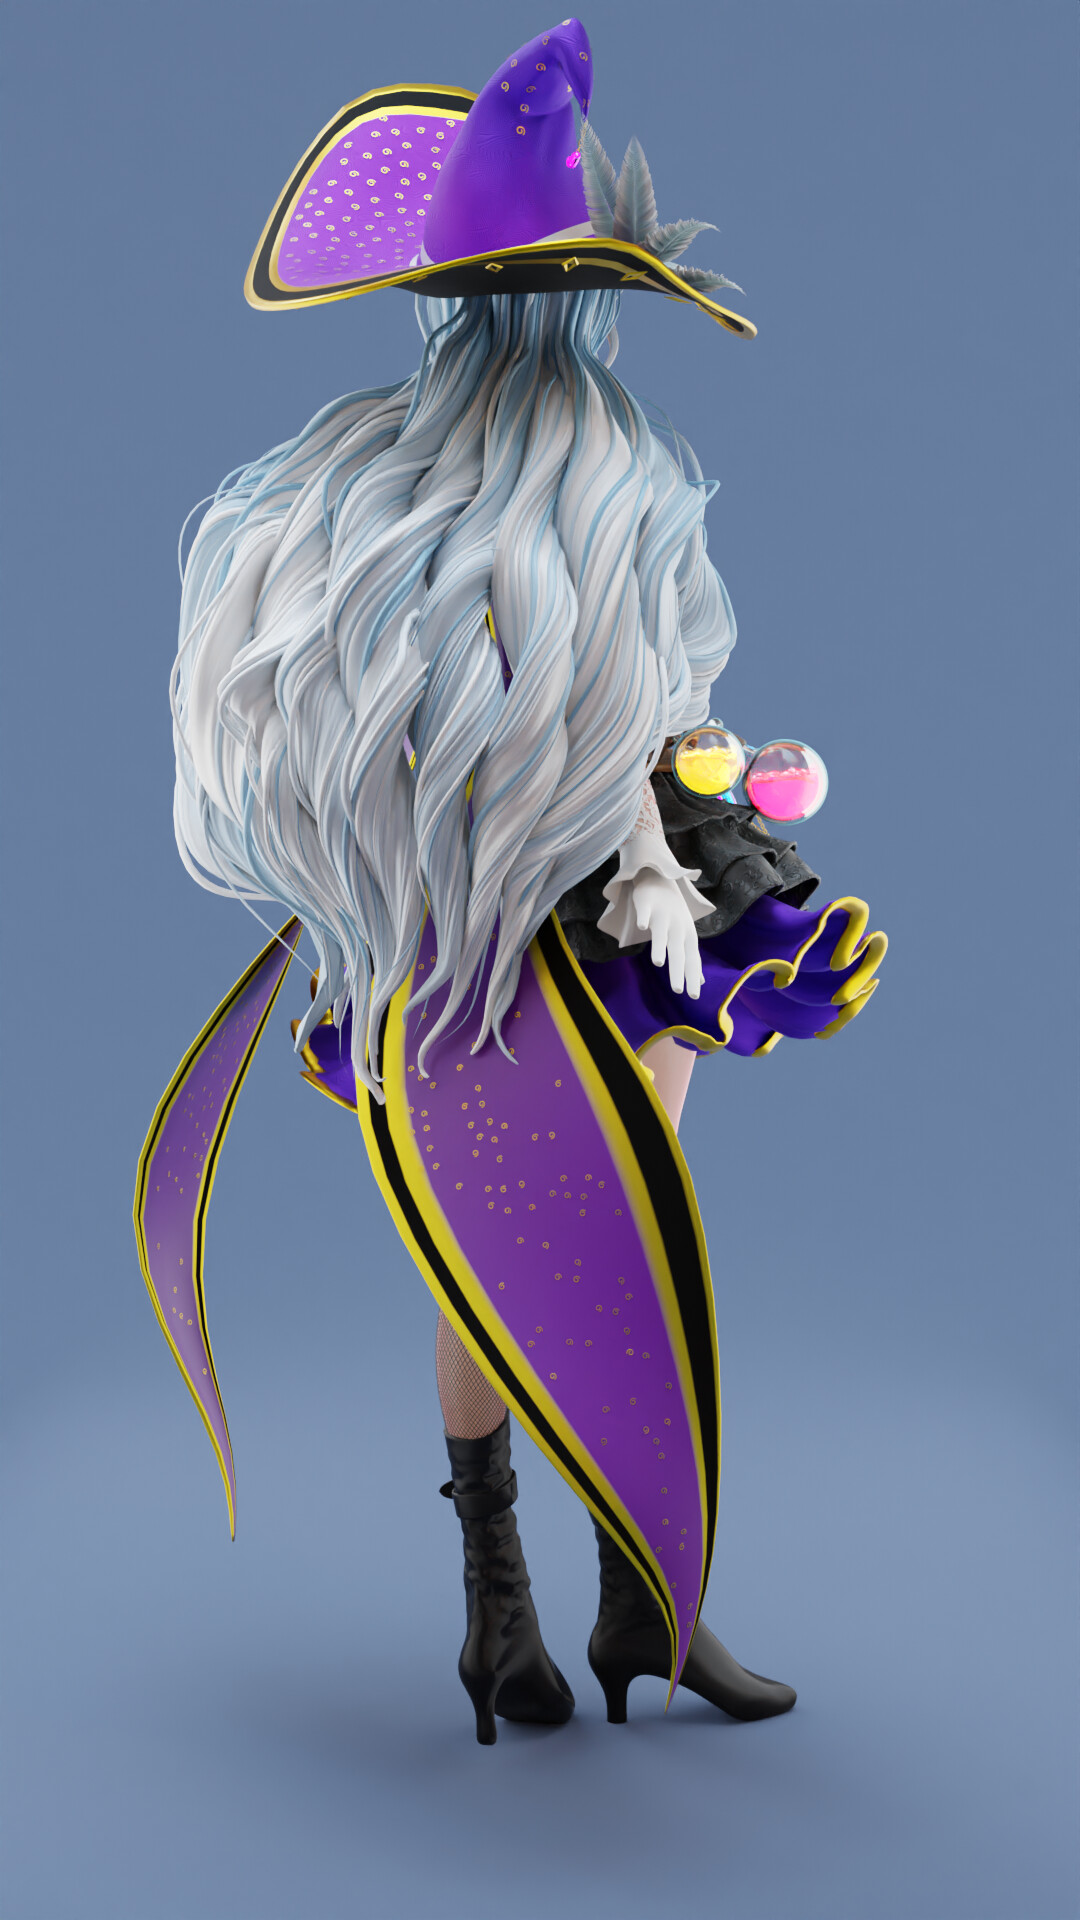
Hi everyone! I tried to make a create a character using Geometry Nodes wherever possible. What I discovered was that Geometry Nodes can be used pretty much anywhere- from doing very general to very specific tasks. I also explored creating non reusable node trees just for this project which get the job done.
Aside from Geometry nodes I made intensive use of the cloth sculpting brushes and curves.
Wow, this is beautiful. Nice work! I would love to learn more about how you did this, some process insights would be incredible. I’ve never seen anything like this done with GN before
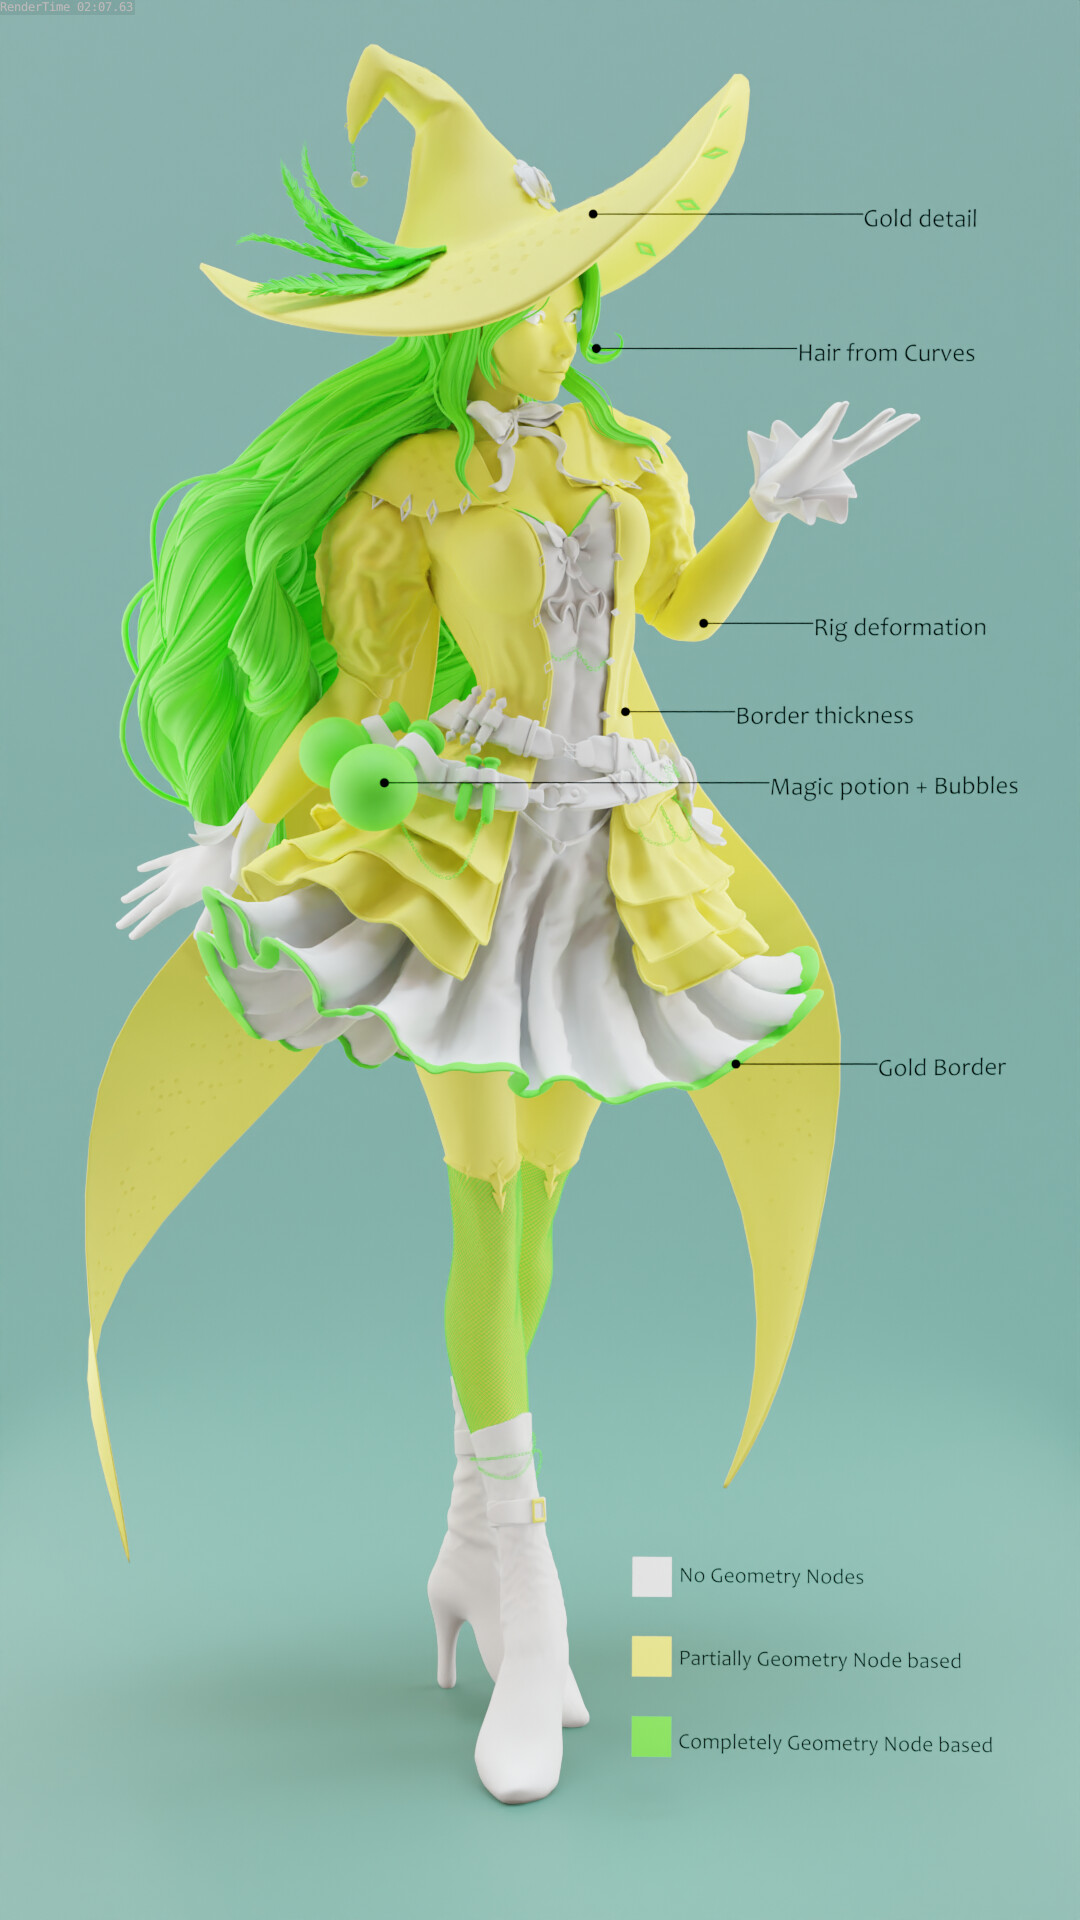
I’m curious what you used geonodes for in the body. It says “partially constructed.” Since she’s a human figure that actually looks really good, I assume the base must primarily be constructed from traditional modeling/sculpting techniques, but I’m curious what geonodes were used for.
Hey, that looks awesome, good job! Though I have a small feedback if you don’t mind.
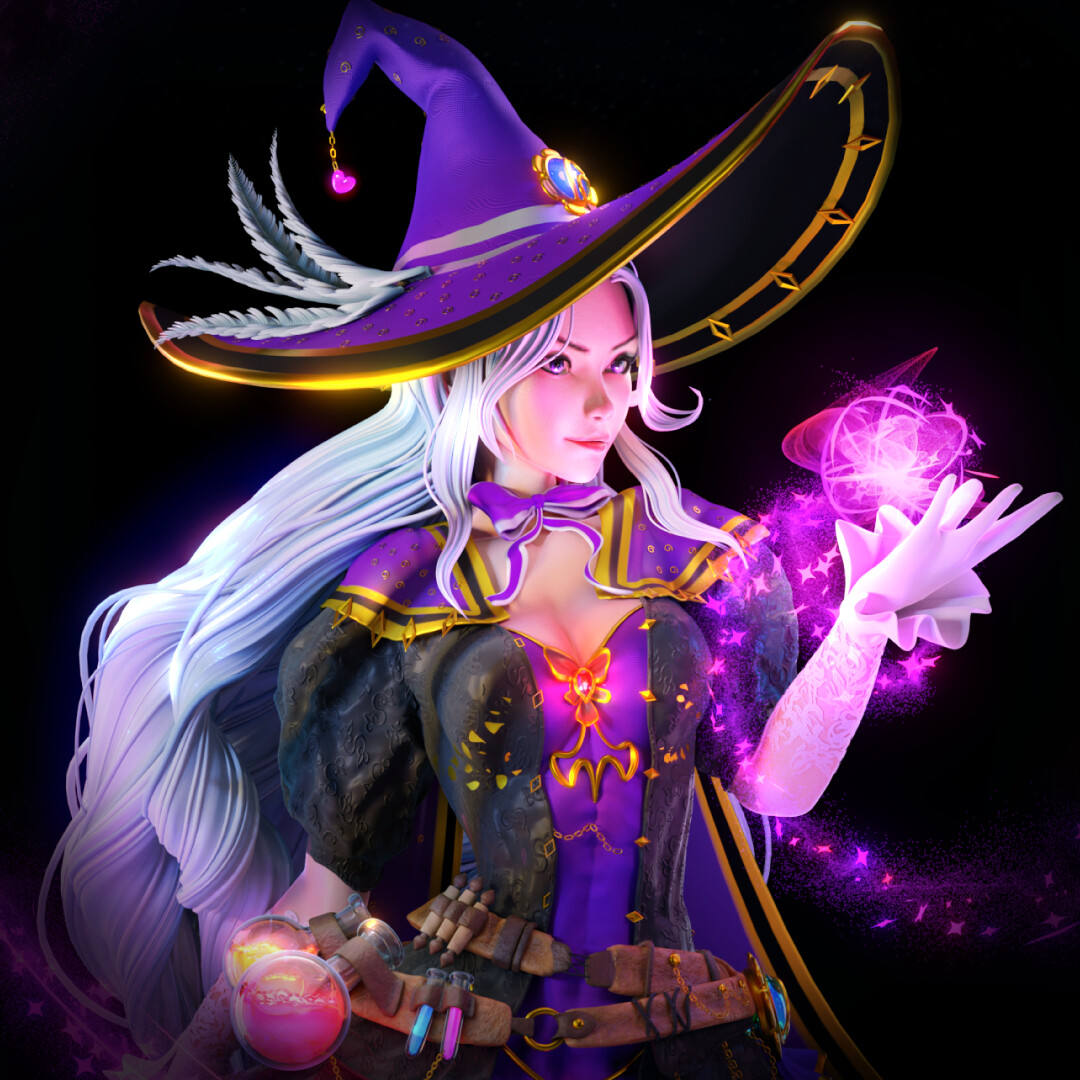
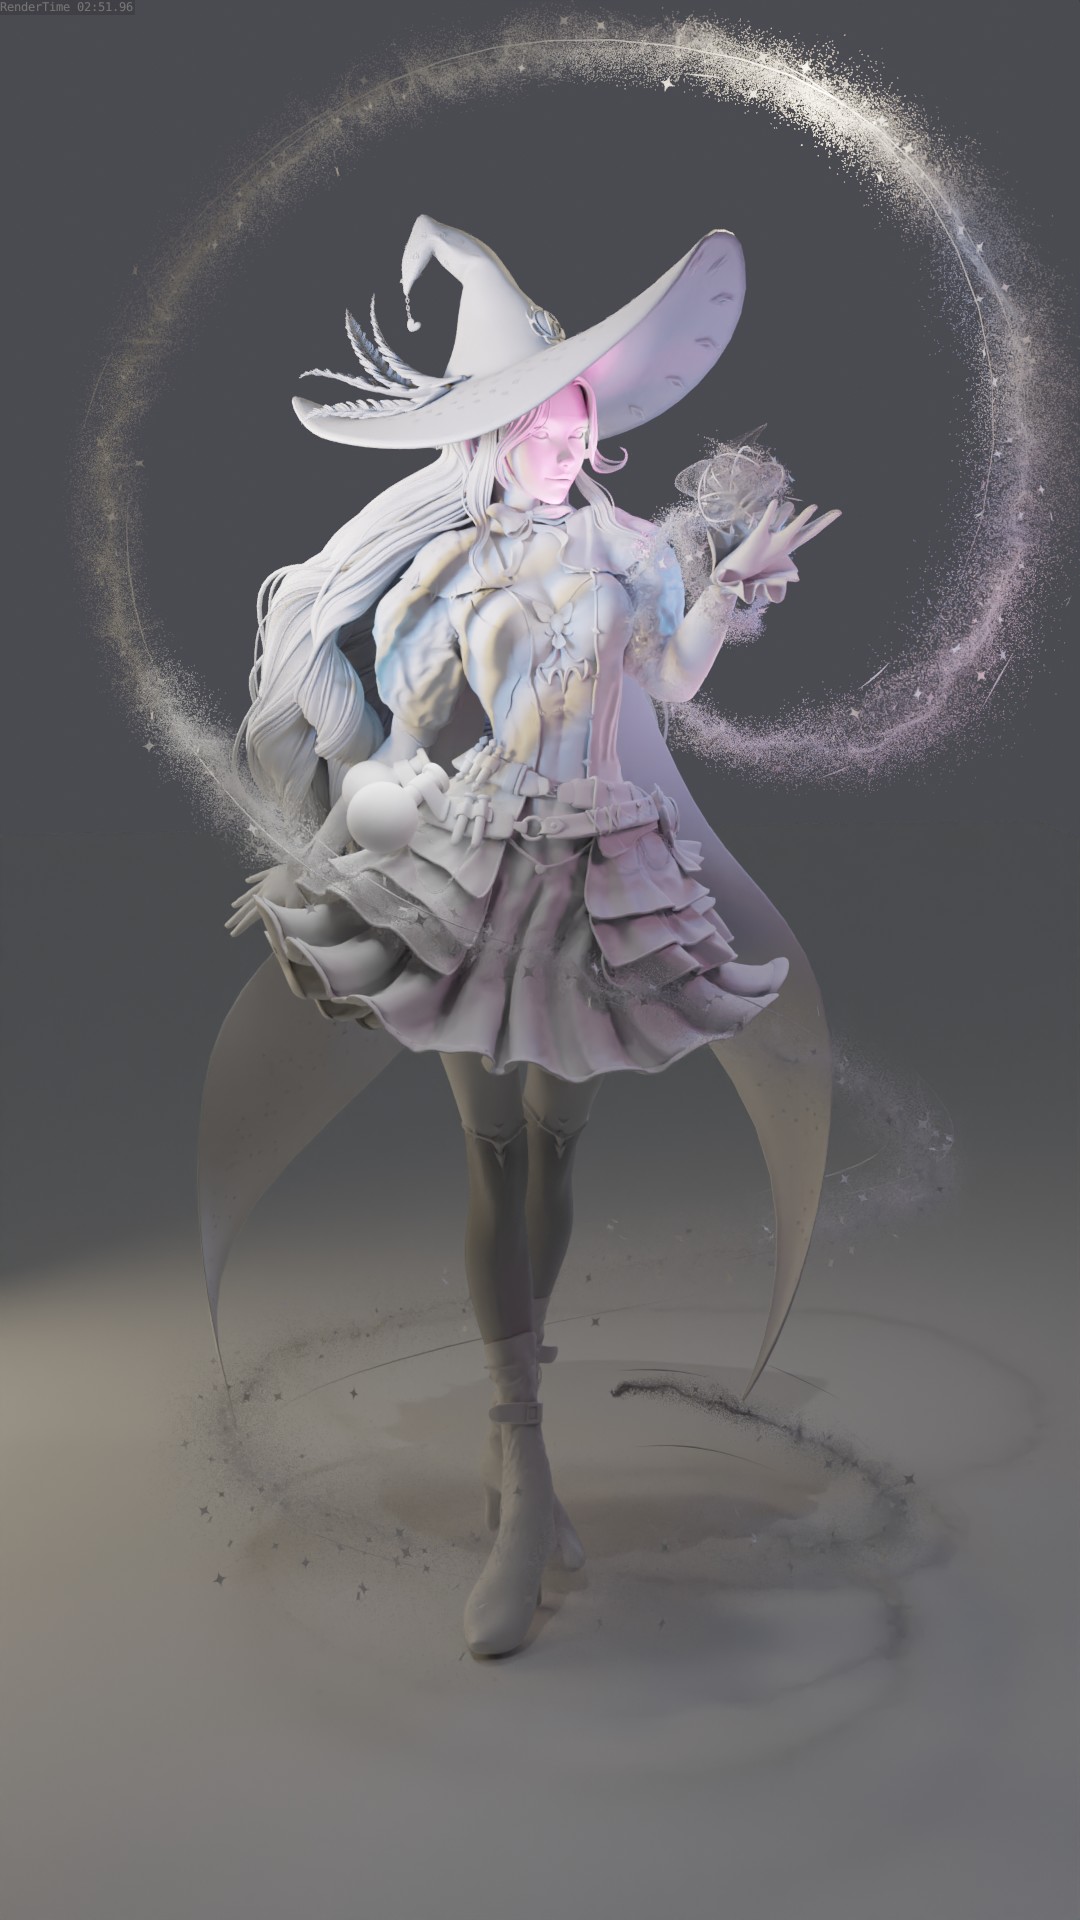
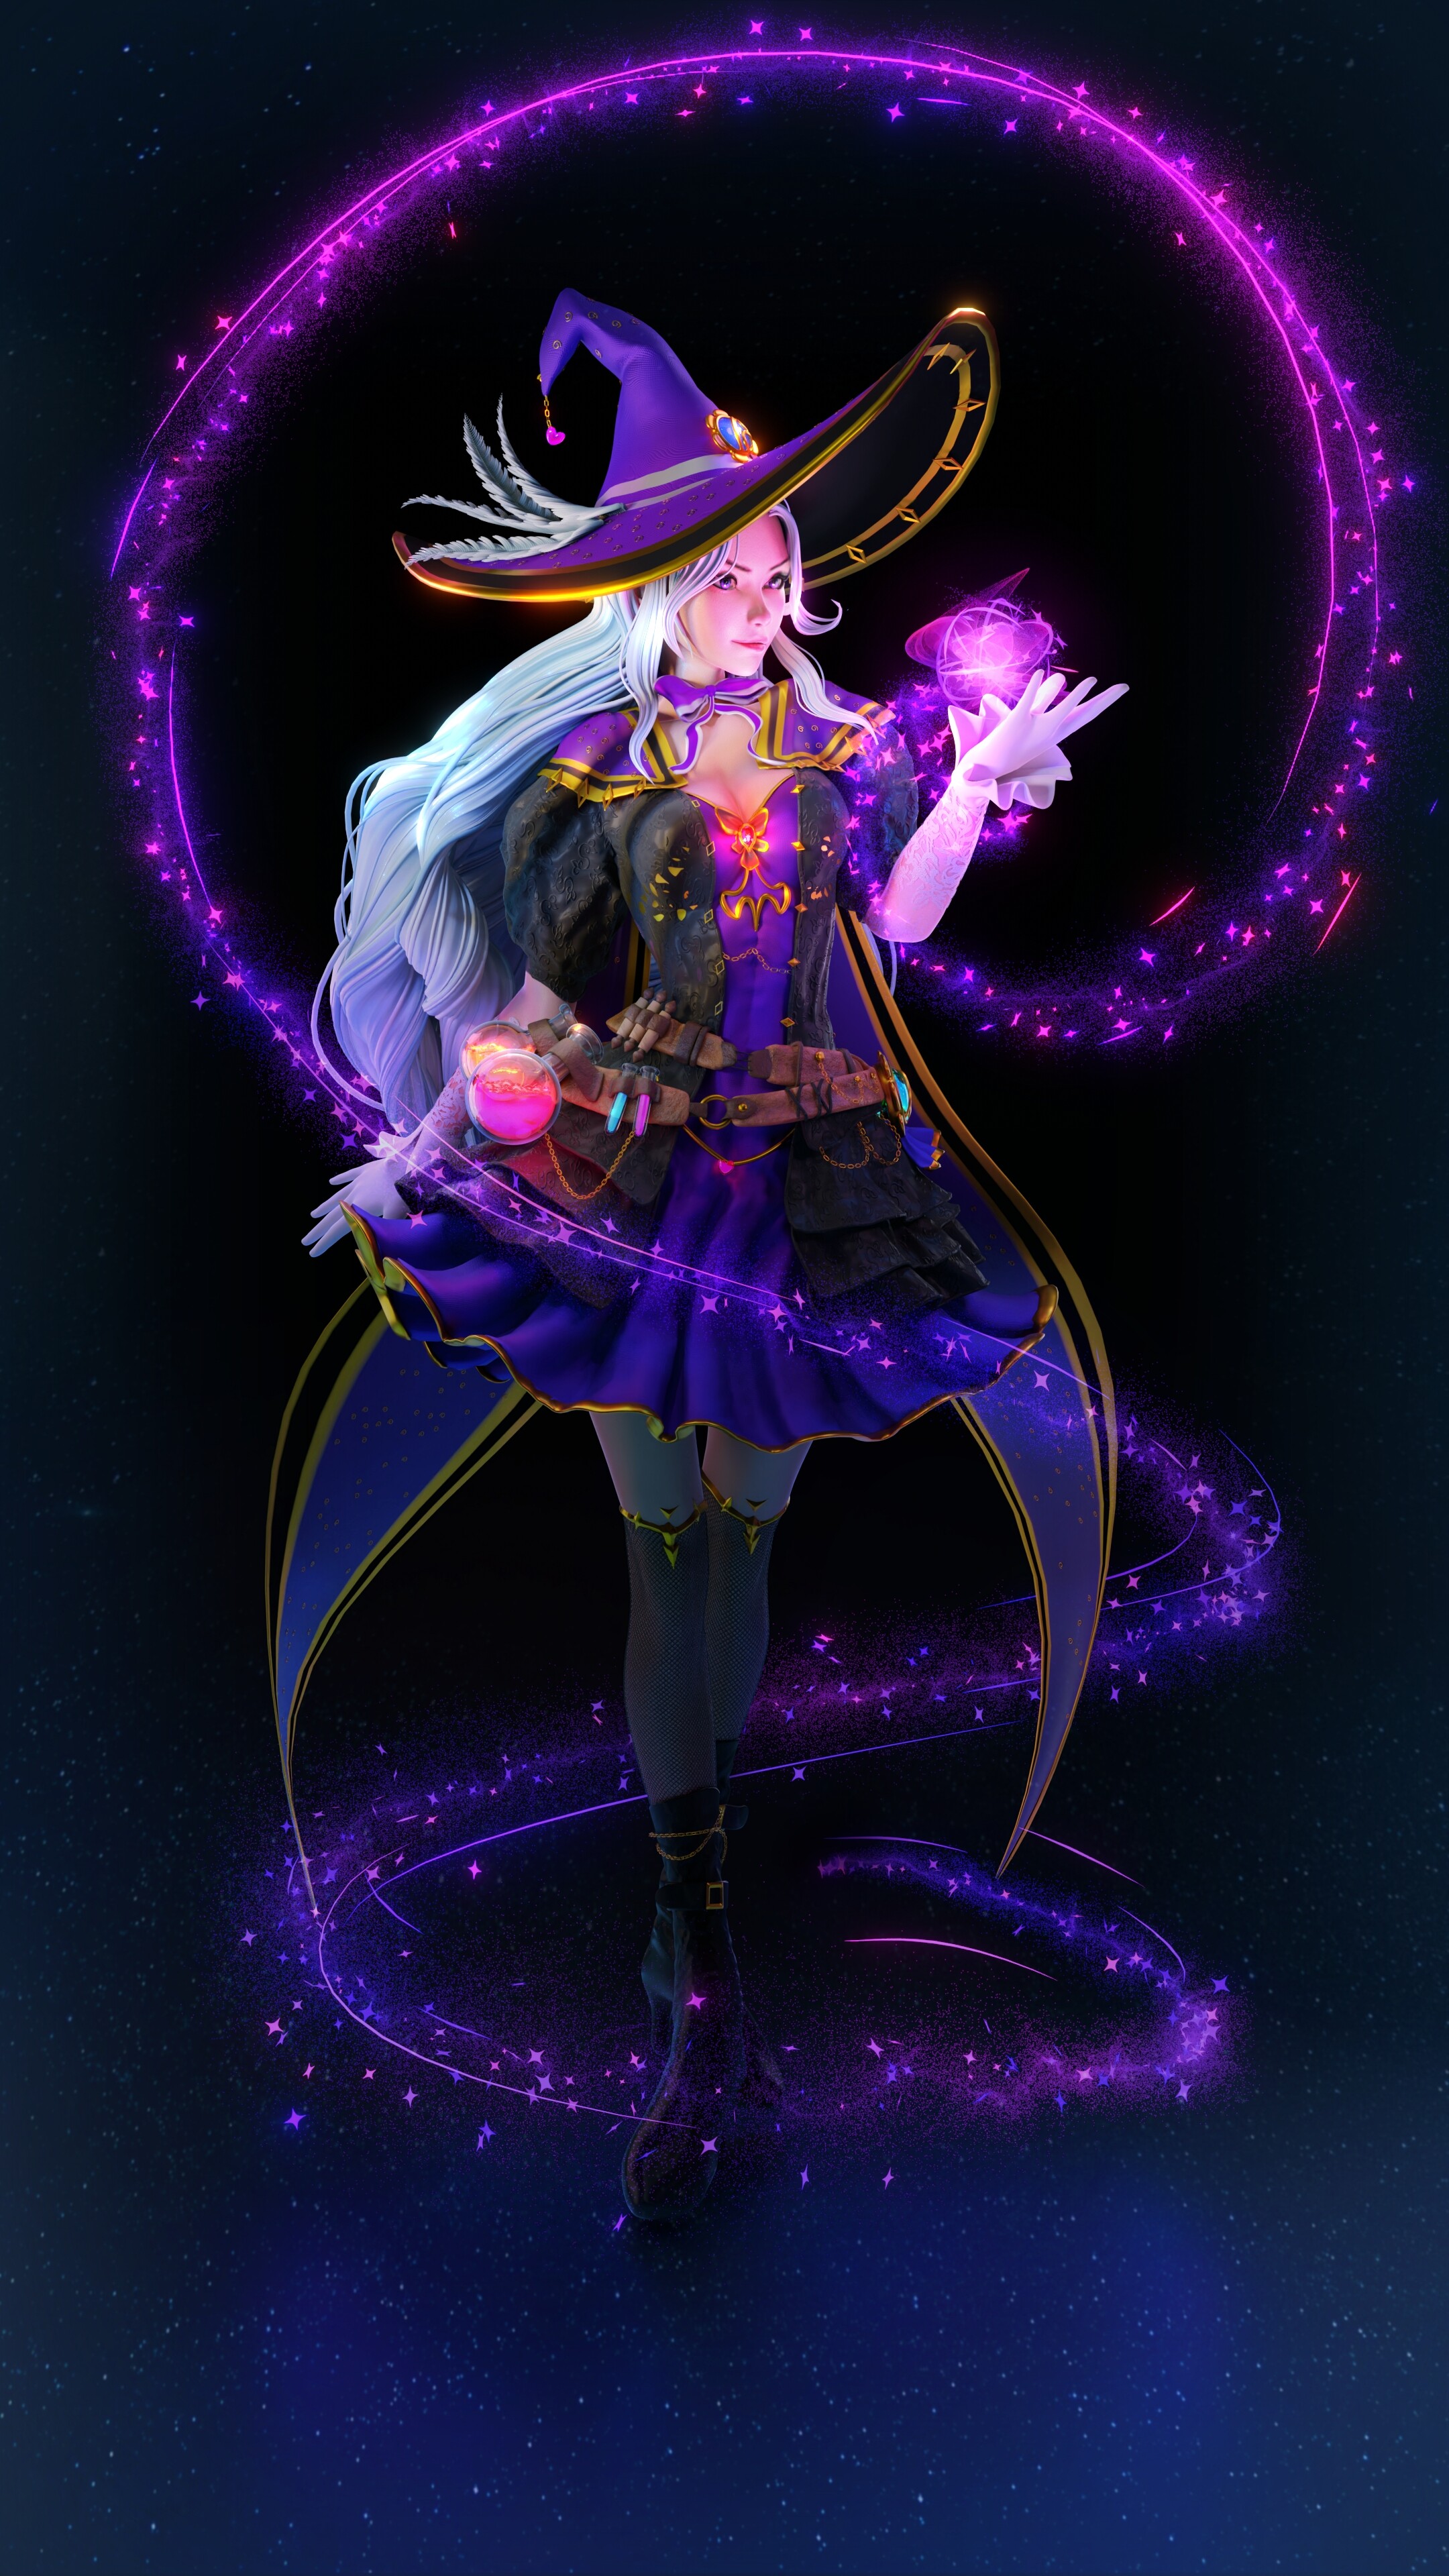
I think in the final render the pink light effect is too distracting, it draws the eye away from the focal point of the image. On the other hand, if you look at the clay render, the lighting works perfectly, the lower parts are in the shadow as it should be so it doesn’t distract the eye, and your eye goes straight to bright spot on top right corner, it follows the curve and and reaches to the focal point which is the head and the torso. I think if you could adjust the brightness of that effect it would make your render even better!
Hey thanks for the feedback! I will have to agree with you there. From a contrast point of view, I was always sceptical of the curve. This is the final render without the magic effect
Awesome work ! I find quite interesting the way you’ve used geometry nodes along with regular modeling technique to deal with specific tasks !
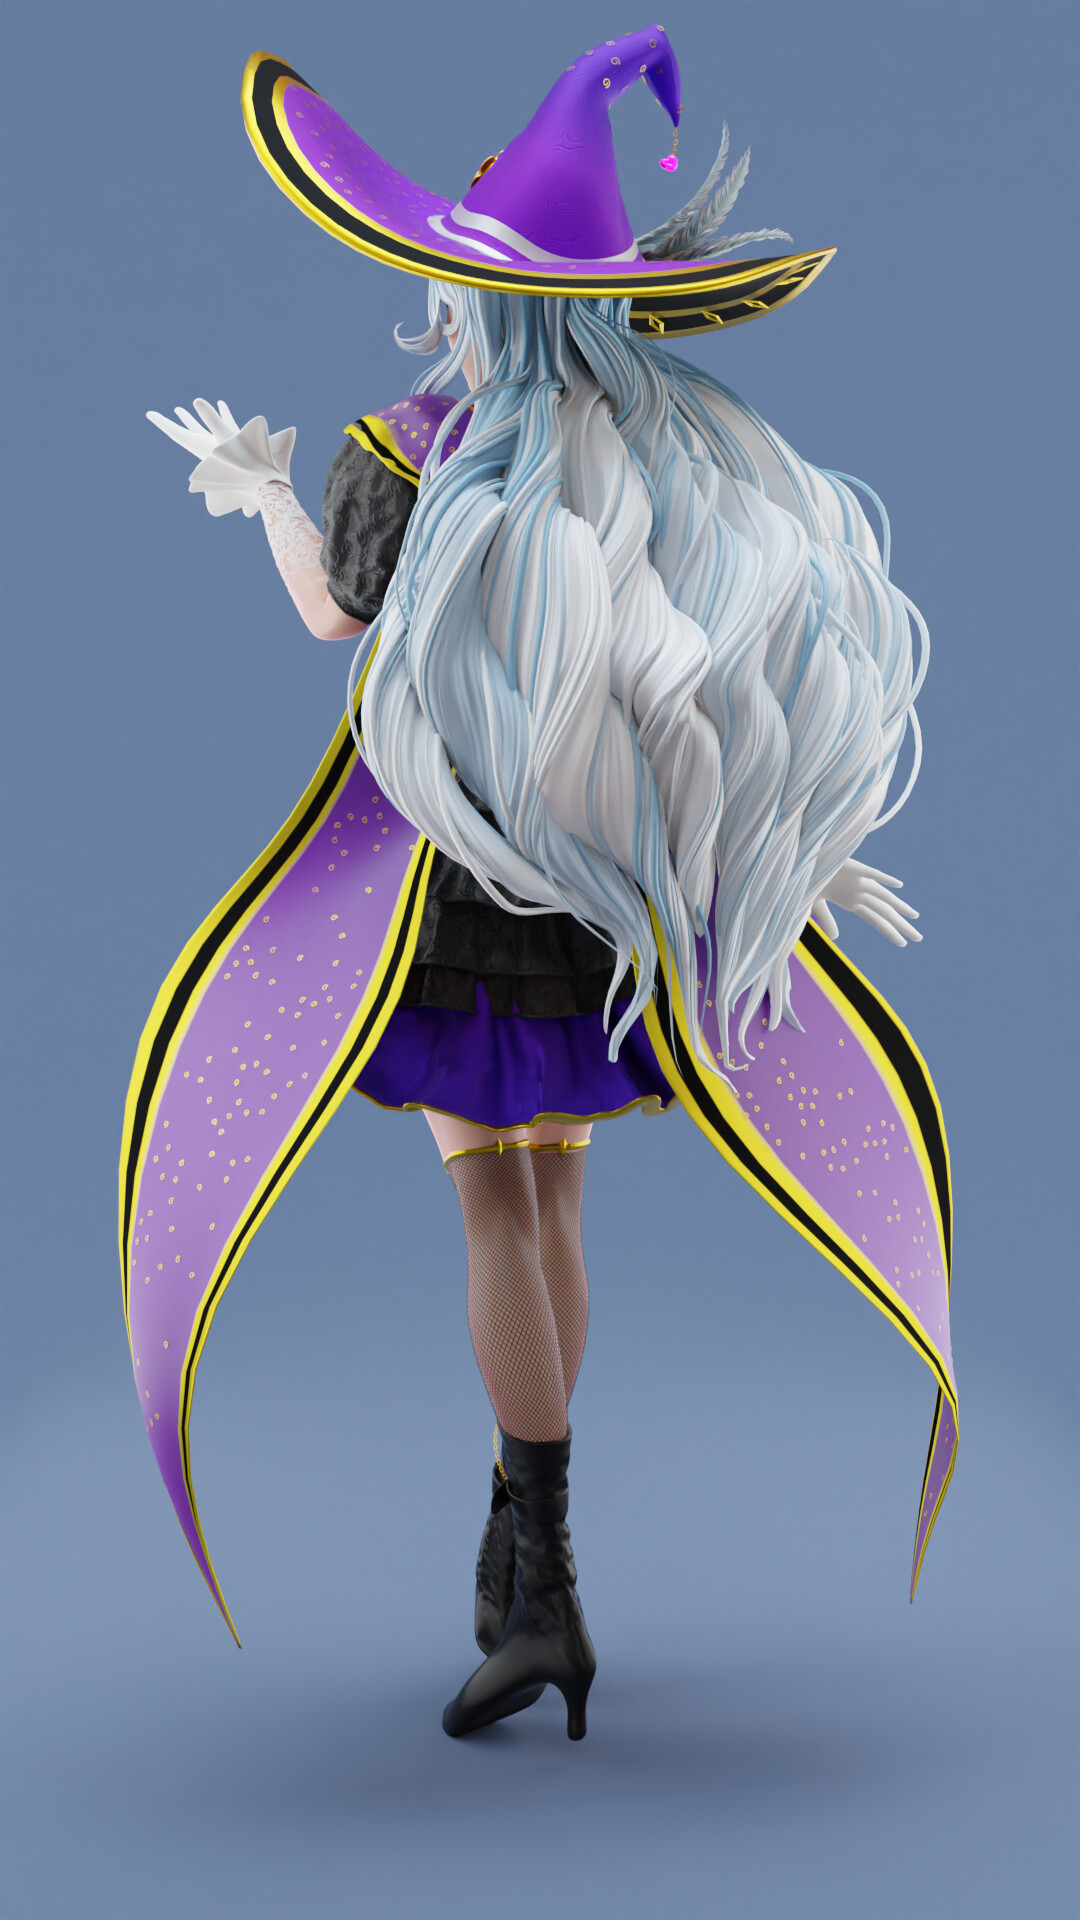
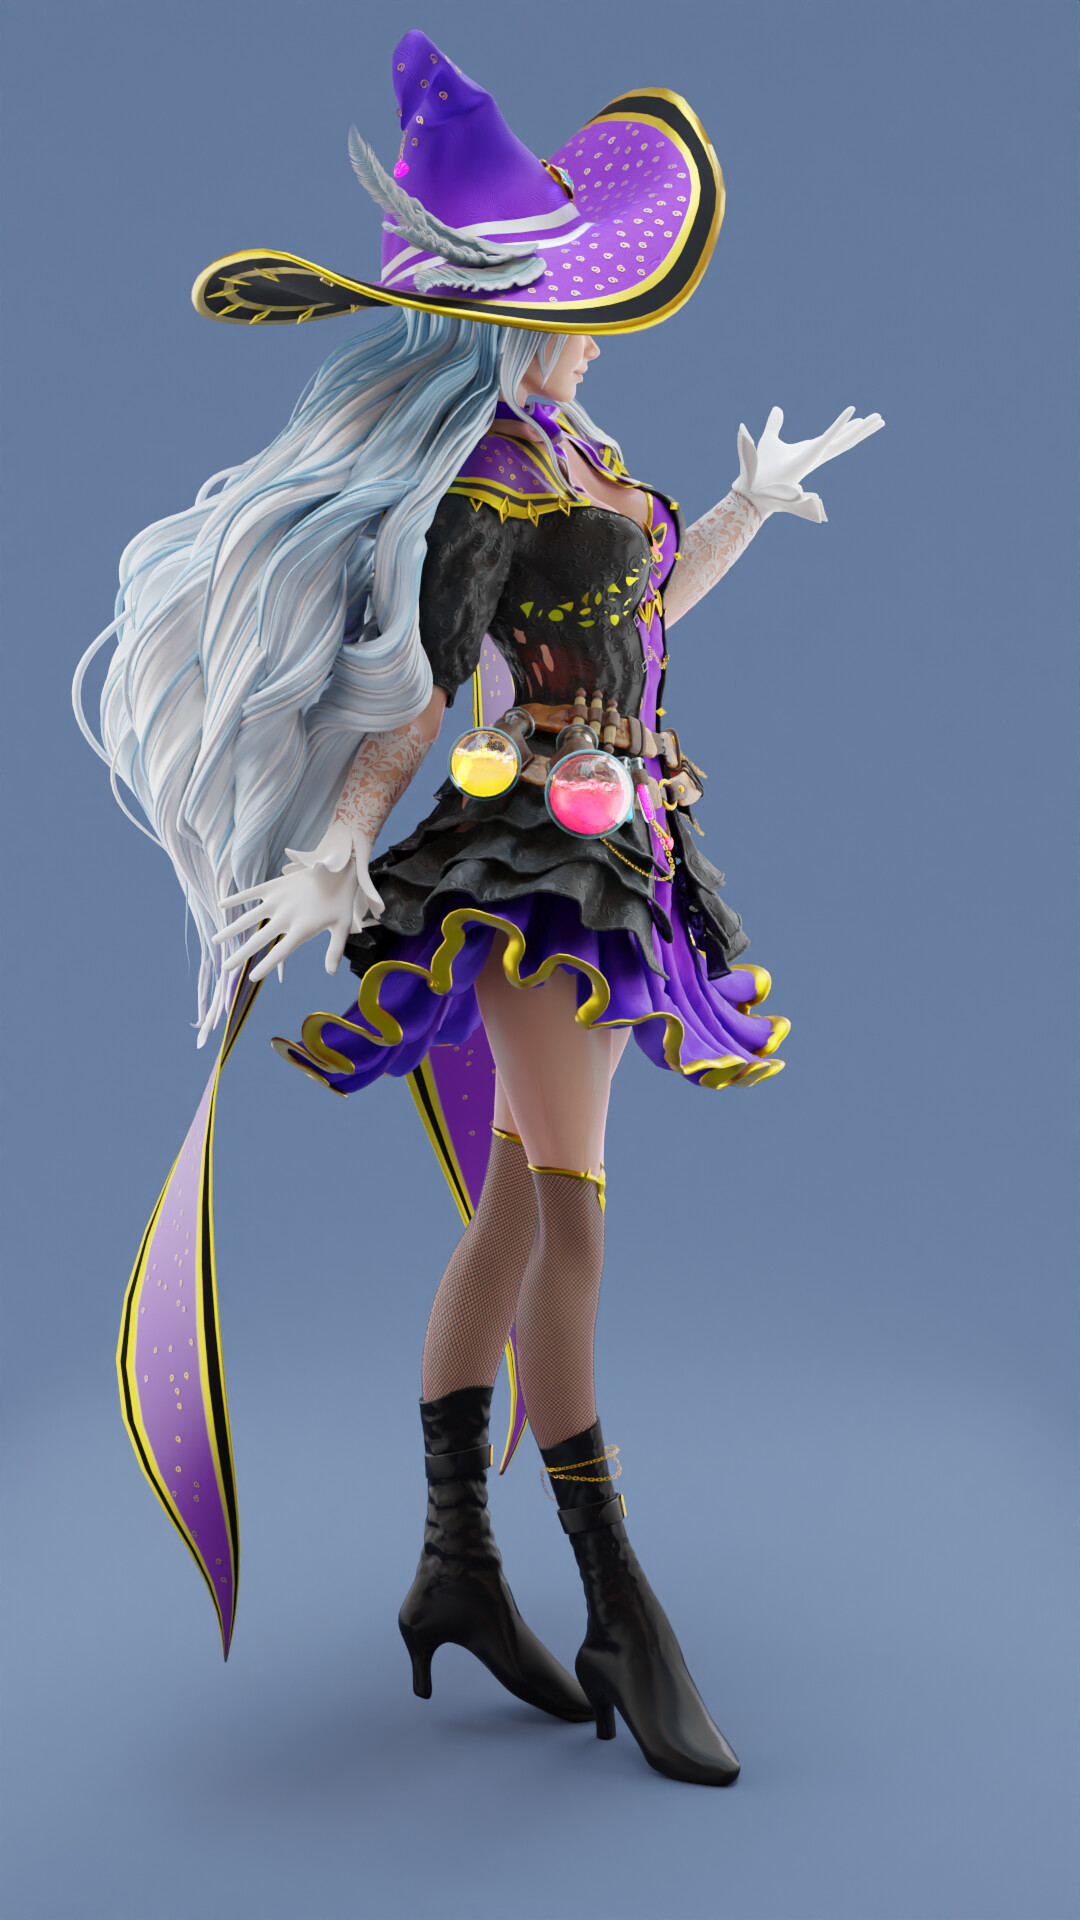
The hair and body deformations are super cool !
I’m quite curious about how you use GN in other place , but that’s just the technical nerd in me speaking.
The end result is super cool, no matter what technique you used !
Well done !
Thanks for your kind words! Except for the body deformations and hair it’s basic stuff. Are there any particular objects you would like to know more about?
I not interested in something in particular. But if you have time , showing a bit more indepth how you mix GN and regular modeling would be quite inspirational I think. Especially if it’s simple stuff , for people that are less technical that could be a good example about how this can fit their workflow.
Because we are used a lot to GN, some things can sound too simple. But I think for others, these simple time savers is what they could be looking for and are already technical enough for them !
But you know what you did there and if it’s worth sharing a bit more about ! Anyway I’m always really interested in making of and technical breakdowns in general.
And BTW, That FX you removed looked quite cool, but I understand that it was stealing a bit too much the focus. Something like that, I can probably retro-ingenieer something similar, but I’m sure many people would be glad to see a bit more. In the end it’s not because it’s simple that it’s not interesting !
Inspirational work, to say the least.
Thanks for encouraging questions. Here’s mine:
Could you give a breakdown of how you achieved the particulates? You have wisps I would like to know how you did.
Very nice piece.
Here is something interesting, I used the distance from from the border edges to displace the vertices along their normals. I used this technique to create the gold details above the knee. https://imgur.com/a/fpr2BWf
I did not intend to remove it, that was just to get a clearer view on the composition.