You can sort-of make cavity shader with the vertex paint AO tool, but it doesn’t update in realtime. Below it is on a couple of “matcaps” on a blender sculpt I did recently. The vertex colour is multiplied with the material colours in the material nodes. If only there was some way to update vertex colours in realtime as you sculpt.
In vertex paint mode, on the paint menu there’s the option: Self Shadow VCols (AO) which automatically generates fake ambient occlusion on the vertex colours.
A quick test (a funny “dolphin” underwater shuttle). It will be interesting to test some hdr textures to see if they can resampled down to around 31KB (like the textures used below) and yield the same results.
In Gimp create a new image. Change the color of the background to whatever color you like.
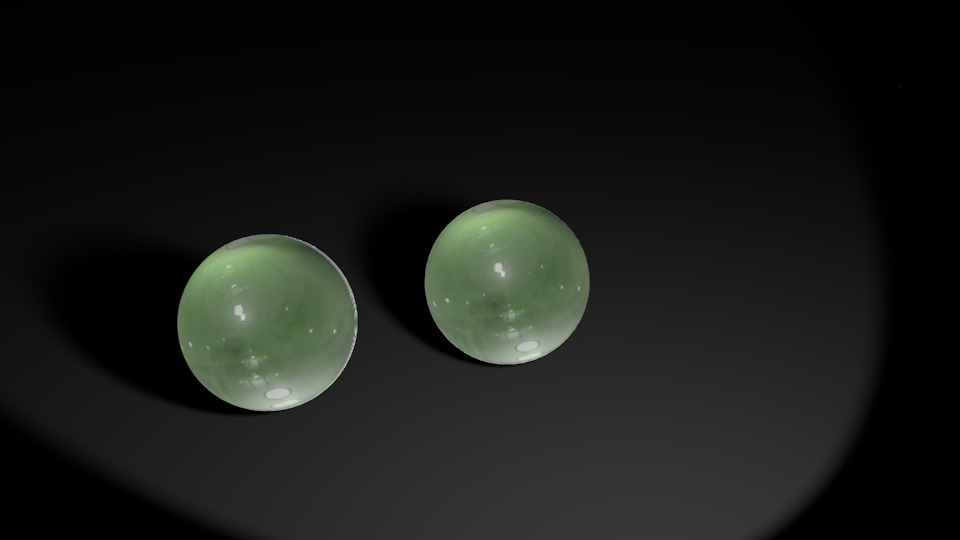
Then go to “filters > map > map object” Then change the drop down menu from “plane” to sphere, and modify all of the setting to what you would like. (diffuse, and spec, are on the third tab under “material”)
After that just crop to the sphere you have created and give it a try.
I’ve tried this with Blender 2.5, but unfortunately it doesnt work like in 2.49 and I dont know why. The rendered result is much brighter and not so satured like the 2.49 render image.
changed the light, changed material color but did not help anything
removing light or making the material Shadeless did not help, but removing Color Management did!
just had to put the light energy a little higher after that, but it helped thanks
This is great news, I have always been a sucker for the zbrush materials.
Good work! guess it won’t take long until someone have chopped all the materials from zbrush
Edit: made an image in photoshop, easy way to waste time, when you start you sucks in to it, in 20min I made like 15 materials. good, becauseits realy easy to paint the kind of material you need. can be good sometimes
ex
Free to use to whatever you want.


 I cant find it…