When i saw this thread i shat bricks i was so excited.
Thanks everyone for this tip. it’s really useful.
I know these aren’t the best quality ever, (also only 173px square) but from the zbrush site here are about 40 of the ones that randomly caught my eye. If anybody wants it I’ll share the photoshop file as well.
(I made it a “.blend” file so I could upload it here, but blender wont open it as it really isn’t one. You should still be able to open it just fine with 7zip.)
Edit: ok, nevermind, I just now tested them myself and there are issues, I may or may not fix 'em. 
Attachments
MatCaps.7z.blend (296 KB)
Reflections possible in Blender long time ago without GLSL viewport renderig support…
In UV/Image editor simply check Image -> Realtime Texture Mapping -> Reflection for image
It works in Texture Face Materials viewport like in GLSL, but only with one texture image…
Now in version 2.50 it possible only with GLSL…
Sorry for my bad English
Is there a way to do this in Blender 2.5?
Richard
Thank you. Thank you so much.
Just for fun, you all know SketchUp. Just baked suzanne in blender using a zb matcap, imported in SU as 3ds. This is not a raytrace render, just the real time OGL preview of SU. Two preview images combined in PP just for fake AO. Abnormal? he he
Attachments
this works in early blender versions too with the old opengl mode: see image editor > realtime texture mapping > reflections
but I think, this is very slow to use with sculpt in 2.5 too
I’m getting a strange artifcat when doing this in 2.5. Cycling through solid and textured shading modes fixes it, but it kind of negates it’s usefulness when sculpting( looks cool though ).


Firstly I’m pleased by this discussion 
On other hand it is a few years ago that cekuhnen was writing about this technique with much less attention. Sounds like Z-brush is keyword
It works ok in the official 2.5 Alpha, so it must be something to-do with Brecht sculpting improvements in the newer revisions.
Hopefully they will get the issue fixed
Don’t forget to set size x to -1.00
Now which way is the fastest for realtime?
May be true, maybe it’s because the zbrush materials rocks and no one thought about it.
Easy way to get a little zbrush feel to blender. Never wrong, zbrush is an amazing program.
I’ve never used Nodes. And I can’t seem to be able to add any. Can someone, PLEASE, step me through the starter process? Thanks.
You don’t need nodes for this technique… see this post:
http://blenderartists.org/forum/showpost.php?p=1534965&postcount=7
This technique is totally cool… here is a screeny from 2.5…

“Easy way to get a little zbrush feel to blender. Never wrong, zbrush is an amazing program.”
So why don’t you buy a zbrush license like me?
Or, because it costs 500 euros, you think that blender is OK for you and for us here. I’m thinking that I lost my money and my time there (zb), I really don’t care about matcaps or this FANTASTIC zb topology, lol. I only use zbrush to import meshes from blender, go up to 4 000 000 poly !!! just to paint some details, I had to invest a method to export decent bump maps (what else from 4000000 poly?!). Have to re-sculpt it in blender (how many lies in ZB preview…) . All these will come to an end soon. This is already true for me using 2.49b… waiting for 2.5 (not Alpha 0).
Please render your own matcaps, share them with your friends, enjoy your freedom.
I don’t intent to spoil this excellent and interesting thread here, its a very cool and useful method for textures.
BTW. Do you expect to fill free as a 3d artist? Can you change topology being in multires mode? No? No freedom then. Using traditional clay you do it for fun.
Thanks, this works great!
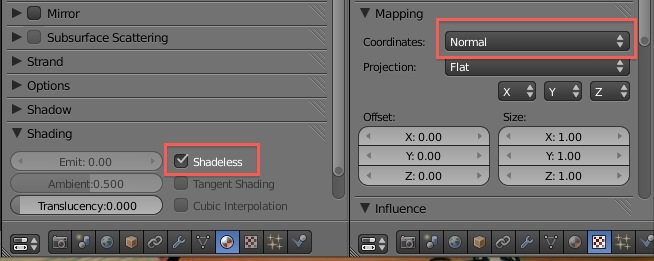
If it isn’t said already, in Blender 2.5, just load the texture and set it as ‘normal’, remove lamps from scene and turn on AO for best effect.
Like so:
Attachments
Keep in mind that you aren’t limited to just one texture channel with this GLSL stuff. For example you can assign one texture for diffuse and another for reflection and just blend the two together to get the desired result.
Attachments

example.blend (518 KB)
Brilliant example !!!
thanks
THANK YOU!!!
I’ve been working on a good work flow from ZBrush to Blender for a while now, this was about the only severe hurdle I had left.
but you just solved it for me nicely! Cheers!
Mark
EDIT:
But better than that I see, reading more of this post! Effectivly you can make your own material shaders very simply in GIMP or Photoshop and use them in this way!! Hmmmmm I’ve been thinking of some good comic book shaders and I think this might just do it! Hmmmmm let me see…
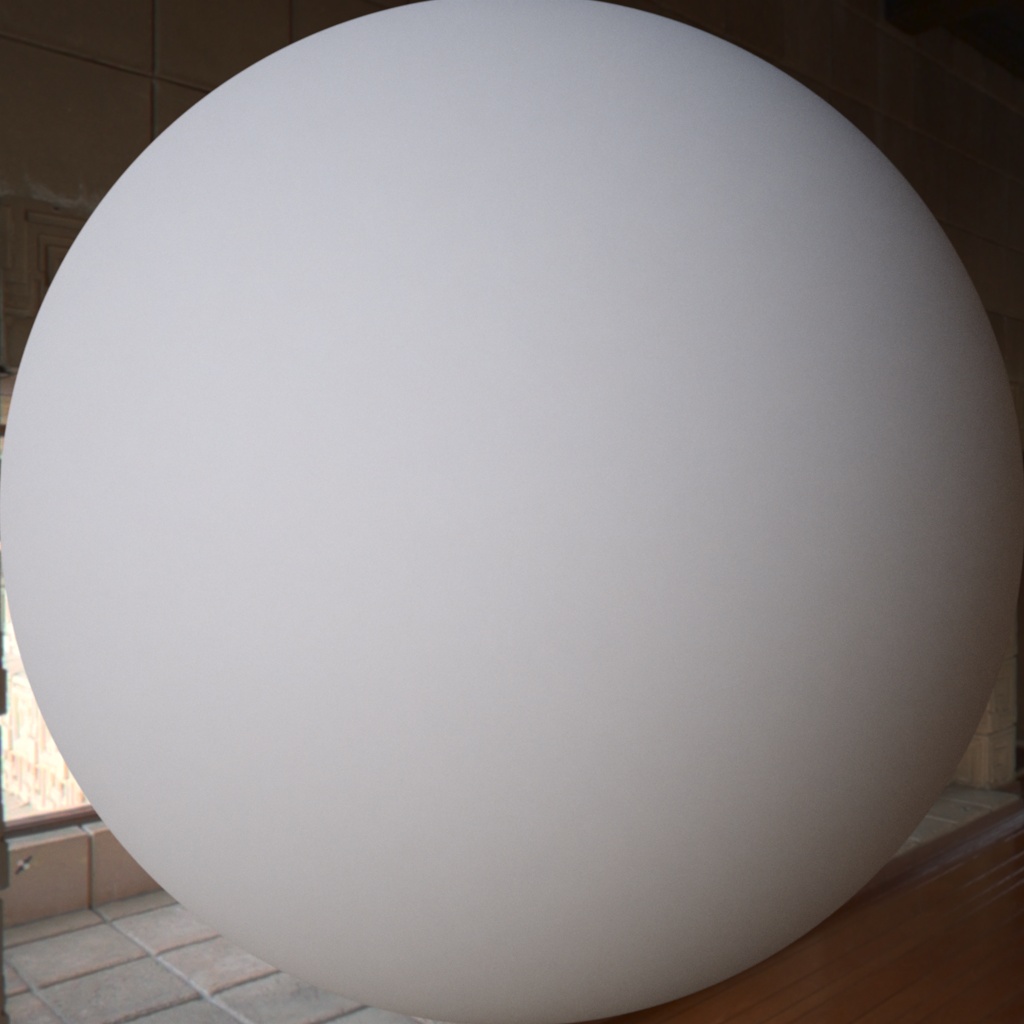
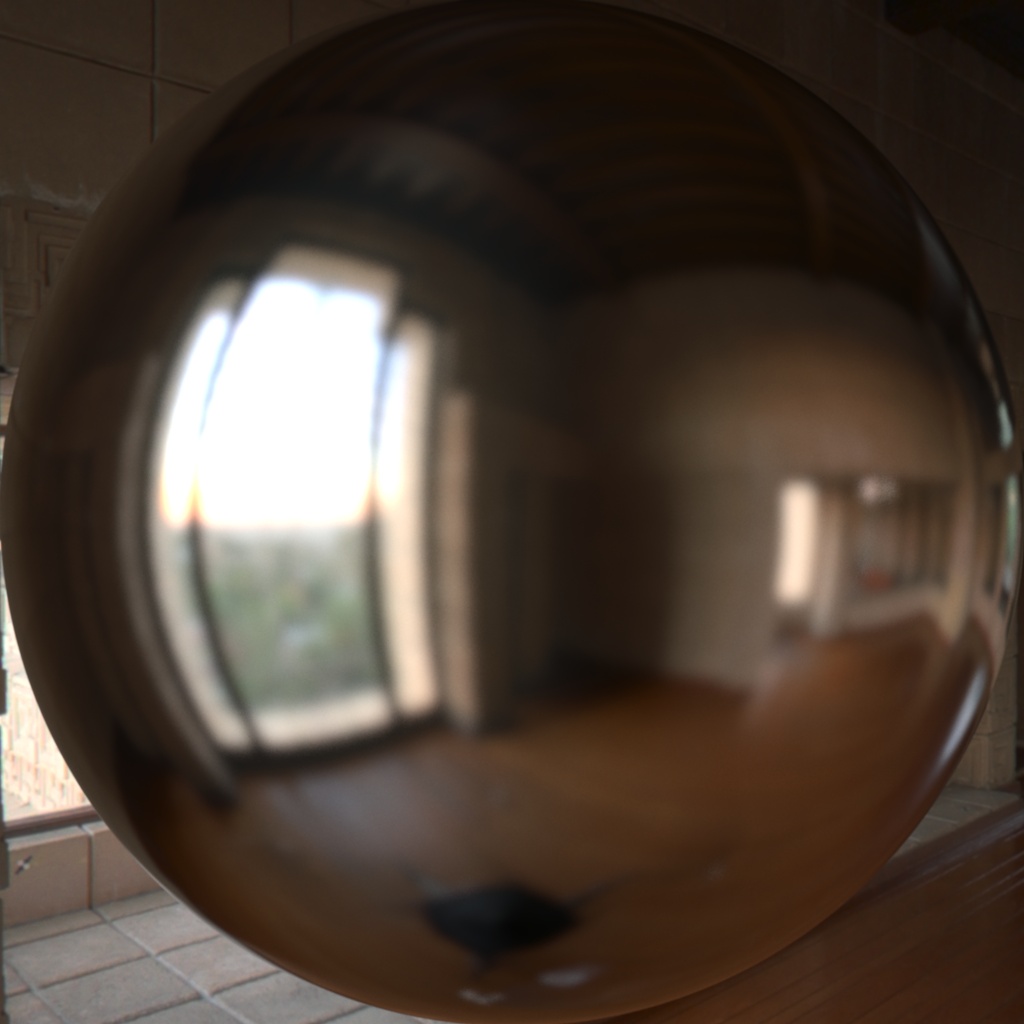
Captured an image of a sphere using the Reflect Yellow Material in ZB 3.5r3
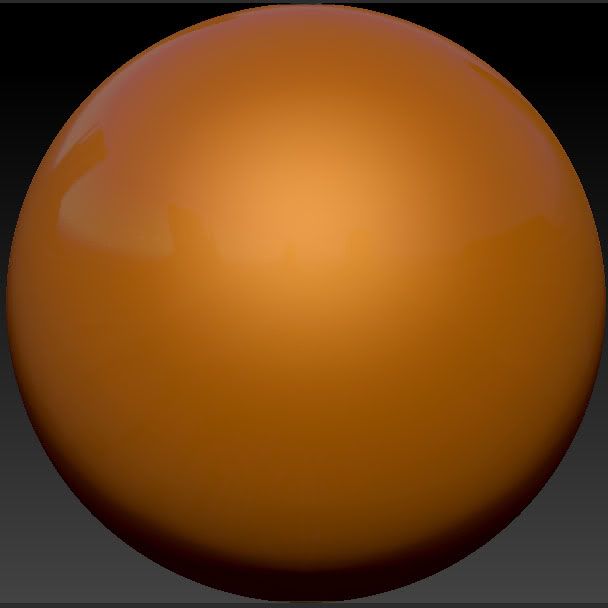 click to view
Then modified it using Photoshop filters and adjustments
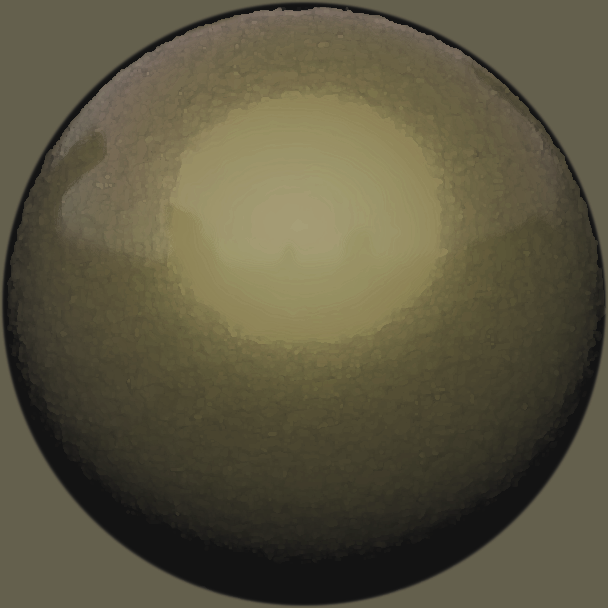 click to view
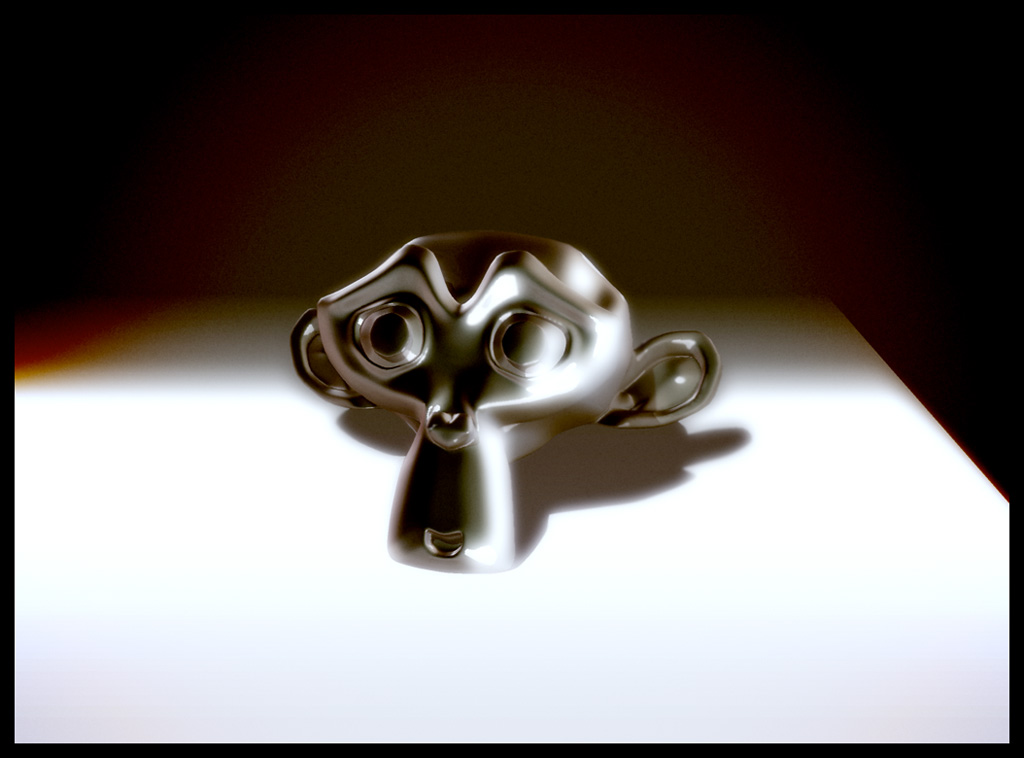
And voila! REALLY nice looking glossed brass monkey!
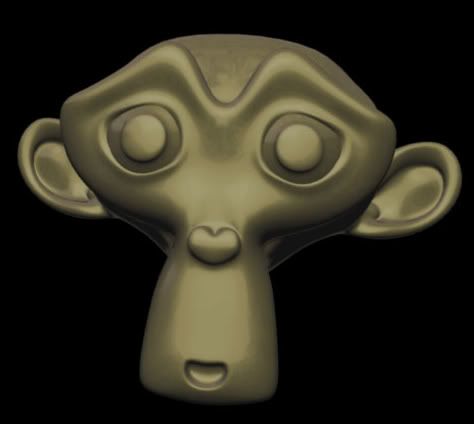 click to view
Oooooh I can just see so many possibilities for this already!