I’m a bit late to the party (fashionably late?), but I’ll have a go at it anyway.
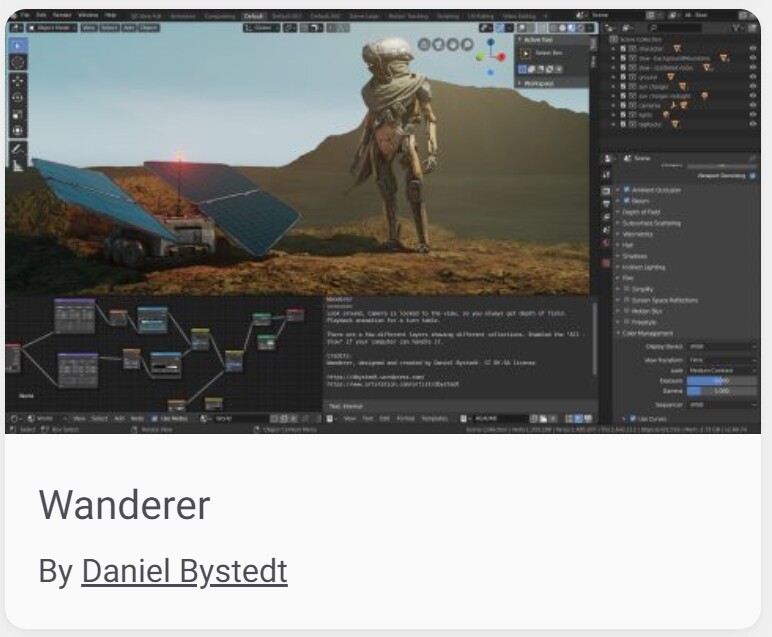
I’ll be remixing the Blender’s 2.78 Splash Screen from Juri Unt (www.cgstrive.com), with a scene I also like, Wanderer By Daniel Bystedt. The second one is not an official Splash Screen, but for me it was THE Blender 2.8 Splash Screen while Blender 2.8 was in Alpha.
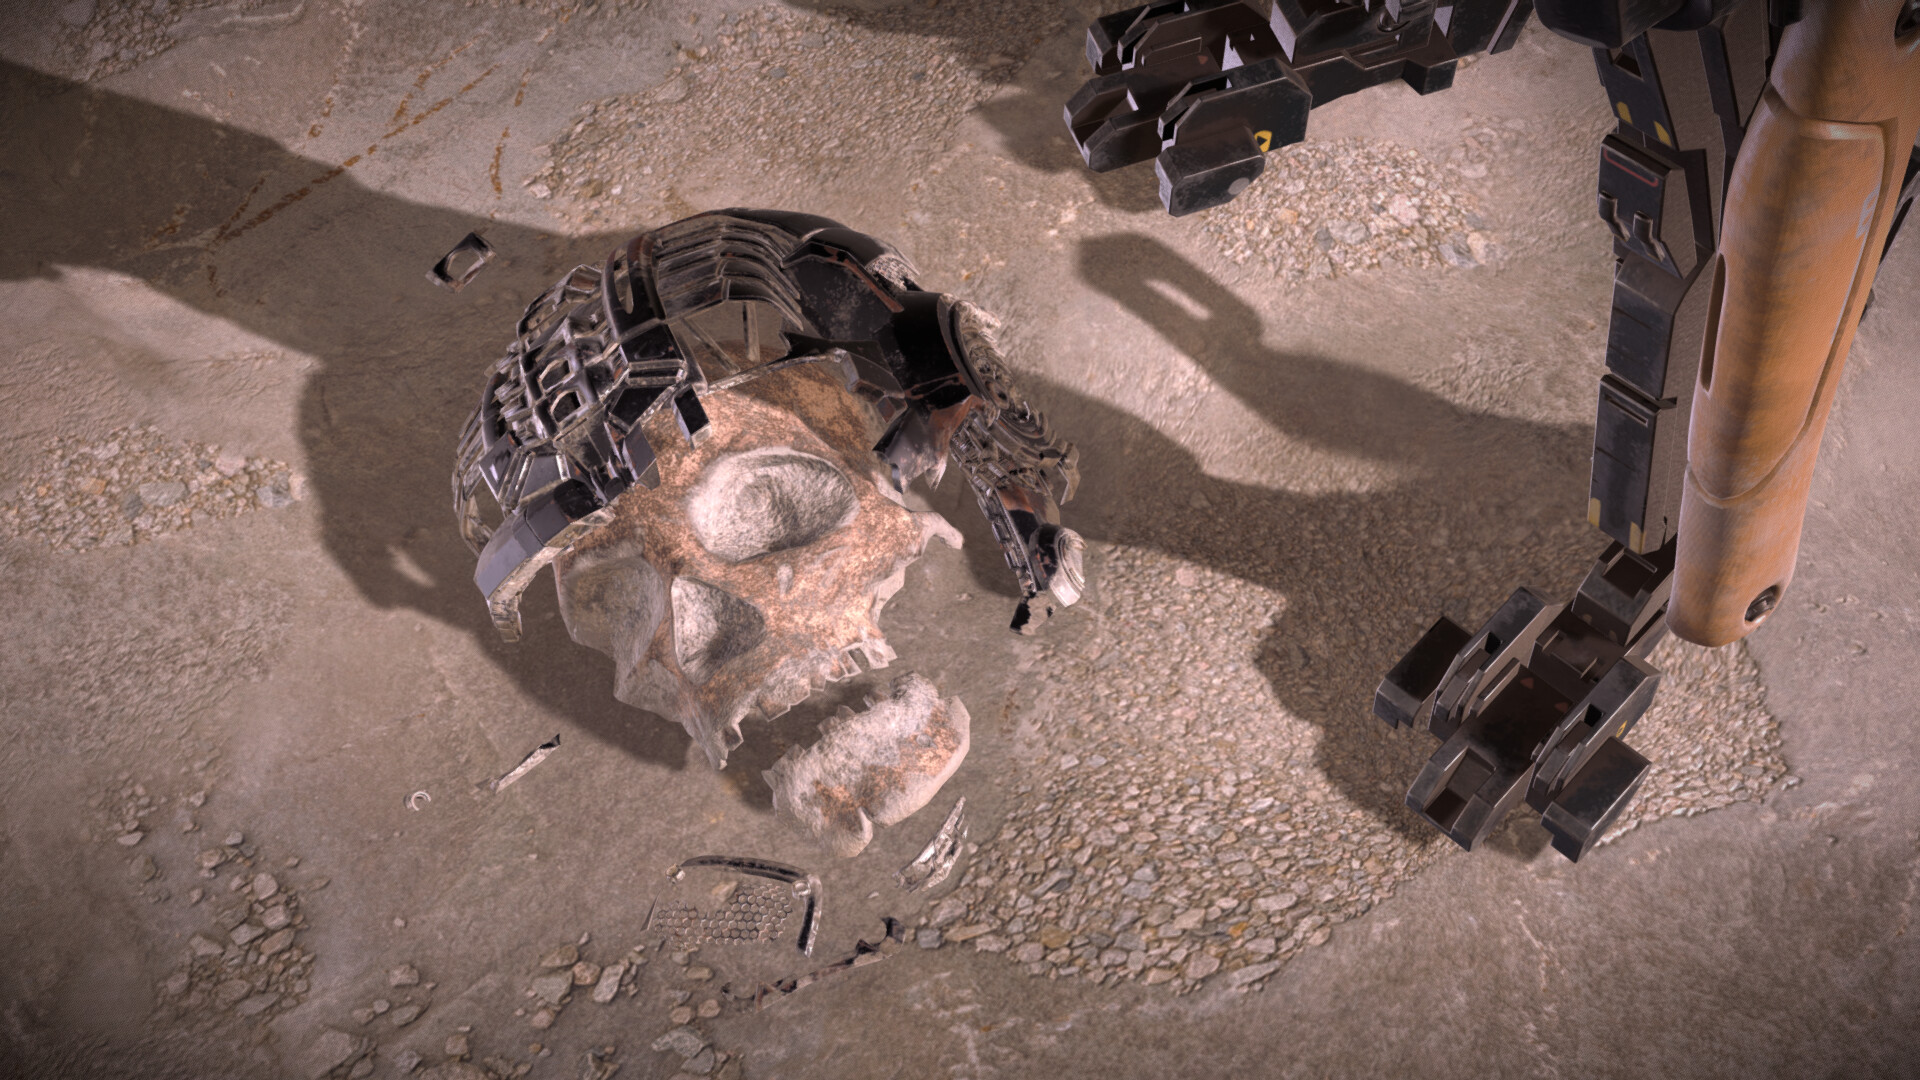
Inspired by the video Are There Lost Alien Civilizations in Our Past? from Kurzgesagt, I though of creating a scene representing the distant future of the Robot man scene. The 2.78 scene shows a sort of beginning (the armature is being assembled), and in the scene I’m going to create I want to represent a sort of end (or new beginning), a moment in a very distant future where we see the archaeological remains of that armature in the ground.
So the main Focal point of the image will be the remains of the armature, but with a twist: We will see the feet of the Wanderer that just found these remains. I think that will add to the narrative in the picture.
Time passed is the main subject, so wear and tear will be the main focus. I’m guessing I’ll have to modify the geometry a bit, and the rest will probably be a lot of texturing and shading.
The ground on the Wanderer scene doesn’t have the detail for the close-up I want to make. If I have the time, I would love to try and make a 3D scan for the ground, otherwise I might just use textures/scans from the internet.
Integrating the ground and the helmet will be quite a challenge.
I’m guessing that the weight of the file will most likely be an issue when trying to upload it to sketchfab, so I might have to see how to simplify the geometry as much as possible.
Given that I don’t have much time for this project, I decided to use assets whenever possible.
I first searched for photoscan terrains, but ended up choosing a rocky texture (from Polyhaven) applied to a plane. I felt I did not need a lot of volume on the terrain since it’s a close-up.
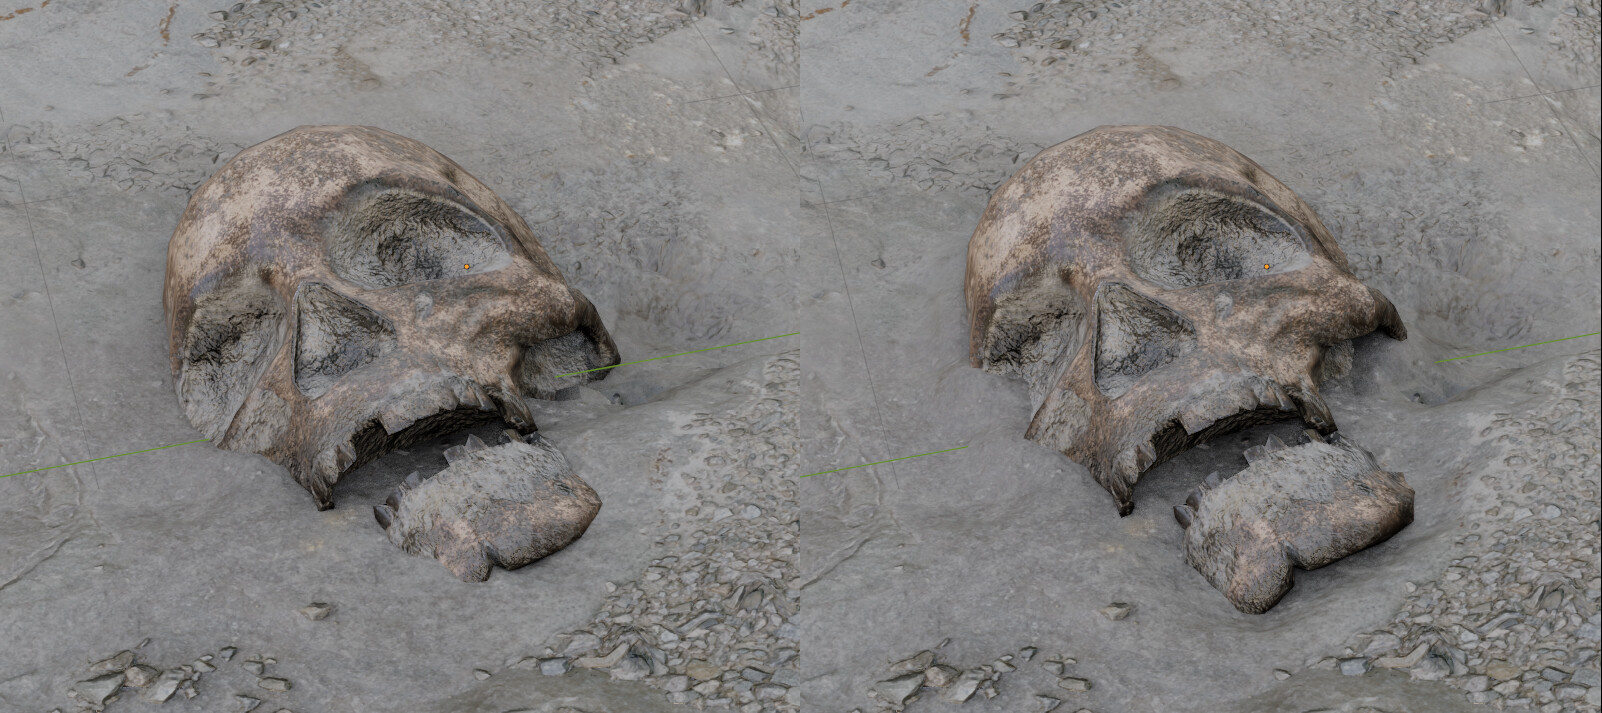
For the skull (I’m guessing there had to be a skull) I found this great scan, just perfect.
I added a weight paint proximity to better “bury” the skull. It doesn’t add a lot, so I might check for a better trick or I might manually skulp the transition from skull to the terrain.
Hey! As we’re entering the final days of the challenge, I’d like to give you some helpful tips to make sure you can successfully complete your entry. Please see my new post on the FAQ topic.
It’s the final countdown… turu ru ru, turu ru tu tuu.
I haven’t come around finishing my entry, let alone posting my progress, but it’s not game over yet. So, here’s an update:
In order to modify the helmet somewhat, I had to convert it from all the modifiers magic to an actual mesh. I first tried to go over each part, but deciphering the parts that use empties instancing of groups (or collections if you don’t speak ancient elvish) proved too complicated in this case, so I used the old trick of exporting to a 3d file format and re-importing it again. I used the alembic exported because why not? .
After that I started deleting and moving some parts of the Helmet, mainly thinking what parts should be gone. I’m guessing rubber and glass parts would be long gone. Others would have fallen down.
Next part was texturing. With the spirit of keeping it quick, I decided to use Substance painter and mix a couple of materials using some “smart masks” (smart as in smartphone). I could not get those smart masks to take into account the contact between the parts and the floor (ambient occlusion? no?), so I painted here and there in the parts where the ground met the different parts, to create a transition. Since I’m using my home computer, a laptop with 16gb of RAM and 2 gb of VRAM, it should not be a surprise crashing of apps and cursing humans was common currency for a while. I did manage though to get some textures out of that experience.
Hey! Just a quick reminder that there’s now less than 12 ours remaining to wrap up your challenge entry - submissions close at 2022-09-15T21:59:00Z, GMT+1 (click on the link for some international times).
If you haven’t done so already, please review this post which contains some essential information for preparing your submission.
At the very least, upload your work to Sketchfab as soon as possible and add the #bcon22challenge tag.
It’s also a good idea to add a link to your WIP topic in the description of your Sketchfab model so we can easily find it.
I’ll also keep a close eye on the FAQ topic today, so if you have any issues or questions please post it there as soon as possible.