I plan to add a feature to my project specific addon.
This feature is quite simple ‘in the text’: send UV-image window annotations to image pixels…
I know how to write pixels in image but have no idea on how to grab annotation points list, nor convert annotation coordinates to UV pixels coordinates.
Does anyone have any idea ? Maybe this has already been done by someone ?
The annotation tool is used in the Bsurfaces (shipped with) addon for retopology purposes int the 3d view and so it can convert them into curves… but the blender API docu doesn’r tell you much AFAIK… there somementioning of bpy.context.annotation_data … but the details are buried deeper ???
So you want to use it in the UV editor… no idea… – Maybe the addon source could give some hints…
my belief ( mostly based on guessing of what devs did ) is that the annotation points coordinate are bastard ( and maybe hidden ) coords. It’s not texture dependent nor UV dependent. Probably dependent on UV window coordinates.
bpy.context.annotation_data holds a GreacePencil instance wich contains a gpencil_data but also a SpaceImageEditor.greace_pencil…
Since i didn’t take time to dig in this yet, i don’t know what is the right data entry
My 1st step is to grab as most info as possible on this so that i don’t walk wrong paths… Thanks for your infos @Okidoki
The problem with Annotations, is that since they are data values and meant to be only viewed in the screen they have no many uses.
One option is to go with the backbuffer render technique, so this way you retain all of the features of annotations (opacity / pressure / weight). You render the viewport showing the grease pencil into a screen buffer. For sure you will setup the rendering to have transparent background and such. Then then you copy the pixels from the buffer and drop them into the image editor.
Another much more simpler option, is to use the PIL module and draw again the lines all by yourself, provided that you might be able to loose some features as weight/opacity/color just in case they are not provided through the API.
Very simple and fast technique, if you use only straight lines – but not good if you need exactly the strokes as Blender renders them. This means that if you want exactly 100% the standard features you will only have to render the view into a backbuffer.
Back there with some time for this and some interresting answers
Thanks to @const@Okidoki and @nezumi.blend for your answers !!!
First of all here’s a light intro on the topic:
Since long ago, i dream of per-image annotations ( i don’t care about annotations evolution along frames ). For my specific use, i need the annotations to change when image changes in UV-IMAGE view. This is what i did here: B3.2: per-image annotations
As you can see, when i change image, the annotation changes according the image. The annotations i have are helpers for texture wrapping in my non atlased global texture. They tell me on what texel i should go back to the other side of the texture.
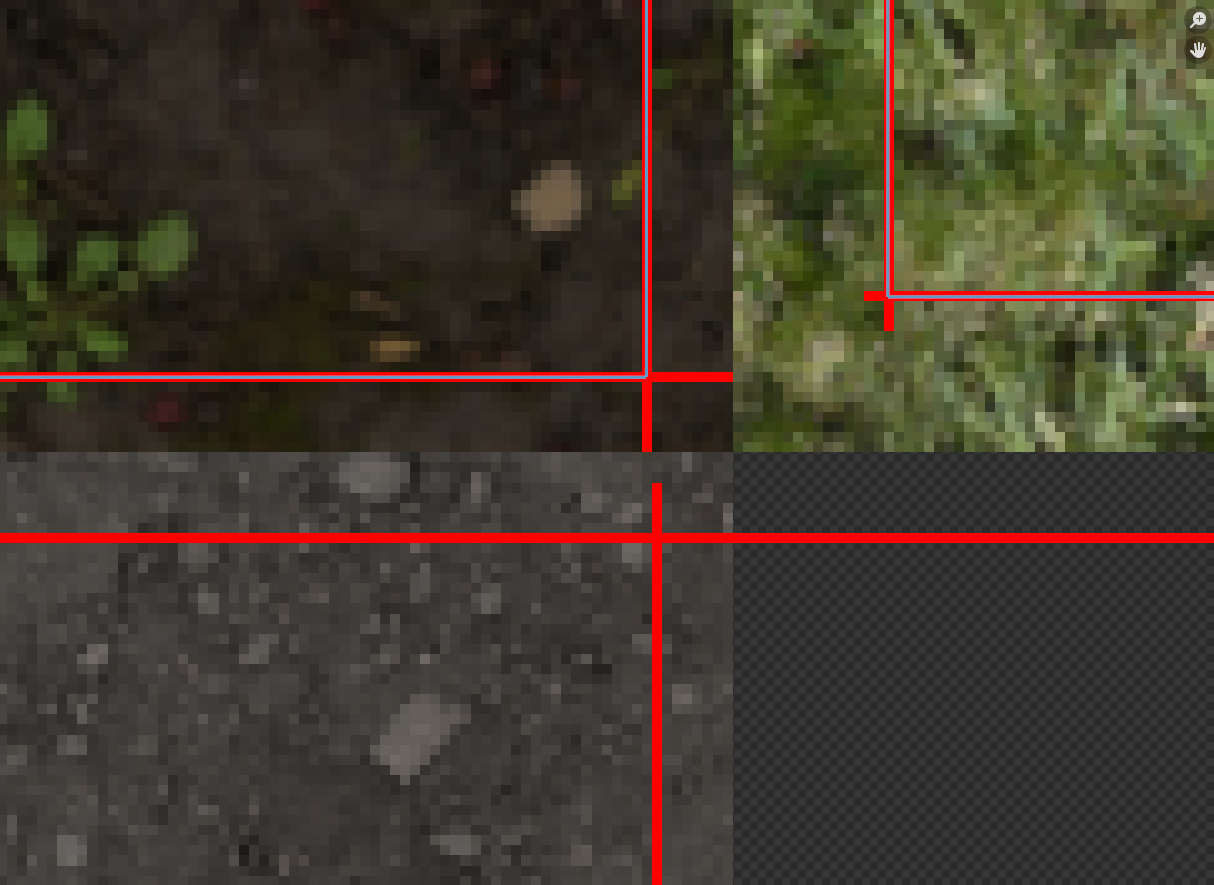
Unfortunately annotations do not appear on textures in the 3D view. For this i have to change my texture in GIMP and activate my wrapping-points layer wich looks like this:
You can see the red lines ( wrapping lines ) under the blue blender annotations.
The reason why i want to send annotations to image pixels is that it could allow me to throw away my gimp wrap-points layer ( and its manipulations ) and do all in blender
Note that this process don’t need to be realtime, nor fast at all. It is allowed to take up to, say… 5 sec to run
Now it’s time for me to open python text editor and give a try to this
I be back soon !
Very impressive workflow, I am not 100% familiar with this workflow but it seems that it can bring certain benefits on multi-tiled texturing.
I have been fighting with this idea of multi-tiling for a while now and I can’t figure out a proper workflow yet. Your solution looks like a good solution, where you have a single texture but with a texture atlas.
This workflow is very specific to my needs: I need my unity3D app ( here ) to run fluently ( 20fps mini ) on mid-end smartphones. In Unity3D, the more you have different materials, the slower is you app.
Therefore it is mandatory when you have lots of objects using the same shader but with different textures to pack those textures in a bigger one in a kind of atlas. This way, all objects use one unique material and UV coords do the job.
I’m not sure but i guess things work the same way for Unreal Engine. What is GPU consuming in a 3D scene is the texture fetching from 3D board memory to GPU caches. And the less you invalidate those caches, the faster is the app ( just as for CPU^^ ).
This workflow has no interrest in blender itself as blender can handle multiple material properly and blender is mostly used for still renders, not realtime ones.
However, i heard blender is able to handle texture arrays ( wich as far as i understood is some kind of texture atlas having same size textures ) and UV coordinates. However i never used it as i’m not sure of the Unity3D <—> Blender compatibility on this point. Also I found no example of this beeing used in blender…
Thanks for the code snippet ! It looks like it’s already optimized well enough
I think what you’re talking about is UDIM textures which is (AFAIK) a workflow widely accepted in the industry to manage several textures in a tiled map, making one big texture. It looks an awful lot like what you’re doing right now. Here’s a short youtube video explaing how it works in Blender :
A quick search shows this is available in Unity albeit in the HDRP which I don’t think you can realistically use on a mobile phone…