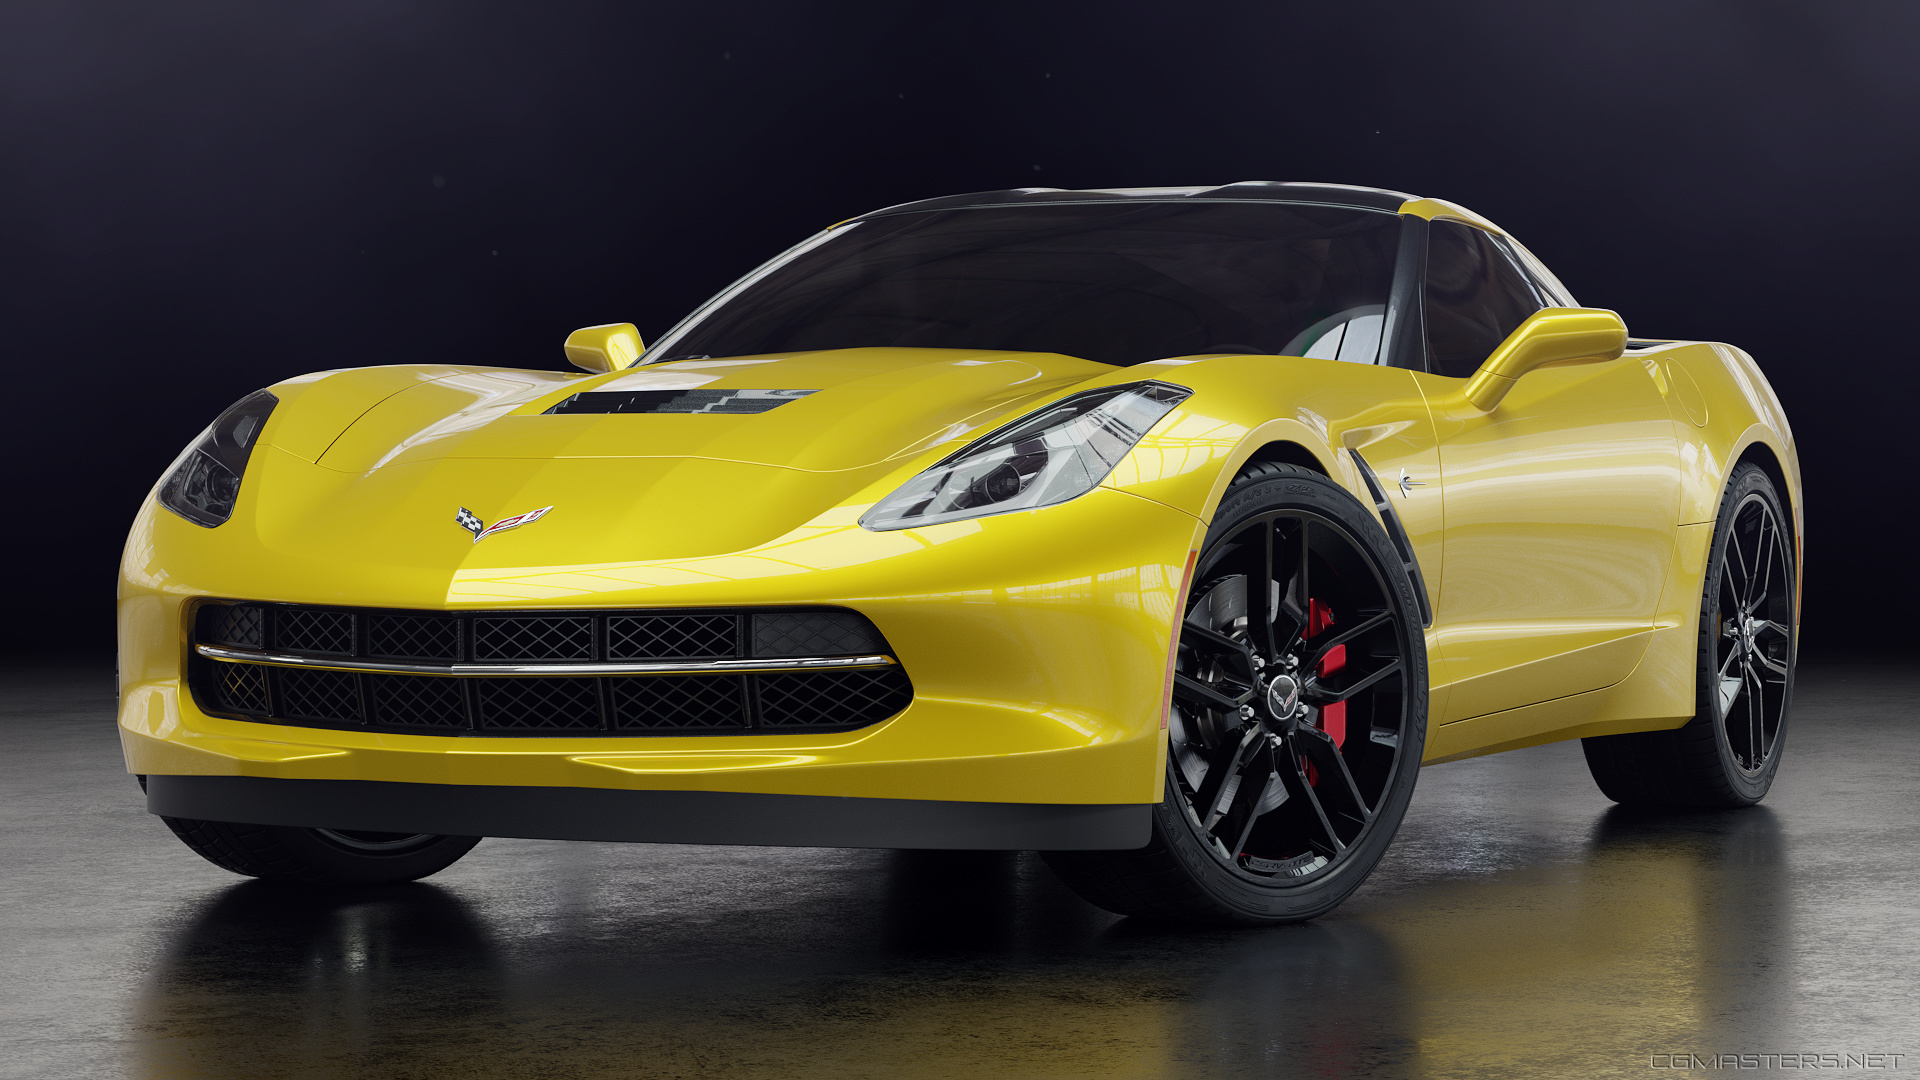
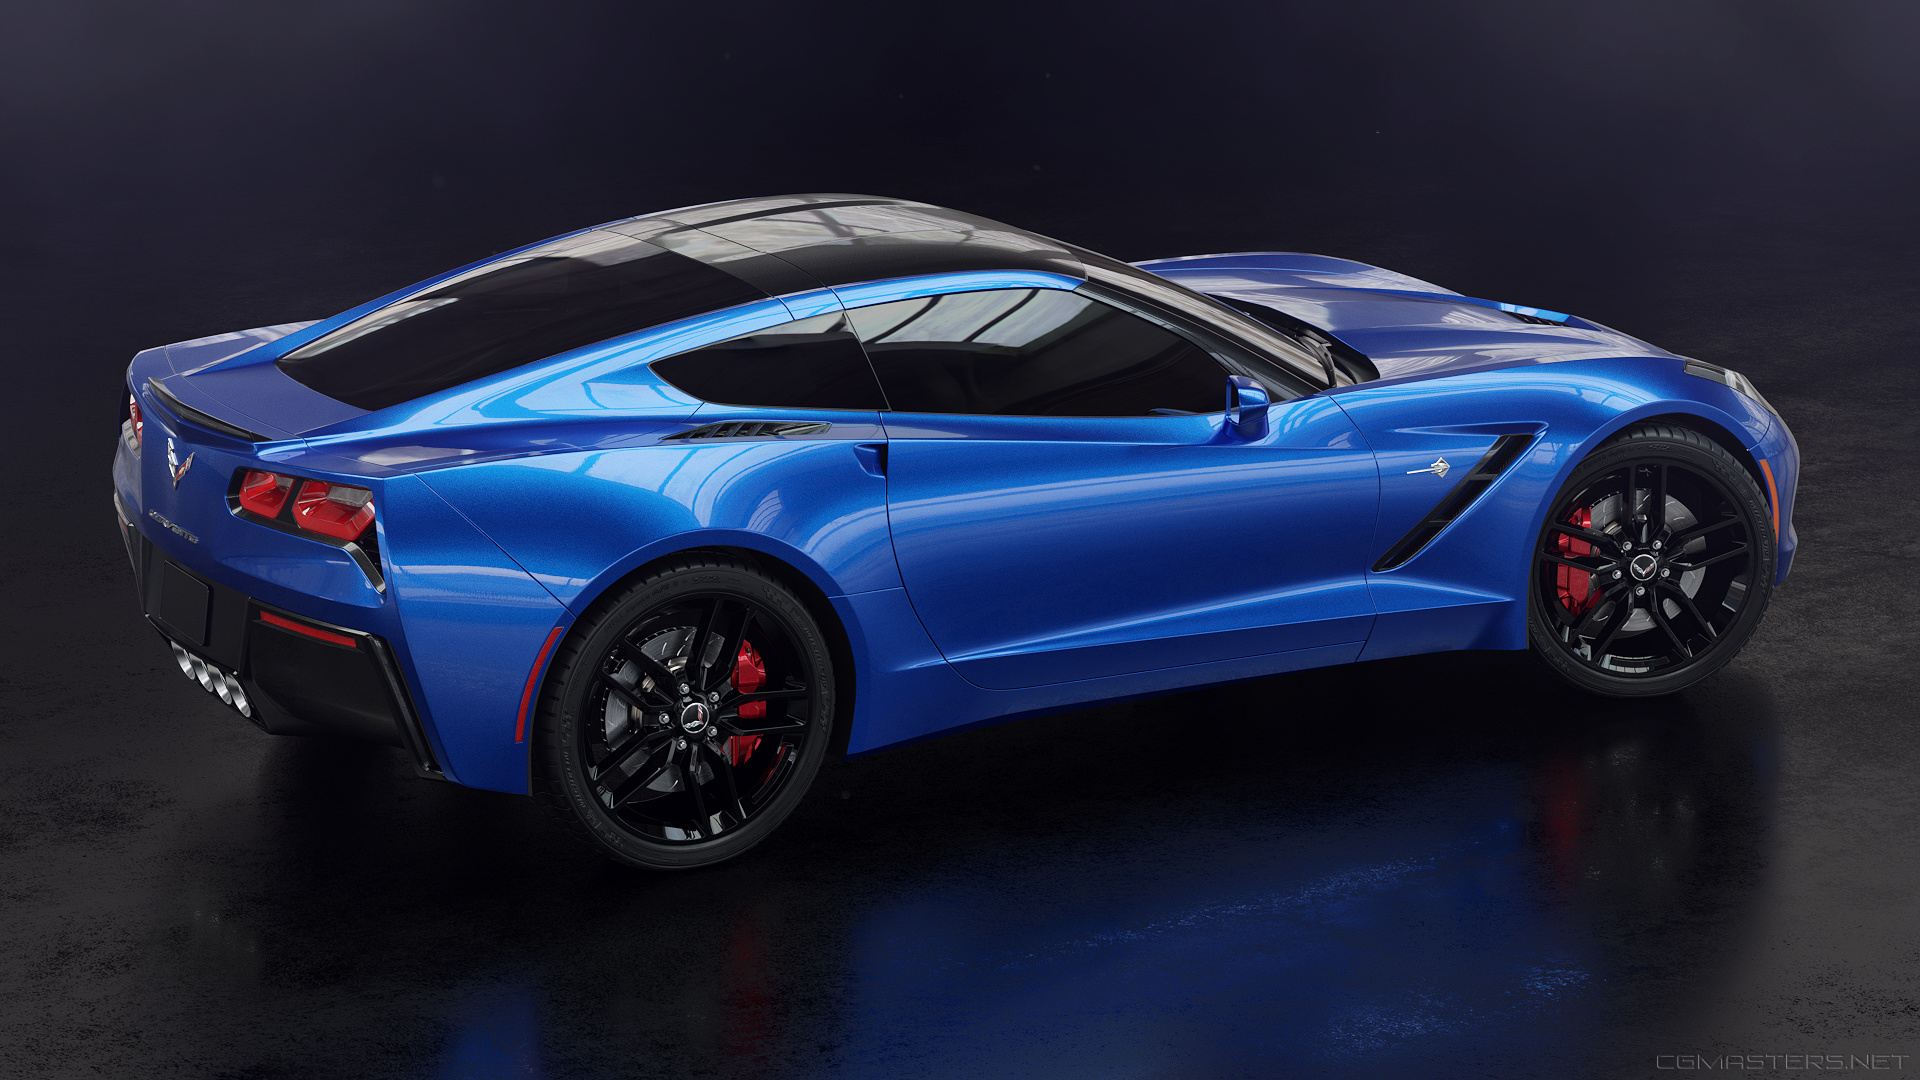
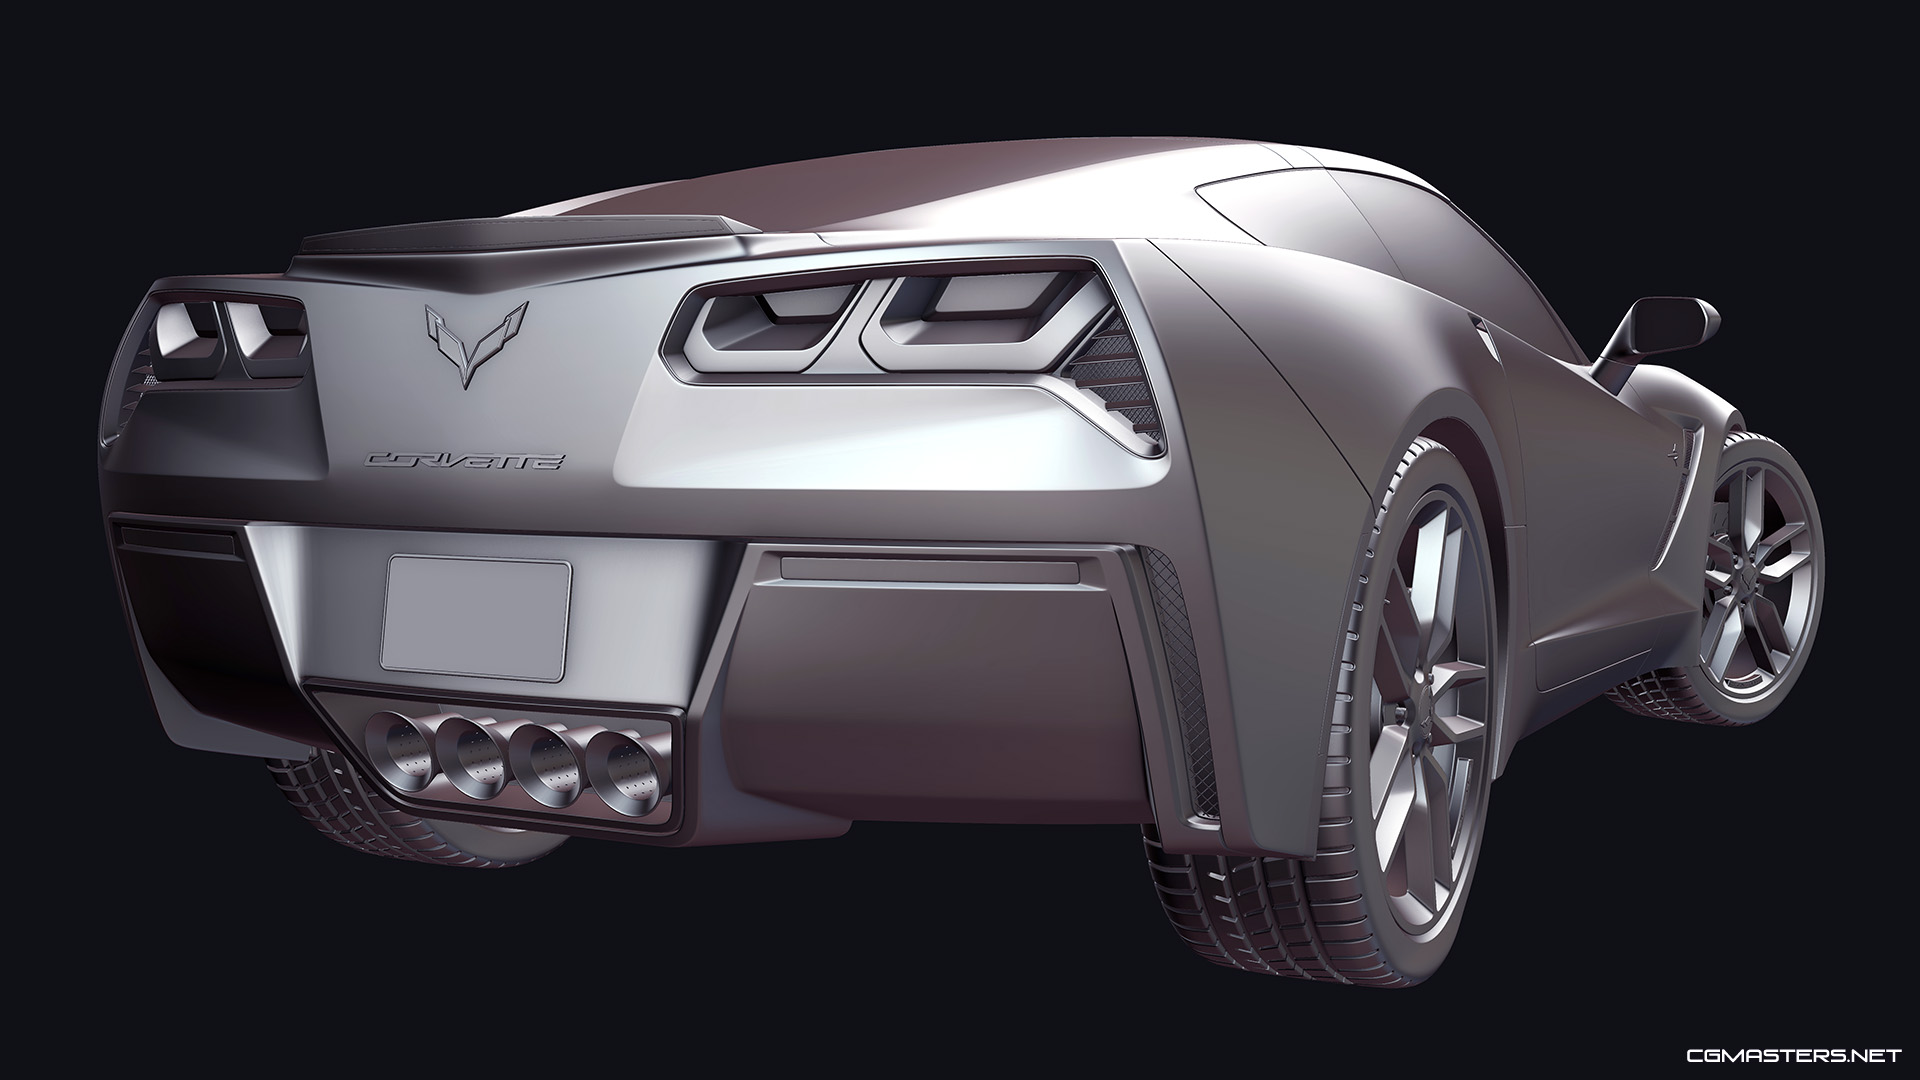
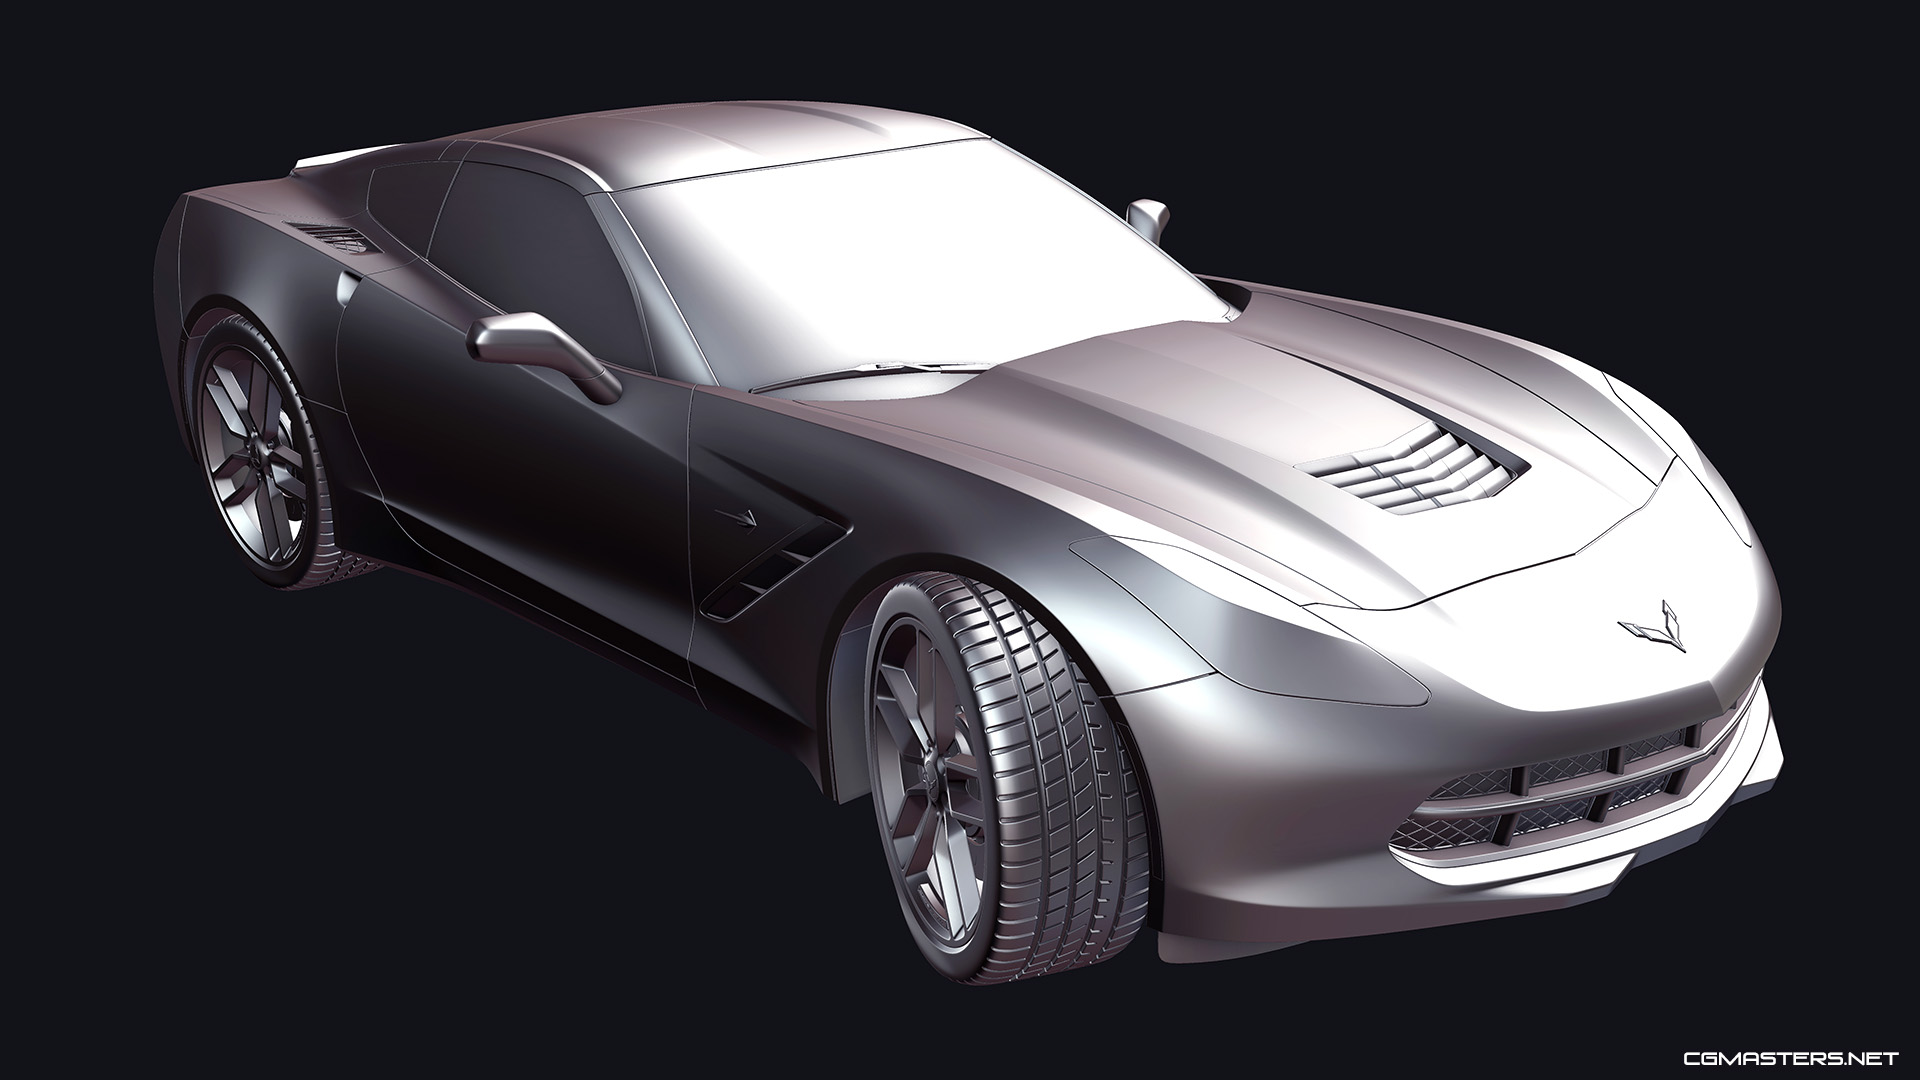
I just wanted to share renders of my finished Corvette Stingray model I made for a Blender training course. This was quite a long production but I’m super happy with the results. I just finished up a batch of renders for it and I hope you like them!
If you’re interested in the course you can find out more about it on Blender Market or Gumroad. It’s step by step and includes modeling, shading, rendering, and compositing in Blender.
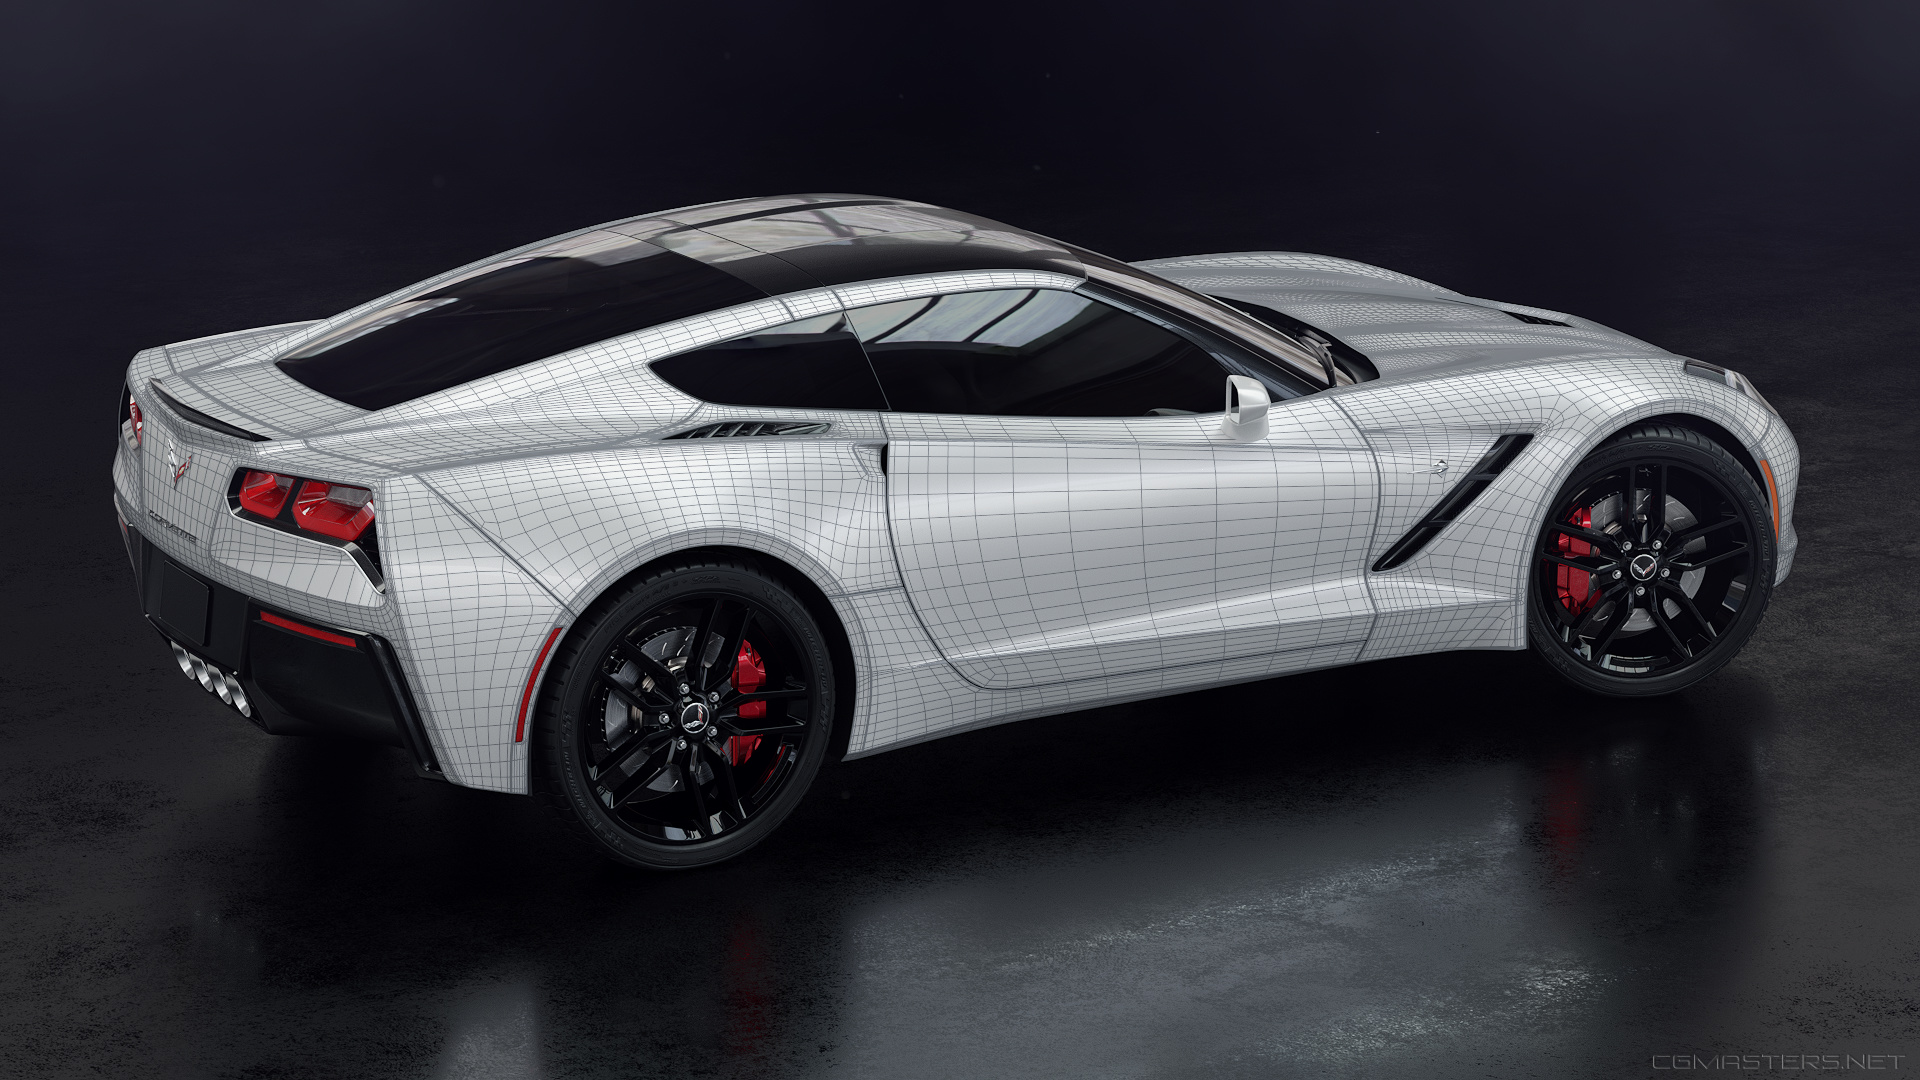
By creating just the curvature without details first we can use that to completely avoid subsurf modeling issues like pinching and surface continuity while also having carefree control over the final topology. Even tris and n-gons won’t affect your surfaces.
Awesome renders. I’m working my way through the course and up to section 2 chapter 11 finishing the guide mesh. Excellent tutorial so far. I’m a Modo user but finding the course straight forward to follow.
One observation. When doing loop cuts you often press the E key then F key to align to the edge. In most cases I find the cut is perfectly aligned and there’s no need for the extra key presses.
I purchased your previous Jeep Wrangler tutorial and refer to it frequently for tips and inspiration. I highly recommend them to anyone wanting to learn vehicle modelling.
I got your Jeep modelling tutorial because I’d never modelled a vehicle before, and you did a great job of explaining the concepts and walking the user through everything, so I’m sure the new tutorial is even better. I ended up getting distracted by other things before I finished the Jeep, but I had done most of the modelling, so I learned a ton. Thanks!
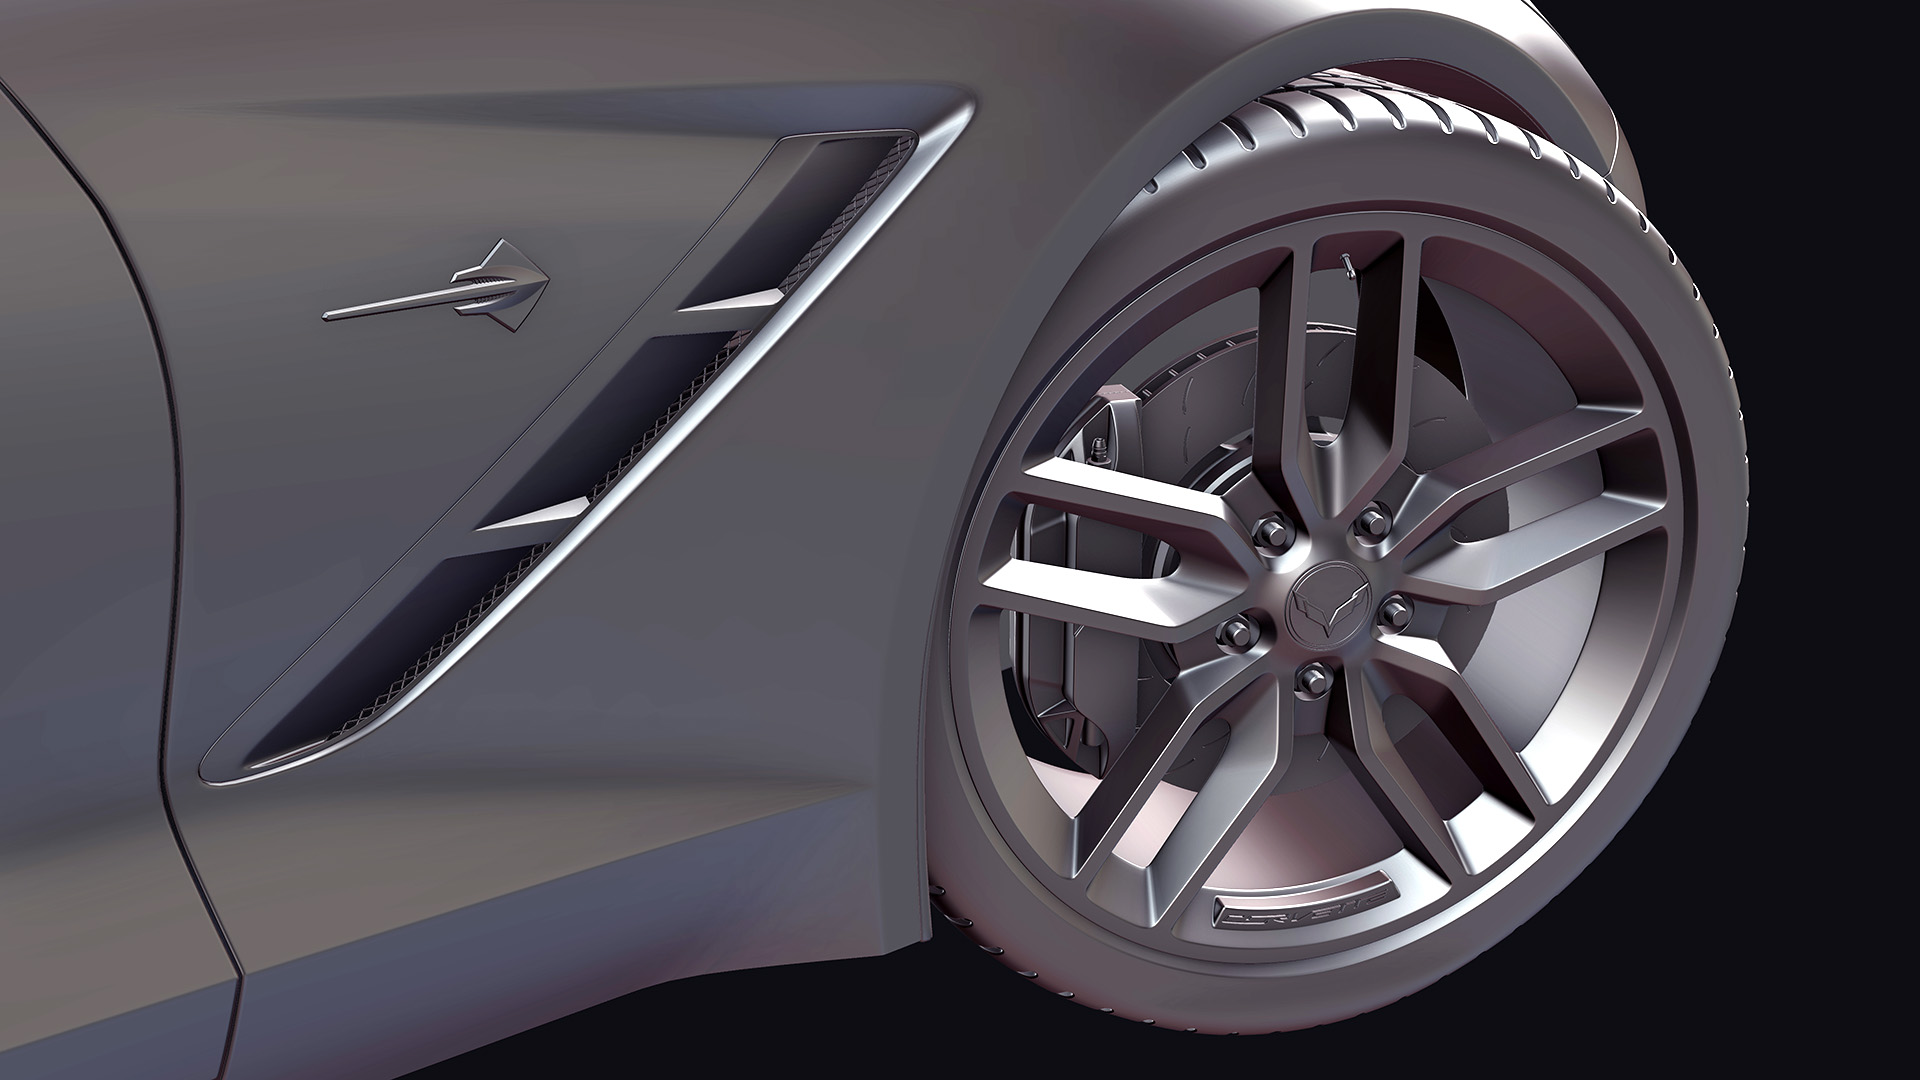
Really great surface quality.
Great technique that shows how to easily avoid typical subD modeling issues that aren’t present when using CAD/Nurbs modeling.
I did this method(using basemesh and shrinkwrap) before on a cad model though.
One issue I have with this all is the car you picked… It is a personal opinion, but there isn’t a single feature about this car I like
@3DKiwi, thanks for grabbing the course, glad you like it especially since you’re following with other software! And you’re totally right, just out of habit for usually needing to press those alignment keys, or even being unsure whether I need to or not, I’ll sometimes do it when it wasn’t necessary.
@kevjon, thanks man! Glad the Jeep course has helped you out a lot =)
@Mr_Flamey, thanks! And thanks for getting the Jeep course, glad you learned so much from that.
@cadaei, thanks for getting the course, glad you’re liking it! Let me know how things go with that separate car modeling you’re making too, would love to see how that turns out.
@lacilaci86, thanks! Yep shrinkwrap is fantastic for avoiding those issues but of course presents its own issues when involving subsurf modifiers. It was more than worth it though to work out a list of all the rules of engagement especially when there’s even more potential to the combo than might be expected. As for the car I picked, haha, I actually wasn’t a huge fan of it myself at first. It grew on me a bit though after using it to make a tutorial on drawing blueprints a while ago. It had just the right amount of hard surface challenges for a training course too.
Just wondering but i am at the front bumper guide mesh now and i noticed that you select vertices one by one in a row instead of selecting the first one and then ctrl+lmb selecting the last one in the row which i think is a lot faster. Is there any particular reason for this or do you use it later in the tutorial?
I’m a bit further on than you and he does start using the method you describe to select vertices along an edge loop.
One thing he doesn’t do that I often do is use the 3D manipulator widget to quickly move a vertex. Saves have to press G and an axis key or G + middle mouse button click and drag. Shortcut toggle on / off is Ctrl + space. My guess is prefers not to use the widget as the circle often gets in the way of selecting the next vertex.
Looks real nice overhaull! Excelent work!
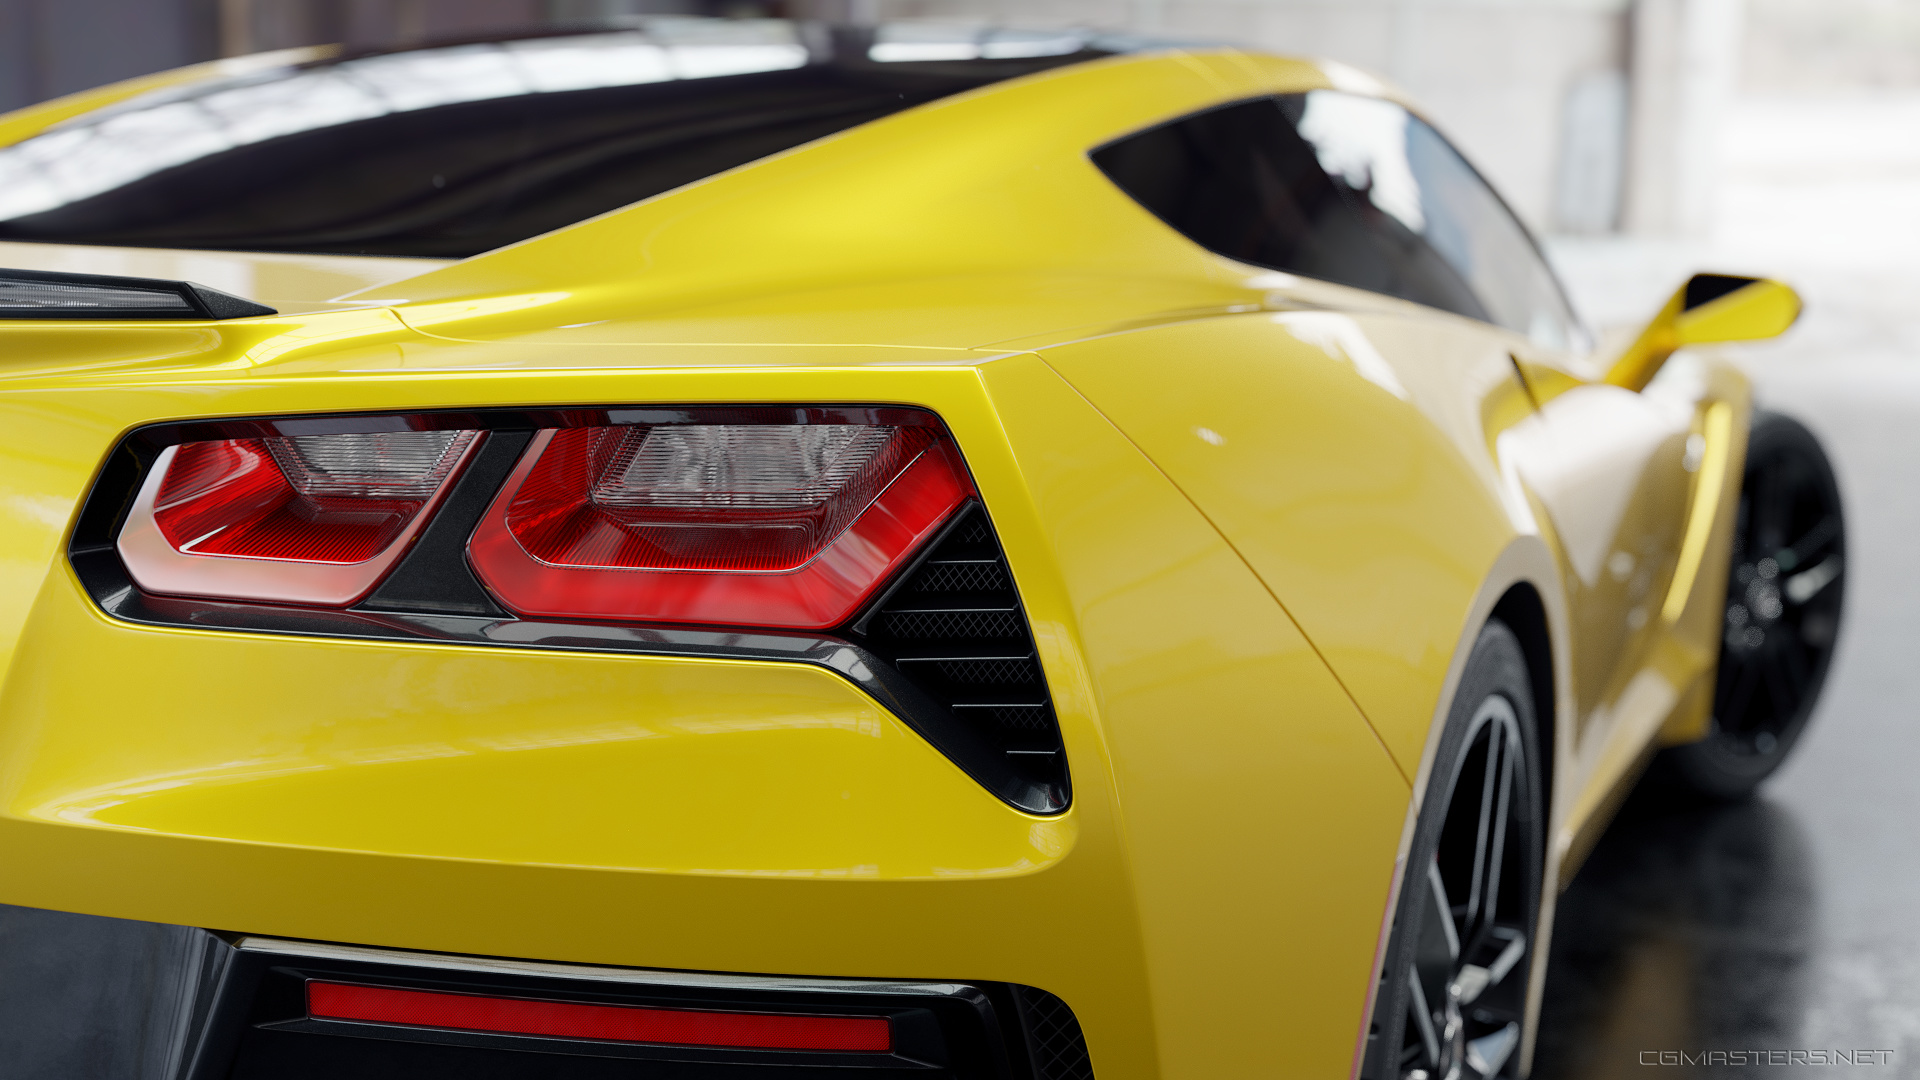
The car paint shading, glass, tyres and whells also looks just right. Excelent details all arround it. The idea of making it first all in one without details also seems good… whish I had tought on that
The only thing that sems too clean is the exaust insides. Looks like the engine never worked before
If I may ask, and if you can/want to share the info, how many work hours were involved in making it?
@GrimZA, yep like 3DKiwi says at some point I wise up and use the hot key for that haha. I’m always learning on the job still. In fact I start by using ctrl+shift click until I realize I only have to use ctrl click unless I want region select, whoops. Glad you’re enjoying the tutorial so far =)
@3DKiwi, oh yeah I actually really hate using the widget. Totally personal preference there but I find having the extra graphical element overlapping my selections to be obstructive. You’re right though I might be missing out on some benefits of it.
@rogper, thanks! I did keep the shaders a bit simpler for training purposes and because I was seriously running out of time, this course way longer to make than expected. In the end it took about 6 months of full time work to produce the whole thing.