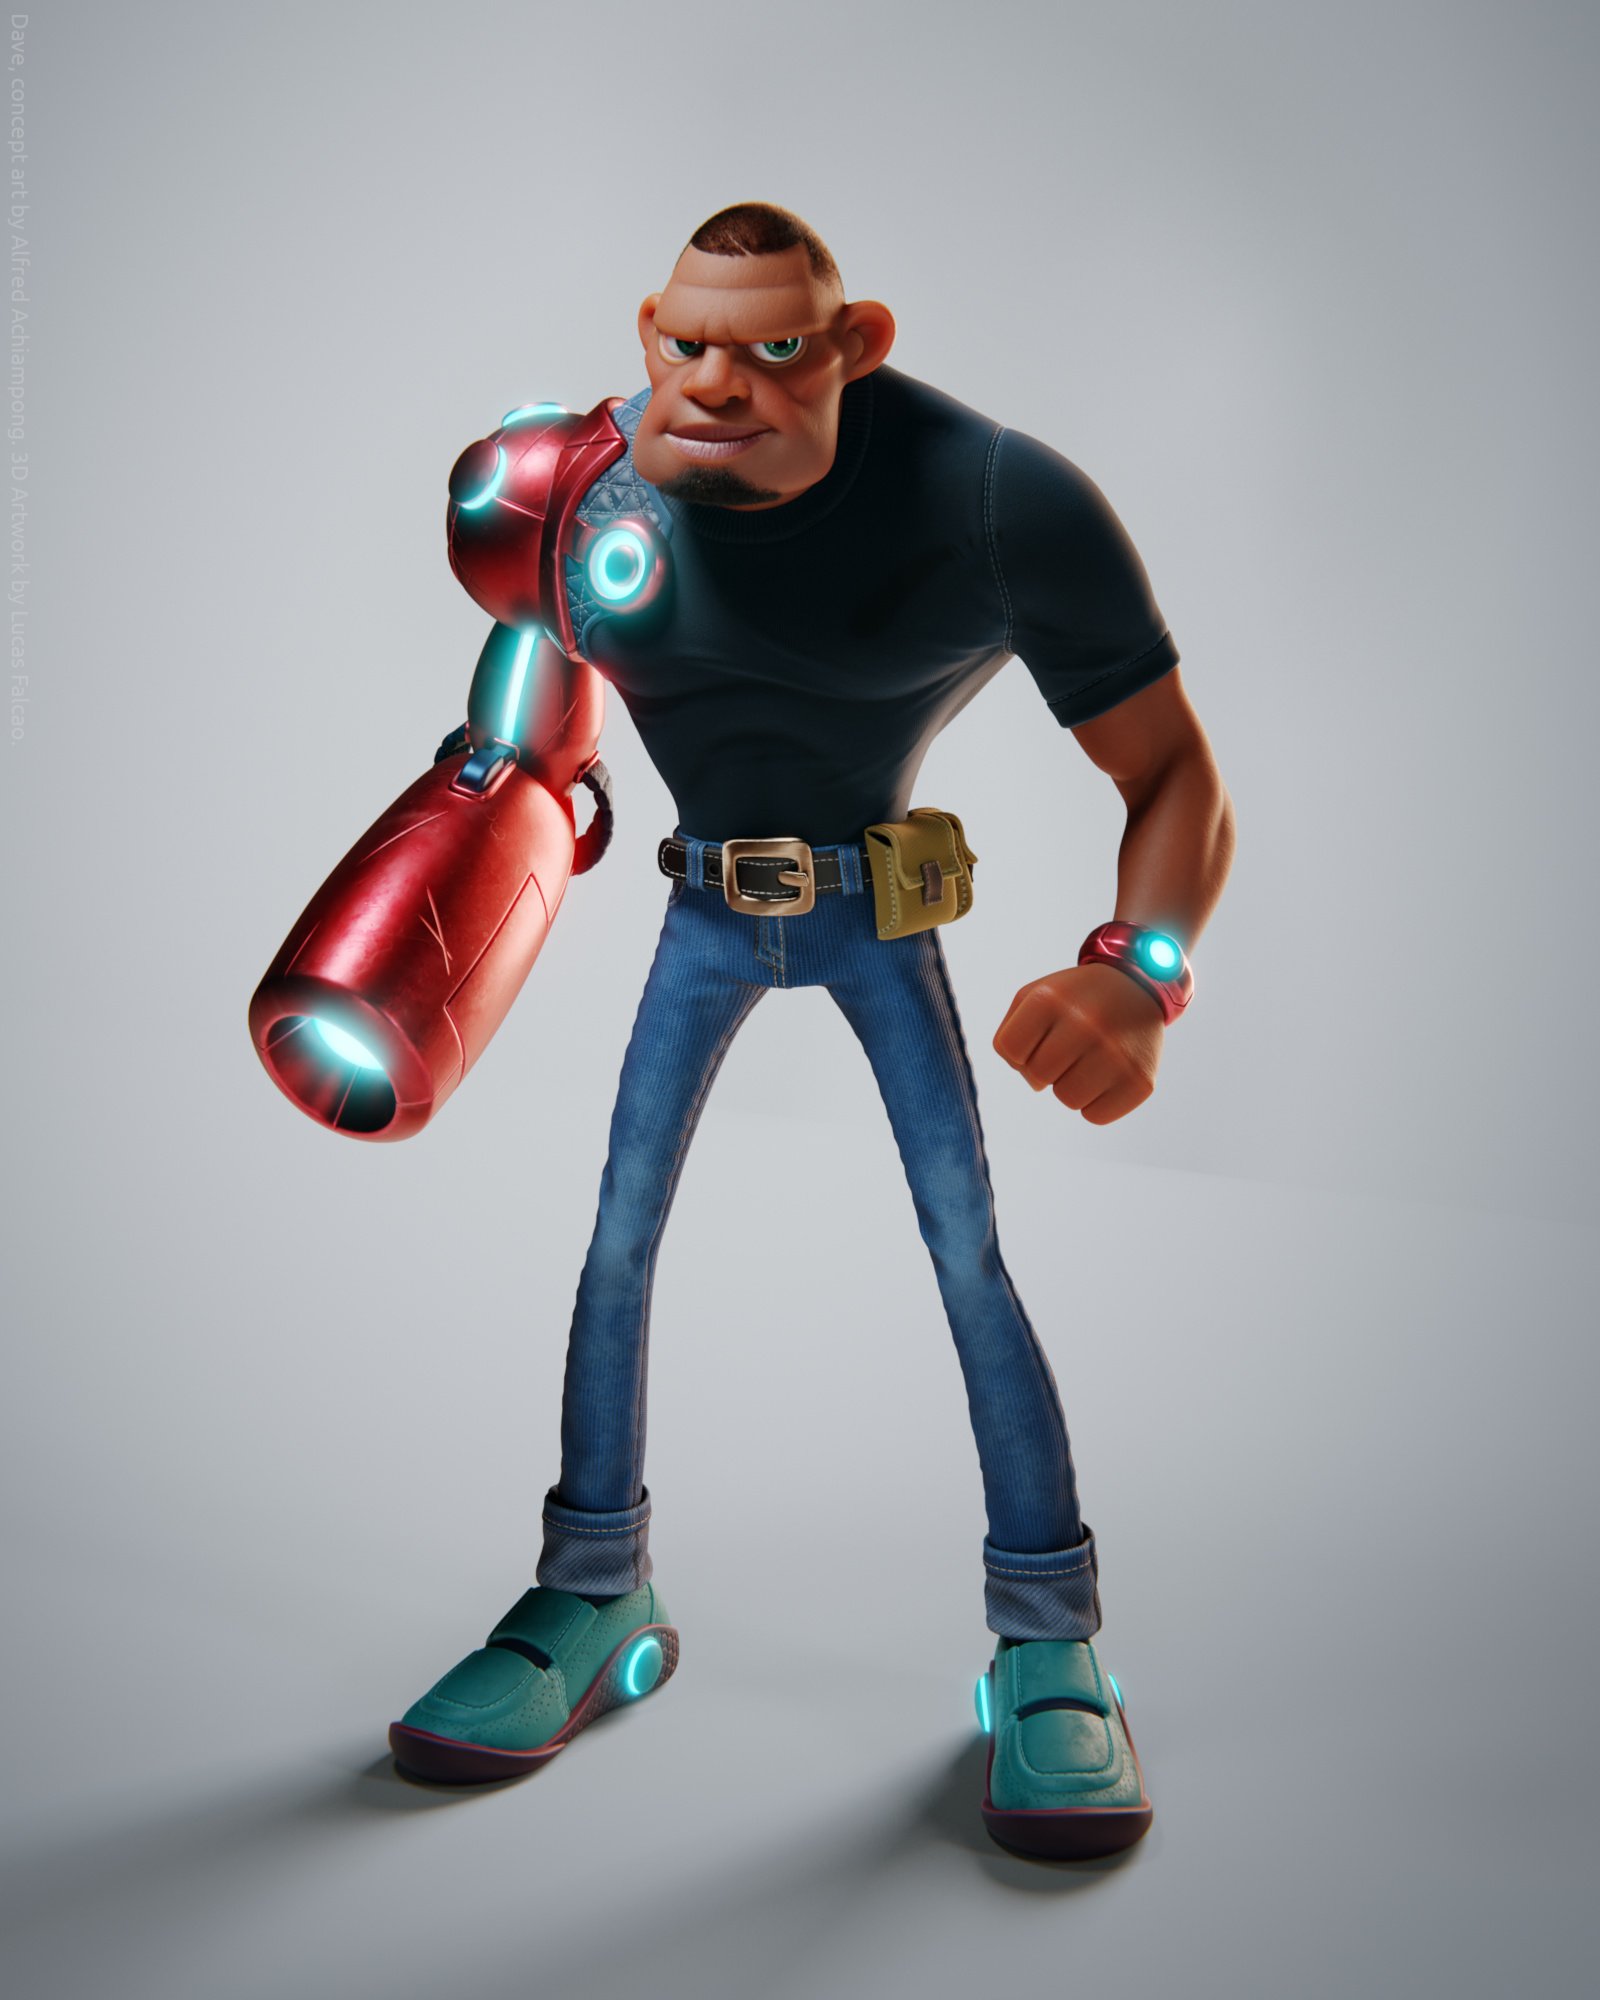
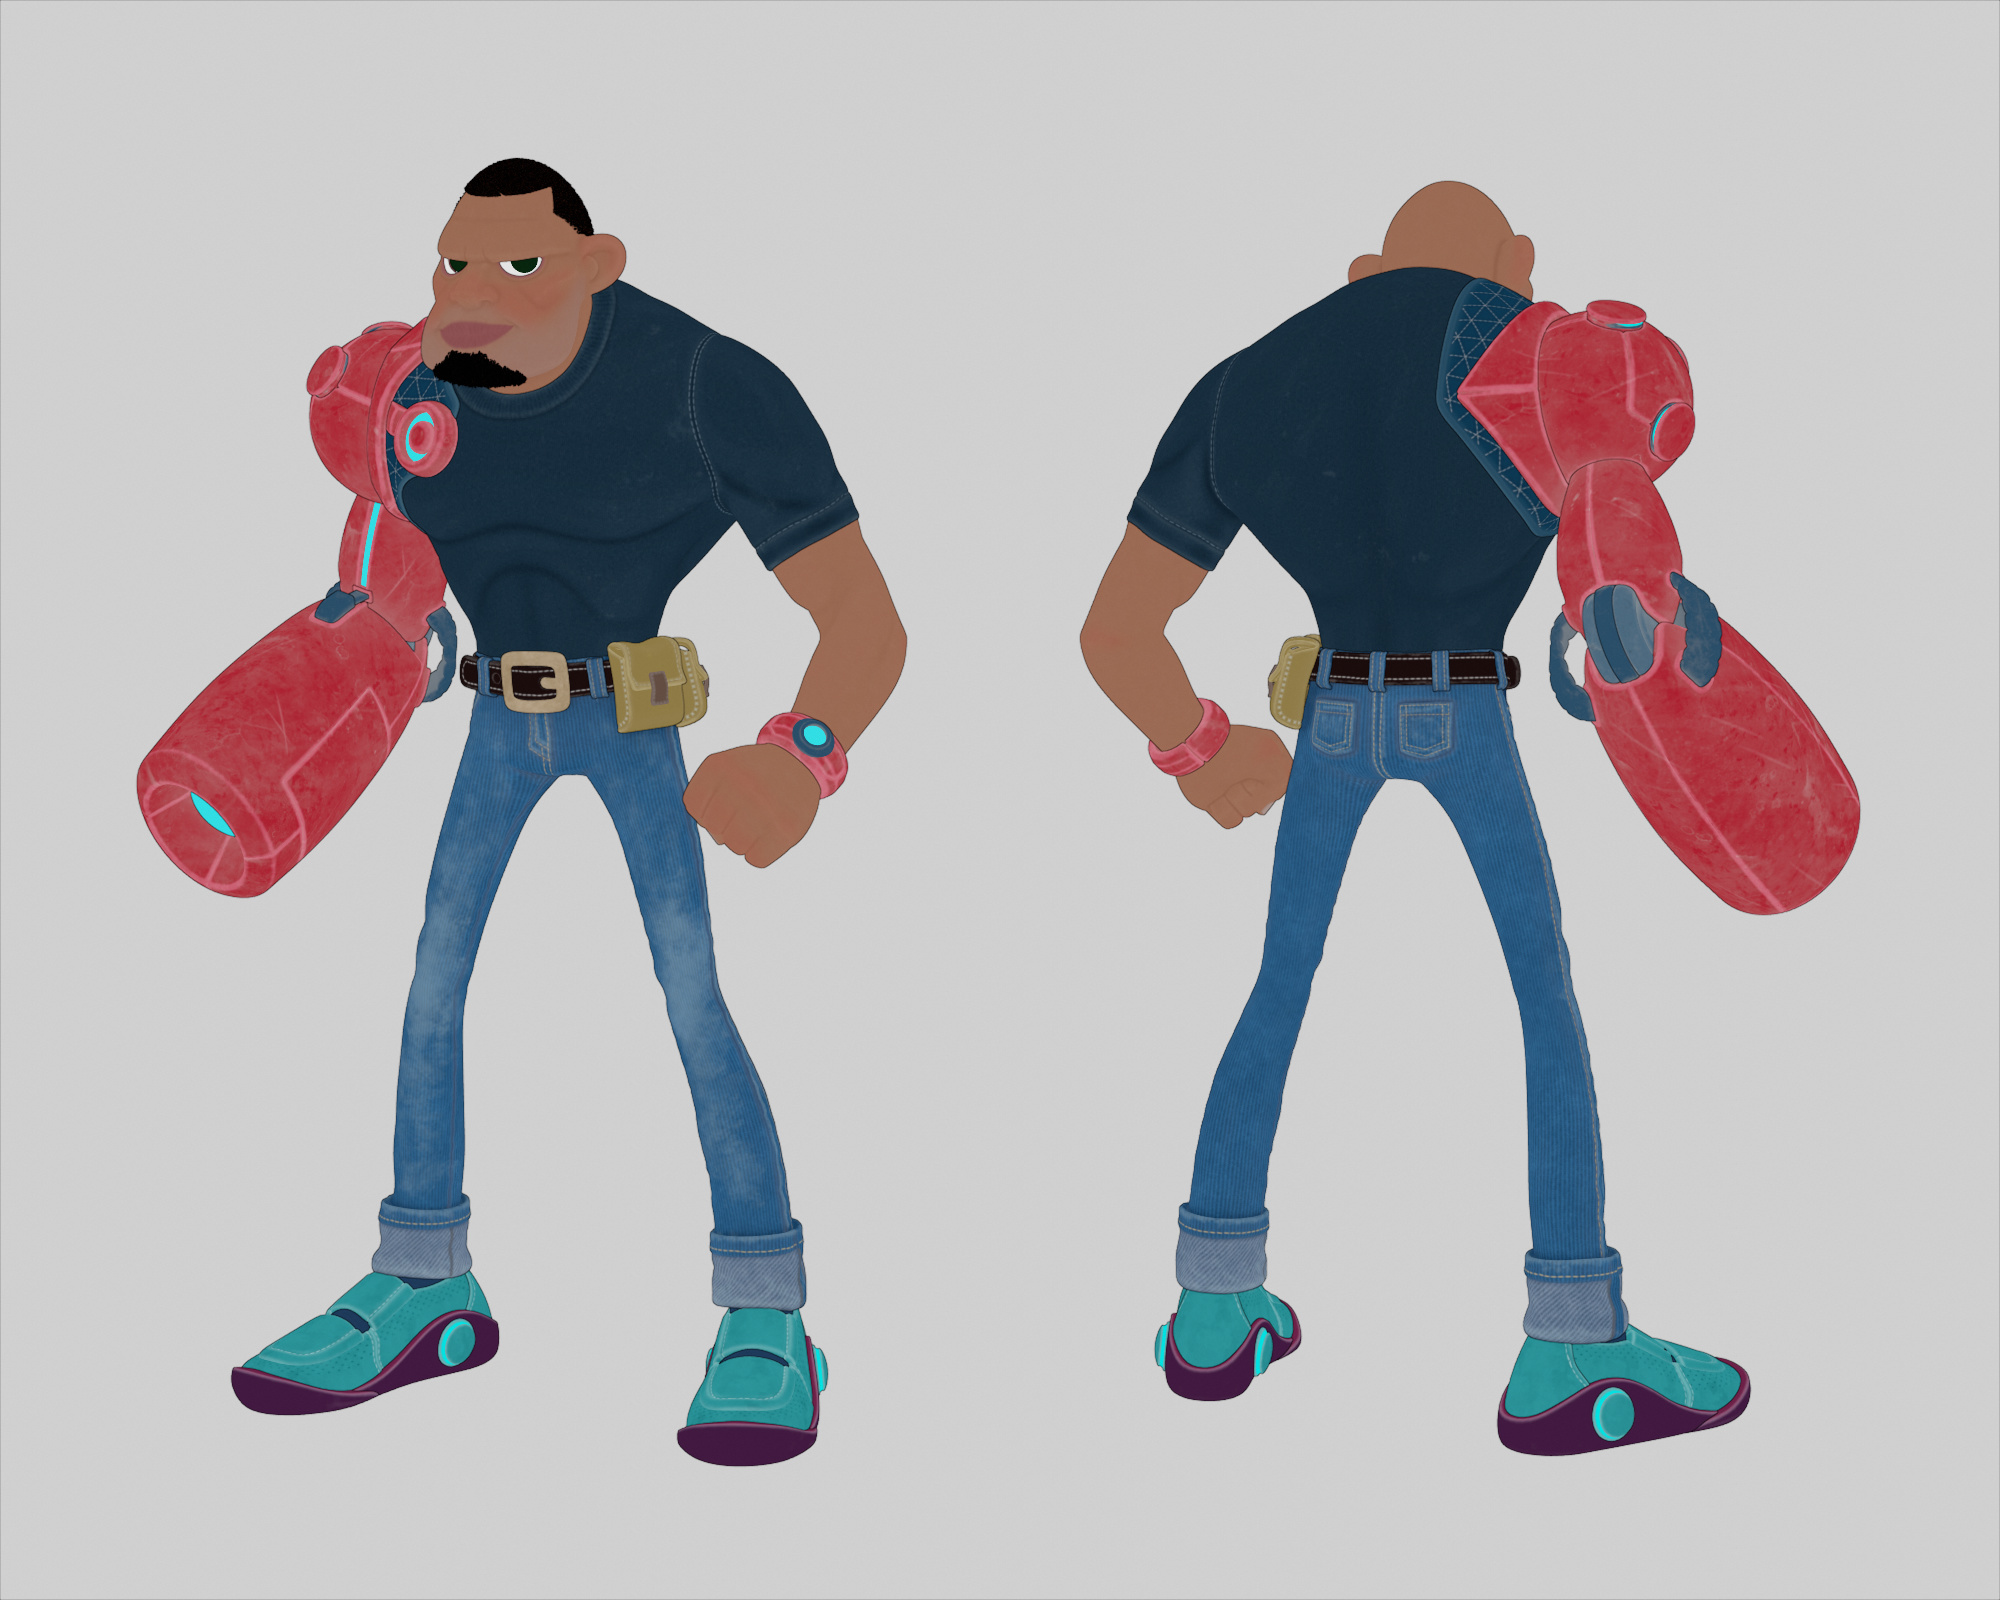
I’ve been working on the guy since the beginning of last month on my free time, his name is Dave and it’s based on the concept art of Alfred Achiampong. Alfred was pretty gentle in let me do this 3D version of Dave and even more gentle for let me change the design of the shoulder a little bit.
For this project I did the sculpt, retopology/modeling, UVs and IDs in Blender 2.79b and all the texturing in Substance Painter. After that I’ve imported my scene in Blender 2.8 Alpha and worked on the materials, lighting, hair, render and compositing. I’ve also used the new subsurface distribution method Random Walk, wich is amazing. The eyes was done using the Auto Eye.
Hope you like it and feel free to comment or ask anything.
Questions:
1.) I was looking at the gift frame by frame and on step/frame 11 you have a bunch of areas blocked out in different primary colors. What is this used for?
2.) Did you use the new UDIM branch or did you have to break up everything in to individual UV sets?
3.) I see you blocked out the shapes with a bunch of overlapping simple shapes. Did you then boolean them together and dynotopo them together? Or did you just use them as a guid for a whole new shape? Or maybe srinkwrap new geo over it? (so many ideas I’m having ;-))
4.) The textures are fantastic! Where did you source them from?
5.) I didn’t see the stitching in the wireframe. I’m assuming you did it in the texture but they look really nice and 3D. Was that just done in Substance with normal mapping?
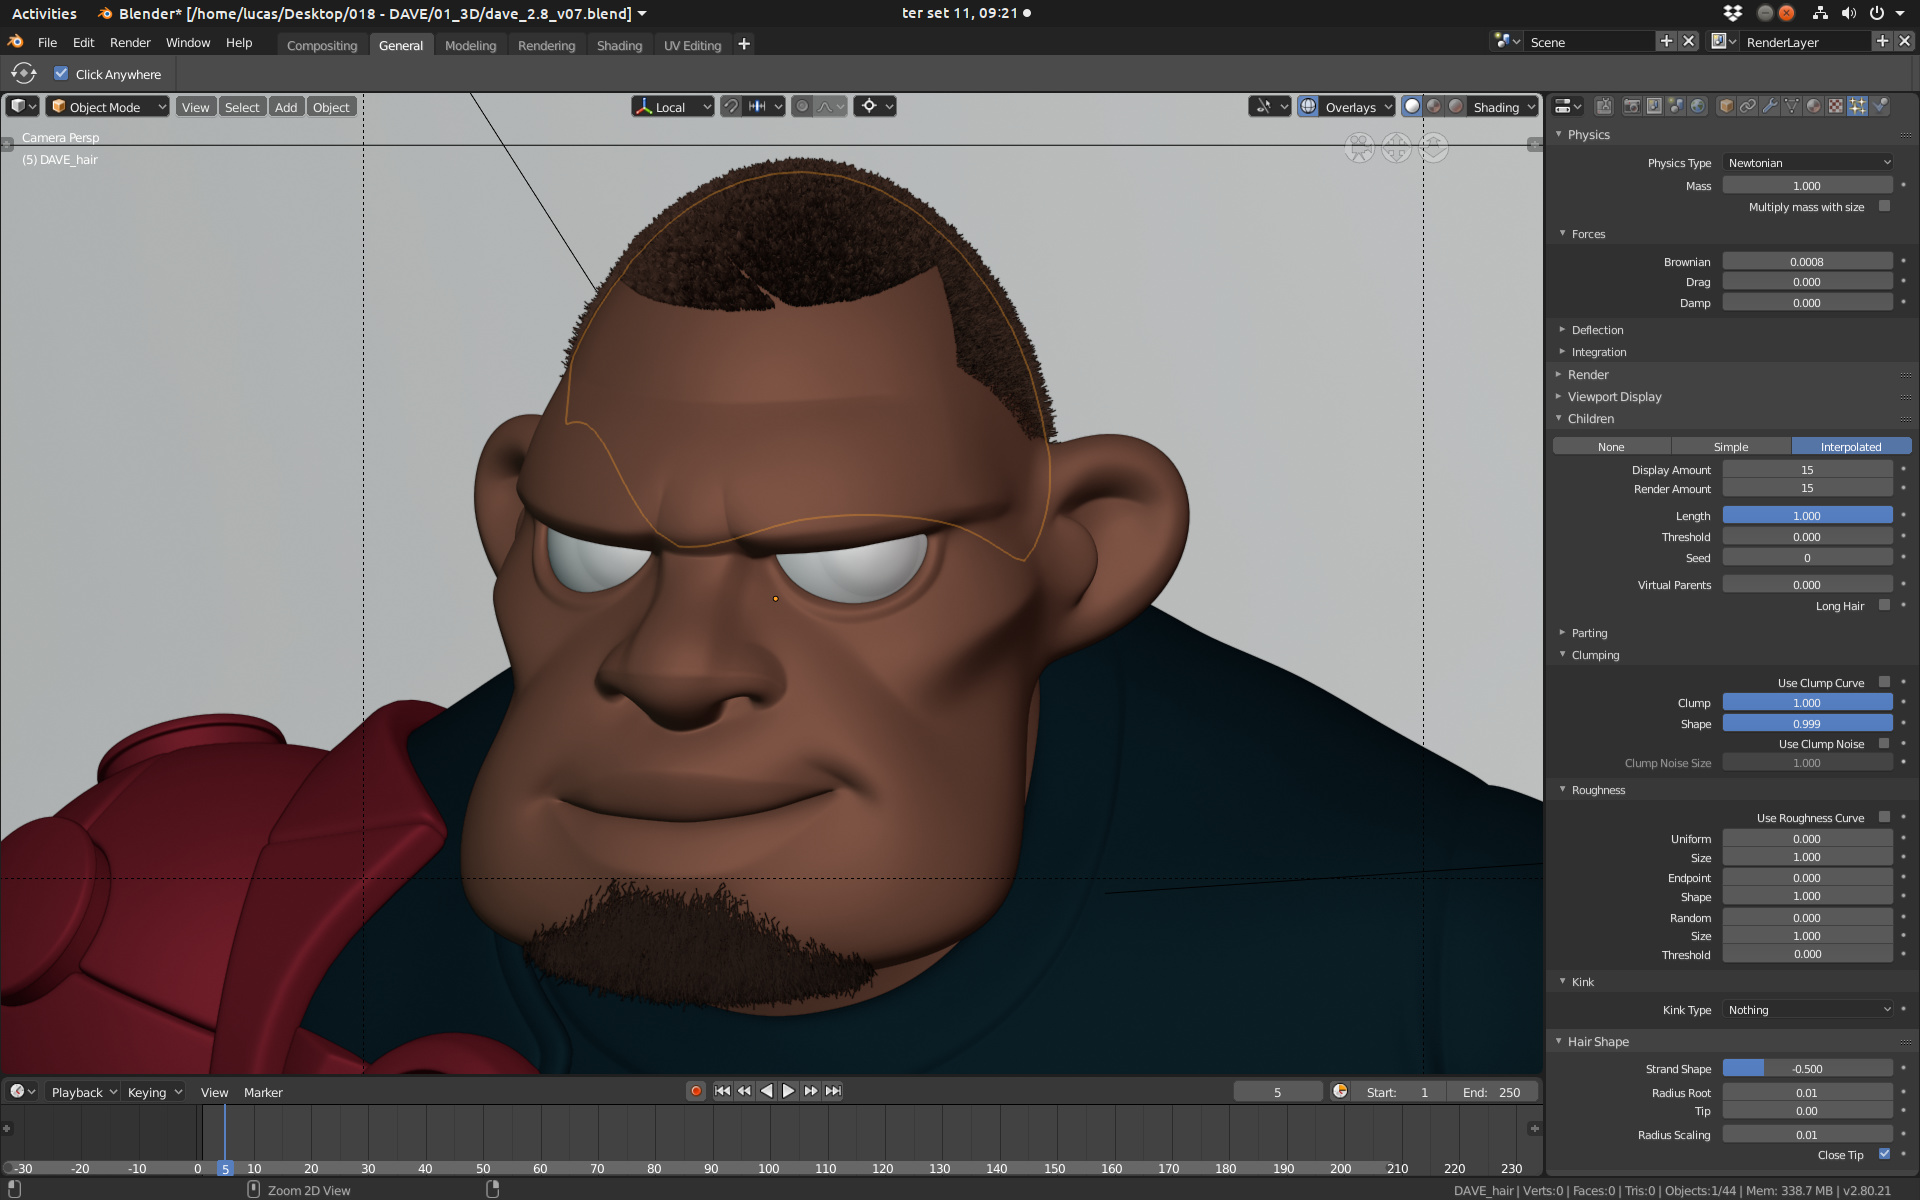
If you get a chance, I’d love to see the partial hair setting for the children. The really dense curly hair is difficult to make look as good as you managed.
great work and thanks for the breakdown @lucasfalcao
especially the lighting is well done and enriches the output.
step/frame 11, that coloring is often called Id Map and some programs have it as a clownmap.
Its used in Texturing to drag and drop/assign materials /Textures onto those areas.
To make an analogy to 2D programs, think of each color as a selection/mask in which you can paint into.
Those are called ID masks, I created that with vertex colors in Blender and baked in Substance Painter for fast mask selection.
No UDIM here, there are 6 UV sets. One fro the skin area, one for the shirt and pad, one for the mechanical arm, one for the belt and accessories, one for the pants and one for the shoes.
I usually boolean them all for the body, but in this work I just did the boolean on head and the arm. The rest was used as a guide and I just hand modeled the stuff on top of the blocking. I did this so I can finish the work more fast, in this case I modeled him on the pose, since was a simple pose, so I don’t need to rig him.
It’s all painted and generated using what is inside Substance Painter.
Yep, the stitches are done in texture in Substance Painter, just tweaking the stitch brushes that are already there in SP.
Here is my hair setting, in this work what did the curling effect was the Brownian.
Ooooooh! Yeah, I just started using Substance at work and haven’t really paid much attention to that aspect. I usually hand paint masks or just use the poly mask in Substance. But that’s a great way to setup your material masks before you even get into Substance. What’s the workflow? Do you just select a bunch of faces in Blender and make a vertex color map and then Substance just automatically sees this and understands it as a material mask?
I need to spend more time in Substance but right now all my time at work is taken up lighting.
EDIT: Wait, nevermind, I just figured it out. Thanks!
Hi, great work on this character. We need 3D character modeling done, to match as closely as possible existing 2D artwork. If interested in this paid work, please contact me on acebaker1234 [at] yahoo [dot] com. Put “3D Remodel” in the subject line. Thanks.