I confess first to being rather new to materials and node work. I currently have a model where the base material under the decals is distressed using a block of nodes that put scratches in the “paint.” I would like to both distress the decals and make it so the scratches affect the applied decals. How would go about connecting things up?
")
UV (and Image Texture) Transfer in the upcoming DECALmachine 2.4.
Supports Normal and Parallax too, but with a MASSIVE caveat: Both will only work if the UV spaces of decal and decal parent are oriented in the same way, which will almost always NOT be the case.
Even if I can manage to compensate for the UV space orientation mismatch - which I’m not sure is possible - then decals won’t be able to use de-duplicated materials anymore, as individual decals that might otherwise share a material can be rotated differently.
For color/metallic/roughness/emission image textures used with traditional UV unwrapping, this is still pretty cool.
5 Likes
@MACHIN3 Hey mate, i’m running into some workflow issues and i’m wondering if you can shed some light onto it for me.
So i’m trying to use DecalMachine with a predefined decal atlas, so far the only way i’ve been able to import the texture atlas into something DM can use is through the trim sheet tool. But after i set that up, it still spits out decals and materials with just a singular detail on it, basically breaking the atlas. So then i end up with multiple materials such as .decal_01 .decal_02 all from the same atlas, but because its not using the atlas but a re-baked out portion of the atlas i can’t merge them into one material.
Is this kind of workflow supported? So i basically have 1 material per atlased decal detail?
If i’m not making sense let me know i can supply additional information.
EDIT
Okay if i use the function “use atlas” it combines the all the individual elements into one material. Is there a way to force always use atlas for when placing the decals to solve the additional step of rounding up all the decals and running this function before exporting to a game engine?
Decals in DECALmachine use unique-per-decal UV spaces and textures.
However, as you have figured out, you can still bring in external atlases/sheets by creating a trim sheet from it, then defining the individual trims, and based on that create decals from those trim definitions.
No, decals used in Blender are always individual assets, which allows for maximum integration and support with all existing tools.
Exporting is then trivial, and literally just requires you tor press the “Use Atlas” button, then export the meshes.
You make it sound like this is a lot of work, when it isn’t, or shouldn’t be?
On an individual case by case basis its not a lot of work no.
But in a production environment, where you are creating, iterating on and exporting assets to engine over and over it can stack up. And prone to user error if i happen to miss converting a decal over to an atlas i suddenly have an extra drawcall on a mesh that could go unnoticed for a while.
When the end product is a game engine and you just want decal machine to help automate a lot of decal placement for assets i’d be happy to forgo some of the visual fidelity in Blender as a result.
That’s just not how DECALmachine is built. Indidividual decals are at the core of it, not in the least, because you can add/remove decals to/from any library at any time. The approach taken in DM is the best of both worlds and provides the most flexibility in terms of workflows.
How do you export your assets? It should be trivial to script this to perform the atlasing automatically.
You just need to make the decal selection -if you don’t want to export all visible decals - then have your script run machin3.use_atlas.
Let me know if you need help with the decal selection part. There are a number of DM props, that make this very easy.
I’ve made some progress in modifying the export script i use to check for decals and convert them to atlas. It works as expected and converts the decals to atlas but then i get a poll() error.
Python: Traceback (most recent call last):
  File "D:\MegaDrive\blender-2.93.0-windows-x64\blender-windows64\2.93\scripts\addons\blender-for-unrealengine\__init__.py", line 1789, in execute
    bfu_ExportAsset.ExportForUnrealEngine()
  File "D:\MegaDrive\blender-2.93.0-windows-x64\blender-windows64\2.93\scripts\addons\blender-for-unrealengine\bfu_ExportAsset.py", line 237, in ExportForUnrealEngine
    PrepareAndSaveDataForExport()
  File "D:\MegaDrive\blender-2.93.0-windows-x64\blender-windows64\2.93\scripts\addons\blender-for-unrealengine\bfu_ExportAsset.py", line 179, in PrepareAndSaveDataForExport
    bpy.ops.machin3.use_atlas()
  File "D:\MegaDrive\blender-2.93.0-windows-x64\blender-windows64\2.93\scripts\modules\bpy\ops.py", line 132, in __call__
    ret = _op_call(self.idname_py(), None, kw)
RuntimeError: Operator bpy.ops.machin3.use_atlas.poll() failed, context is incorrect

location: <unknown location>:-1
for object in bpy.data.objects:
		bpy.context.view_layer.objects.active = object
		if object.DM.istrimdecal == True:
			bpy.ops.machin3.use_atlas()
I was wondering if you could help me with finding out what context the poll in use_atlas() wants?
Please and thank you.
From where was this called?
This runs fine from the text editor:
import bpy

for obj in bpy.context.visible_objects:
    if obj.DM.istrimdecal:
        obj.select_set(True)

bpy.ops.machin3.use_atlas()
It’s also a bit redundant, because if you just select all visible trim decals anyway, and trim decals are all you have in the scene, then you can skip the selection, UseAtlas() will do that for you.
When I was talking about making the decal selection, I had assumed you would select the objects you want to export, then have your script find the decal children of these objects.
Note that,
- You don’t need to make the decals active
- You don’t need to call UseAtlast() per decal either.
- It’s not wise to go over all objects in the blend file. There are decals in the blend, such as backups, that aren’t visible or even on the view layer.
But let’s please continue this via email if you need further assistance, see https://machin3.io/DECALmachine/docs/faq/#get-support
That works perfectly thank you!
I must of been getting snagged on some hidden objects as you said.
Also note that UseAtlas() will actually change your selection. This is for user feedback, because the initial user selection, may include decals that aren’t part of the enabled atlases, and so those will be deselected. Everything but the successfully atlased decals will be deselected.
For your export script, that just means you need to store your initial non-decal selection, before calling UseAtlas(), then re-select these objects again, after UseAtlas() is done.
in the Trim sheet creation process, Its quite difficult to pixel match trims based on a normalmap without any type of snapping, it would be very useful to be able the split the plane with the 3d modeling tools. and use the different meshes as trims / trim panels.
( This way I can easily match my trimsheet bake, by dividing the plane by etc 8 segments or whatever i used when doing the highpoly)
would also love a feature where the trim sheet texutre loads in the UV view, and by hovering over a certain trim with the mouse cursor and fireing a hotkey, decal machine automatically trim the selected surface/surfaces to the trim Im hovering above in the UV /2D view
1 Like
Hello, I was wondering if there is a way to animate these decals for a game engine. I have been looking all over the internet for this solution, no dice. Is there any way I can animate a decal? I am using the latest version of decal machine and am trying to edit the images in order to animate them.
Thank you!
DECALmachine itself does not support animated decal textures,
but manually you can do what ever you want, just edit a decal’s material and replace any of the textures with a sequence or video.
Animating the decal material and node properties is of course also possible, just like with any other material.
Thank you for such a quick response! I actually have a few more questions in order to proceed. How did you make the height maps, curvature maps and ambient maps in the addon, I tried making my own, but they end up yielding different results. I was wondering how you made the maps so I could replicate an animated version of the decals as a test. Thank you so much!
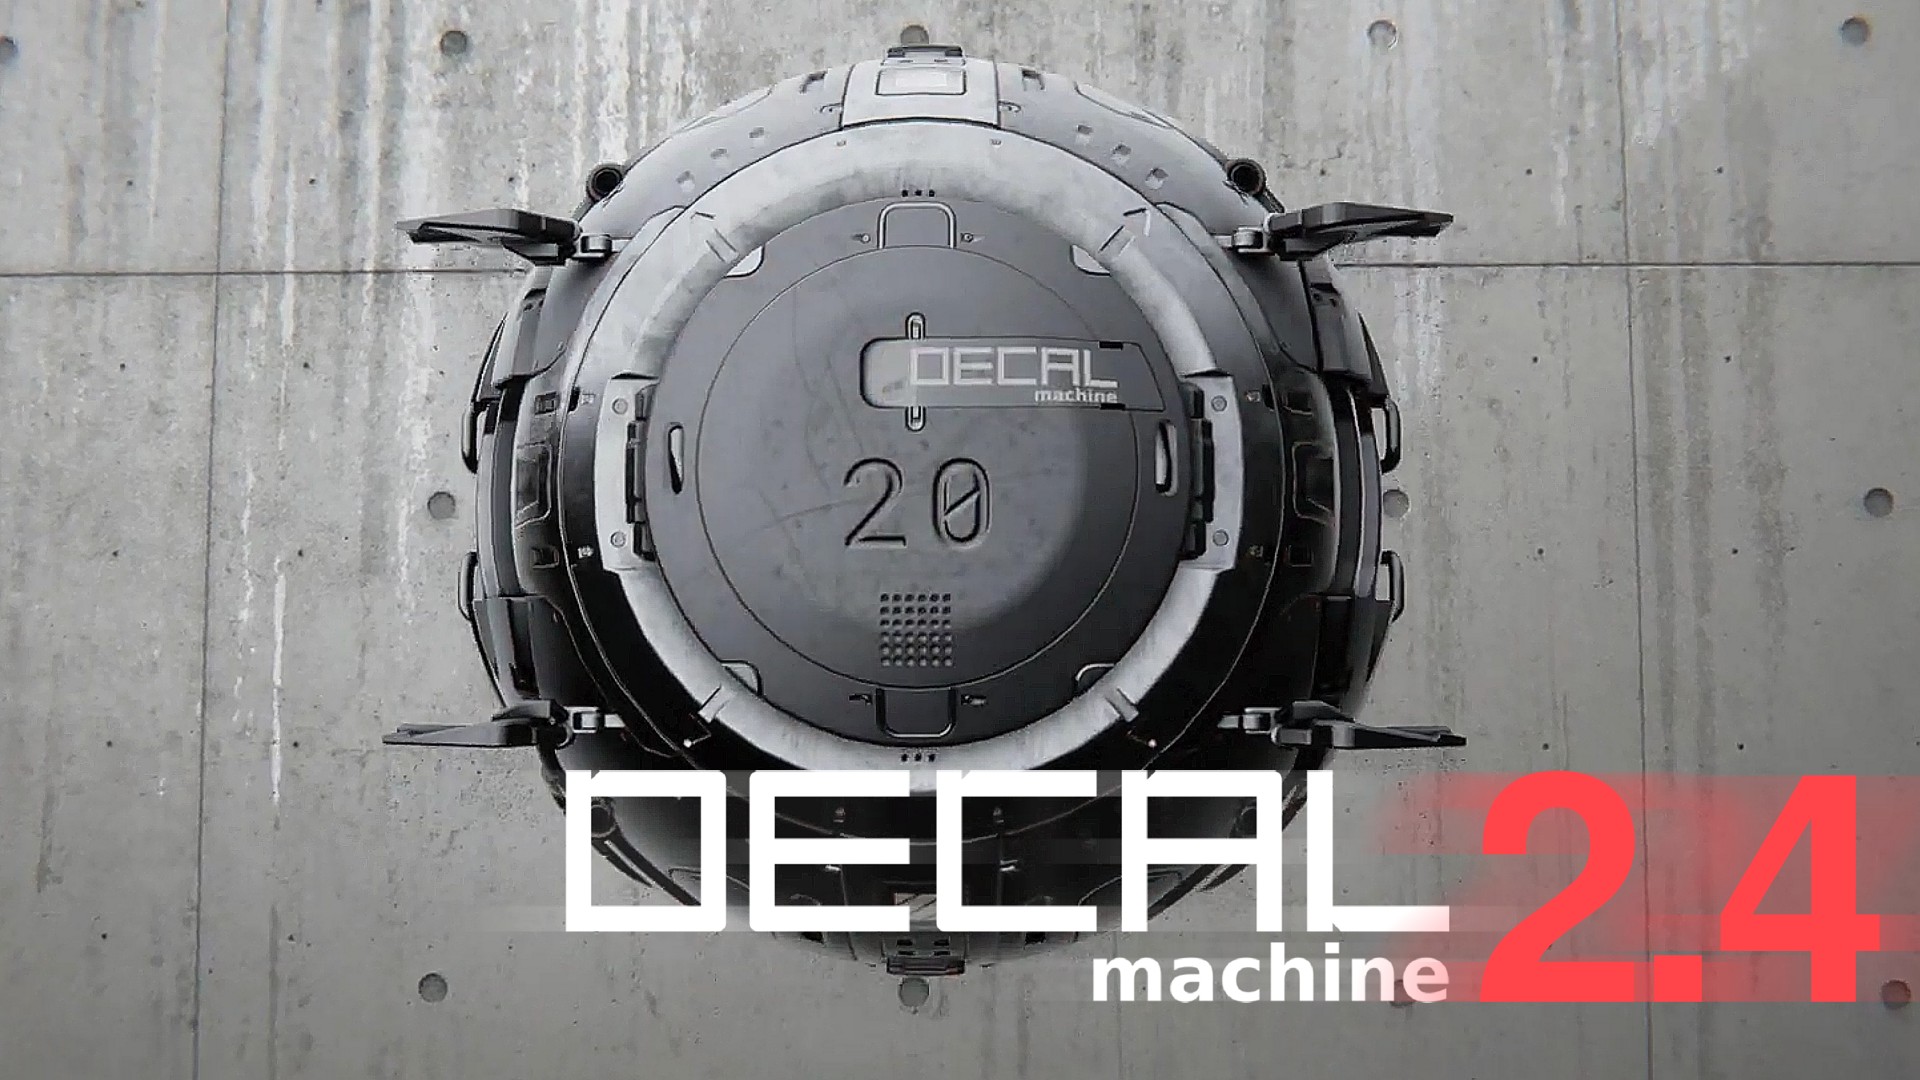
v2.4 is out! | https://decal.machin3.io - Gumroad, Blendermarket, Documentation
Changelog:
- bump minimum blender version to 2.93 (LTS)
- can be seen as suggestion for now, 2.83+ is still good, but be prepared to update if any issues arise
- add version warning to prefs for Blender versions smaller than 2.93
- add Transfer UVs tool (side panel tool)
- transfer decal parent’s UVs to selected decals
- transfer image textures directly connected to decal parent’s Principled BSDF node to selected decals’ materials
- Decal Creation
- support info decal names from file name for info decals created from PNGs
- support skipping the automatic decal index, that’s normally added to the front of the decal name
- this can then result in two kinds of conflicts
- without the index, an existing decal folder with the name of the to-be-added decal exist already
- when adding multiple decals the decal name could be a duplicate and so only the first of the duplicates will be added
- for both there are warnings in the creation panel
- and both cases will be skipped by the AddDecalToLibrary tool
- if any are skipped, there will be a popup message pointing it out
- this can then result in two kinds of conflicts
- support storing specific subset material component in the decal asset blend
- for Simple, Subset and Panel decals: skip normal flattening if enabled, but object is not smooth shaded
- ensure user is returned to original scene, when decal creation is finished
- Creation Panel
- add ability to open selected user-decal(unlocked) lib in the file browser
- improve dealing with cases where no user-decal libs are present
- Baking
- ensure user is returned to original scene, when decal creation is finished
- make decal library visibility accessible from the 3D view via the pie menu
- add 10 customizable visibility presets, see tooltips for details
- support hiding panel decal libraries from the Adjust tool’s ability to cycle through individual panel decals
- by default have “panel scrolling” disabled for the Example Sheet’s panel trims
- support creating panel decals without materials, when all registered panel decals are hidden from “panel scrolling”
- Slice, EPanel + GPanel tools
- properly name the panel decal object and mesh, even when no decal material can be applied
- make addon and asset registration much more robust
- allow addon registration without ANY decal and trim sheet libs present
- users can now manually remove the entire assets path or any of it’s subfolders and DM will still come up fine
- disable assets path reset when user-set external assets path doesn’t contain valid libraries as it’s no longer required
- allow addon registration without ANY decal and trim sheet libs present
- Atlasing
- improve panel decal pre-packing logic
- fix atlas repack issue, introduced in 2.3
- Adjust tool
- add setting in addon prefs to require
ALTkey when adjusting decal height to prevent accidental changes
- add setting in addon prefs to require
- GPanel tool
- fix rare issue with gpencil NaN points
- fix material matching/deduplication to DEFAULTWHITE and DEFAULTMETAL materials
- change default decal height to 0.9998, slightly more surface distance to minimize clipping
- collapse modifiers in all supplied decal assets
- Update18DecalLibrary + Update20DecalLibrary tools
- improve polling
- replace previous parenting and unparenting logic
- improve some terminal output for Windows users
- rename Init Generated UVs tool to Init Generated Coords
10 Likes
Great addition. . . ![]()
![]() I just tested and (at least for me) it facilitates the settings.
I just tested and (at least for me) it facilitates the settings.
Good job ![]()
1 Like
add Transfer UVs tool (side panel tool)
Even if as you said, there is the possibility of transferring UVs either from a third party addon or directly “by hand”. . . adding this tool directly to DECALmachine facilitates this operation.
Tested and validated. . . no problem. ![]()
1 Like
Hi,
Just a little info for those who may have problems installing PIL.
If this Info has already been published or is mentioned in the DECALmachine online help, I apologize in advance … 
Installation of PIL:
After reinstalling my operating system (Windows 10 Pro) to a new drive, I was unable to install PIL properly.
So I tried a manual installation and miracle, a more explicit error message has denounced the “guilty” …
I miss the VCRUNTIME140.dll library.
It was therefore sufficient to download and install the Visual C ++ Redistributable for Visual Studio 2015 library (vc_redist.x64.exe) in the case of a 64-bit system.
Hoping that this can help some … 
1 Like
Can you post your pil.log? It’s in DECALmachine/logs/
edit: Actually, send it via dm or email please, as it may contain some sensitive data like username, etc.
Send to MP … 