Desert Castle and Geometry Nodes workflow

Edit : Video of the finished product since it’s buried down in the thread :slight_smile:

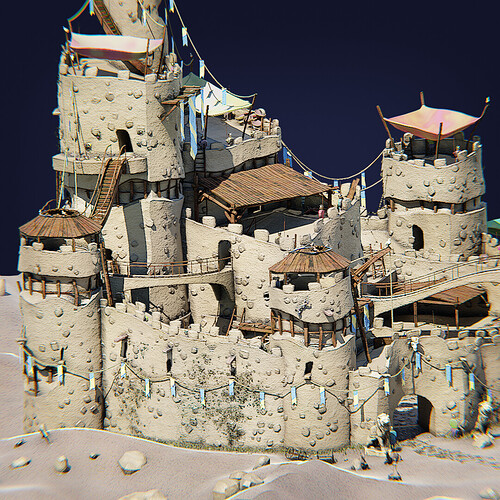
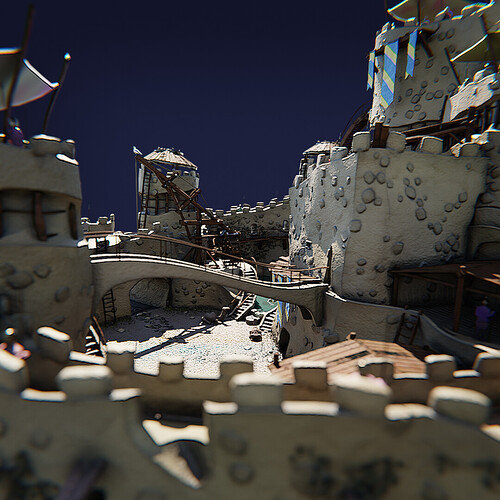
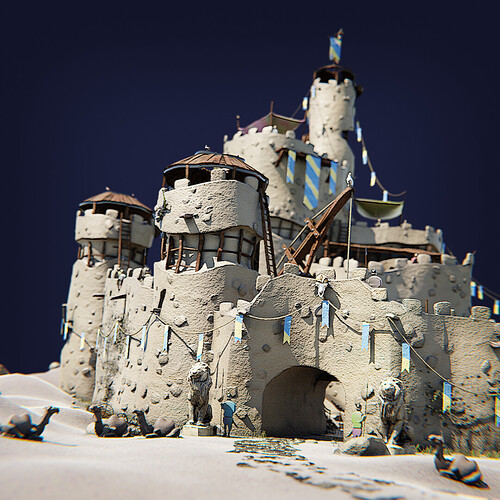
I’m already pretty advanced in my latest project but I think there are still some elements which I need to nail more accurately. Everything is done inside Blender, most shaders are fully procedural. I’ve imported some CC0 models from sketchfab mainly for the animals because… Modelling be hard ><
I’ve given pretty much zero though to composition as I’ve just stacked elements until it kind of looked cool, so excuse the mess. :slight_smile:

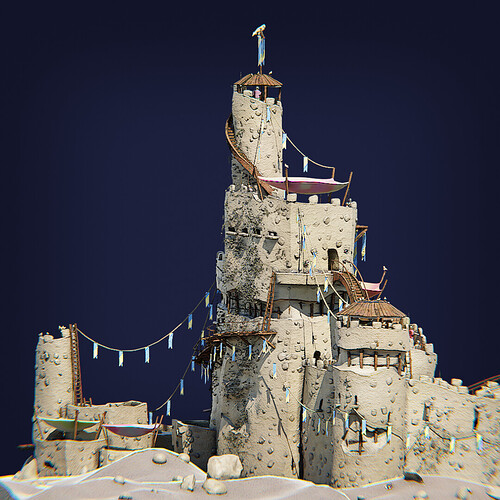
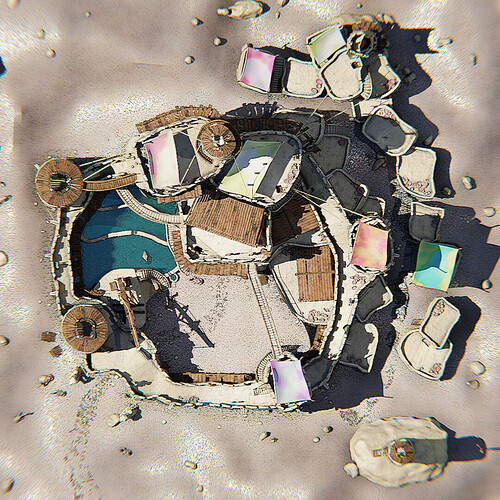
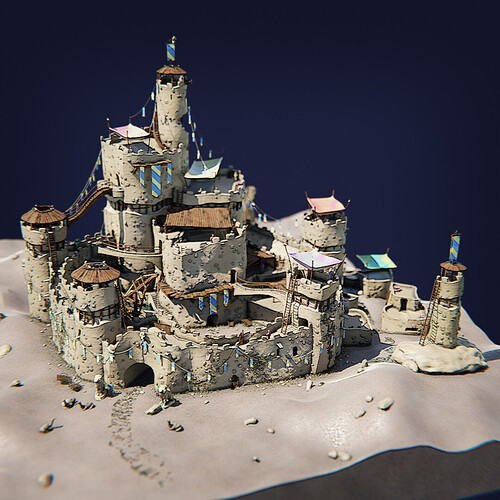
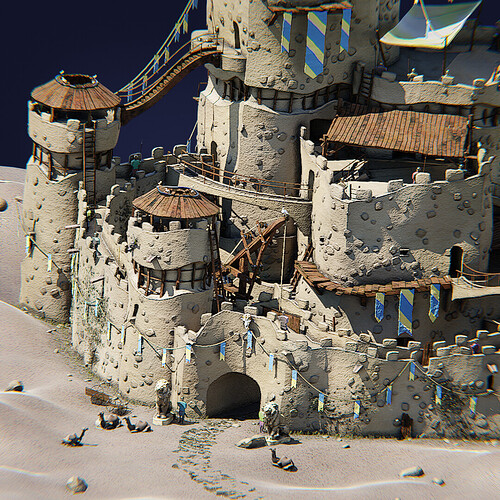
Here’s the current result :

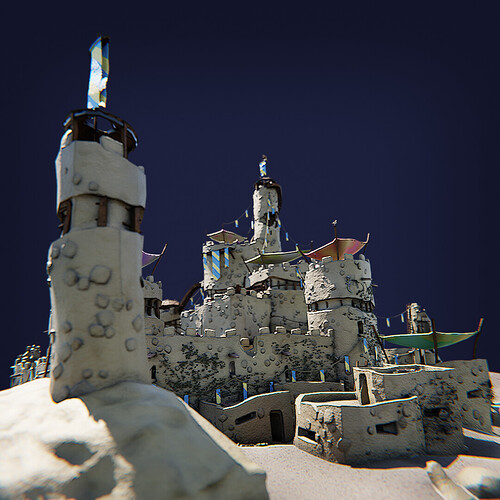
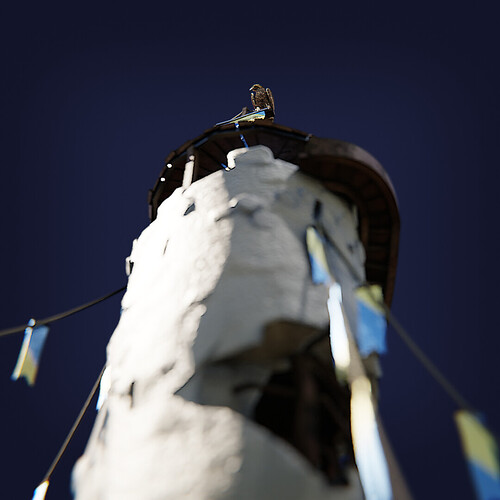
And a few other screenshots I did when the design was already pretty advanced.


Pretty much all of the systems have been created using geometry nodes. I’ll start with the stairs. They’re a pretty cool way to connect distant parts of the castle.

The node tree is nothing fancy, although I can’t really share more than that in a picture :

The curve base can be used to make some fancy spiral staircases

I’m basically lofting curves along the base curve path, instance cubes for the steps along the way and the railing. For the base supports I’m using the curve factor to lower part of the lower vertices of the structure. the curvature is done using the Float Curve node visible in the picture.

Here’s a showcase of the footway I’m sticking to some of the walls :

Again nothing too fancy. Instancing elongated cubes along the base curve, creating some posts for structure ever now and then. Using random values to rotate the horizontal planks.

image
image

The file is currently downloadable online for anyone interested. I didn’t include a license yet but everything is released under CC0 unless stated otherwise. You can find the previous iteration on blendswap, along with other creations of mine if interested.

I’ll add more asset examples later when I want to unwind from all the modeliling and noodling :slight_smile:

Cheers
46 Likes

Alright I thought I’d iterate upon the very impressive ivy generator by baga, after studying it for a bit I tried recreating from scratch and wound up using a slightly different method as I found the Geometry Proximity node is a lot less precise than the Raycast node.

But the spiral curve part was really clever.

So this first part is responsible for generating offset spirals that grow out of the object origin point. Ater studying a bit real photos of ivy growing, and going out for a walk to see it for myself, it turns out usually it starts very thick but not very spread out and then branches out while the trunk is growing.


image

The spirals are then projected towards a target collection’s geometry. the mean direction is computed so the leaves are rotated in the right way afterwards, and it leaves a little room for error, so the trunks and leaves are not just smack down shrinkwrapped onto the target surface.

A bit of noise at high and low frequency make the base spiral shapes disappear.


image

Then the leaves are instanced. I use a multiplier along the Z axis plugged through a nosie texture to cull the leaves on the bottom, because there will mathematically be way more geometry there, but I want the leaf density to be consistent along the vines height.


Then add thickness to the vines


And join the geometry together

Cool thing is it can be used to make bridges between different objects

Here’s a showcase of the different parameters :

And a shot from behind

Here’s a stripped down example scene using the ivy for anyone interested (Blender 3.2 +)


https://drive.google.com/file/d/1KoHQGxqHUkrwQoAHI8Ehdvkn6A_a7V3a

17 Likes

This is amazing! Thank you for showing both your castle (which looks great!) and parts of your geonode workflow. Very inspiring!

I featured you on BlenderNation, have a great weekend!

Eh, sweet, thanks !! I’m glad it is appreciated. :slight_smile: I’ll continue documenting the workflow because there are still a lot of things I’ve got to share !

Although I’m bordering on 4M vertices so navigation is become a bit unwieldy and I’ll call it done pretty soon to start working on something new. But I’m really impressed by the fact it’s still only about 80 Mo on disk, meshes, materials, assets and all !

I’ve added a railing on the wooden footpath :

It’s very similar to the stairs, displacing a curve along its normal, lofting a quadrilateral and displacing it upwards, then instancing railing posts every few meters.

I’ve also added some randomly placed rope knots that are supposed to represent some way to attach planks together, although I’m not so happy with the result so I might change it later.

I’ve also played with a Level of Detail parameter and a condition which degrades the whole thing and removes planks randomly. This is simply a bunch of noise textures displacing the geometry. The extreme values are not too realistic so I might need to tweak it a bit.

Here’s a stripped down example of the GN tree :

https://drive.google.com/file/d/1LH_Fy04HIZx16MNWKHmx45yOjh1zvLrw

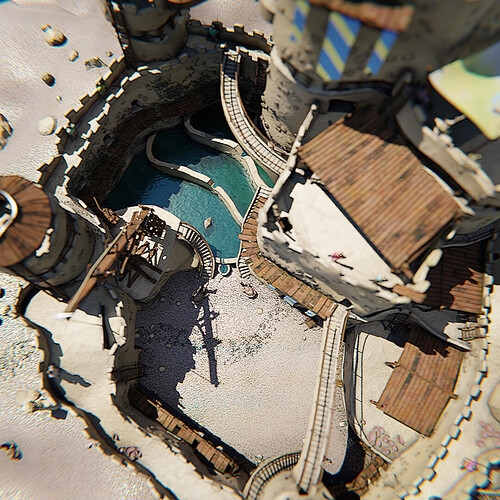
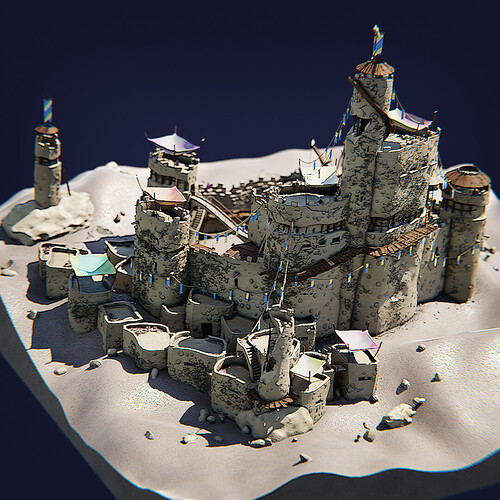
And a shot of the current state of the castle. I’ve added a small village on the shadowy part.

And from behind

9 Likes

I’m impressed you were able to make such an organic looking building with Geonodes.

Hey thanks ! I guess it’s mainly the combinations of different systems that gives this impression. And the use of noise displacement, too.

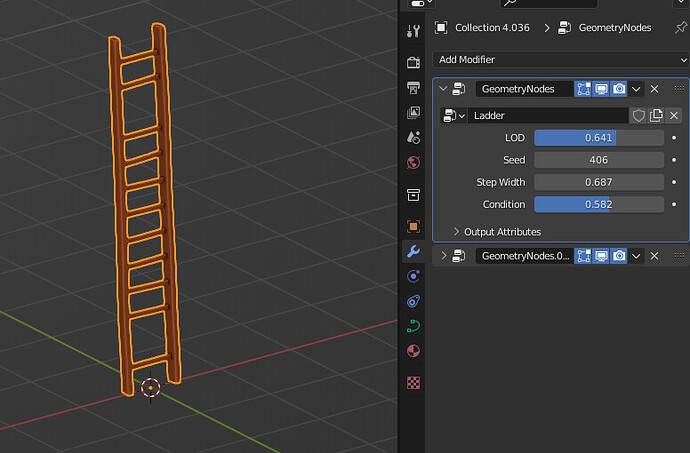
Now for the ladders, I’ve tested a few different configurations and it kind definitely be very straightforward but the one I landed on is curve-based. It lets me play with the control point tilt and radius to achieve results that can be more easily adapted to different setups.

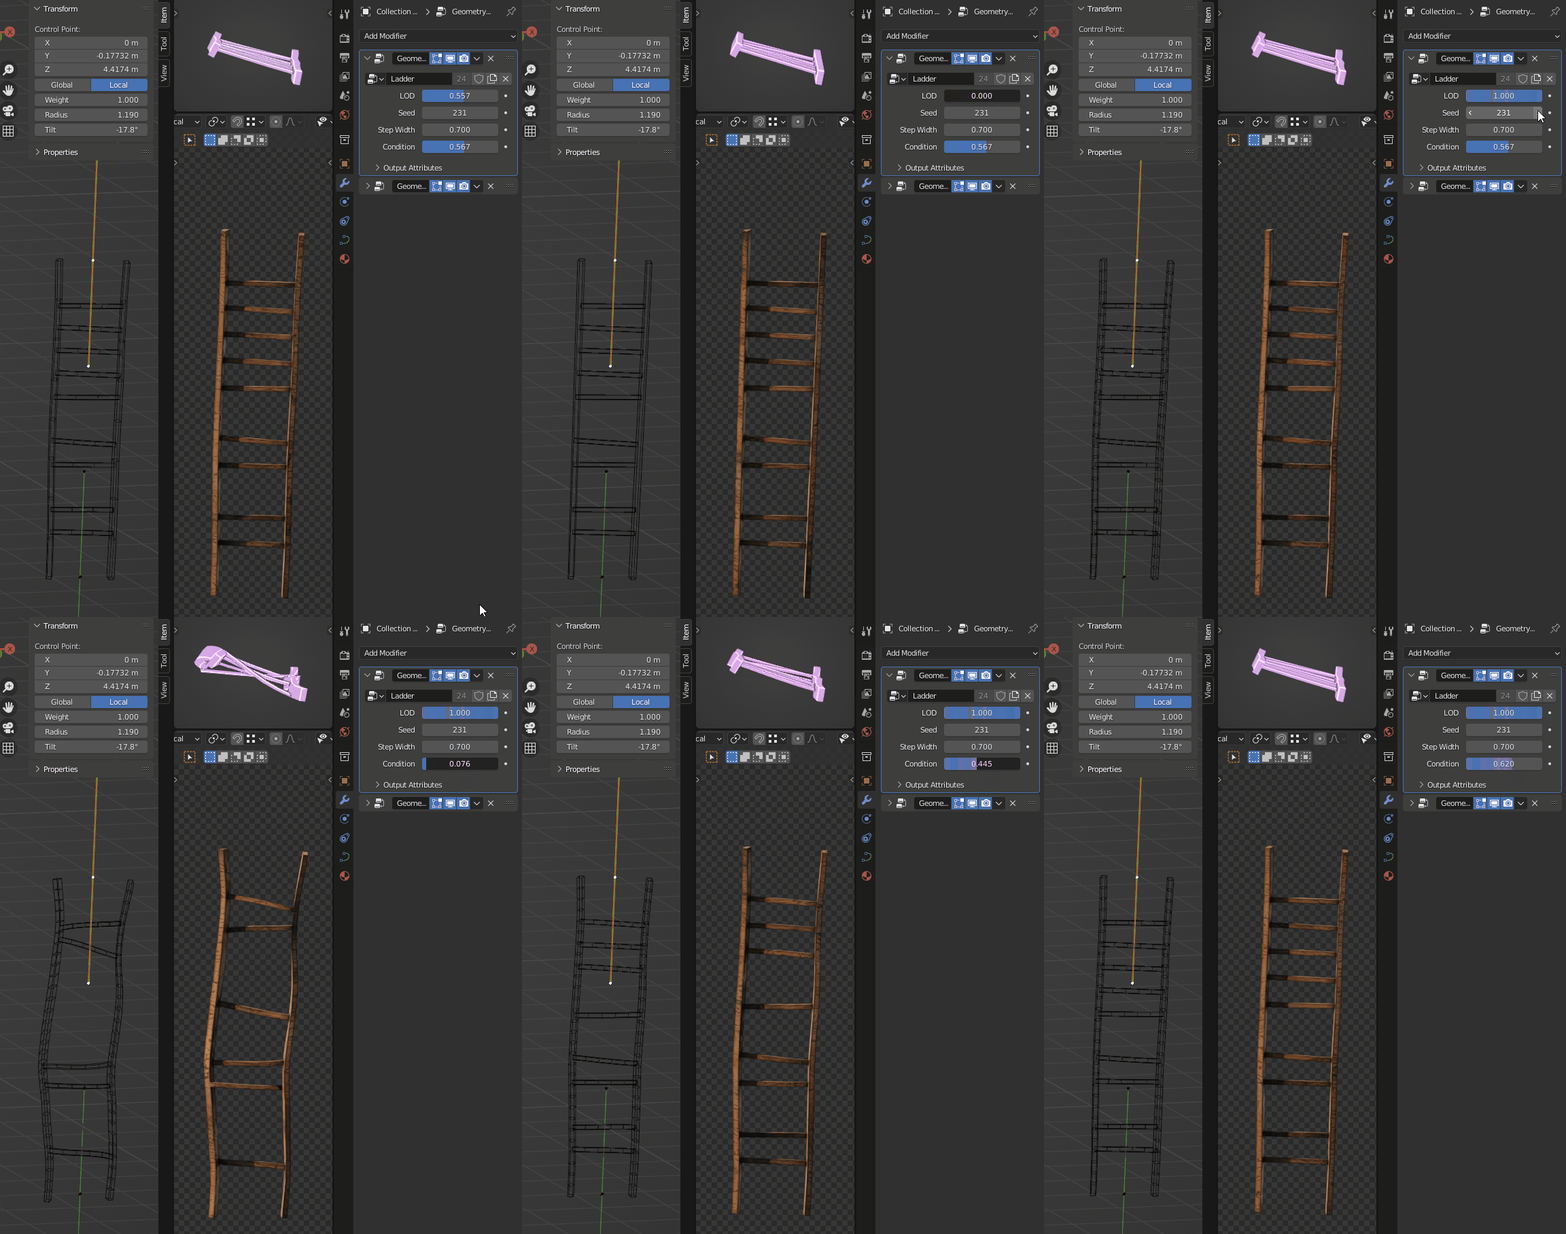
Here’s playing with LOD and condition sliders

GN_Castle_Ladders_01

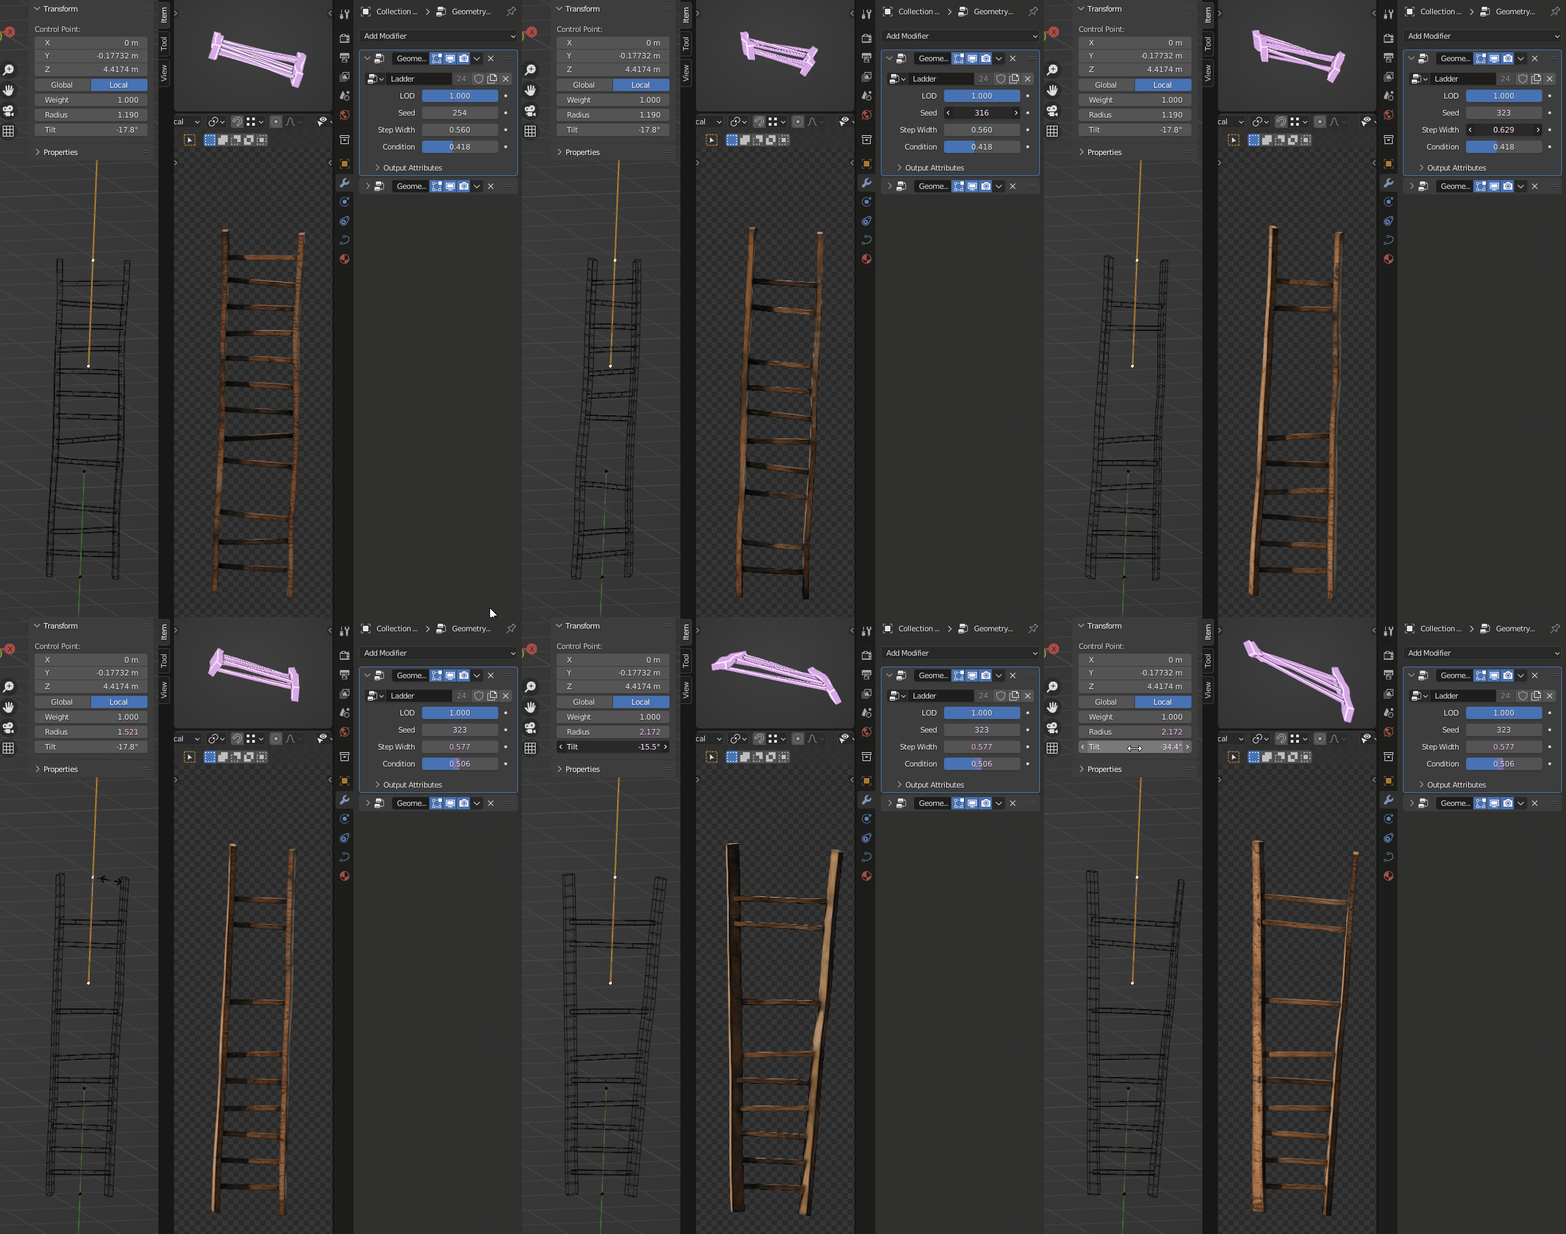
Playing with the seed, width, tilt and radius

GN_Castle_Ladders_02

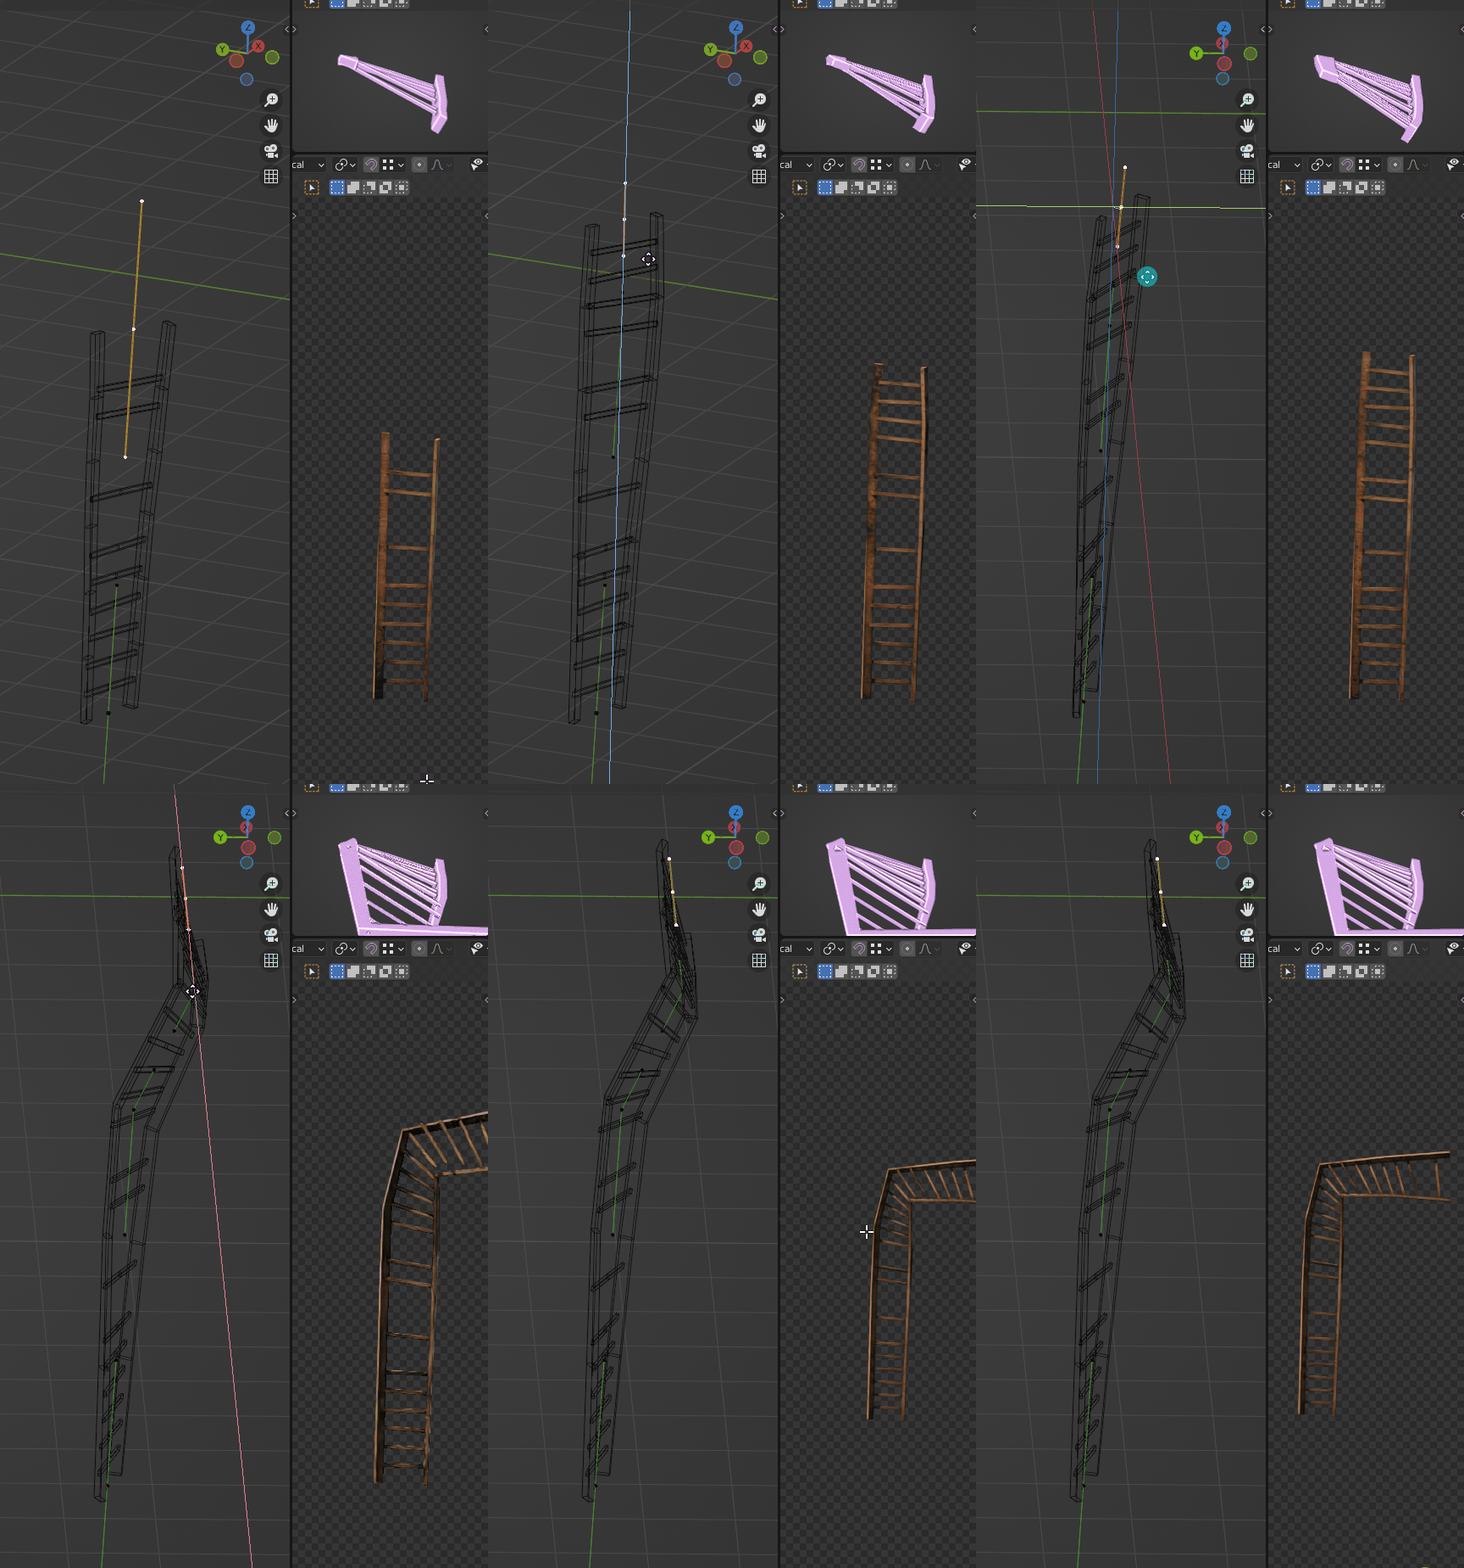
And playing with the control points positions

GN_Castle_Ladders_03

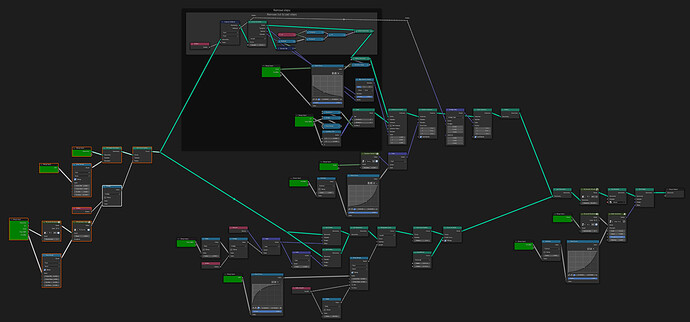
Regarding the GN tree, it’s relatively simple, lofting 2 quadrilateral curves along the origin curve which has been displaced symmetrically along the normals, and instancing elongated cubes along the curve to match with the ladder supports. The core of the logic comes from the LOD and condition sliders which add a bit of displacements, variation on rotation on top of everything. Dynamically controlling the curve radius and tilt also lets me add some variation on top of everything.

Her’s the tree for reference :

As always here’s a demo file for anyone interested :

https://drive.google.com/file/d/1NbTFpKgVzVTqnwWLVTuObh2a7F6TiwVE

Also, I’ve decided I was finished with this project so I’m going to start working on something else ! I’ve still got a number of things I’d like to reference here, like the walls / towers / houses which are all actually done with the same base GN tree, the flags, soldiers instanciation, gravel path, etc.

I’ve posted the final images on instagram for those that like these kind of things :

https://www.instagram.com/p/CbQtmbbL2rs


19 Likes

Awesome !
really cool to see a bit of behind the scene, this is quite inspiring !
Well done !

Haha, I have to admit it’s reading through your threads that sparked my inspiration to start this, so thank you and please keep on sharing your awesome workflows too !!

Cheers :slight_smile:
1 Like

Technical know-how and ability is one thing (even though you keep saying ‘nothing fancy’ and ‘not too complicated’ haha), but this also looks really beautiful! Reminds me of a Shadow Tactics level, always loved that kind of style. Many many thanks for meticulously documenting your workflow as well, I’m looking forward to dissecting and learning from the file when you release it (and maybe bothering you with questions when I can’t figure them out). Cheers!

3 Likes

Awesome !
I like very much how you’ve made some small modules to build the whole thing,
And there are some clever tricks in there !
I’ll keep posting new stuff, it’s great to see how people use these tools and inspire each other !

Yeah I very quickly noticed that it would pretty much be unbearable to try and piece everything together in a single GN tree so I elected for this more modular workflow.
Again thanks for the feedback, appreciated :slight_smile:

I’ve yet to fully refactor my wall GN tree to showcase it so I’ll show how I made the flags. First I’ve created a base flag GN tree with variable shape, length and width, and a way to displace it a bit using a seed.

It’s rough around the edges but it’s not really supposed to be used standalone and zoomed close in.

Here’s a view of the node tree :

Instance a grid, rotate it, grab the last few vertices in the middle and move them up or down to shape the bottom of the flag. Increase the grid resolution if the length increase. Add an elongated cube at the top to hold it together, and pepper everything with a bit of displacement.

Here’s how I re-use this on a flag pole.

The node tree is way more complicated than it needs to be, but it’s mostly doing maths to tie everything together and instance elongated cubes where they should be. The two red circles are instances of the previous node tree, with randomized inputs.

The last use I’ve yet to showcase is one I’m really happy with

The tree is also deceptively simple

For each control point, it looks at the previous one and the next one and depending on the distance between each pair of positions, it will lower the left or right handle accordingly.This creates a more believable effect in that longer stretches of rope are actually bending lower than short stretches.

So to recap, here’s how these 3 GN trees are used in the scene :

Here’s a file where you can test it in the wild :


https://drive.google.com/file/d/1RwCRvBqdX9RTmYpb4aCpew5plZYrukpj

Also I’ve added a link to the completed file in the first post ! I’m really impressed that it weights only 23,7 Mo! Be warned though, you’ll need a pretty beefy computer to navigate in it I think.

9 Likes

Time for another item snippet !

This time around I’ll showcase the tower umbrellas, I called it that way but I’m sure there is a dedicated english word for it, I just don’t happen to know it ^^

It was really fun to design. It uses curves falloffs to displace the vertices depending on their relative distance to the sides of the base grid. I also instance 4 elongated cubes to act as the supports. There are a few group inputs for level of detail, changing the seed of the added noise displacement, the size and the “weight” which decides how the actual umbrella looks like.

Note I’ve added a lattice modifier afterwards because I couldn’t be bothered to compute the maths to flex the supports and it let met place the umbrellas in places which are not perfectly square.

You can even make a parachute with negative values ! Or a weird hat ?

The node tree :

And an example file :

https://drive.google.com/file/d/1TW4UyW9awE97oSh4Ex03mMXYXTJ8Rzk6/view?usp=sharing

Also here’s a sneak peek of the very start of my new project. My goal is to crank up the scale to create a massive castle this time around.

9 Likes

Alright i took a bit of time to make a video showcasing the whole castle, I used some CC0 sound pieces from freesound.org for the audio and I have to say there is really high quality stuff out there !

9 Likes

Awesome !
That ride is quite epic !
I was wondering how you where progressing with your projects, that’s really cool to see these extensive use of GN !
Keep up the good work !

Hey thanks that means a lot :slight_smile:
It’s a bit slowing down on the castle front but it’s going strong on other ones so thankfully I’ll be shifting more time towards it soon-ish !
I’m eager to see more of your stuff too :wink:

Cheers !
1 Like

Cool !
I’ve got a hard time going back at it :smiley: But I’m trying a new exercise that so far is going on well , I’ll share about it eventually !
See you soon then !

1 Like

Excellent work, lot of things to learn from.

2 Likes

Awesome stuff, always great to see gorgeous geo node projects like this. Really inspiring. Keep it up :grin:

2 Likes

Congratulations, this work has been nominated for the ‘Best of Blender Artists 2022’ award in the #geometry-nodes category! You can vote for it here.

2 Likes