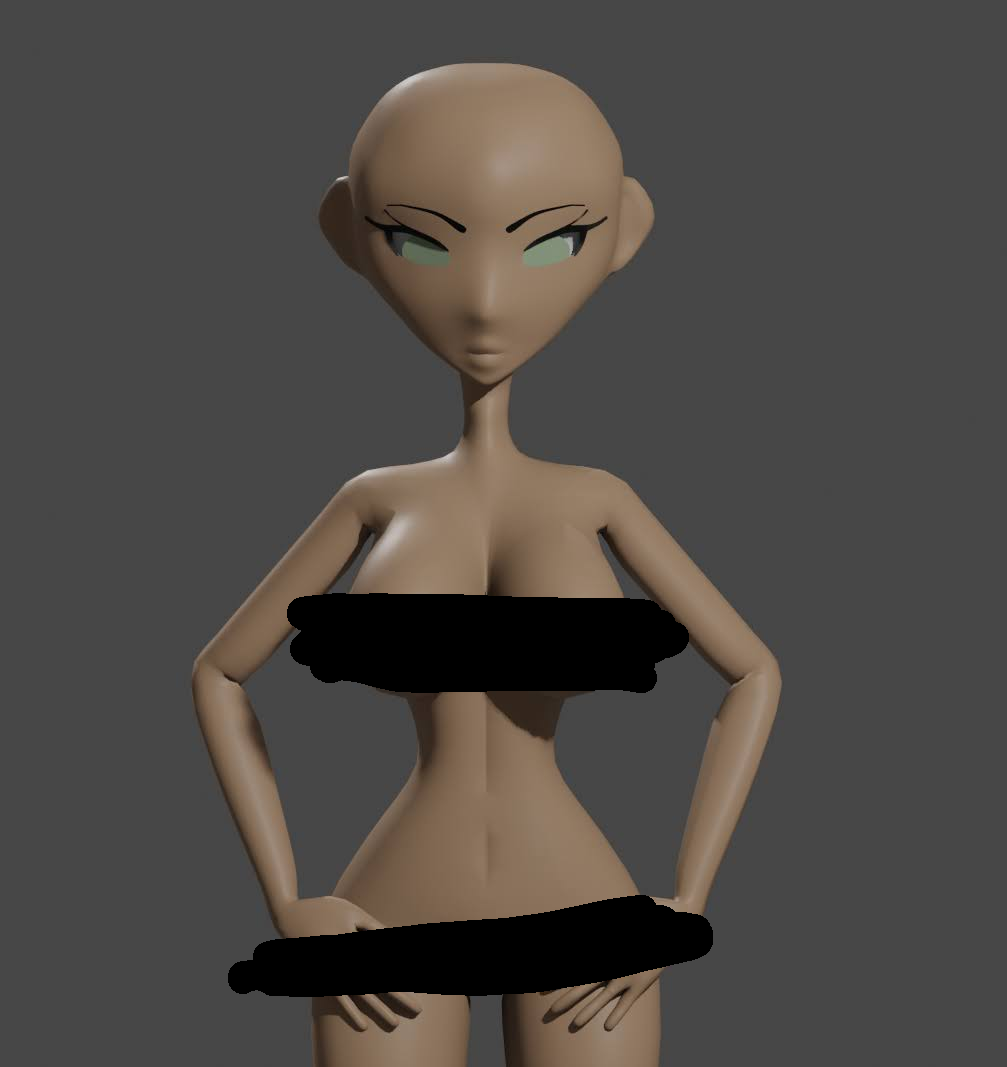
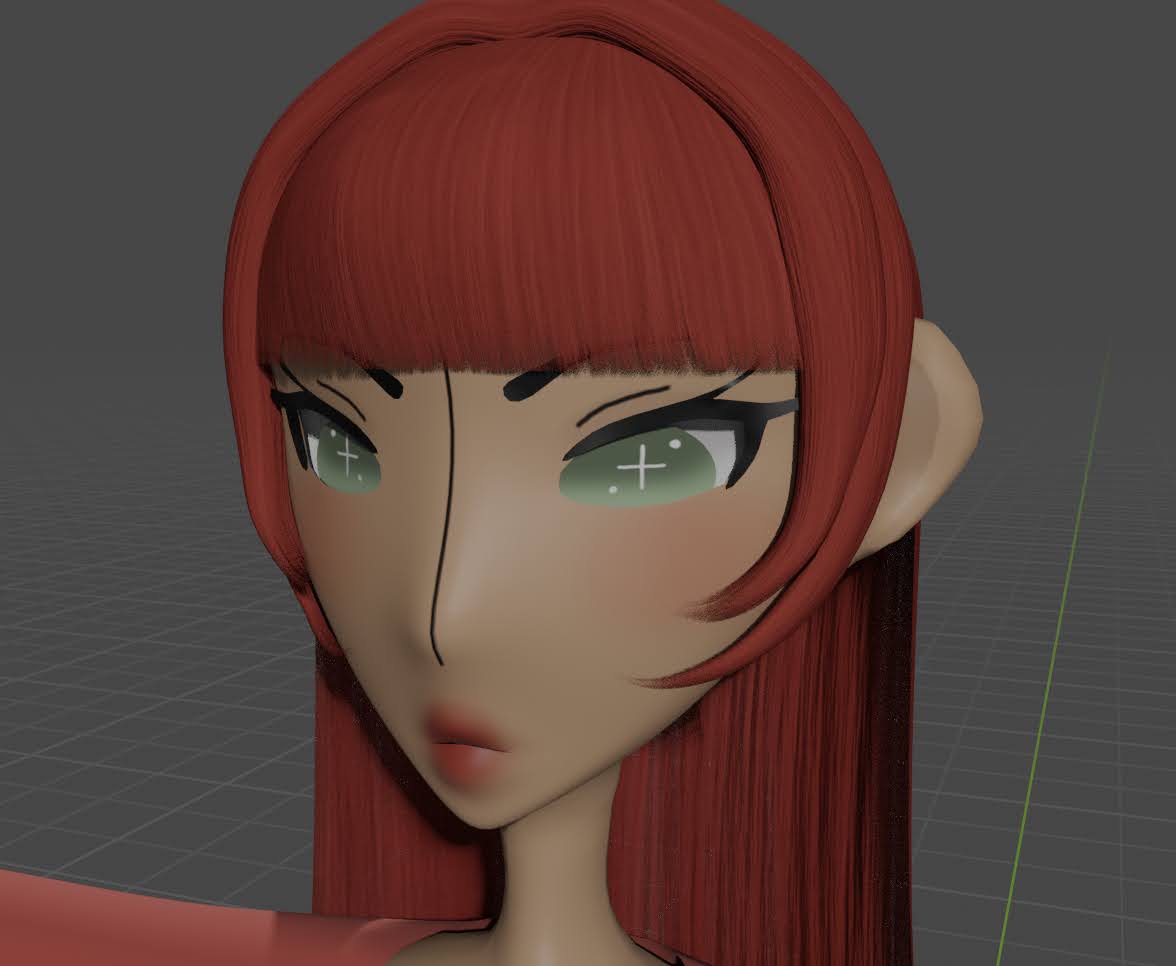
First time ACTUALLY 3d modeling a character

If you’ve been following me around the internet, you would know that I would usually use VRoid Studio as a base for my models first and then build from there. But recently… I said “f!ck it. I’m going try modeling a character from scratch.”

I LOVE using VRoid. Hell, I would HIGHLY RECOMMEND IT to anyone who wants to get started 3d modeling anime-like characters, but it has its limits. That’s why I only use it as a base and put in in Blender 3d. I would make the hair, clothing, some shoes, accessories and now the eyebrows and lashes by scratch.

And let’s not forget the body… even with the bodysuit, VRoid is still pretty limiting. It doesn’t cater to fat/curvy characters all that well. I will give it points for at least having it rigged for us.

I was SCARED to making an entire character from scratch at first. I know modeling isn’t going to be the biggest problem; it’ll be rigging. I’m stressed out even THINKING about it… But I’m willing to give this a shot. It just takes practice and the willingness to learn. I modeled hair and clothes… I can do this too.


So I recently drew some artwork; Her name is Yume;


I want to make her by scratch. I made some reference images too;
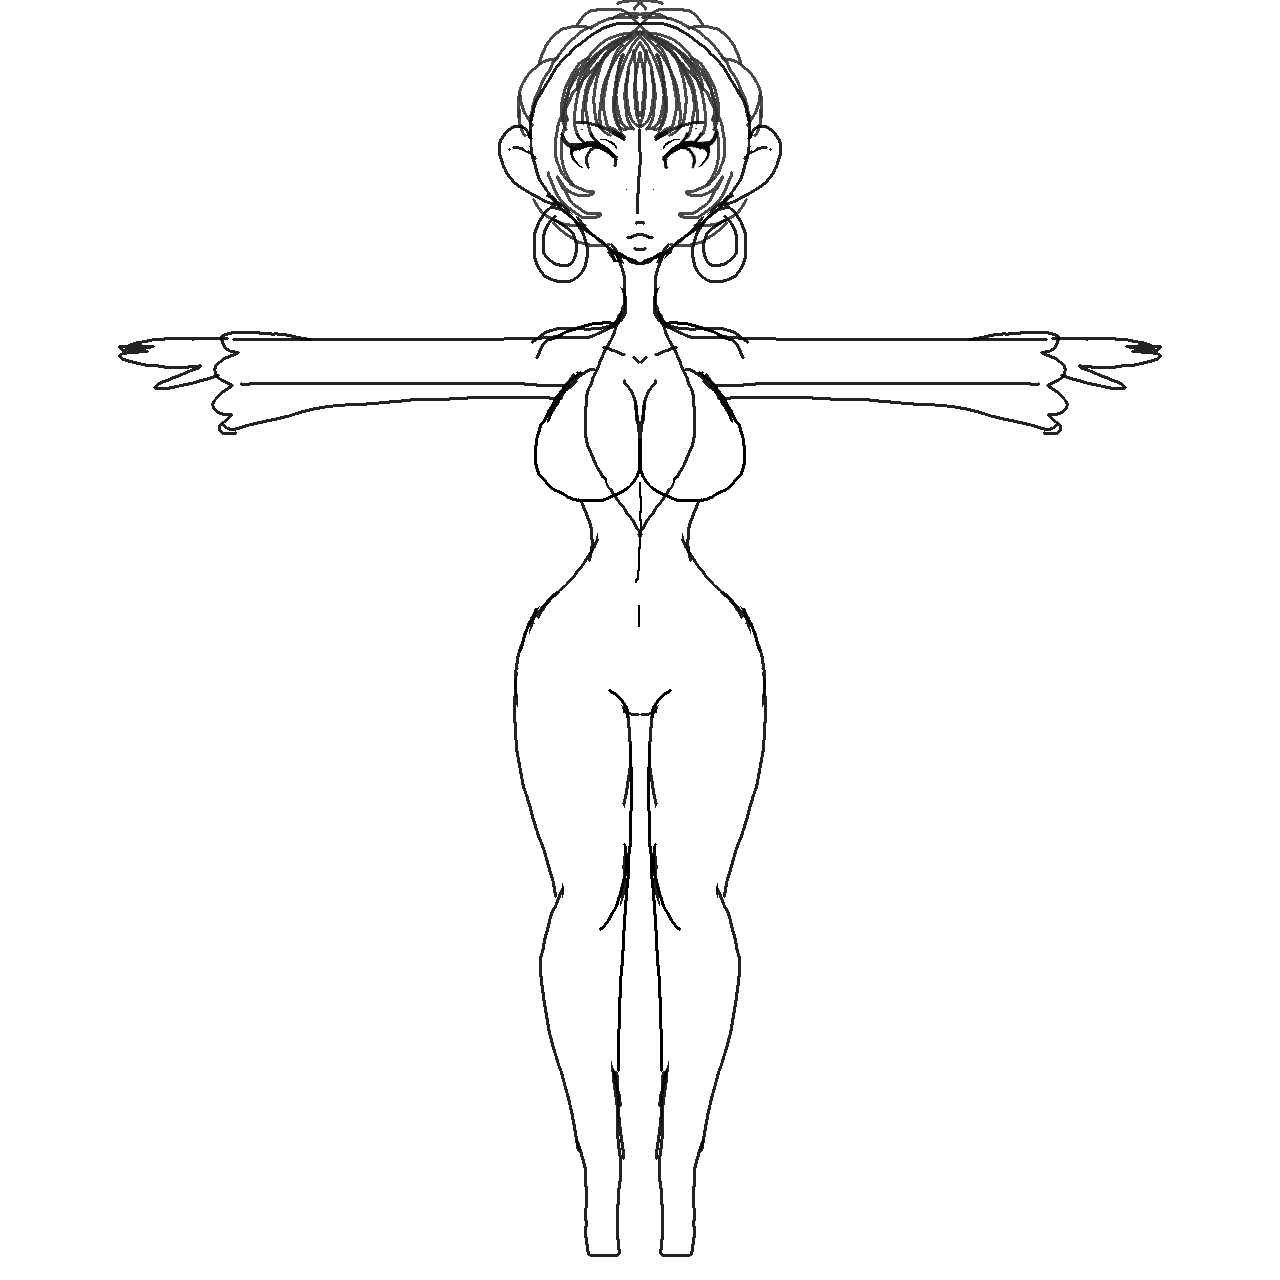
(This was an earlier design, but I just wanted to draw fundemantals of her body, so it’ll do.)

I also made a side reference but it’s kinda… :flushed:
Also, I can’t make side profiles to save my life either.

I put the references in Blender including the first picture you saw and got to work. I did do the body first, but I didn’t like it, so I decided to work on the face and come back to it later, because I felt like it was going to be the hardest.

One thing I’d like to say is thank GOD for this video;
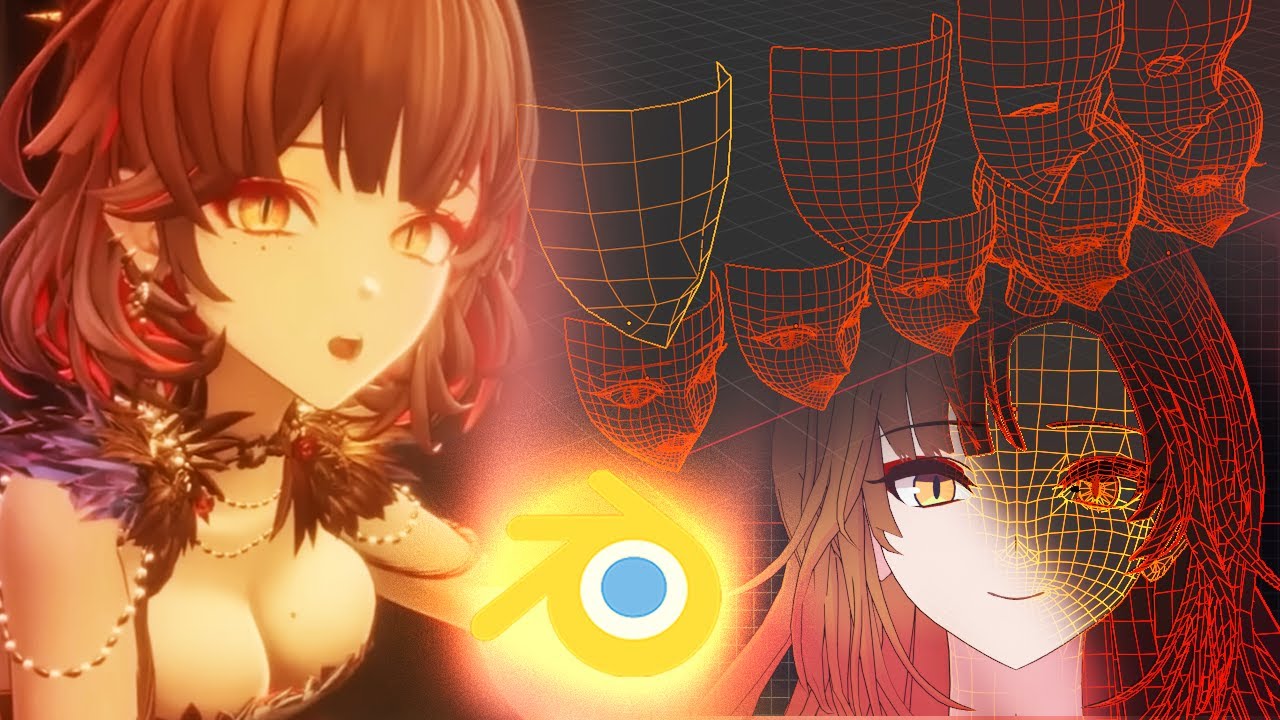
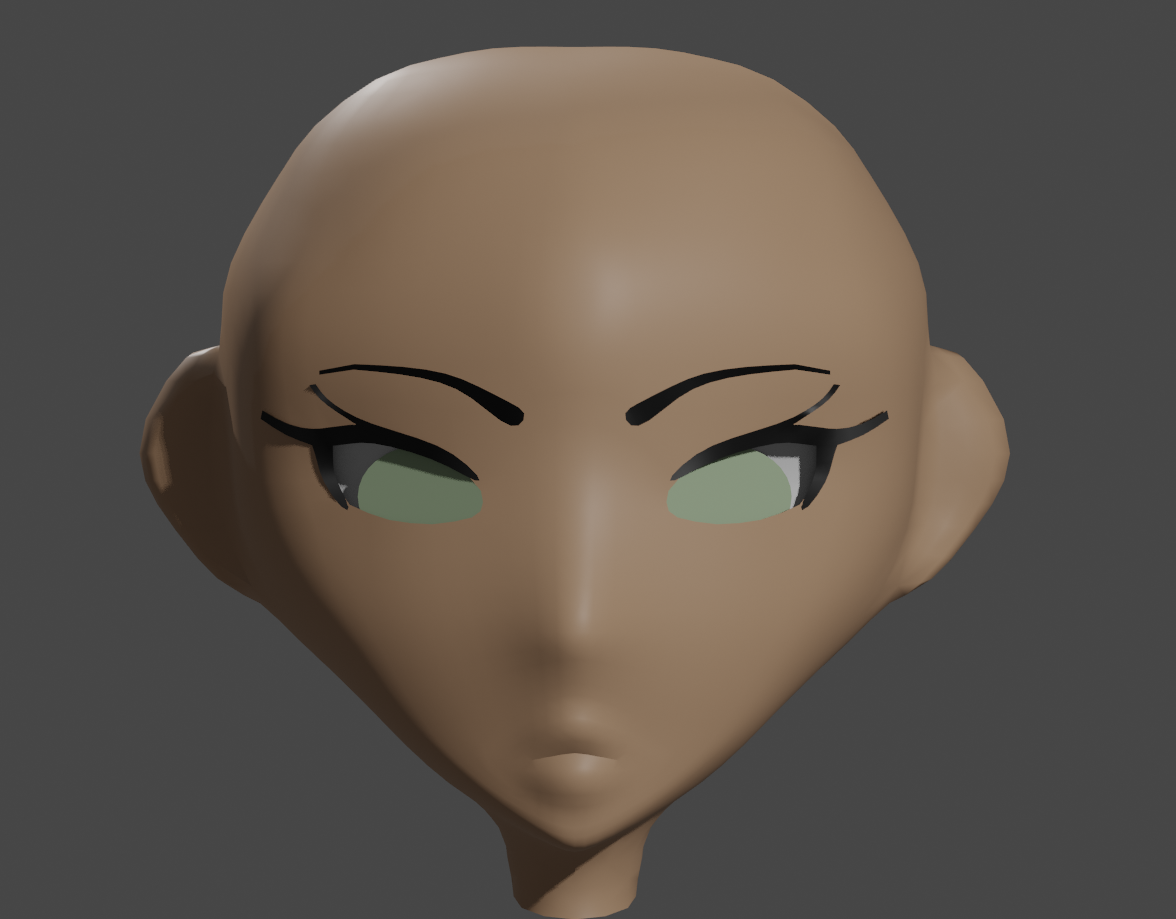
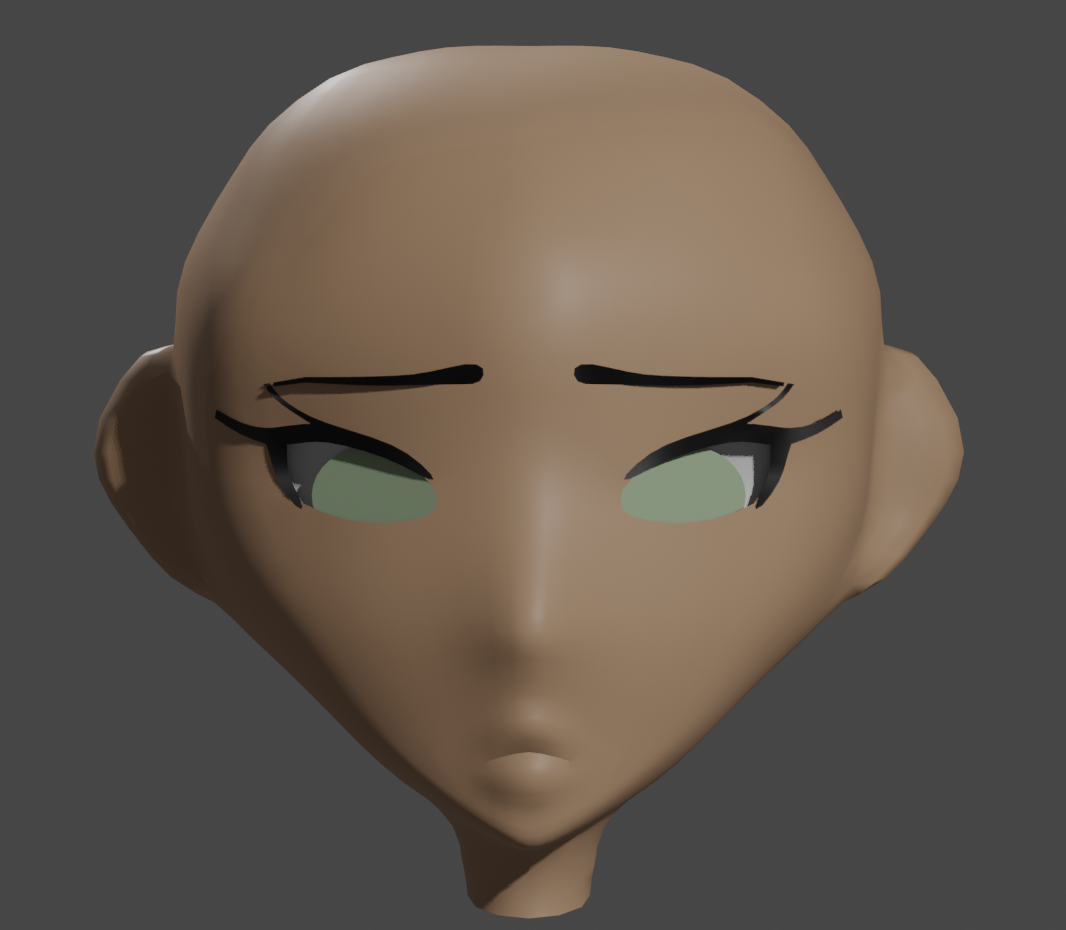
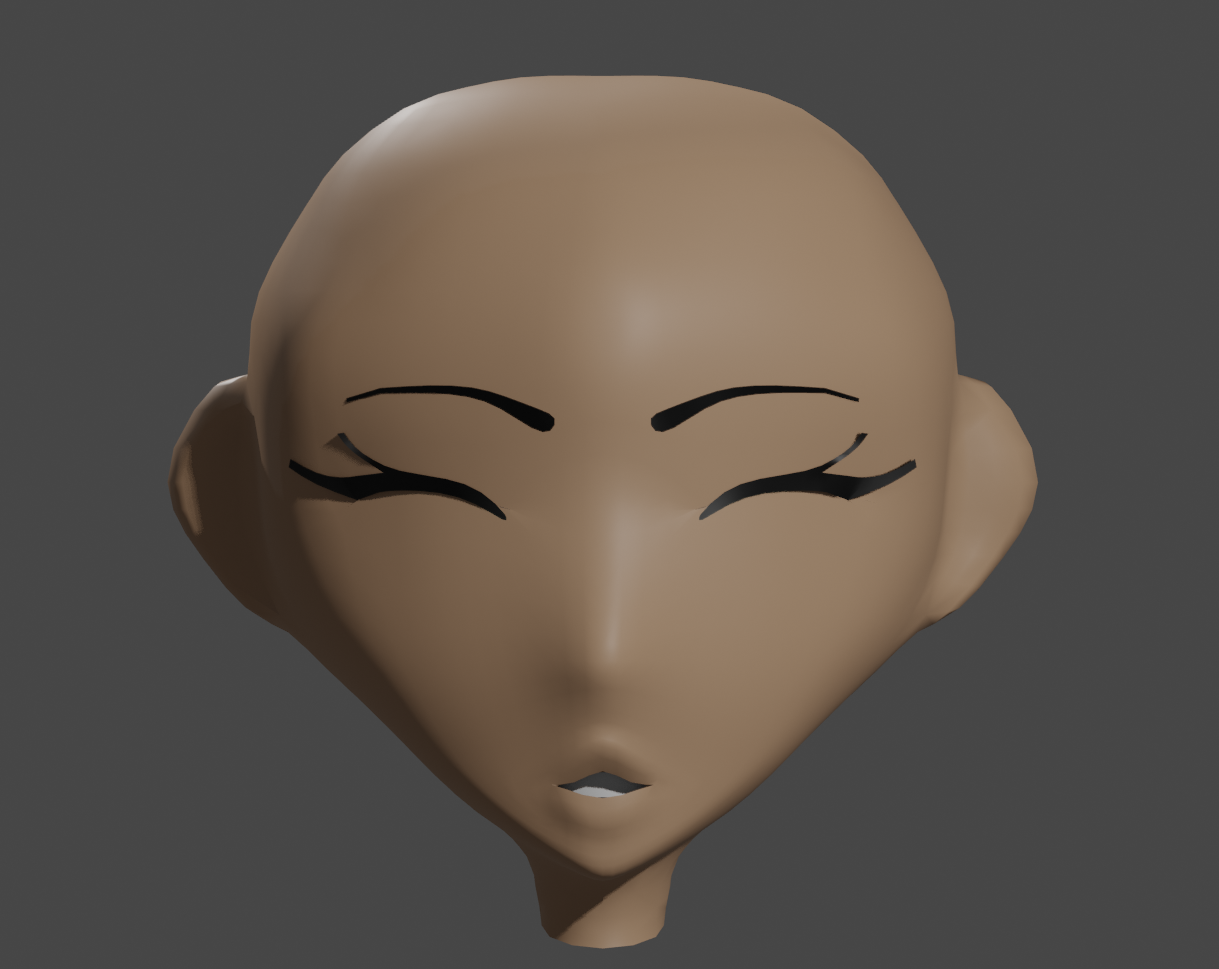
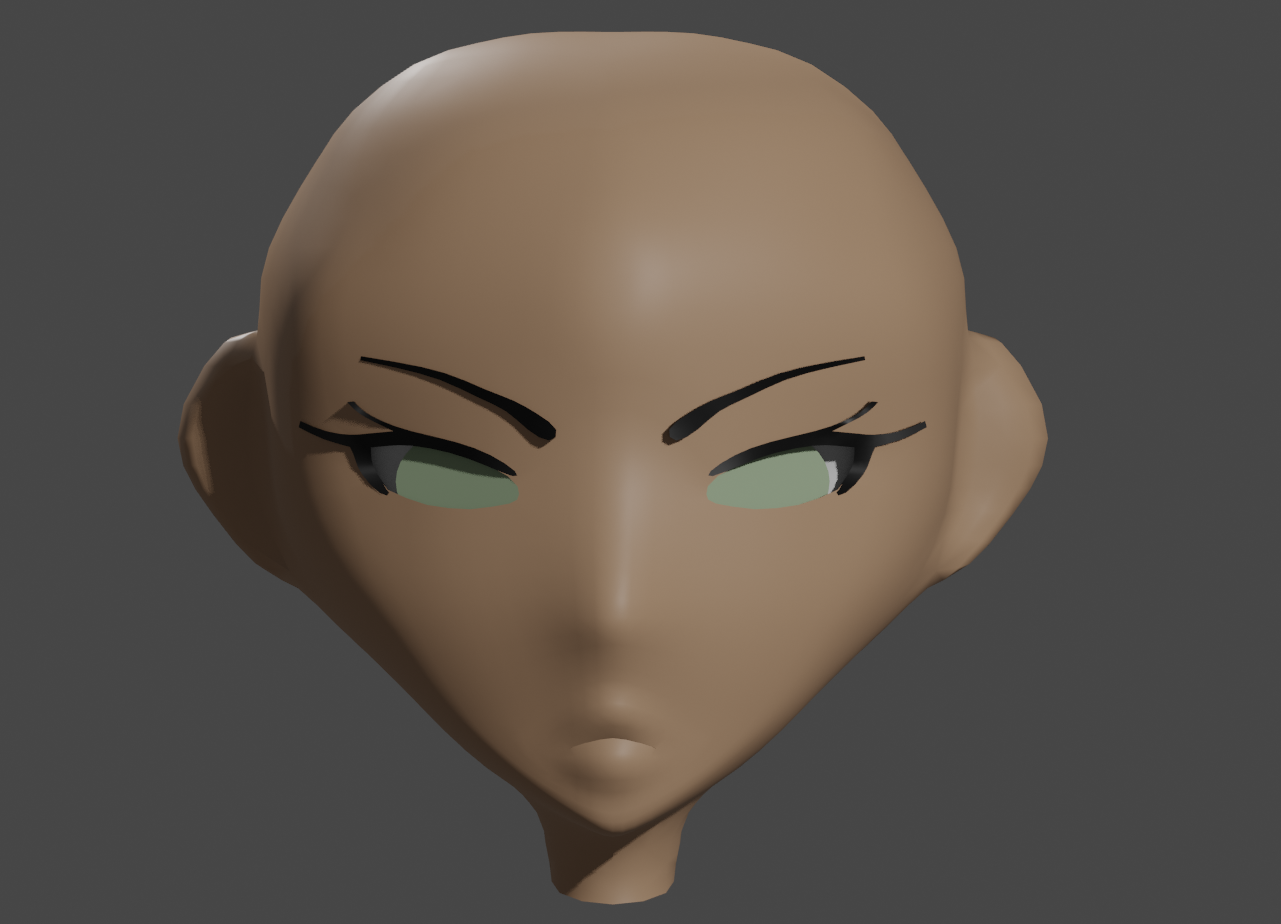
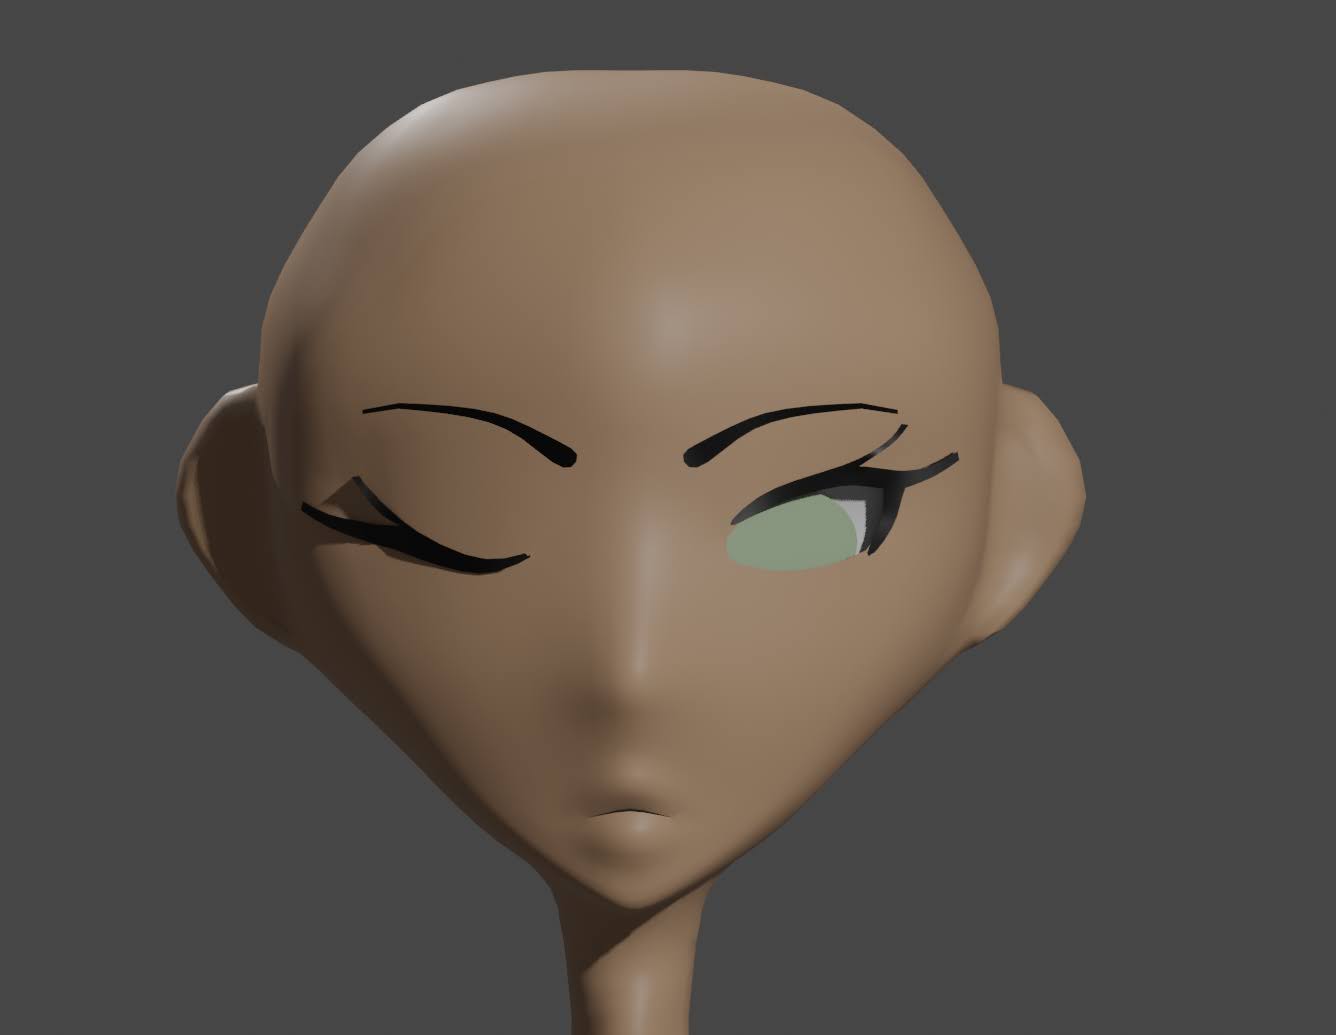
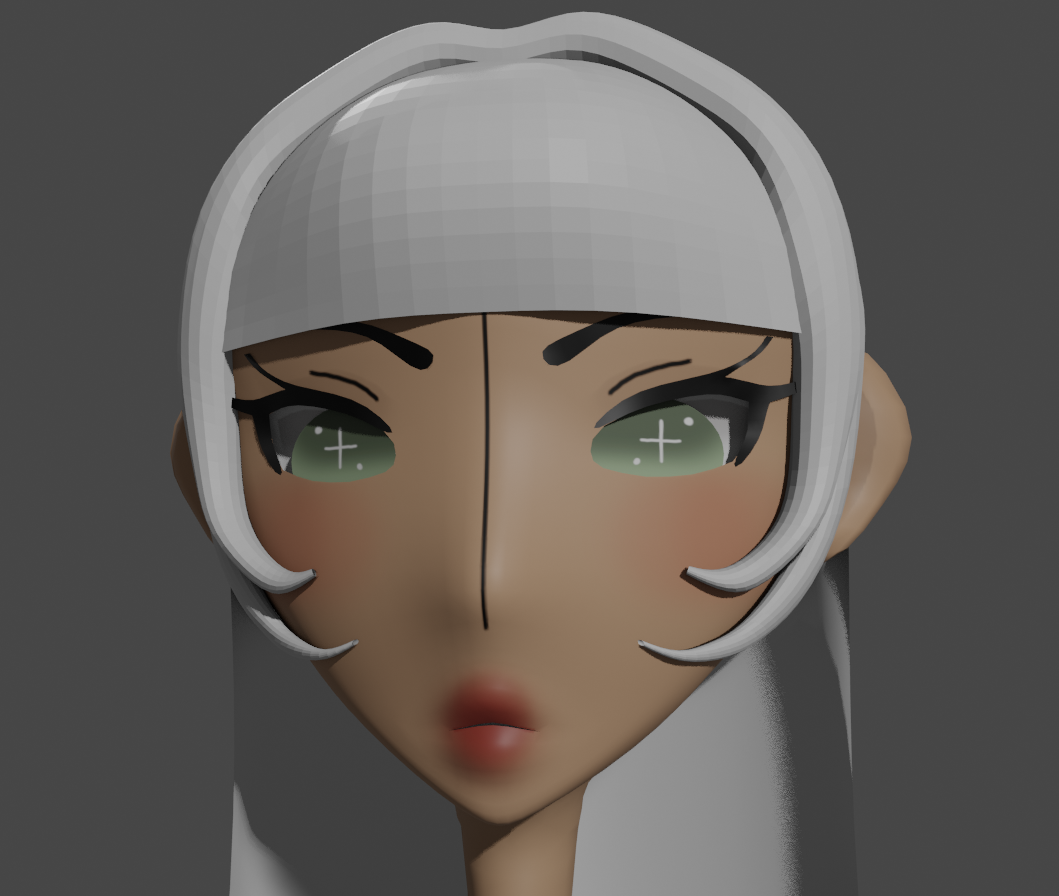
I followed it as much as I could for Yume and this is how it turned out so far;
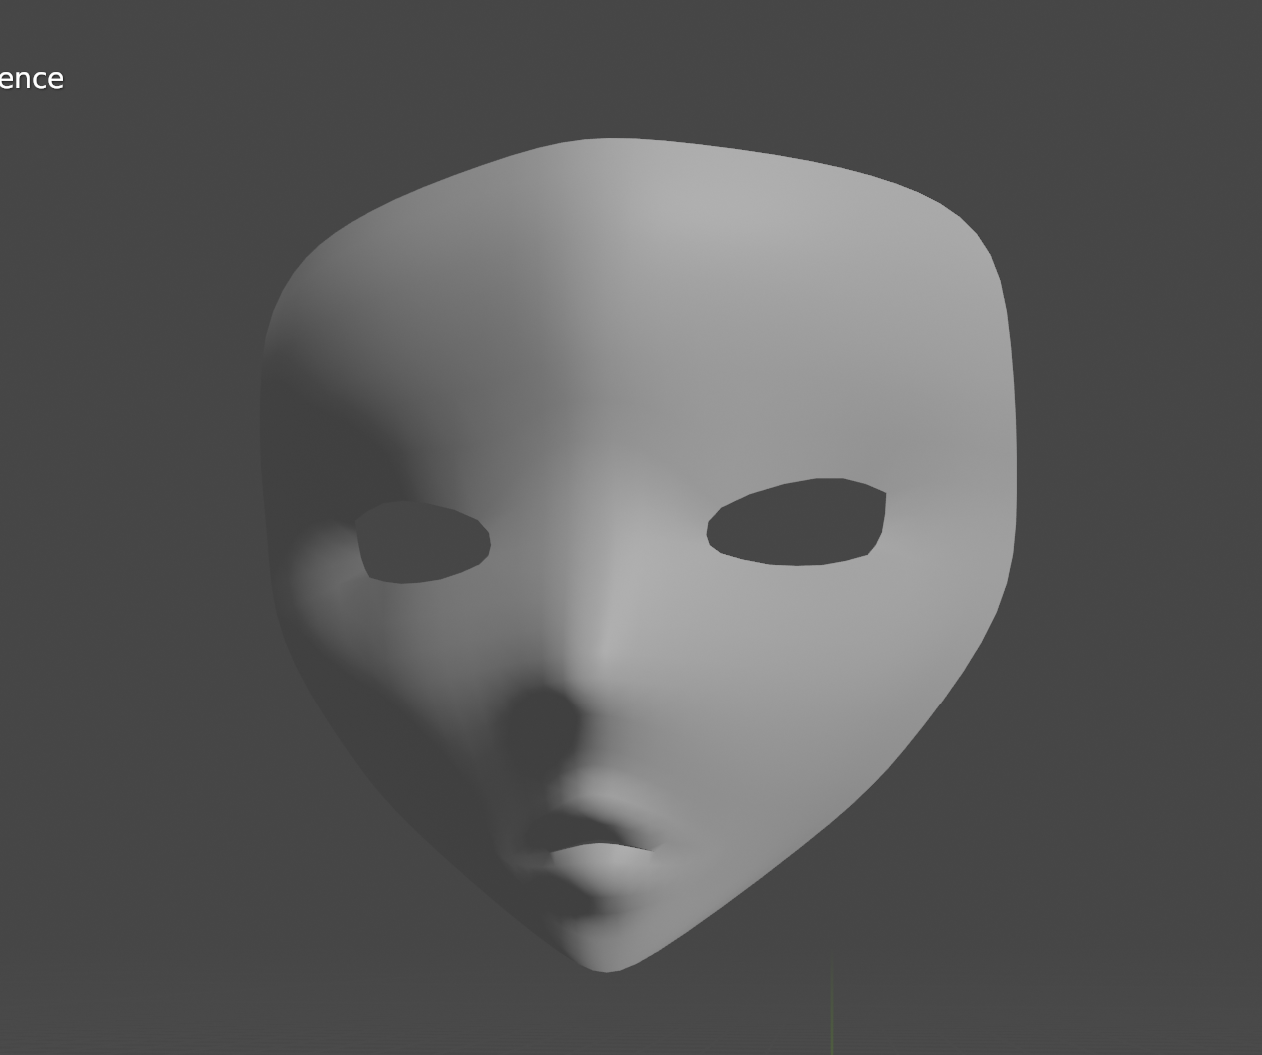
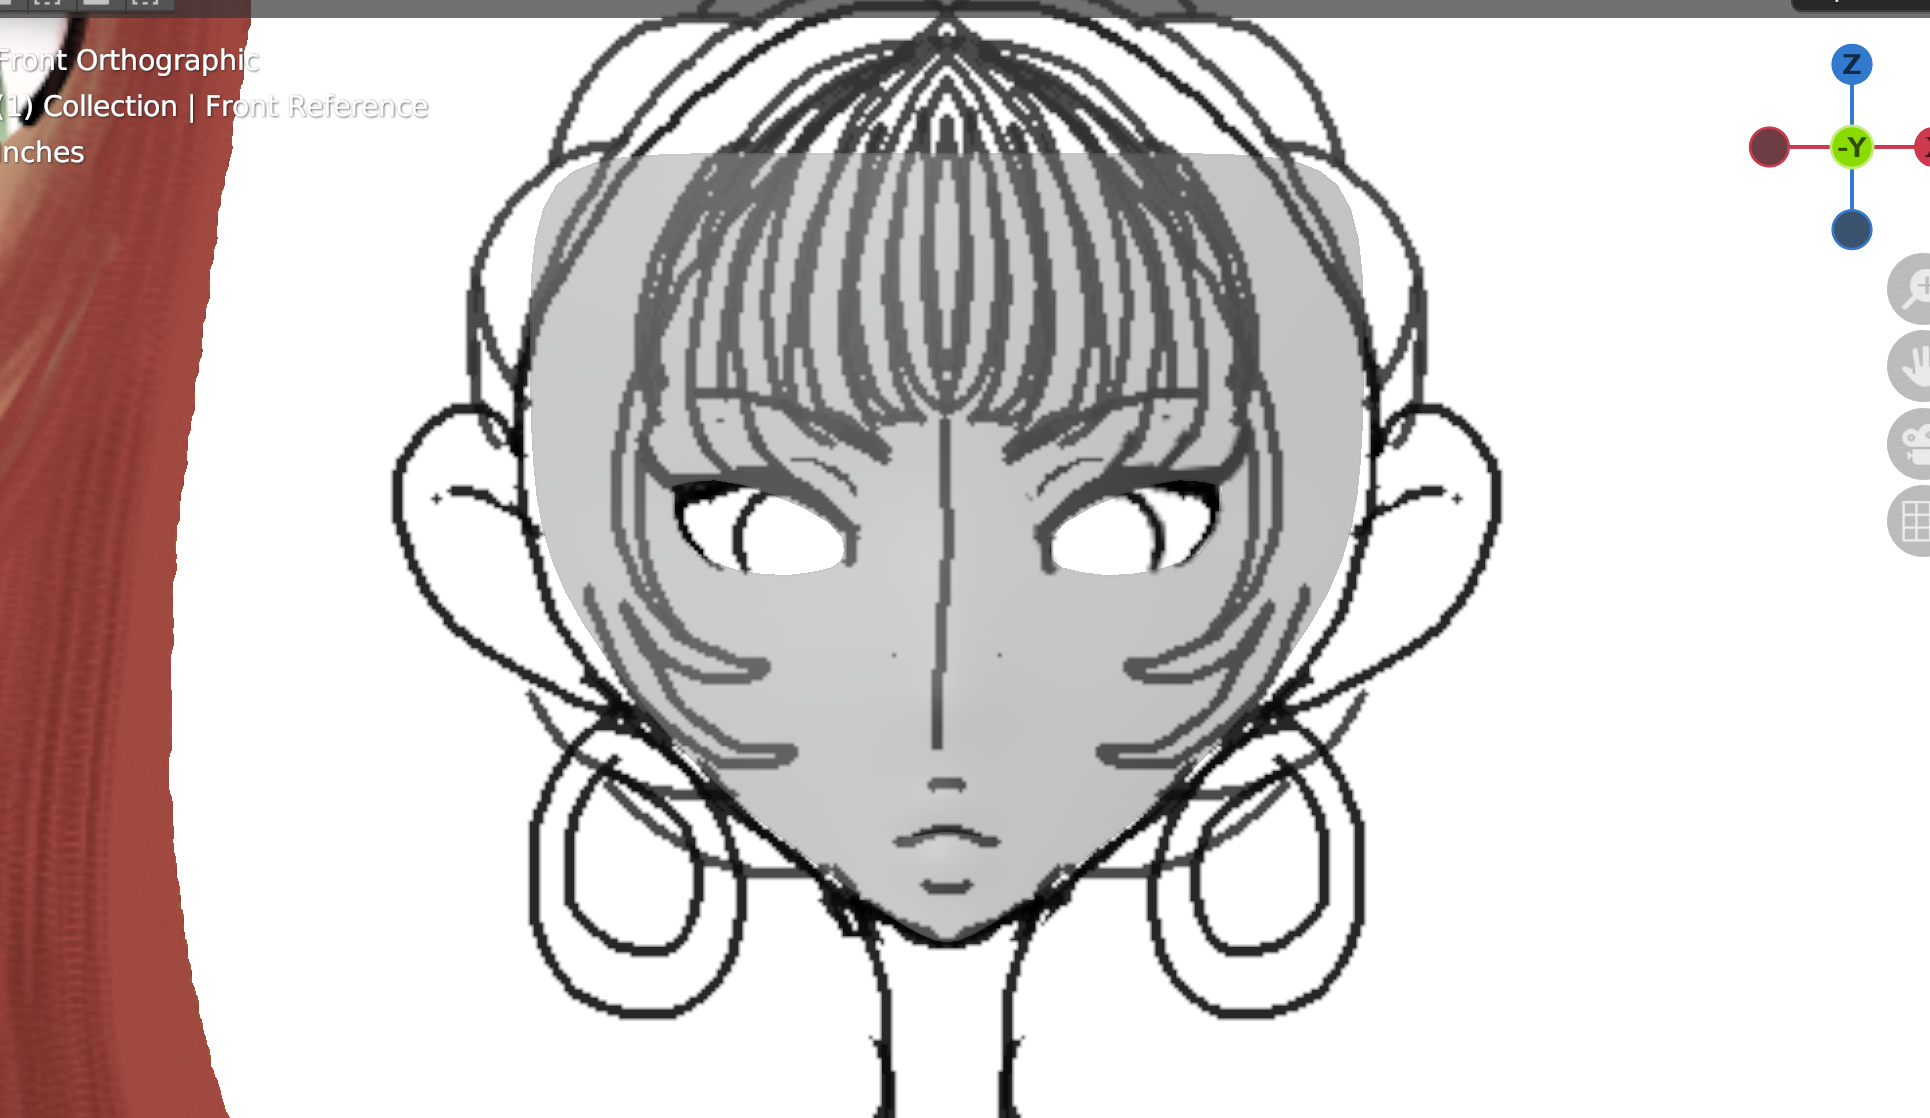

There’s so much things to do, though. Eye sockets, Irises, the whole head… so much more. What do you think so far?


Any tips, tricks, addons or videos that you’d like to share with me? I’d love to learn.
Thanks for reading all the way through!
Have a nice day! :heart:

5 Likes

Honestly, I should’ve updated A WHILE ago, but here we are.

Basically, I’m almost done making Yume’s body and head.


(I’m using placeholder materials for now.)
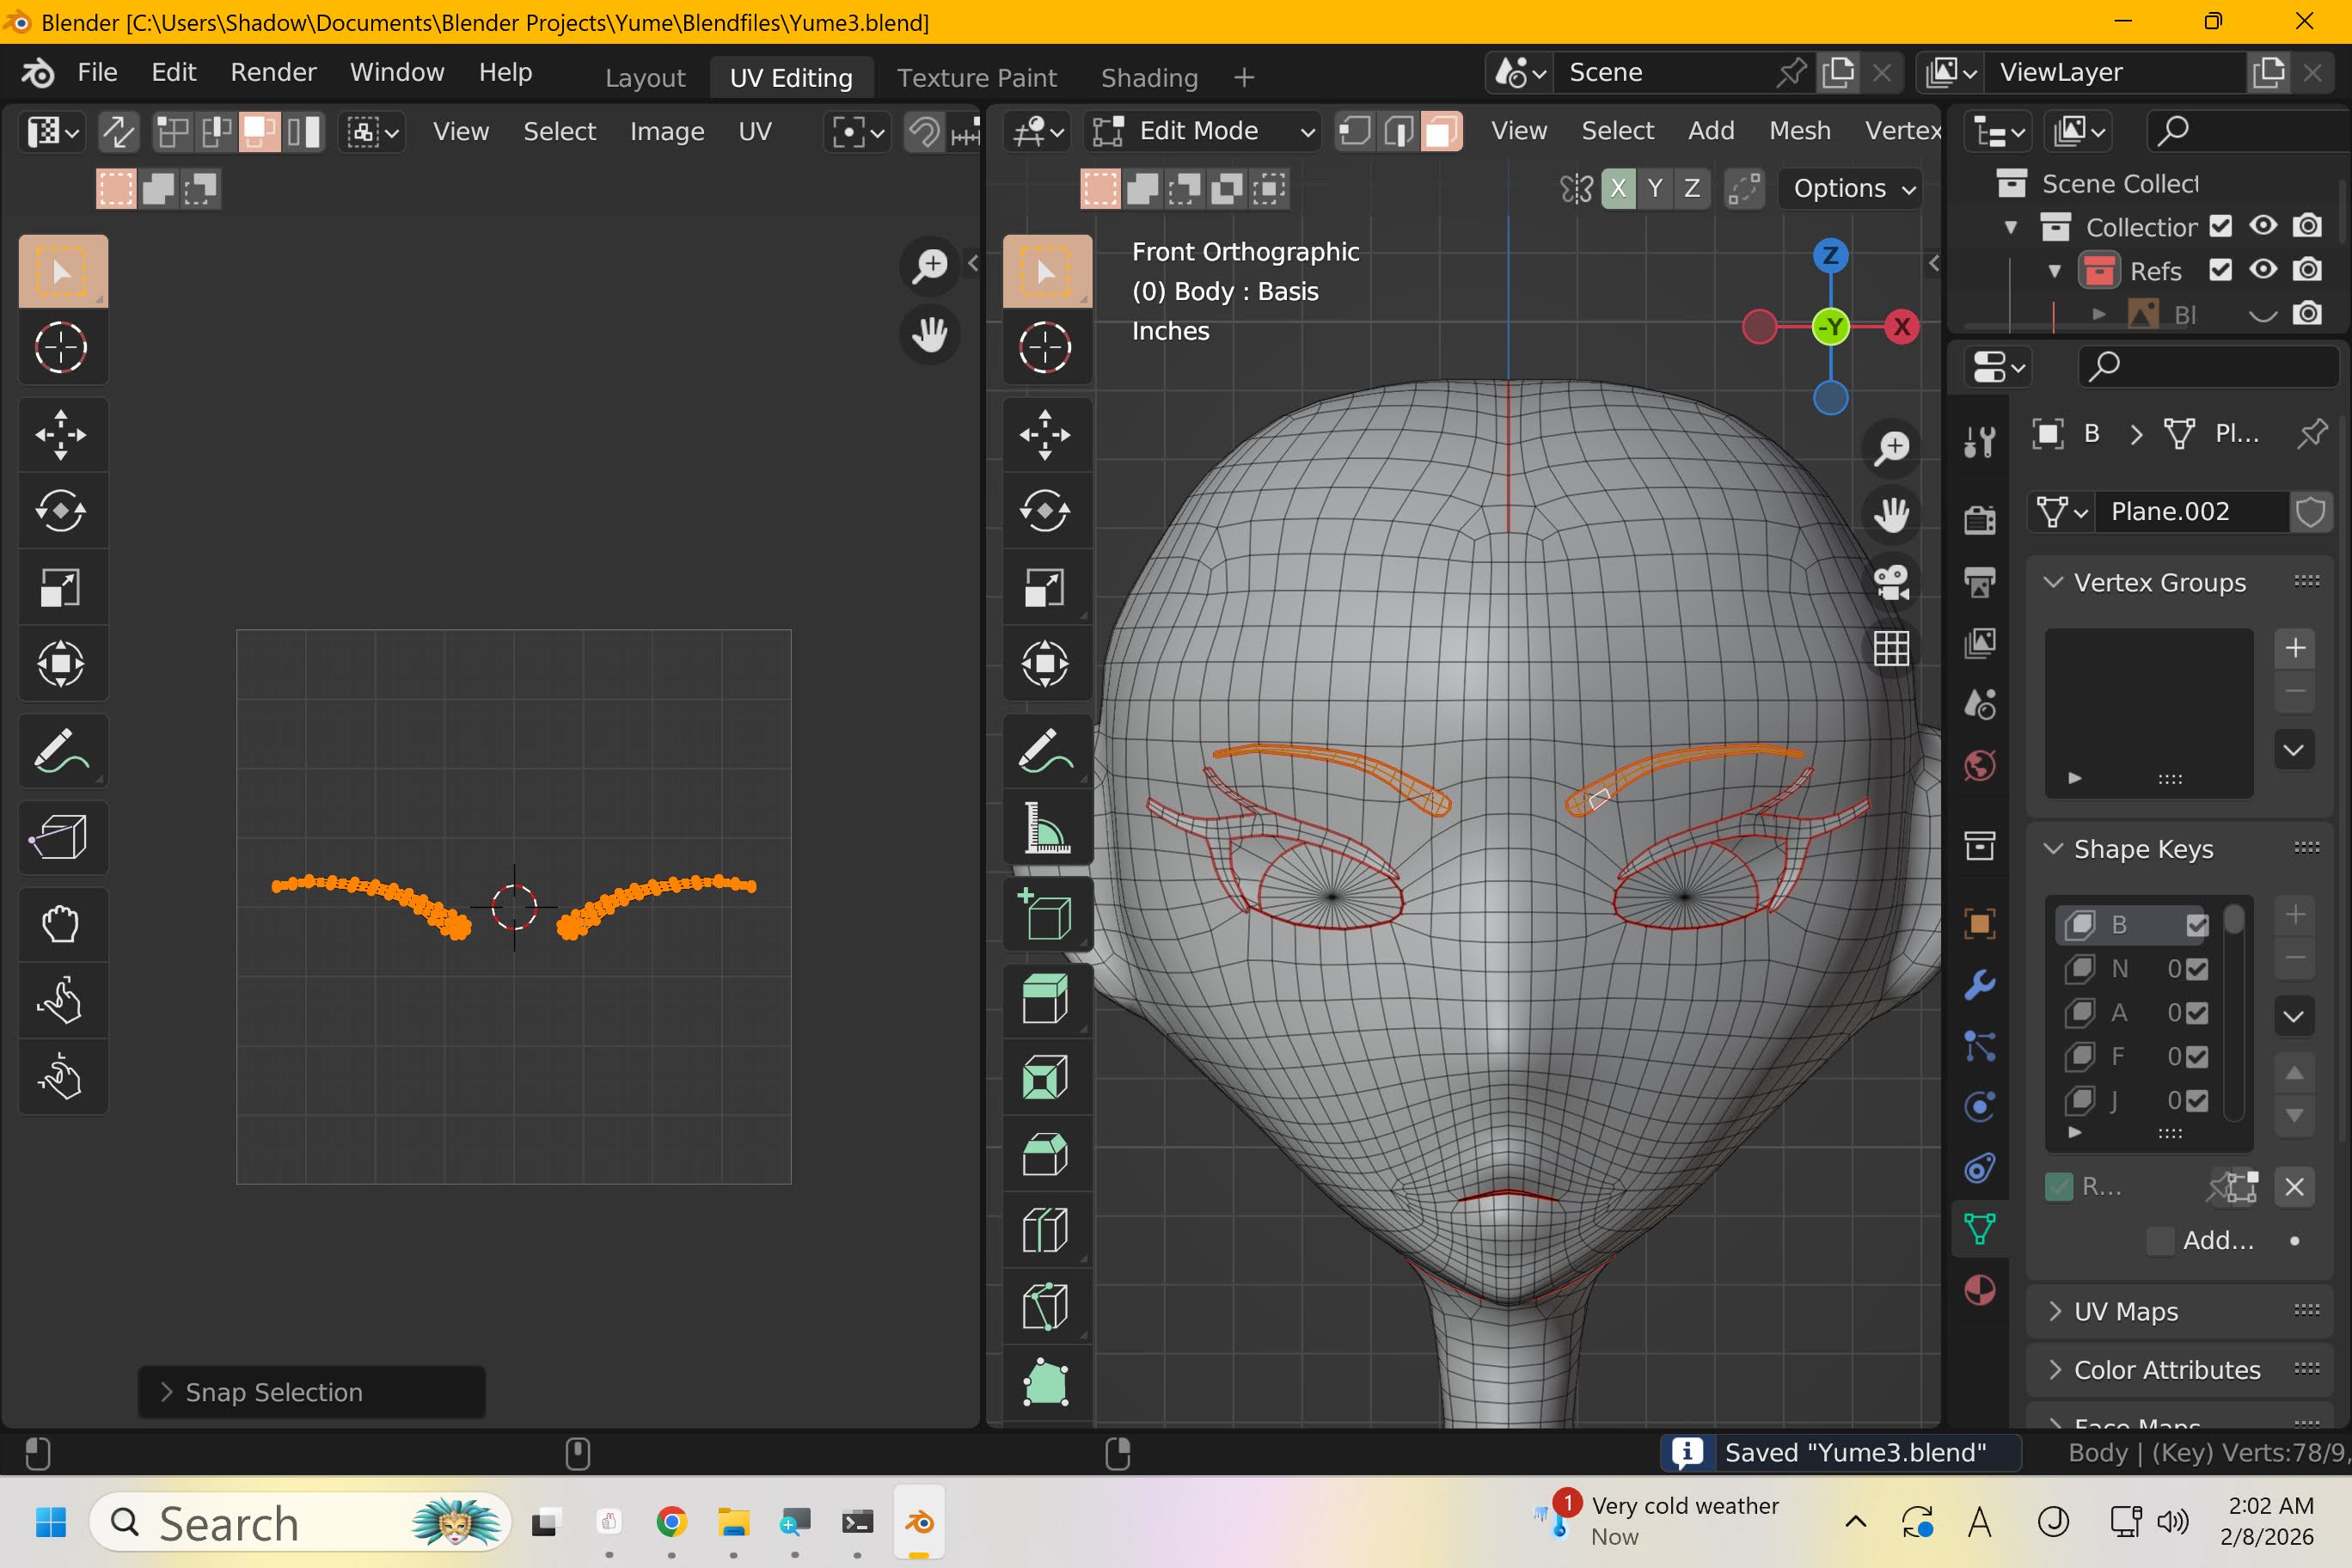
For the head, I extruded her head to shape and added edges accordingly. Then I fill up the top hole with the best of my ability. and used sculpt mode. The top of the head looks a bit lumpy, but here we are.


The body’s not too hard. (Other than the irises, eyebrows, lashes, and surprisingly the tongue and teeth,) It’s one of the easiest thing to model here, following the reference images the best I possibly can.

But then it gets harder… don’t get me started on these damn hands.

HELL no!

(I suck at drawing them too… what a shocker. :woman_facepalming:)

No worries, I’ll just have to spend a WHOLE WEEK figuring out ways to make them. (Yes. That’s how long it took and it’s driving me insane.)

Sometimes when you’re stuck at making a model, I think it’s a good idea to check out some professionally made ones.
That’s what I did. I used Kairi for this.

https://www.deviantart.com/whitemagesunny/art/Kingdom-Hearts-3-Kairi-KH2-for-Blender-3-4-1055873688

I like her hands. (No; not THAT way!) It fits what I’m going for, a somewhat Kingdom Hearts feel. I always go for that for ALL of my models, Big hands, big feet, big heads…

I downloaded her model and took pictures.


(Yes, I’m aware her textures are missing, but I don’t care.)

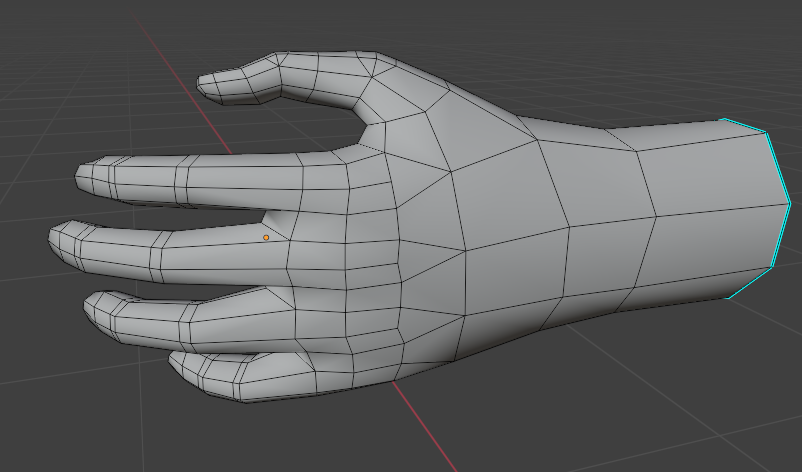
Instead if using a cube (because that CLEARLY didn’t work well before), I used the skin modifier to repricate the reference as soon as much as I can. This is what I got;

I mean… it’s alot better than whatever the hell my last attempts were, but I might need to rebuild that palm because…

Yeah… I don’t know if that’ll work for rigging.

Recently I did the feet. Not as hard as the hand, but still.

I don’t really care for the feet. As long as it looks SOMEWHAT decent, it’s fine. I used the ending edge loop of the leg and went from there.


Still a lot to do!
After fixing that hand, I need to give the head blendshapes and attatch everything together.
Then I have to rig the whole thing… But after that, things should go much more smooth…

Right?

If you have any tips or tricks, I’d apreciate it if you shared them with me; I’m willing to learn.

Thanks for reading all the way!
Have a nice day! :heart:

4 Likes

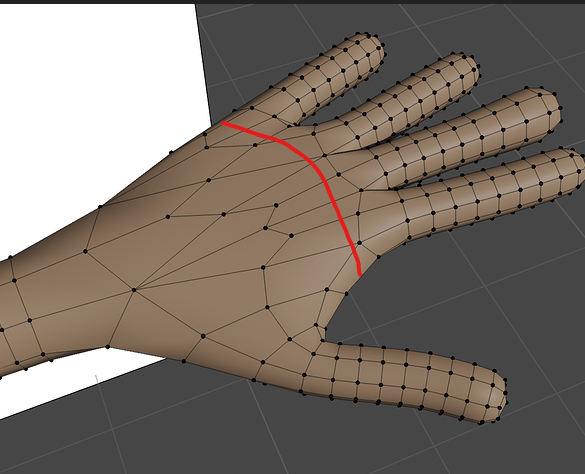
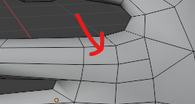
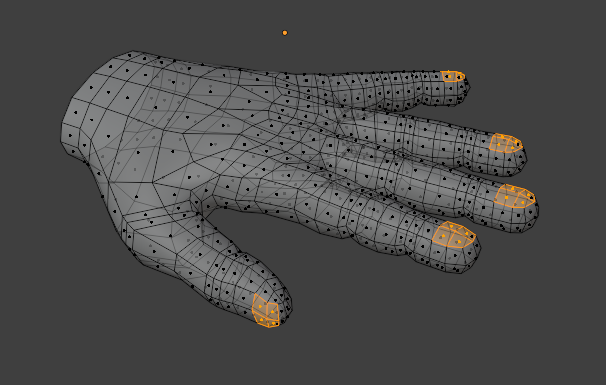
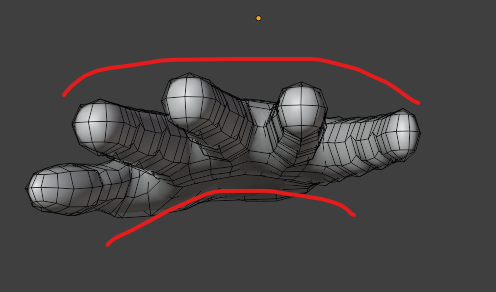
That hand isn’t the most pretty but it would actually mostly work. The main problem is that on a real hand, the base of the fingers is some distance inside the hand, right there:
base

You can see it if you look at your hand. You would need some clean edge loops around that area so it can bend.

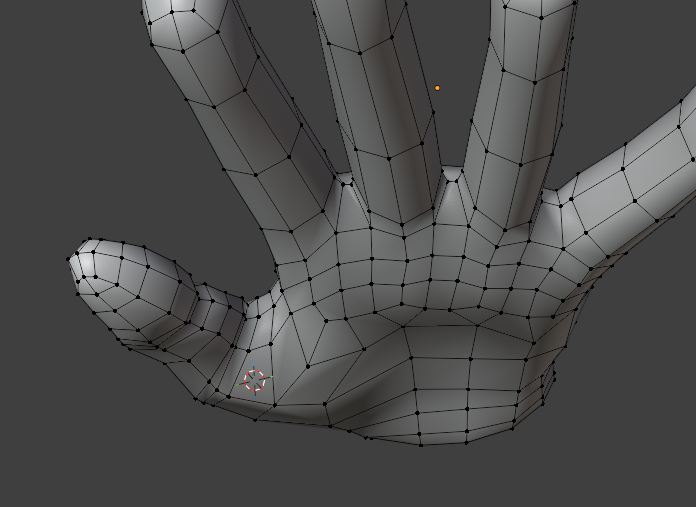
The more critical area will be the inside of the hand, which you aren’t showing here (I assume what you are showing is the top of the hand?). The inside of the palm deforms more than the top and needs nicely flowing edge loops for a good result

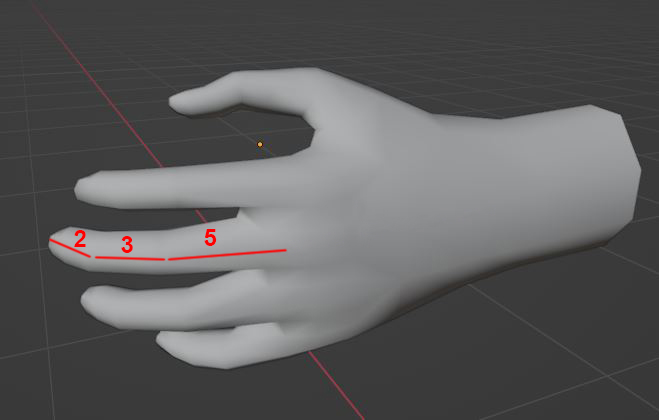
The fingers should be fine, but since you haven’t marked each section, I am going to give a little advice. Fingers have uneven length ratios for each of their segments and this is rather important for the hand to animate in a realistic way and close into a correct fist.

hand

3 Likes

I’m sorry it’s been a while.
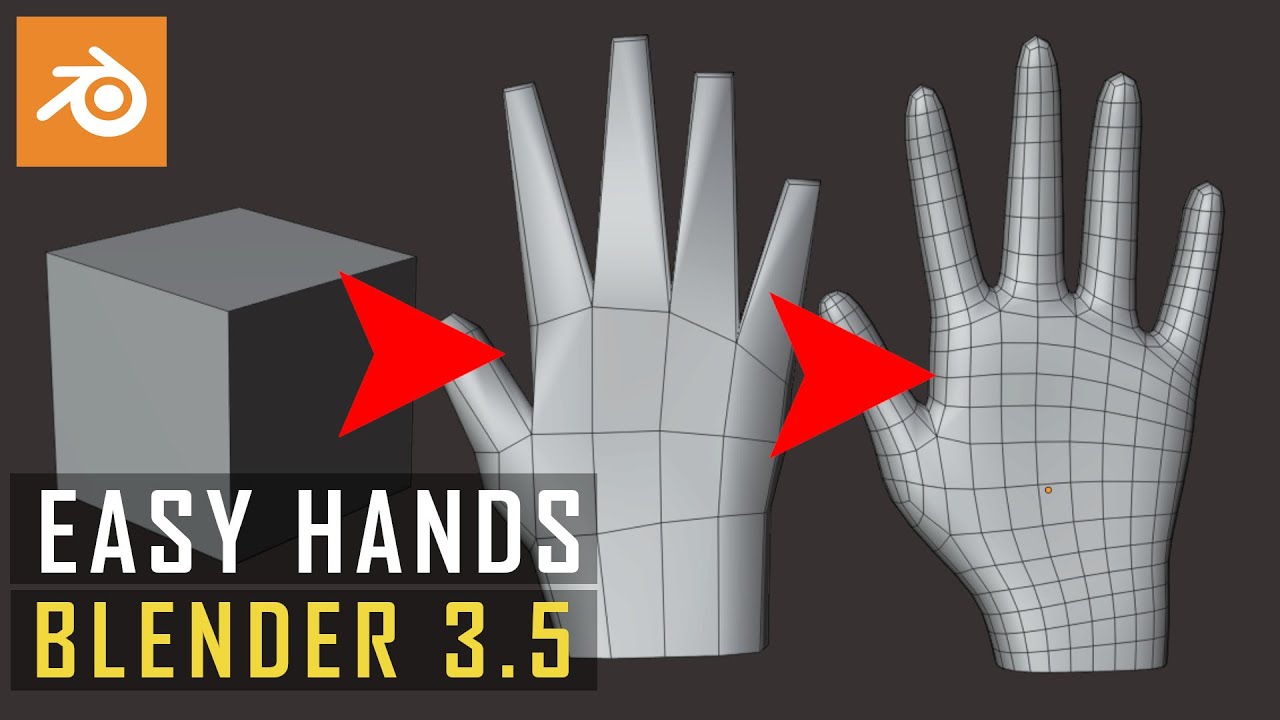
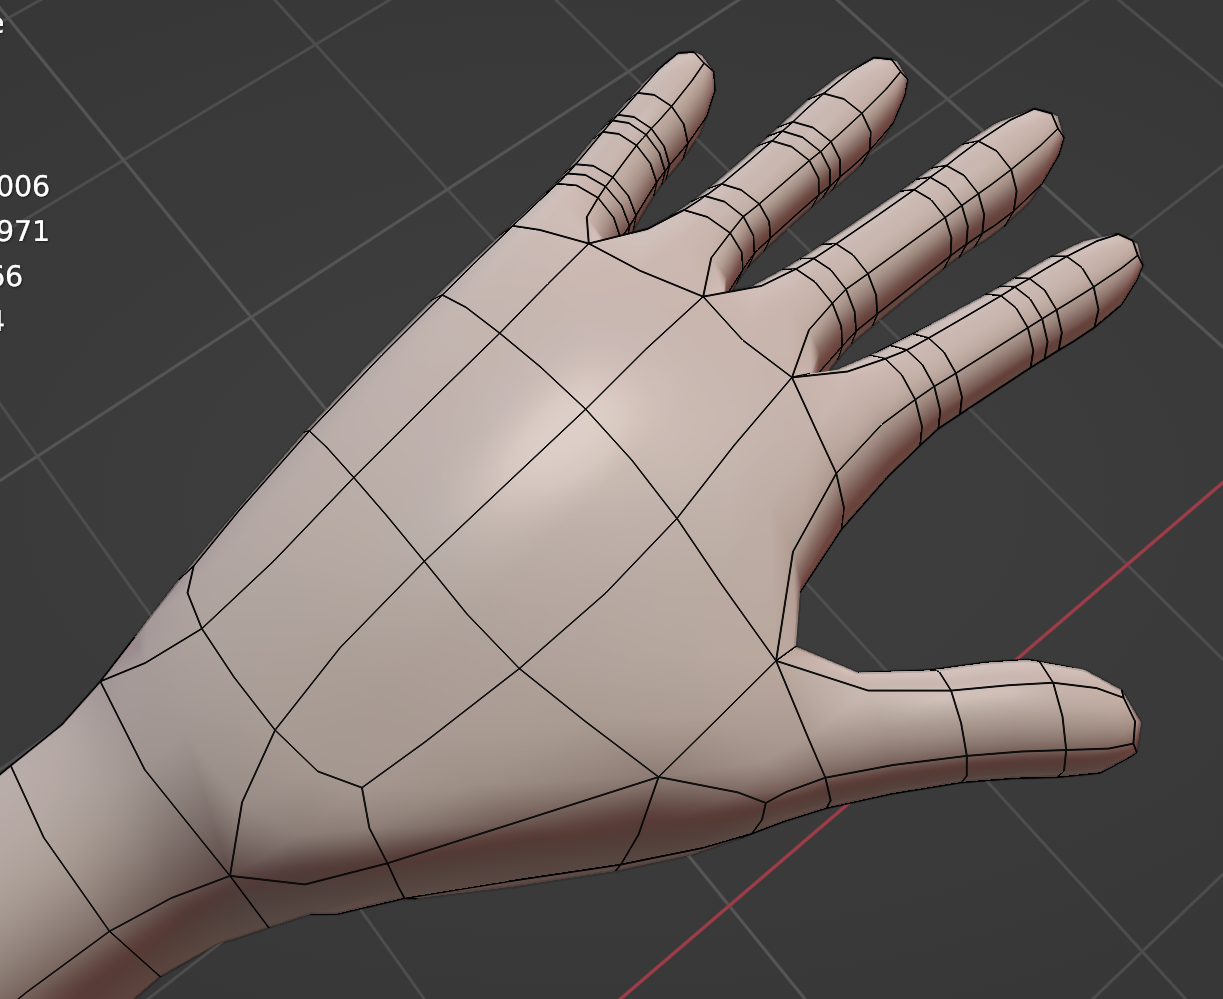
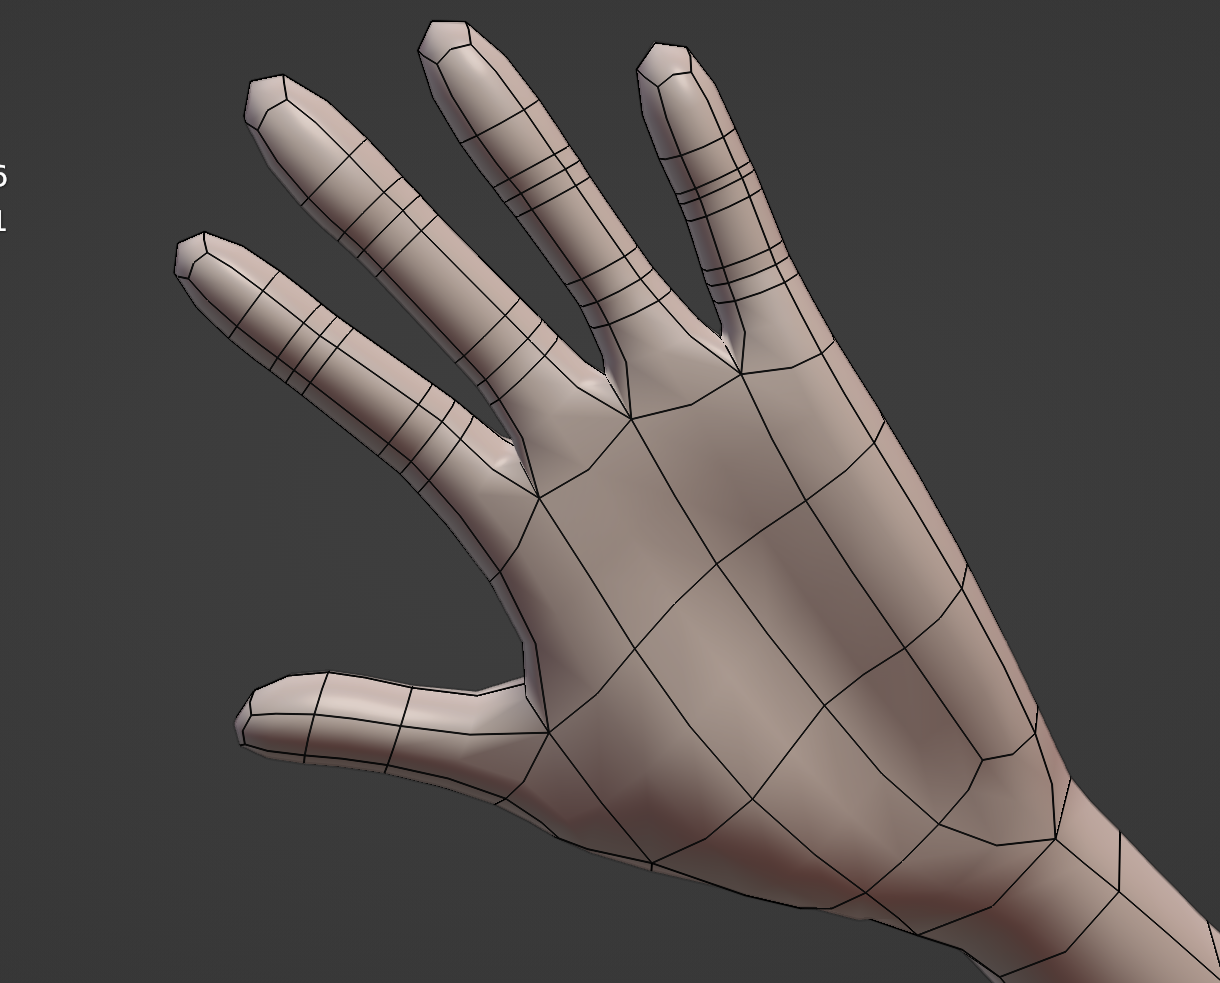
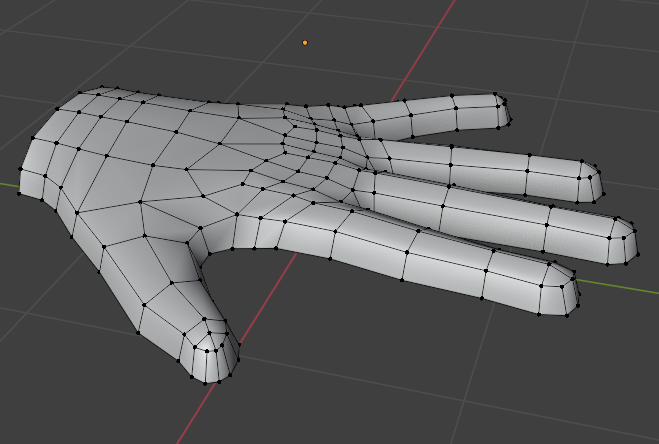
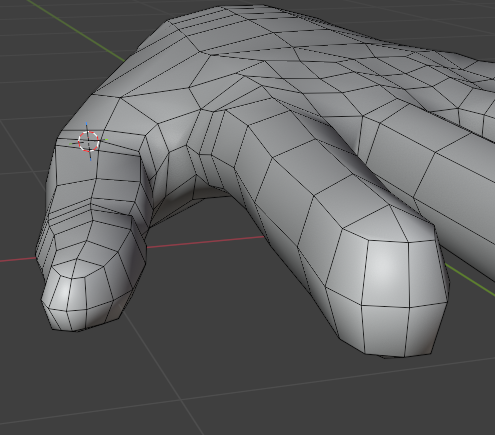
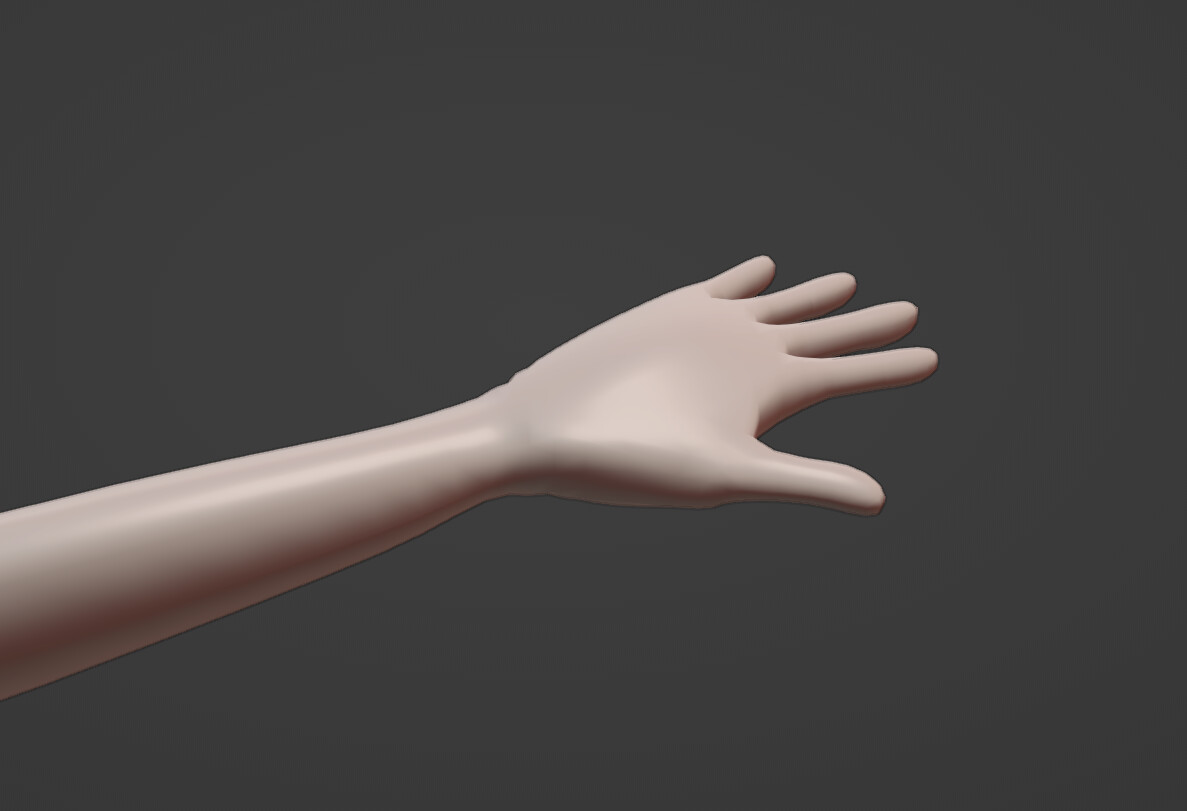
I actually decided to remake the hand a different way using this method.

This is how it came out;


I beveled in places where the fingers are supposed to bend (at least on every finger except the thumb). I’m currently using the subdivision modifier (1)

I want to make knuckles like you have on your hand model. Do you mind showing me your topology? Or giving me instructions on how to topologize my hand?

3 Likes

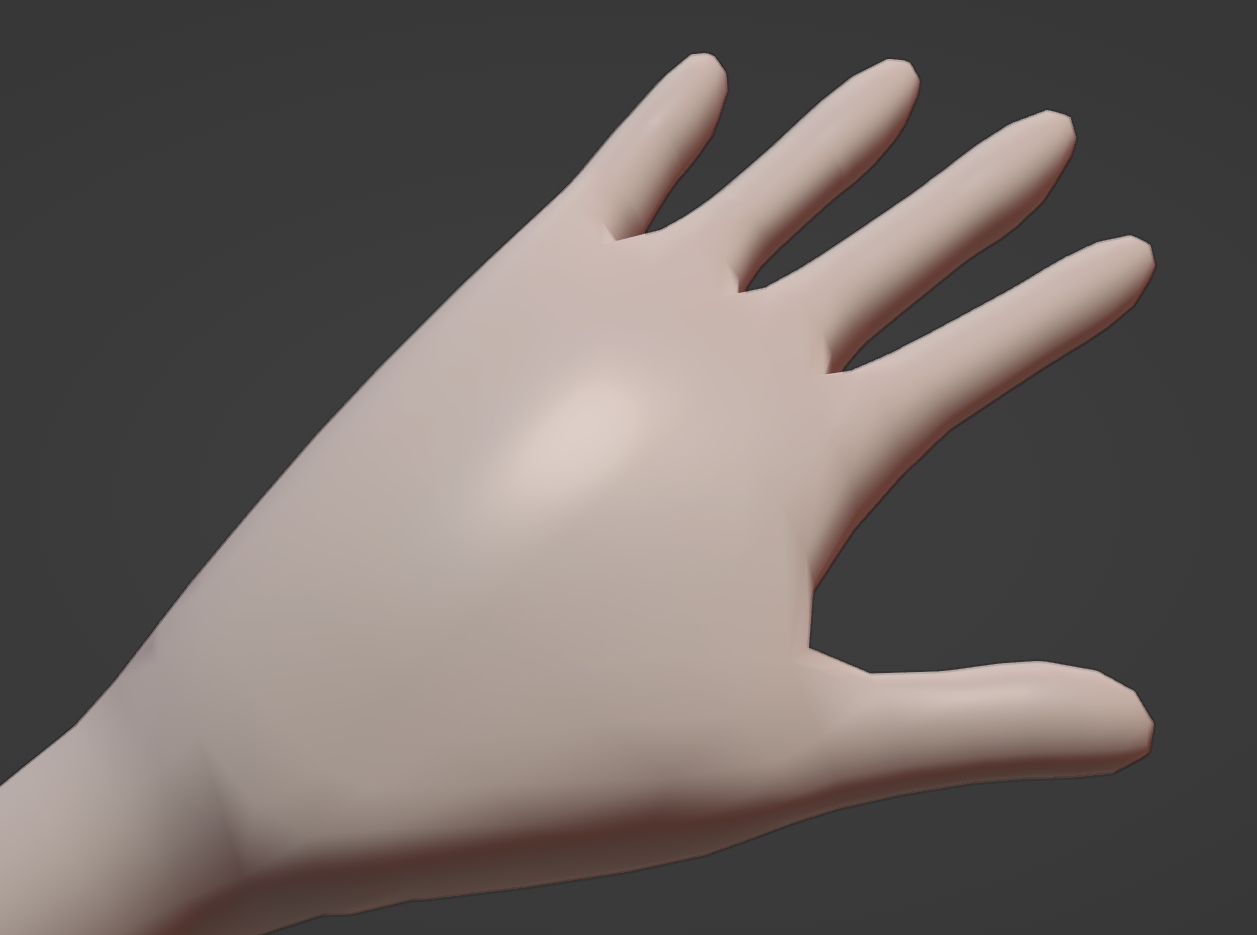
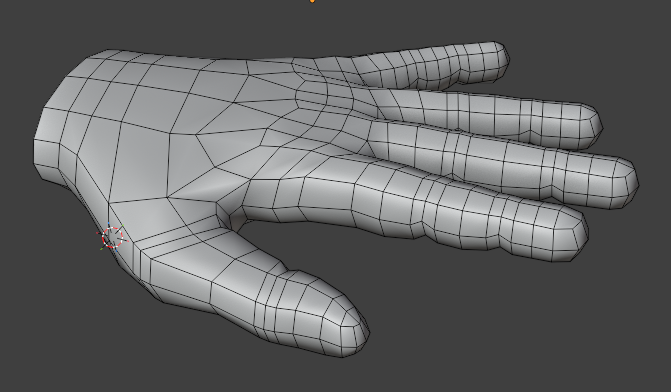
The way you have done the finger joints is fine. My hand looks like this, but there isn’t a single solution.

Note that this is specifically a low-poly hand, I would use more segments to shape it with better detail for a high quality model.

I would like to point out the top of the hand. You can see I keep the edges from the fingers going some distance on the top side of the hand before I reduce them. This allows the knuckles to be properly detailed and to deform well. I keep the same pattern consistent for each finger.
top

As for how to model a hand, there are more than one way, but I can show you the one I learned.

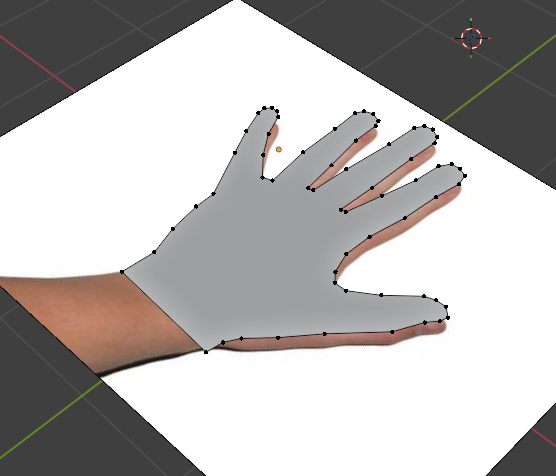
1- Get an image of a real hand so the proportions are correct, trace the border of the hand by extruding vertices from the top view and make it a single face.
step_1

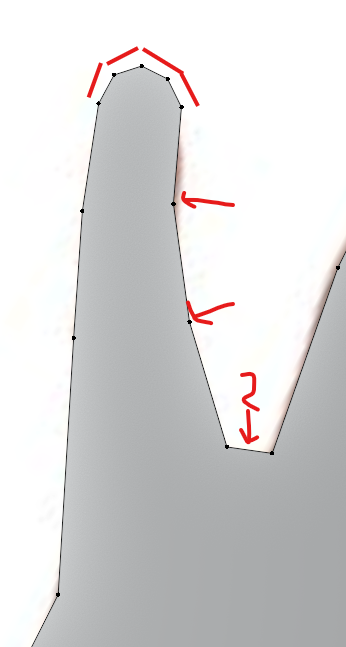
The structure of each finger is the same and isn’t random: 5 vertices at the tip, 1 to mark each segment and 2 between each finger.

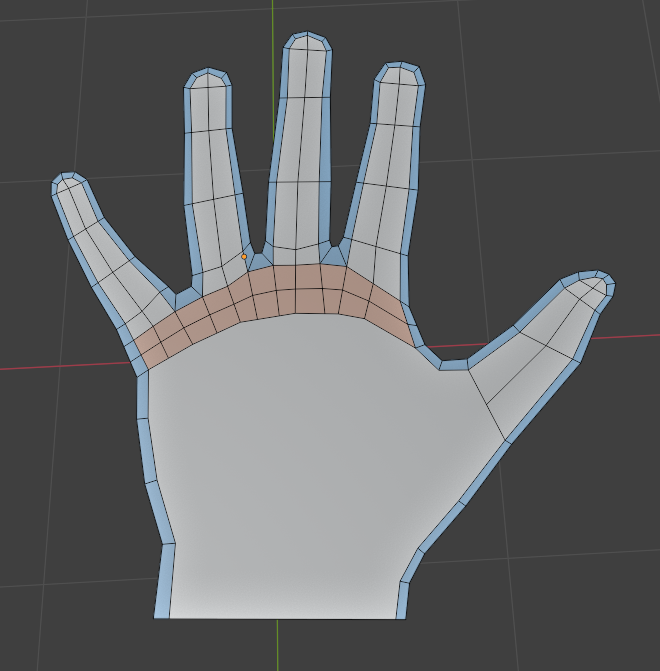
2- Use the knife tool to split this big face into the topology of the hand. If you are going to model a hand in edit mode, it’s easier to do the topology flat and then give it volume later. The most important at first is to have an edge loop that goes all the way around the border, following it closely (in blue). I also make sure there are enough faces for the knuckles on top of the hand, as there will be deformation there (in orange).

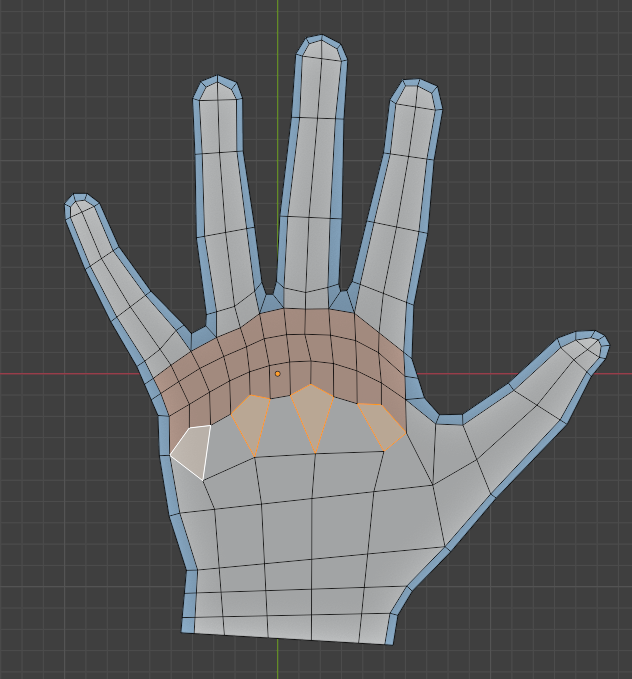
3- The edges coming out of the fingers are reduced using diamond shape quads. I do this in a consistent pattern for each finger, some distance inside the hand.

4- Move the vertices up to create volume. Try to make it thicker near the wrist and to have the bumps of the knuckles at the base of each finger.
step_4

5- Mirror the hand vertically, then merge by distance to enclose the mesh.

6- Move the thumb down, then shape it using proportional editing. Make it thicker at its base and thinner at the tip. Make the skin between the thumb and index transition smoothly in a diagonal. Add the extra edges at each joint for correct bending and some in the middle of each segment for shaping purposes (there is some curvature to fingers, they aren’t just tubes).
step_6-1

make the bottom of the thumb fleshy and move the inside of the palm inward.

7- Add the extra segments to the fingers and reshape them so the tips have a nice, finer shape.
step_7

8- Those faces could be inset and used as the beginning for finger nails. Or you could ignore that and do them in the texture, depending on the level of detail you are going for. I am not doing it here, as it’s optional.
step_8

9- Give a slight arch to the fingers in vertical space.
step_9

Here is the final model, if you want a look.
hand.blend (117.4 KB)

8 Likes

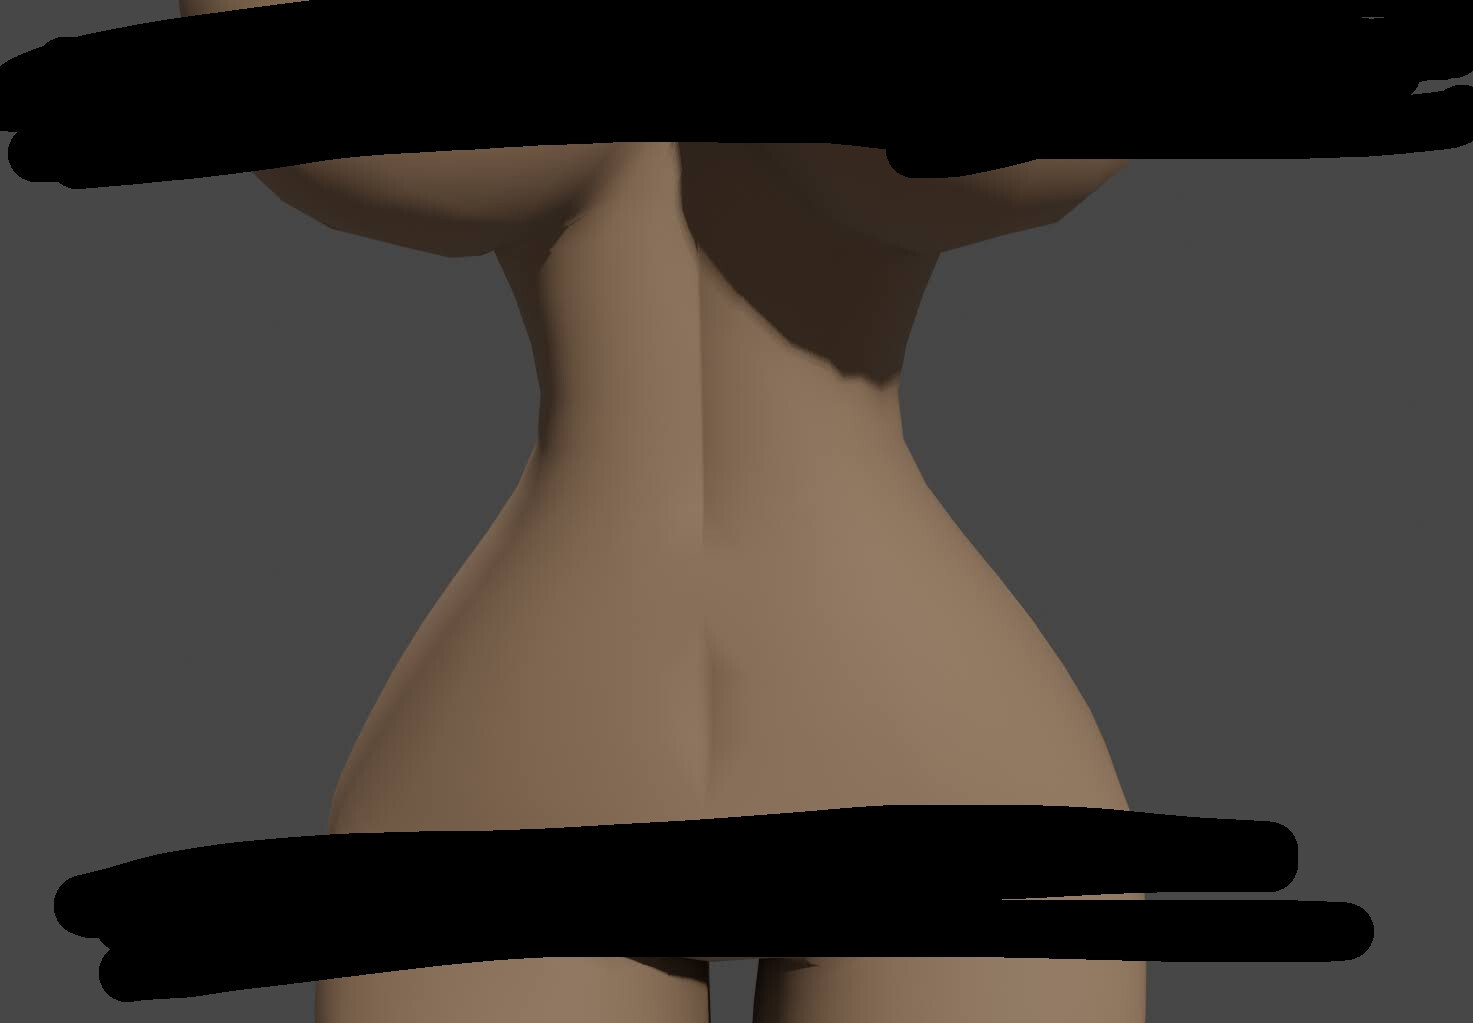
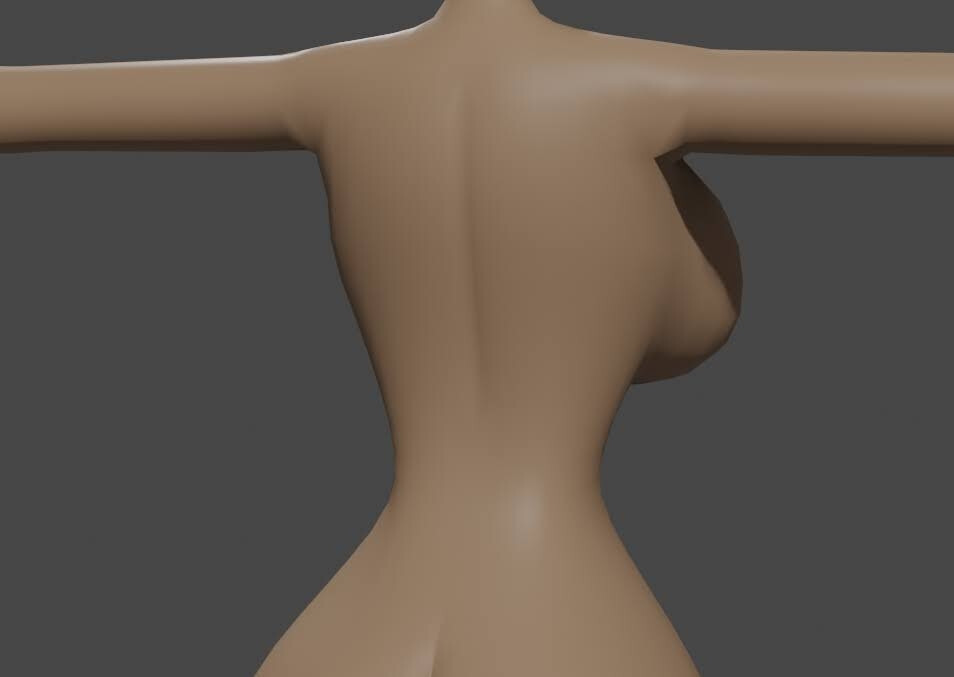
Other than remaking the hand, I attatched them and the head to the rest of the body.


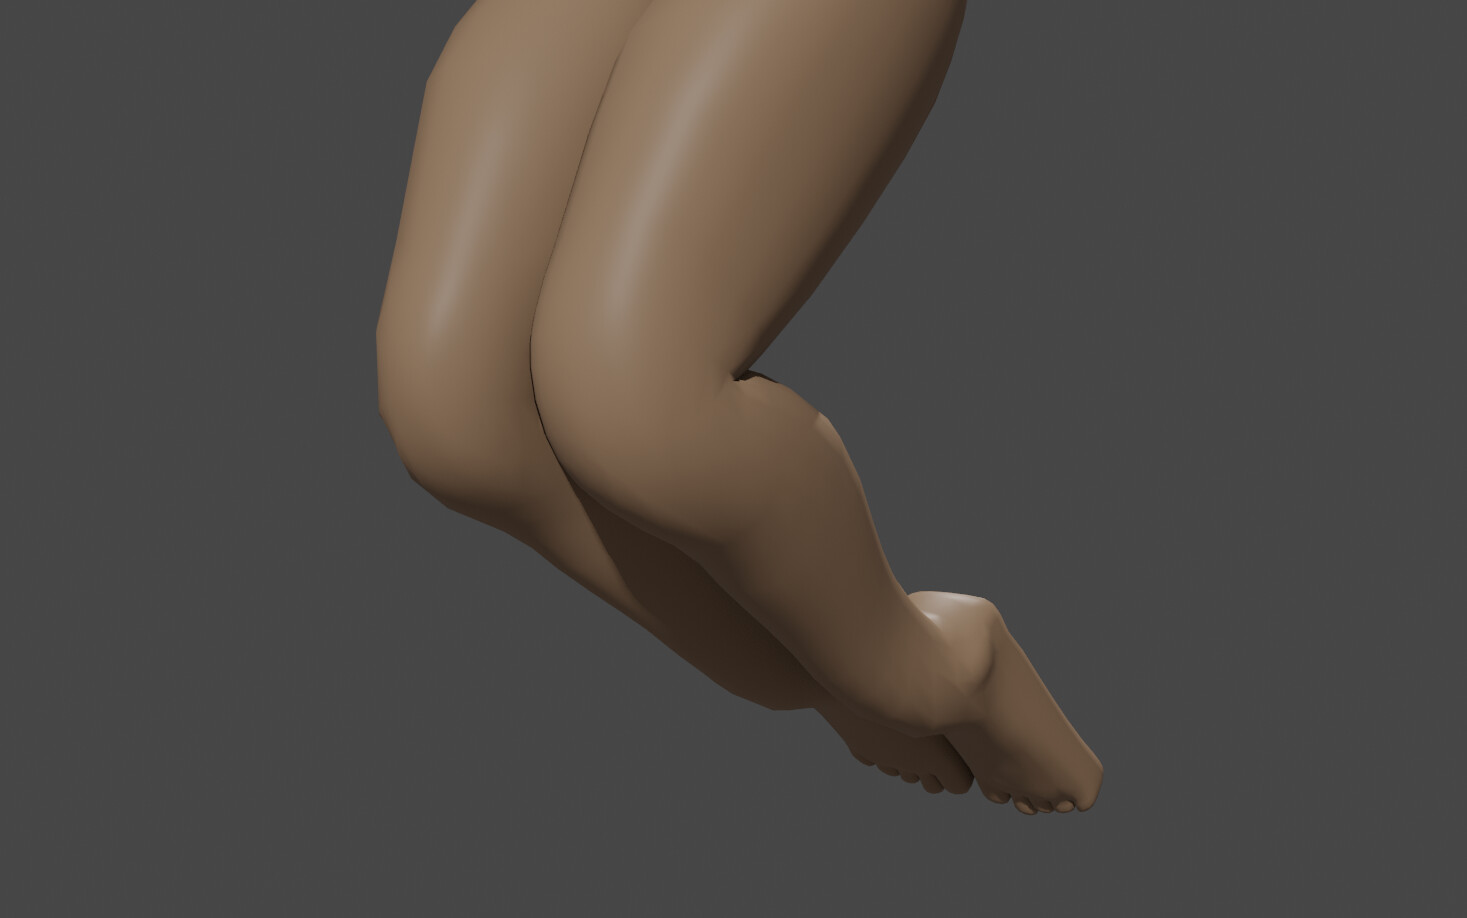
Right now, I’m learning and figuring out how to topologize the limbs, so when it bends, it doesn’t look bad. Like the knees for example;


It should only go up from here after topologizing; I got a few more things to do;

  1. Blendshapes (Should be easy enough. “Blend from Shape” is a Godsend.)
  2. Add more details (Might need to apply the Subdivision modifier for this one.)
  3. Figure out how to UV unwrap the whole thing.
  4. Texture (That’s gonna be fun.)

And after all that, it’s back to normal programming, adding the hair, clothes and shoes and putting them on the model too. Then Yume will be done! :heart:

Hopefully she’ll be done before this month ends? Inly God knows.


Thanks for reading!
Have a nice day! :heart:

2 Likes

Thank you very much!

I should use your method next time. Gives more control.

I’ll check out the Blend file.

1 Like

You have enough vertices for a good result I would say. It might be a matter of doing the right weight painting or finding the best spot to place the armature’s joint.

If you can’t figure out a way to make the deformation perfect, you can always resort to corrective shape keys. Those are shape keys that you make specifically to fix a bad deformation and you activate them only when that deformation happens.

1 Like

I’m getting closer…
This weekend, I added minute details to the model;


It’s not much, but it representsthe lines I’d usually do on my drawings. Just need to add the collarbone thingy I draw somehow… (\ v /)

I also worked on Shapekeys:

(Neutral)

(Sorrow)

(Joy)

(Anger)

There’s still more to make, but so far I have the basics done. Now it’s all just a matter of copy-pasting.

I’m in the midst of msrking seams too. Now that I think about it… I’m glad I used VRoid first before I dived into 3d modeling my own things. Now I have sort of a framework on how I make my models; you know? VRM format. I’d be lost if I didn’t learn from the many models I mde with them.


I can’t wait to finally start texturing. Then after that? back to normal programming!
Thaks for reading.
Have a nice day! :heart:

4 Likes

It’s nearly texturing time!
I finally applided that mirror modifier and finished up the Blendshapes. (Thank God for SKkeeper!)


I’m also working on UV Unwrapping too:


When I finally fix the weight painting, I won’t have so much red on my shoulder vertex groups. (Get it?)

Just another step towards victory.
Thanks for reading!
Have a nice day! :heart:

1 Like

Yeah

I think I’m done rigging now.


(Also made her bra.)
I added a few bones to the VRM armature too, so when they bend it doen’t look like complete TRASH. That takes care of some weight painting pain.

I’m pretty proud of my UV mappings too. I made the body UV similar to the one I see in VRoid models:

You know what this means now?

TEXTURING TIME!

WOOHOO!!!

2 Likes

Are some of the UVs touching each other, or is it just the points that are big looking? If they are touching, you should separate them before starting painting, it will save you trouble later.

1 Like

They’re not touching. I’m not zoomed in all the way in this picture. That’s all. Some faces are just bigger than others.

1 Like

I’m texturing right now and-

Holy sh!t she’s coming out more beautiful than I thought she would.

Looklooklooklooklook:


Of course, I gotta finish texturing other parts, but so far, I’m happy!

2 Likes

I would smooth out that slight bump the forehead. Still this style looks very promising, this is really good for a first time, the eyes look really nice.

1 Like

Also, one thing that I noticed are the deep shadows being cast on the sclera from the eyelids.

I think this would benefit from actual spheres for eyes, if not a round sphere then one deformed by a lattice to fit the geometry. You would get a tighter fit for the socket and lighten those shadows.

Or if you want to use layered planes, you could model a curved plane for the white part of the eye and shrinkwrap the iris onto it with a small offset.

1 Like

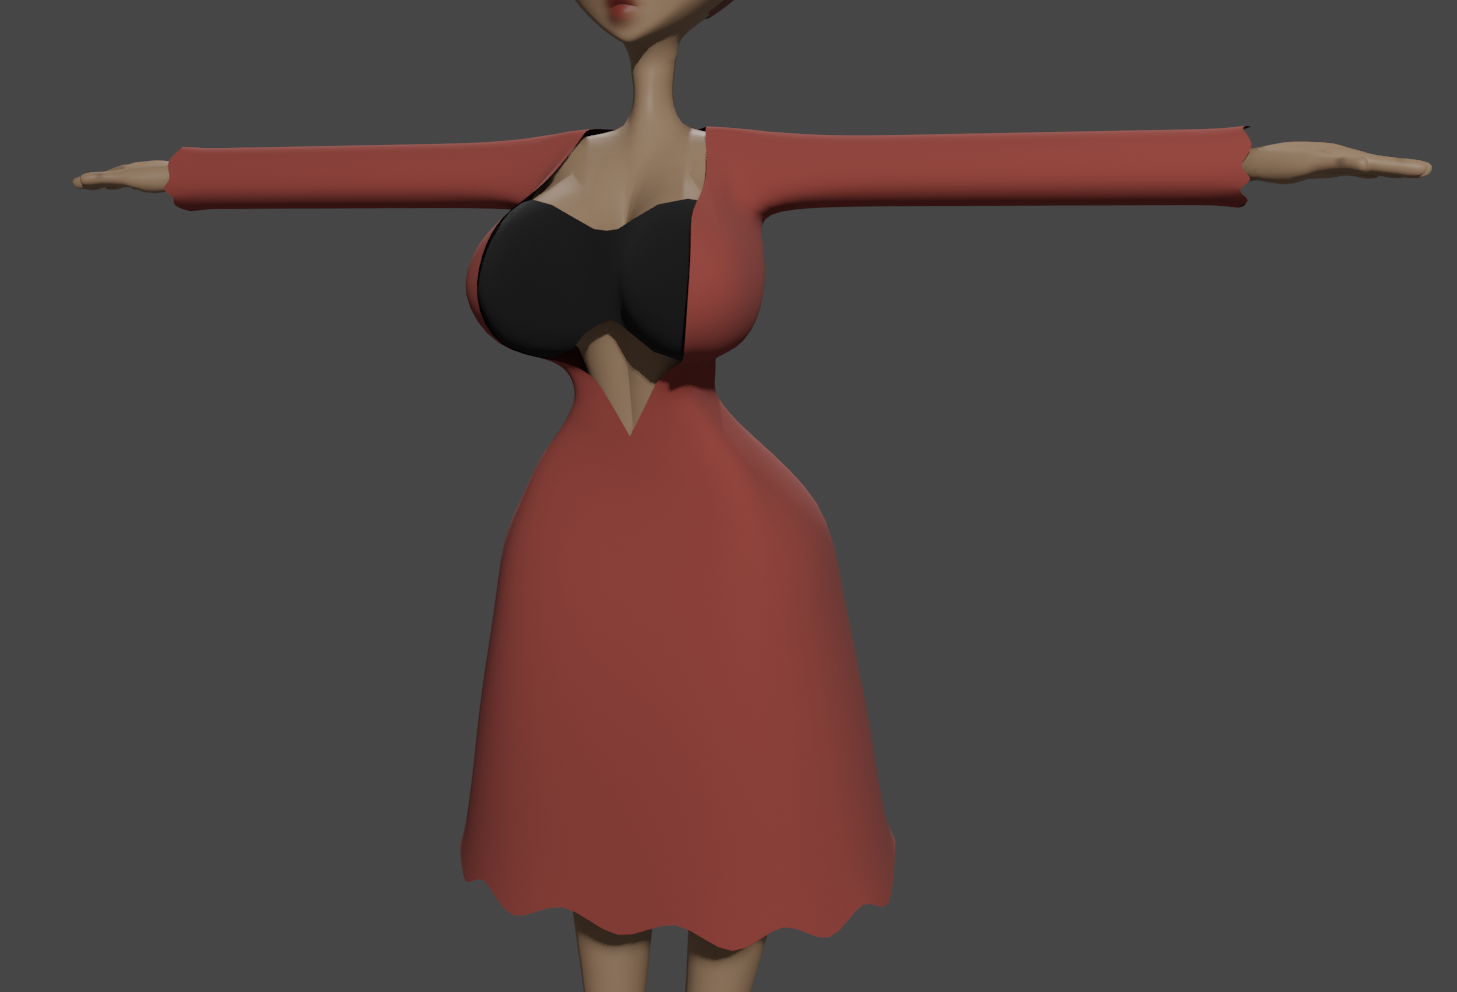
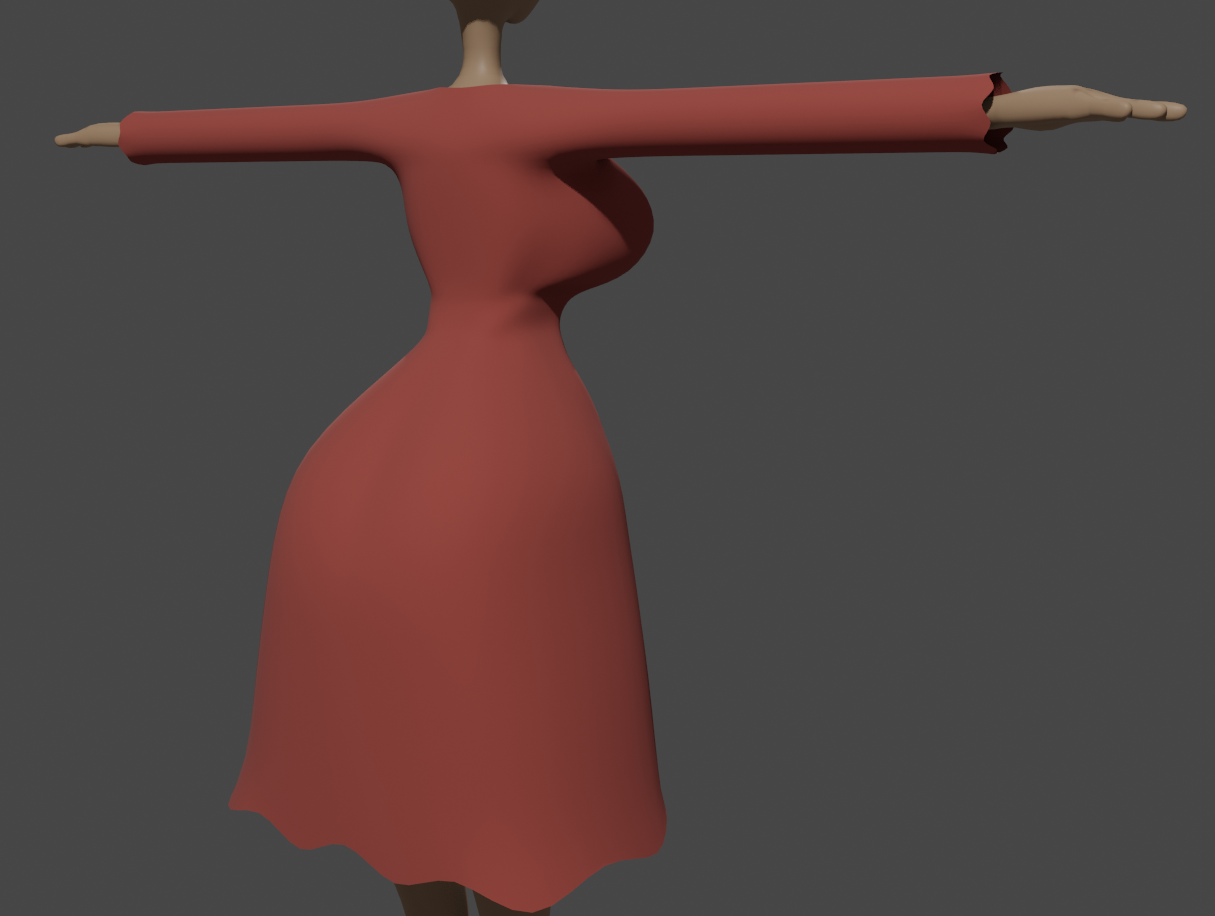
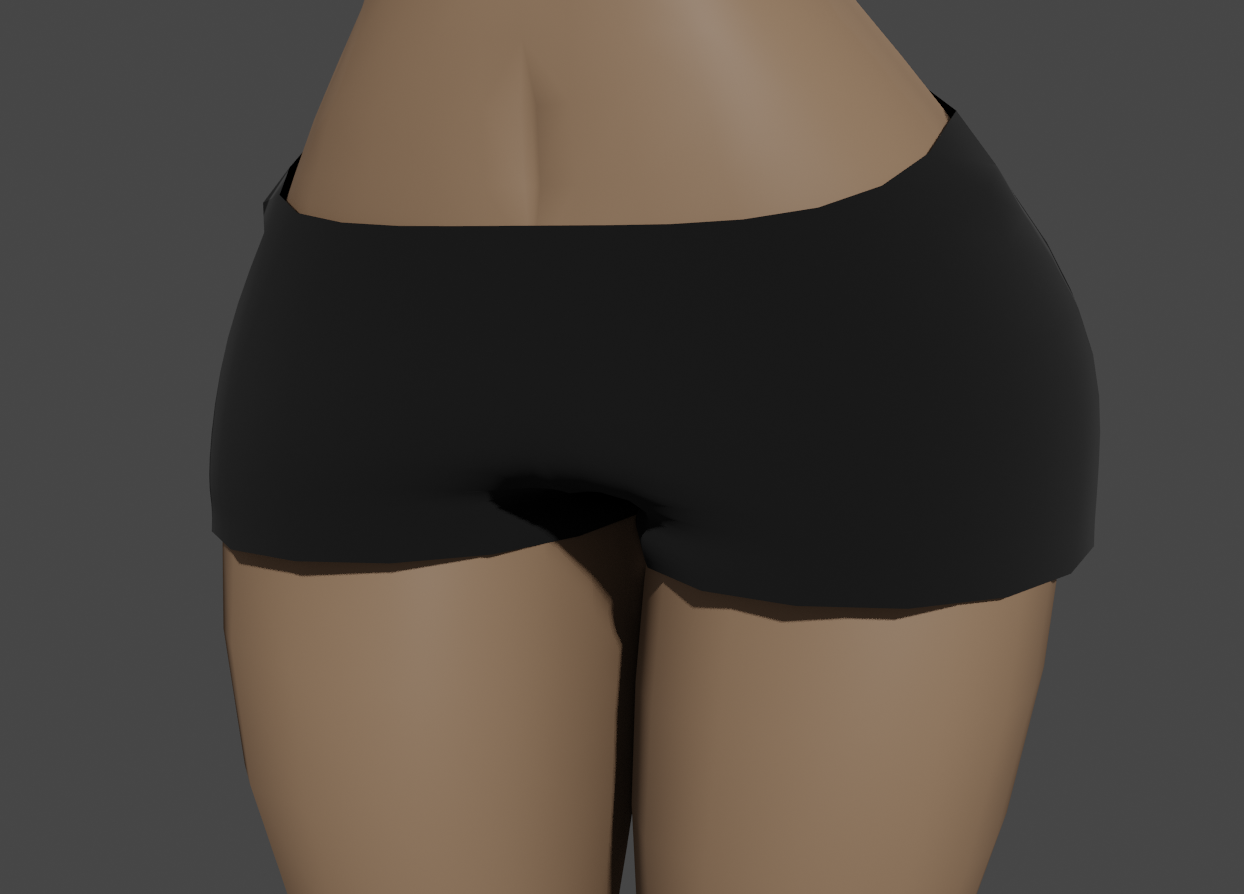
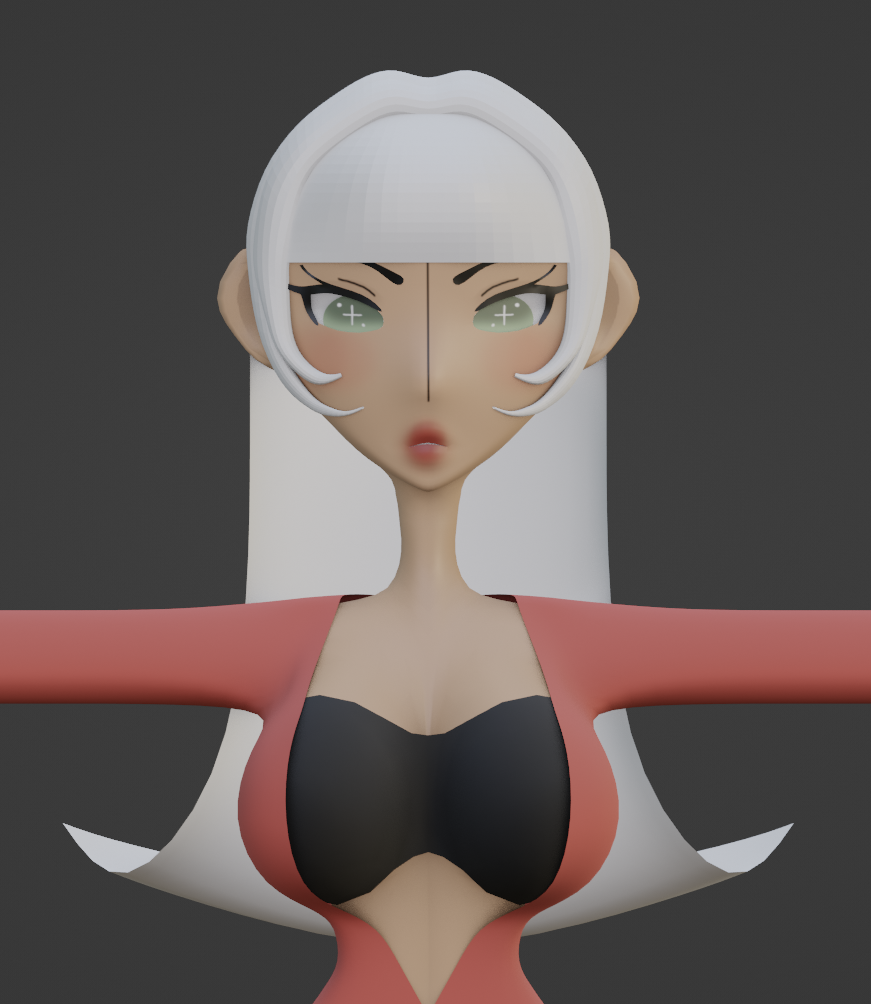
Making the clothes.


1 Like

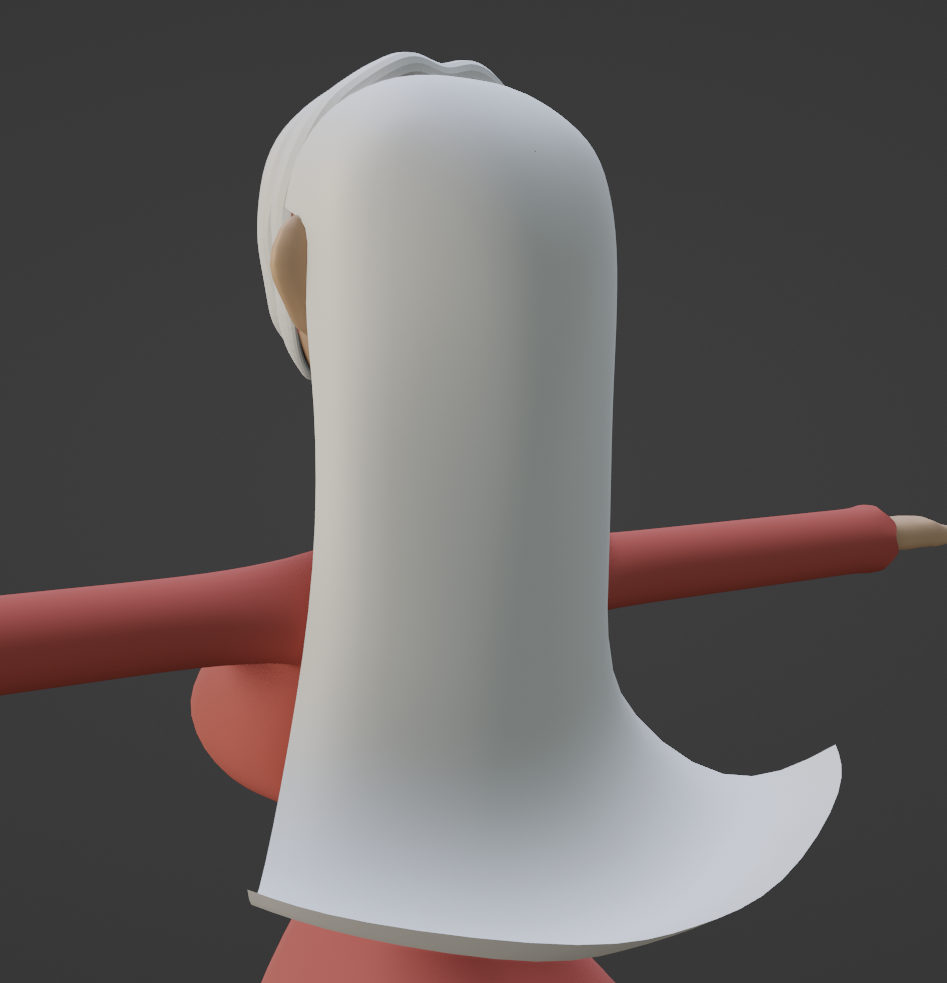
Modeled the hair.


For the front bangs, I used a plane.
The side bangs I used cubes instead of curves. You’re in more control that way.

I was debating whether to use a plane of cubes for the hair, but I decided on molding the plane. It’ll be a bit more harder to texture paint, but I’d rather that than go through that weight paint hell again.

2 Likes

Few things.
First off, I made the apron.


Not too hard, I just took a face loop from the dress, duplicated it, made it it’s own object and went from there.

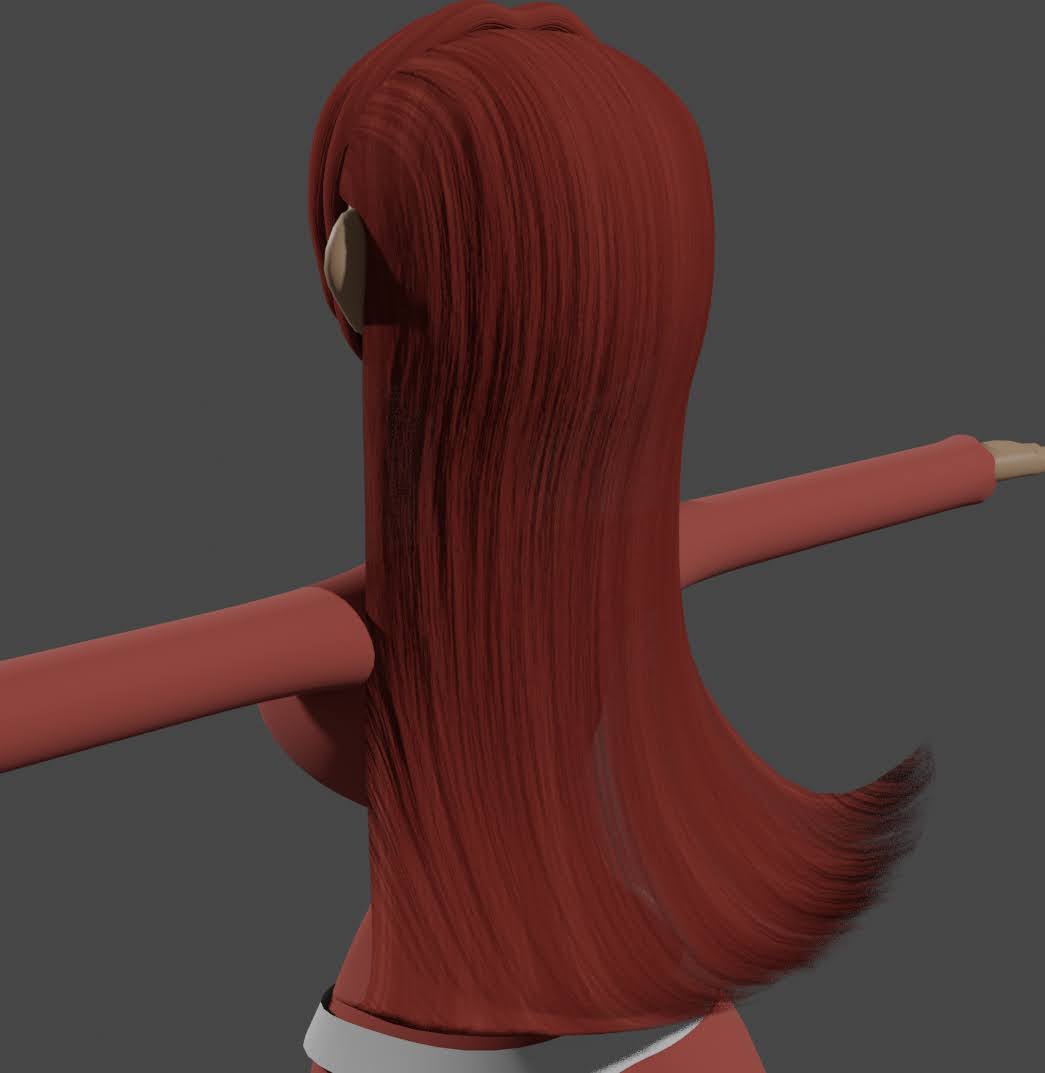
Then there’s the hair.


Now the front and side bangs were no problem. That was easy to UV unwrap and align. They both have the same material and texture.

What I did for the backhair though… the UV was garbage, no matter how I tried to UV unwrrap it. It wasn’t as even as the bangs.

While the mirror modifier was active, I UV unwrapped it like I normally would and did the “follow active quads” thing." I then drew guidelines on how to draw the hair, so it doesn’t look terrible. I exported the UV map and guidelines to PNGs and drew the hair in Medibang Paint.

Once I was finished, I imported the new hair texture into Blender and assigned it accordingly… Not too bad.

But here’s a new problem; when using my custom hair strand node, it didn’t look right. So I edited the node so I can choose the UV instead of it using it’s default one. (Guess that’s an addon update, huh?)

I applied all modifiers for the hair and and made a new UV map. This time I projected from view.

If it works, it works.

Now it’s time to rig. This shouldn’t be as hard as when I rigged the body.

1 Like

It’s been a while.

At the time of typing this, I’m basically done with the model. I just need to set it up for different versions.

For the most part, rigging the clothes was easy. The dress, bra, shorts… then I got to the apron. At first I rigged the apron with it’s own bonechain, but doing some testing, it kept going through the dress, so I rigged the Apron with the dress bones. A few less bones to deal with AND no clipping.


I used a new material for her legs to emulate the tights. They’re not seethrough anyway so…

Then there’s the shoes.

Now holdonholdonholdon… before you start tweaking out over the shoes being through the floor, let me explain myself.

My goal is to make this model not only for specifically Blender, but as a VRM for Unity/other applications.

So at first, I thought about making 2 different versions; heeled foot and flat foot, because I want to make different clothes for her too.

If I remember correctly, I moved her upwards by the hip bone, posed her feet and modeled the shoe. I also applied it as a rest pose. Then I rigged her shoes to her body. Now I’m thinking; okay! I’m good! Done, right?

And so here I am in Unity putting on the VRM shader. I get to her mouth insides and go to open her mouth…

Her entire body moves upwards. JUST her body. Nothing else.

WTF?

I go back to Blender. What’s wrong? I move a shapekey again…

Same thing.

:pinching_hand: This close to crashing out.

No worries, I saved the flatfoot version first before I made the heels.

Repeat after me everyone:

Always make multiple copies of your Blender projects. You could mess up REALLY bad.

Anyways…
I do my research how to deal with heels and I come to the conclusion…

Shapekeys.

I posed her foot and applied the armature as a shapekey.
So now I don’t have to make 2 different versions of the model after all. I can move her hip in Unity instead if I have to. I can also make different heel shapes too.


Hopefully the next post you can finally see her in motion? Stay tuned! :slight_smile:

Have a nice day!

1 Like